Showing posts with label shepard. Show all posts

Wednesday, May 6, 2015

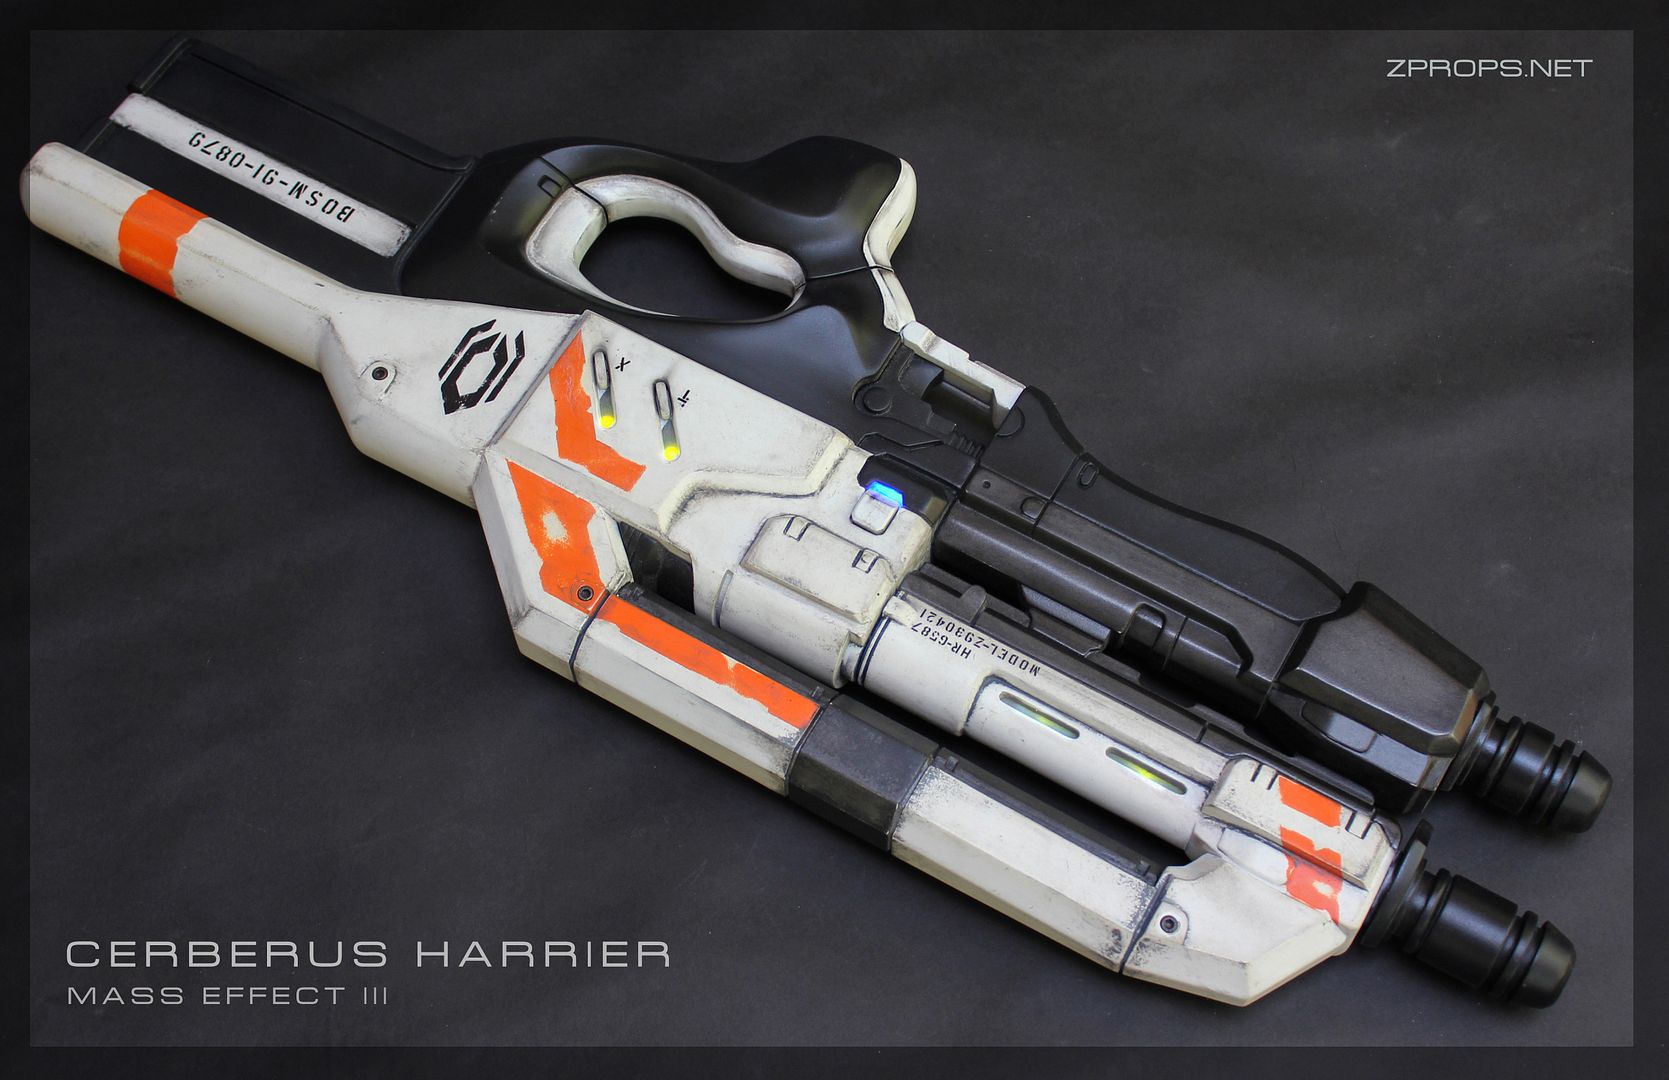
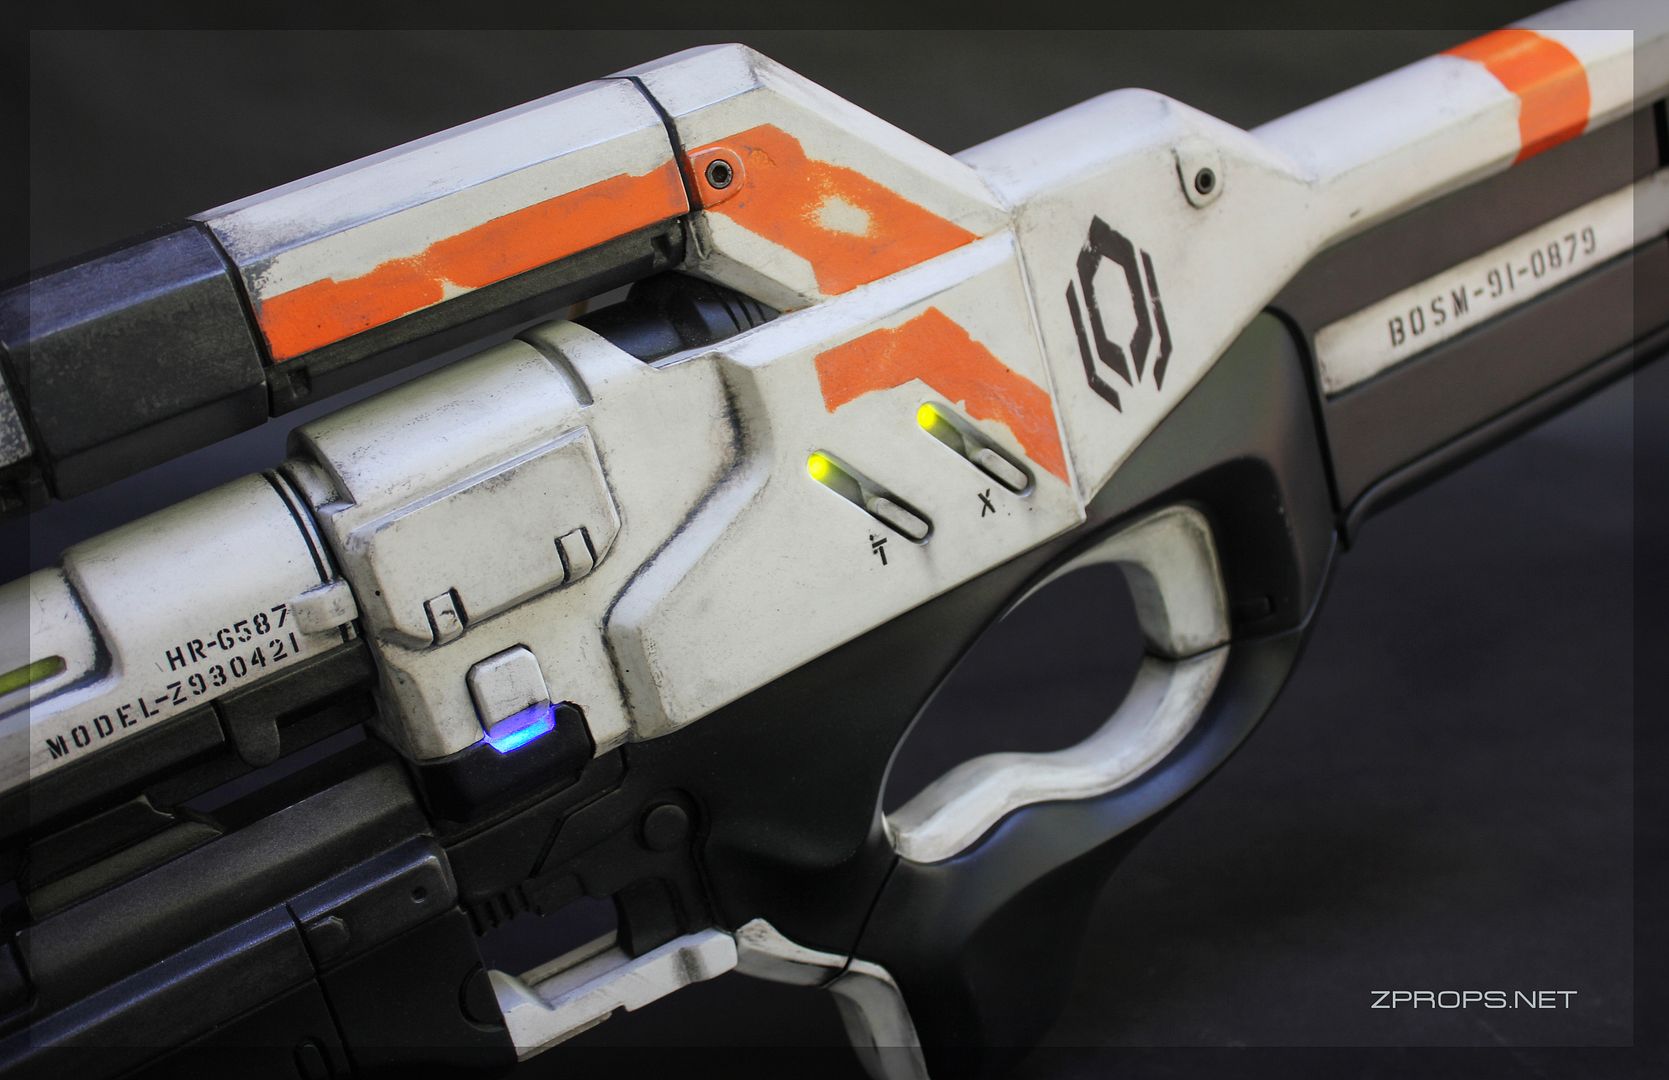
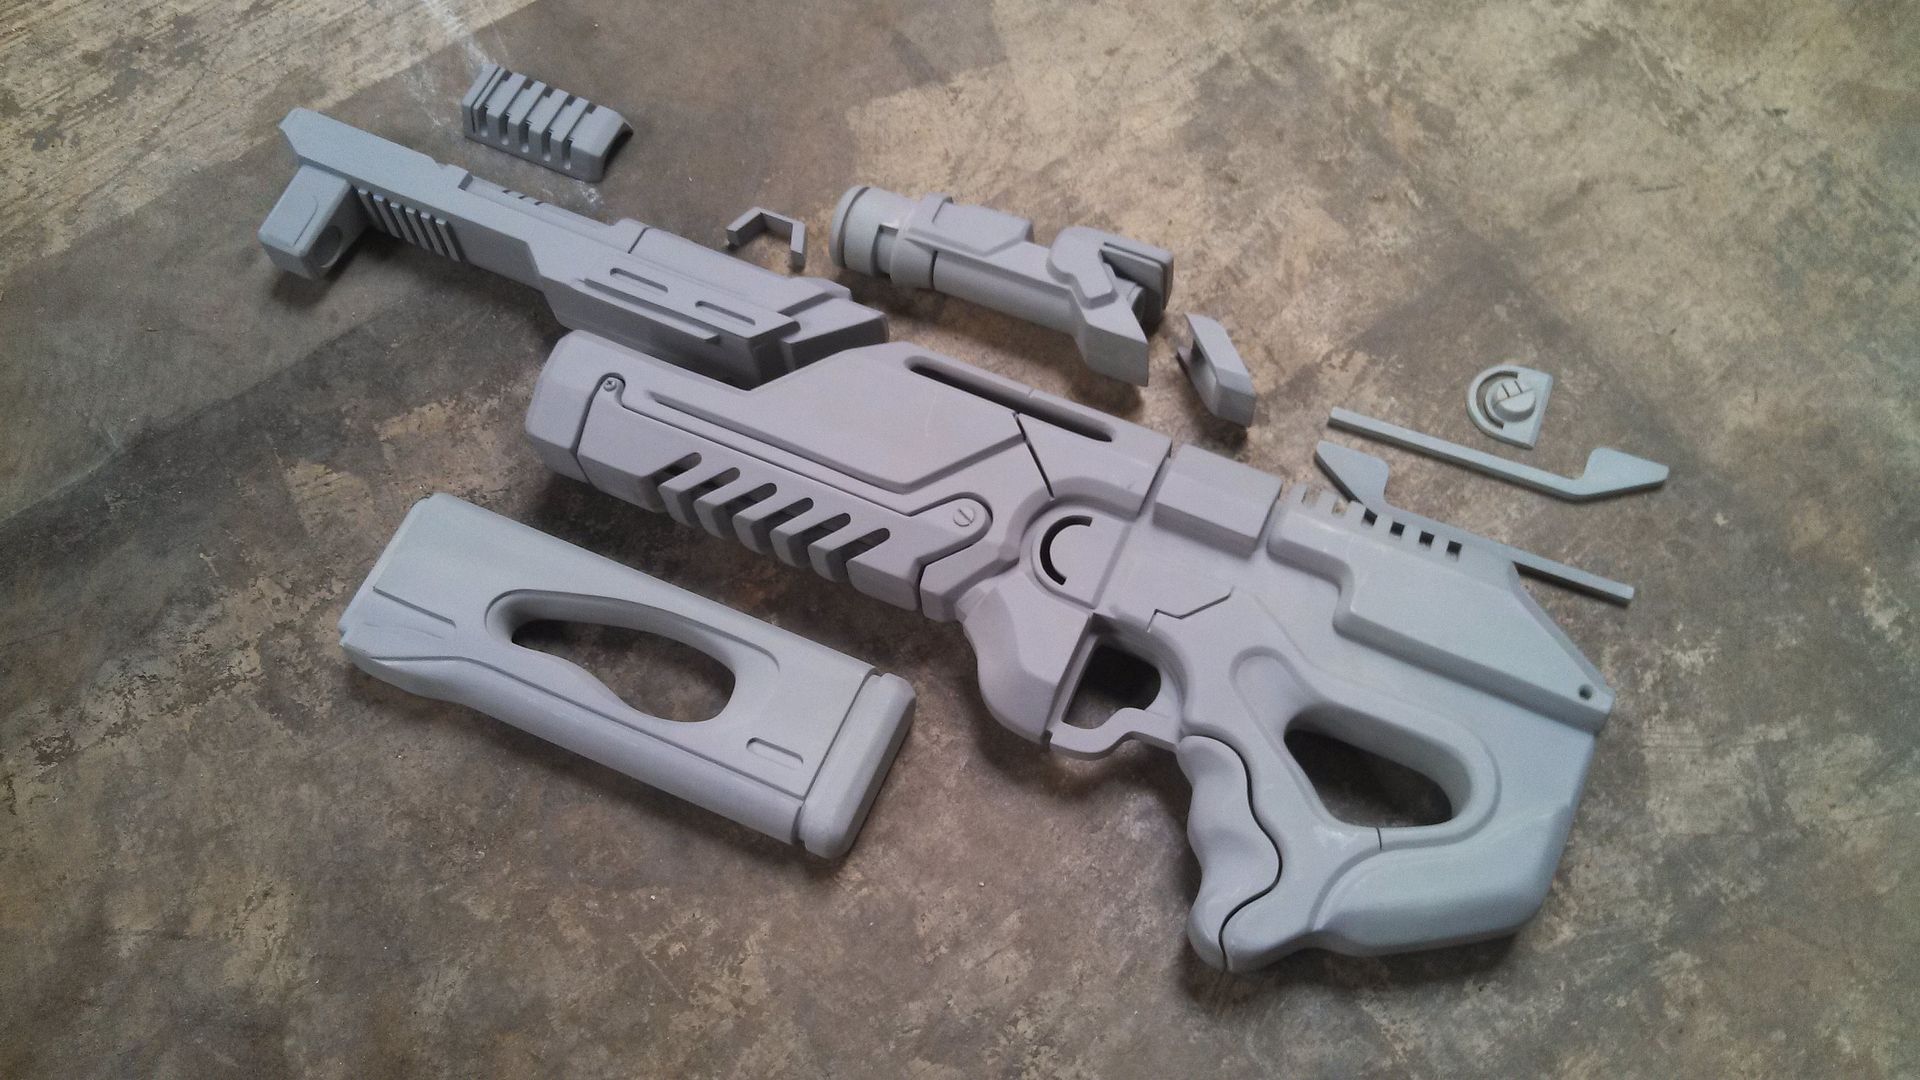
Mass Effect 3 Cerberus Harrier Assault Rifle

With the V2 M-96 Mattock molds completed back in 2012, it was only natural to give one of its cousins a shot, and this would look great with my hornet smg build.  I started and completed this personal build in 2013 but never got around to a photoshoot or a full write up.

Reference from Troodon80 via Deviantart. 
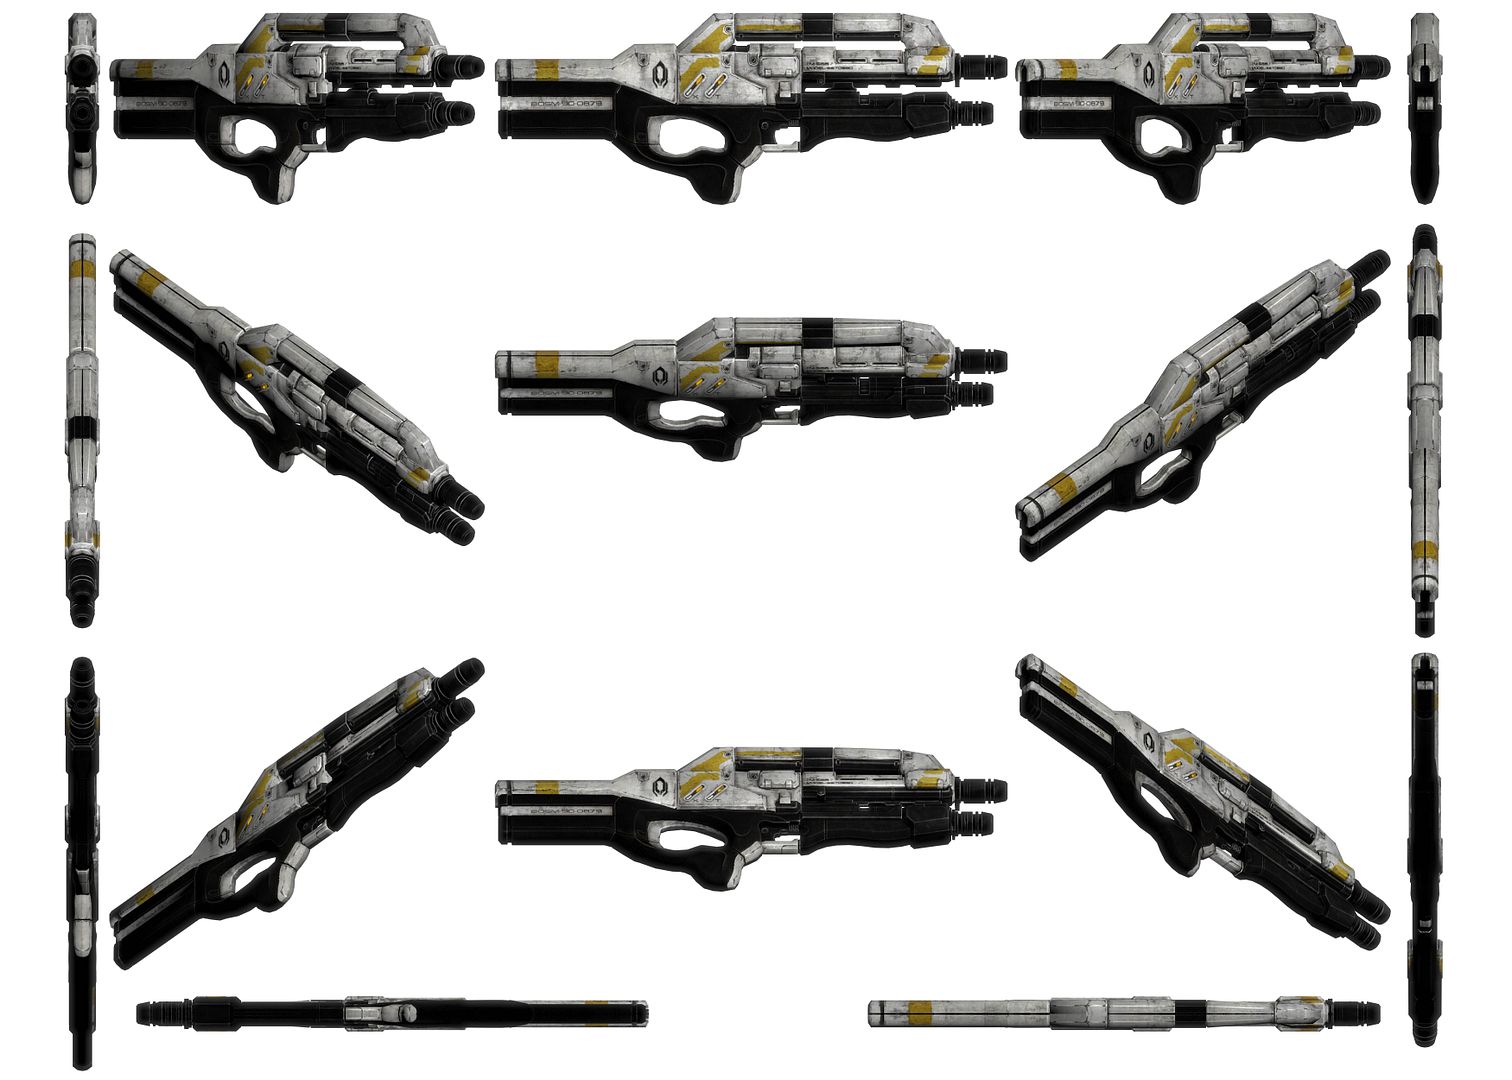


This build would have been a lot more work if I didn't have an M96 mattock resin kit to start with. Although, every piece had to be significantly altered or rebuilt from scratch. The only piece that went unchanged is the upper outer barrel.

It helps to have half of this build technically finished already. I started with a kit that had a bit of sagging on one side of the receiver. This was perfect because I had to cut out most of the receiver sides anyways.

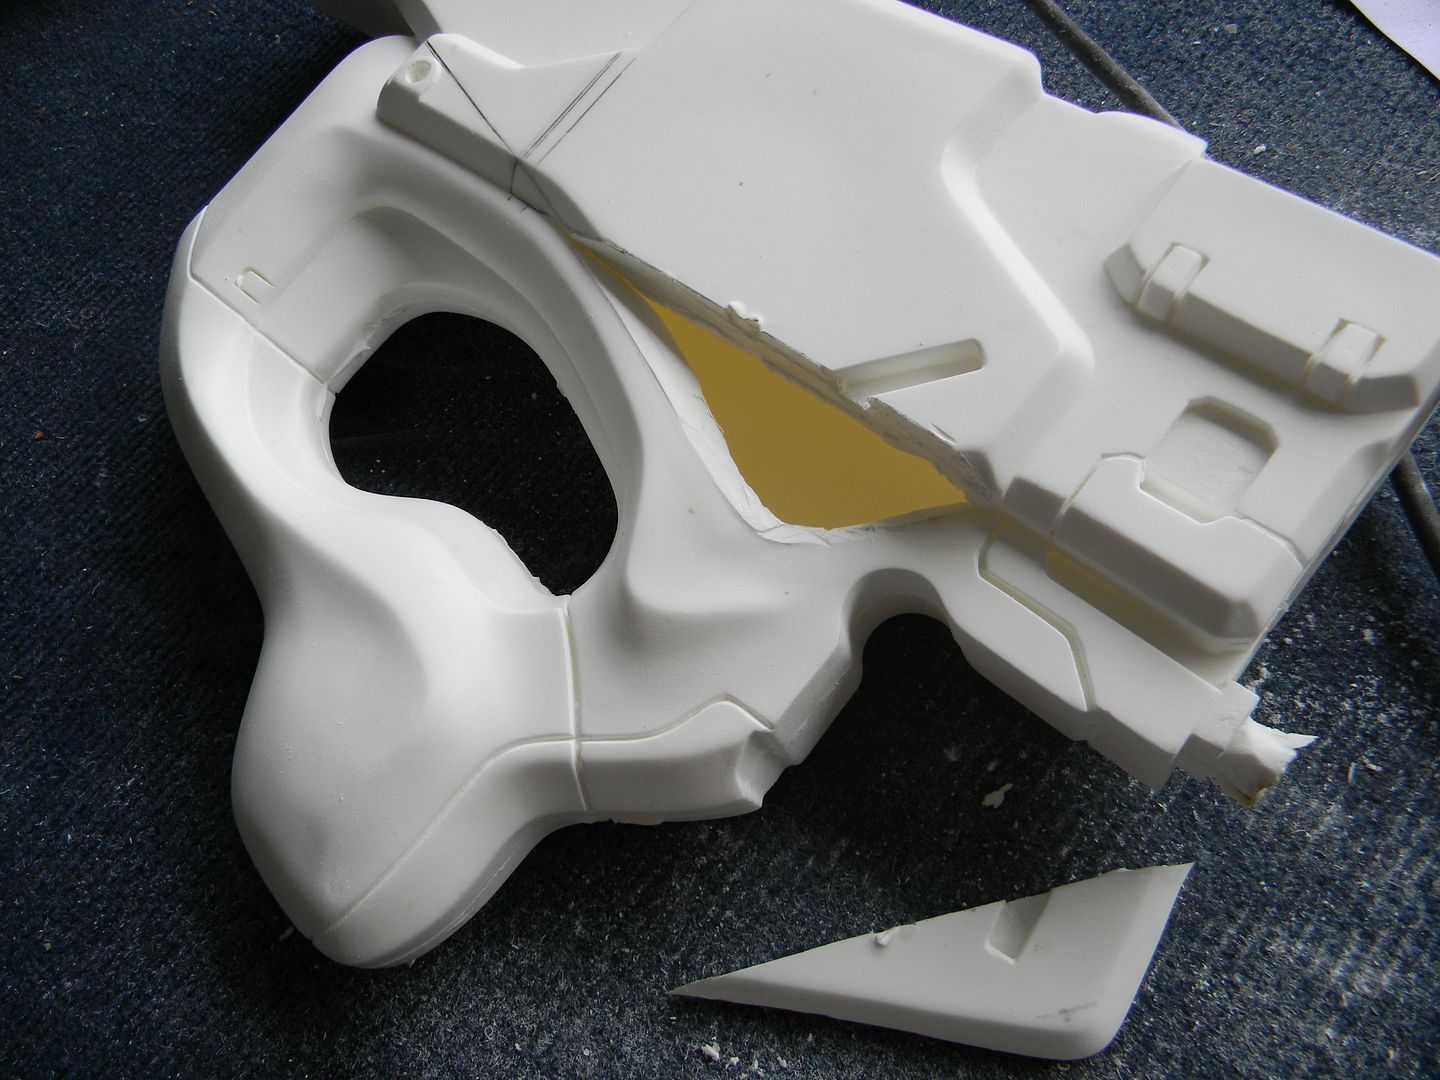
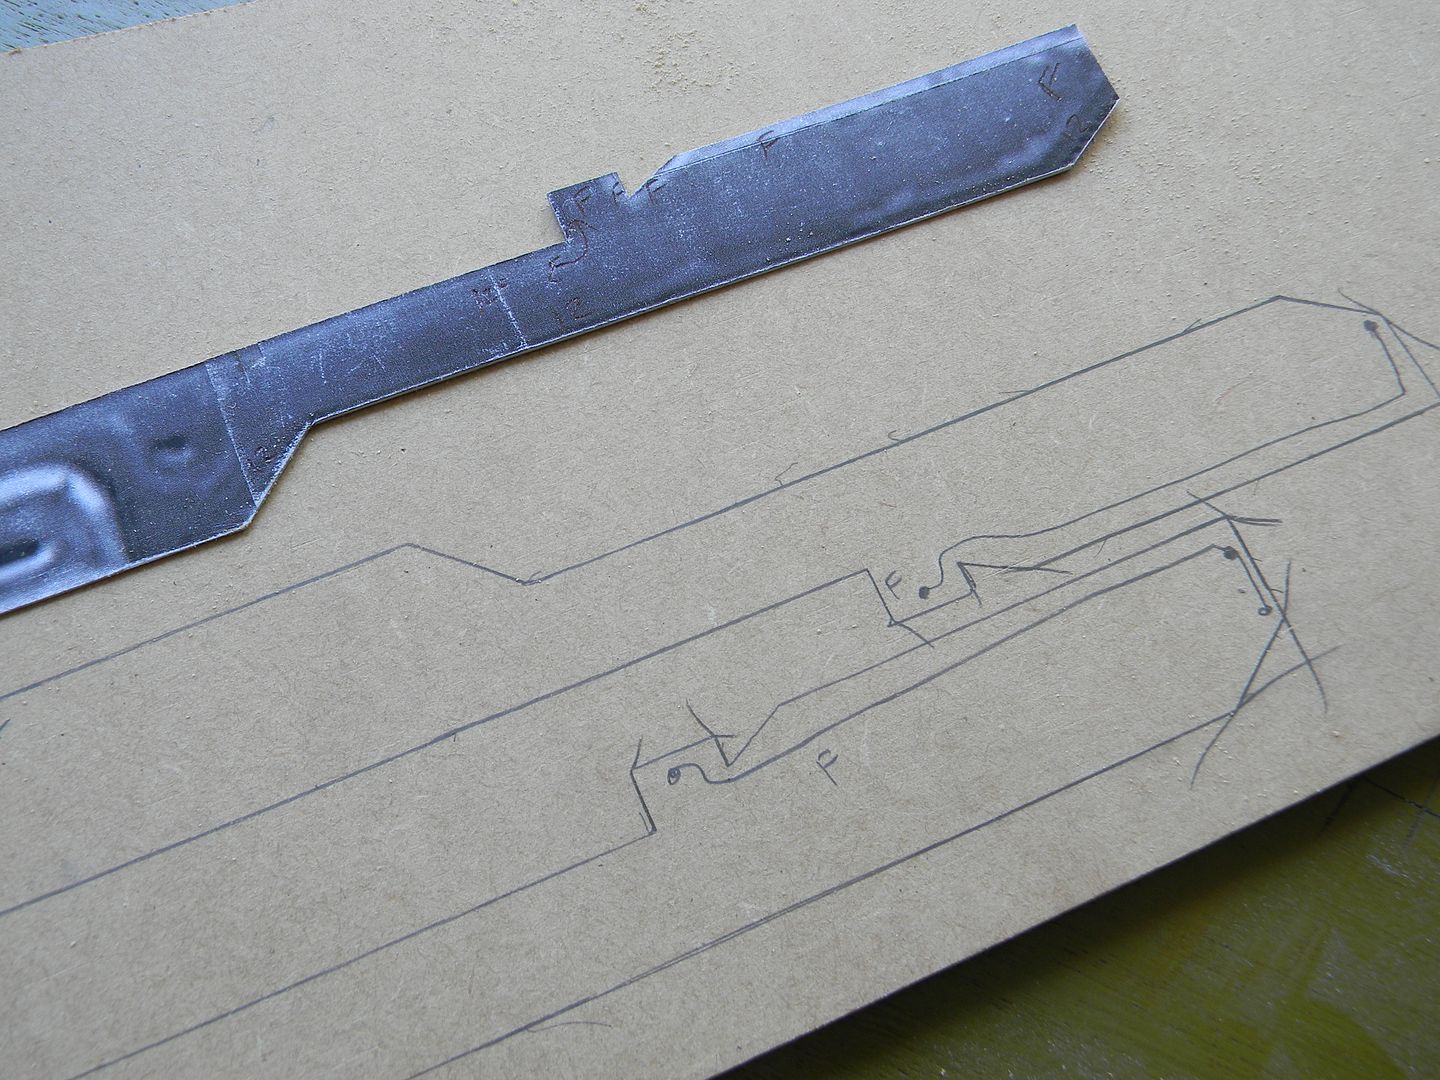
I drafted out the areas that had to go. 
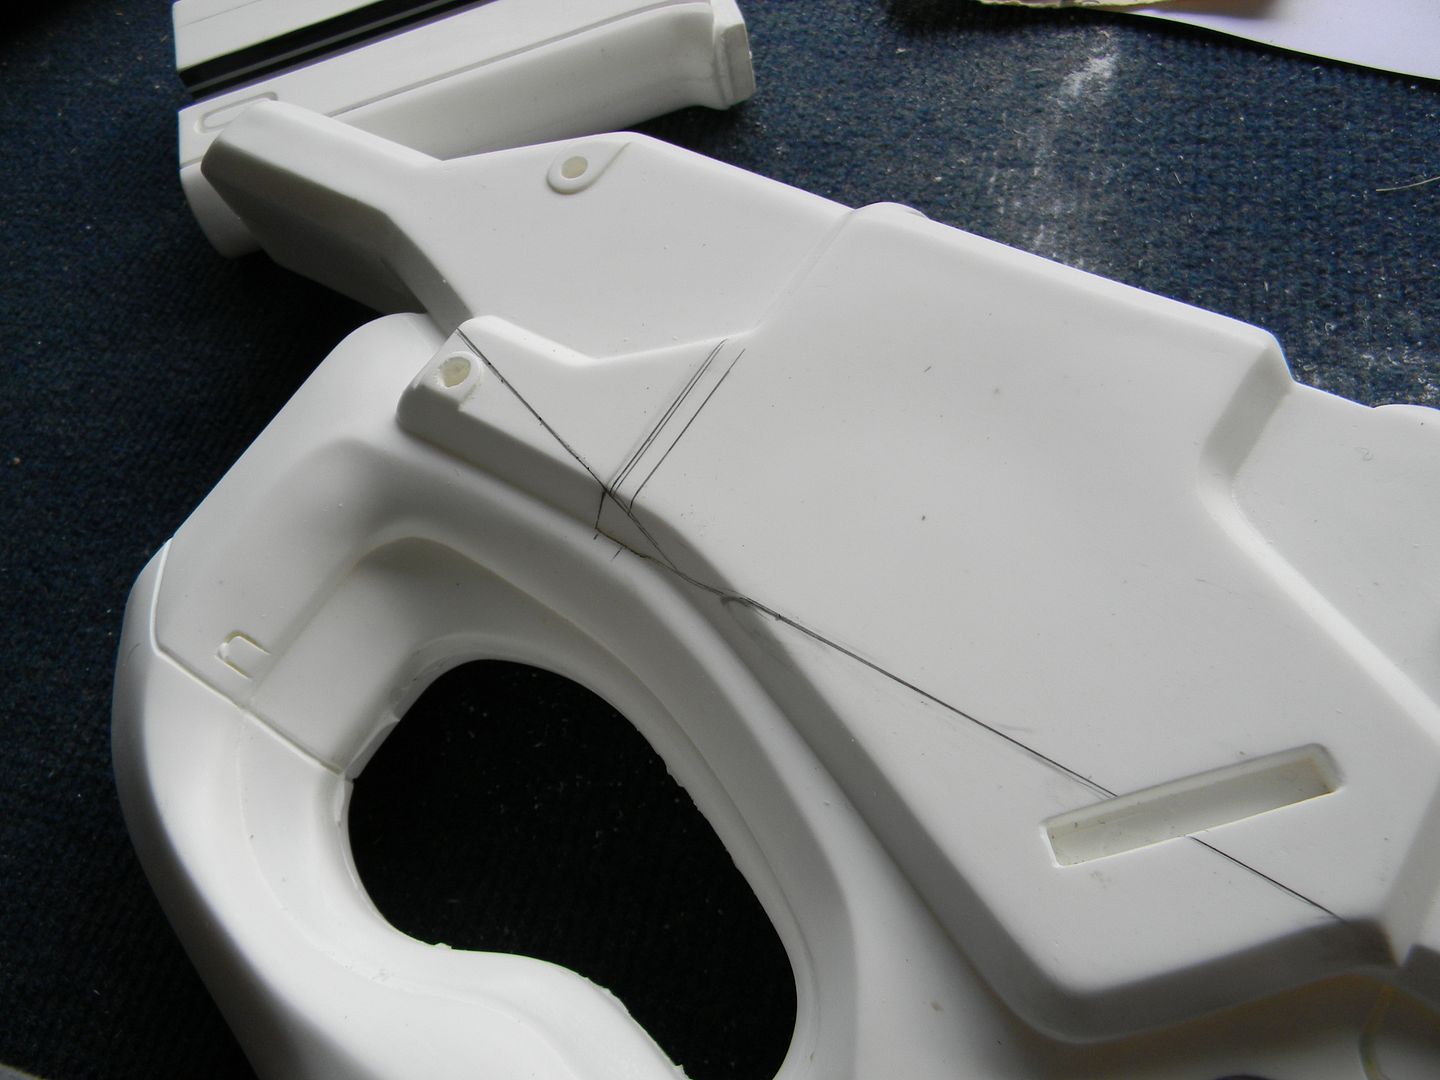


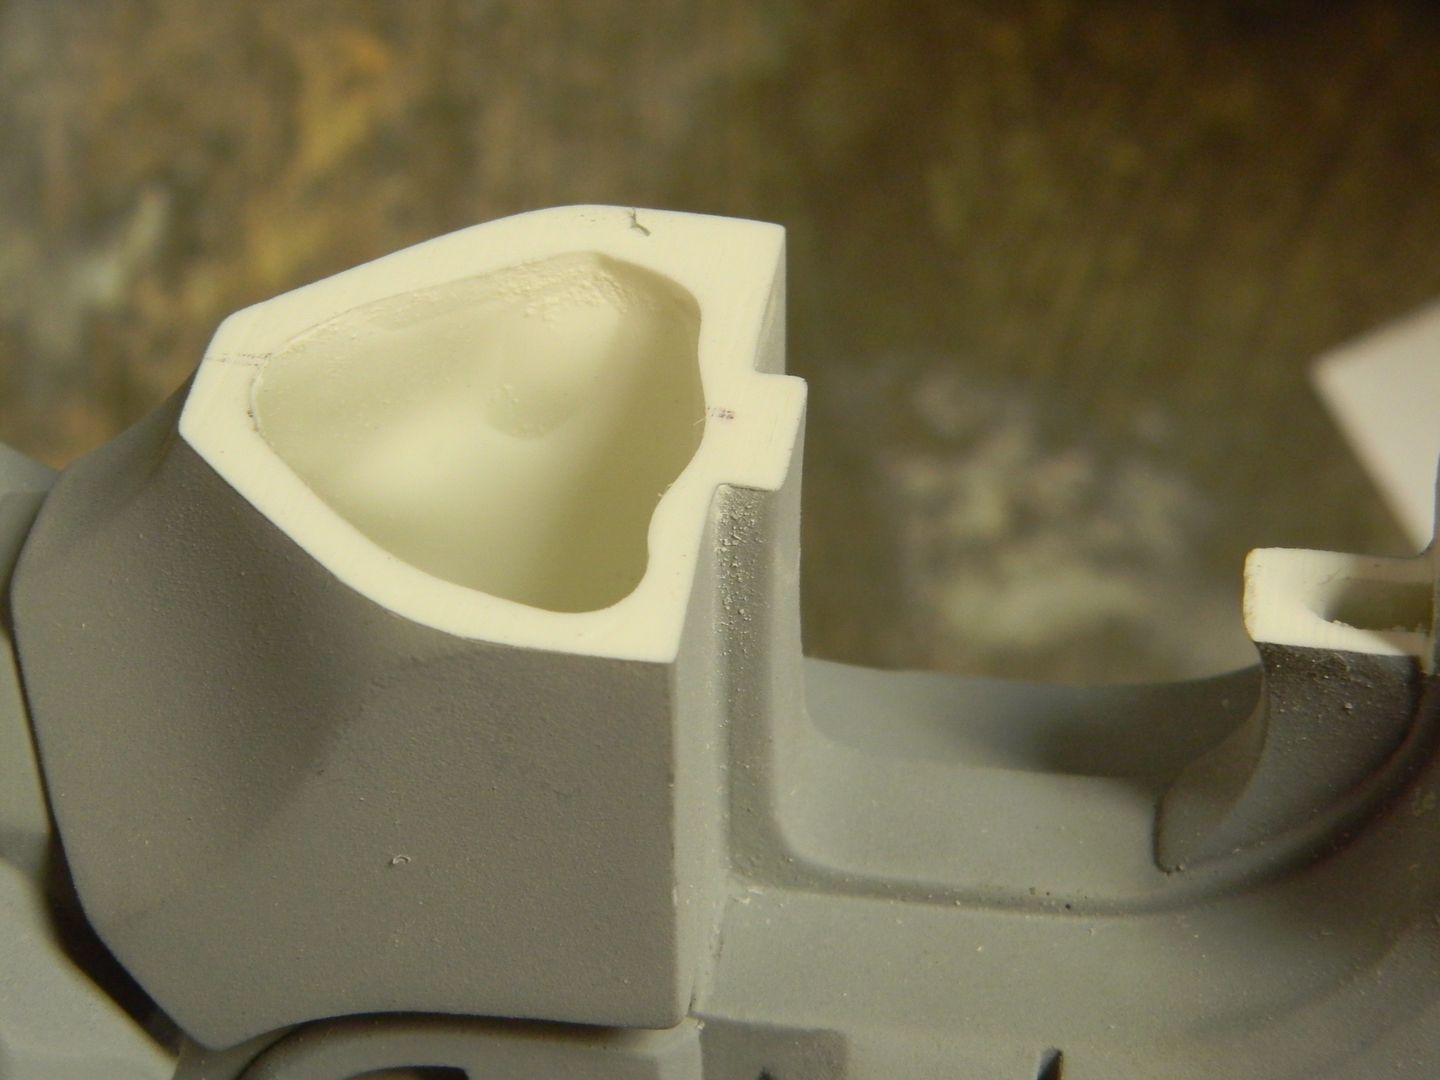
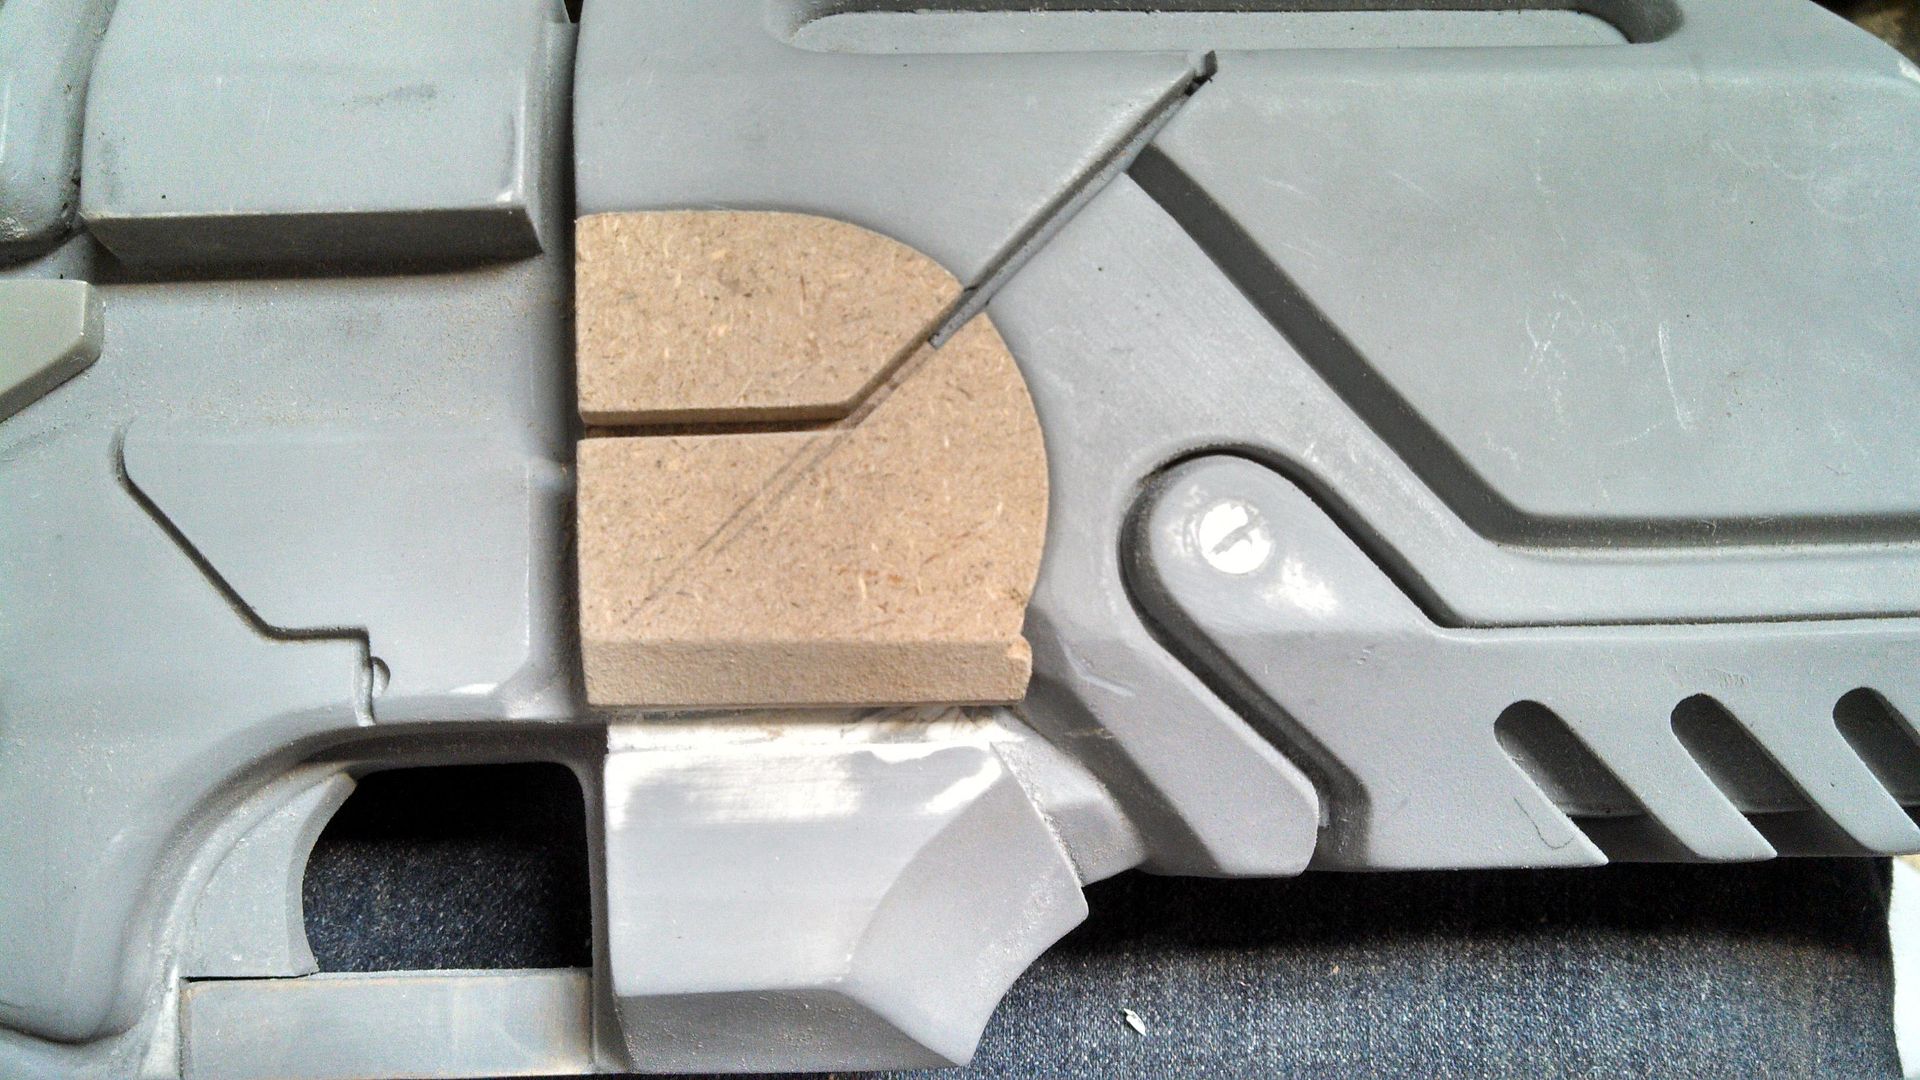
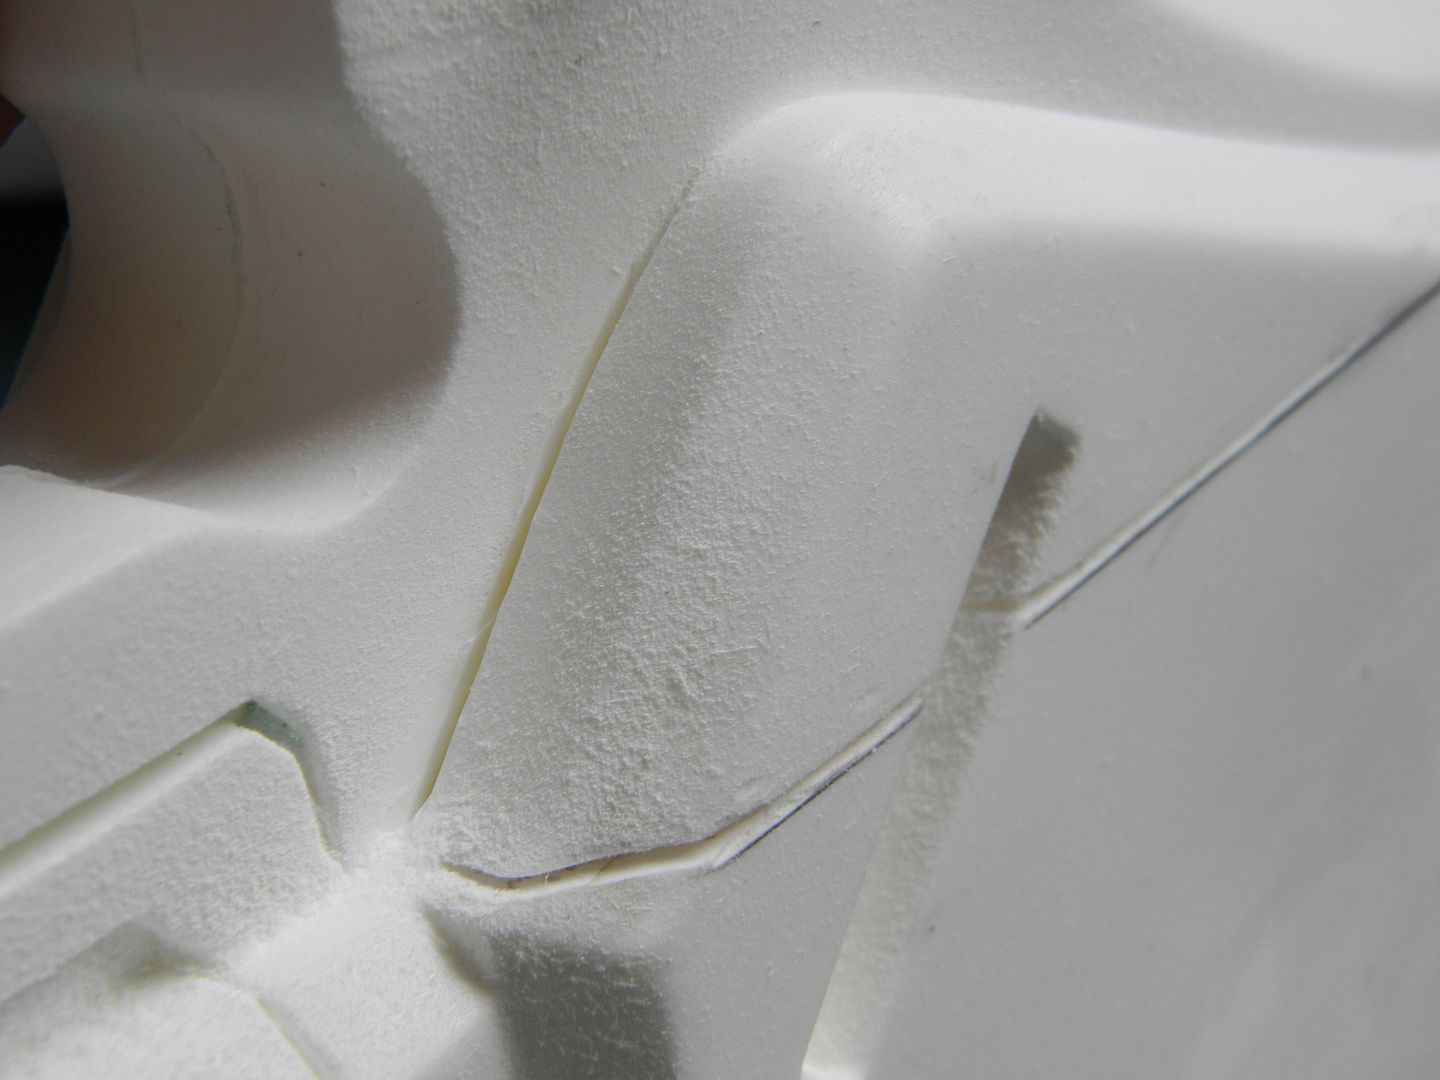
I used the circular cutting bit. It created a lot of resin dust and vapor, so a respirator was a MUST. Angling the disk and being patient allows you to do some pretty surprising cuts. 


I began making the new edges out of MDF strips
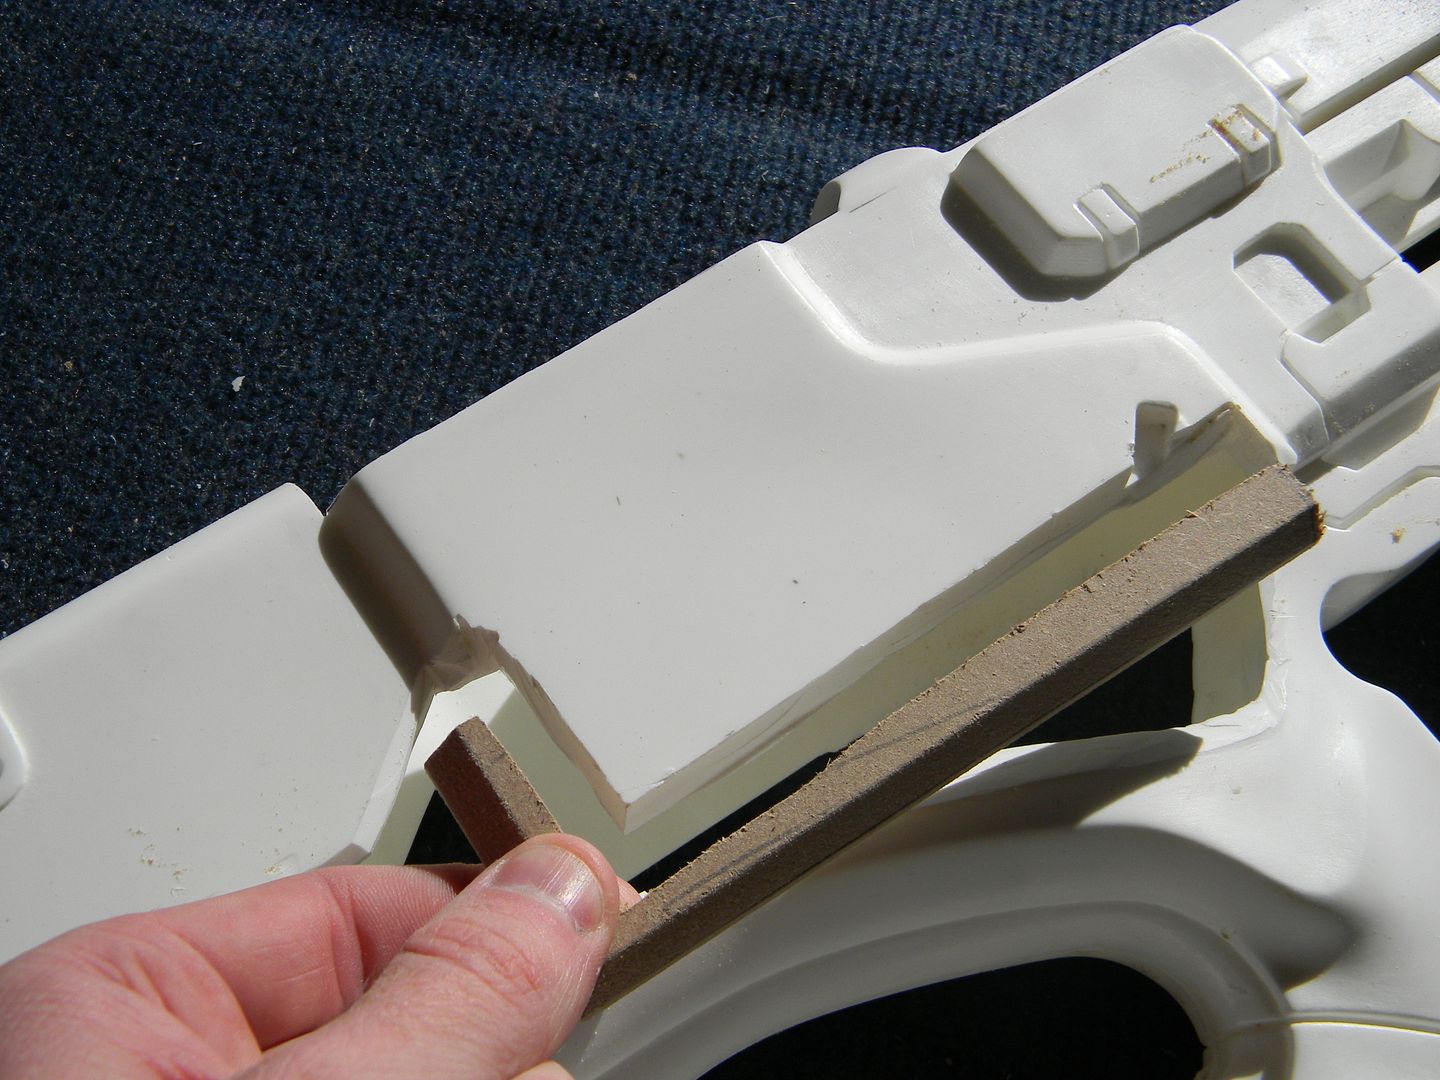


I hacked off a few more areas and kept going. Its much better to "frame" these areas rather then dry and do it all with bondo. Also I needed this prop as hollow as possible.
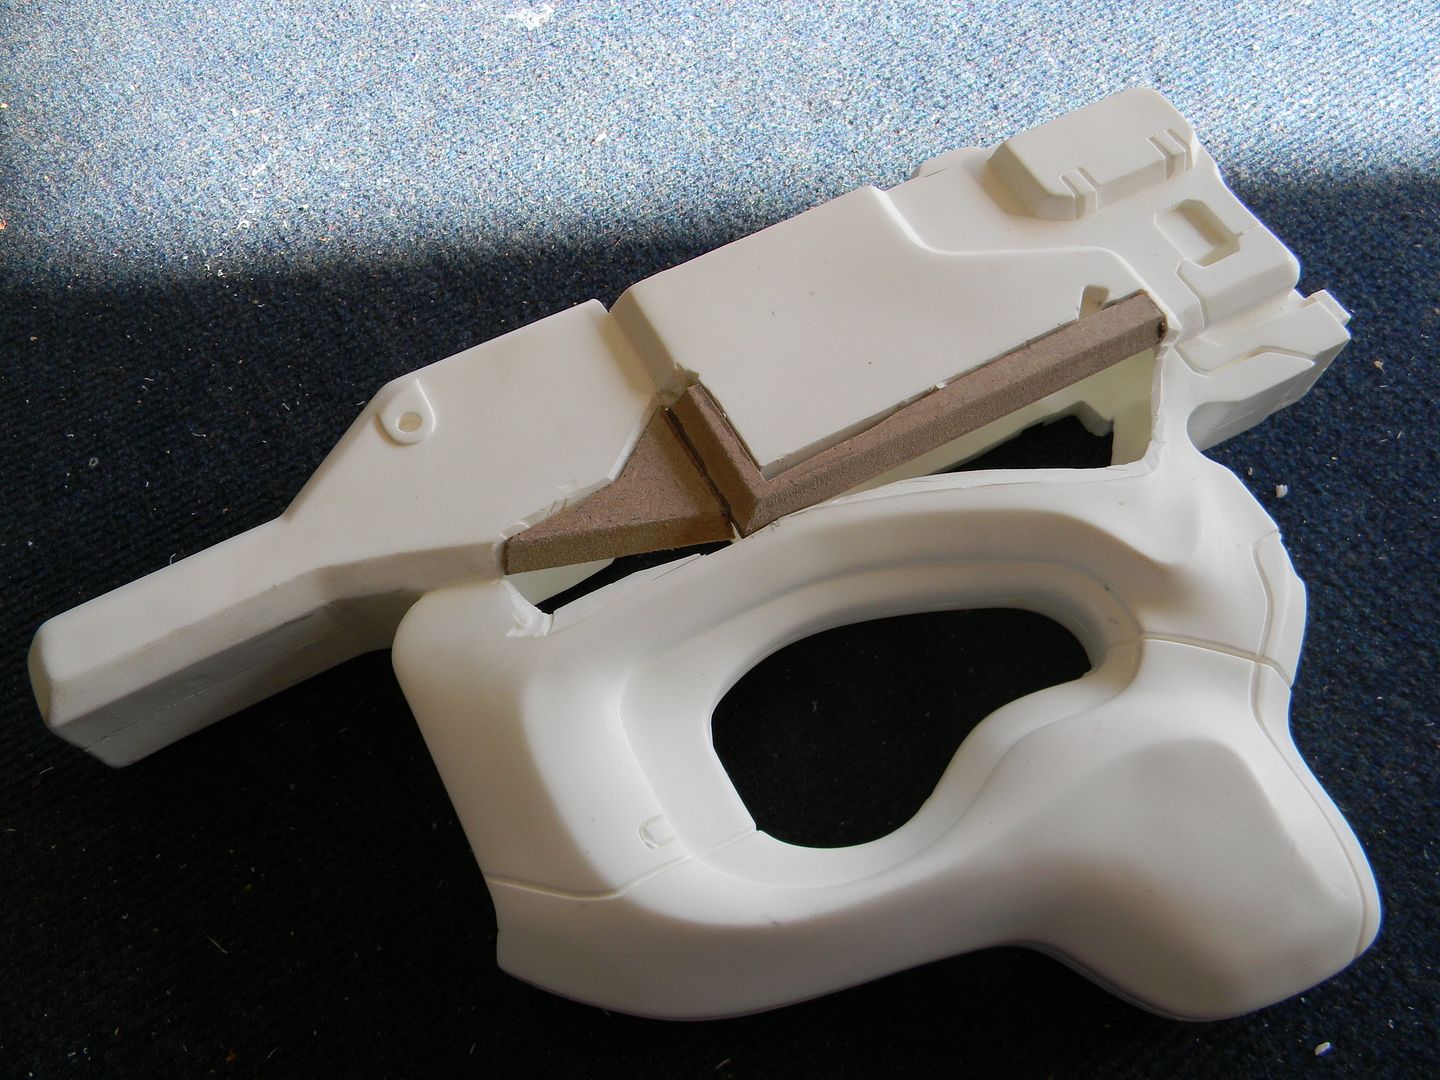


The tip of the receiver is almost completely different, as well as the "tail". More hacking for that. 
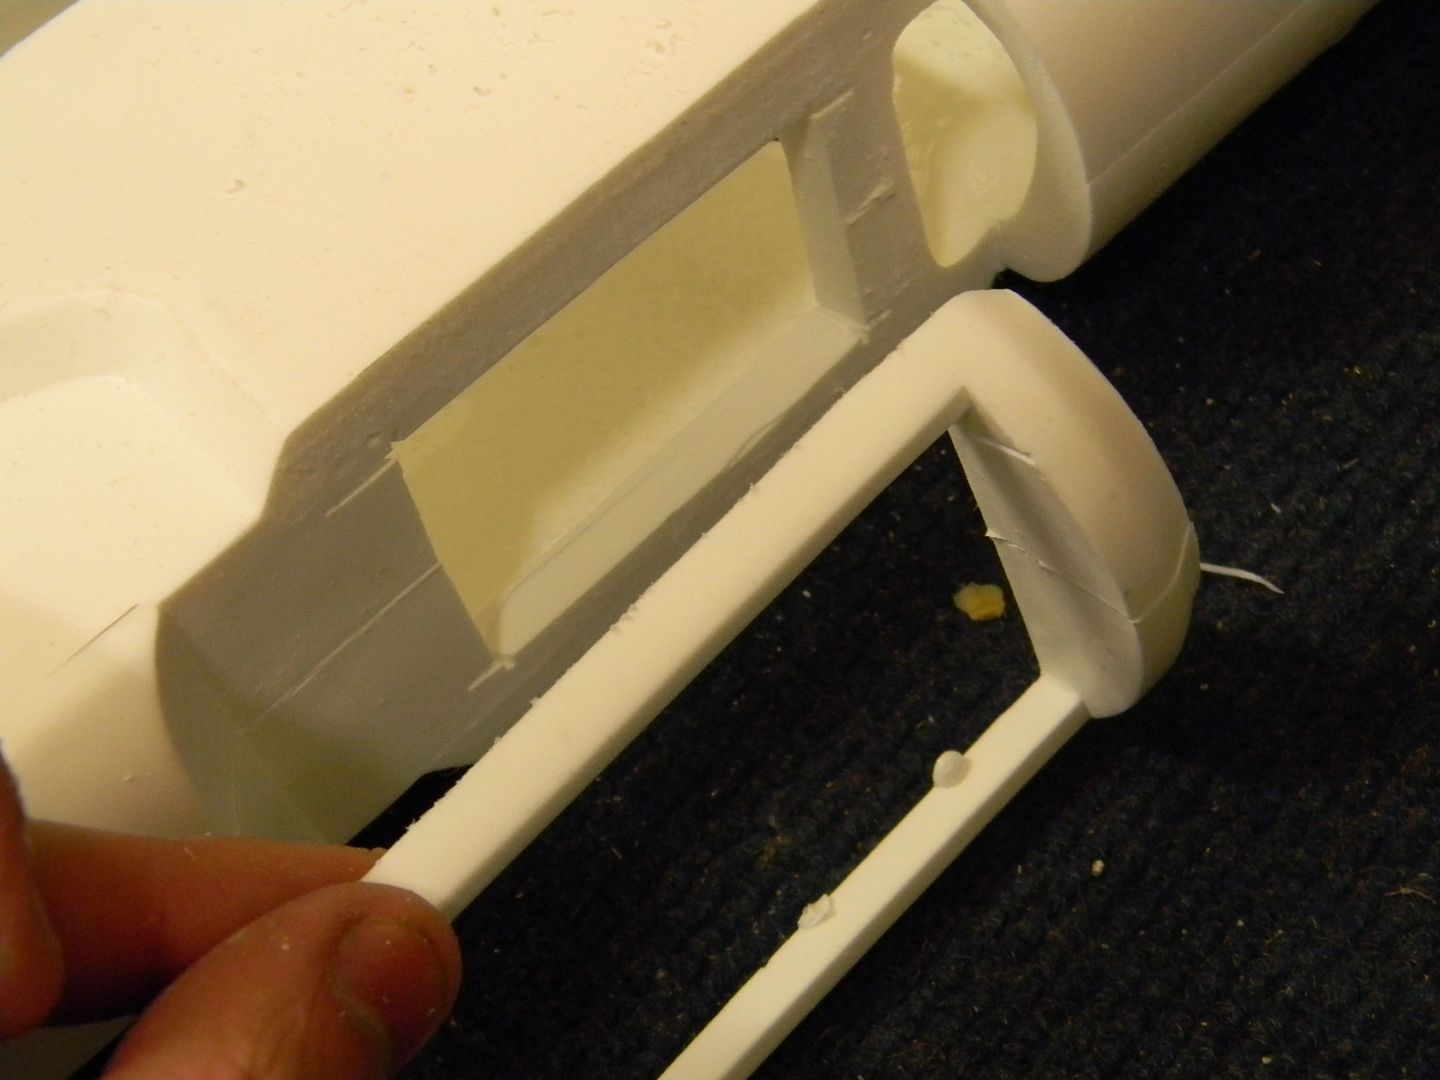


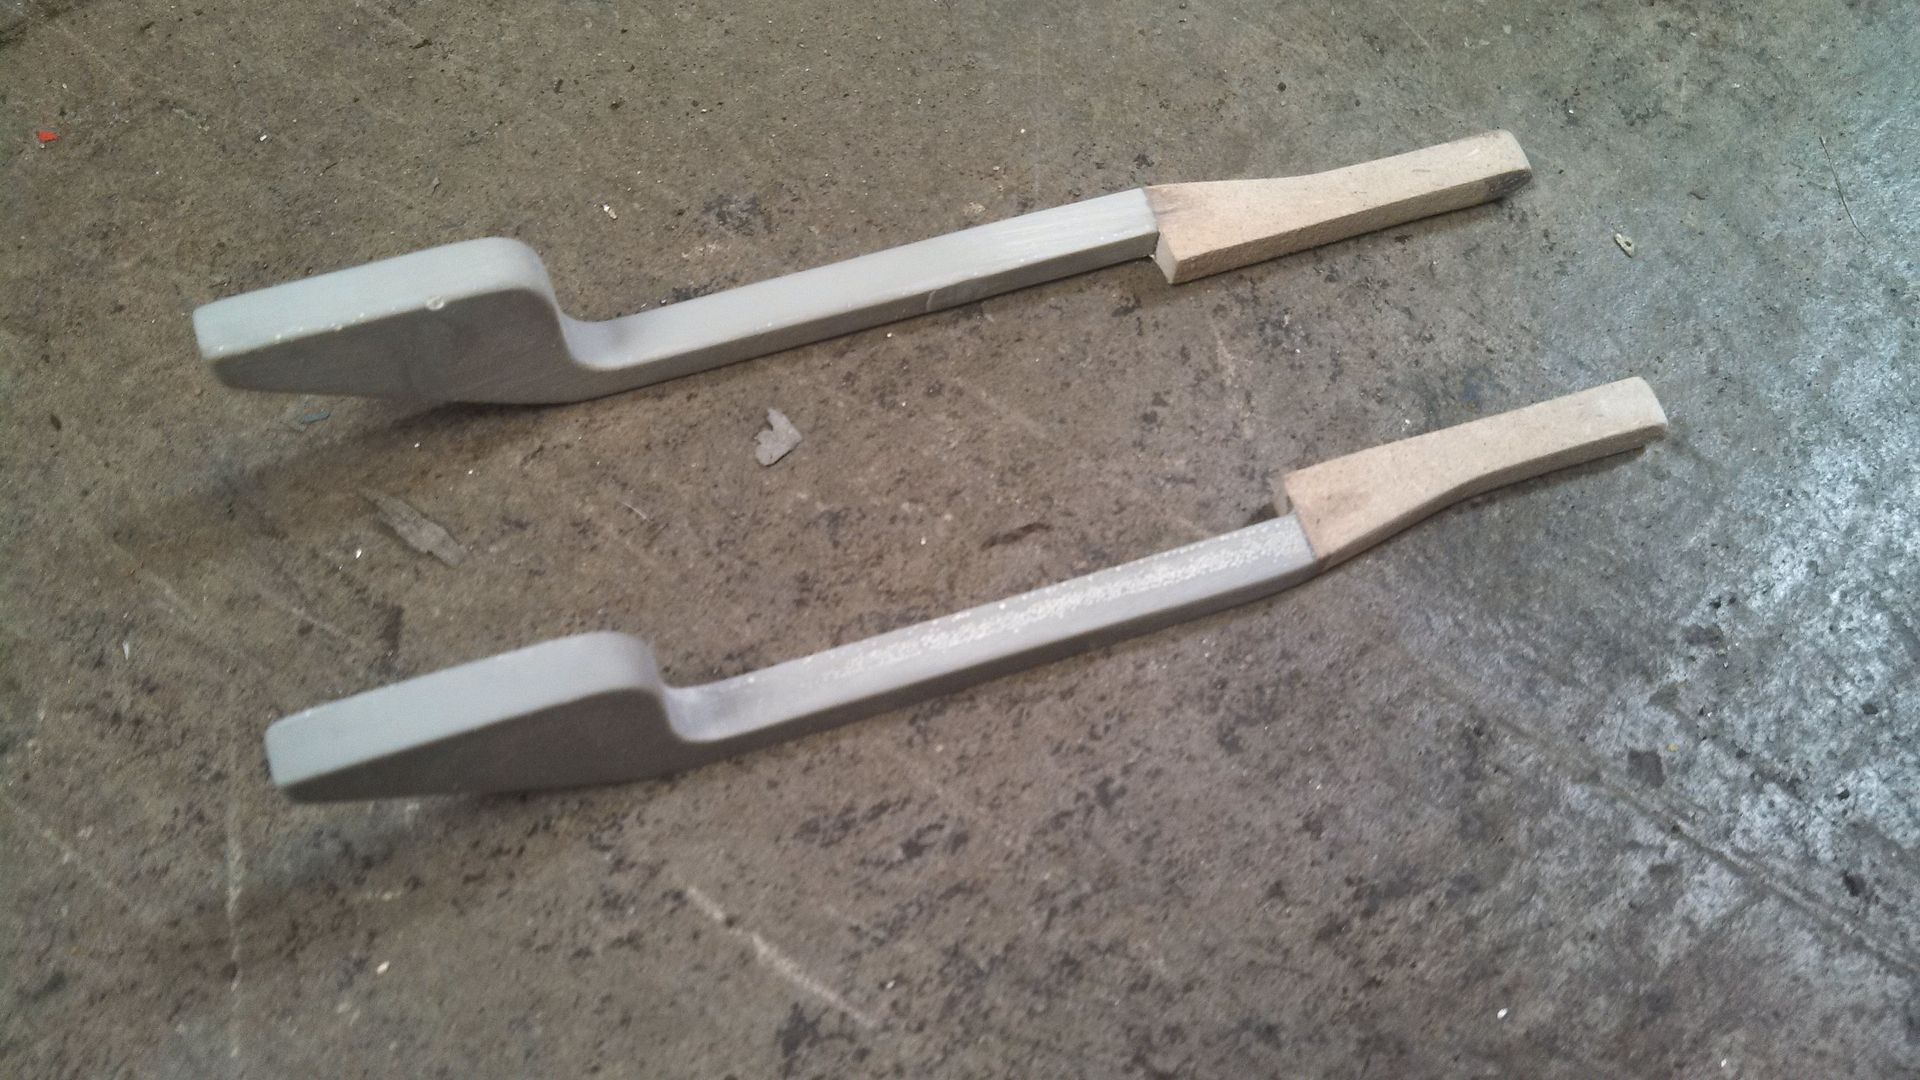
The tail extensions had to be glued perfectly straight or it would show up as an obvious error when the shiny paint came on. 
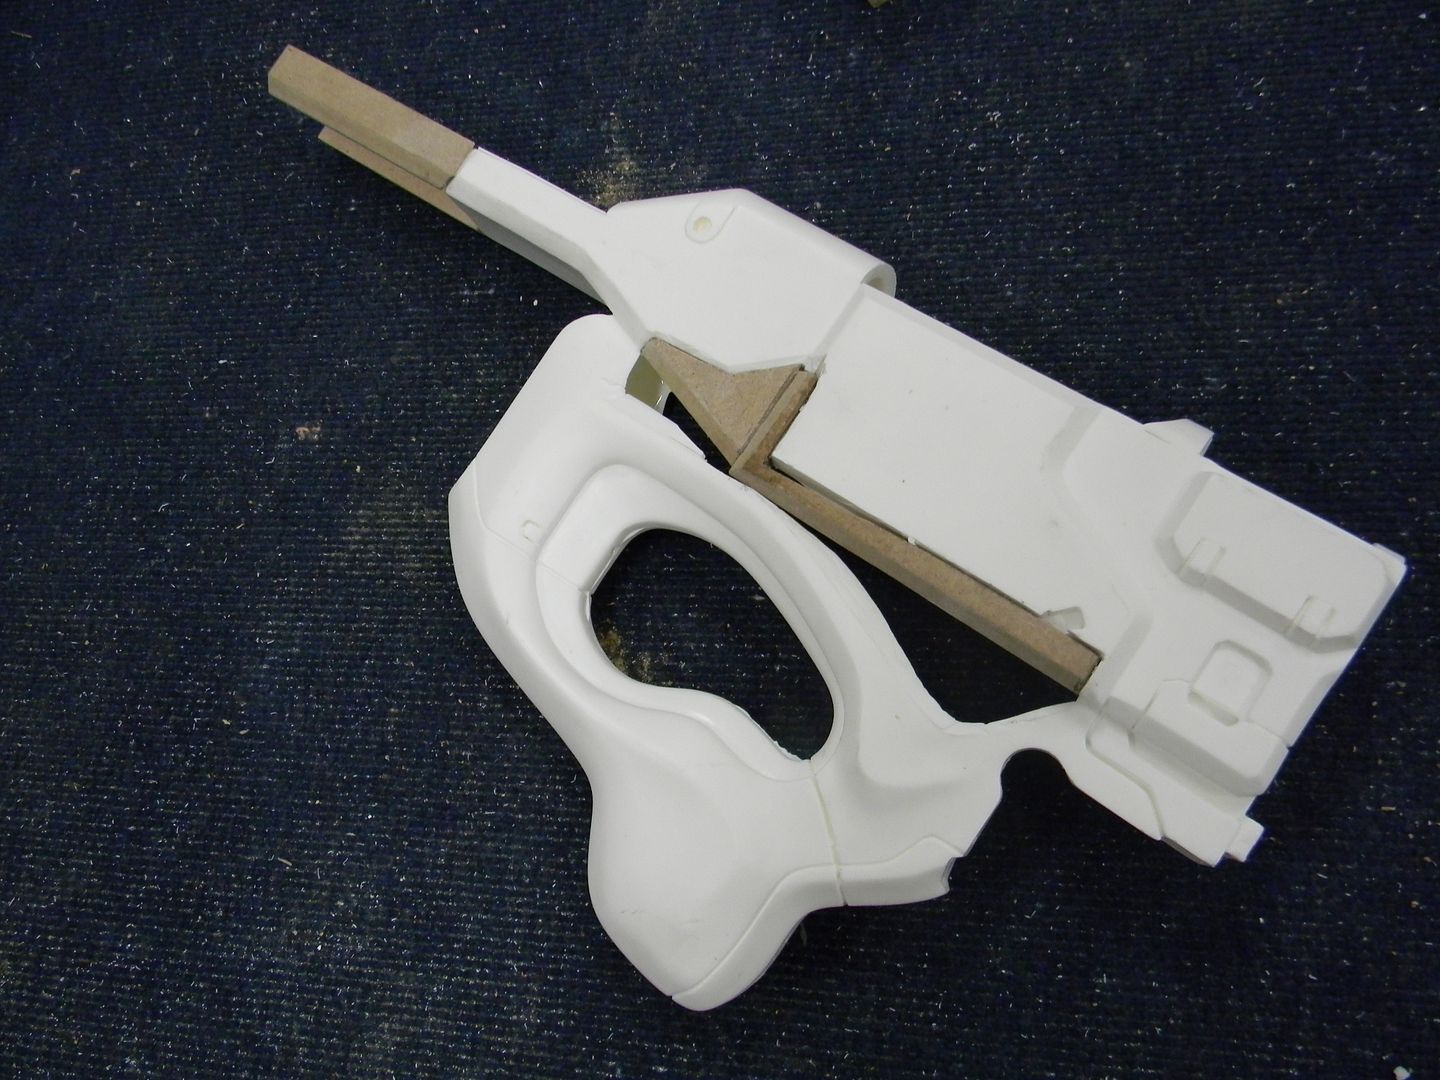


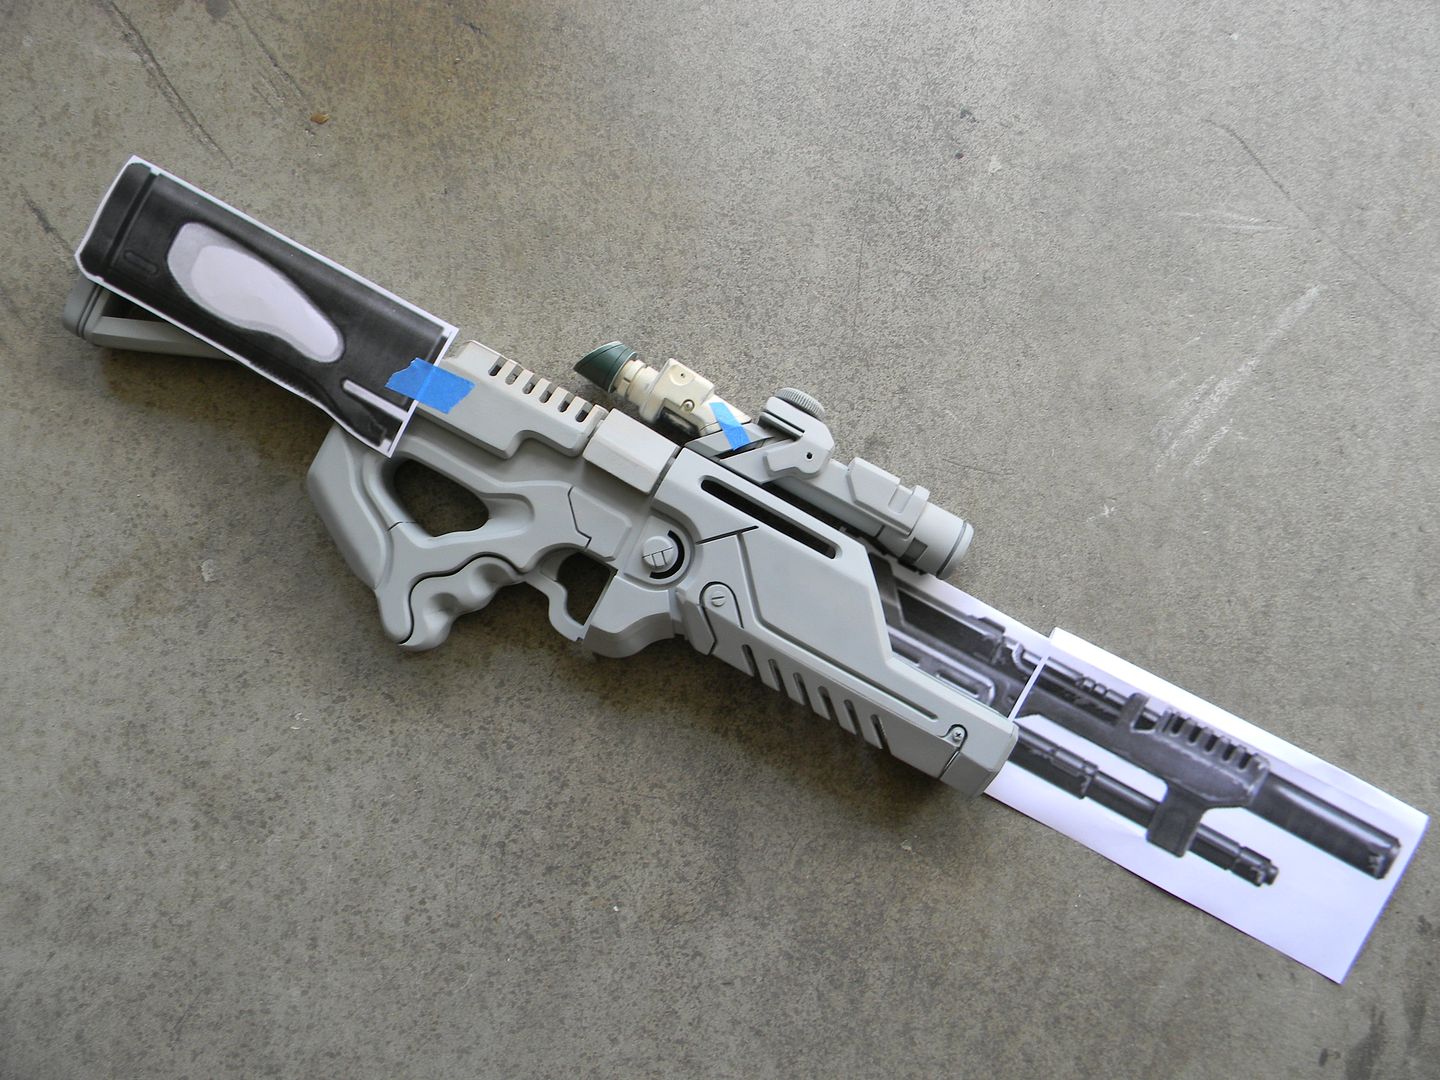
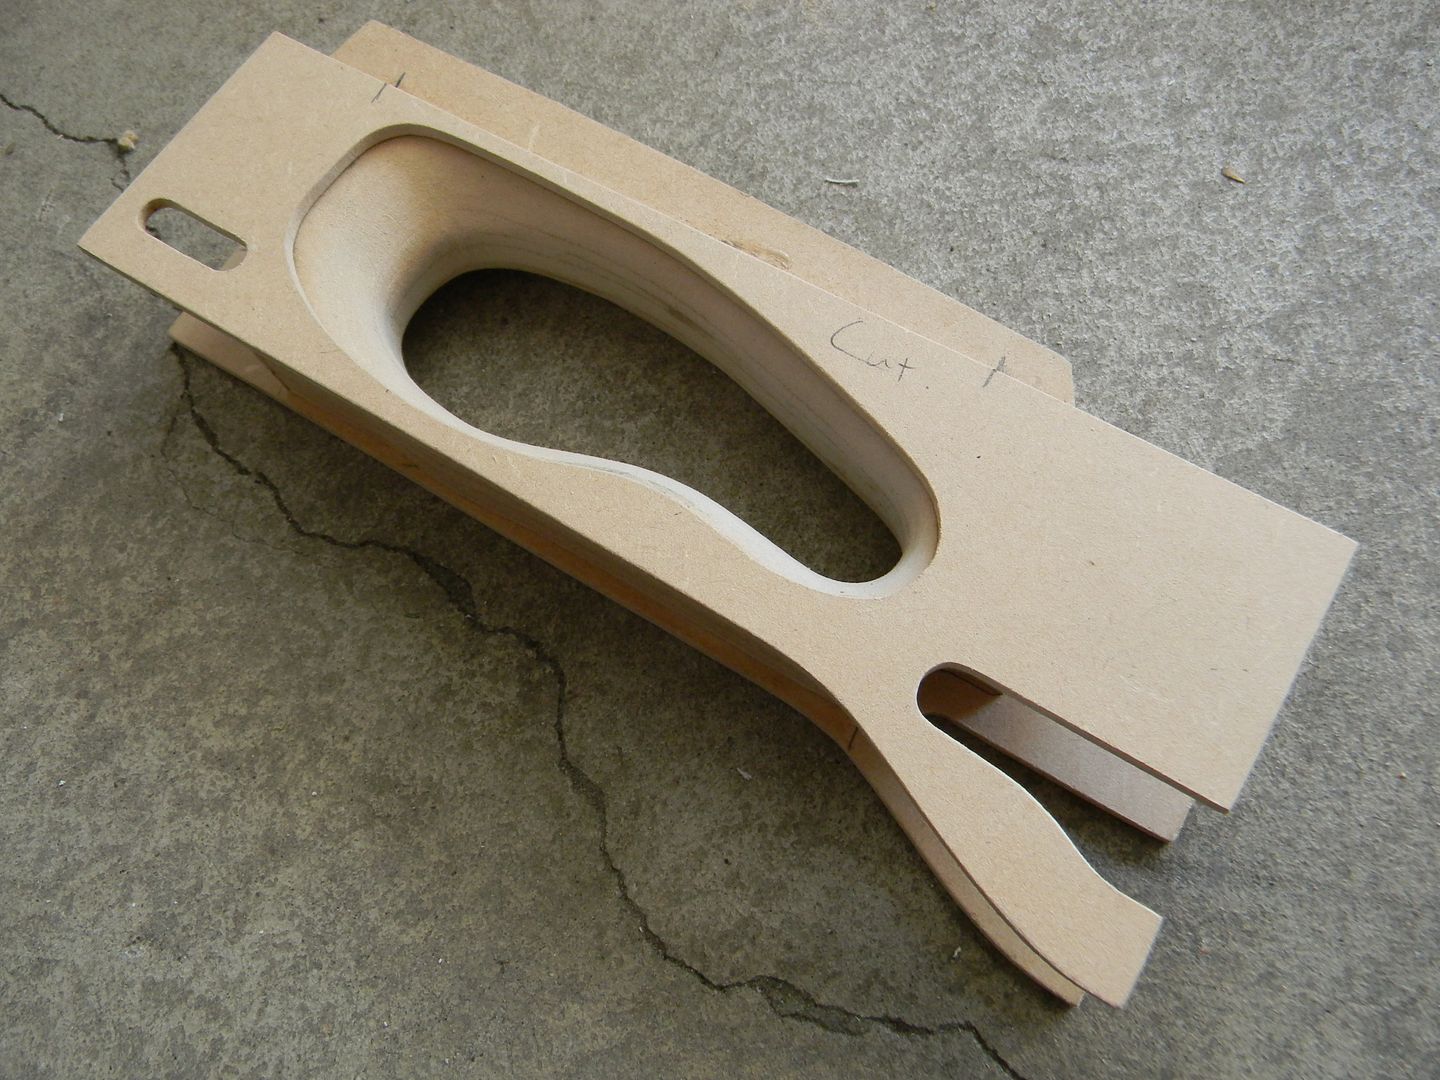
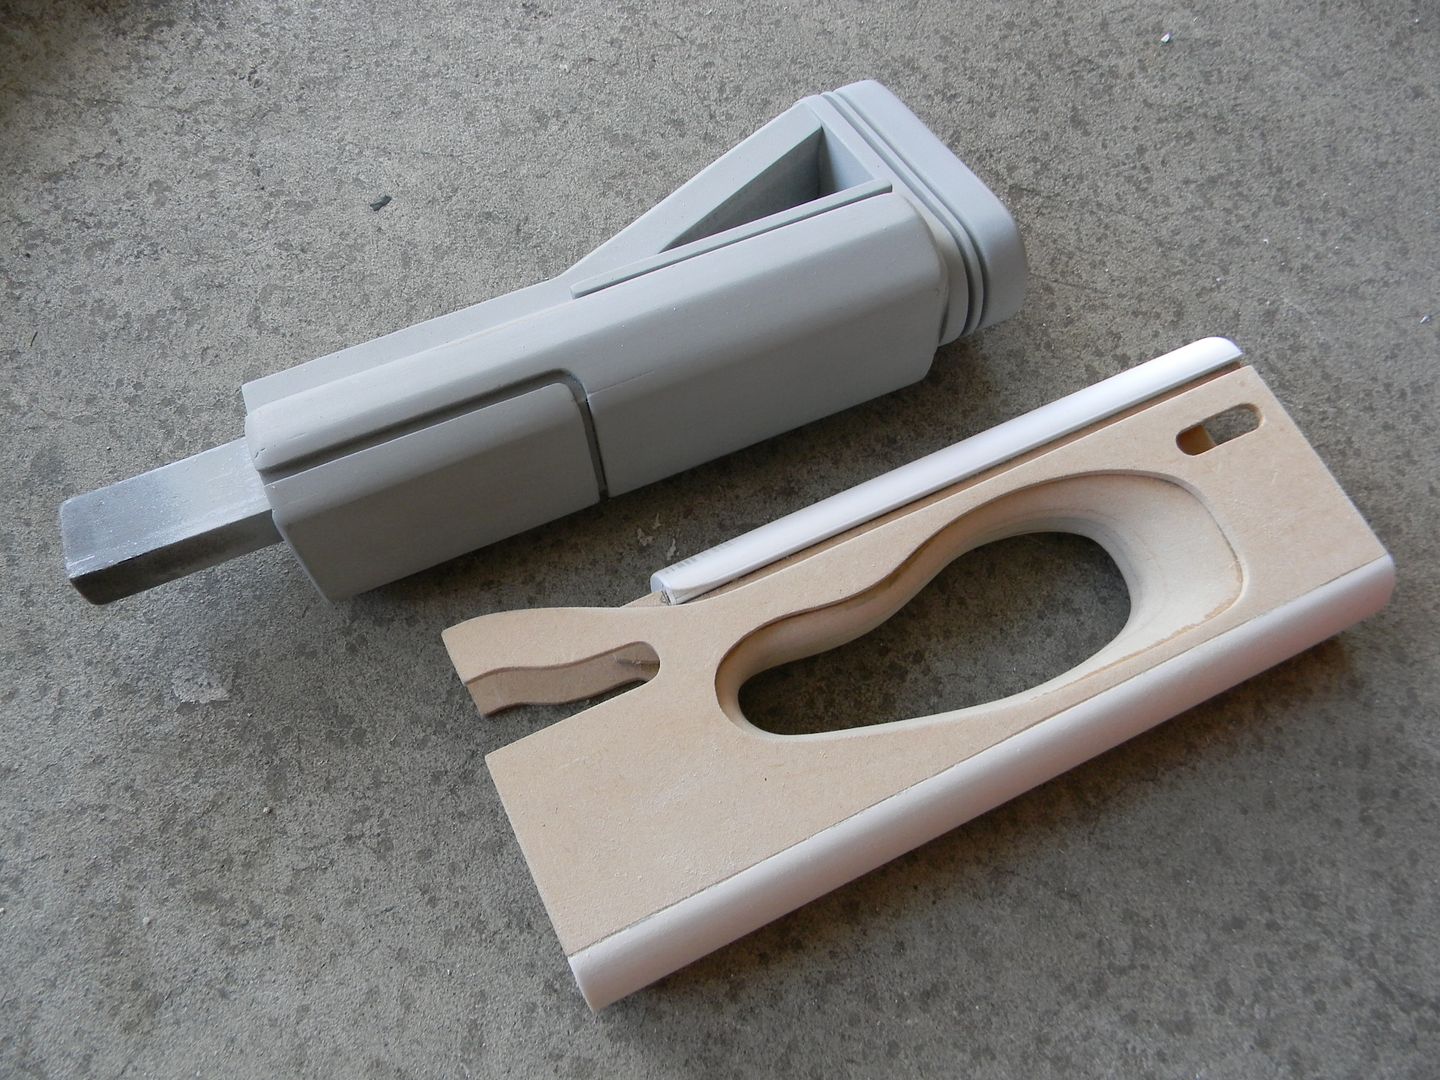
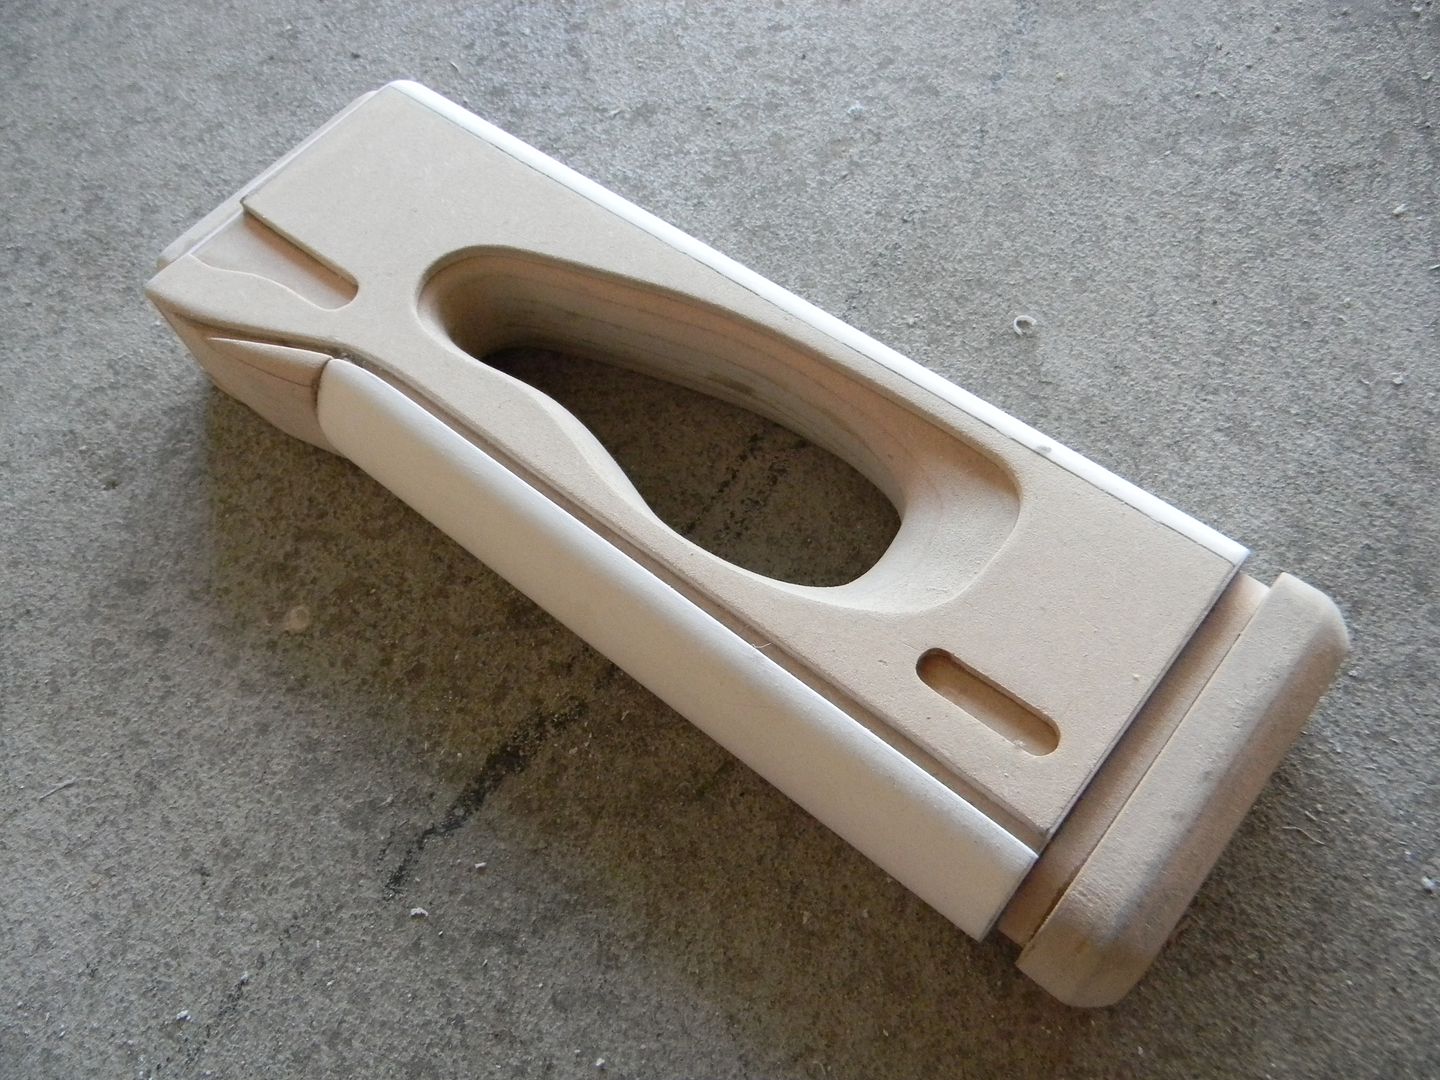
Next I cut out a center channel in the stock, and hacked off the butt plate as well. 
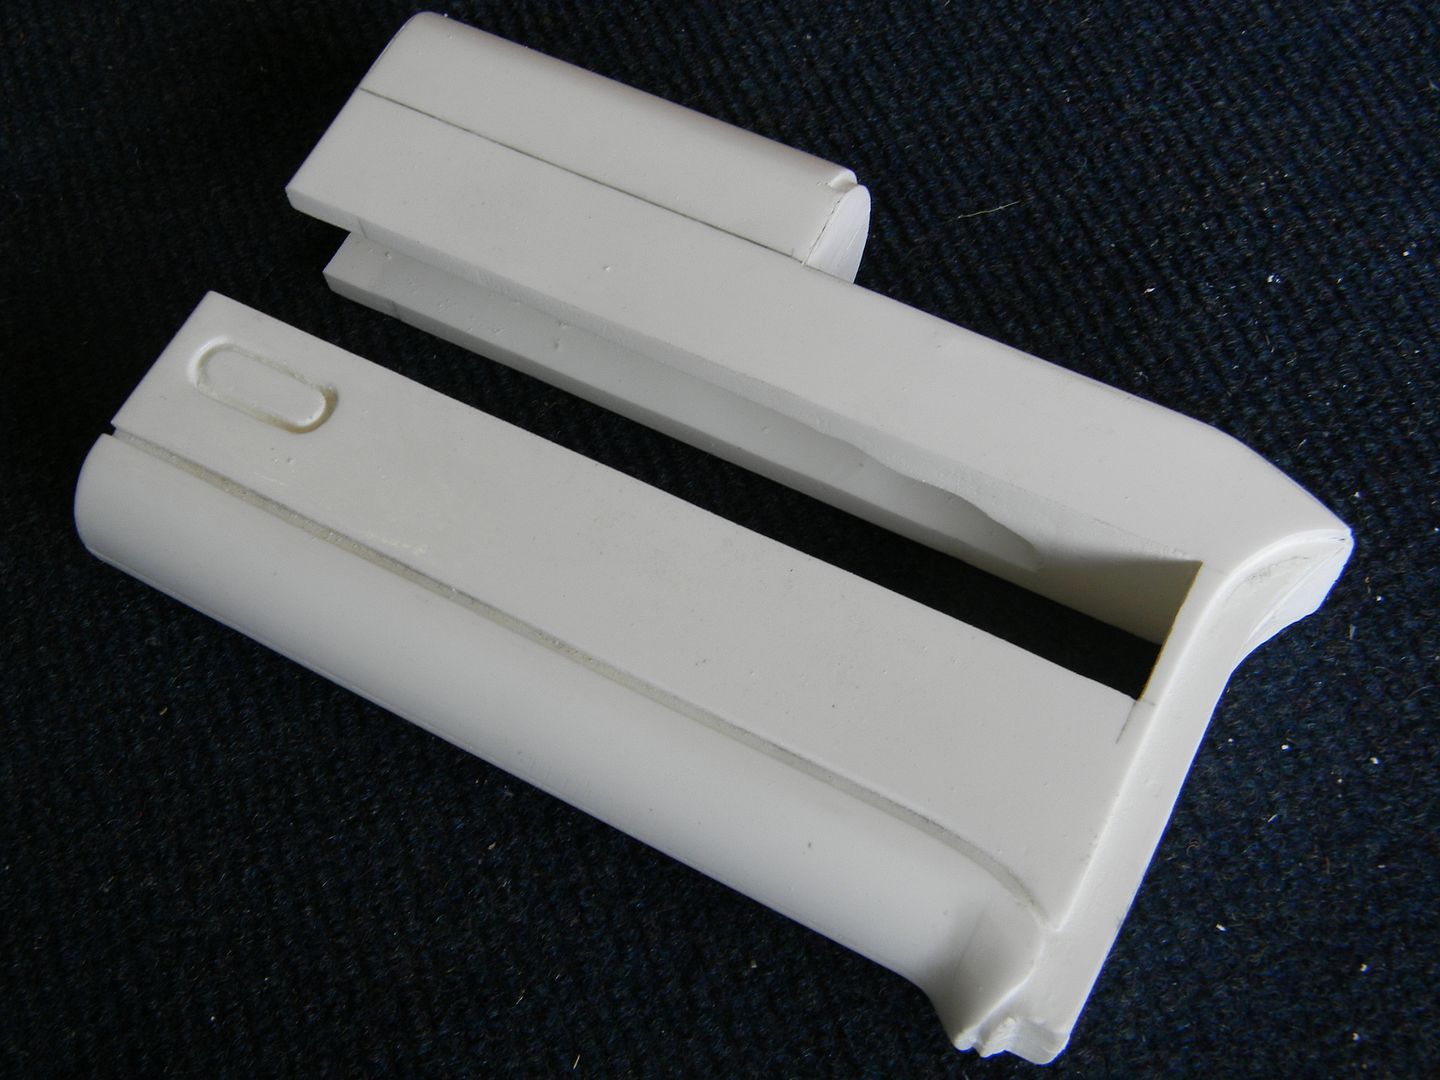


Its important to make notes on your parts so you know what direction to glue them. 
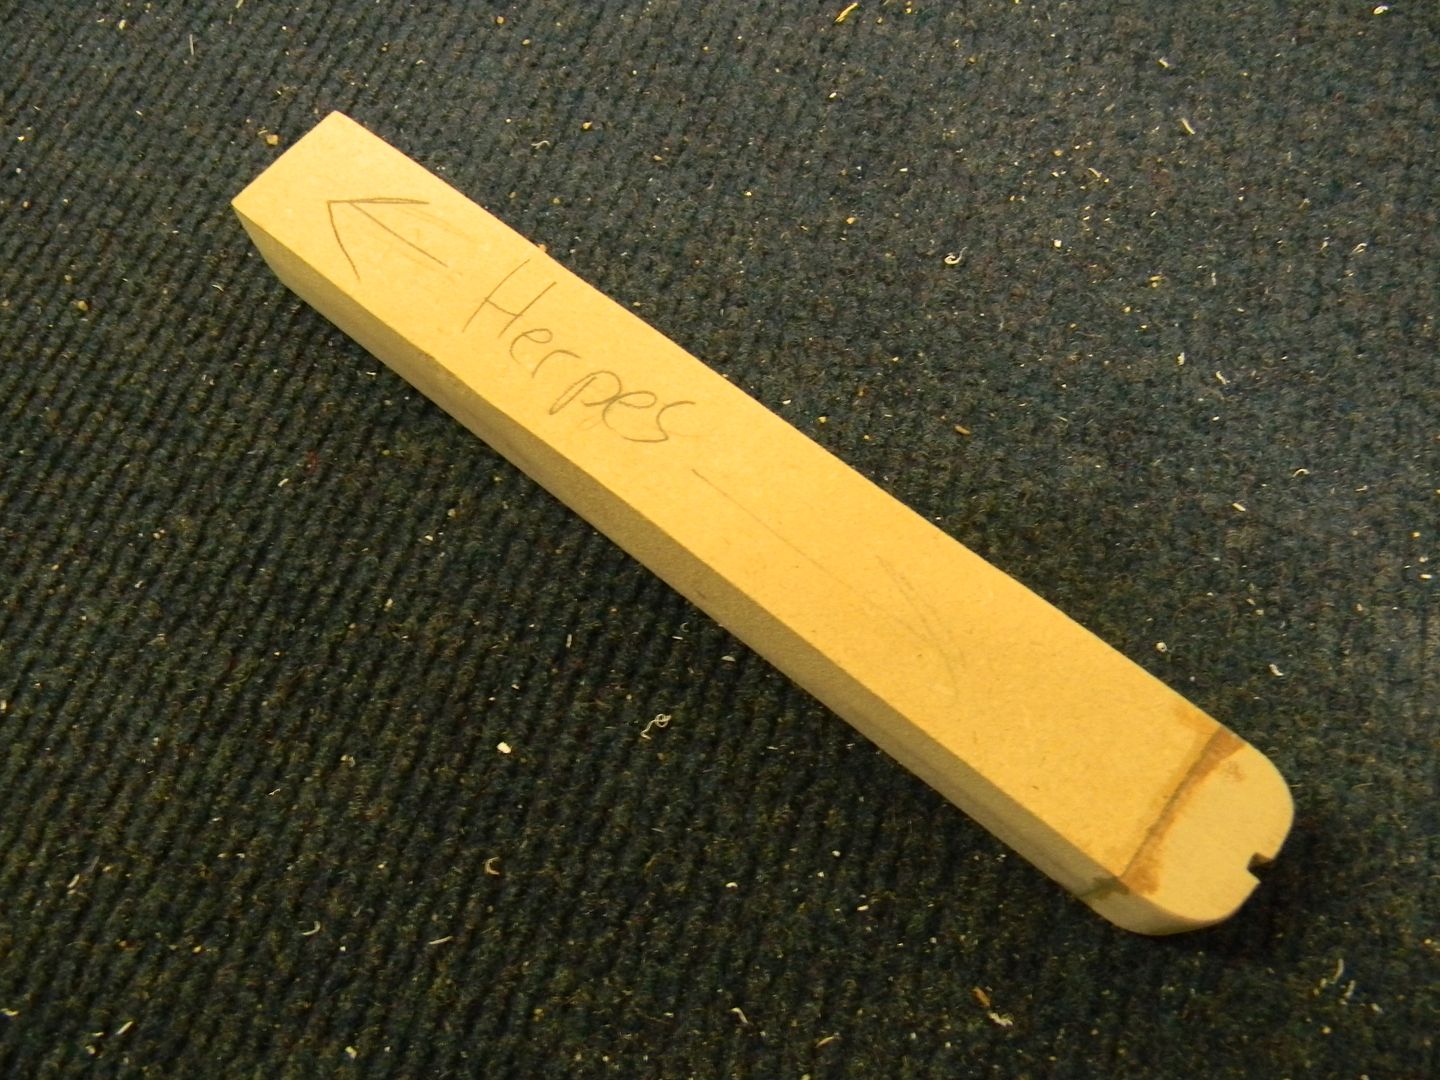


I lost a tiny but of thickness/rigidity to the butt plate when I cut it off, so I spend en extra few minutes making new parts. 
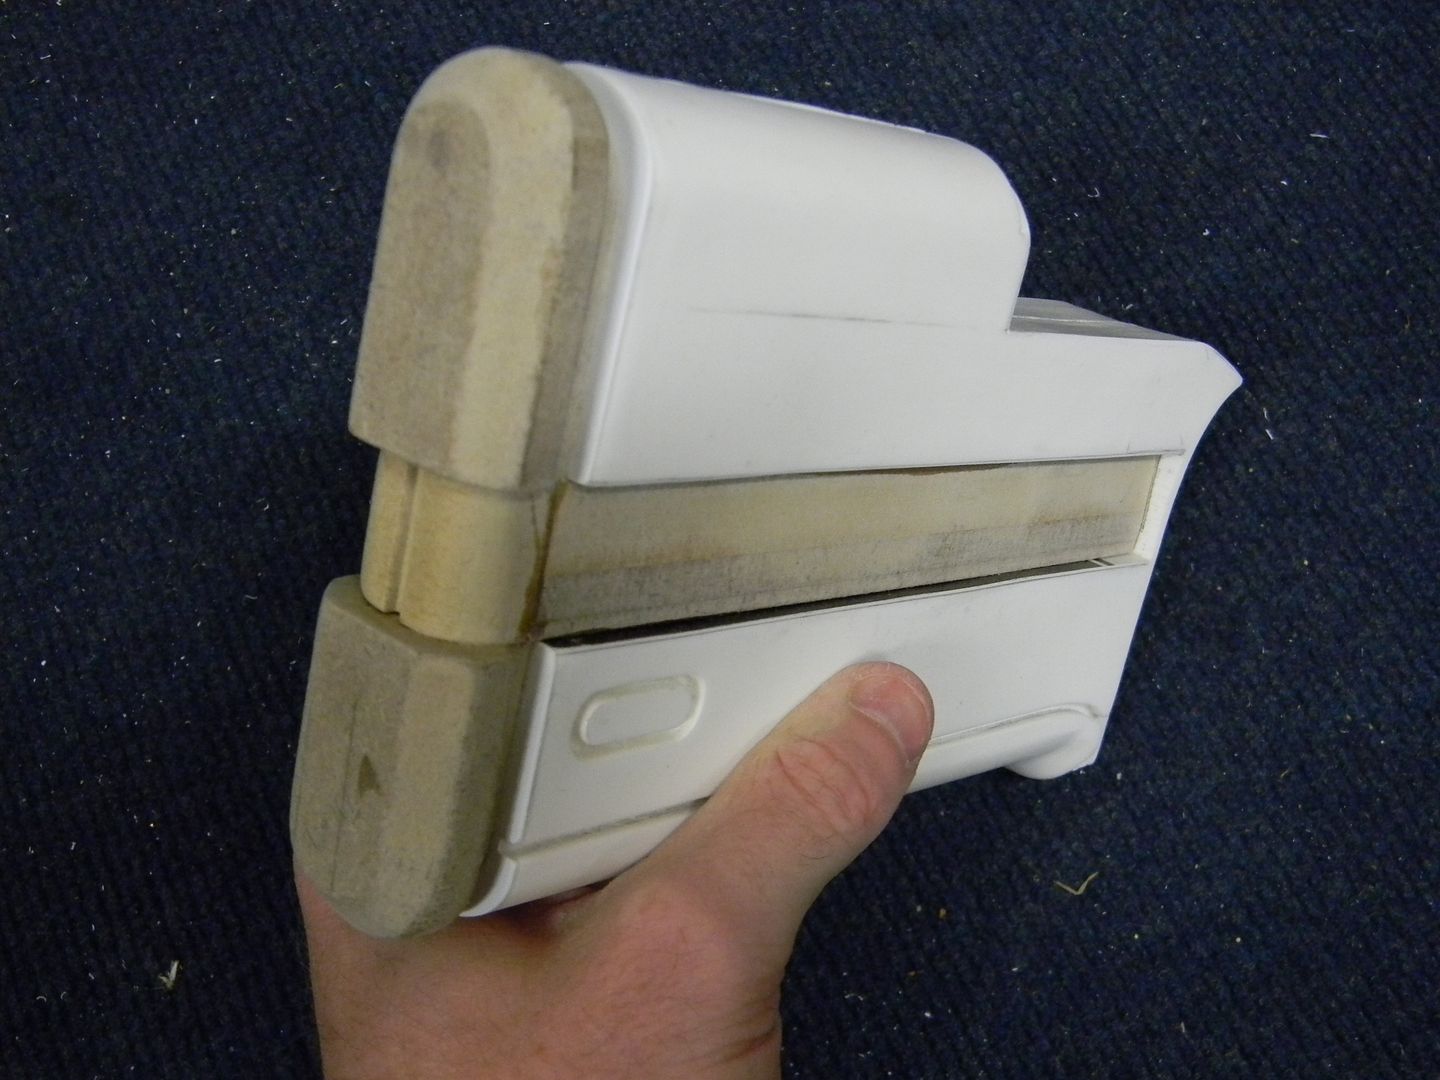


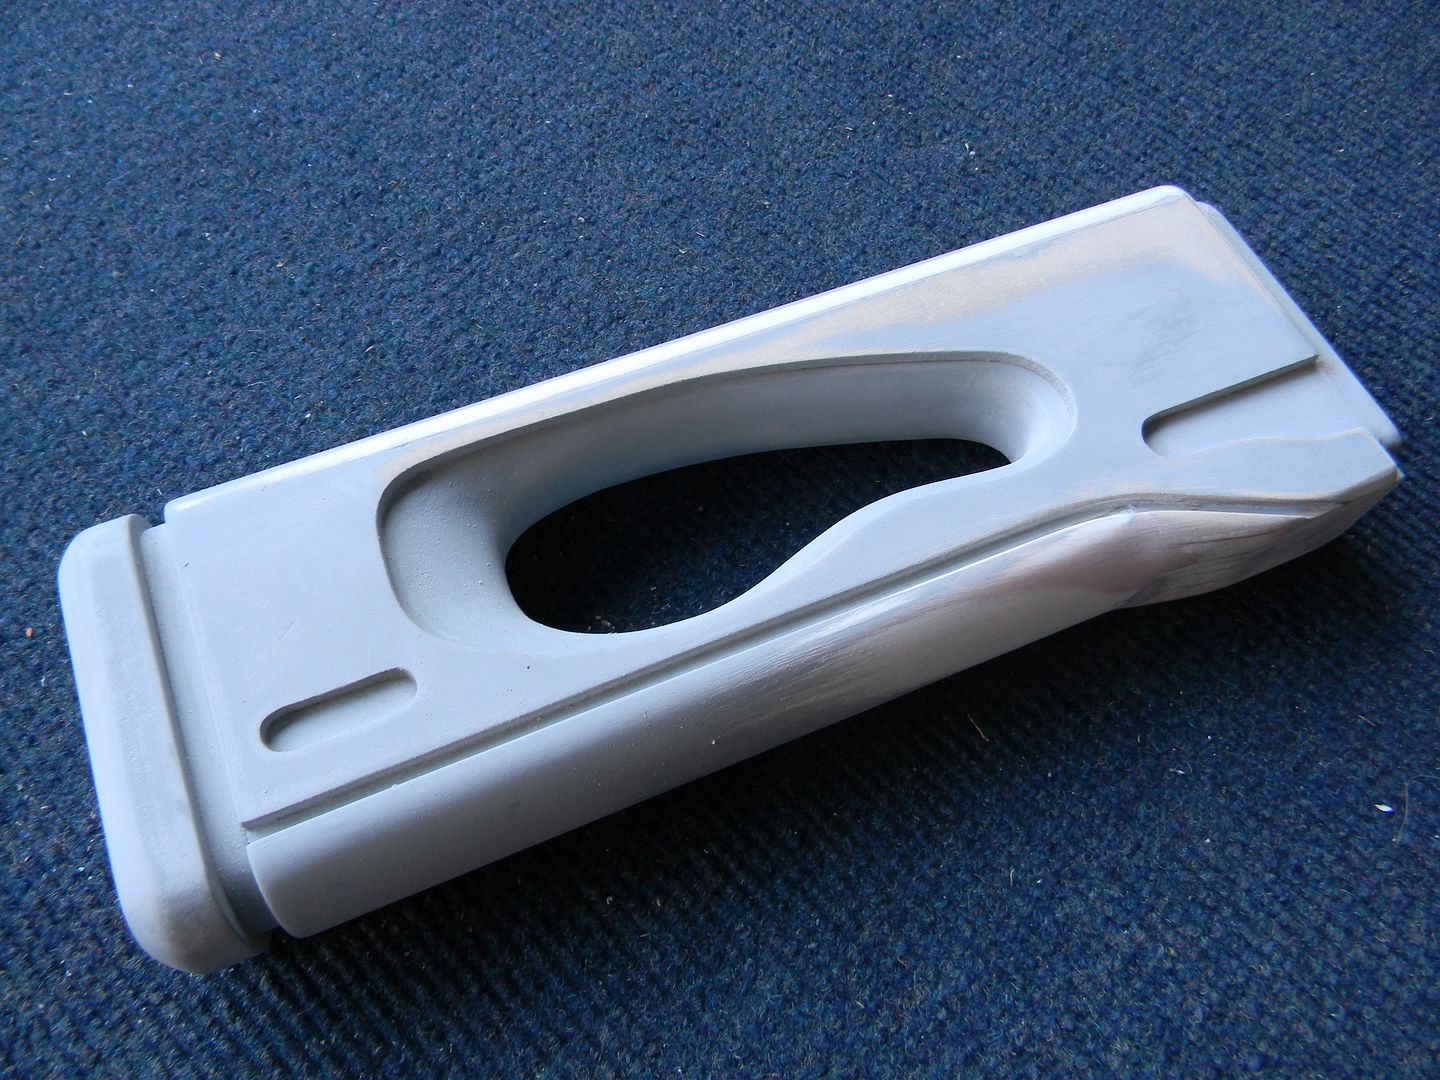
With the stock mostly completed, I checked the geometry against the tail and cut an ABS pipe to shape. 
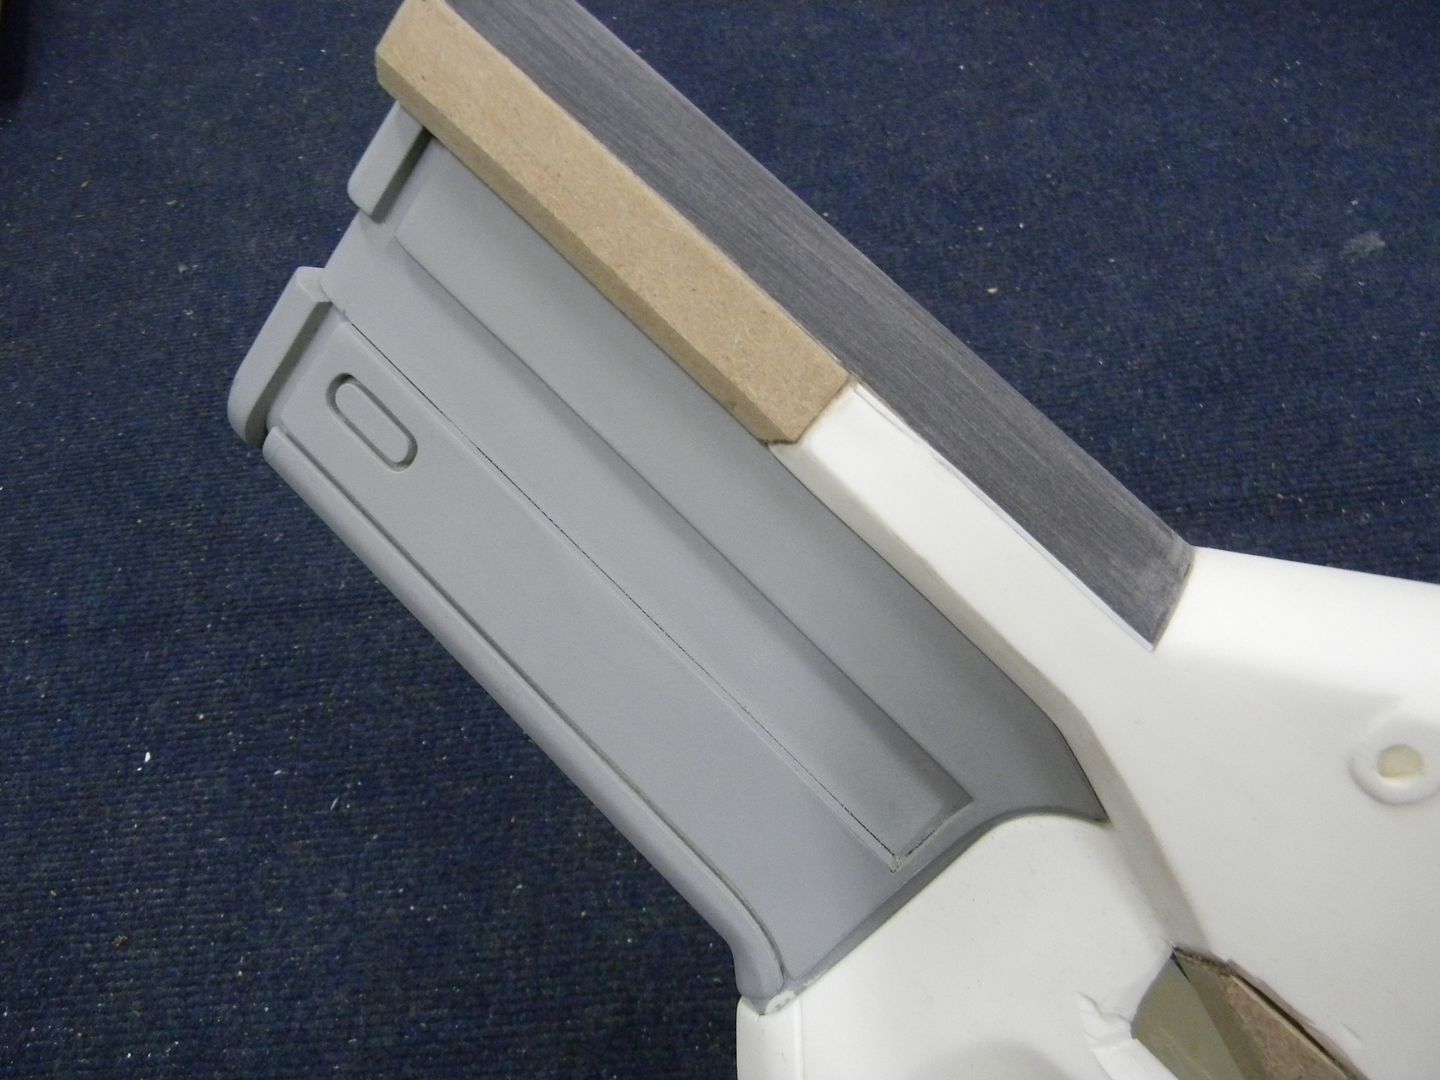


I used the same technique up top and salved some of the resin bits I hacked off earlier. 
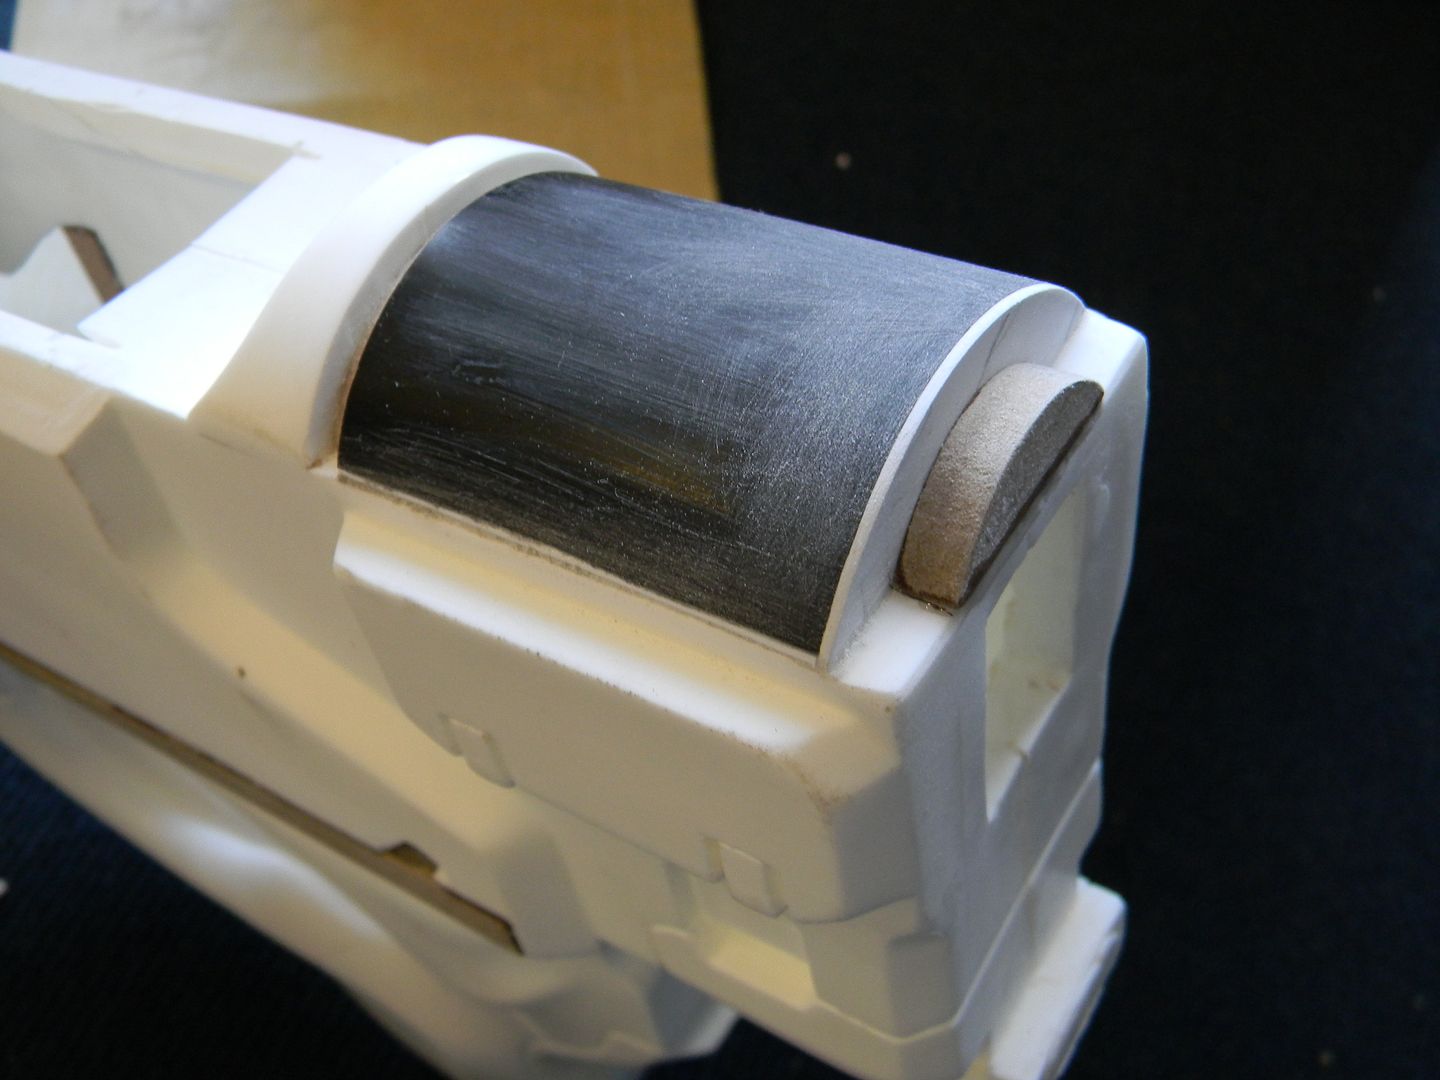


Jumping around a bit. The lower outer barrel had its front and top bits hacked off. 
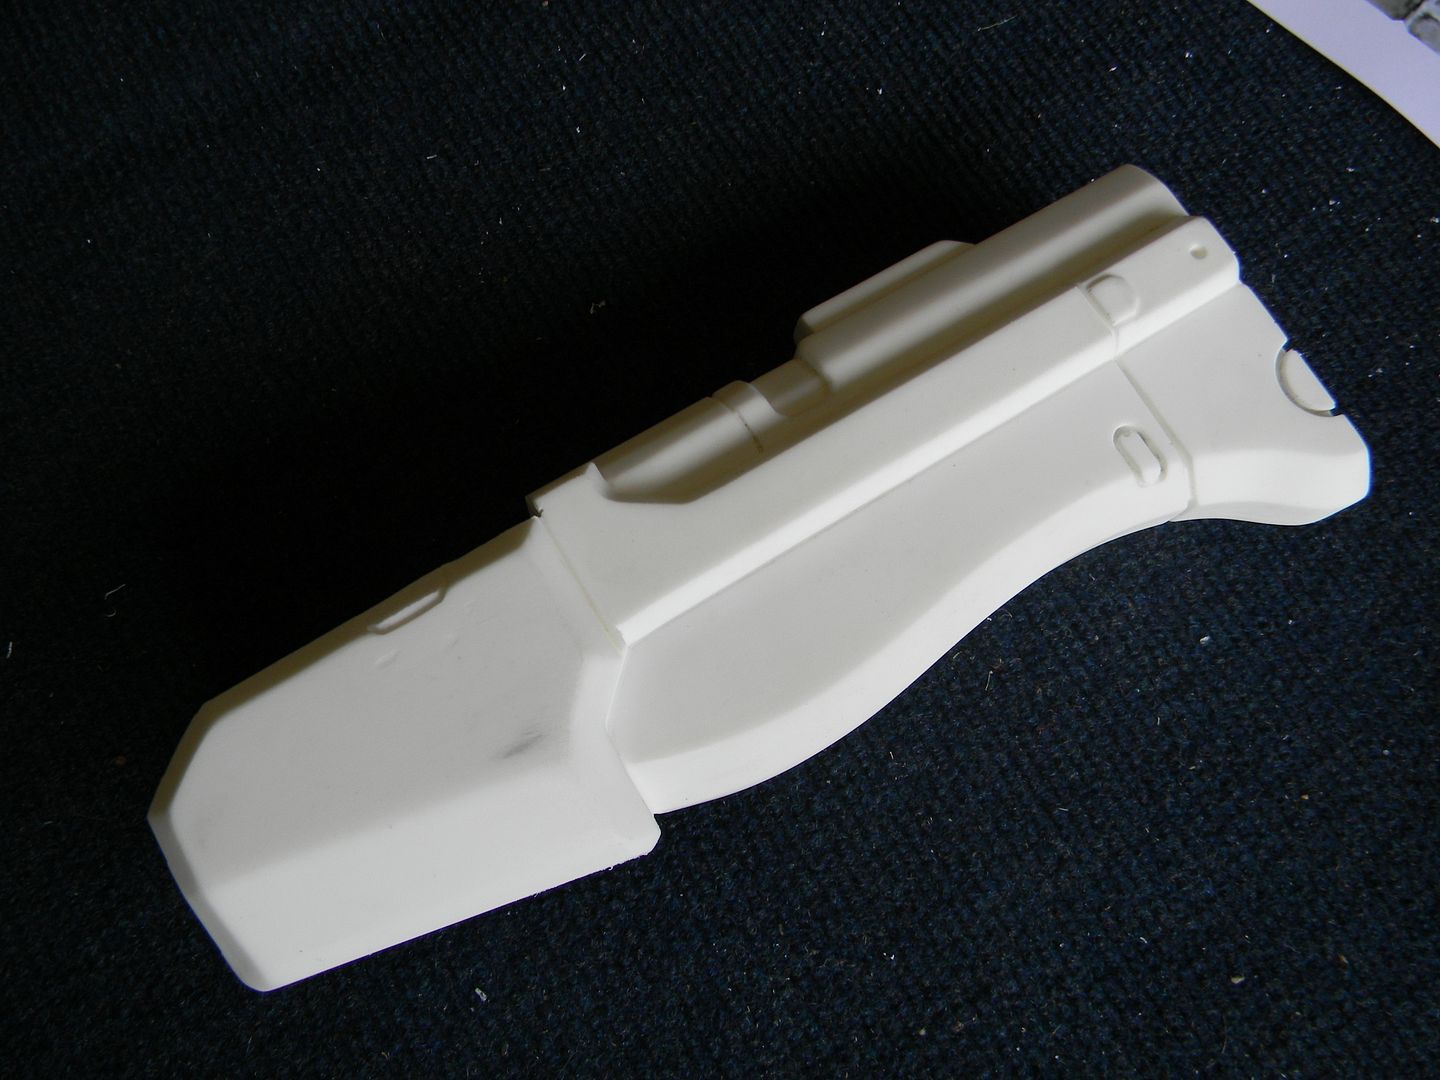


I made some MDF bits for it. 
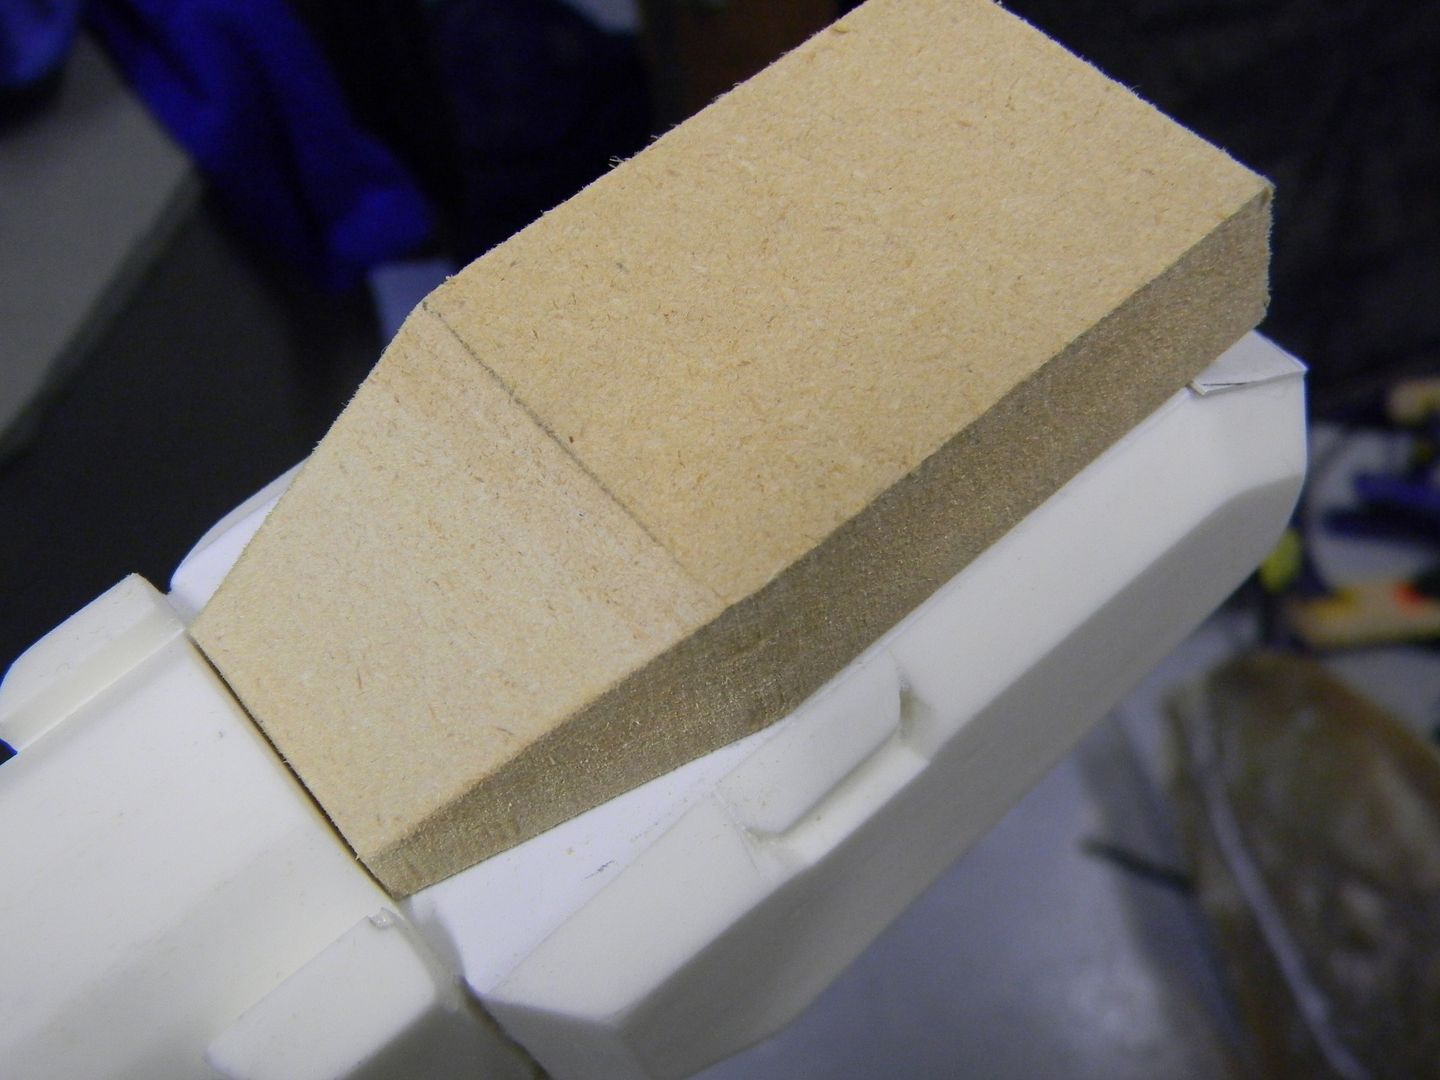


More MDF, more styrene. 
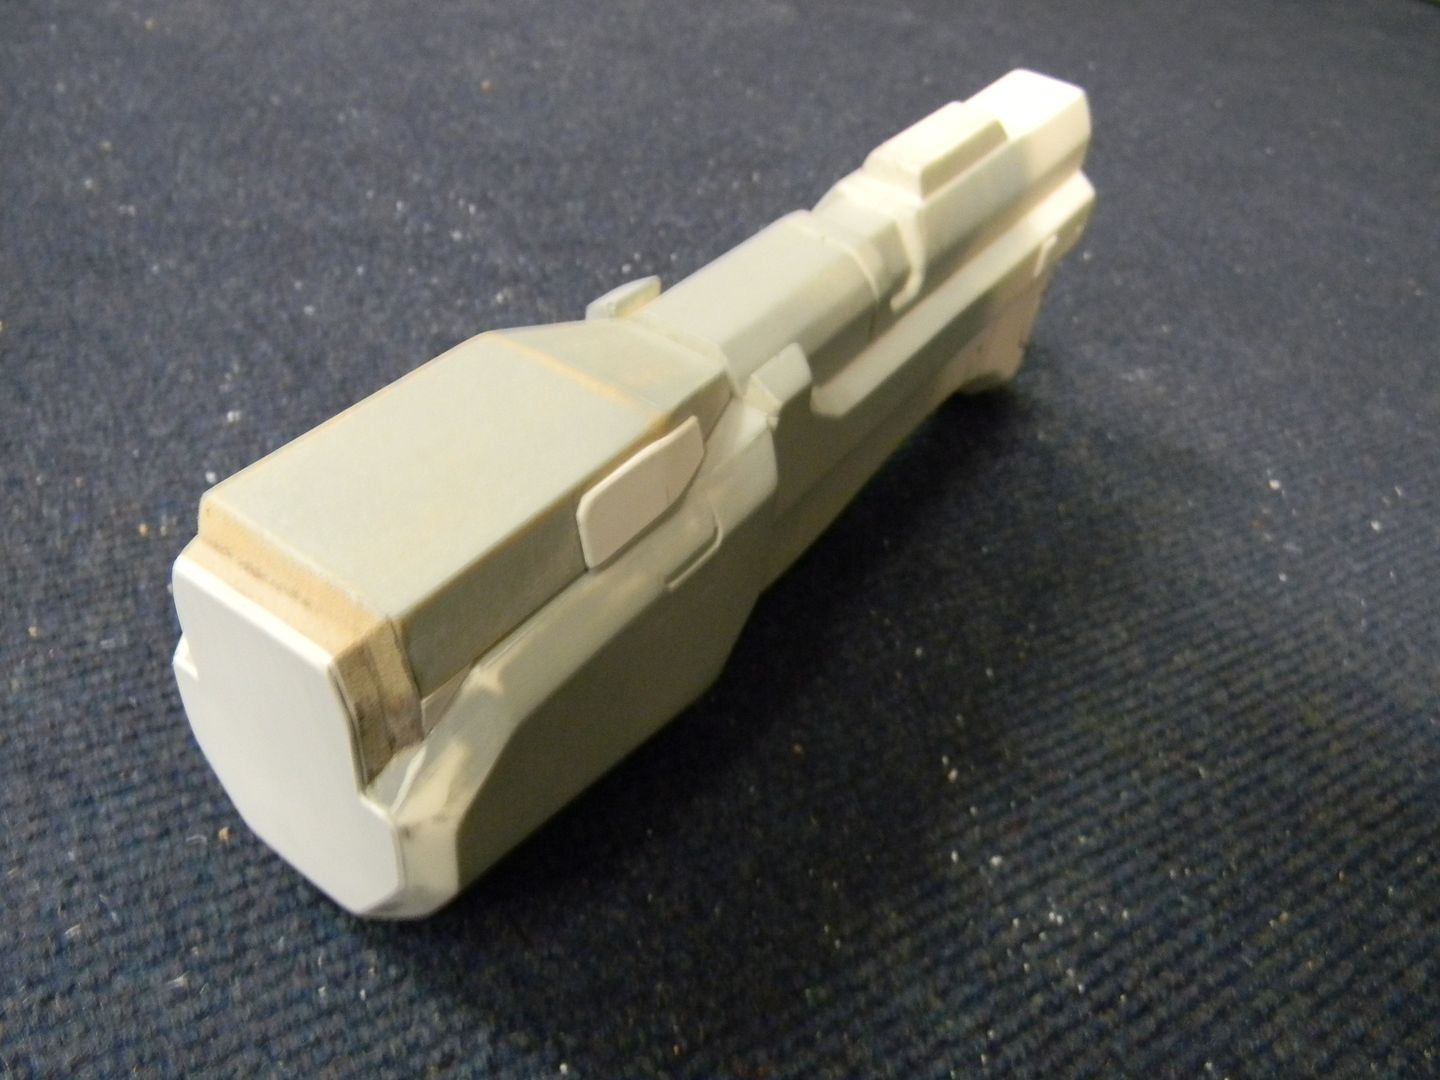


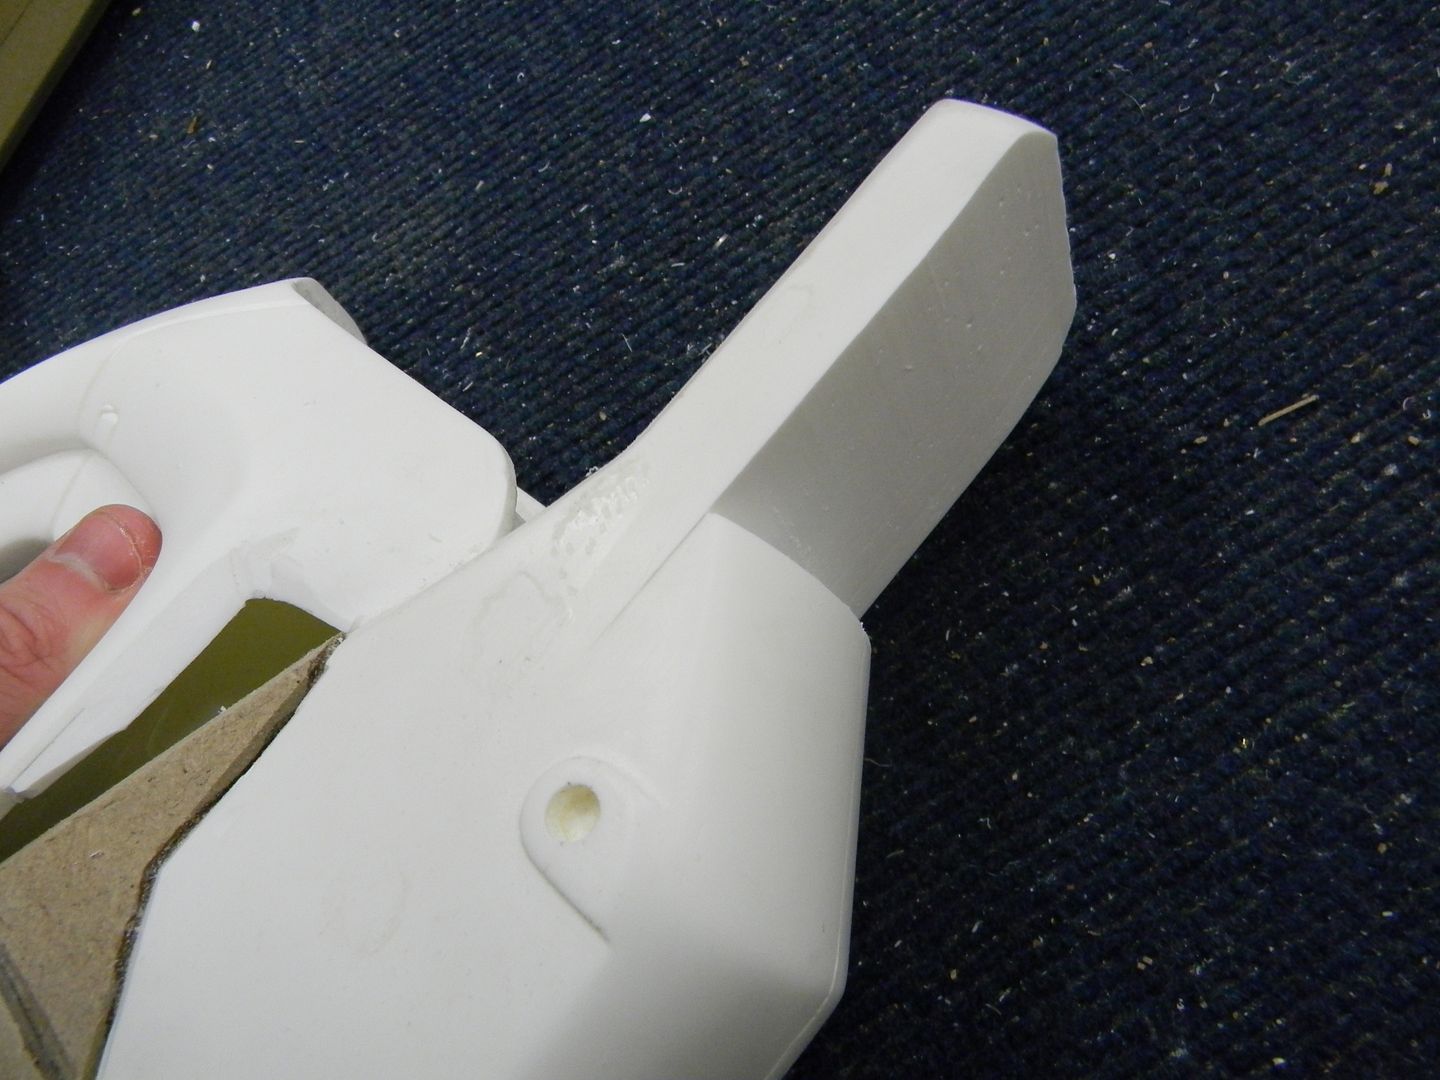
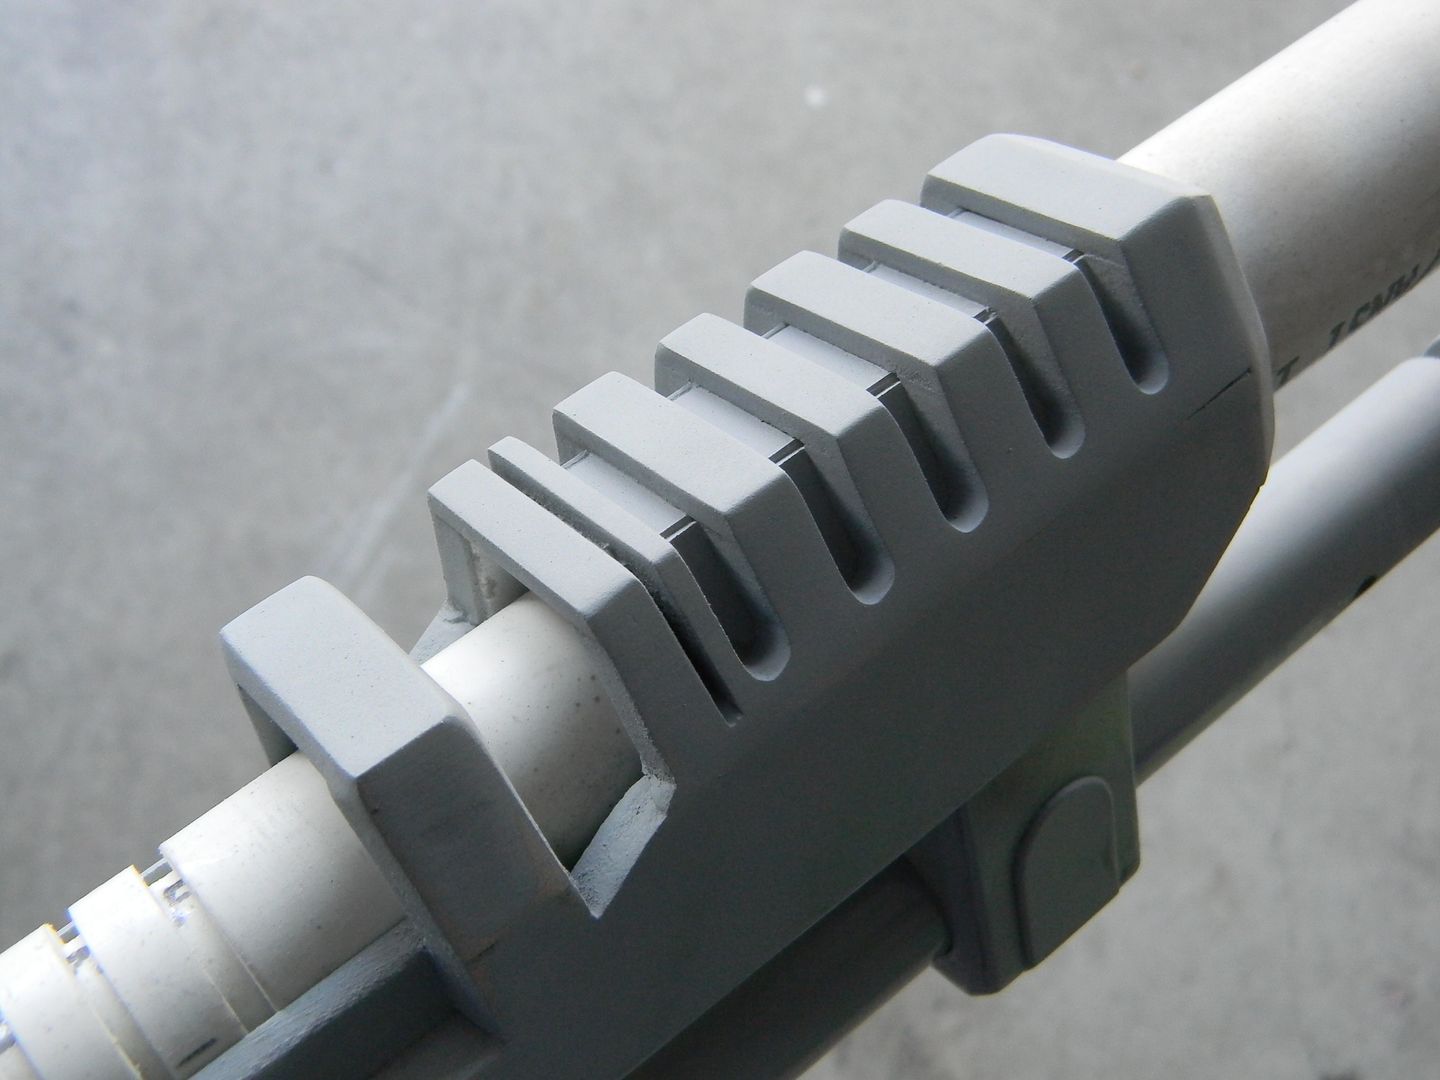
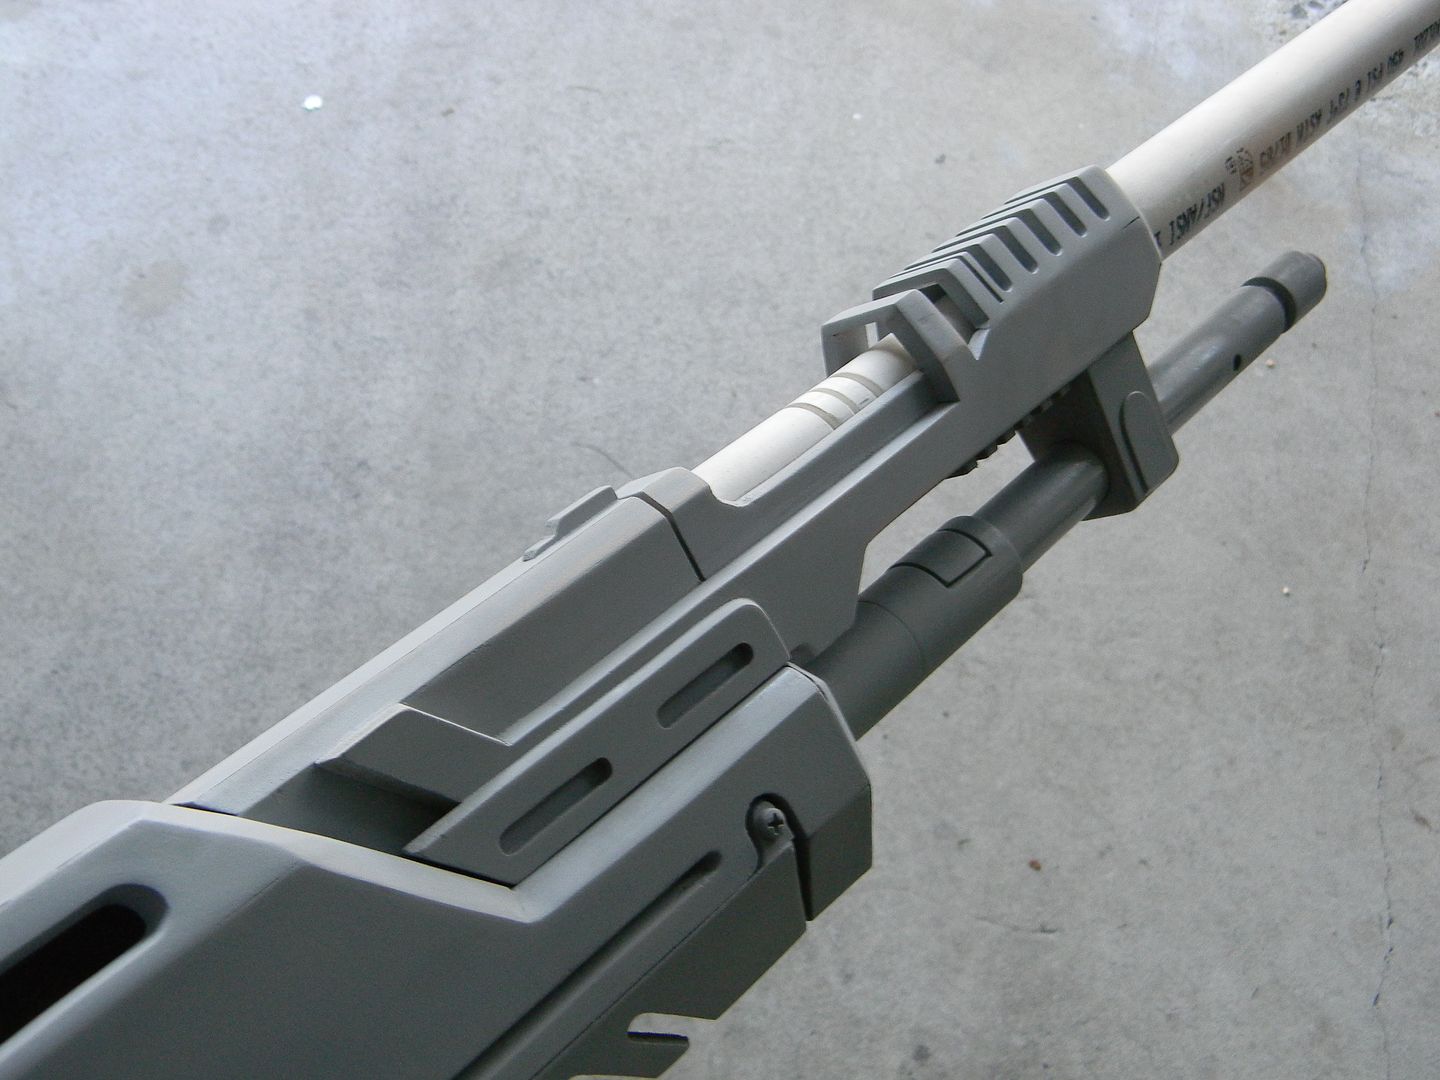
I made the sides of the carrying handle as multi-layered, flat parts. Then I hacked them up to glue at an angle. 
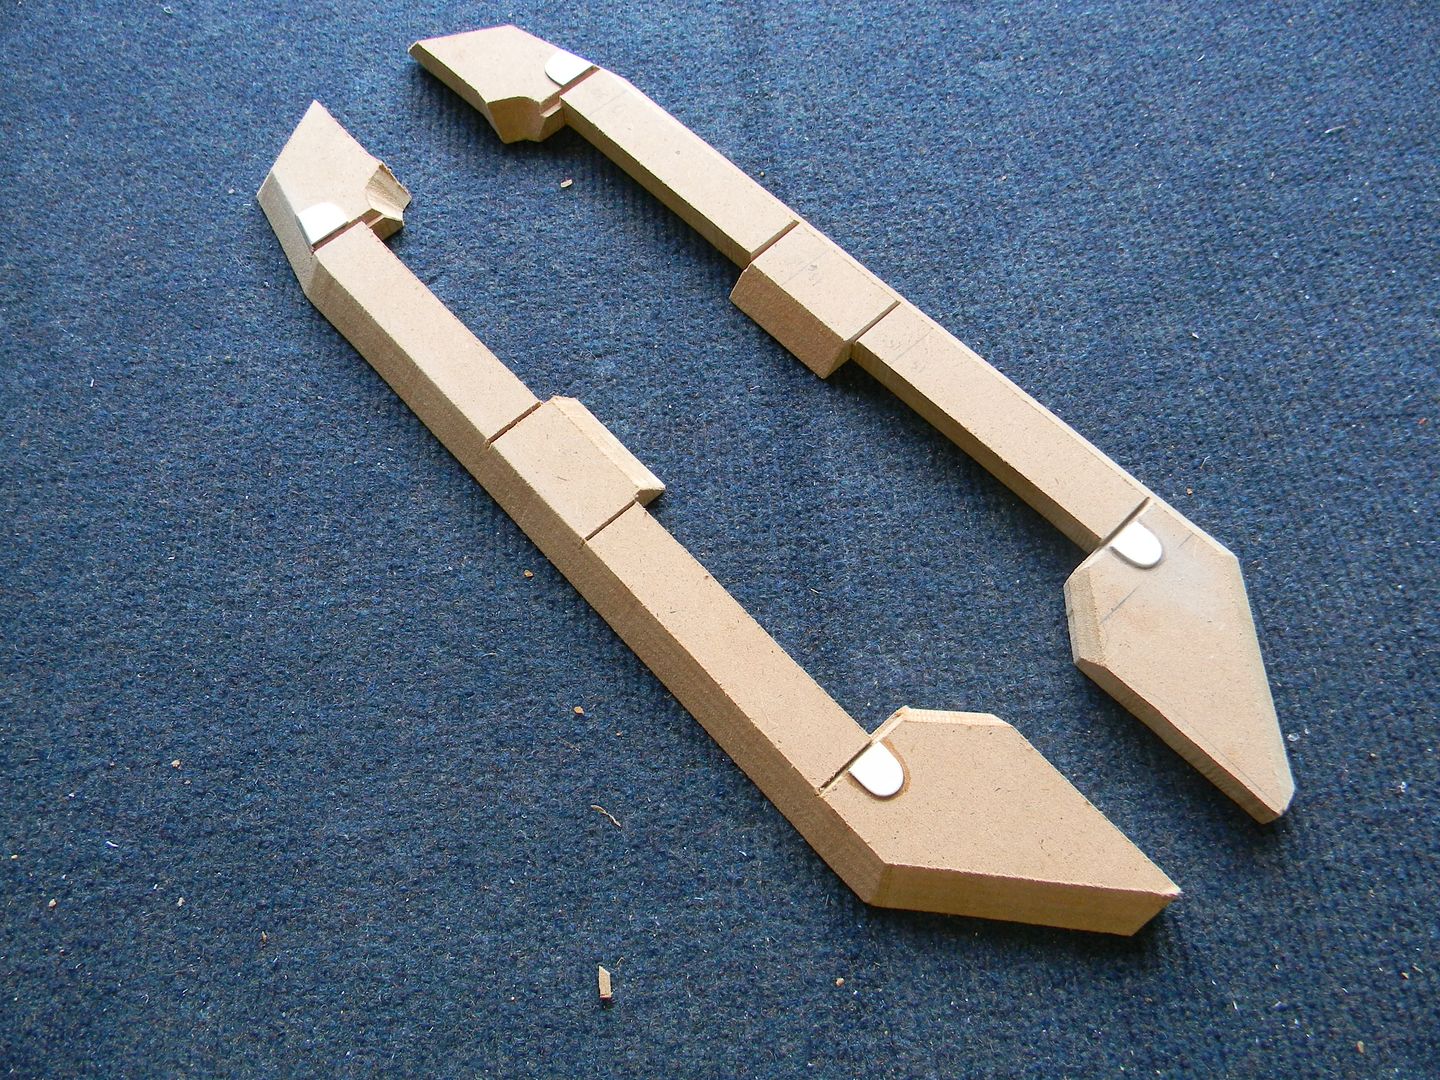


The back half tapered gently. The front has a few angled bends in it and is much more complicated. 
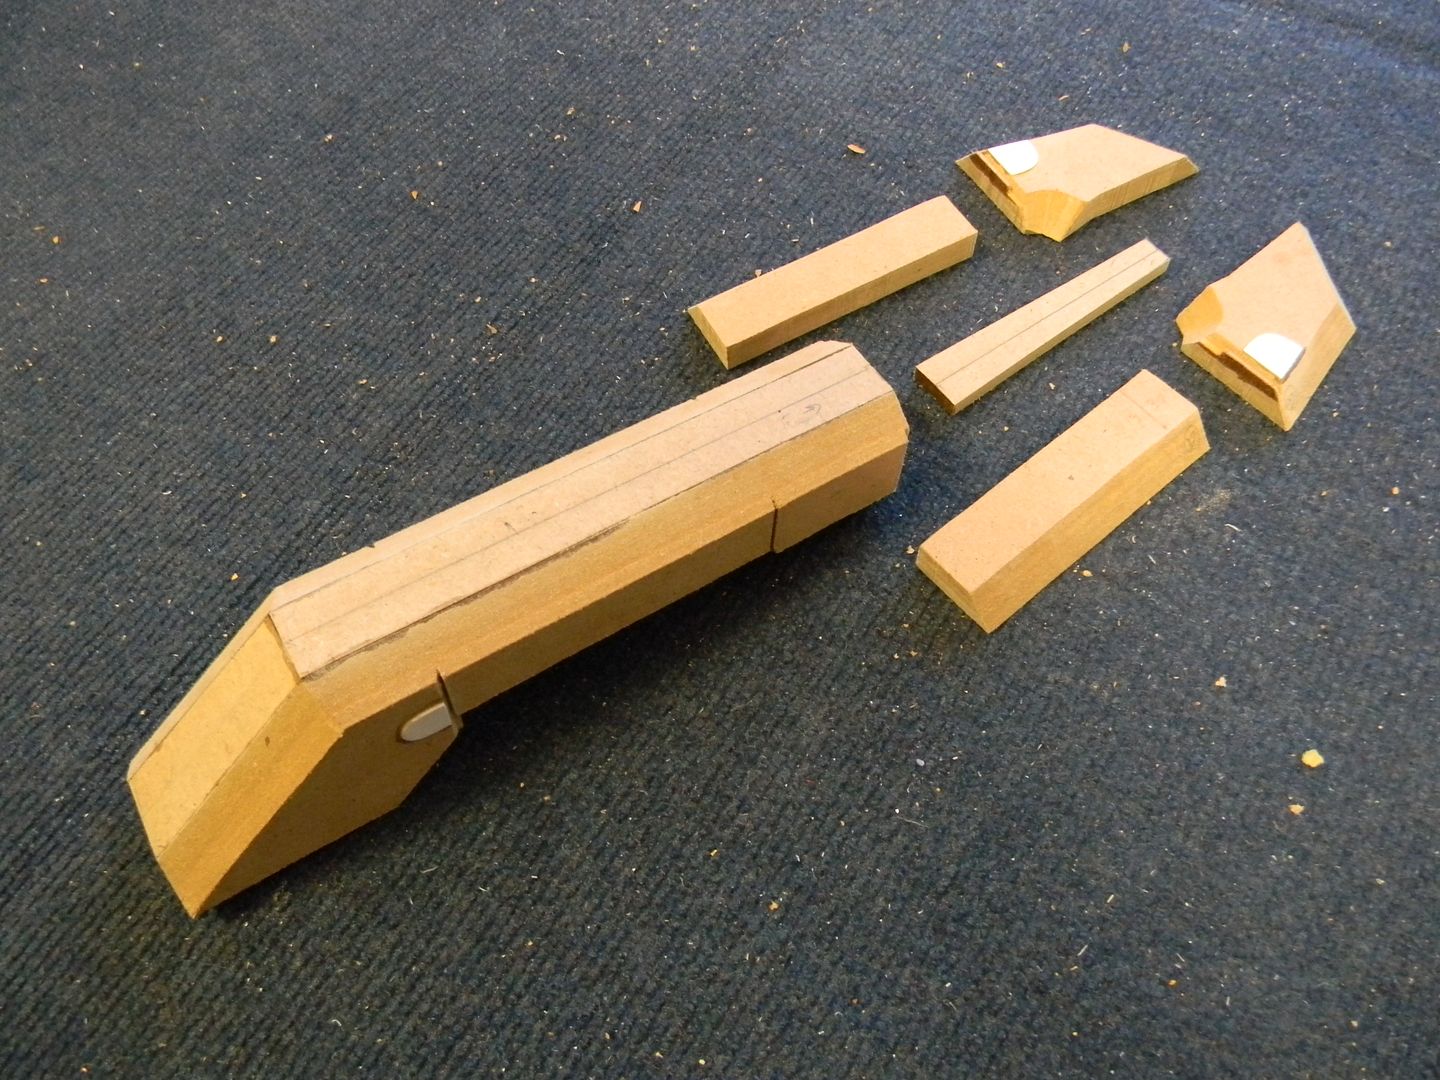


I had to get this tapered bit the perfect angle and perfectly symmetrical or the carrying handle wouldn't line up. 
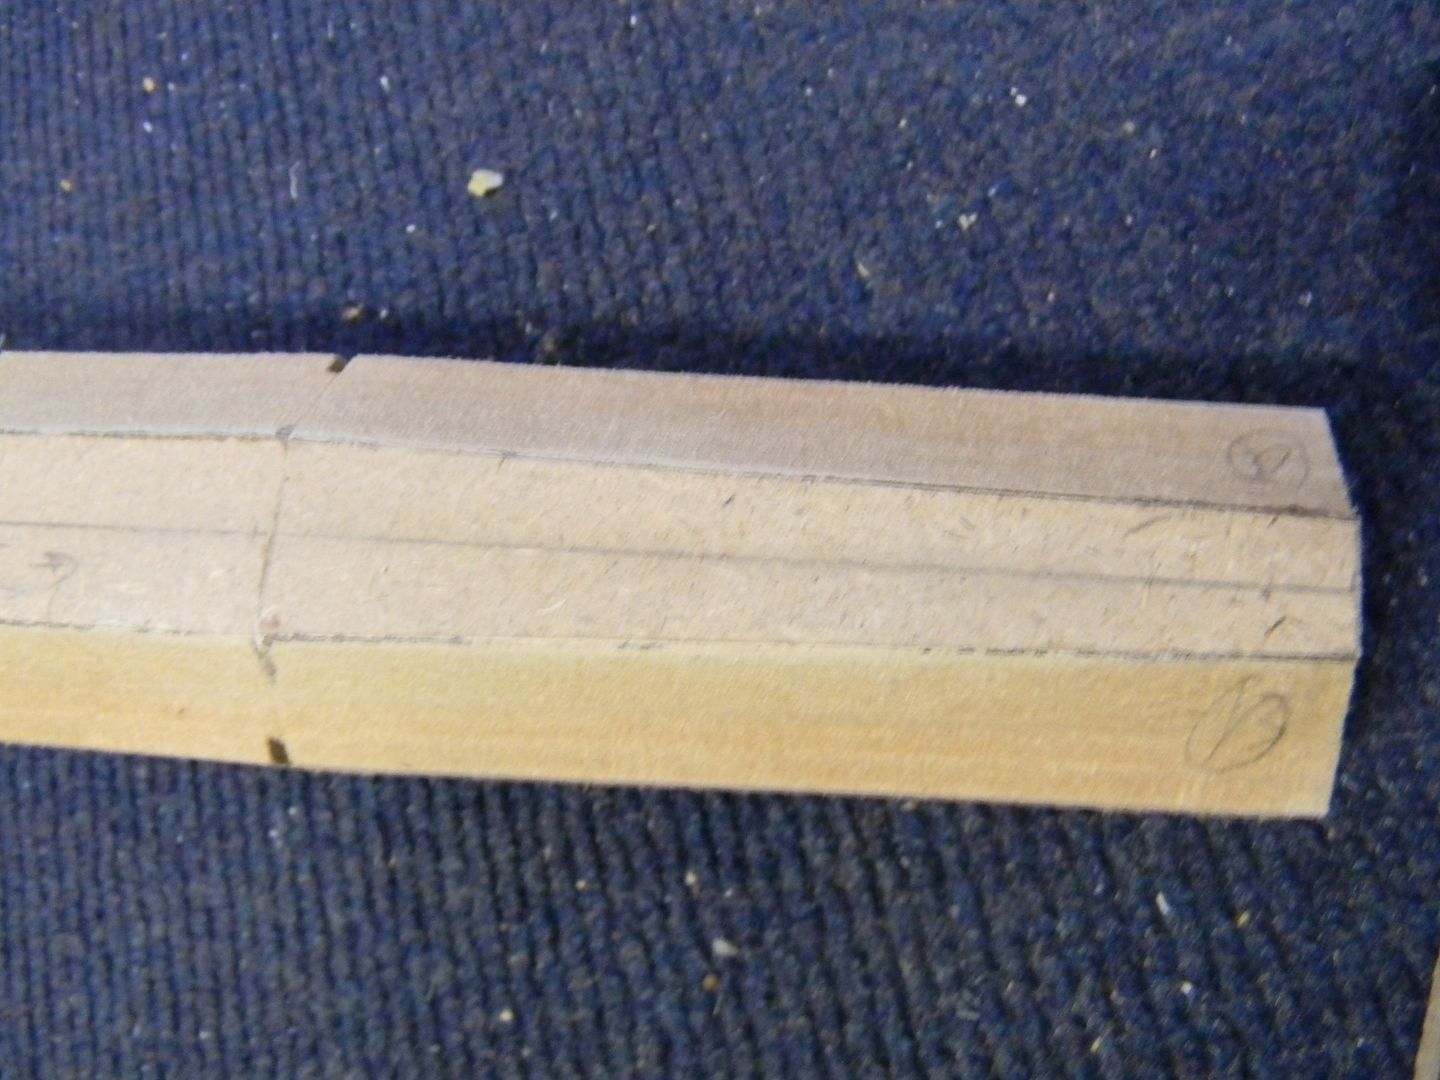


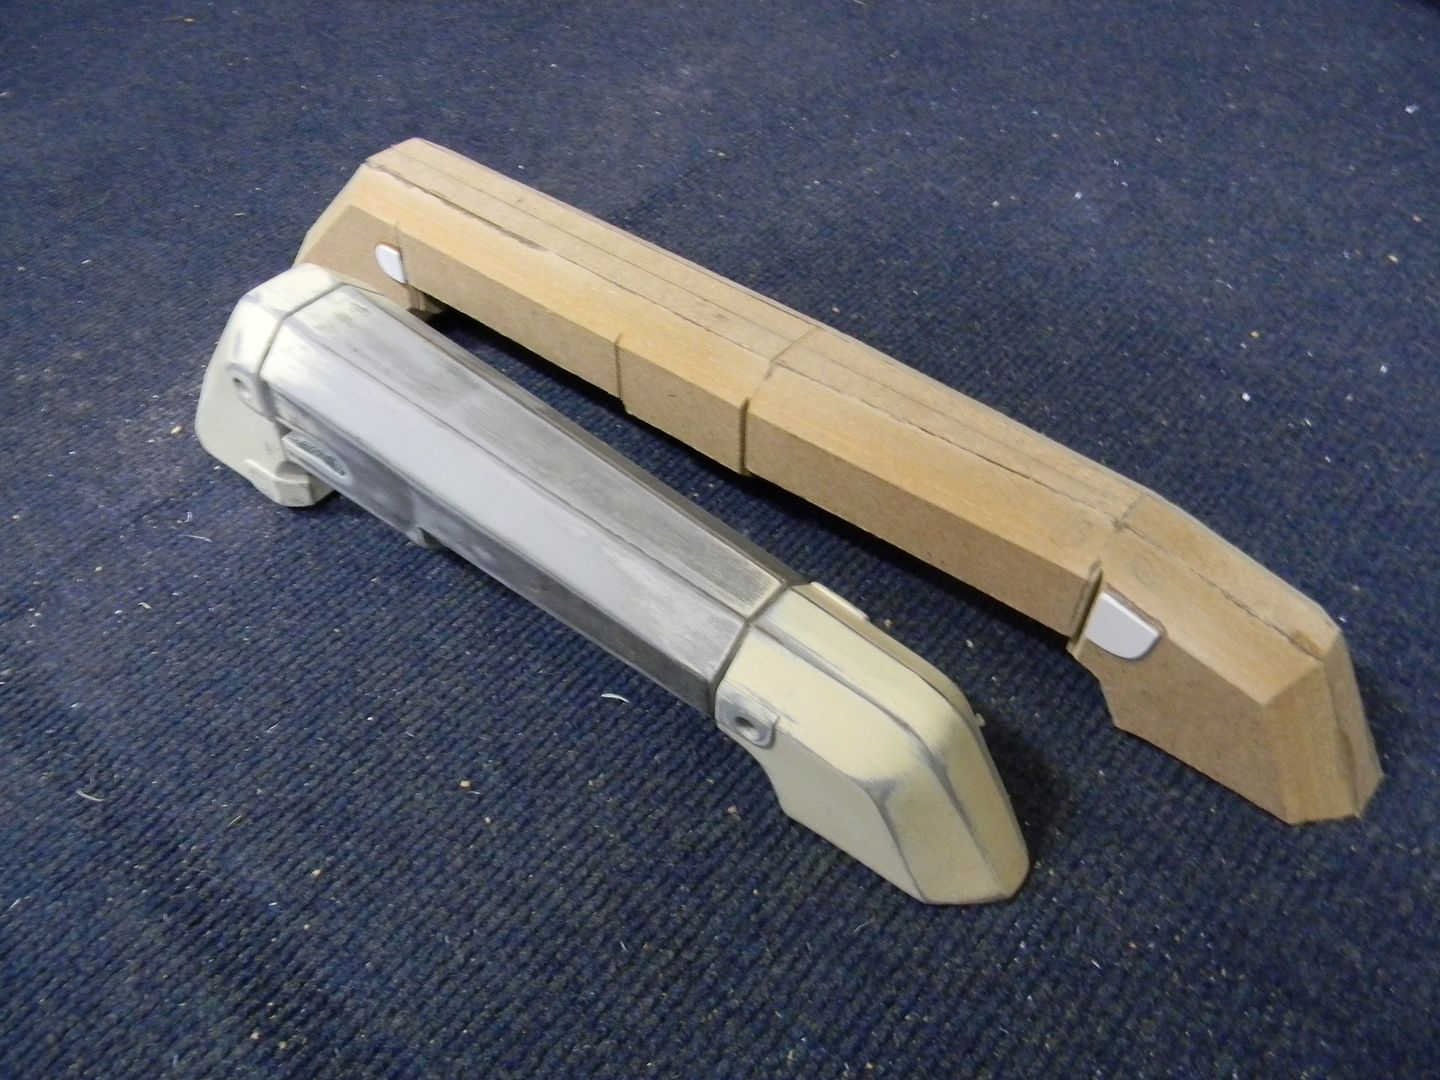
The tip of the carrying handle doesn't taper much at all. Heres a comparison with the mattock carrying handle. They are completely different and don't share any parts/sections at all. 


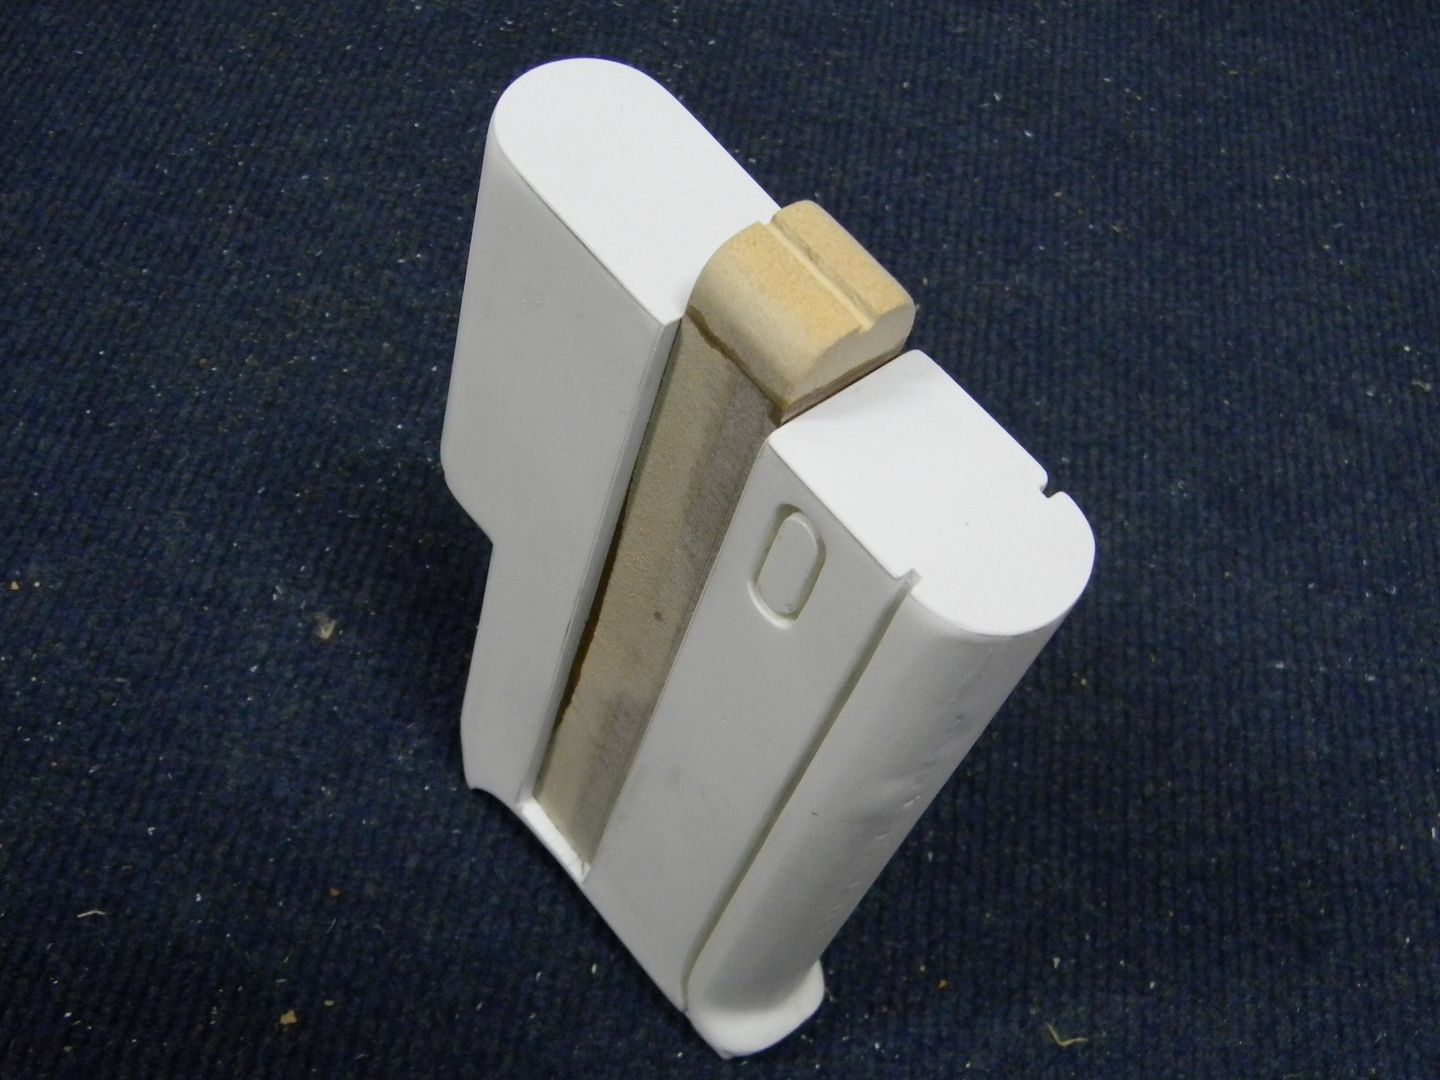
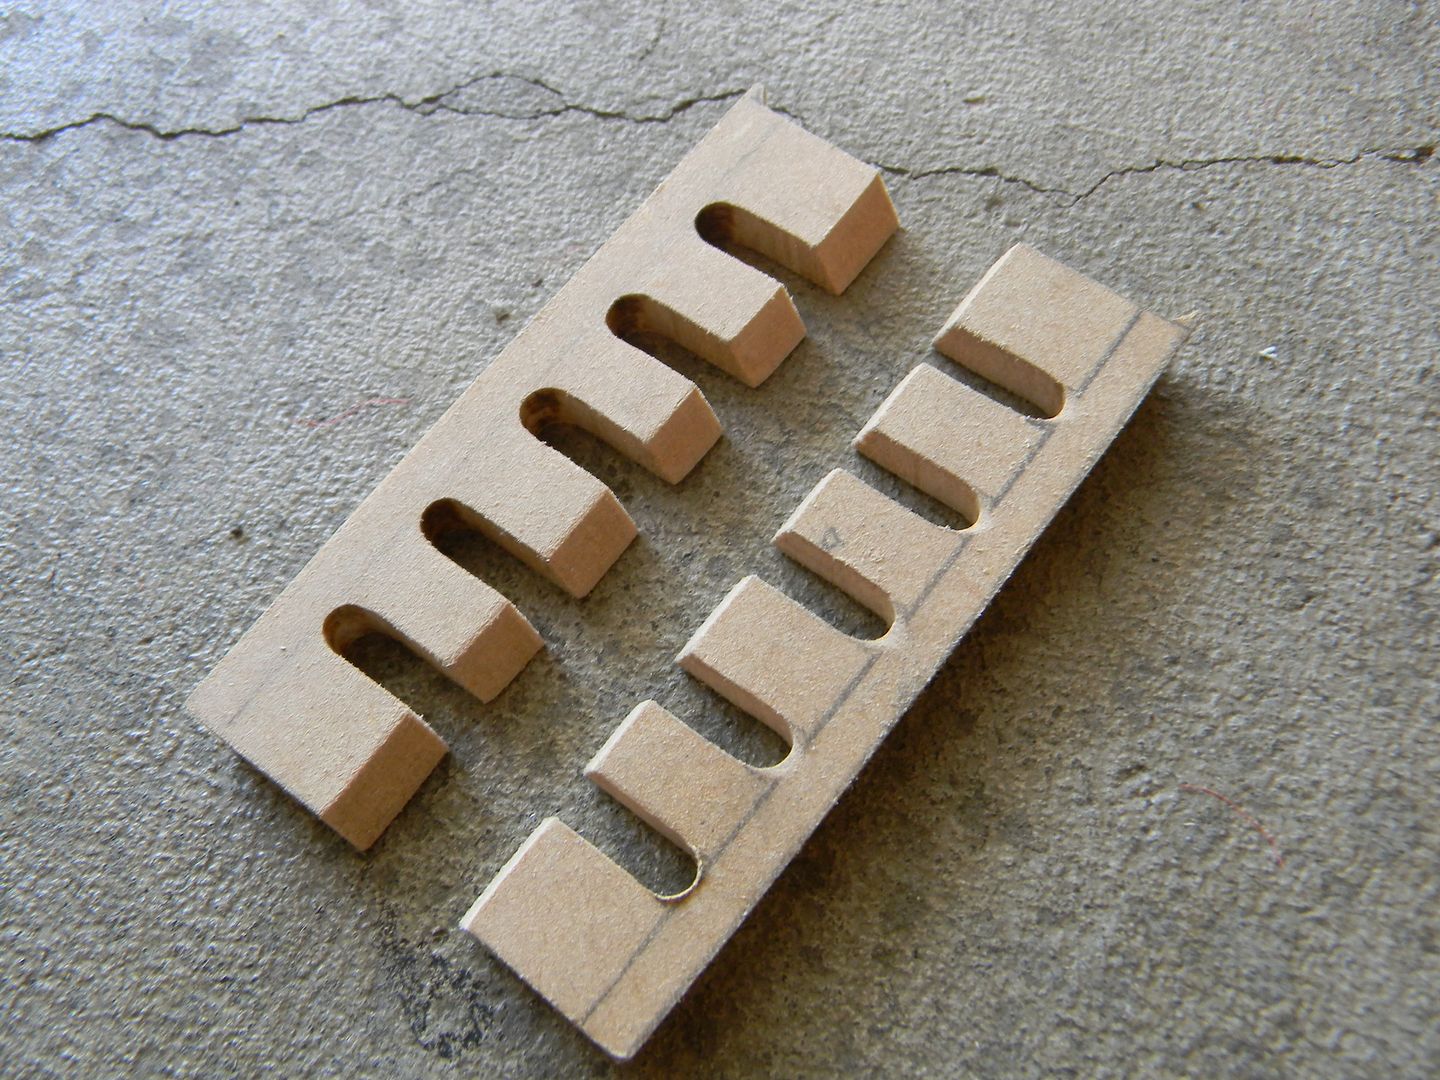
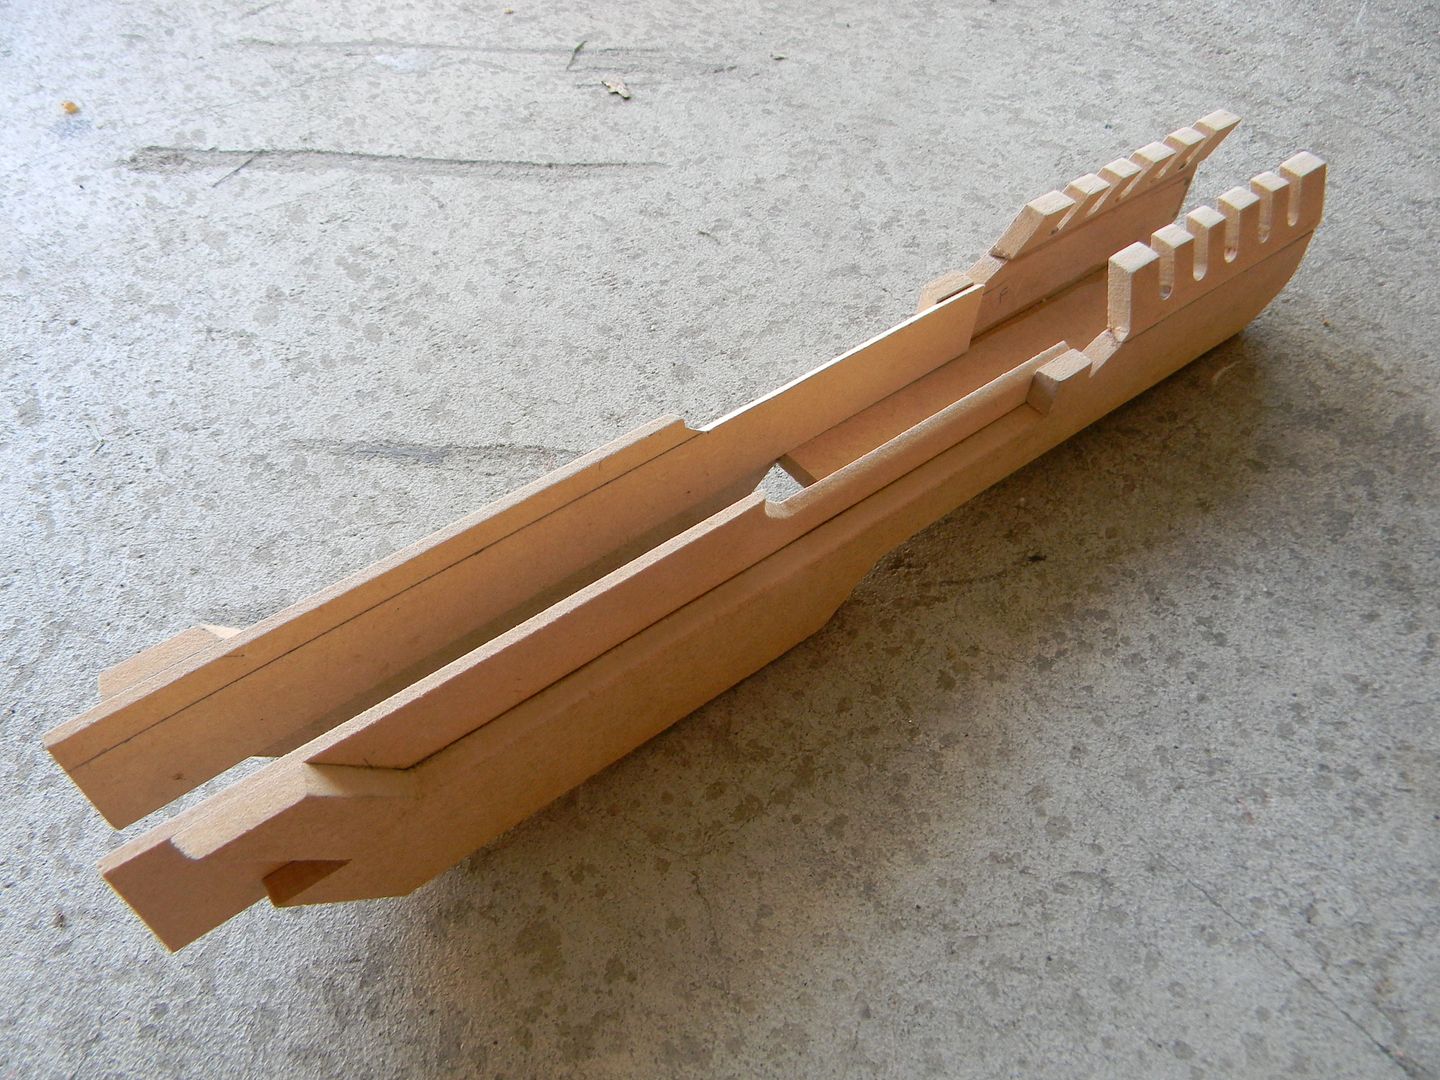
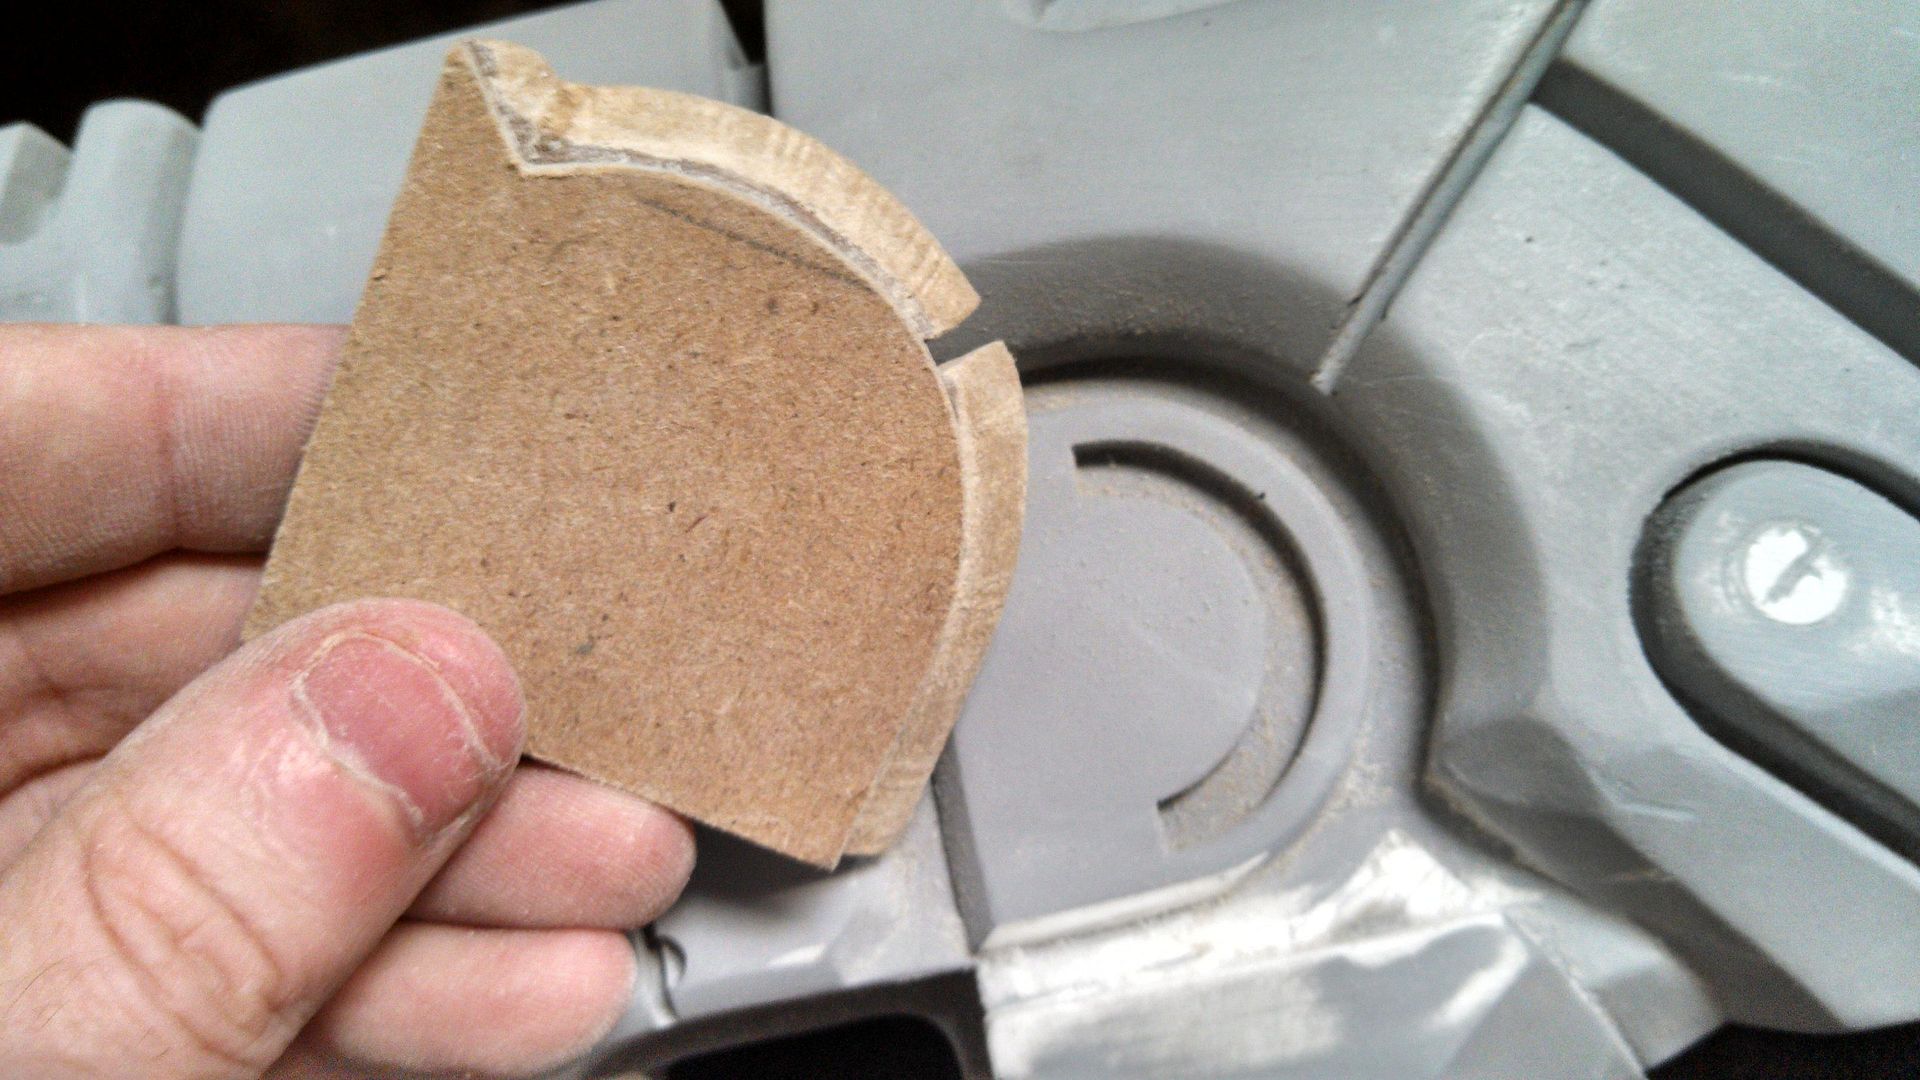
I cut out notches in a layer of 1/4" MDF. Then I laminated it to another layer, and beveled the sides. The result is this, if you measured right. 
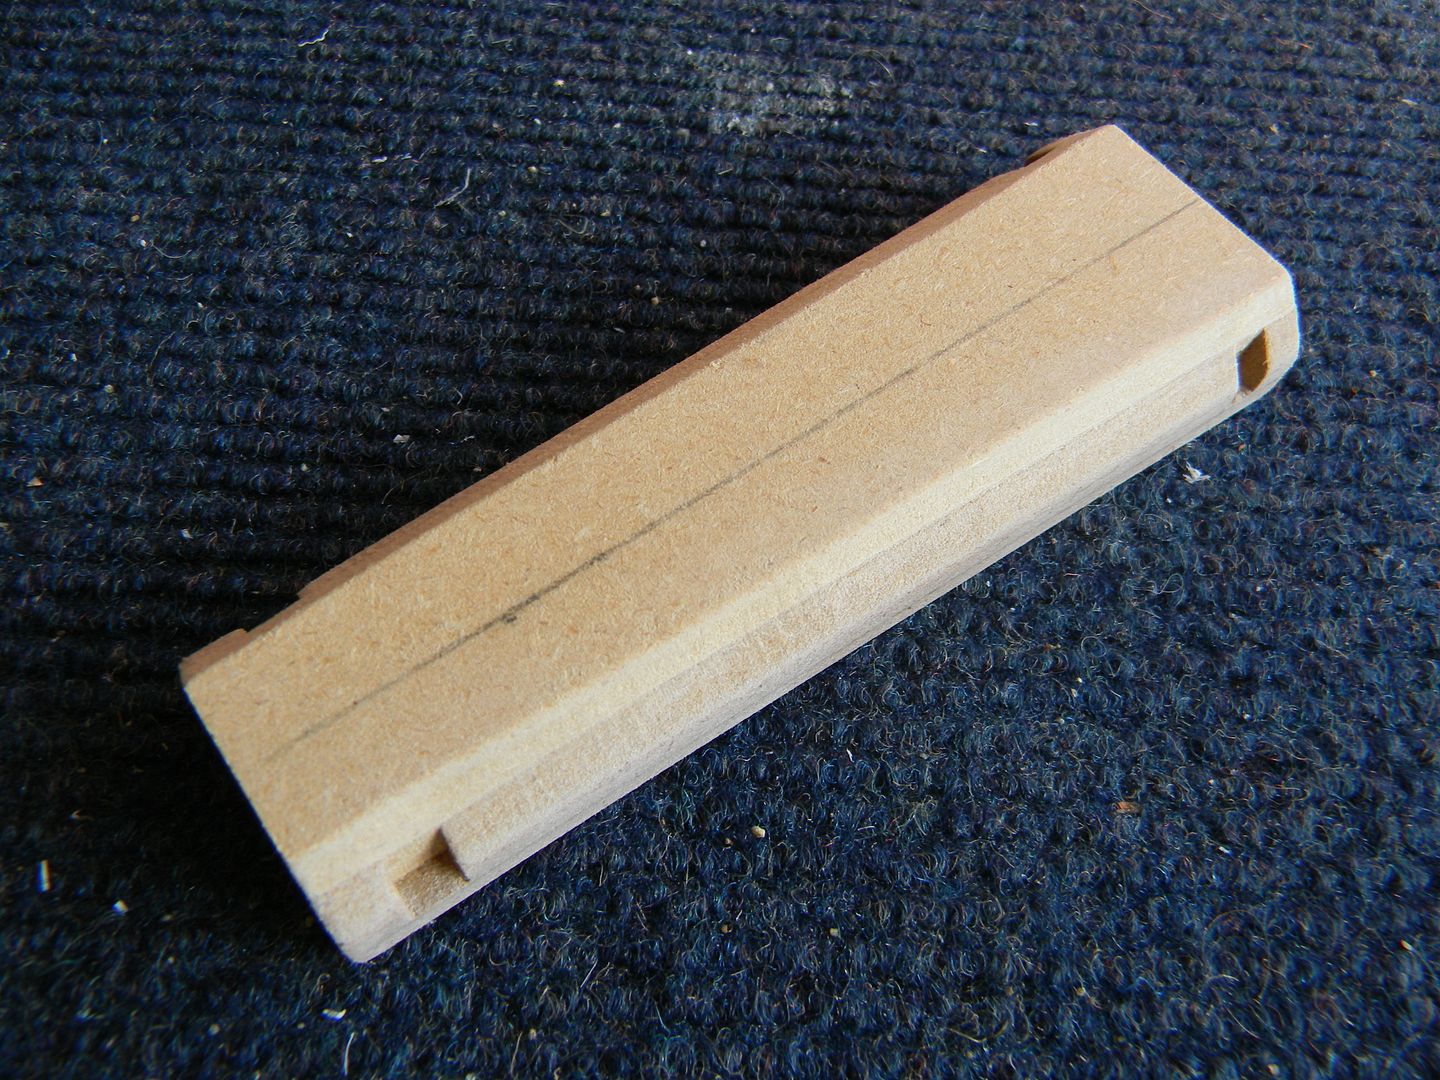


I did another, similar part for the back half of the carrying handle. The whole thing is hollow, light, and rigid. 
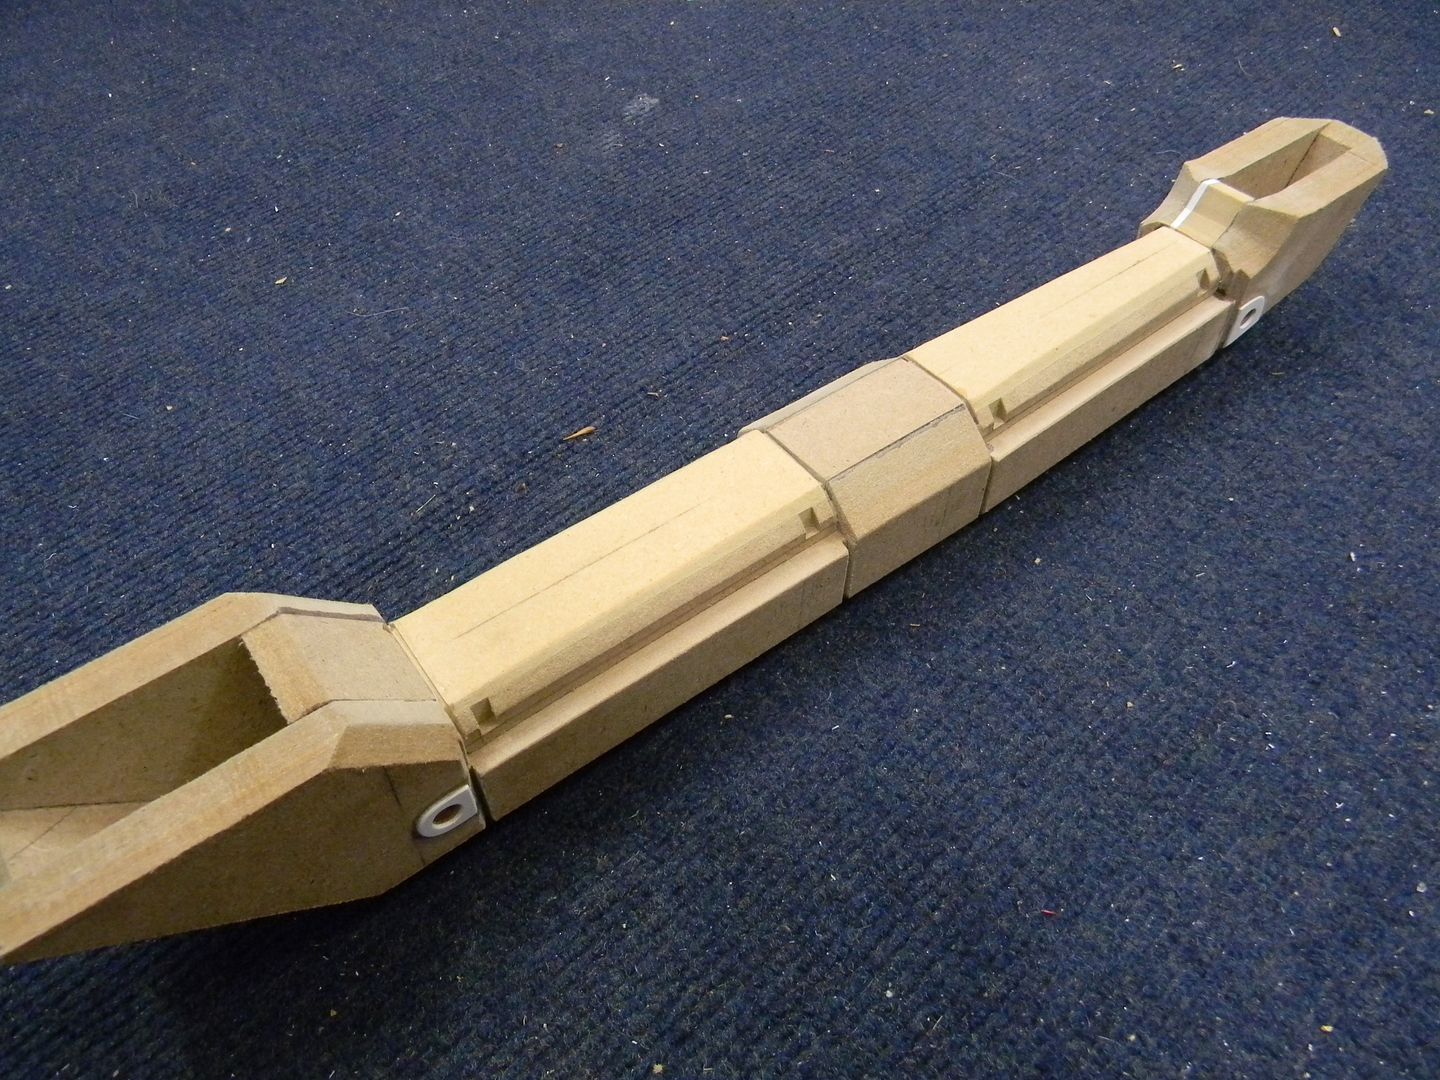


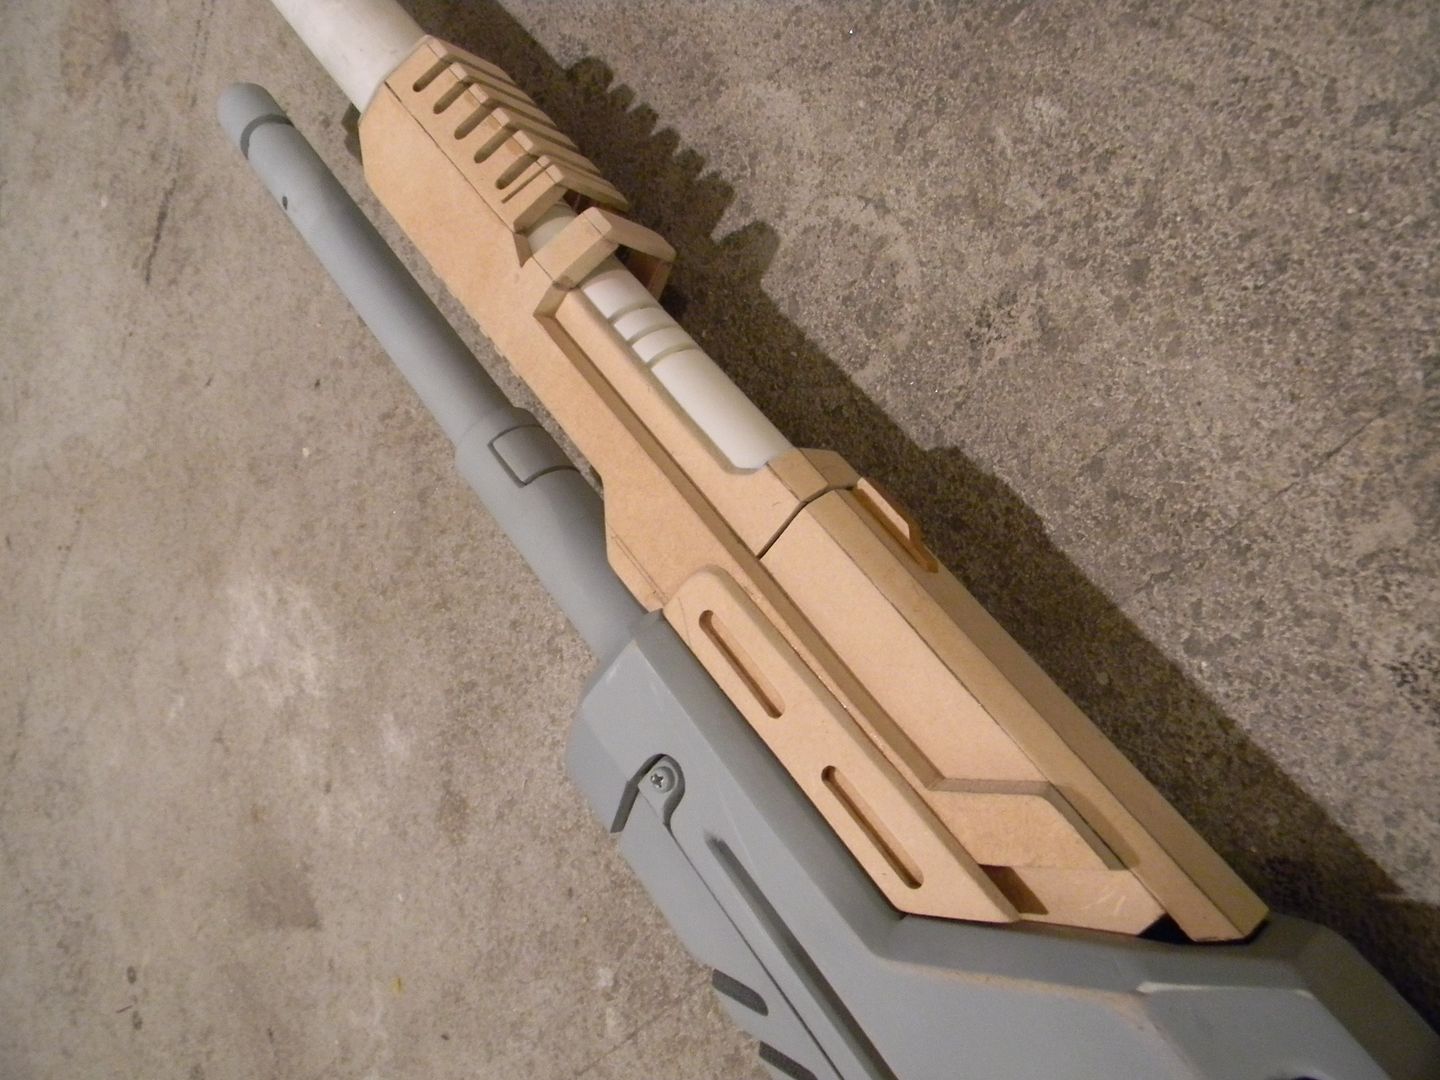
Loosely taking shape with a test fit. Now that the main sections have been blocked out, it was time for some fine tuning. Somehow, this thing is even more massive than the Mattock. Which is already ridiculously huge.
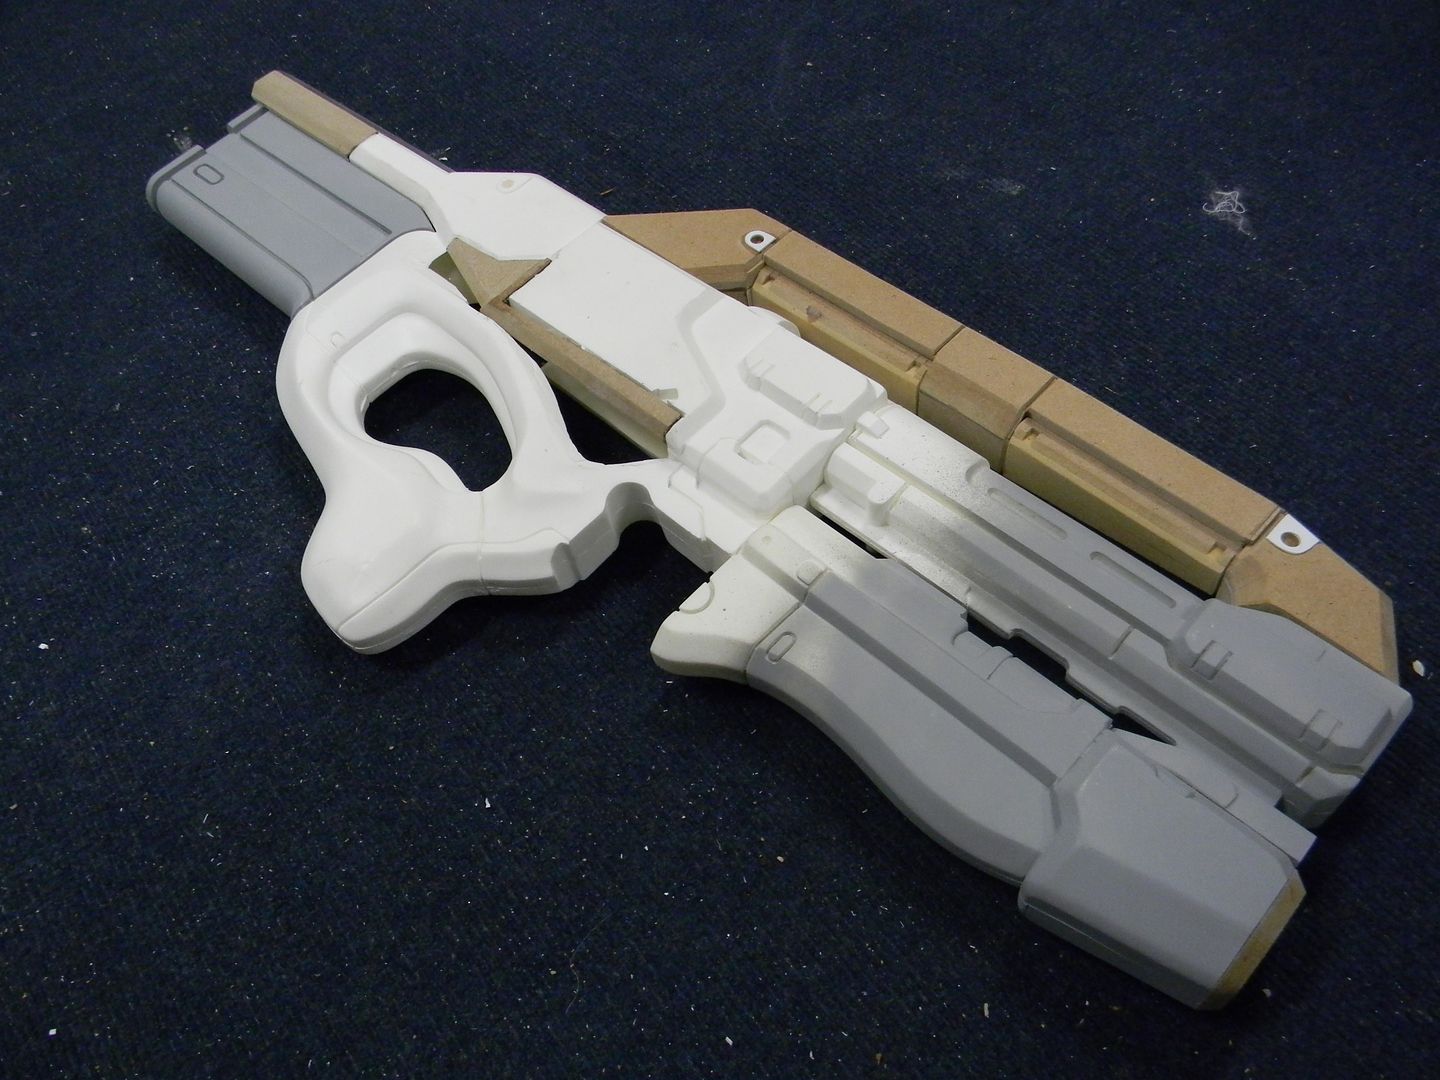

Since a large channel in the top of the receiver was cut out for electronics, it was easier for me to back the sides of the receiver so that I could glue some MDF bits in there to hold up the bondo that was about to be smeared everywhere. 
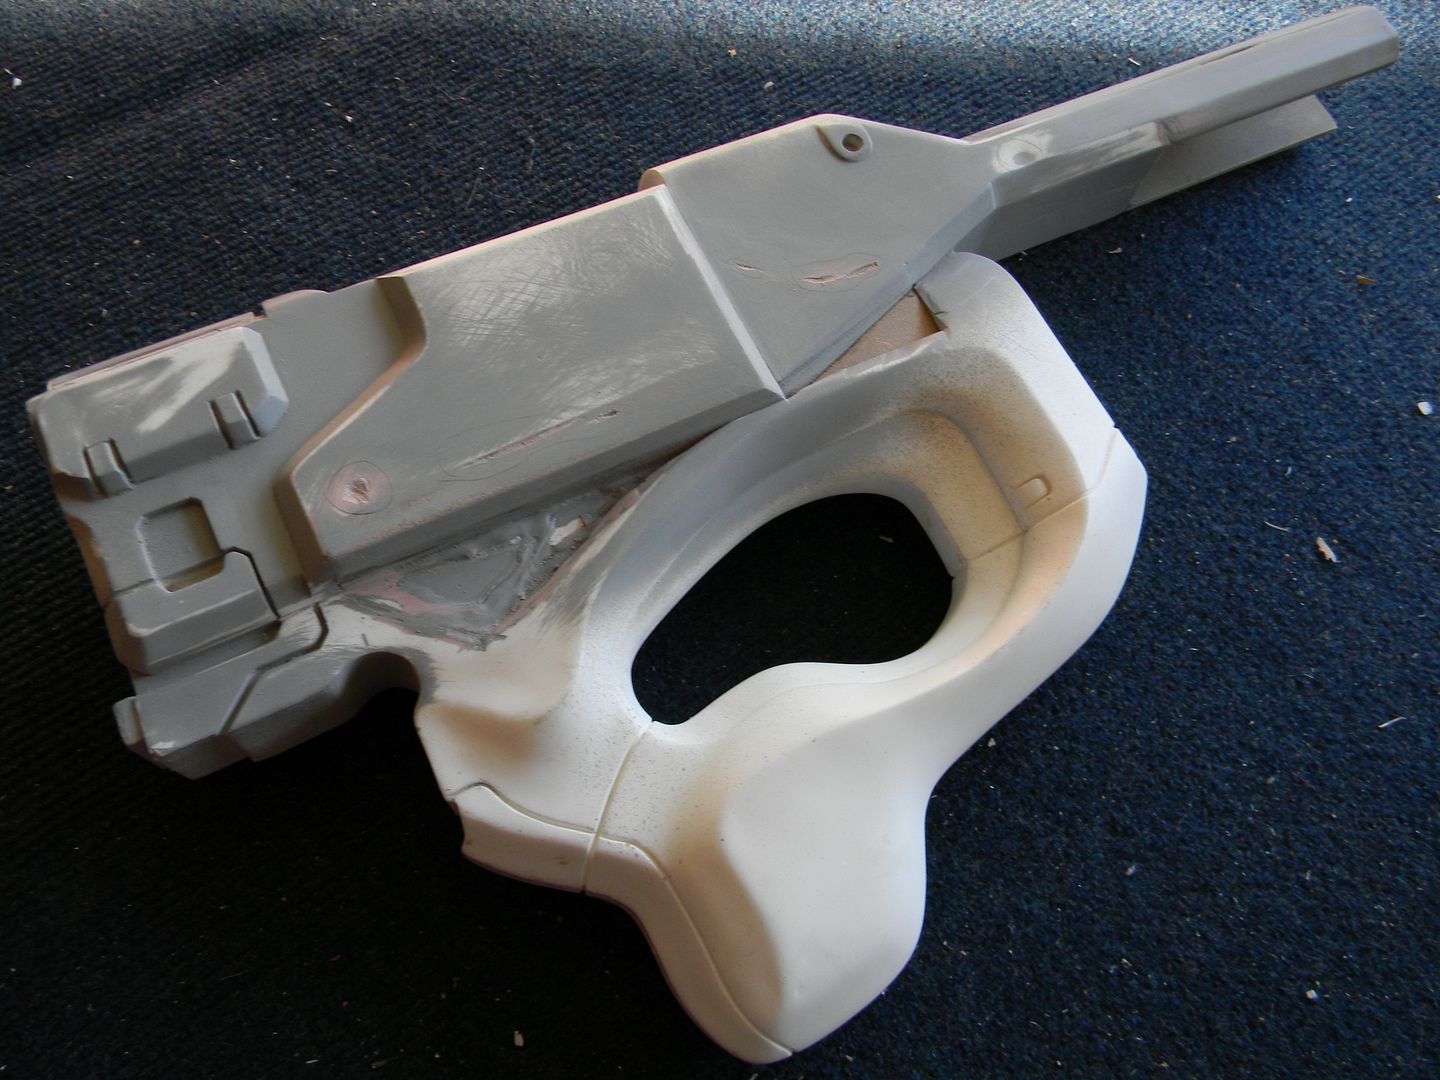


All of that body work paying off. 
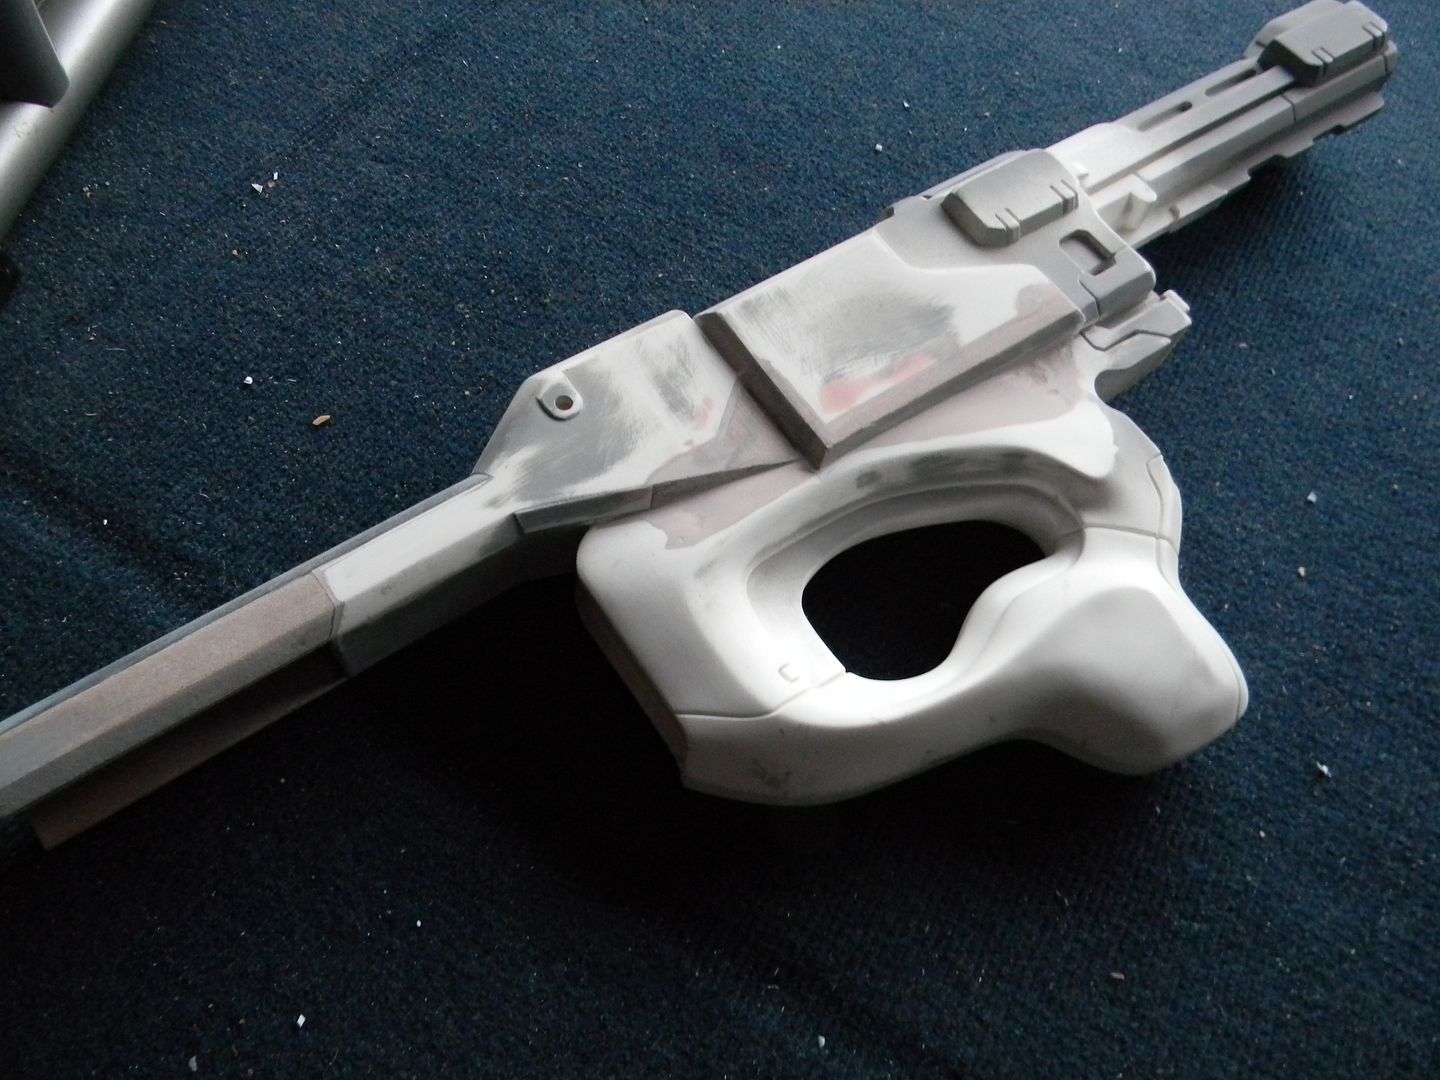


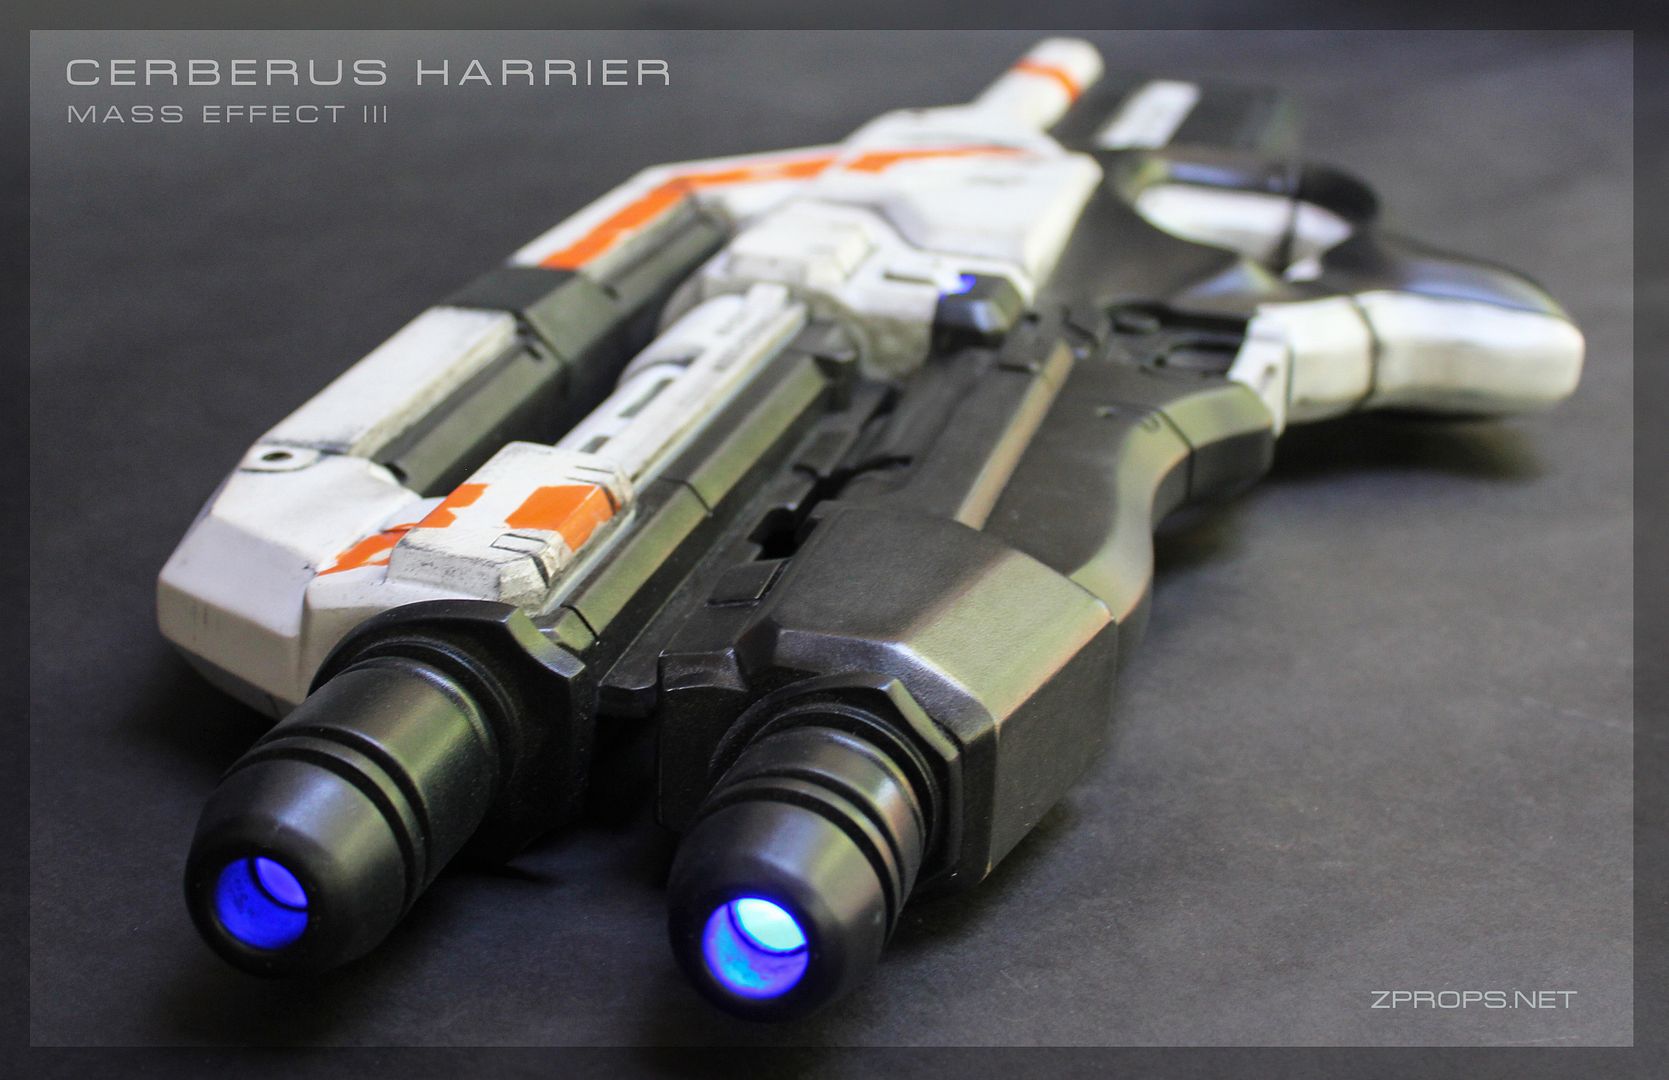
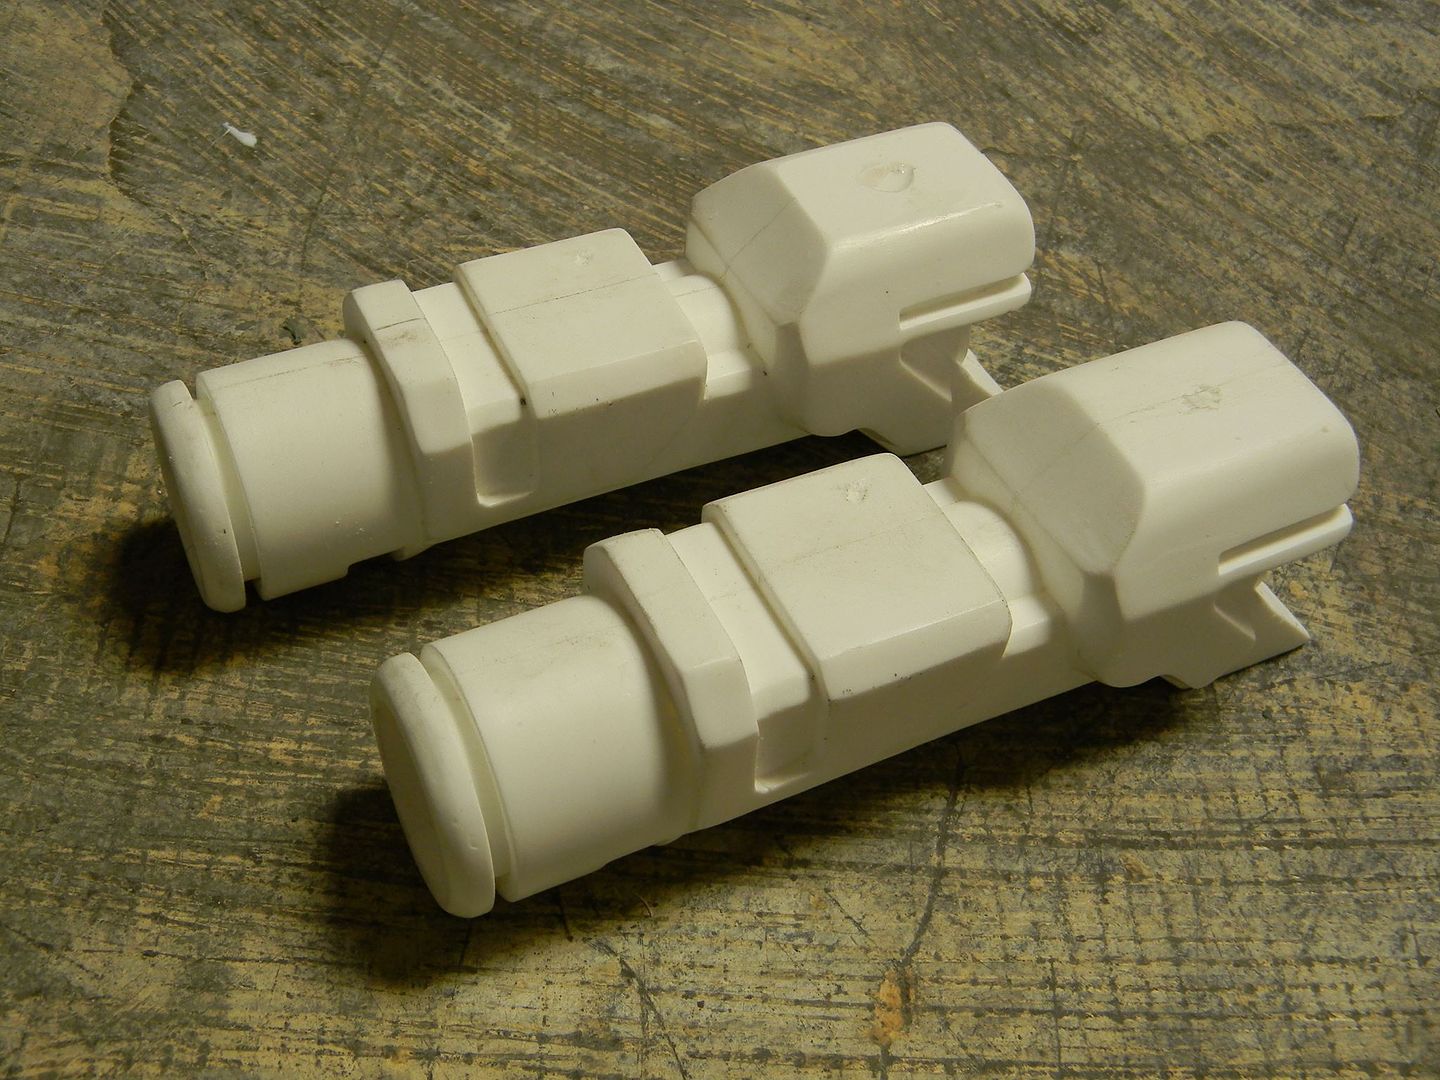
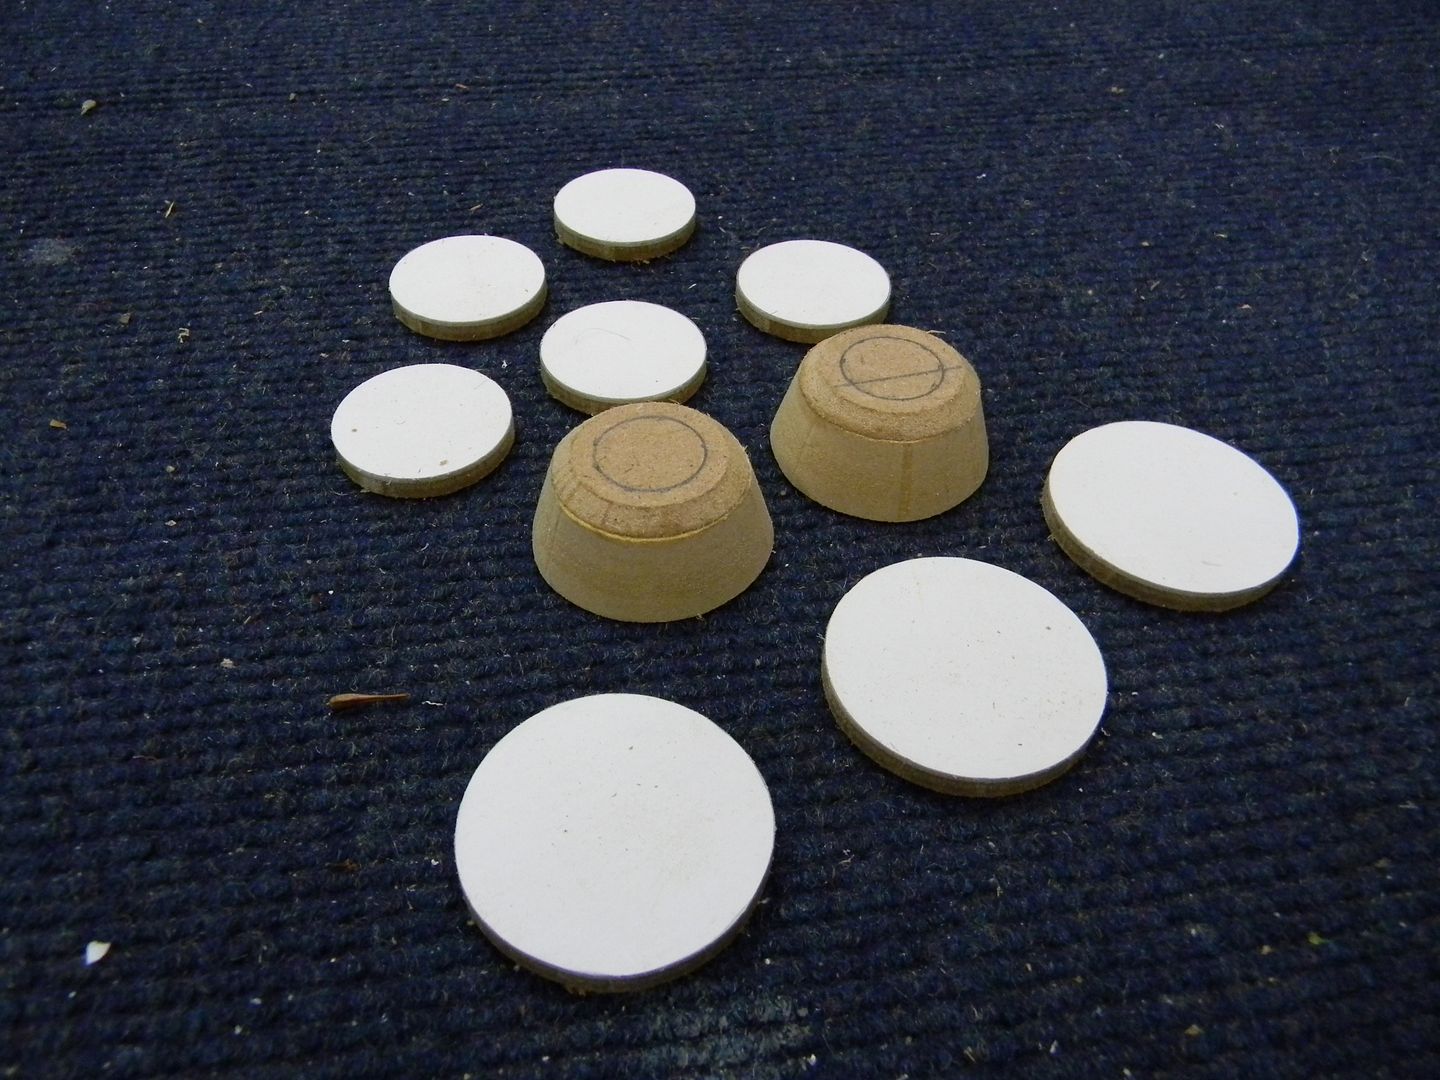
The flash hiders were made from taking two of the Mattock's upper barrel ones and hacking the tips off. Then, these circular cut bits got laminated into shape. I later drilled out the tips for LED lighting. 


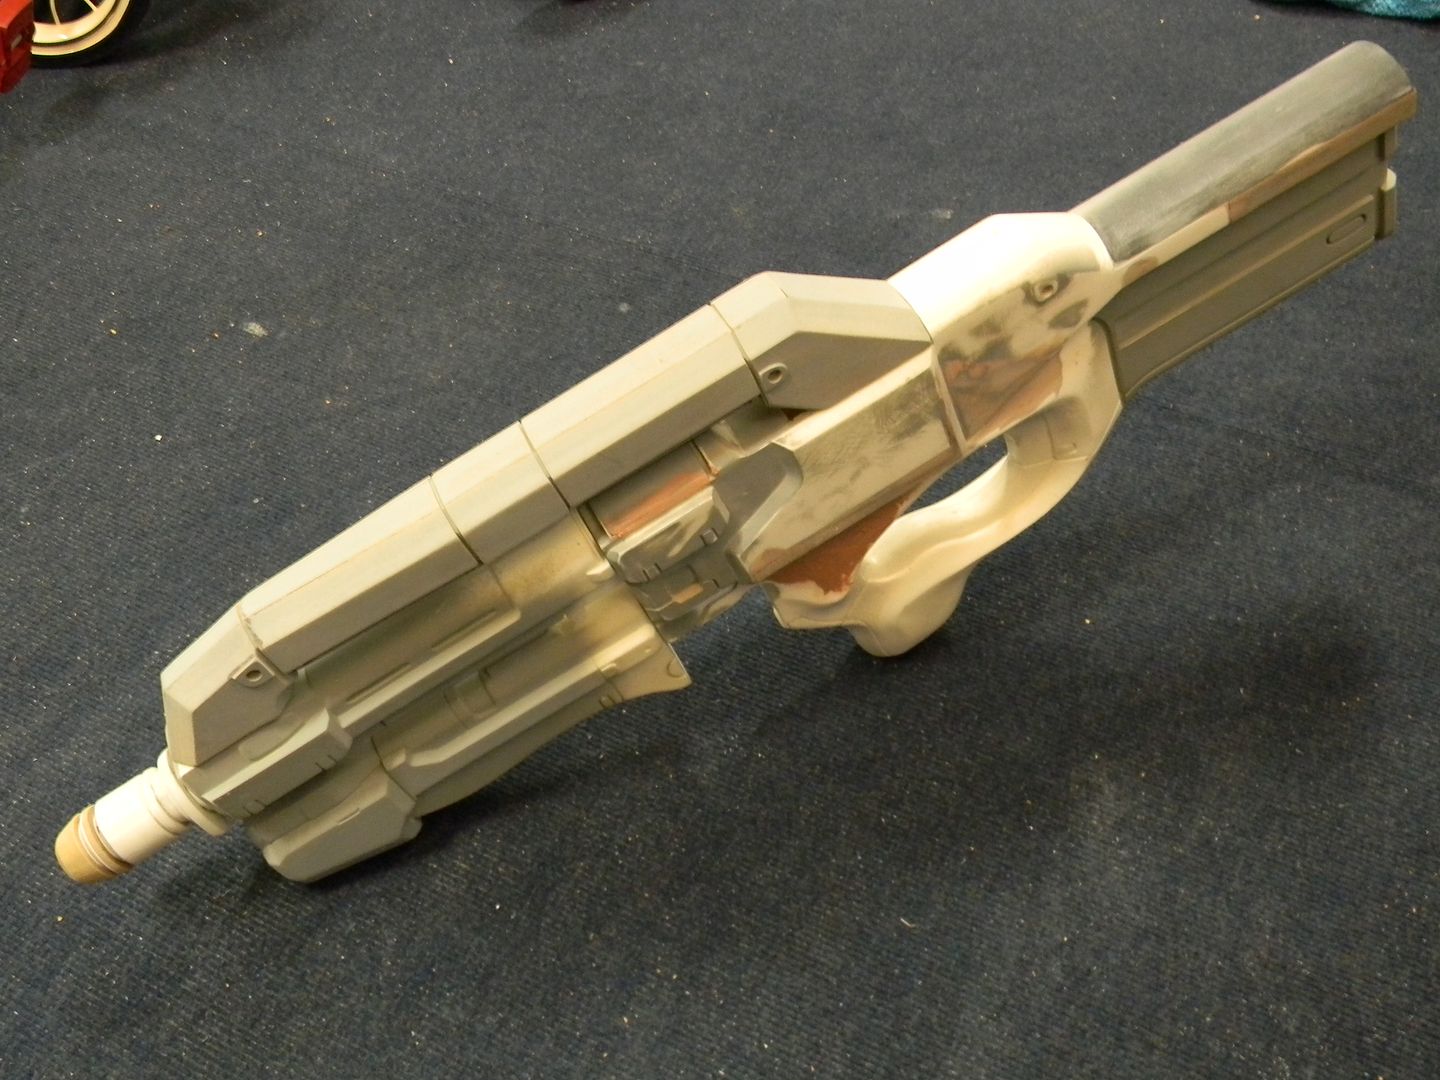
Another test fit with one of the flash hiders being almost completed. 


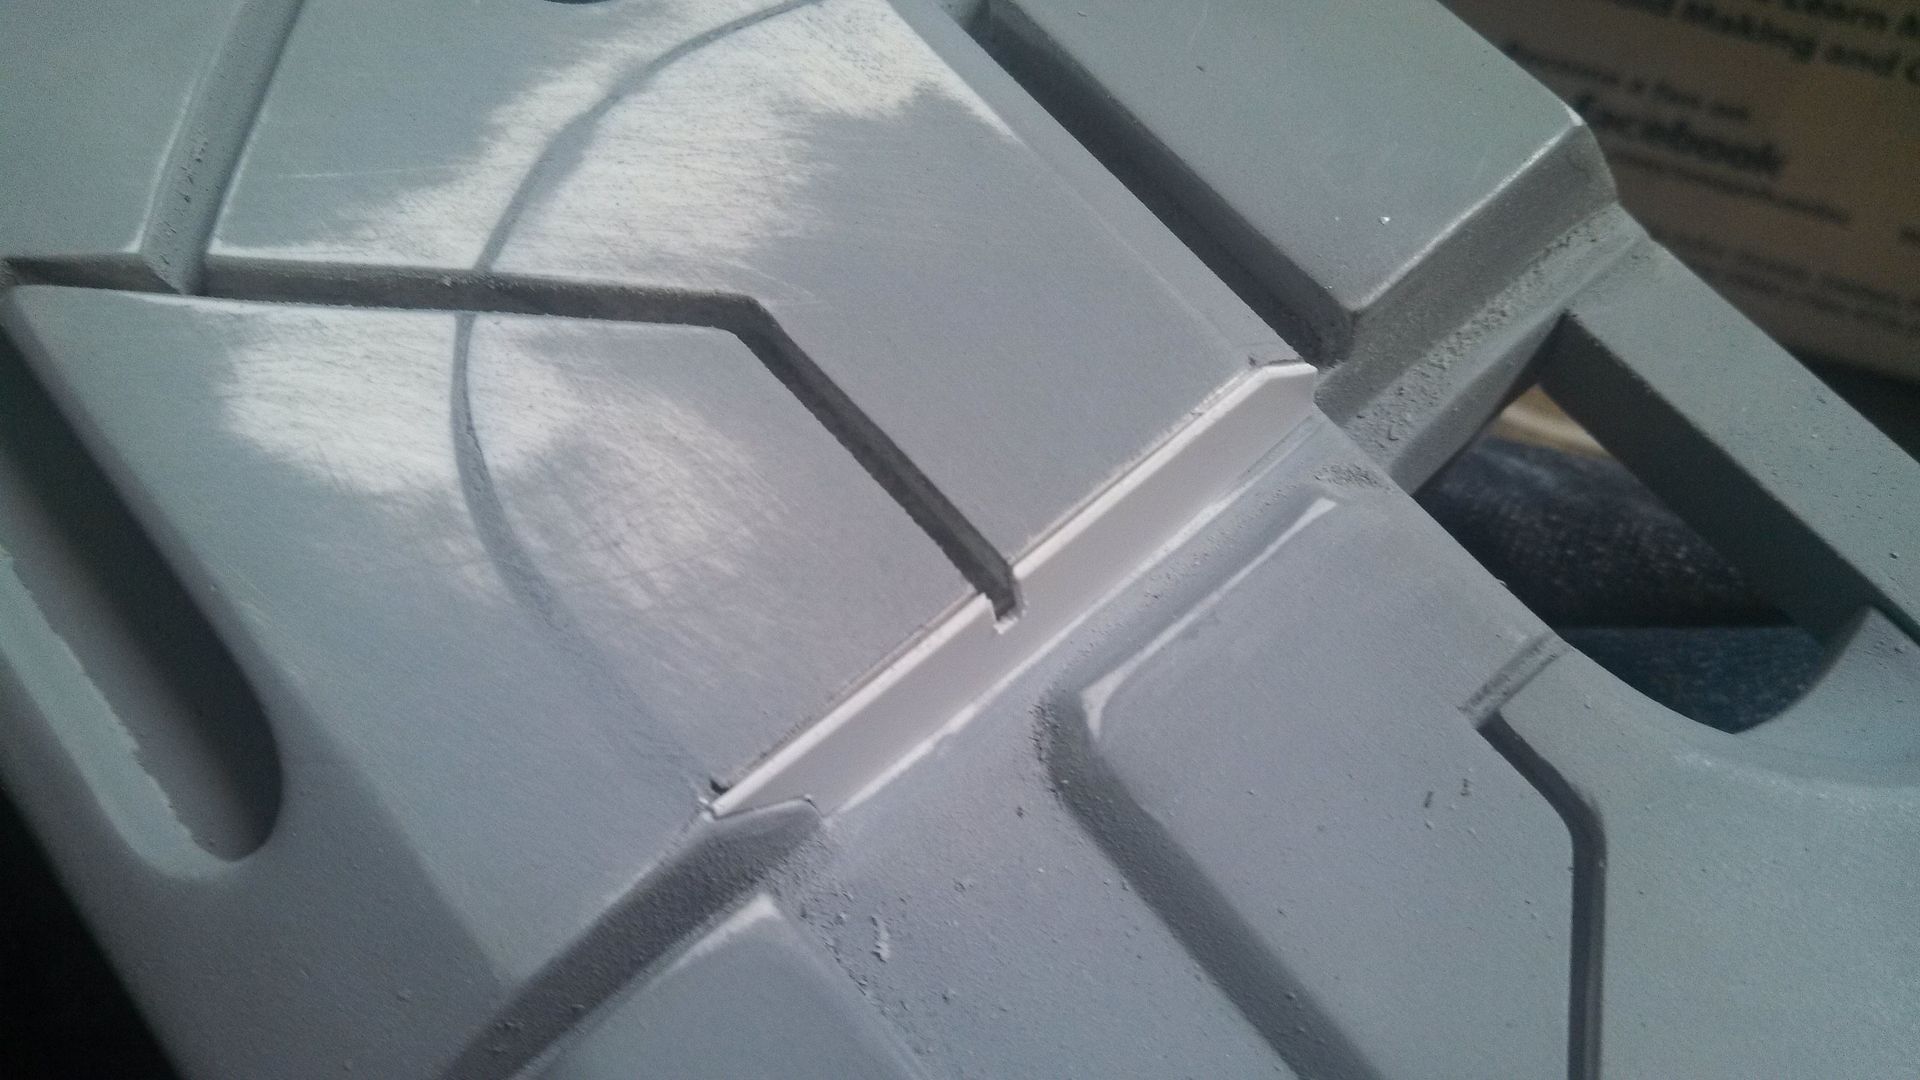
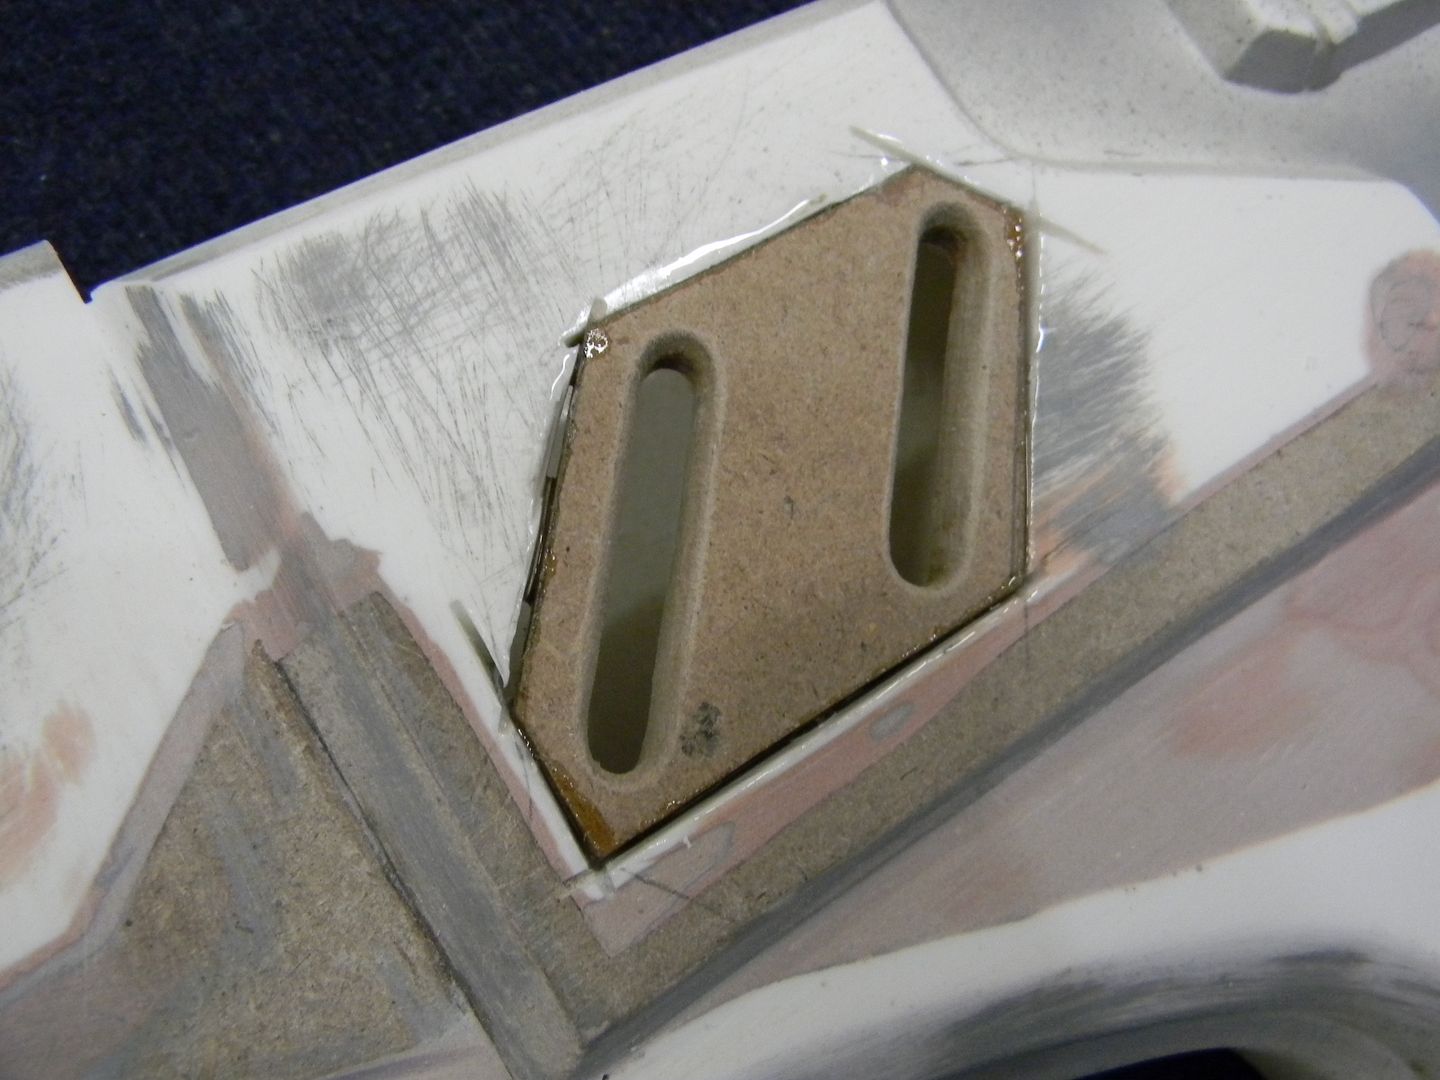
I went back and cut out some of the receiver sides for these MDF inserts. 


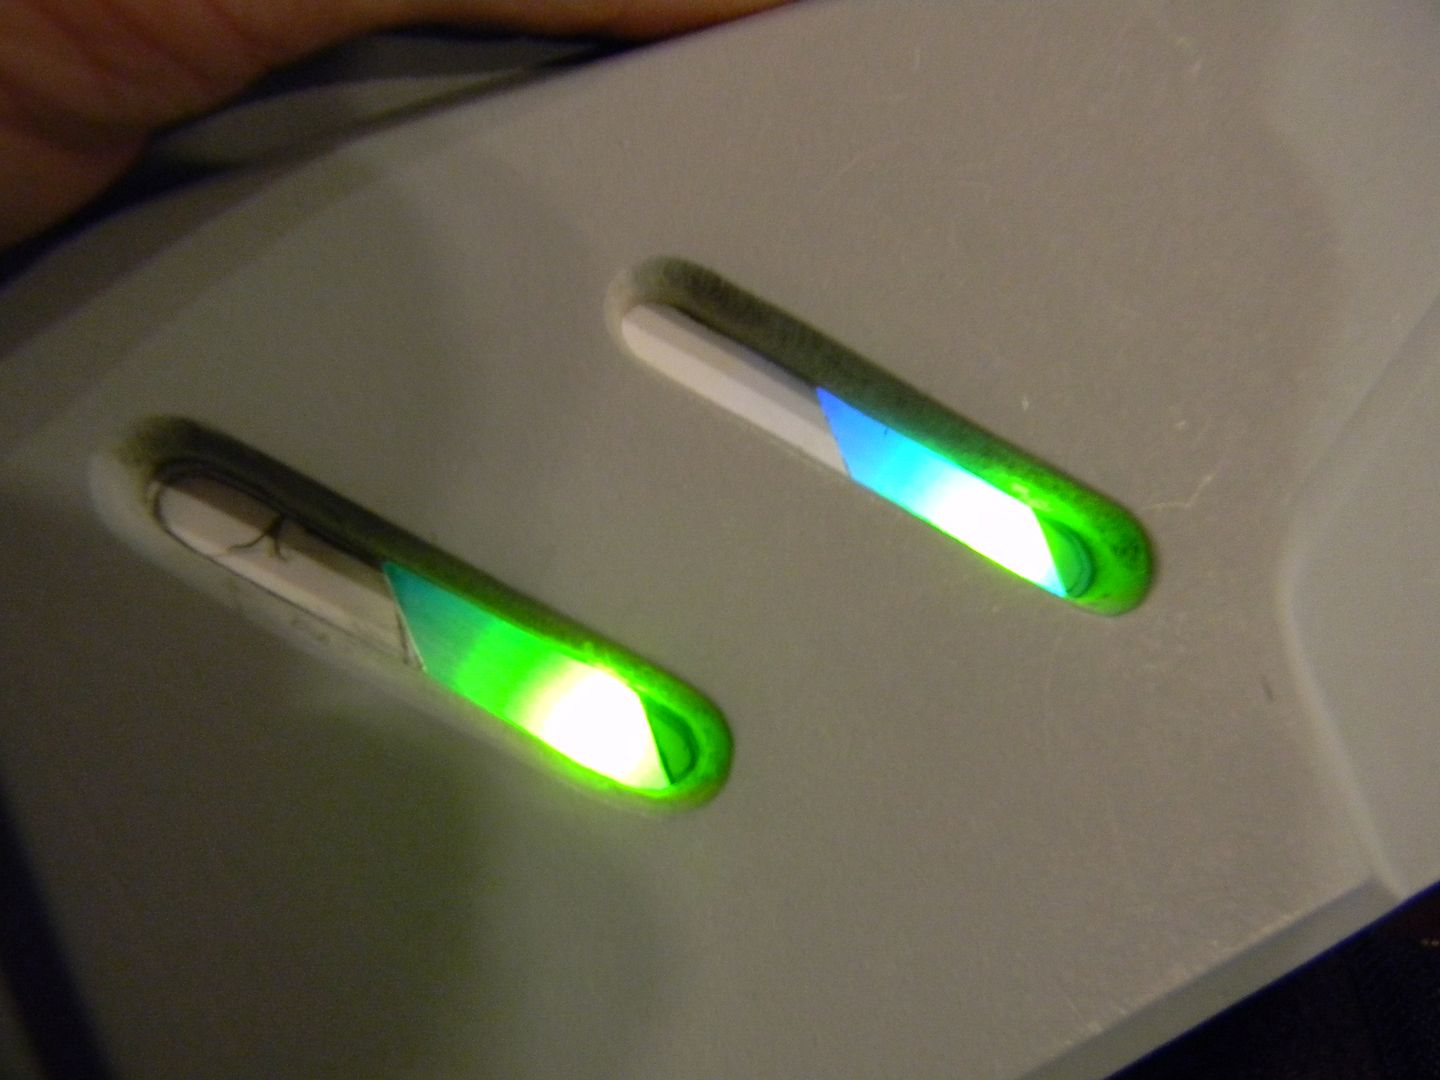
After being blended and primed, I backed the inside with some styrene detail. Then I added some strips of  clear polyethylene that had been sanded to 400 grit to diffuse the LED lighting. 
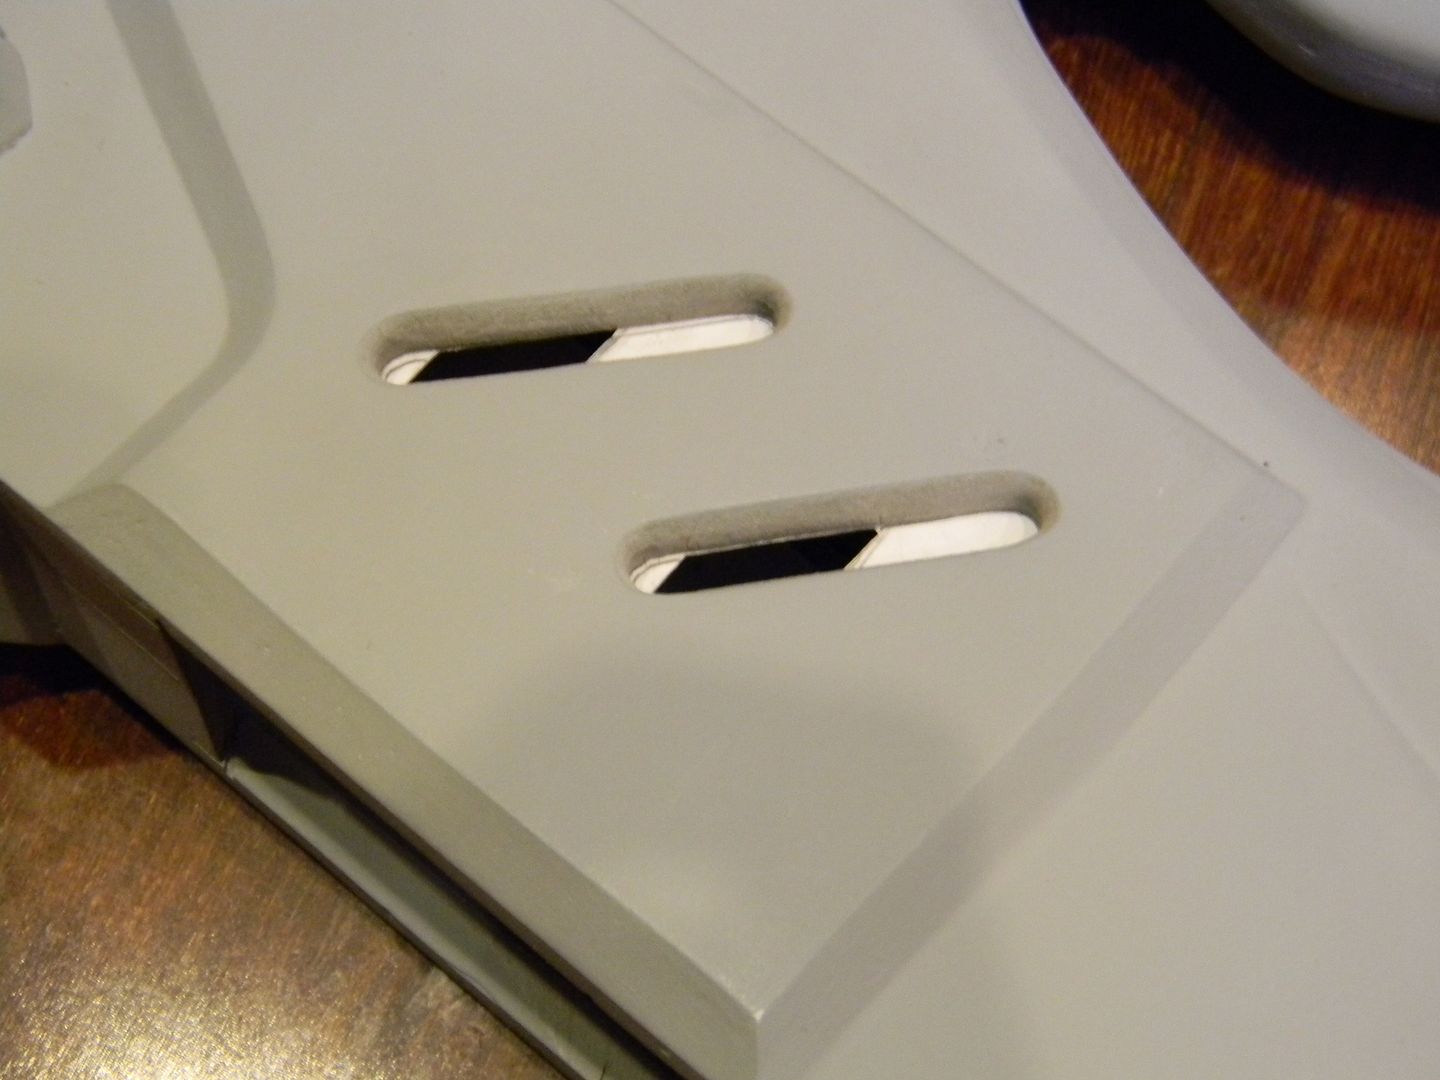


I masked off the LED sensitive areas and did some more filling/priming. Coming right along, you'd lever guess this used to be a Mattock. 
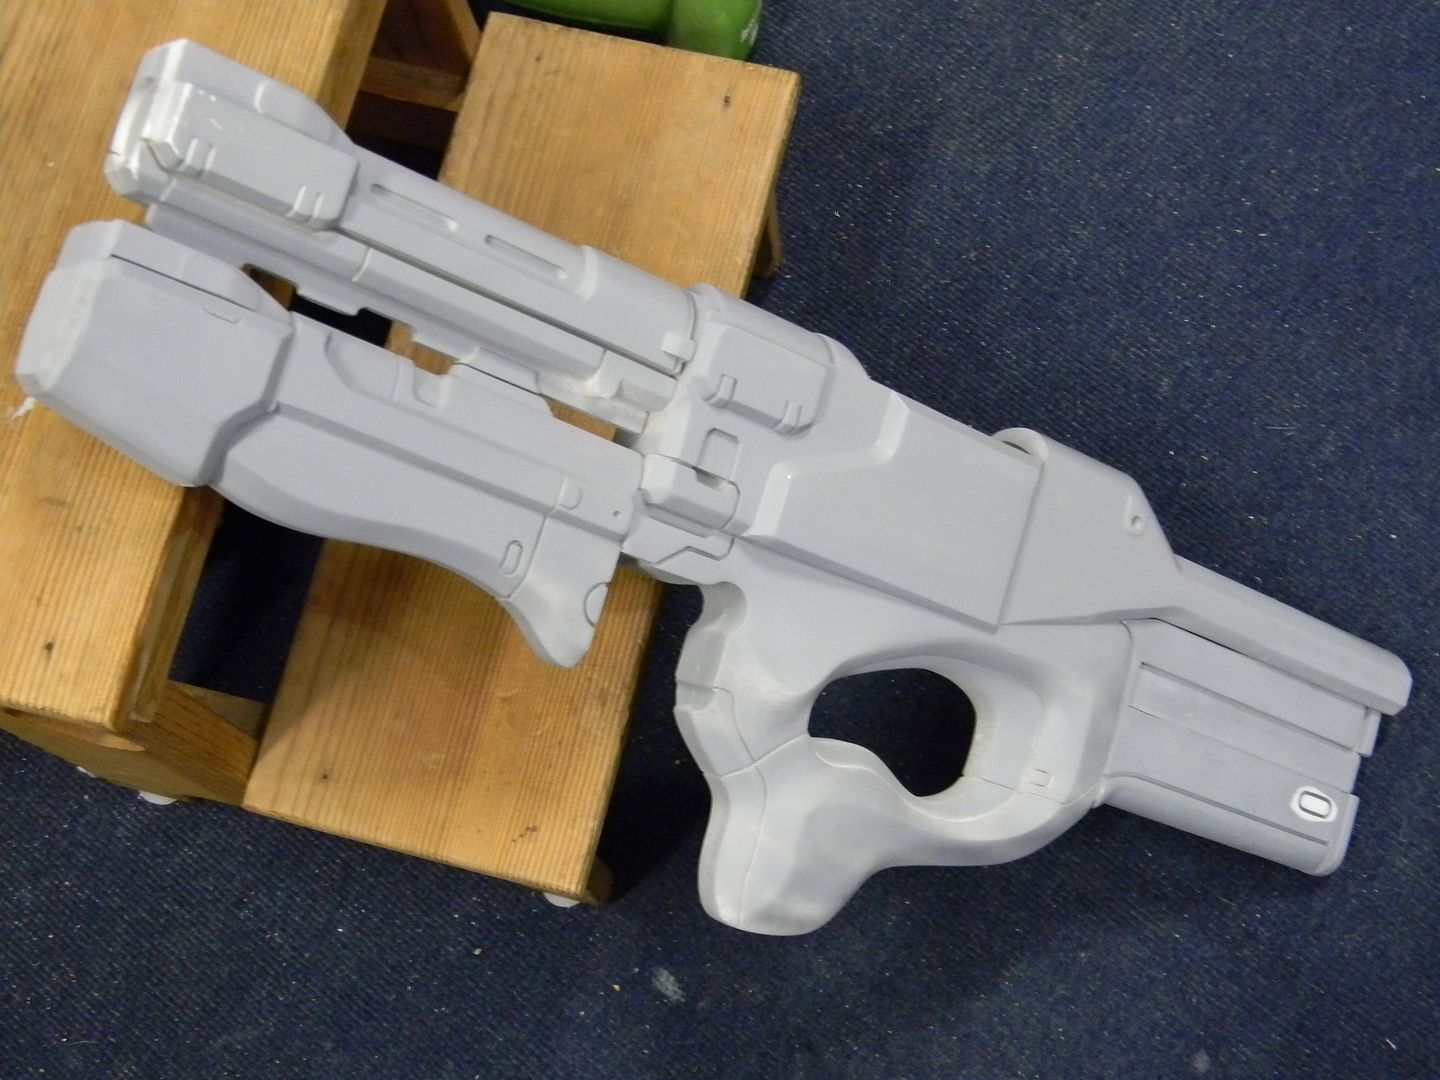


This section isnt lit in the game art, but I didn't care and wanted to light it. It was a problem though, since there was no accessibility. I hacked off the tip, and dremeled the inside of the walls until they were relatively flat and about 1/4" thick. 
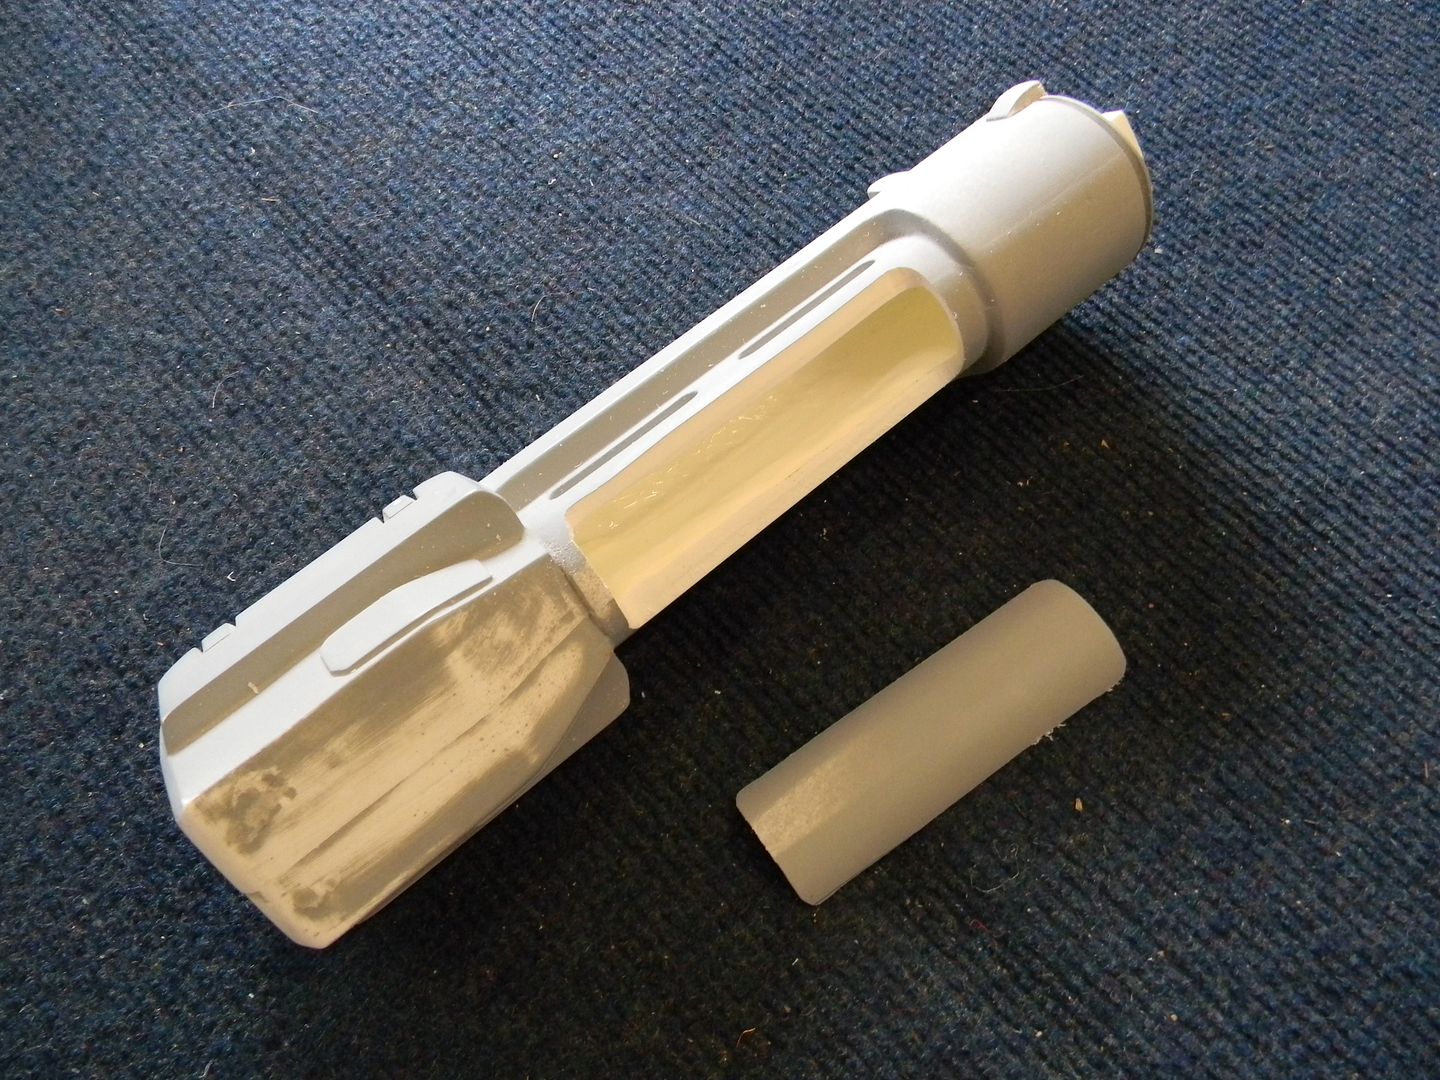


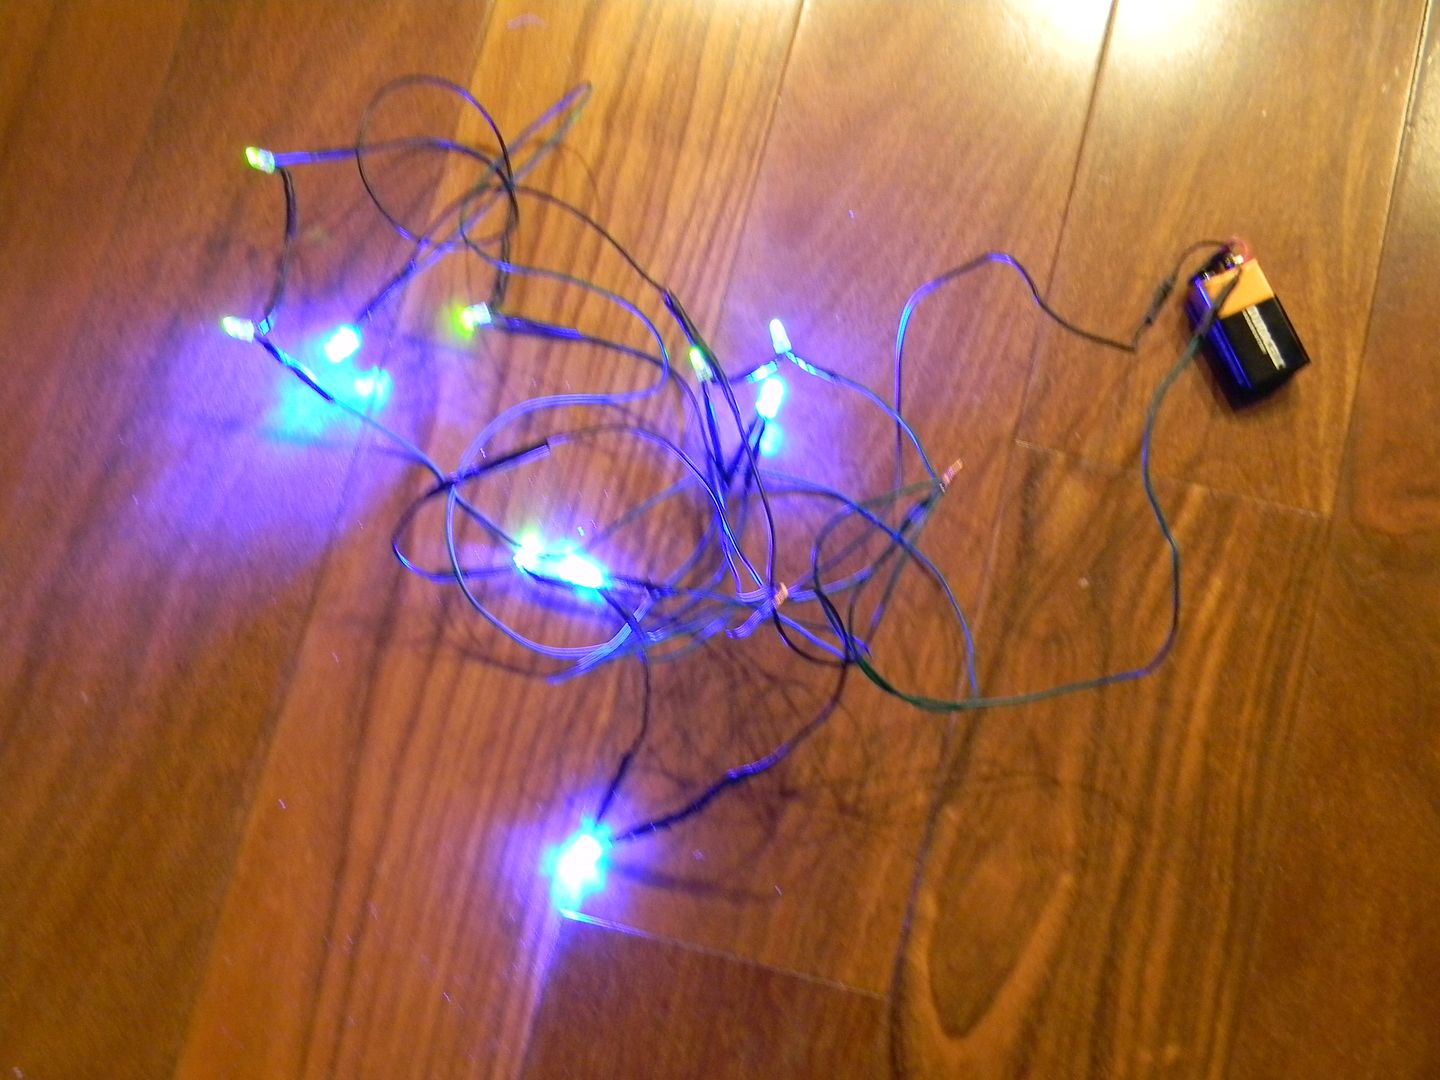
I didn't have the energy or the room to fit 4 LEDs pointing outward in there, so I did two facing up with foil everywhere to bounce the light where I wanted it to go. I also had to include holes and wiring for the barrel tip to be lit. Special thanks to my friend Derick for helping me out with this electronics mess!
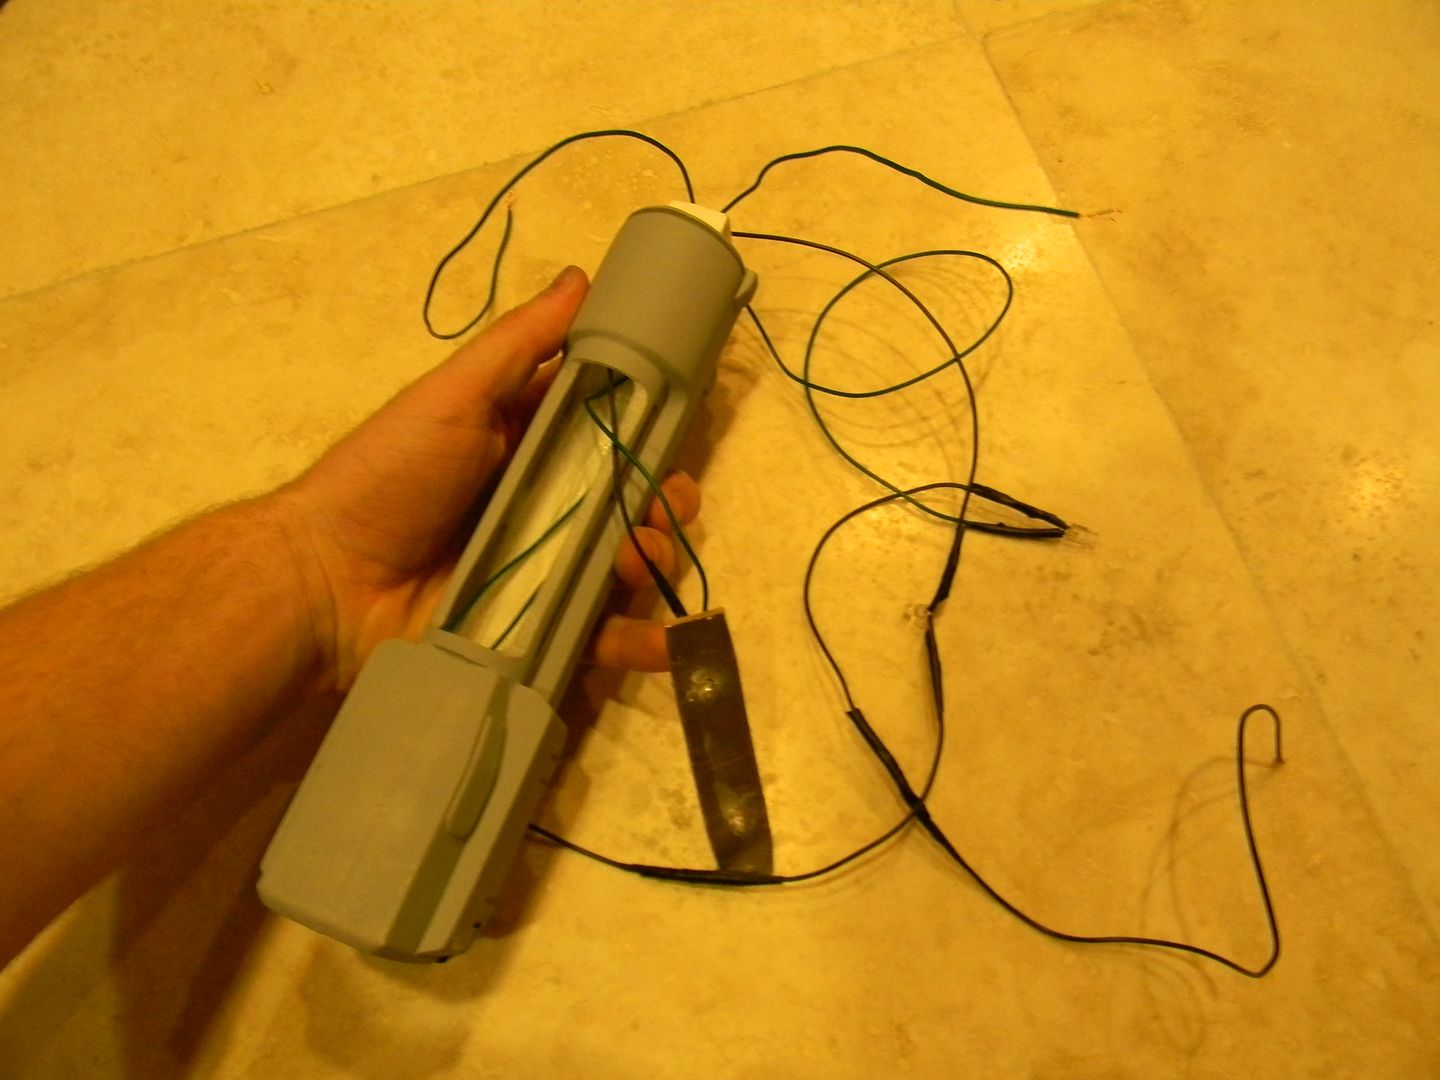
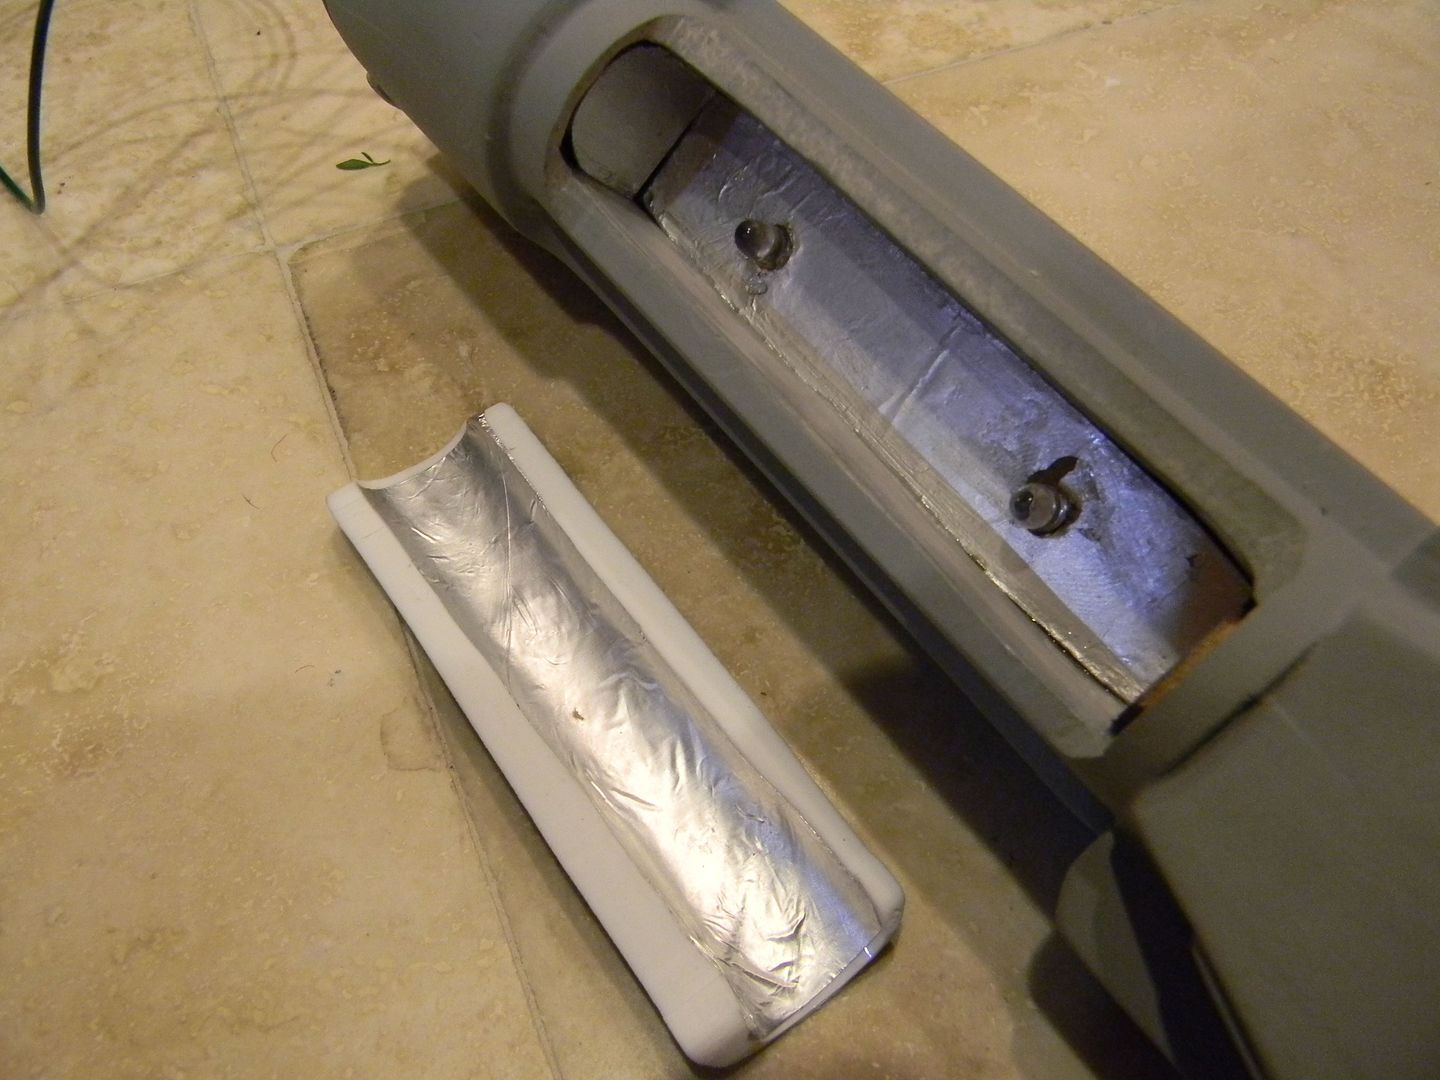


I sealed up the bit I had just hacked off, and continued to install these all around the gun. Somehow. There's only two circuits in there, so if something burns out I'm pretty screwed. 


The rule of camera phones: The worse your camera is, the better the LED's look. 
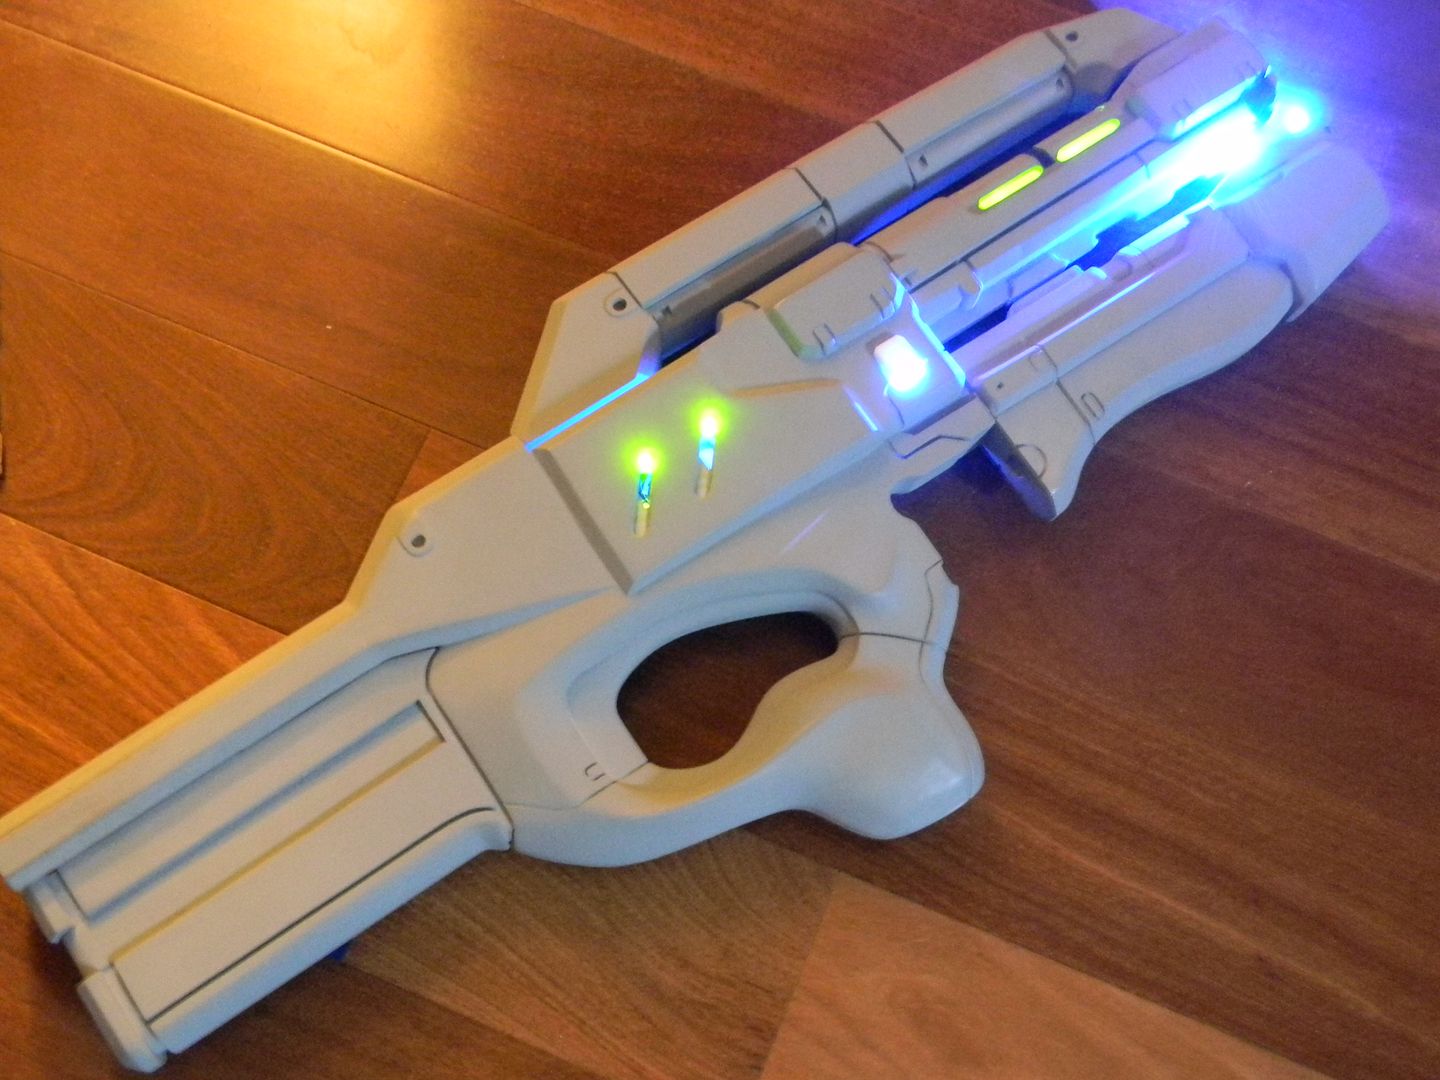


Home stretch!
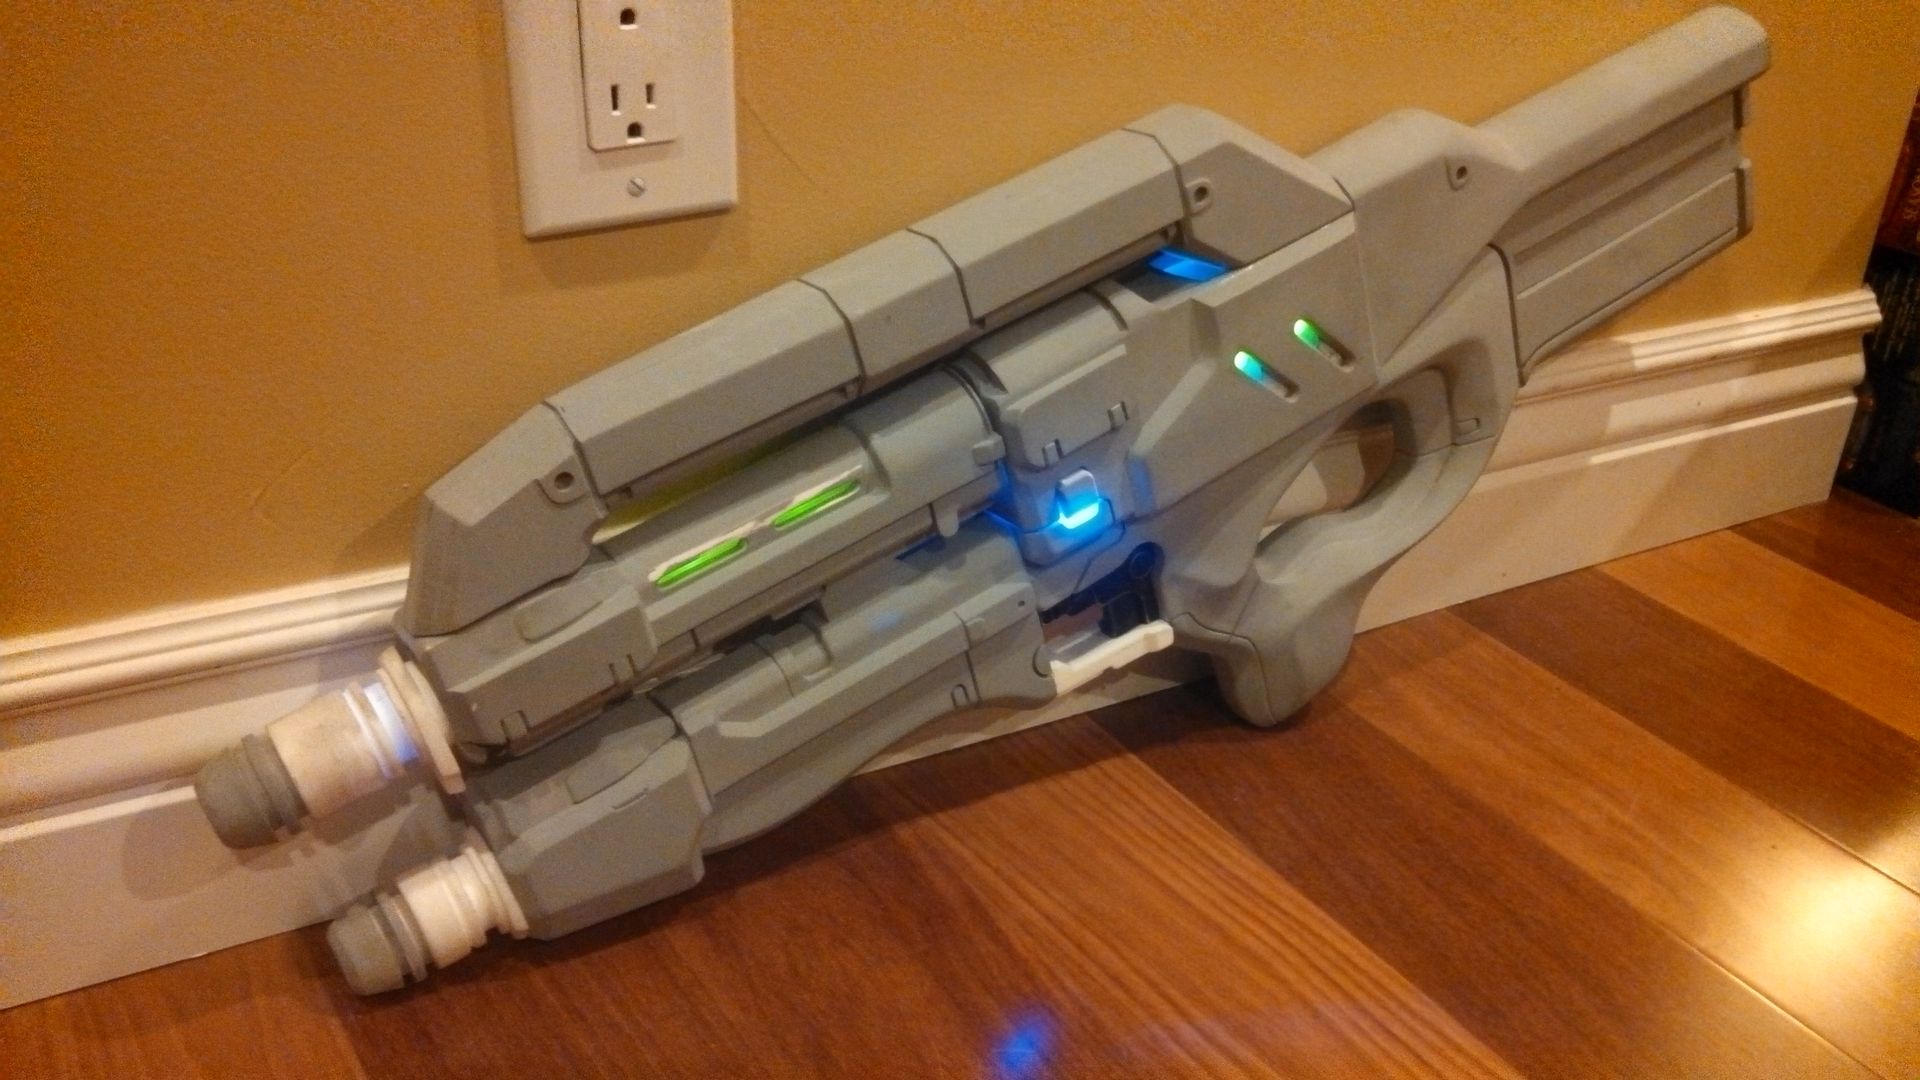


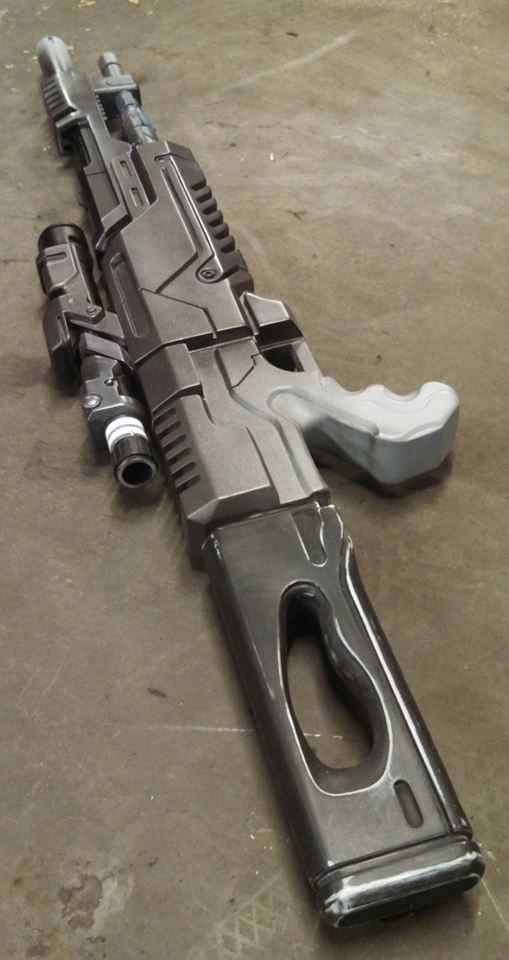
Pew Pew! Thanks Eric for touching these up. 
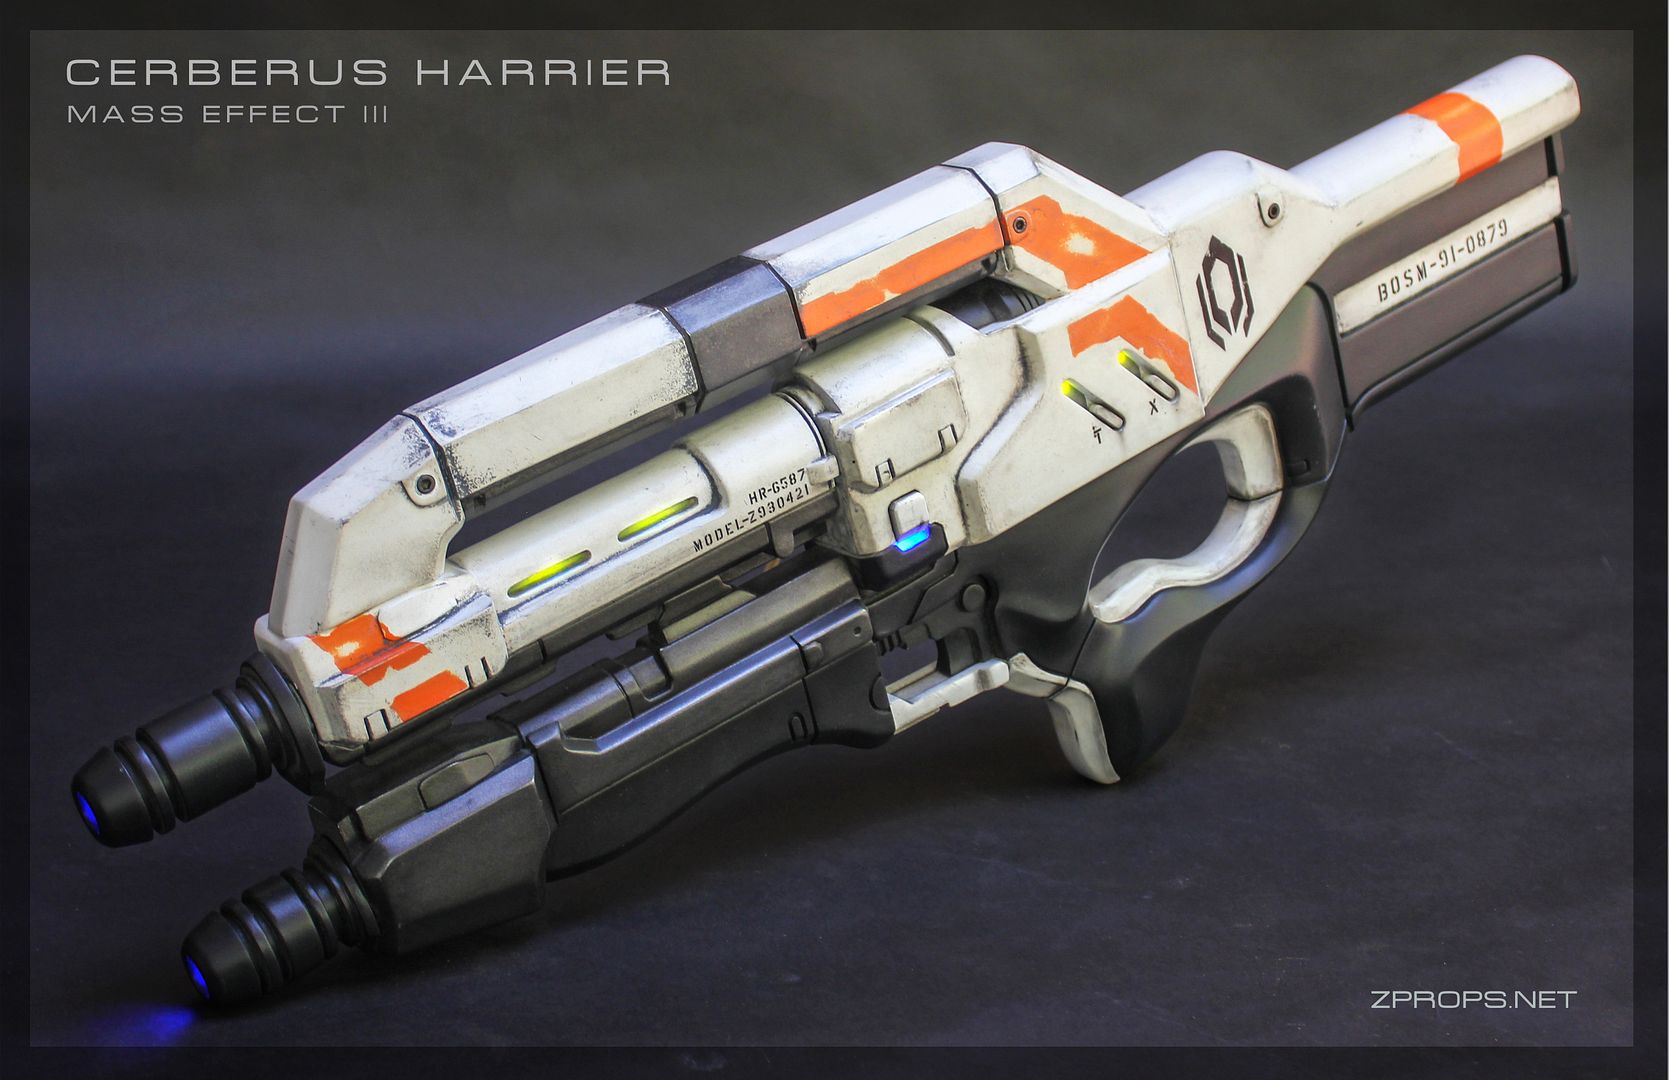


For humanity!

More stuff here. 

Thanks guys!


Thursday, May 29, 2014

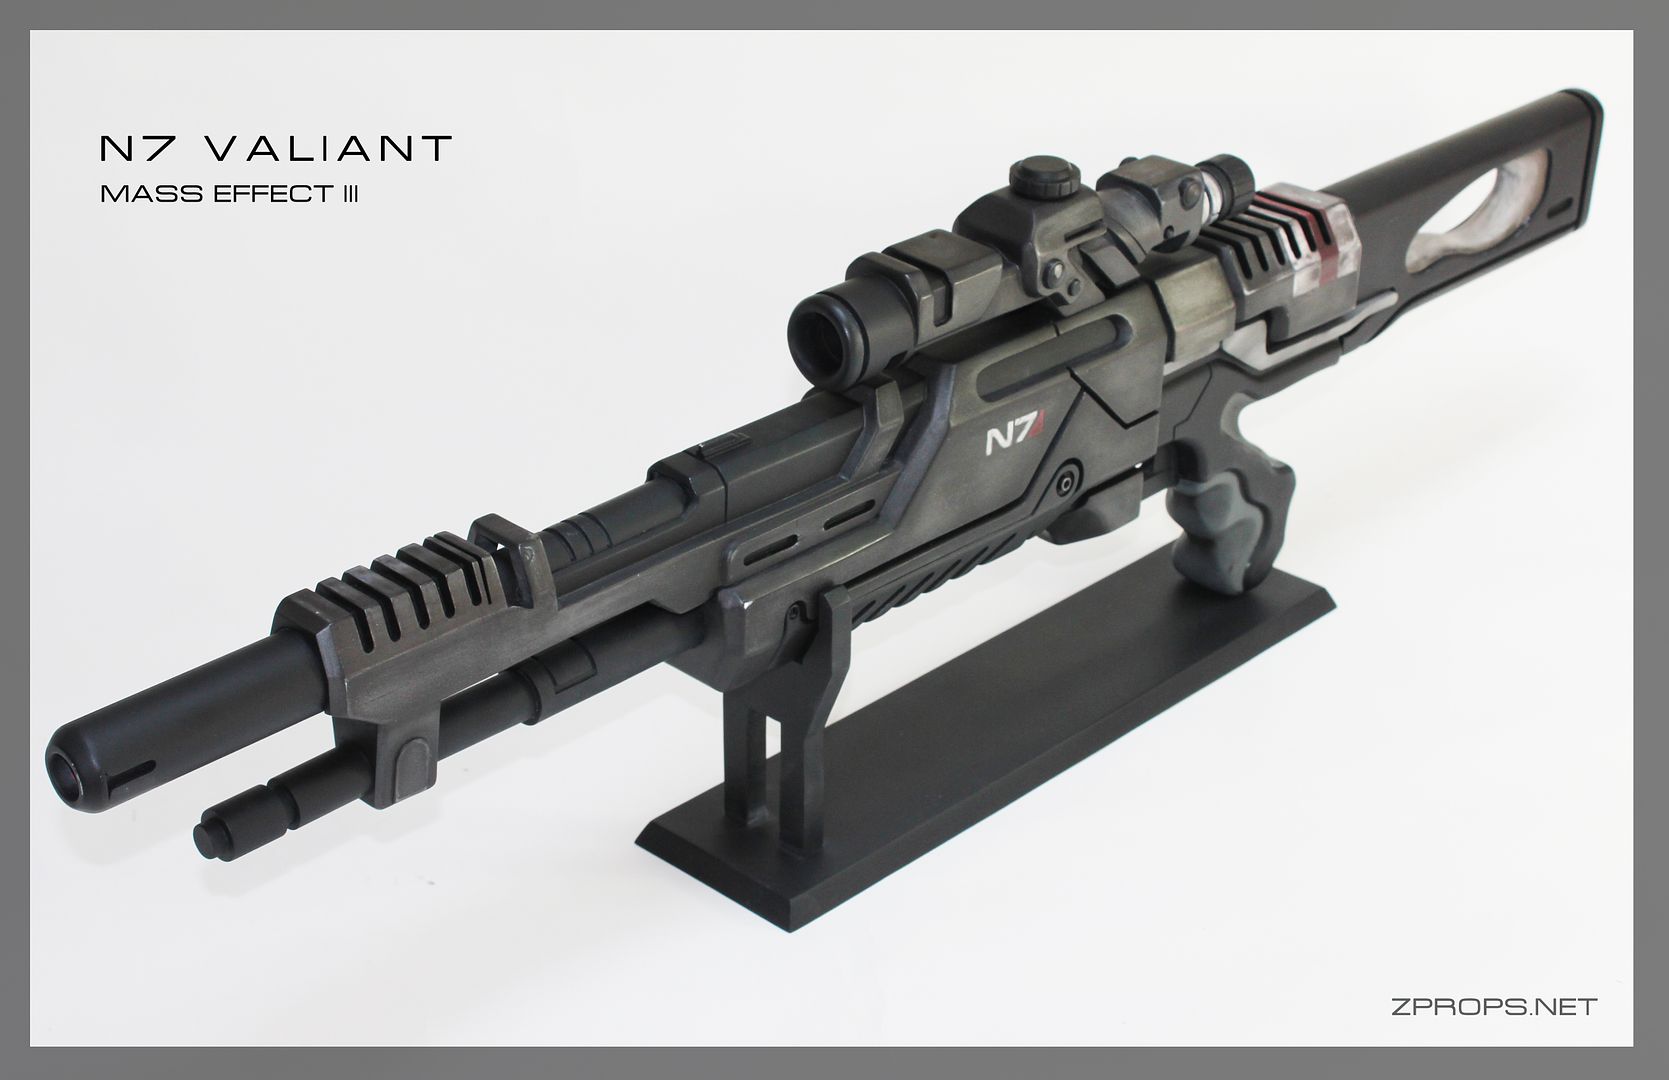
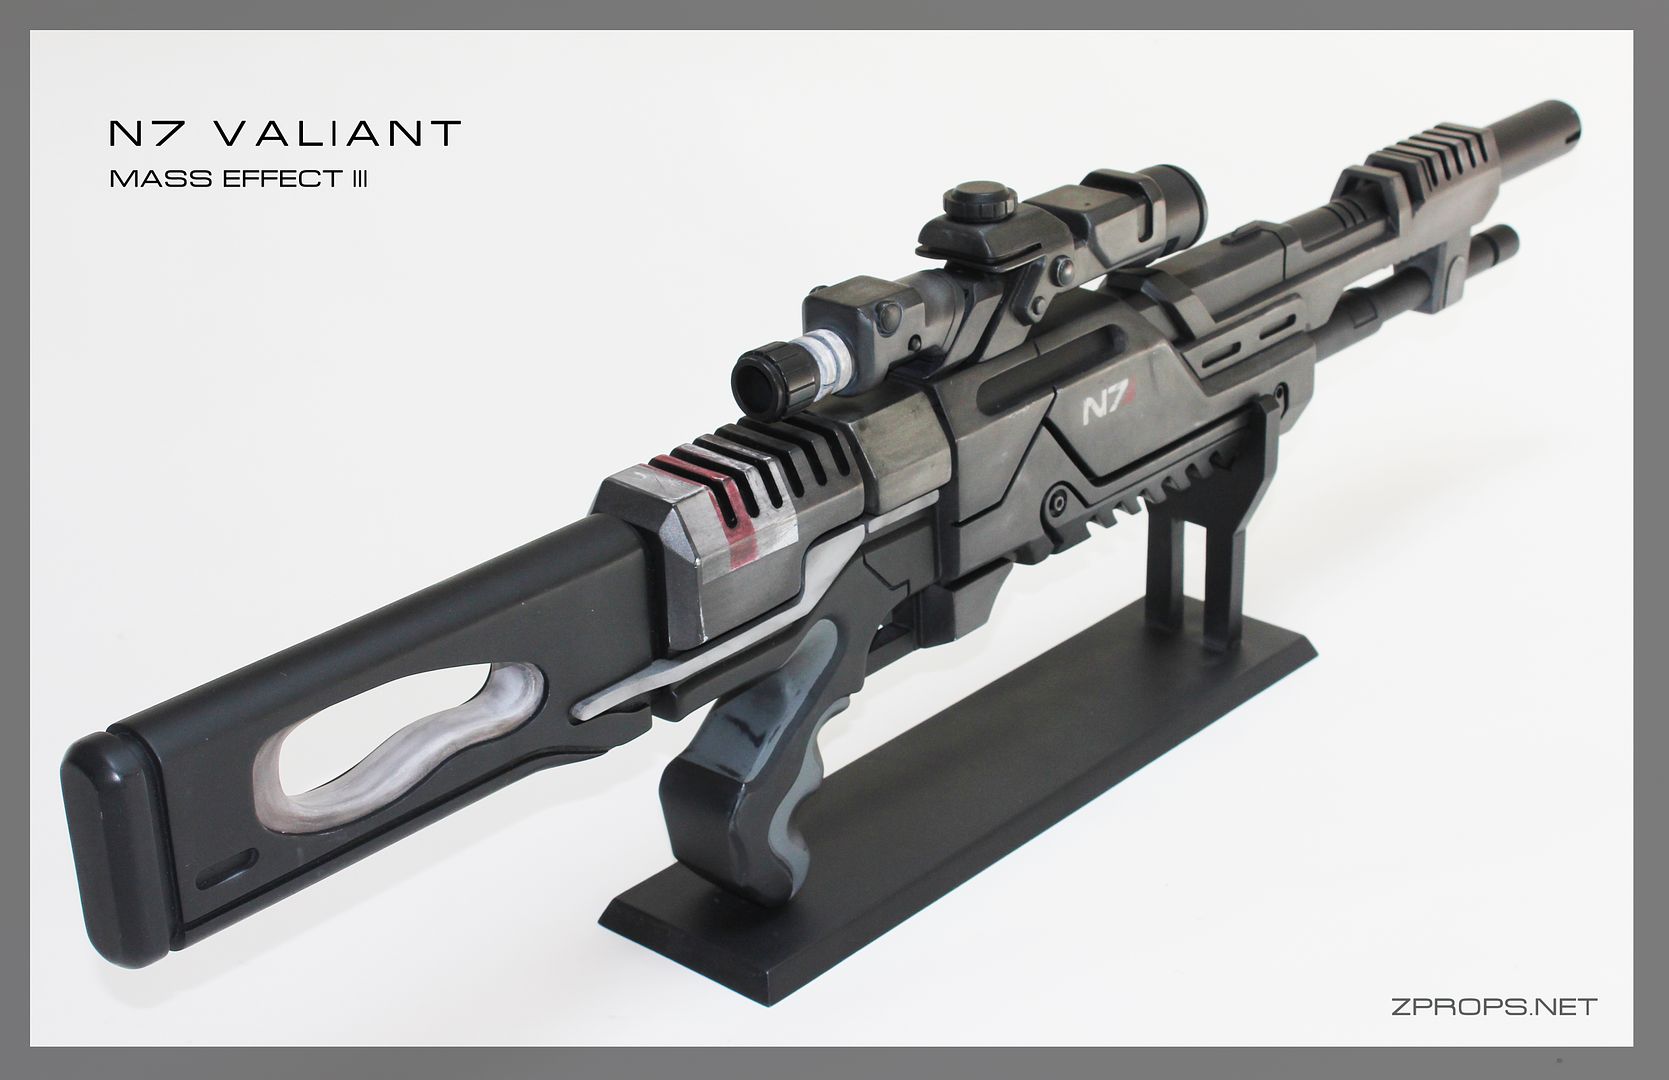
Mass Effect III N7 Valiant Sniper Rifle


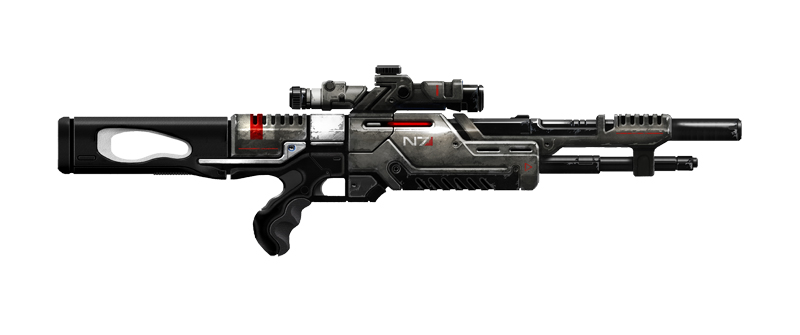
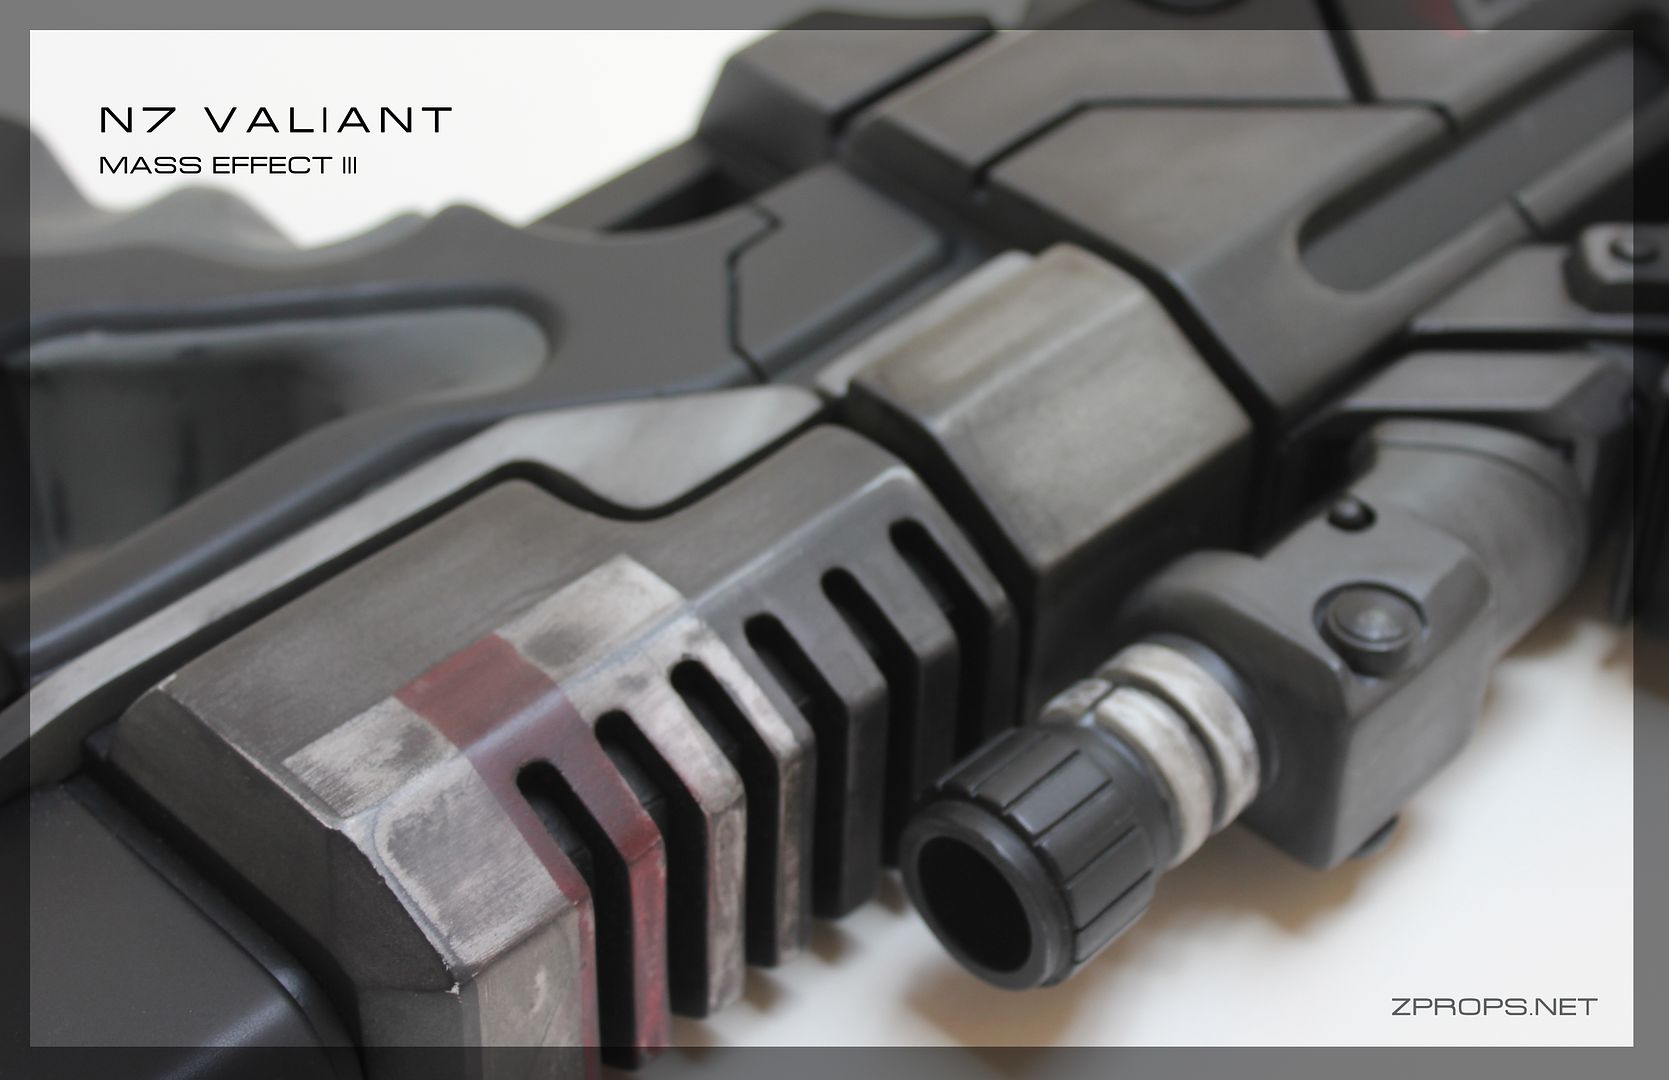
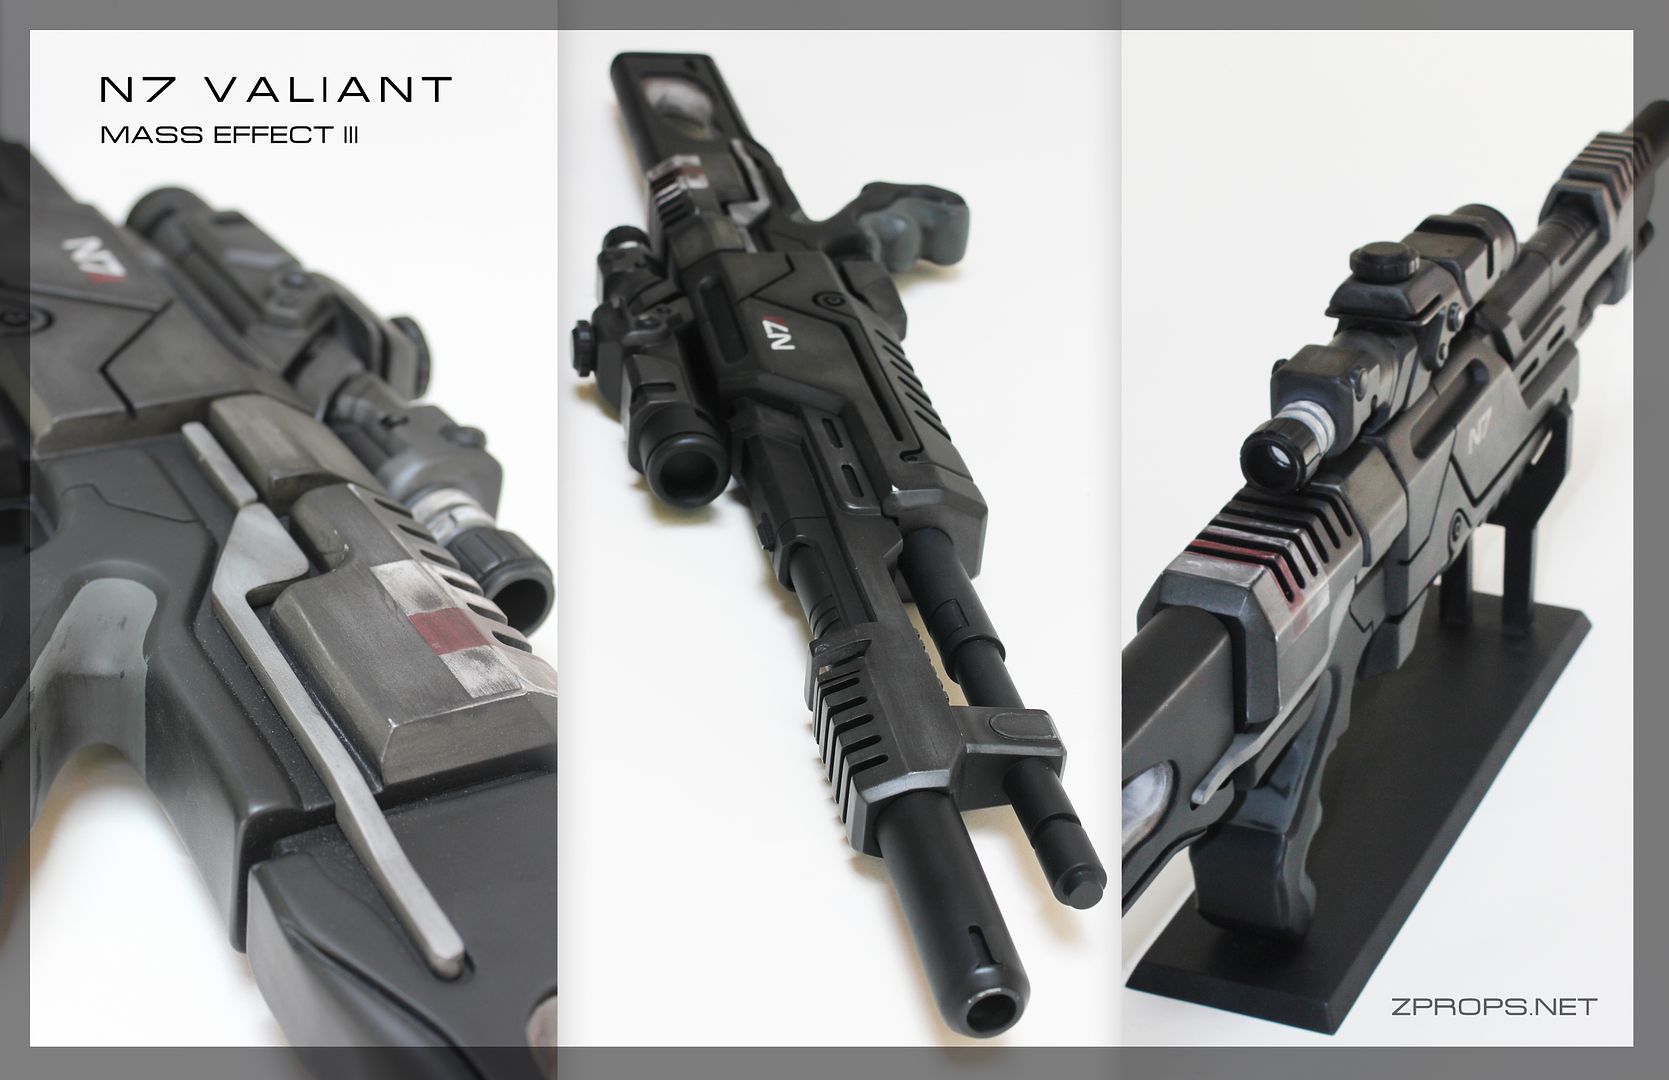
This will be my 6th completed Mass Effect gun build to date. The N7 valiant. I decided to go with the short barreled version you see in the game, rather than the long barreled version on the back of the Mass Effect 3 cover. I also opted to make a few changes that don't exist in the game model, and wanted to give it a stealthy, dark look to it since it is an experimental weapon.

Here's a picture, try and spot the changes by the end:


Obviously, I thought it best to start with a previous project from long ago.

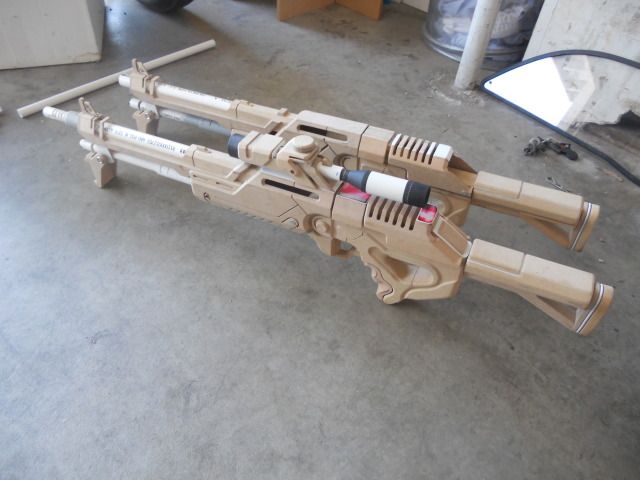
I actually made two of them, before sending one off to the client way back when. Of course my skills had improved since carving that thing out three years ago, so I decided to revisit a few things and clean up some detail so I could mold it. This would serve as the base for the N7 valiant.


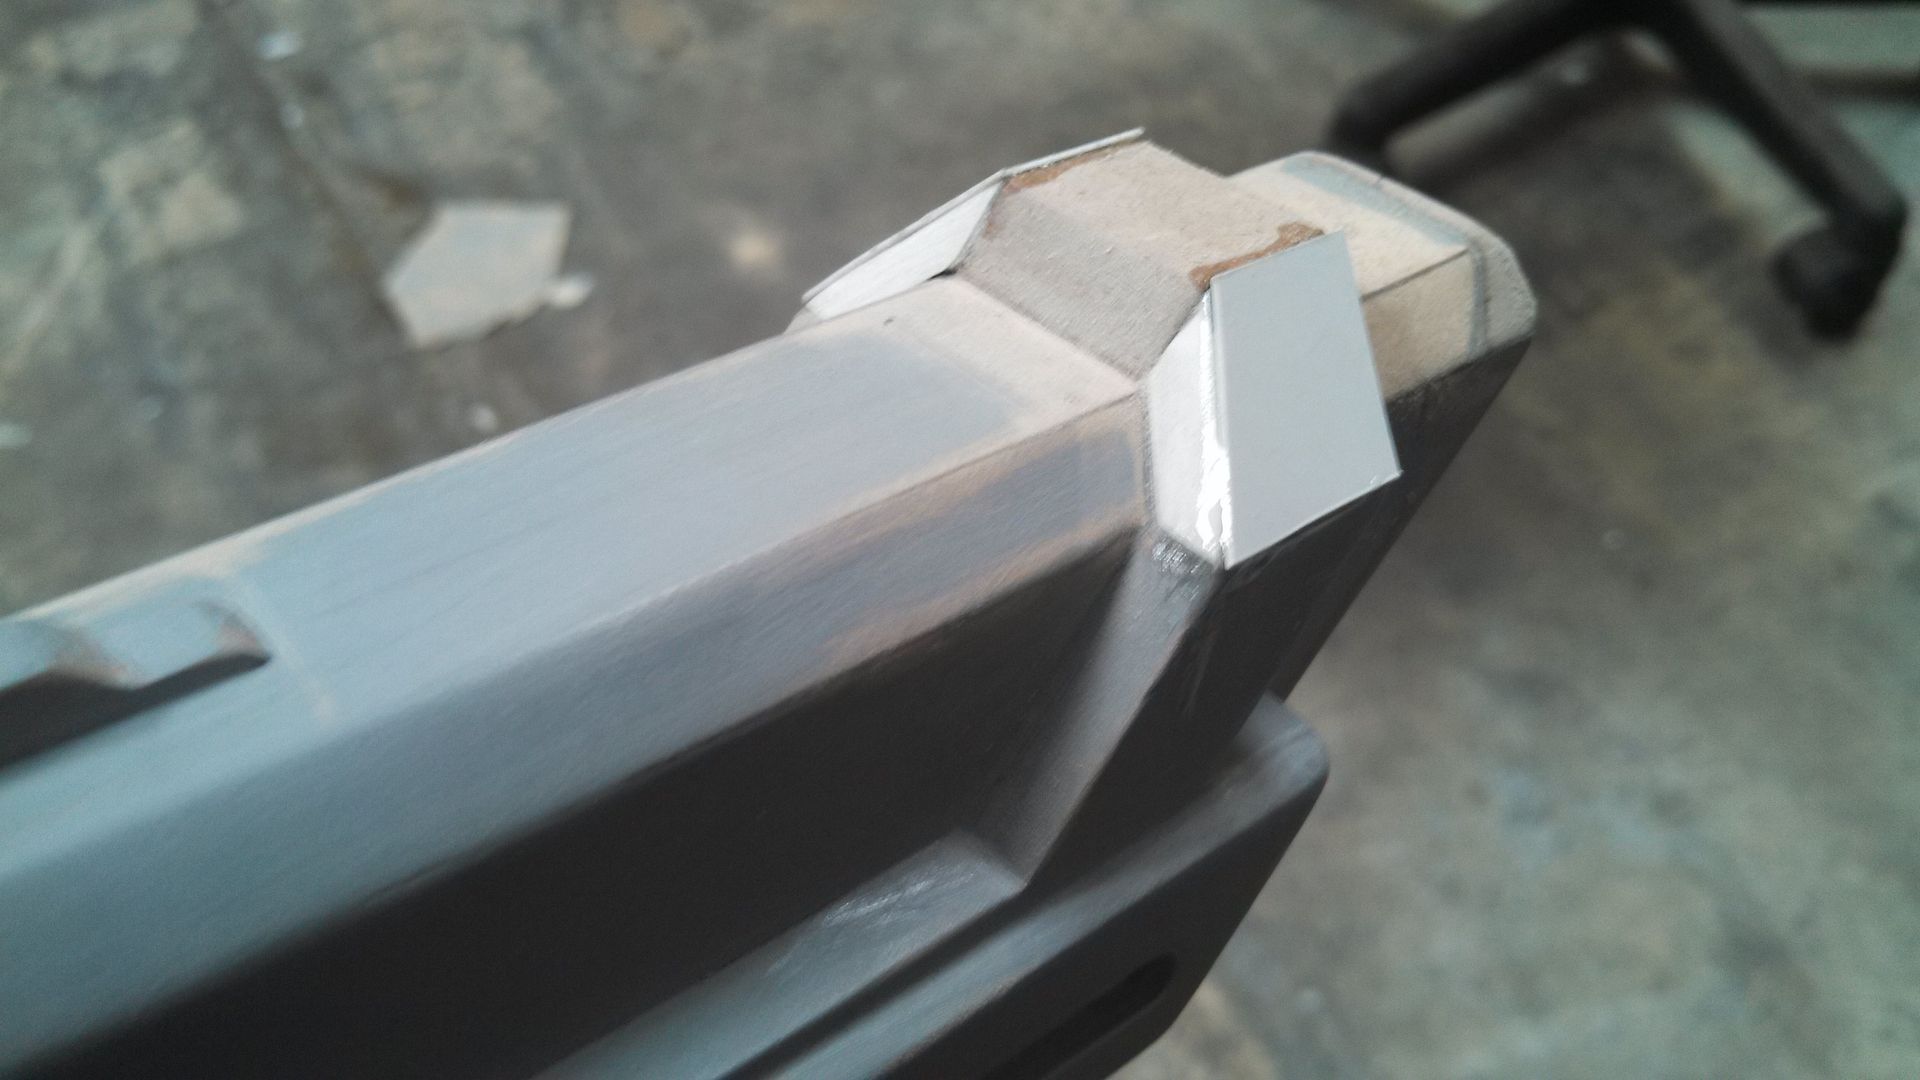
I used styrene to make the sharp beveled edges back here.


As you can probably see, there were a lot of flaws to deal with, as well as a lot of hollow areas that needed to be clayed up before molding.


First pass of bondo.


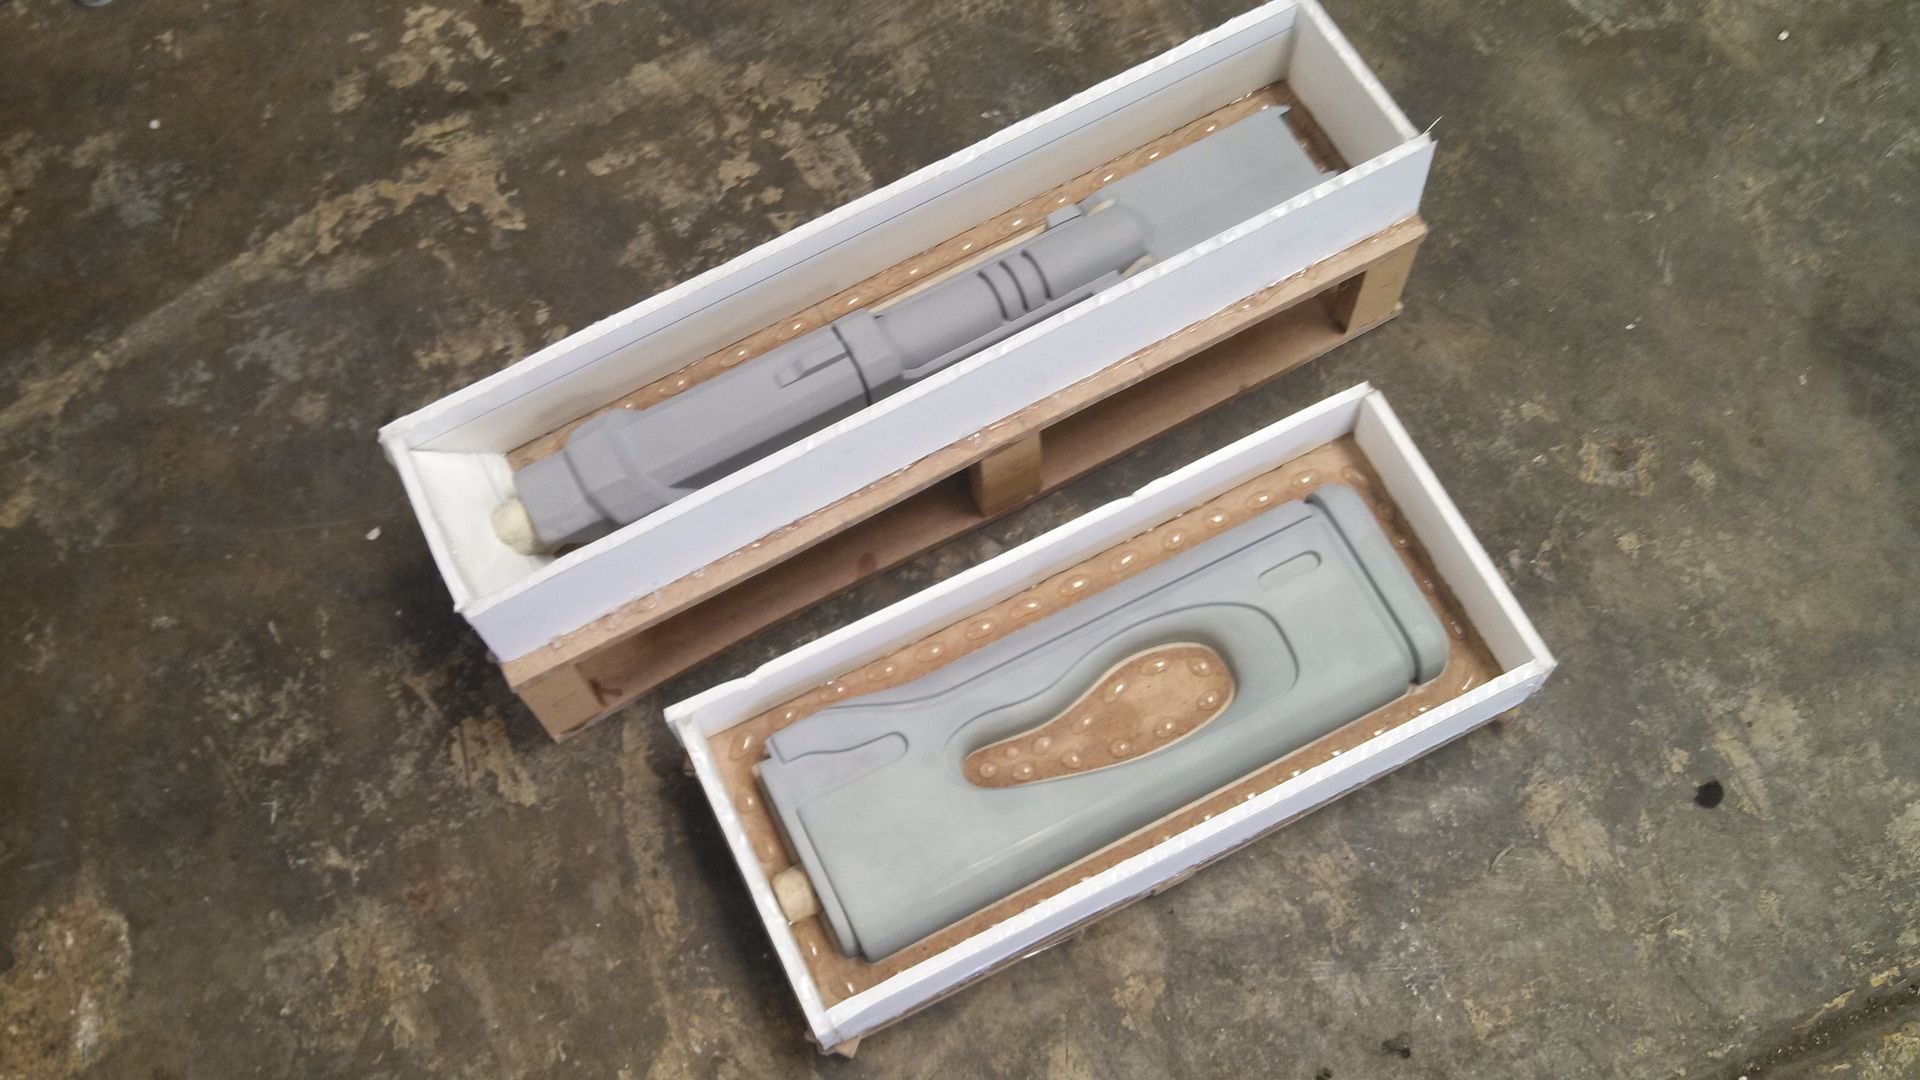
When that was done, the deep panel in the grip was clayed up, as well as the outside of the gun. I use MDF jigs to help save time on molding, as well as get really precise molds.


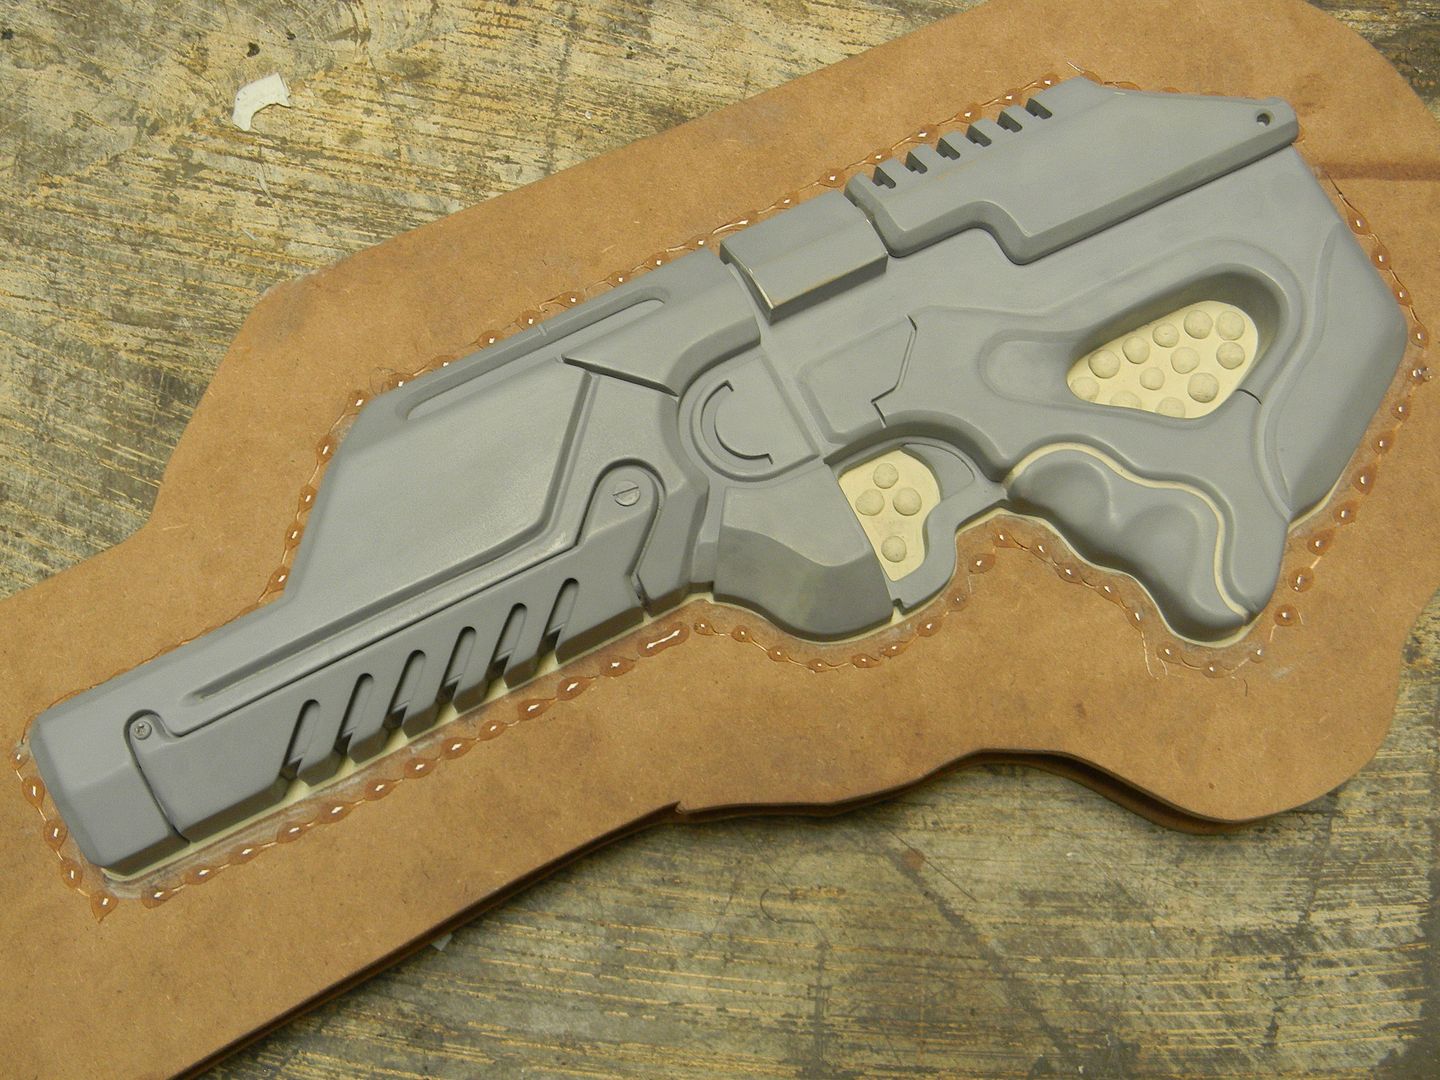
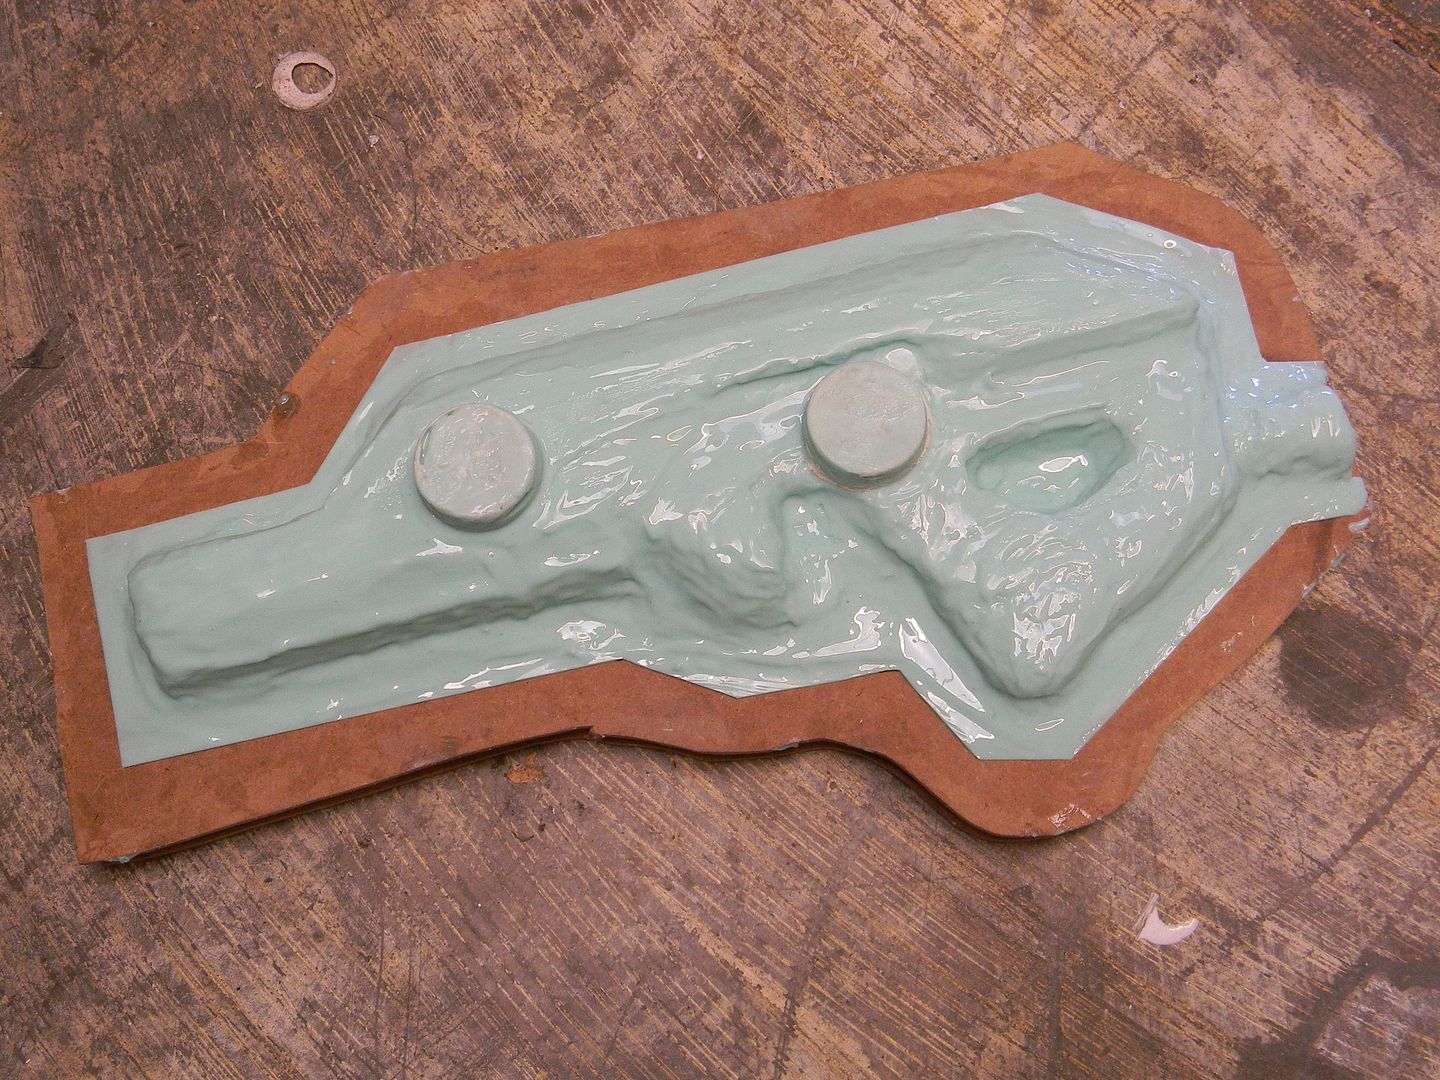
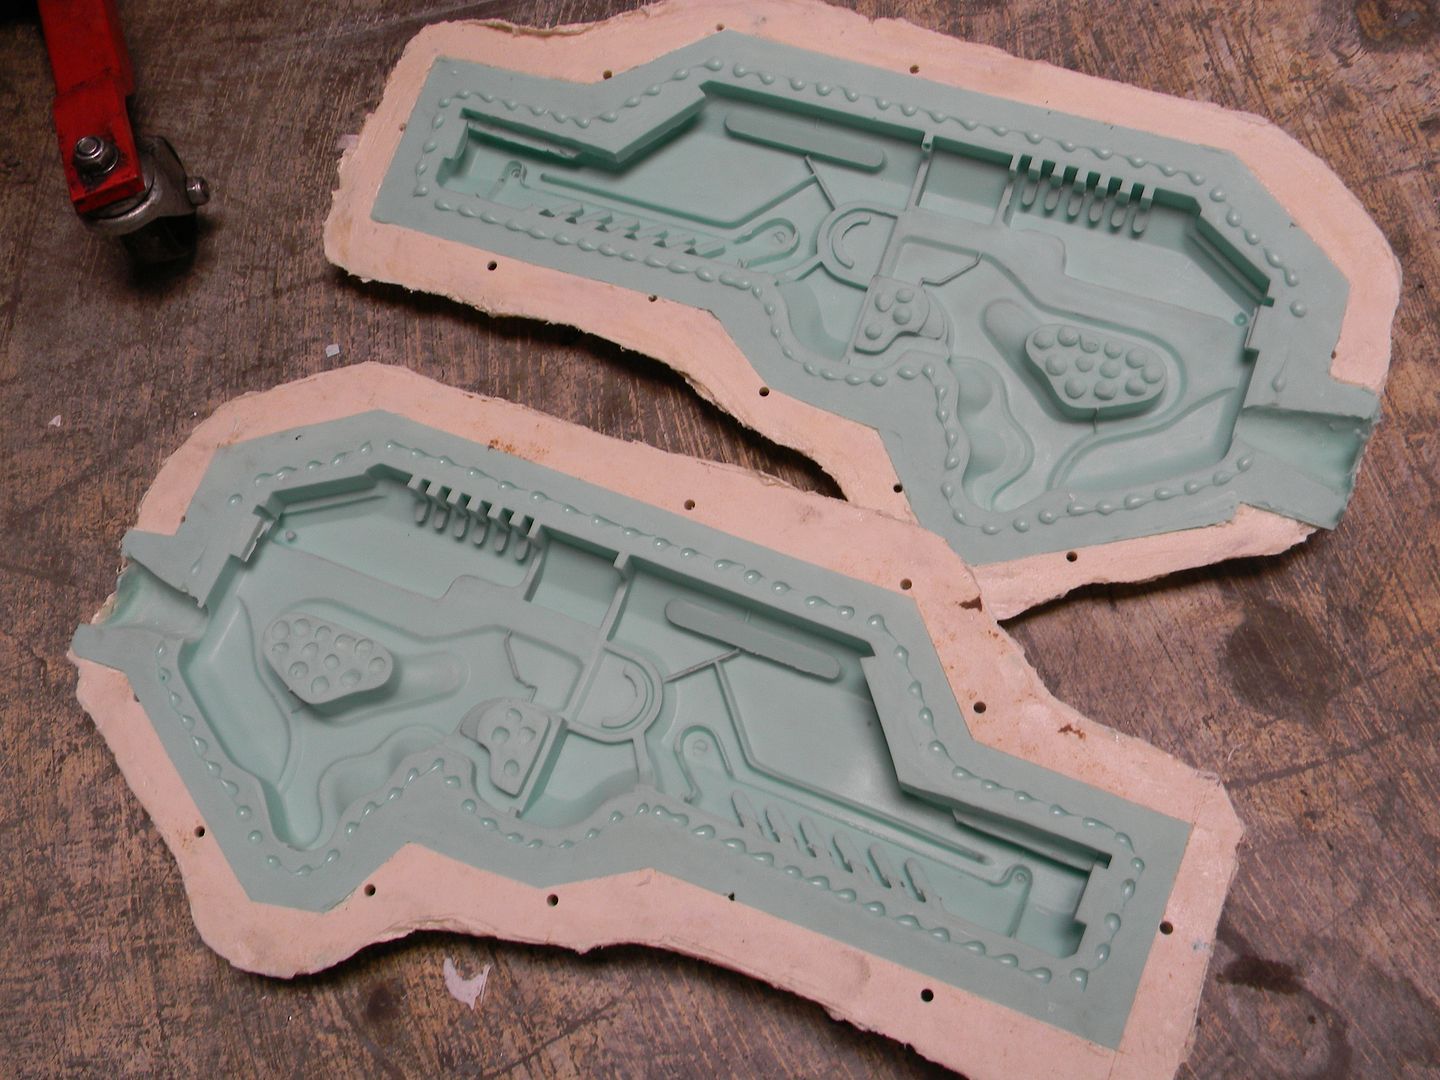
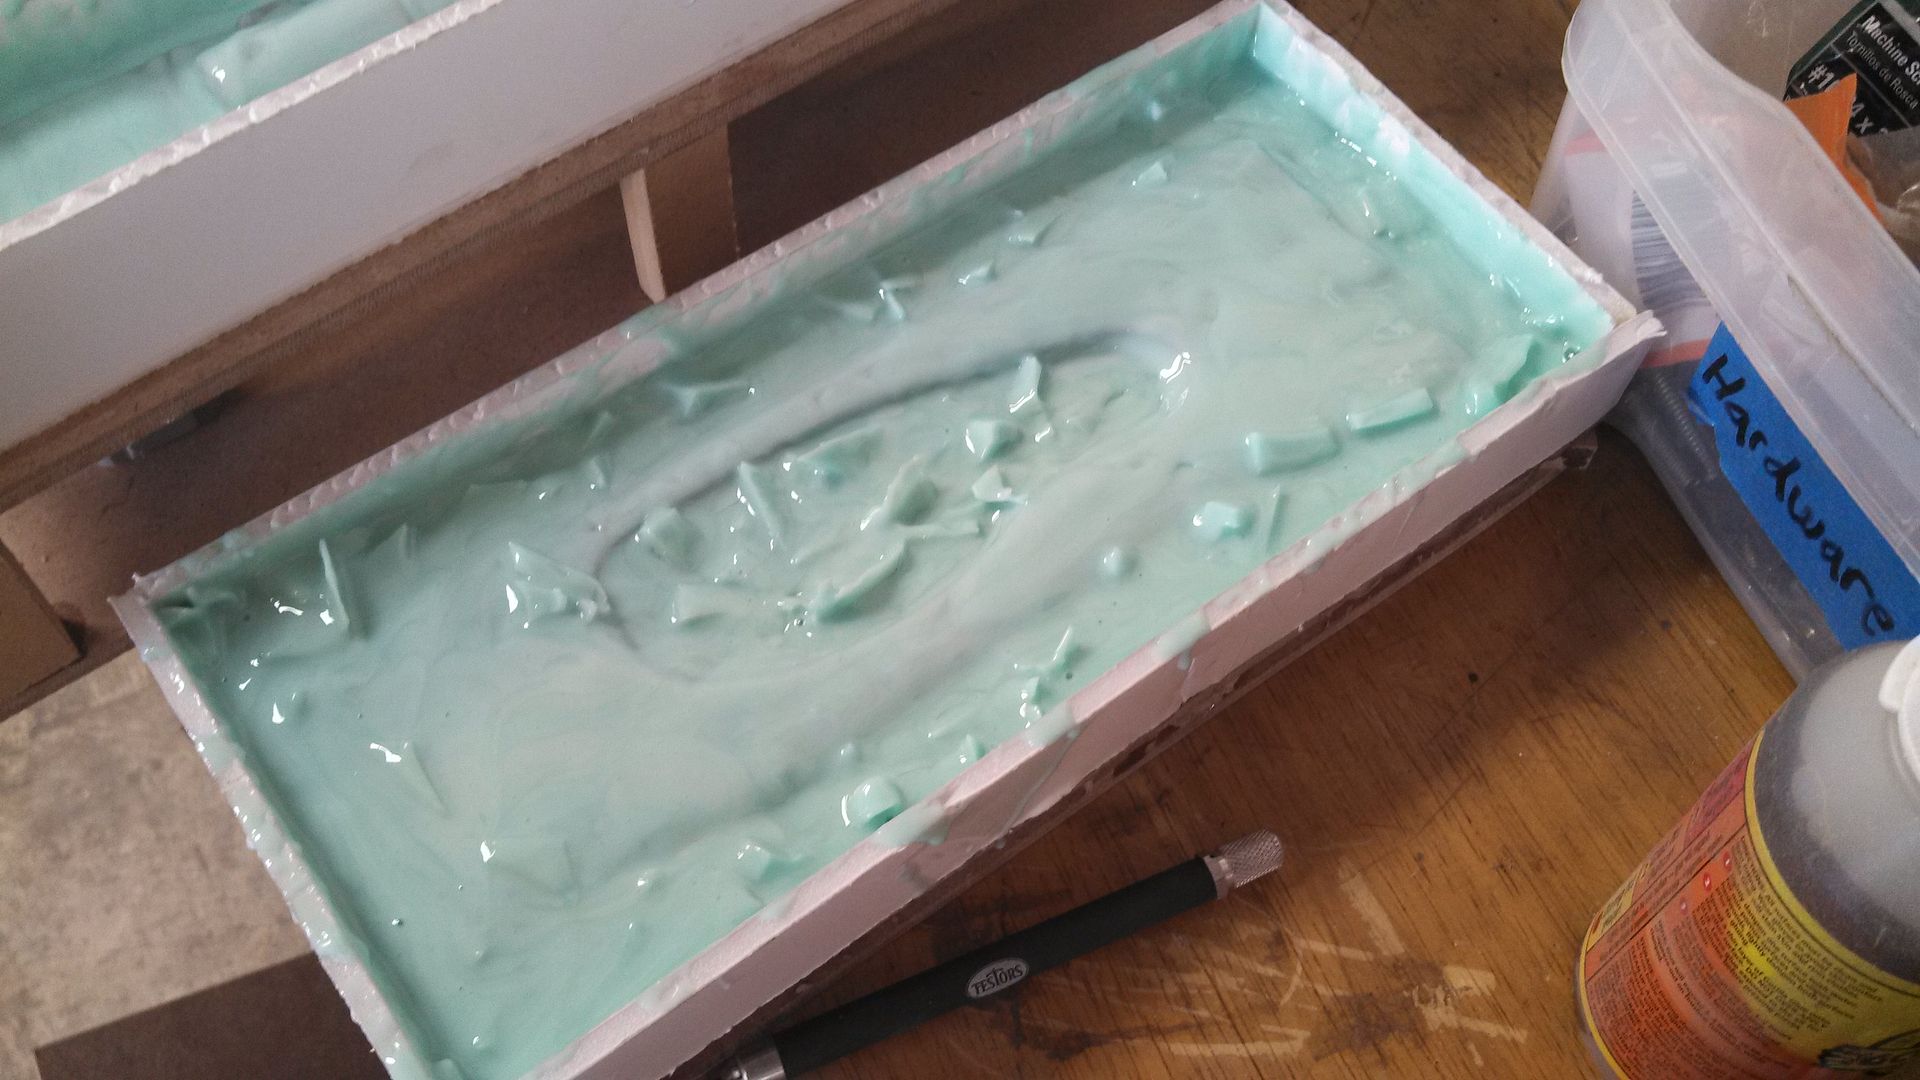
I brushed on about 6 layers of silicone and trimmed the excess.


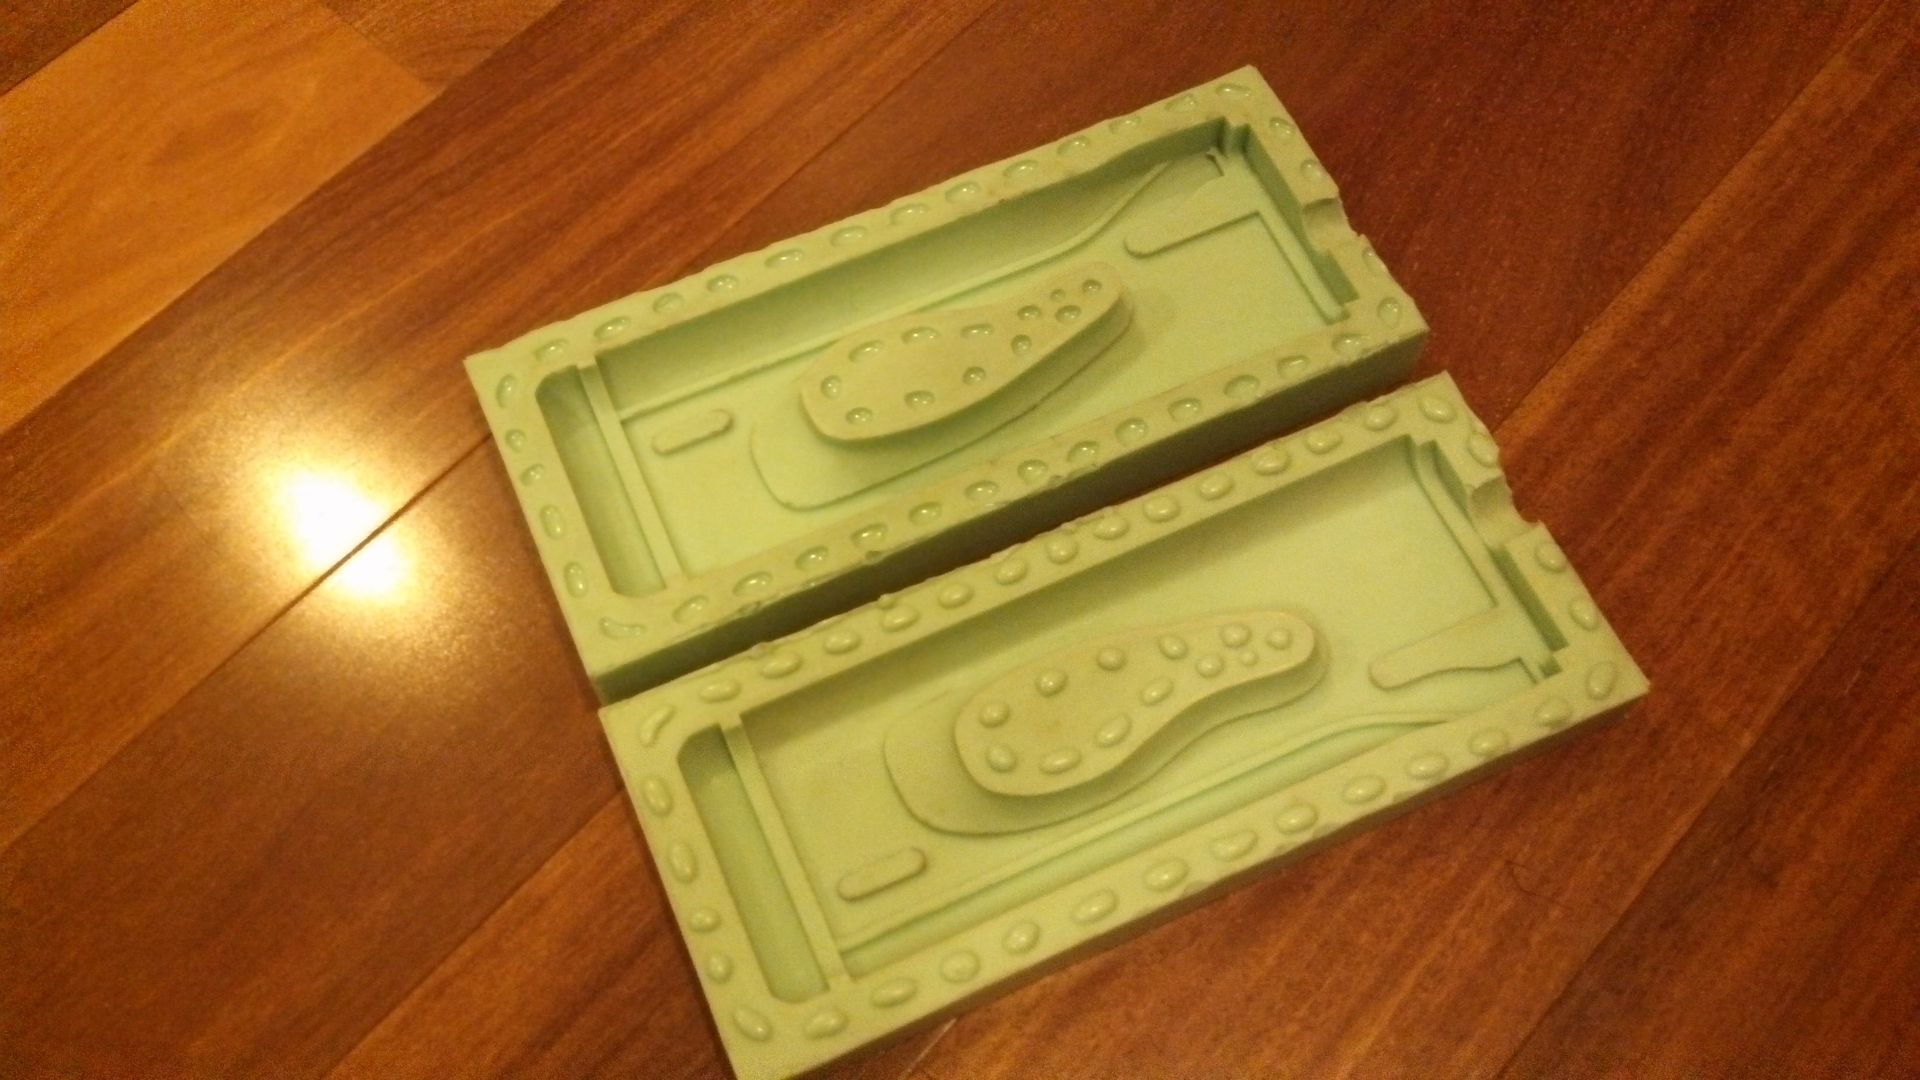
Then I used Smooth-on's plasti-paste for the jacket. this is the jacket cured, the part flipped over, and the Jig removed.


Mold release, repeat steps.


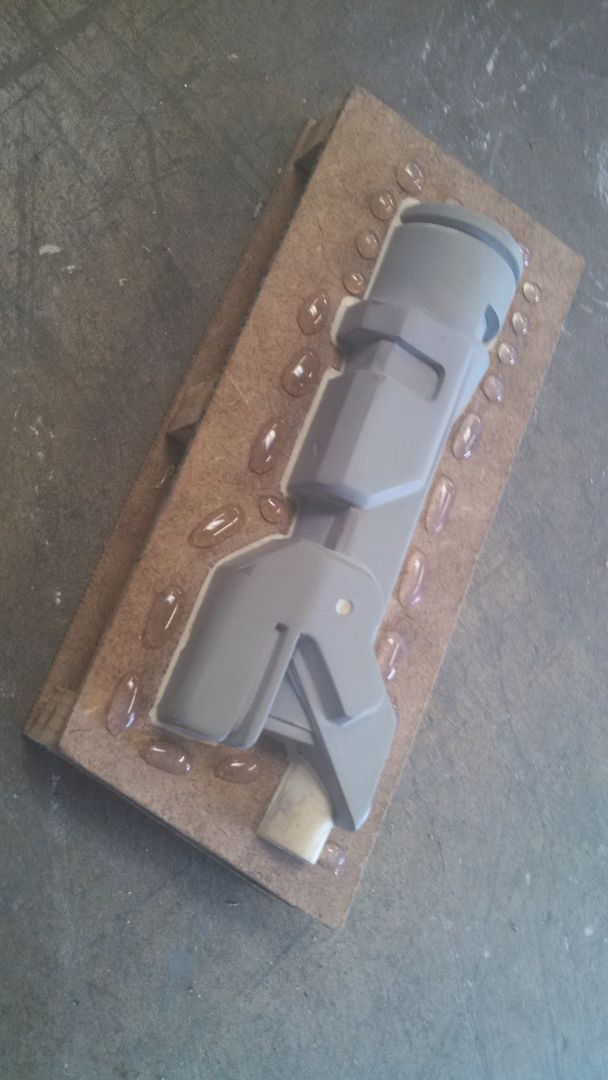
The scope had to be re-made, I didn't have an extra. This was fine, I needed to re-make it anyways to be more mold friendly. The rear half of the scope is simply a mattock scope, minus the eye shade. I didn't take molding pictures, just the prep shot. 

                                                             
The mold churned out some really nice casts, considering the complexity of the part!


High-tech illustration of finished product below.


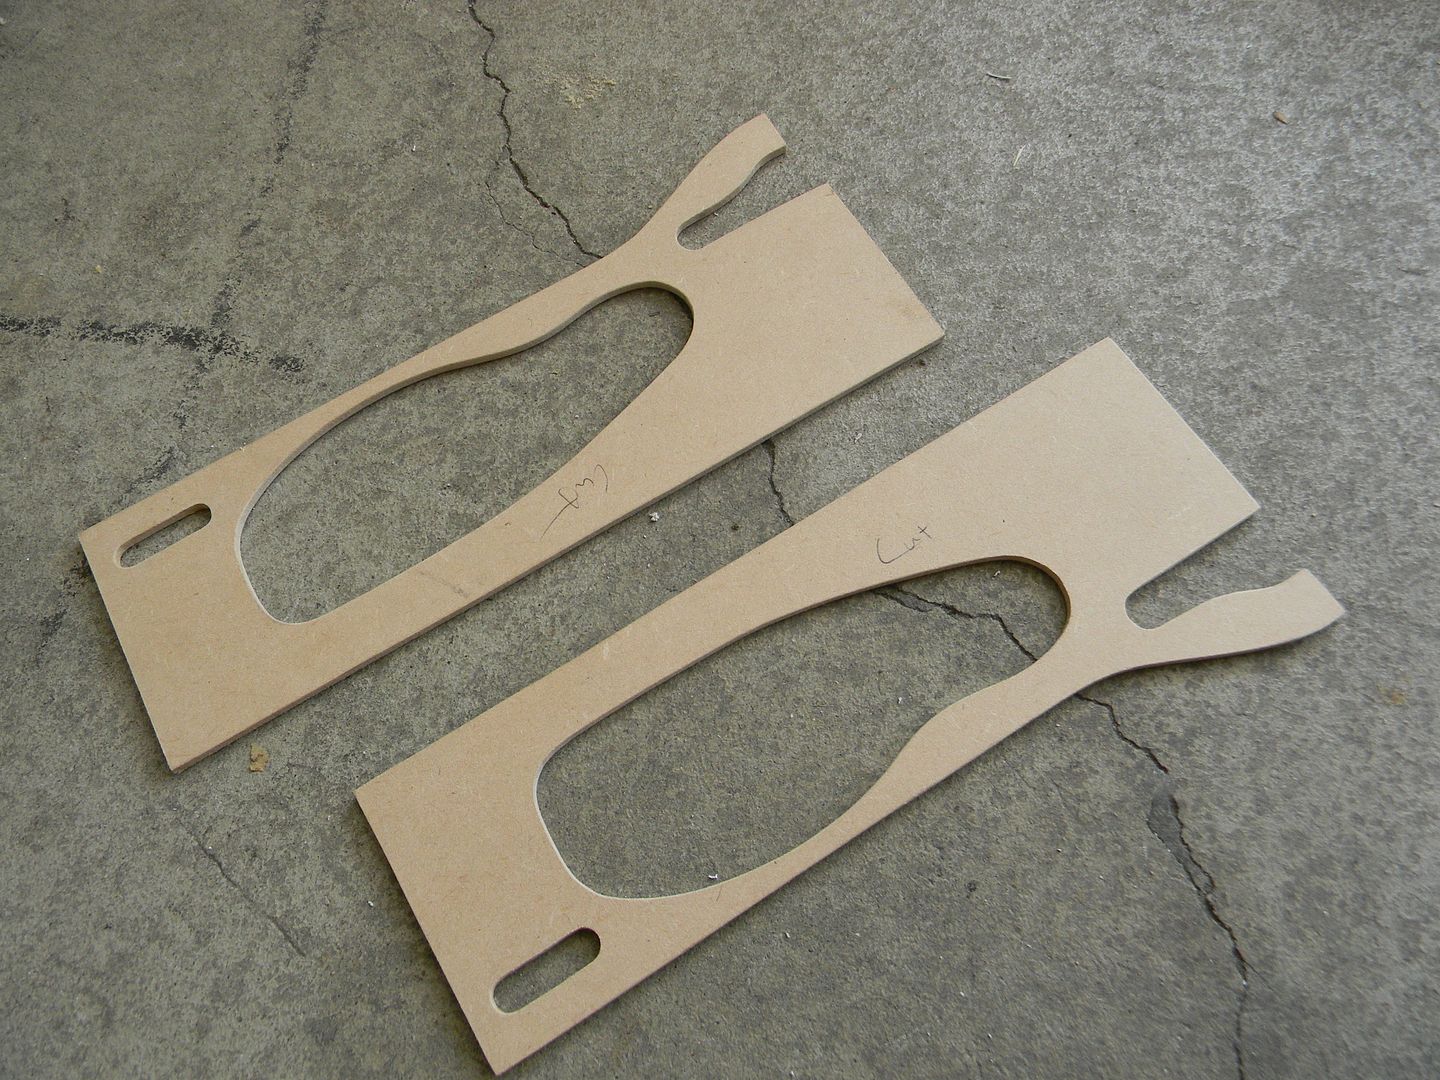
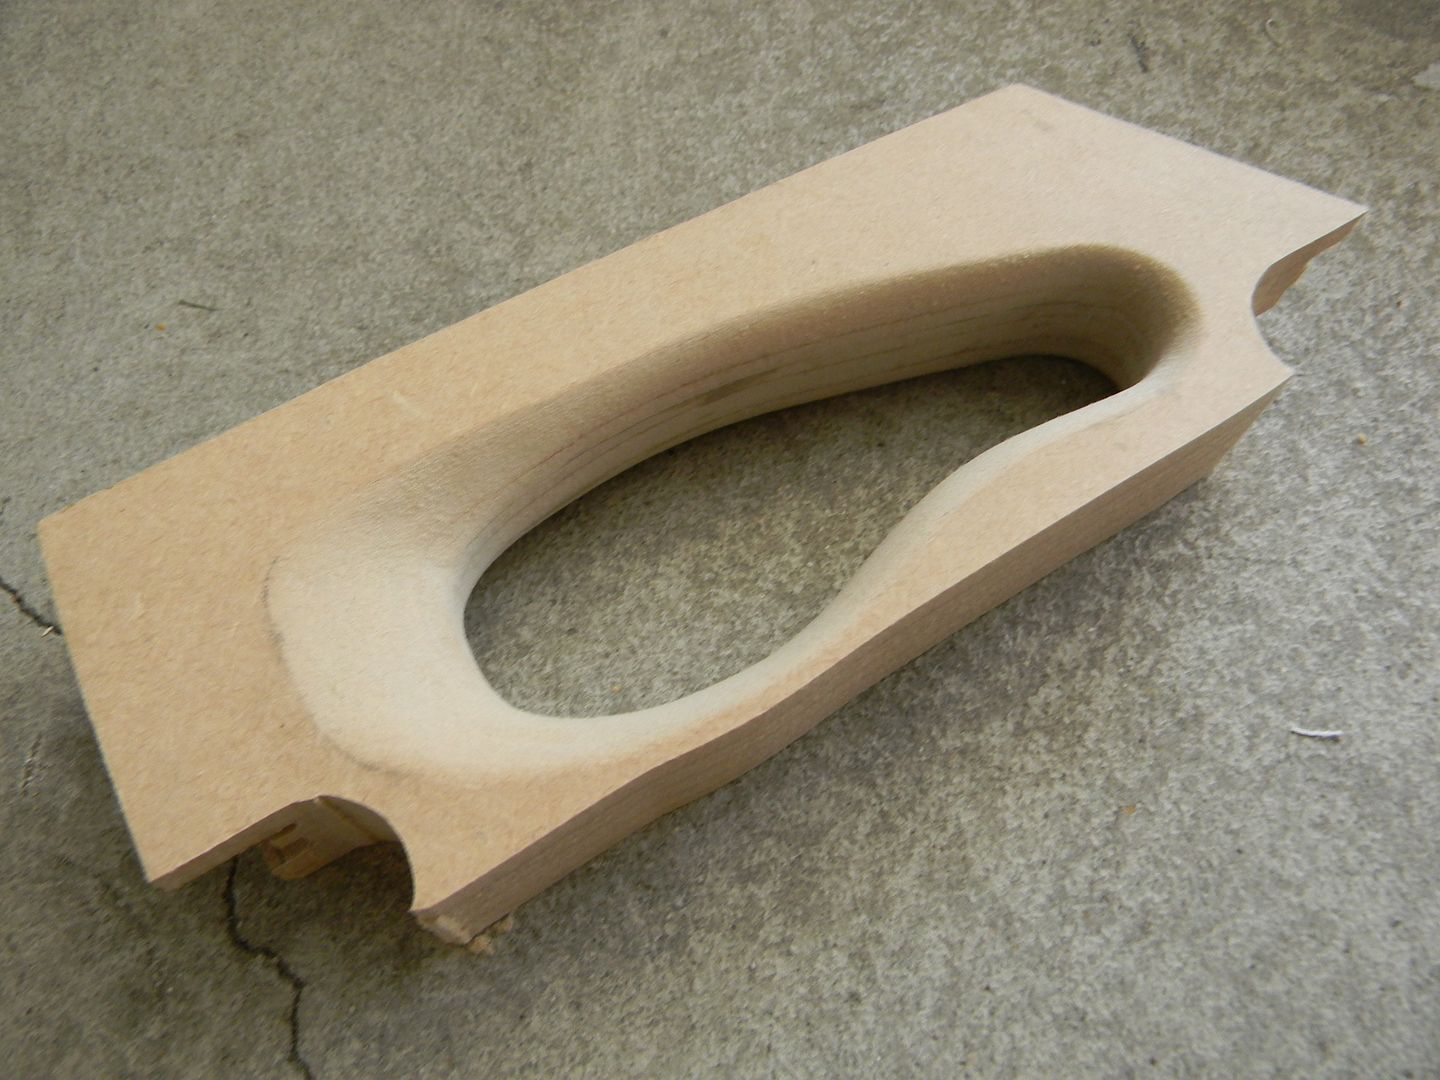
As you can see, the stock is drastically different than the M-29 cousin. I cut two of these at once.


This is actually three layers cut at different angles, then glued together and beveled.


Lining things up.


I hacked off the top strip of MDF and added this sliver of PVC pipe.


Comparison of old VS new. Added PVC to the bottom as well.


Bit added to bridge the PVC, plus some fairly obvious layering.


Prepped up.


Using templates. I have to cut these pieces separate because they have beveled edges.


The straight cuts take a lot of patience.


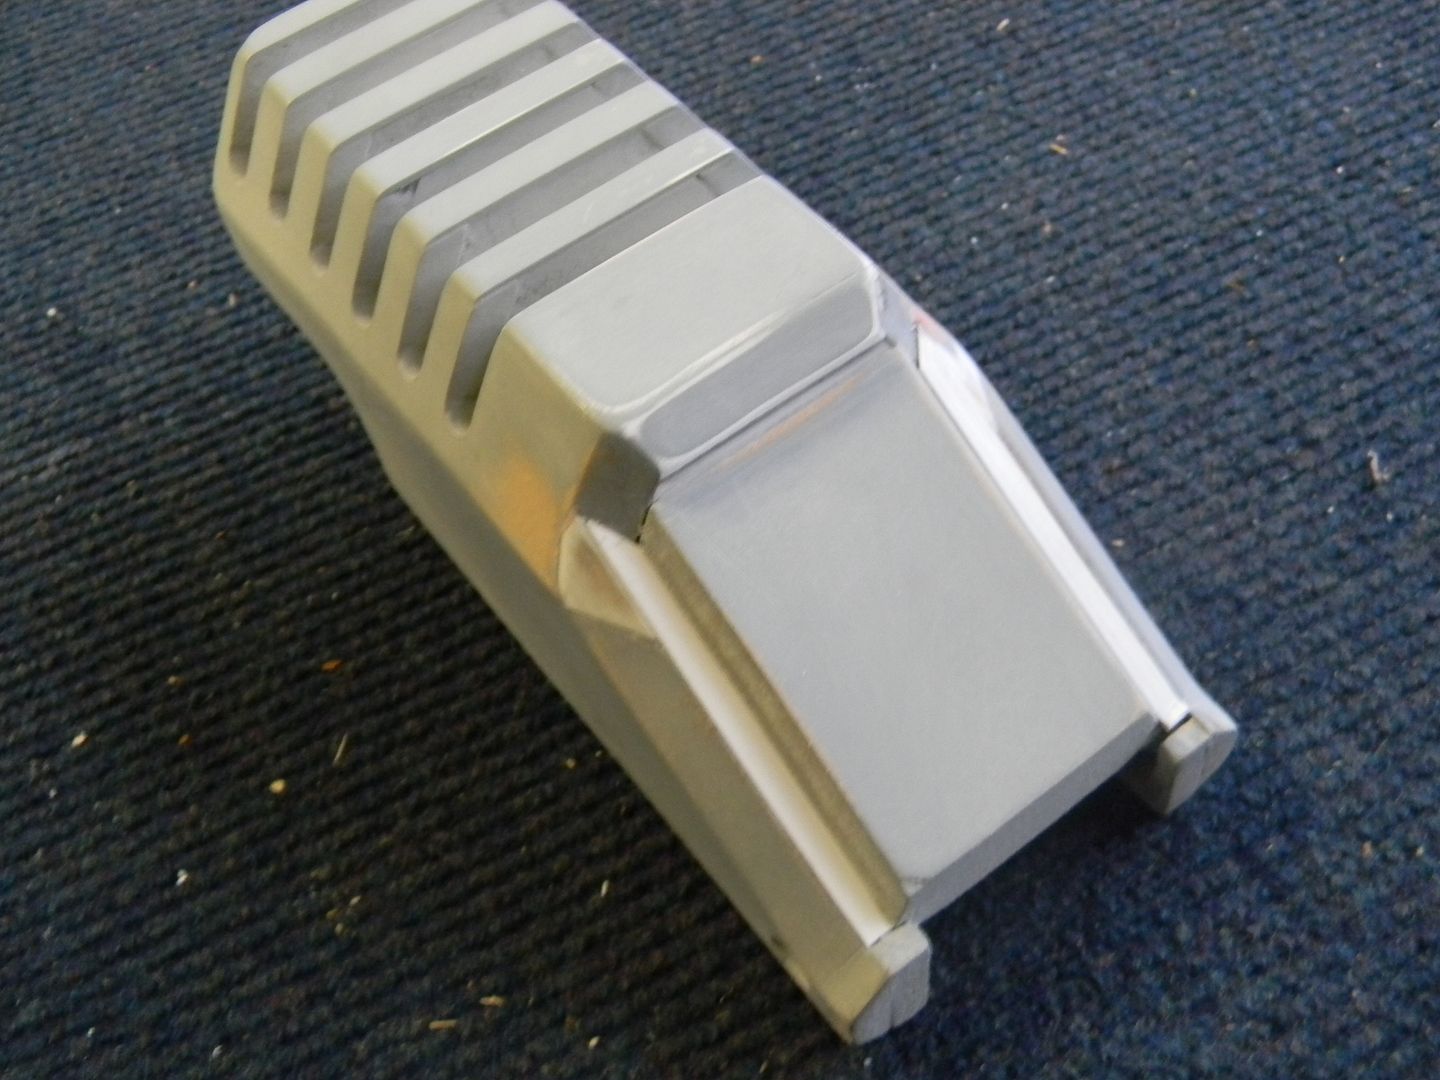
These slots go at the end of the outer barrel.


The inside channel of this part had to be the exact width of the PVC pipe that was going to sit in there. Otherwise, problems with molding would occur.


Some more progress. There's a front site on there for some reason, which cant even me remotely seen from the back of the rifle. I dunno. I didn't design the thing. Sure looks cool though. By the way, this is a modular design so that resin kit parts can be shared. The un-primed portion can slide right out at this point.


Molding wise, this is a tricky area that will have to be resolved carefully with clay.


Some progress on the lower tube. This is from the M-29, and will be shortened.


Somehow, I did this whole area in MDF last time. This time though, I couldn't manage and took a shortcut. I'm getting old.


Prepped for molds.


I re-use extra silicone or silicone from dead molds. Make sure there's no mold release, cut it up, and mix it into your later layers of silicone. Works great and saves money.


Perfect!


I skipped all of the smaller parts in this post. I didn't take photos, and everyone likes the big stuff anyways.


First receiver pull. Shame this is going to get hacked to death.


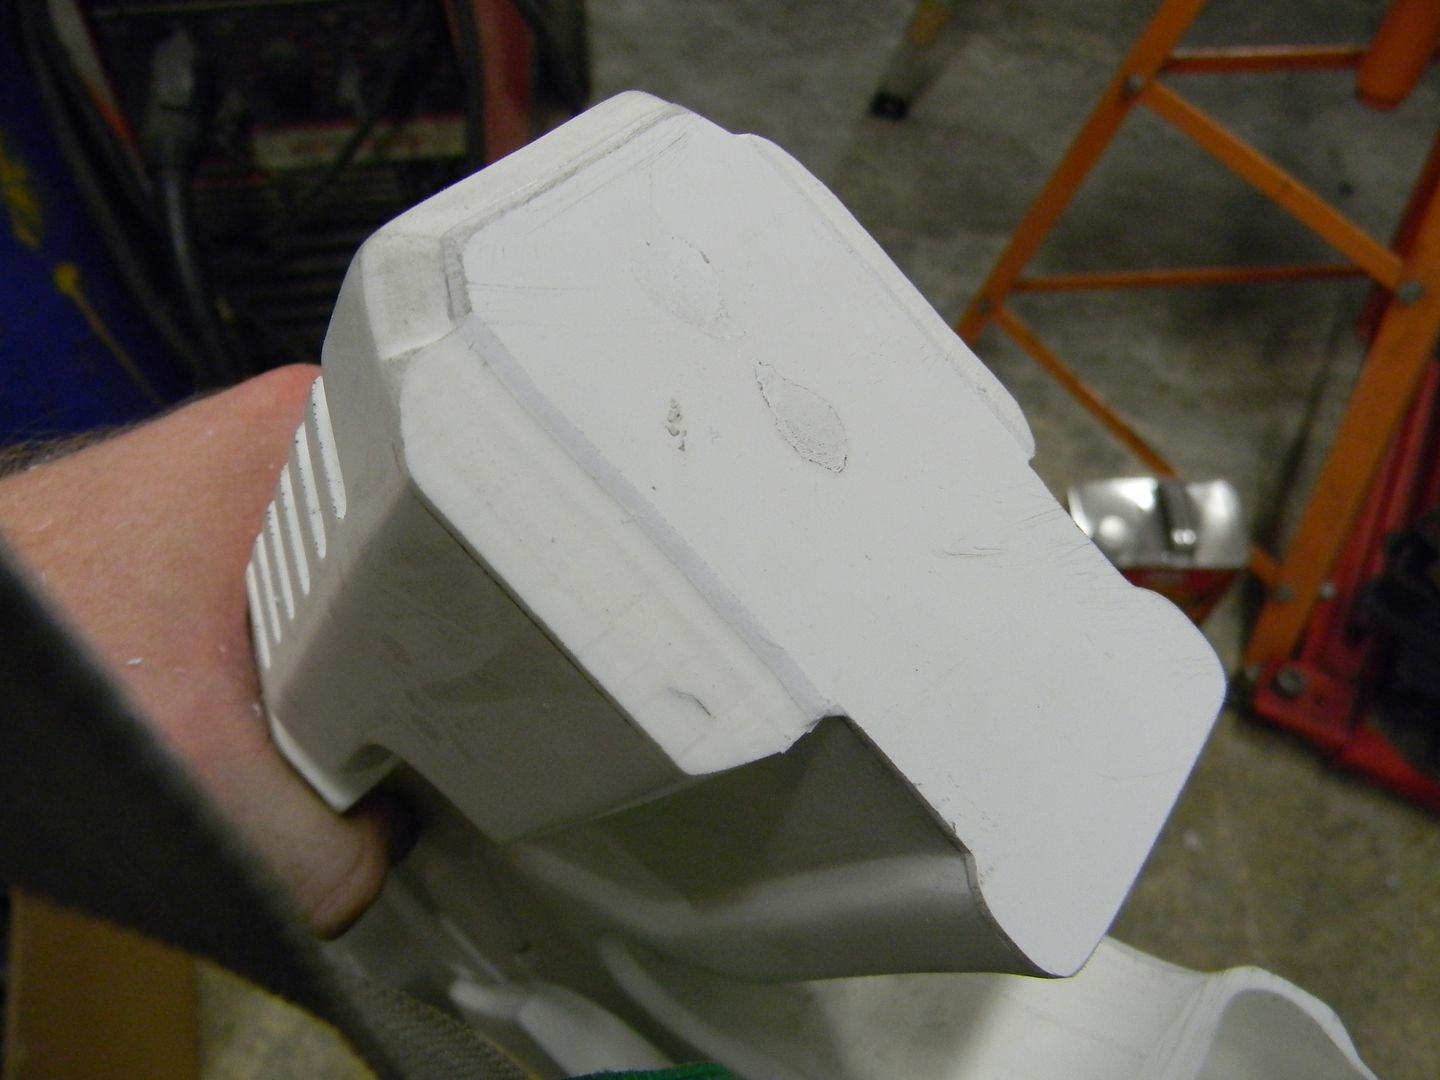
 I had to hack off the area behind the grip, as well as shorten the butt end. Don't worry, she'll get her curves back soon. 


I covered the holes with styrene, then slushed more resin behind it to reinforce the structure.


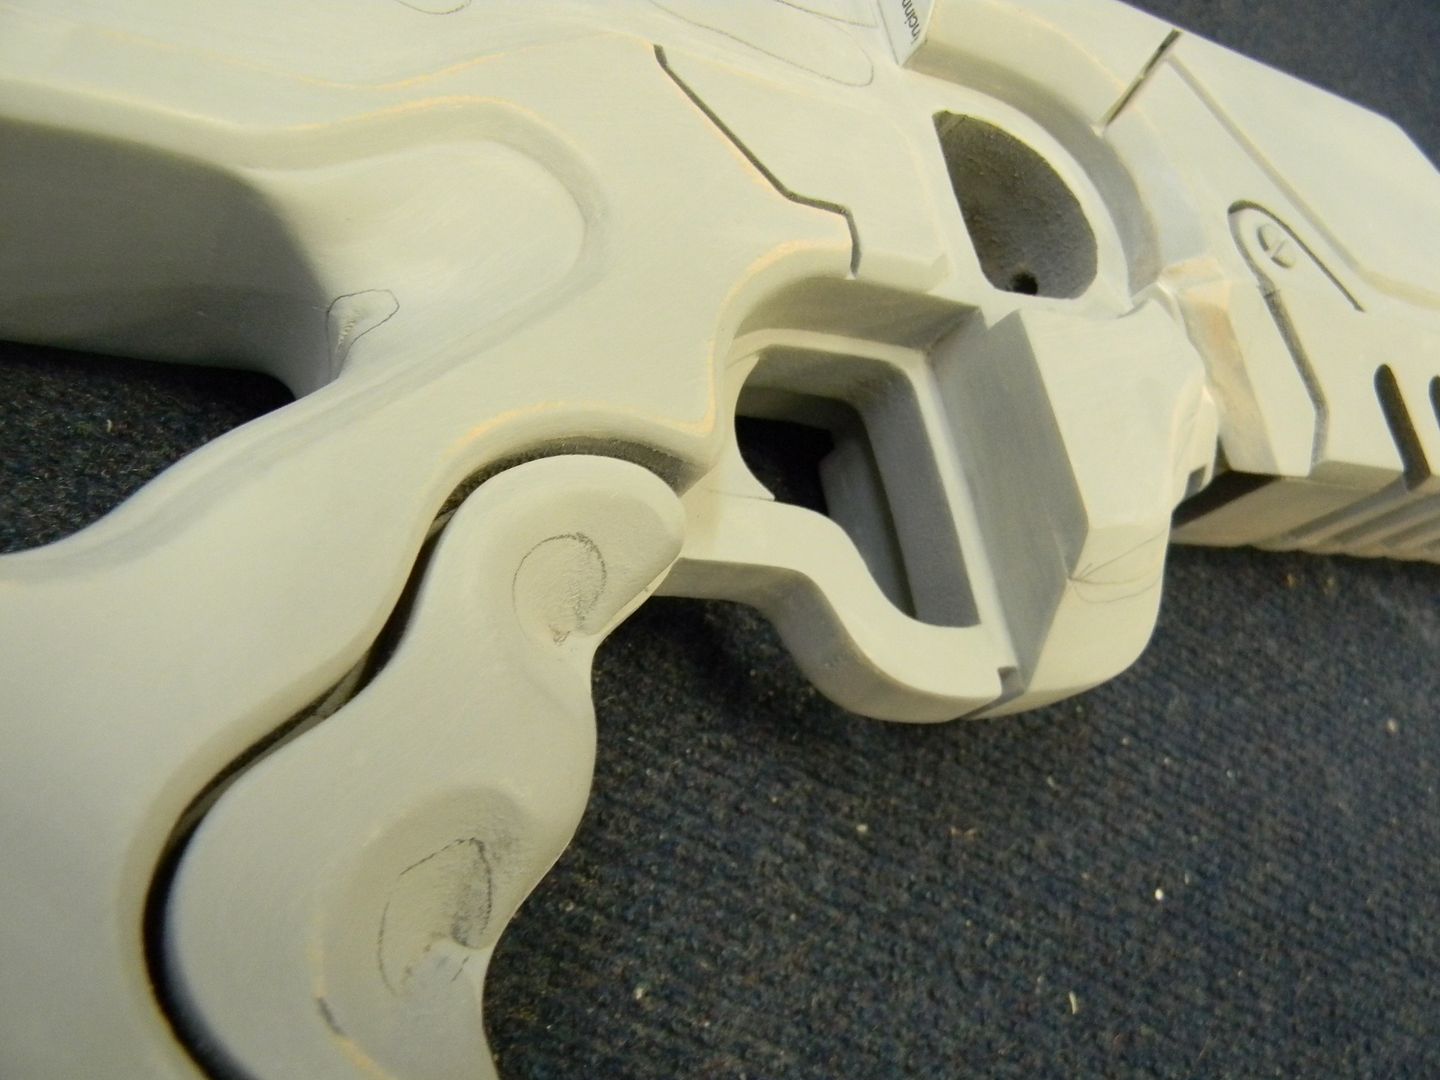
The area under the trigger guard is shortened.


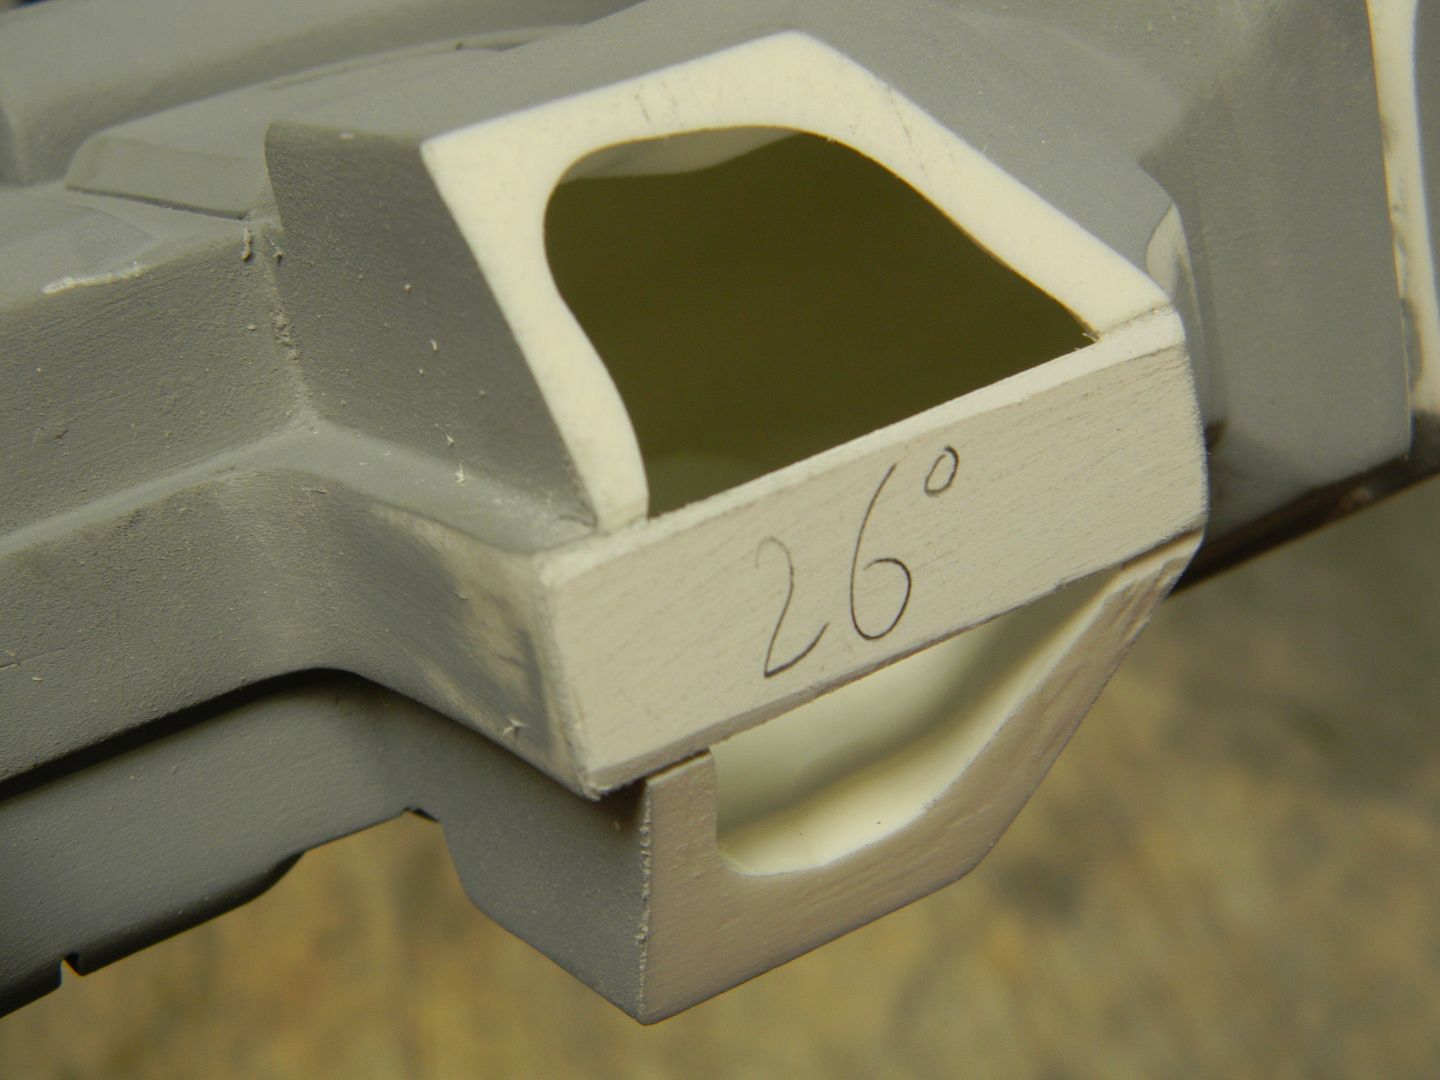
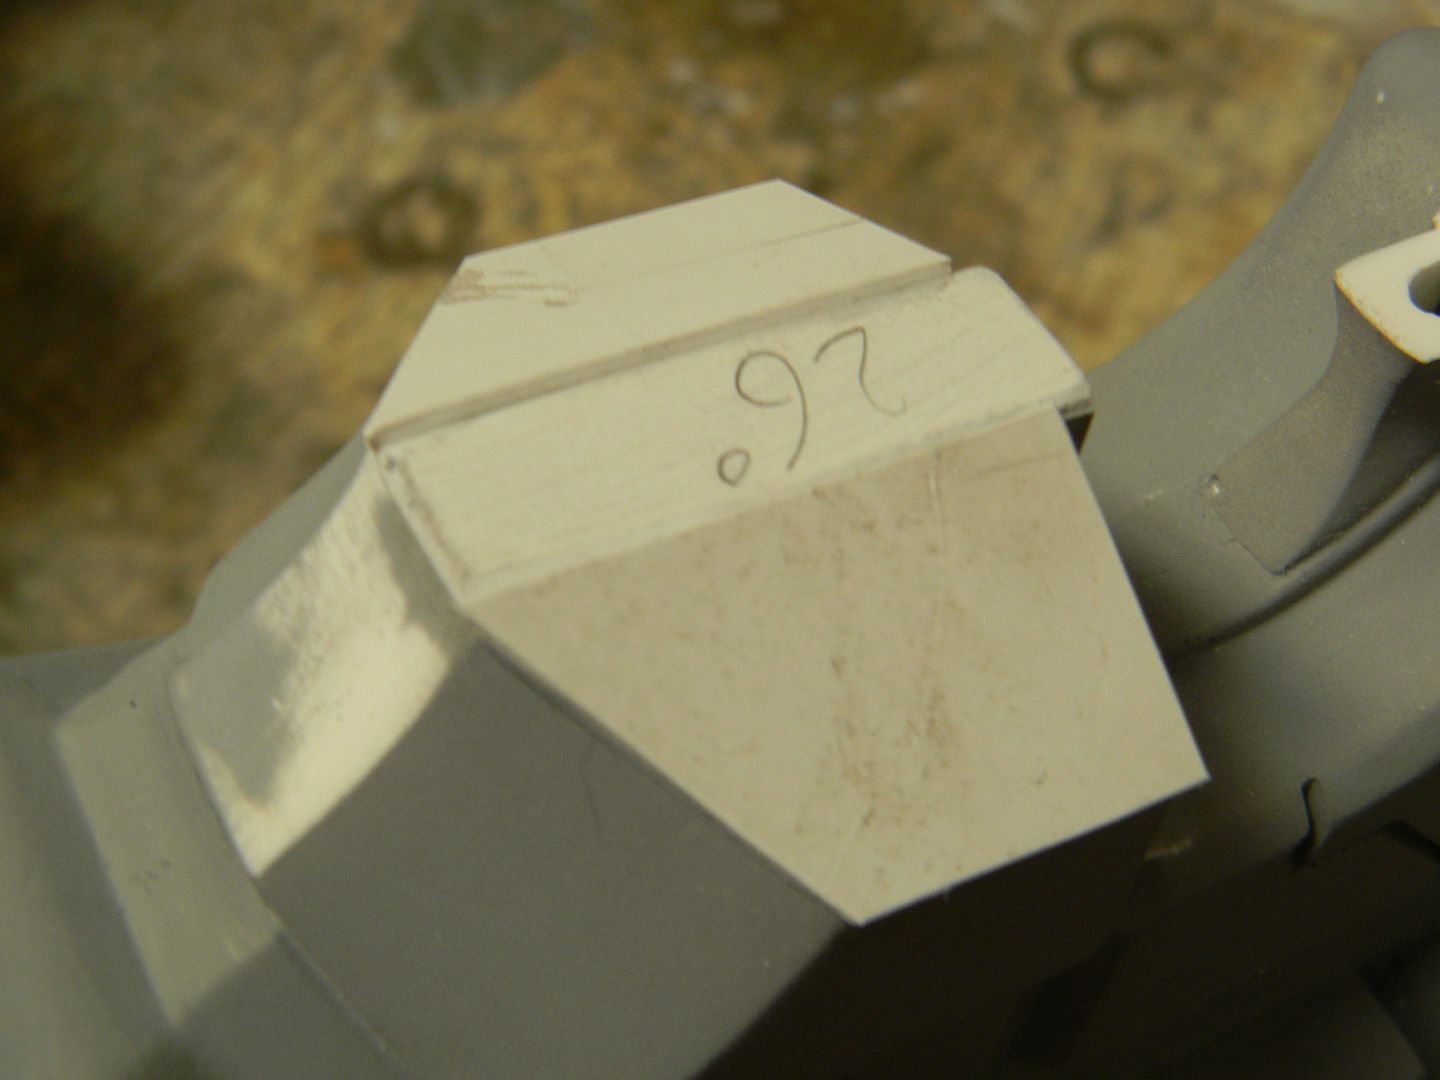
Then beveled, to say.... I don't remember......26 degrees? wild guess?


More styrene, once again reinforced with resin on the inside.


On the top side of this little nub, some modifications had to be made to convert this M-29 nook into an N7 receiver.


I have a well-fitting insert out of MDF.


It was tricky to retrofit the part as well as line up the panels, but it was done.


It was then cast in resin (Both sides) and inserted/sanded flush. I used styrene to cover the small gap on the outside, but, yes, bondo will do for you sanding fanatics.


Last bit of details. I added on these slivers of MDF to some cast parts. Honestly, these are my favorite parts on the gun. They bridge the stock to the receiver and just have a cool shape.


Basecoat and some minor details. I used a flat metallic. Picky stuff, but well worth the look.


Entendu. Off to France.


As always, thanks for following along!

[Home]

Zprops on Facebook