I started this sometime after PAX, and worked on it in-between commissions. Then I did a flood of progress while waiting for silicone for another project.
This is my favorite SMG from all of the mass effect guns so I wanted to give it a go.
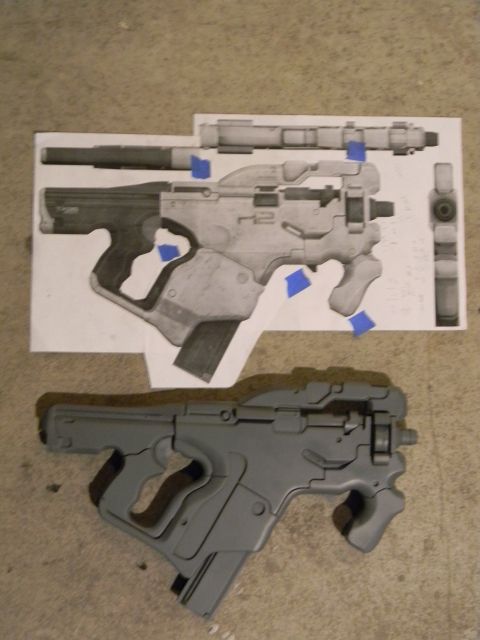
The reference I used was provided generously by this dood: link to dude.
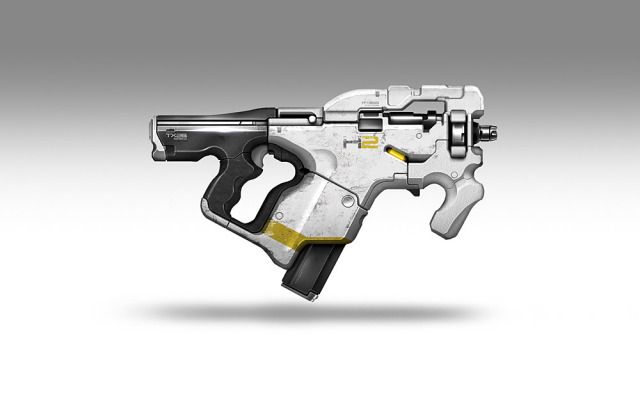
Here's the concept shot. I'd like to thank Brian Sum from Bioware for the dimensions.
Complex bevel: 45 degrees to 30 degrees to 20 degrees. No dremel involved!
Top rail beginnings
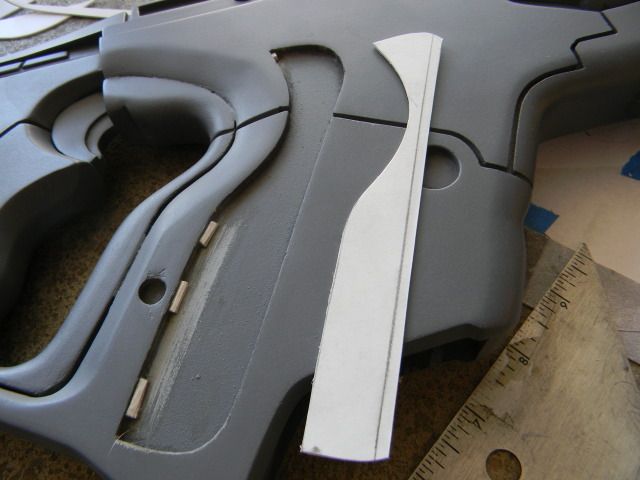
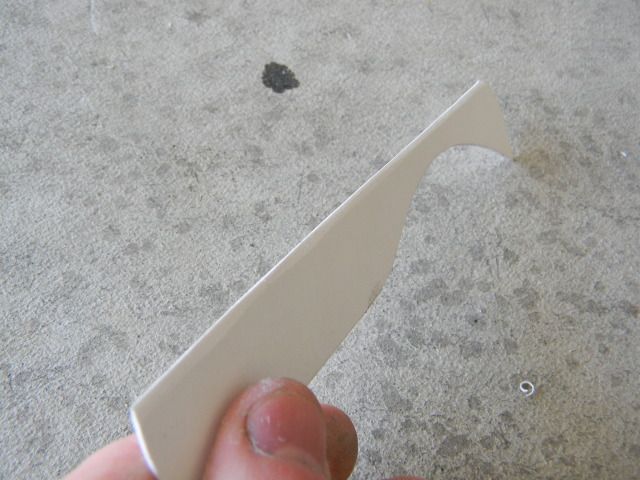
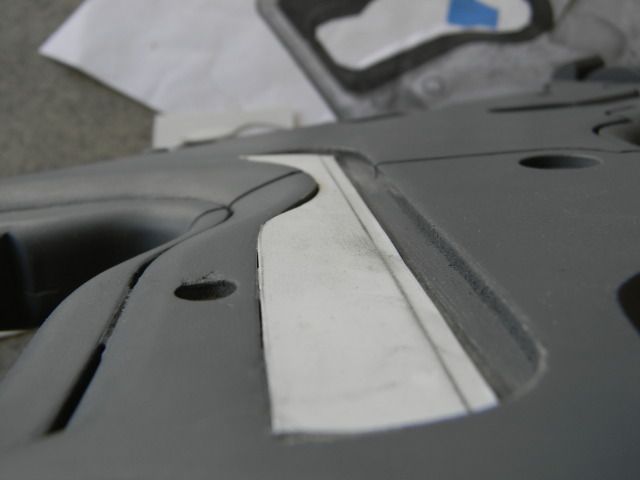
Side panel
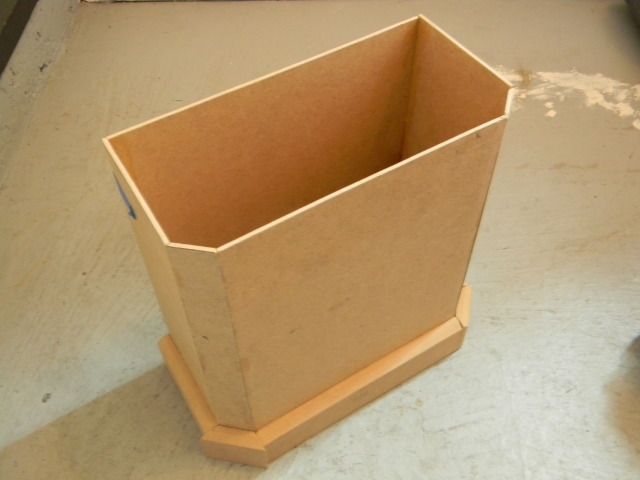
Progress:
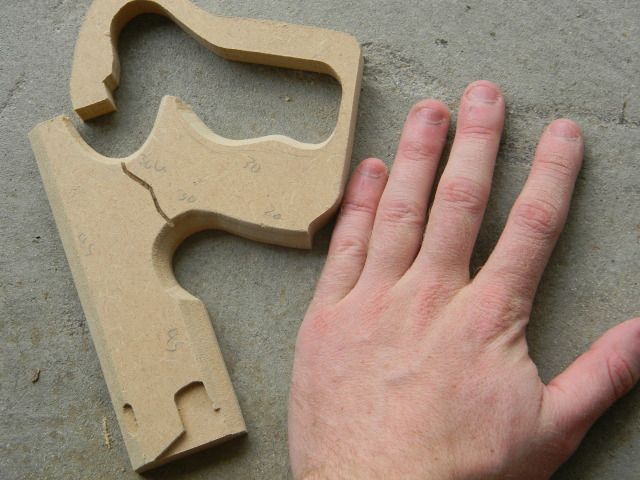
Did I mention the grip is friggin tiny? (yes, this is the correct size.)
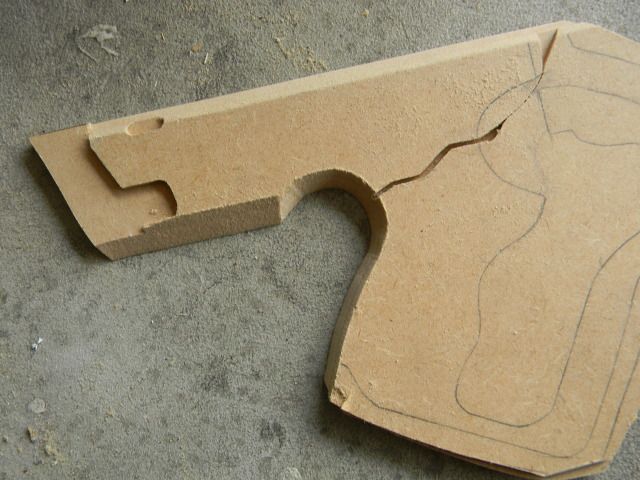
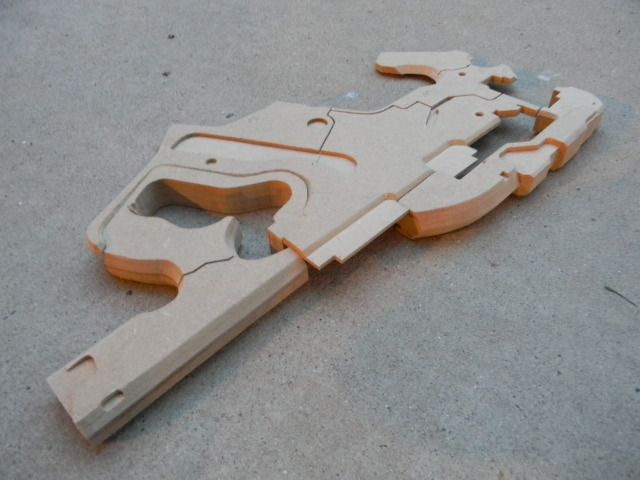
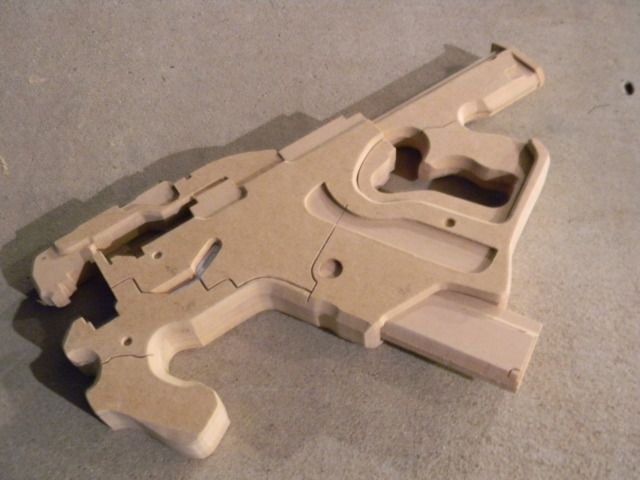
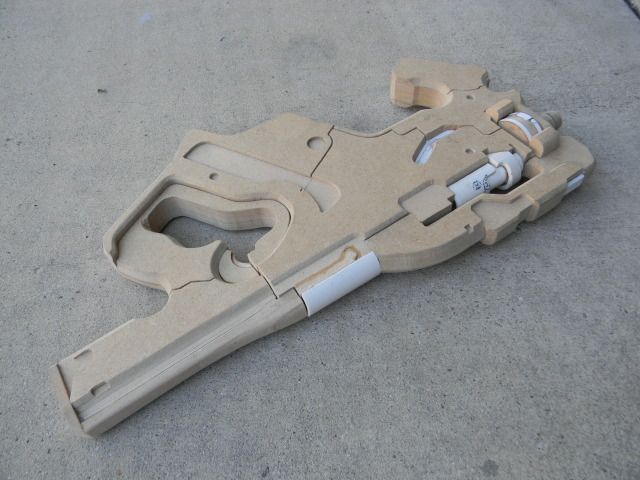
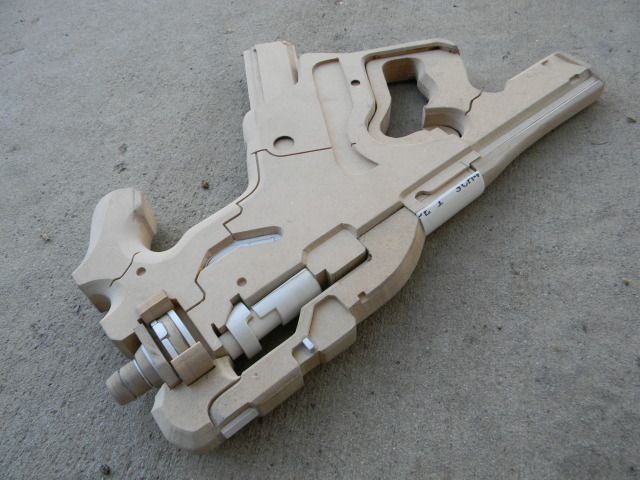
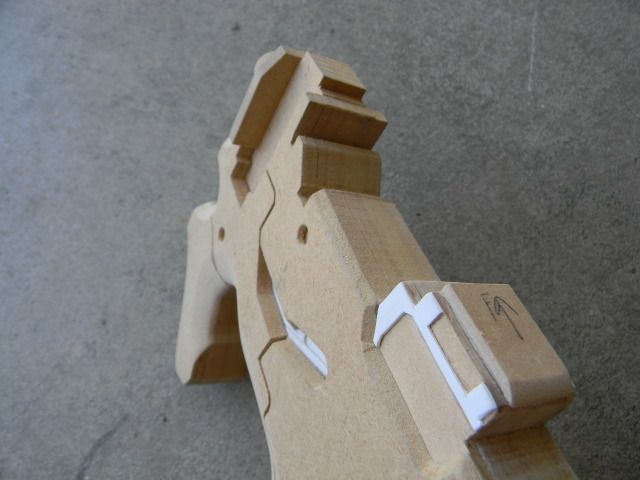
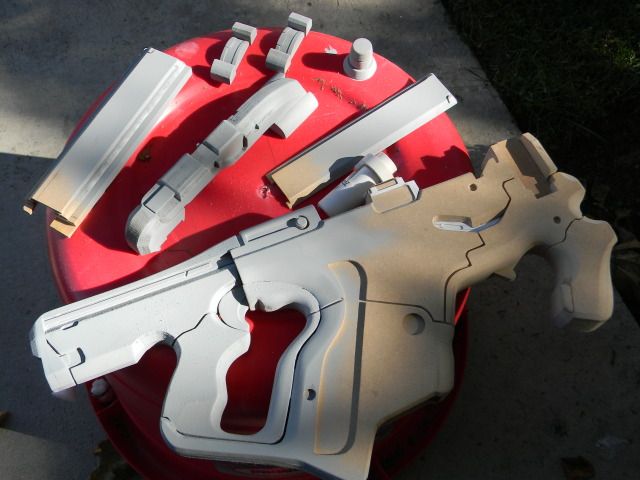
Main body parts coming together
Middle layer
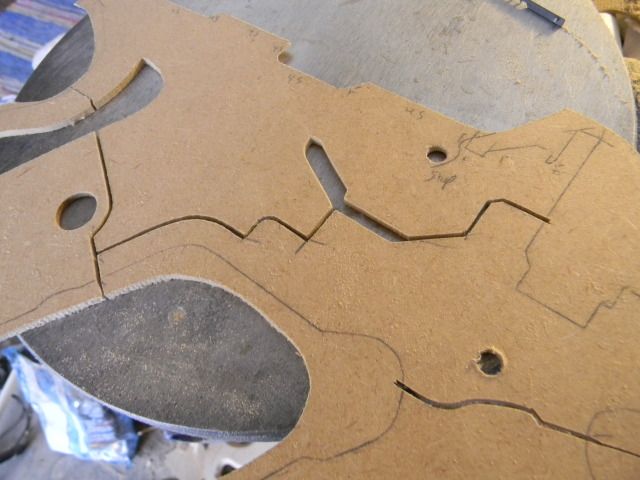
(note my ummm... "precise" inner drafting for the cuts)

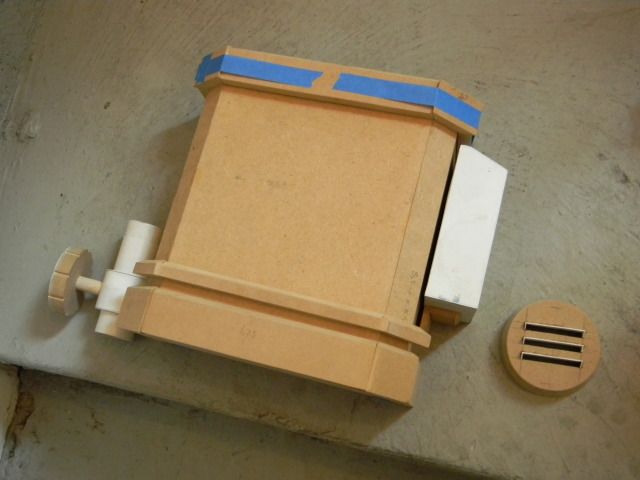
Little recessed detail thingie with complex bevels around it.
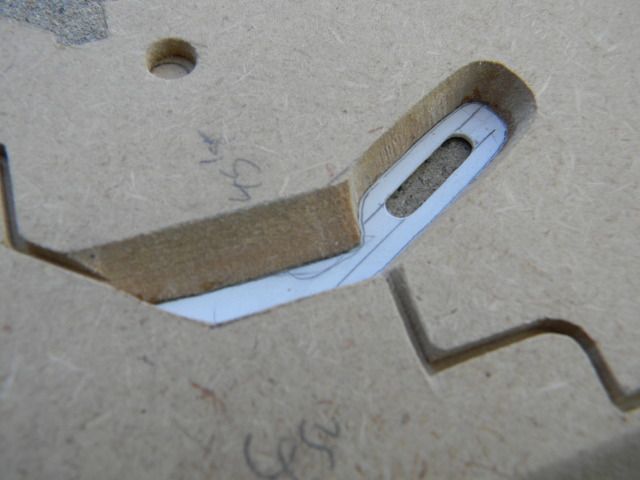
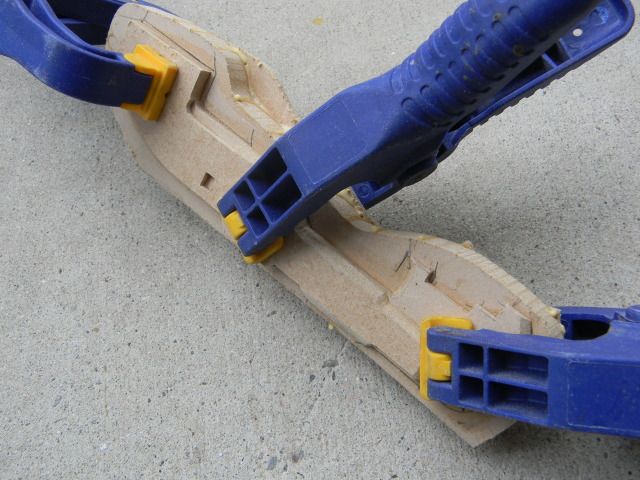
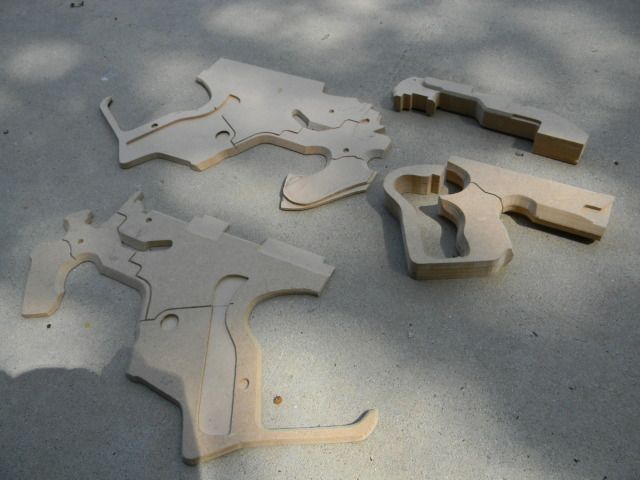
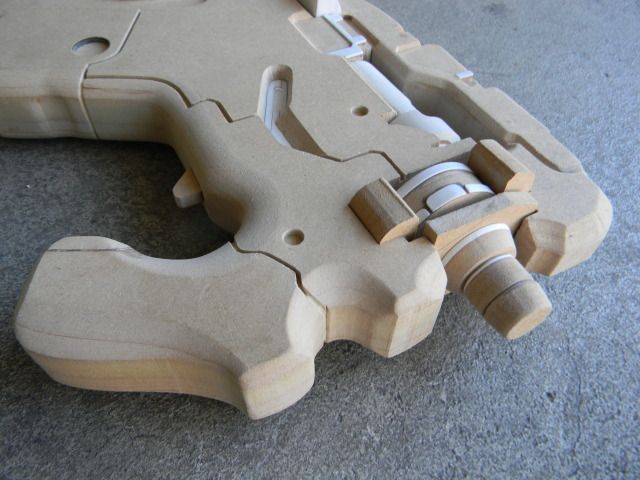
Test fit
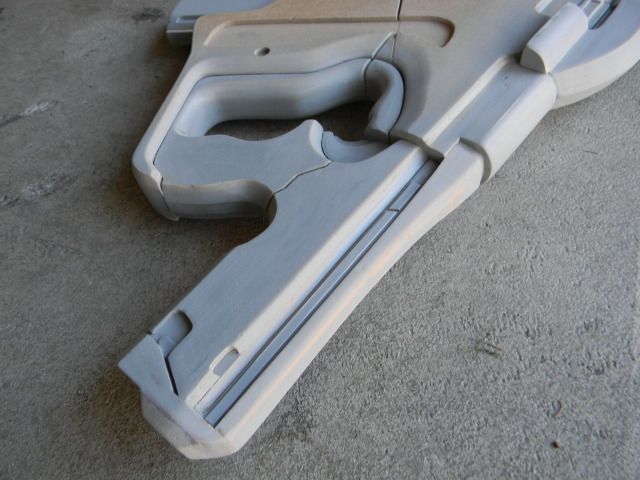
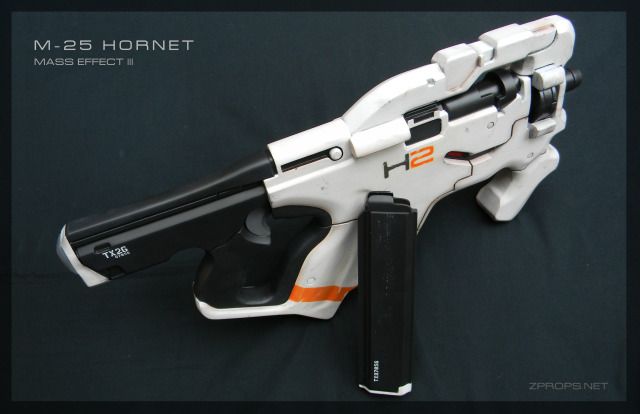
With removeable magazine action! Too bad it doesn't distribute beer.
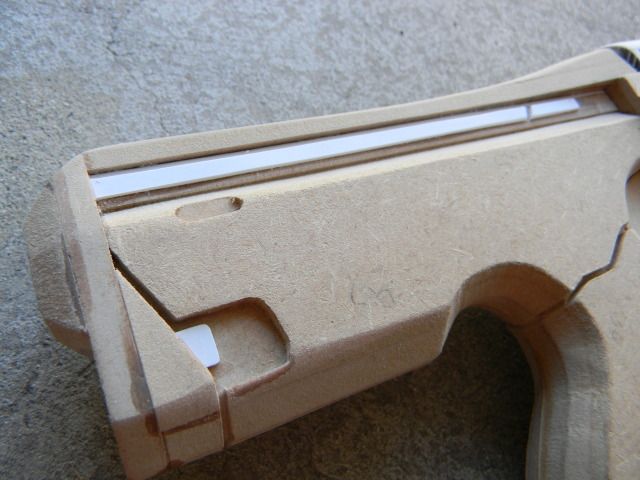
Did the little bits near the barrel tip, as well as the barrel tip itself.
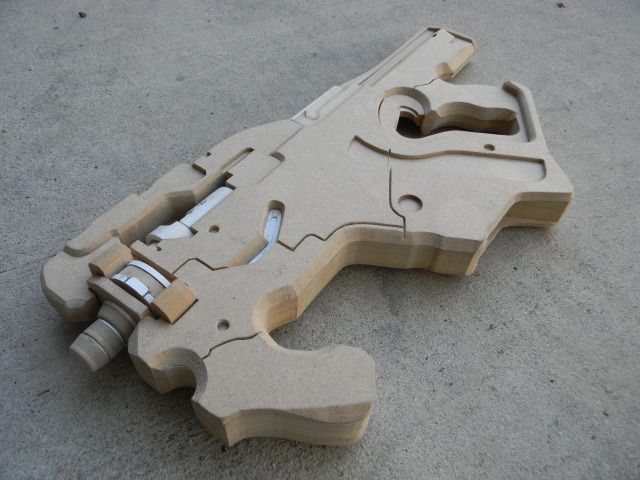
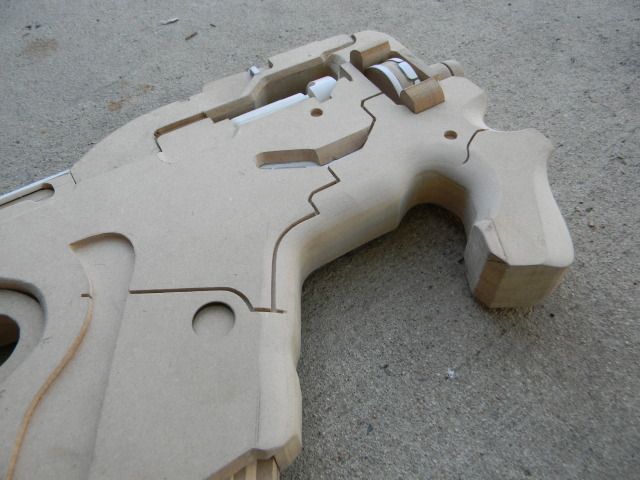
As well as the "spine" of the grip, and the bolt housing. You can see here that I deleted the bolt on the left side of the gun, despite there being two on the reference. Just didn't make sense and it bugs me.
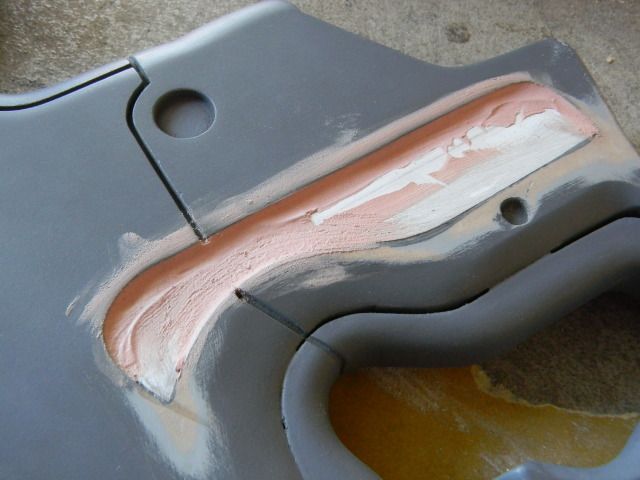
Then I added a few details to the top rail, and enlarged some of the bevels using a dremel to take down the hard edges, and hand sanded 80 grit and 150 grit for the rest. It went rather fast, but I have the whole rest of the gun to go. There are a ton of fillets and bevels all over the place.
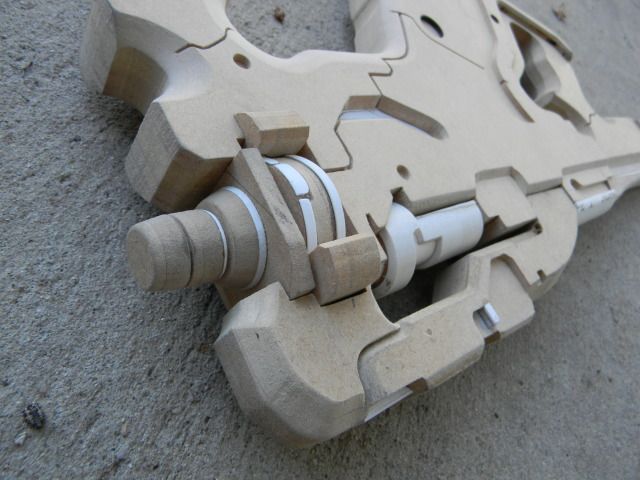
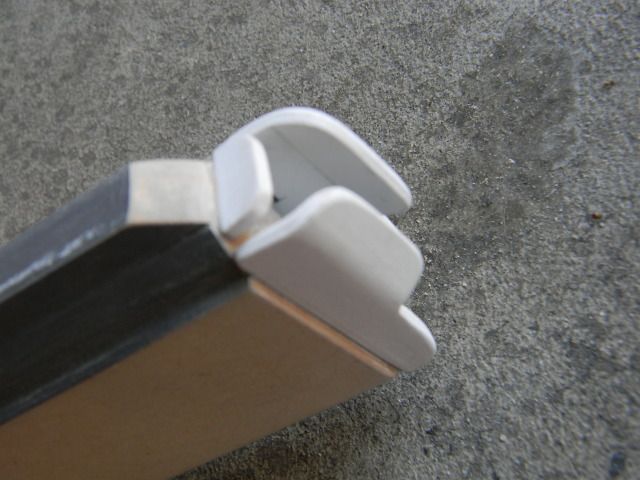
I used PVC to make the rounds on the rear of the "carrying handle"
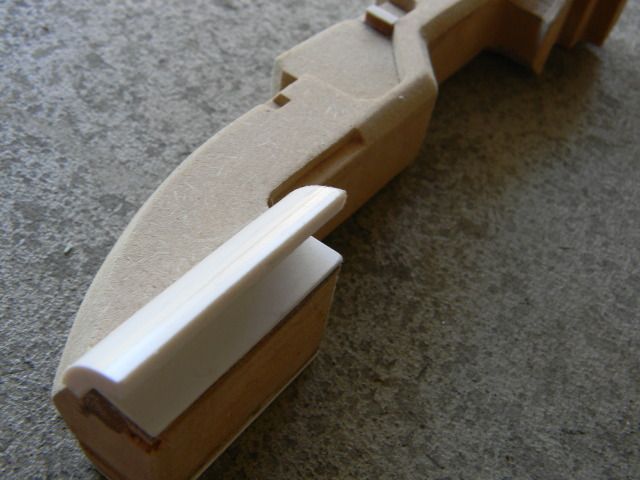
Then the voids were covered in styrene.
Heres some kind of detail made carefully in styrene.
Finishing up the beveling on the front end:
More styrene details
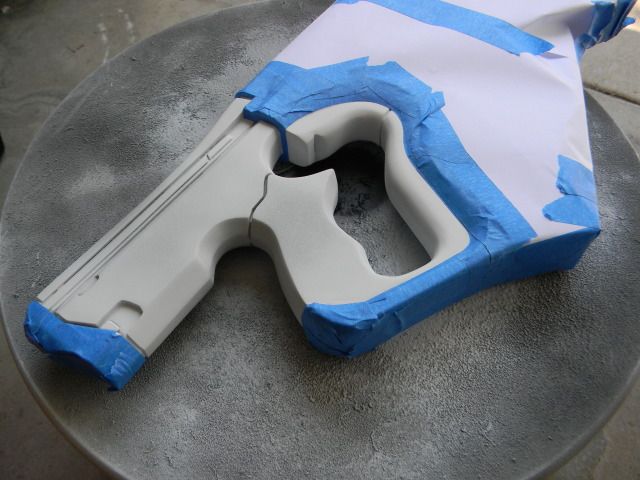
The priming adventure
First pass, lookin good!
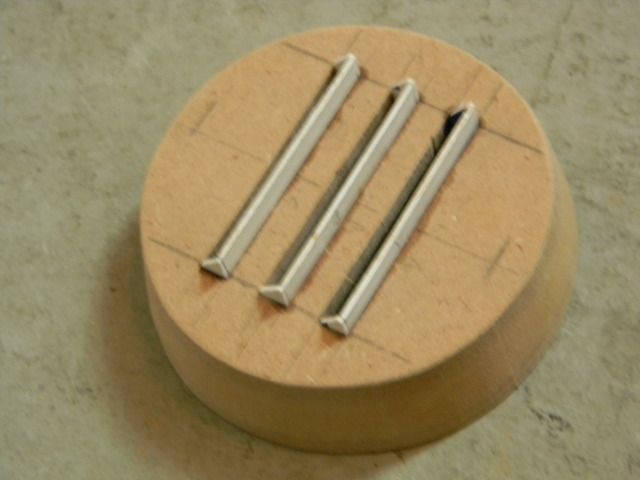
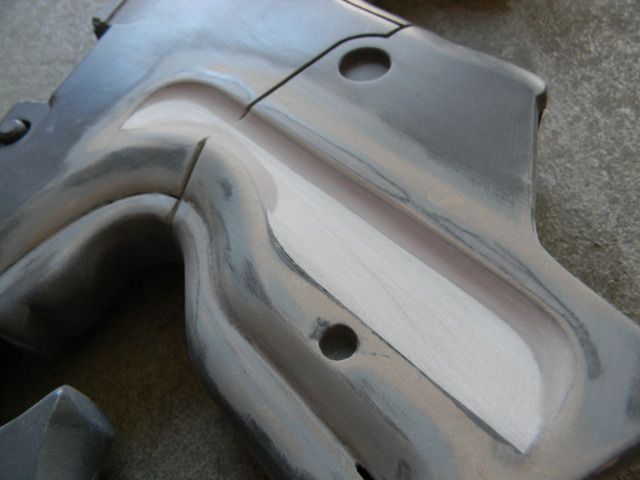
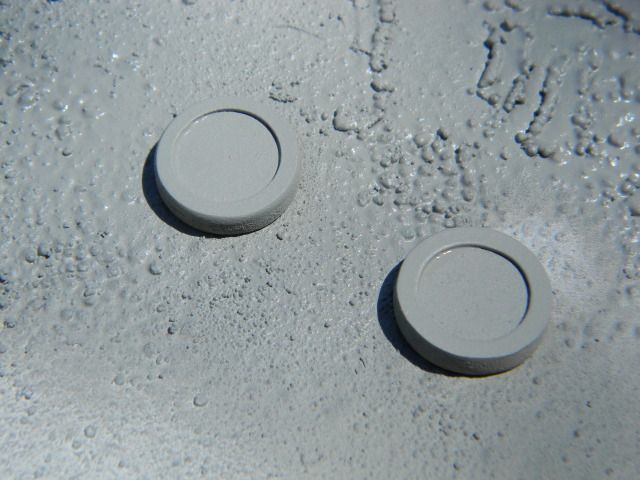
Just about done, I left the hard part for last. The little dimples on the sides, and the annoying little circular inserts
The dimples seem to angle in on a plain from the back, and turn into fillets as they meet the forward edge of the recess. I decided, of course, to use styrene. I made little risers, and then made little templates to cut the sheets. ( Want to play a fun drinking game? re-read this post and take a swig when you see the word "styrene")
To acheive the greatest mating surface area, I dremeled the little edge of the styrene to meet the angle it rests at.
Heres a view installed, looking down the side
Fun.
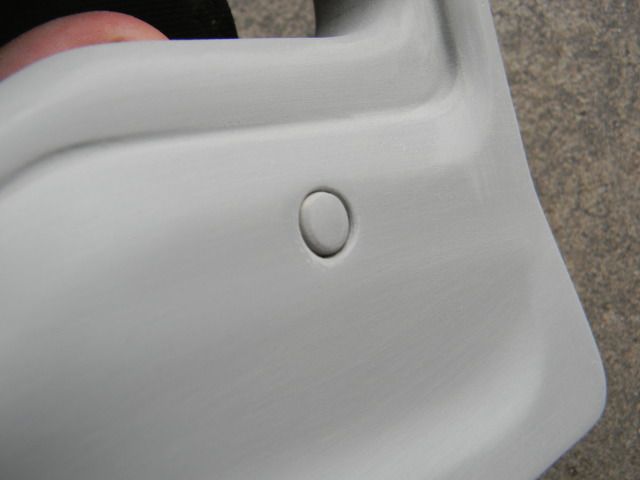
A few more passes. Did this on both sides, mind you. Kind of hard to keep the fillet constant.
You can hardly tell the dimple is there (1/8th inch deep, just like the design) but it was worth it. Heres a picture of the first screw plug insert.
Masking the grip. Getting much faster at cutting custom masking strips.
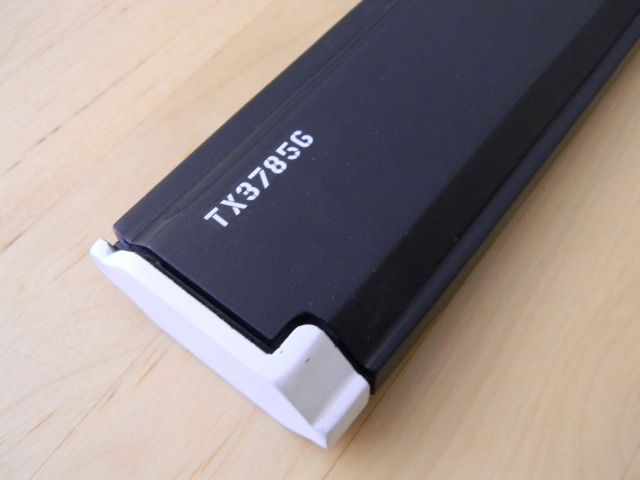
Orange stripe thingie. If you have one of these near your magwell, you might want to get it checked out.
Last circles cut out on a scroll saw, then sanded. The thin styrene ring was dremeled.
I've never seen the top of the magazine removed, and I think mass effect guns fire conventional rounds nowadays so I decided to have a modern looking magazine tip. (its removable)
I modeled it after an MP5. Styrene.
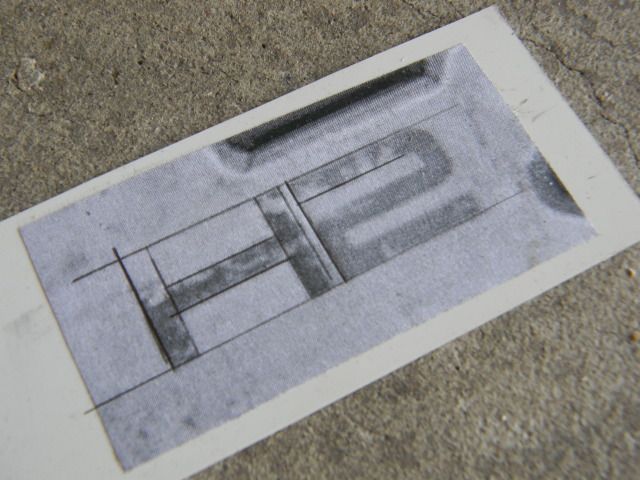
Stencil drafting

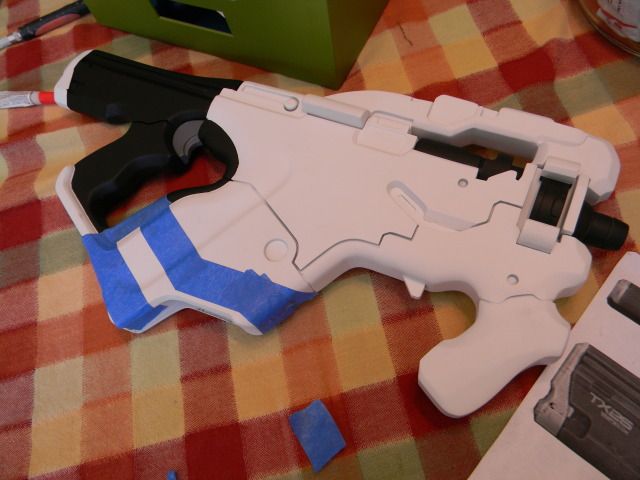
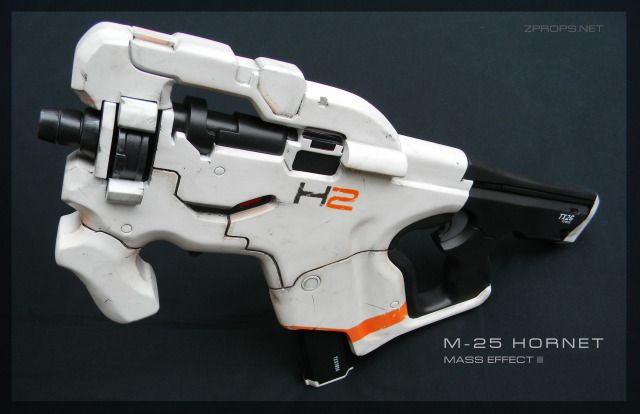
Painted and weathered. I took too much off this side, so I re-did it.
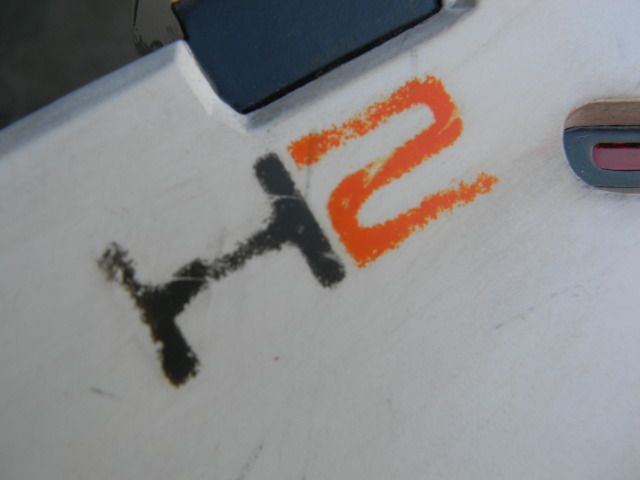
CAM aircraft lettering decal set. Works pretty good for the little stuff.
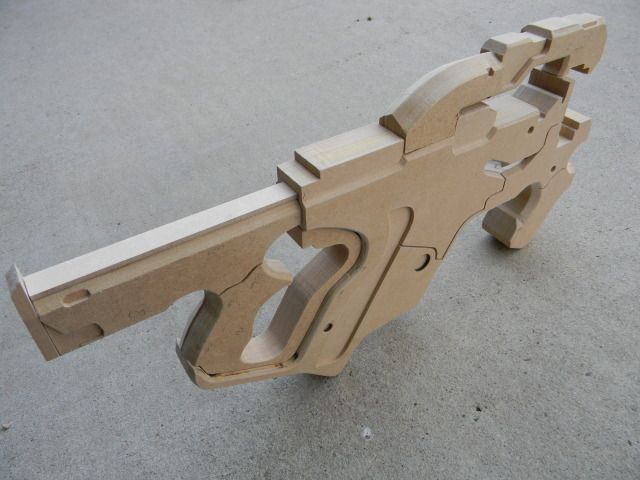
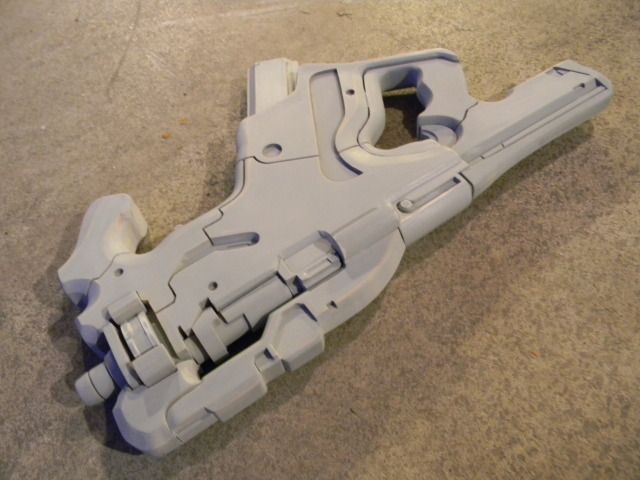
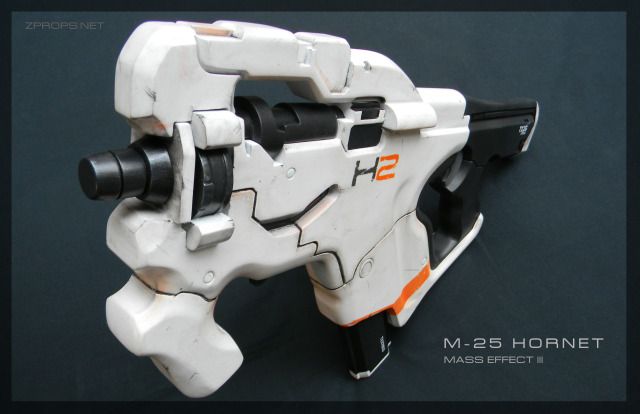
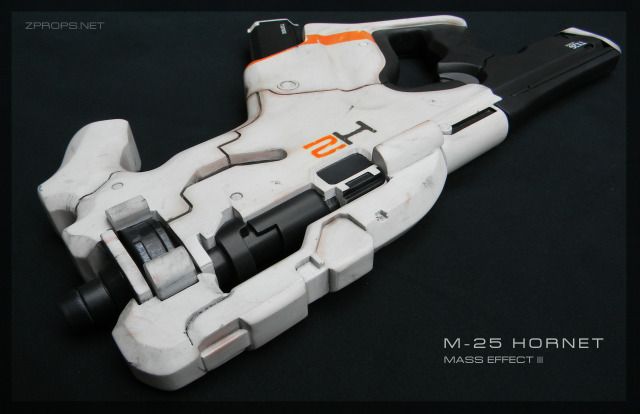
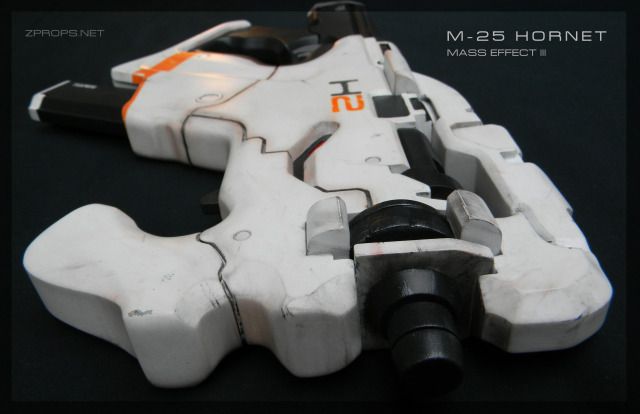
Done!
My friend Kai who goes by kommissar on the Replica Prop Forum connected me with Rana McAnear, who you might have seen around the cons dressed up as Samara. They modeled the in game character after her, so its as canon as it gets! I loaned her the hornet for a cross-promotion.
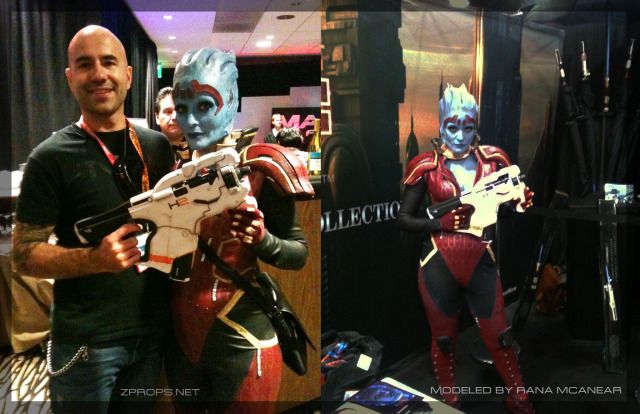
On the left is Corey Gaspur, lead combat designer of Bioware at sdcc 2012. The next day I shipped it to Eric Jarman so he can cast it and run around nekked with it. Man, everyone gets to enjoy it but me!
As always, follow me on Facebook!
As always, follow me on Facebook!