Another build finished mid November. Delayed for posting, again.
This one is from an anime called "Code Geass" produced by Bandai. I haven't seen it, but Bandai visual's recent animes have been really high production. Check out yukikaze if you haven't seen that one.
Reference: (The proportions dont match up on this thing. They vary picture to picture)
Anyways, Not too much to say about this little guy. The only tedious/difficult part was the little odds and ends on the tip of the barrel.
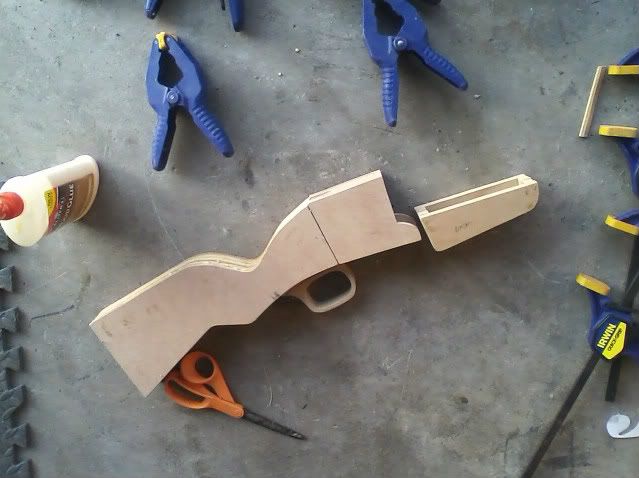
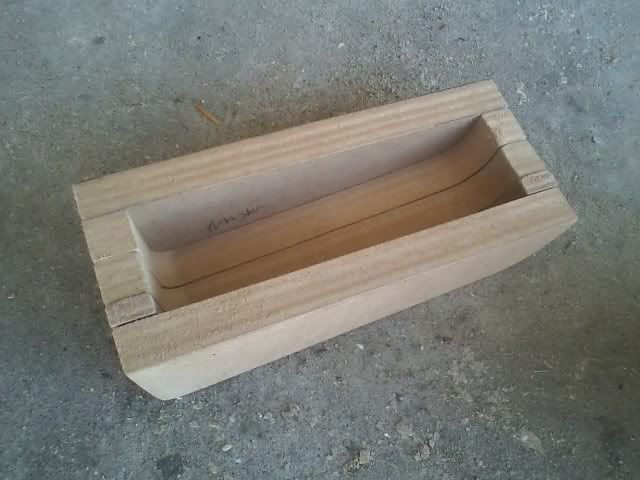
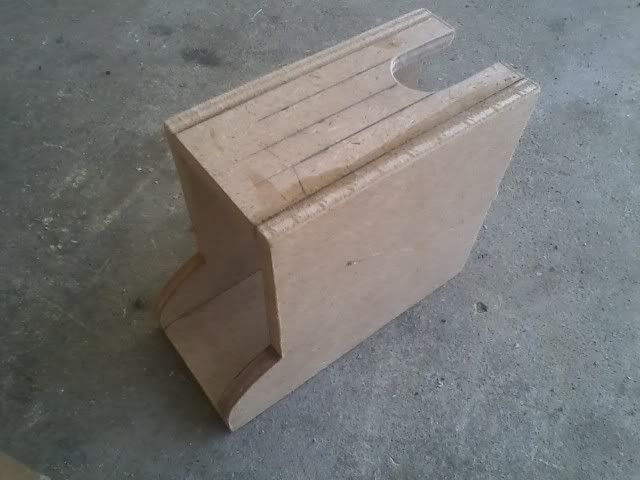
Here's a bit of working the layers before gluing them together.
Cleaned up a little
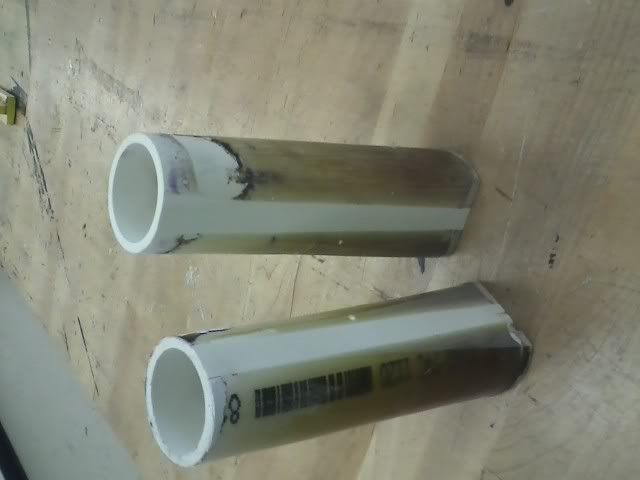
Barrel assembly
Lam unit beginnings, smoothed out the grip detail :
Drafting out the details. (the LAM unit can come off)
Magazine plate, mag release button
Final:
Thursday, December 22, 2011
Thursday, December 1, 2011
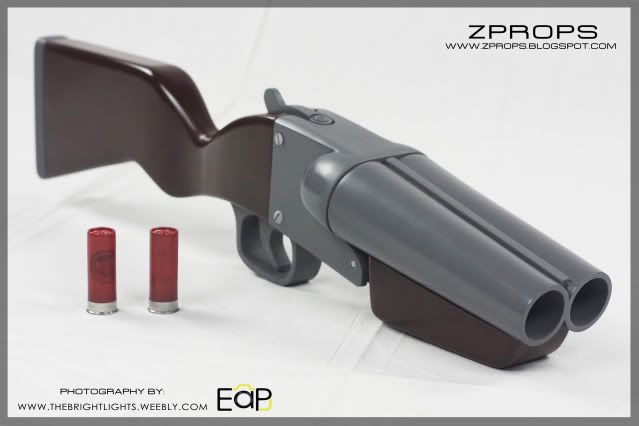
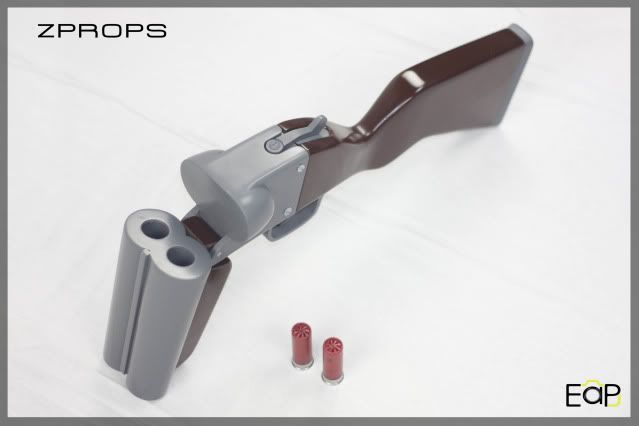
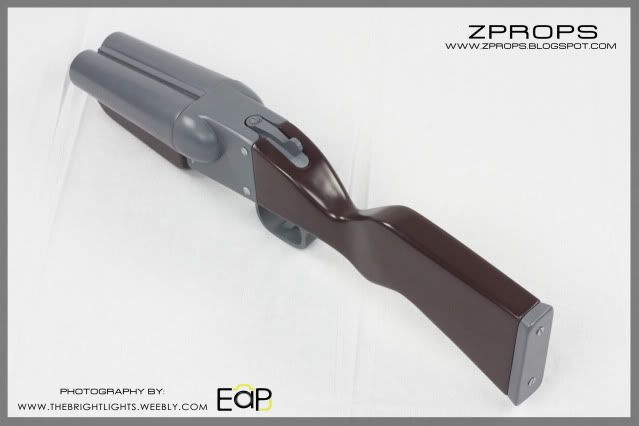
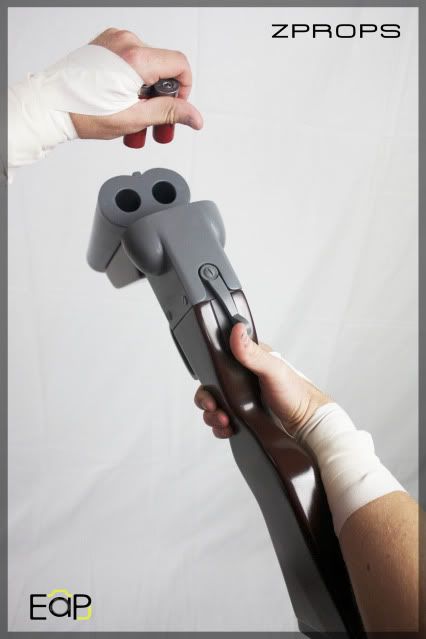
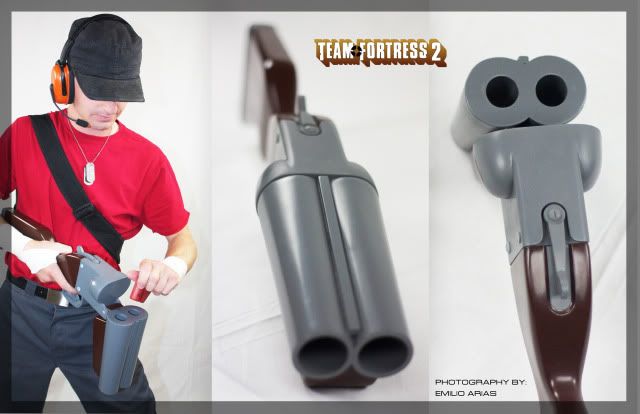
Team Fortress 2: Force a' Nature
I meant to put this and something else up in November, but my photo editing skills apparently aren't as quick as my building skills. In any case, I needed to make a FAN by late October. Volpin's build was helpful in saving me some time by using it as a guide, although I made many changes of my own.
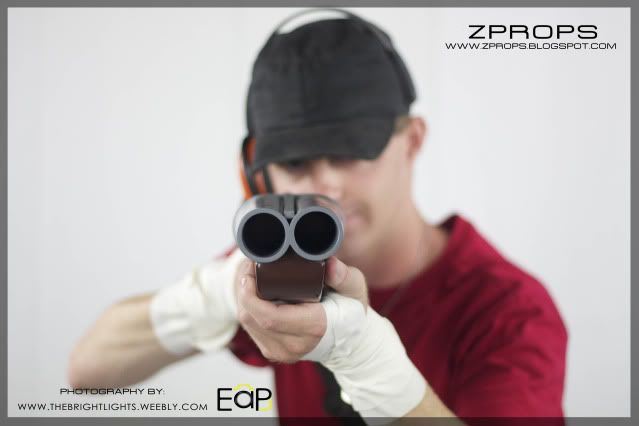
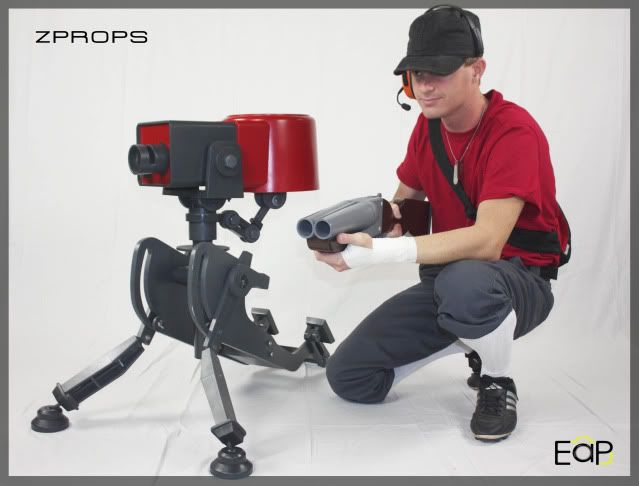
I'd like to Thank my college buddy Emilio Arias for the huge help by taking pictures. He's just starting out doing photography gigs, so if you're in Orange County, I highly suggest sending him a message for your senior pictures, gigs, etc. (@ www.thebrightlights.weebly.com ) . As you can see, he does top notch stuff (final pictures)
I didn't take a whole lot of progress pictures this time, and the first half of the build would just look like Volpin's blog anyways. (laminating MDF.)
I started with the stock. Luckily, I have outside access to a 6" wide industrial belt sander that was able to quickly give me that hour glass/competition stock shape. I also narrowed the grip of the stock about 1/4 inch, as this was being made for a girl.
The grip , receiver, and half domes are all MDF.
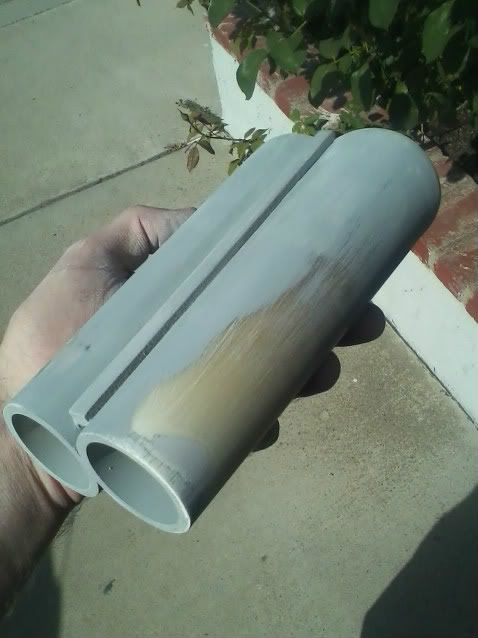
After the easy stuff was out of the way, It was time for the creative part. I wanted to make sure my barrel openings were exactly the right size, as well as the degree of taper down the barrels. All of this without sanding for hours and hours. I wont get into the process of what I did, but maybe some of you can figure it out.
Another use of the belt sander, some super glue, and primer.
Gotta love fiberglass barrels. I flicked this assembly across the room at least 3 times with no damage. (I couldn't resist playing with the break-action and forgot I didn't glue this to the front grip at the time)
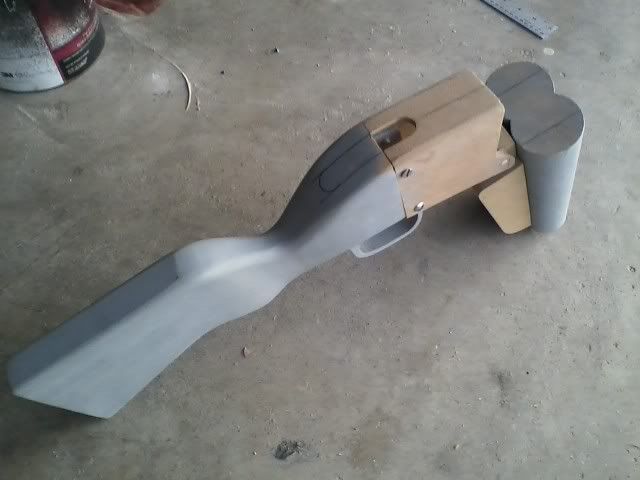
coming together:
Yup. More MDF. Everything but the barrels and screws, literally.
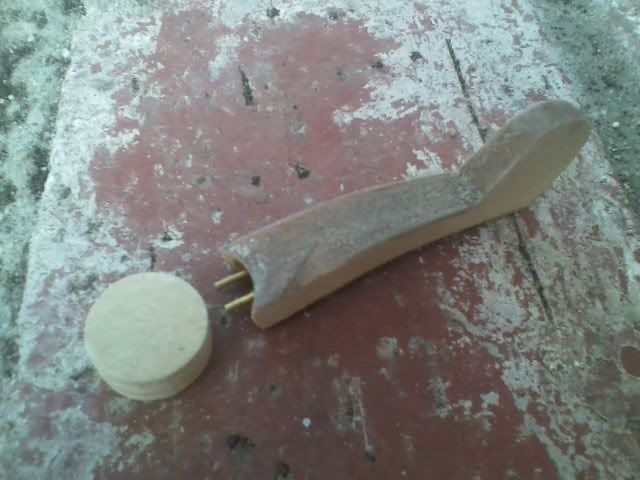
The breech lever moves and is spring loaded. I infused it with super glue and pins to give it extra strength.
Shiny.
heh.
Until next time!
I'd like to Thank my college buddy Emilio Arias for the huge help by taking pictures. He's just starting out doing photography gigs, so if you're in Orange County, I highly suggest sending him a message for your senior pictures, gigs, etc. (@ www.thebrightlights.weebly.com ) . As you can see, he does top notch stuff (final pictures)
I didn't take a whole lot of progress pictures this time, and the first half of the build would just look like Volpin's blog anyways. (laminating MDF.)
I started with the stock. Luckily, I have outside access to a 6" wide industrial belt sander that was able to quickly give me that hour glass/competition stock shape. I also narrowed the grip of the stock about 1/4 inch, as this was being made for a girl.
The grip , receiver, and half domes are all MDF.
After the easy stuff was out of the way, It was time for the creative part. I wanted to make sure my barrel openings were exactly the right size, as well as the degree of taper down the barrels. All of this without sanding for hours and hours. I wont get into the process of what I did, but maybe some of you can figure it out.
Another use of the belt sander, some super glue, and primer.
Gotta love fiberglass barrels. I flicked this assembly across the room at least 3 times with no damage. (I couldn't resist playing with the break-action and forgot I didn't glue this to the front grip at the time)
coming together:
Yup. More MDF. Everything but the barrels and screws, literally.
The breech lever moves and is spring loaded. I infused it with super glue and pins to give it extra strength.
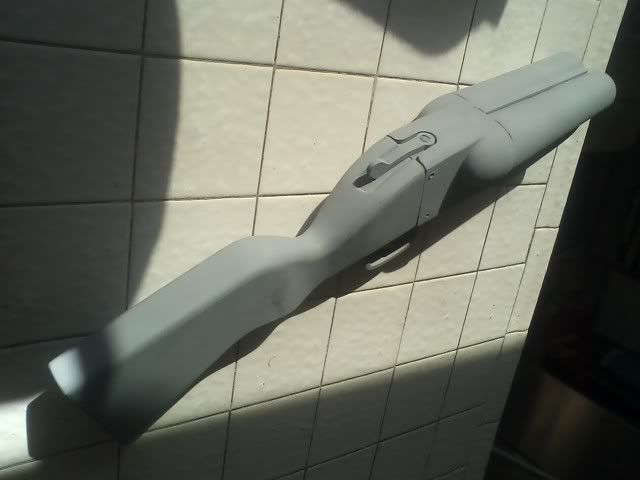
Primed and ready to go, sans the butt-pad.
Shiny.
heh.
Until next time!
Labels:
barrel,
brandt,
built,
double,
duild,
FAN,
force a' nature,
force of nature,
how to,
prop,
scout,
scratch,
sentry,
shotgun,
TF2,
zander,
zprops
Tuesday, October 11, 2011
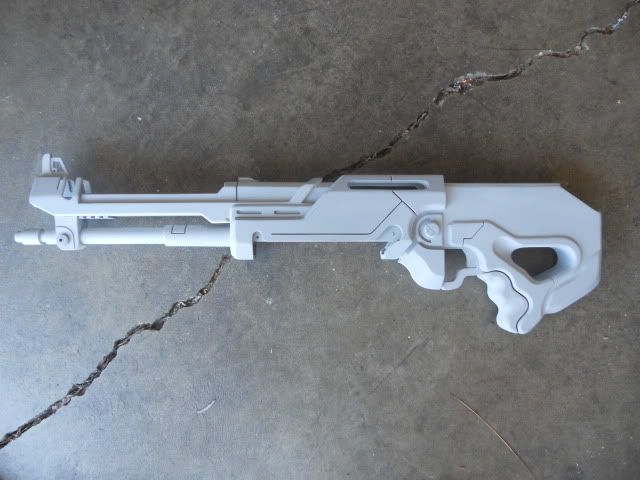
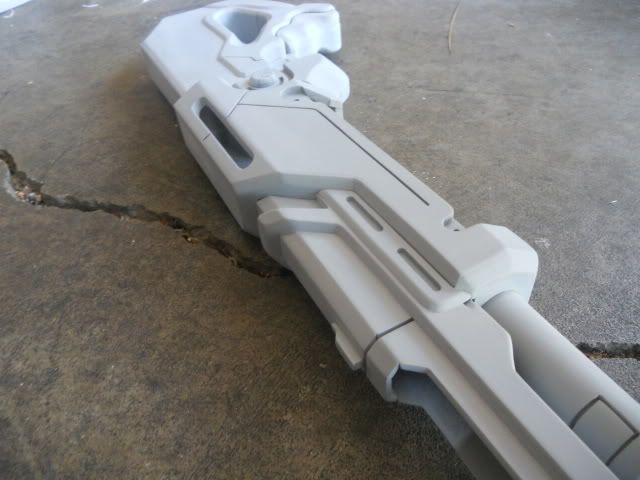
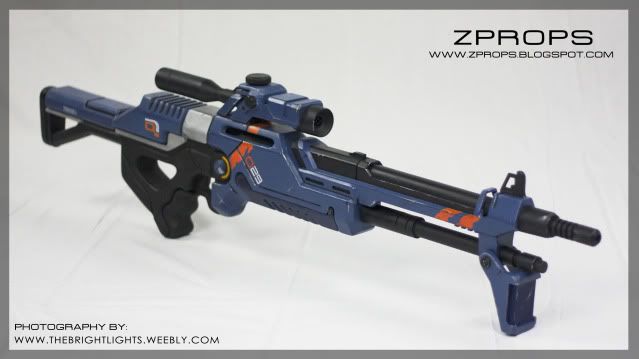
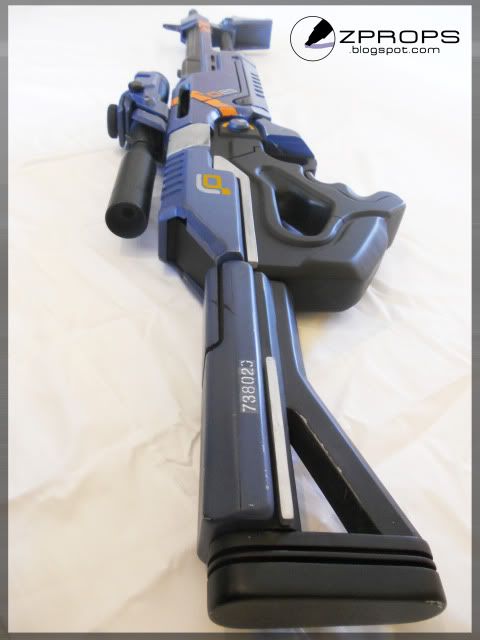
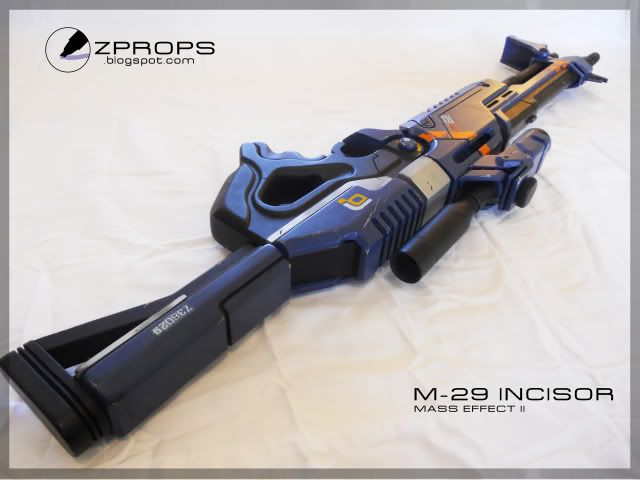
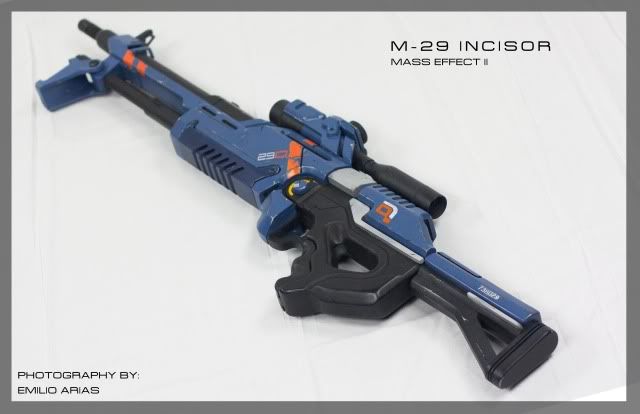
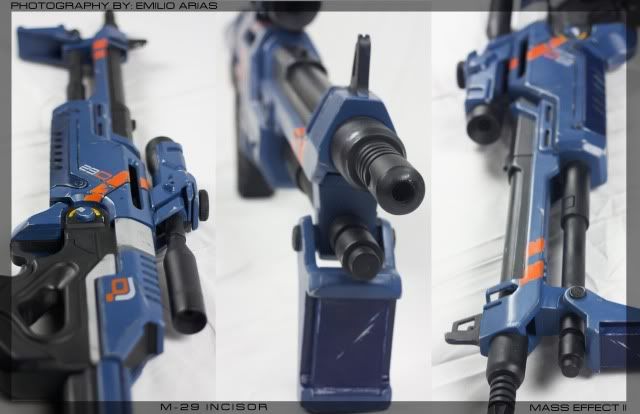
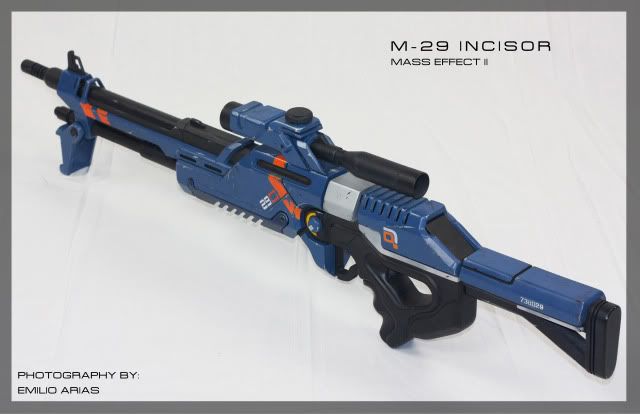
Mass Effect 2 M-29 Incisor Rifle Part II. Finished!
AAh. Finally. Sorry for the wait everyone, I just moved to a new location which took a month, and I wasn't able to work for a month because the garage was full. Things have cleared up enough for me to work, and I am currently lined up with a TF2 prop, a small anime pistol, another bryar pistol or two, and potentially a sword and gundam helmet.
In other words, I've been pretty busy and havent had time to photograph.
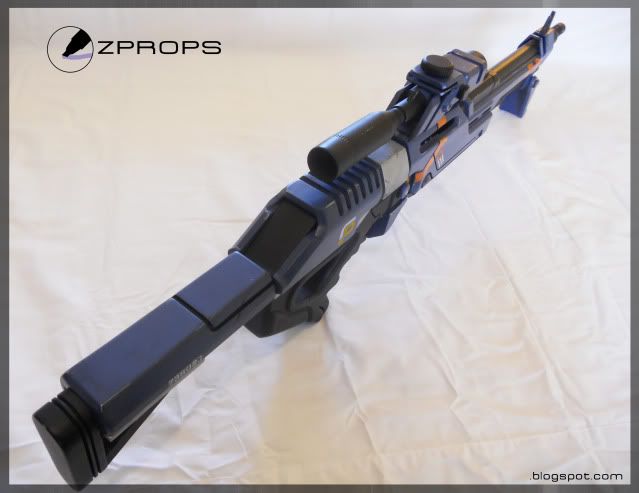
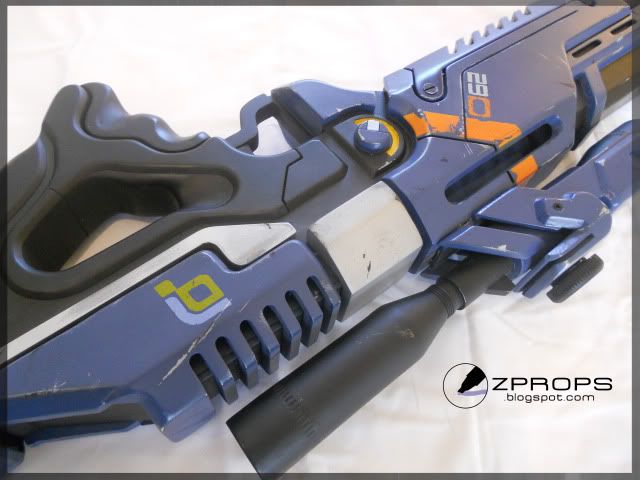
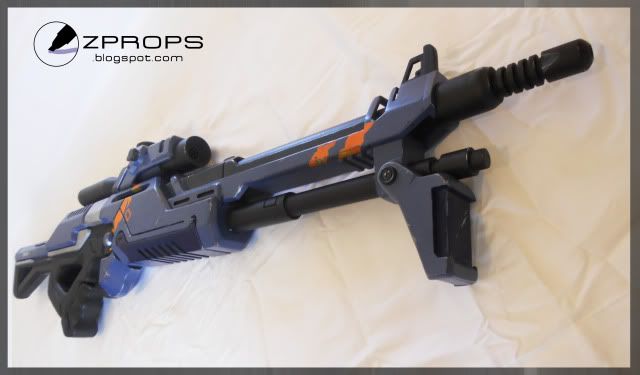
here's the rest of the WIP and final pictures.
Sand Sand Sand!
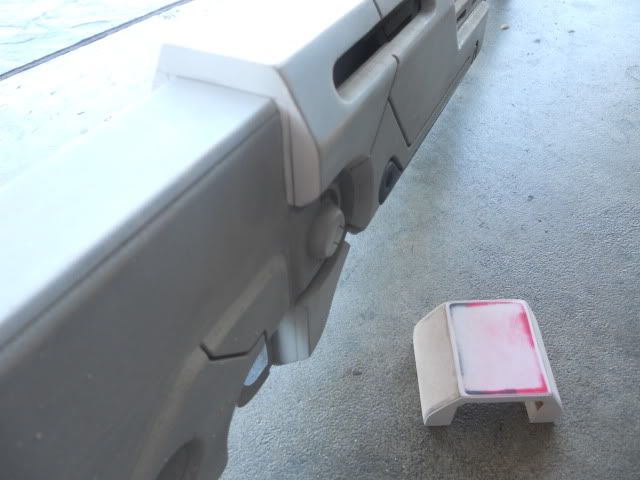
Here I'm using styrene to hide rough edges of MDF parts and mate seams without bondo.
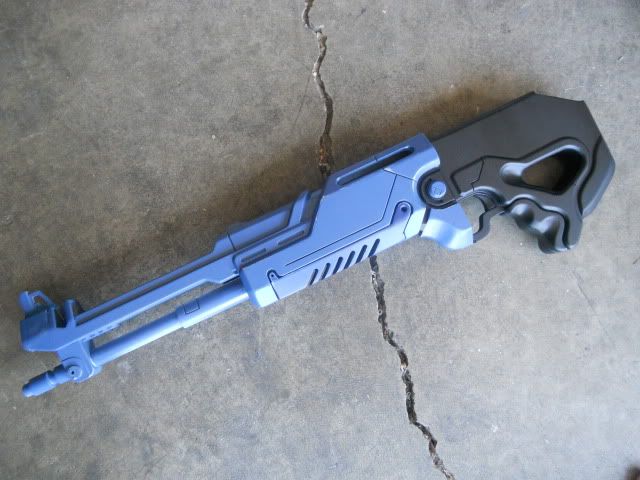
First coat of oxford blue and flat black. It looks so new! a few flights down the stairs should fix that.
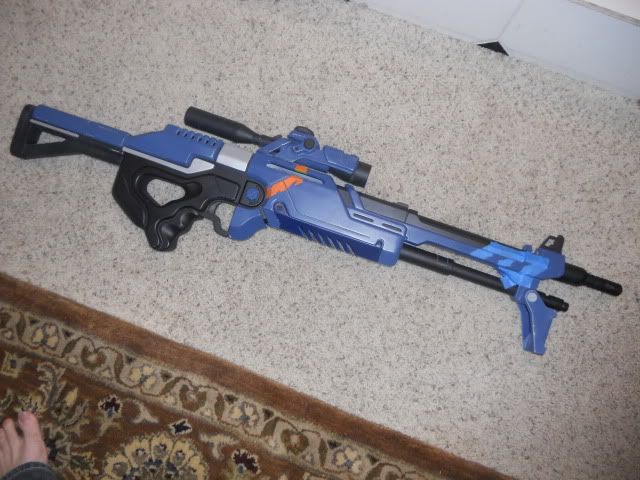
Masking off the orange in front. After the orange and some minor detailing, it was time to ship to the client. However, he let me know that the costume this was intended for was not ready, and thus extended the deadline so I could beat up the gun.......errr...detail it.
*Drull Roll*
stay tuned!
In other words, I've been pretty busy and havent had time to photograph.
here's the rest of the WIP and final pictures.
Sand Sand Sand!
Here I'm using styrene to hide rough edges of MDF parts and mate seams without bondo.
First coat of oxford blue and flat black. It looks so new! a few flights down the stairs should fix that.
Yes, I have feet. See below.
Masking off the orange in front. After the orange and some minor detailing, it was time to ship to the client. However, he let me know that the costume this was intended for was not ready, and thus extended the deadline so I could beat up the gun.......errr...detail it.
*Drull Roll*
stay tuned!
Sunday, July 31, 2011
Princess Leia's DDC Defender
This project was commissioned by Amanda Ramirez, Who found me through cosplay.com. Basically, she wanted a good version on Leia's DDC defender. Sadly, the only way to obtain a replica like this is to buy a master replicas version, scratch build it, or get the poor quality resin kit of the ROTJ version and modify it.
I used this picture for reference:
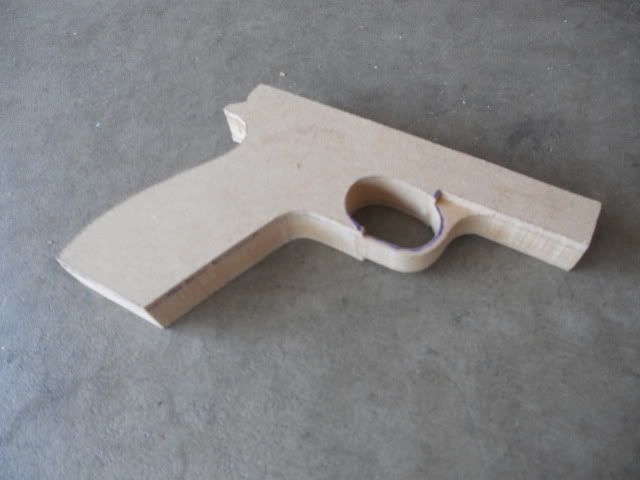
As always, I used MDF for the frame.
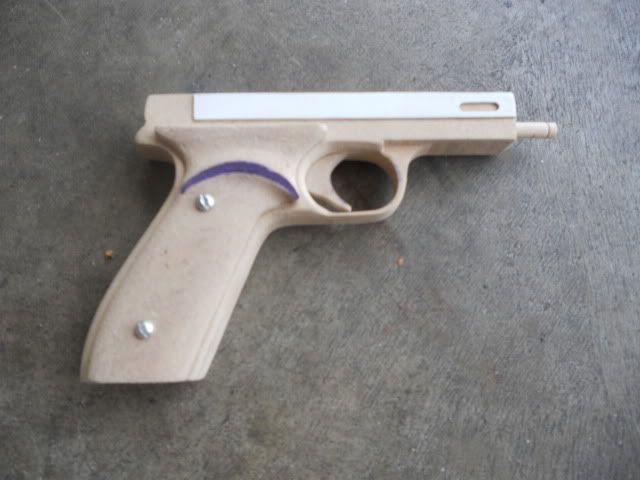
After some details. (styrene sheet, etc)
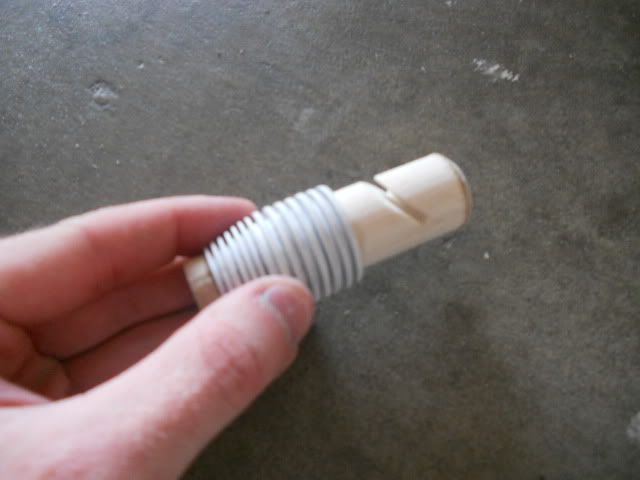
Then the fun part. The compensator at the end of the Barrel. This thing consists of a ton of thin circles, that needed to be layered perfectly, with an increasing inside and outside diameter as ti reaches the end. These had to be cut out by hand, and done in layers as styrene is thin. Then it had to be sanded to perfection.(by simply using thicker styrene, it would have been too difficult to cut by hand. Some progress here.
Sorry for the blurriness, my camera has a locked macro mode that I have not been able to unlock. As you can see, the thickness of the styrene is even variable.
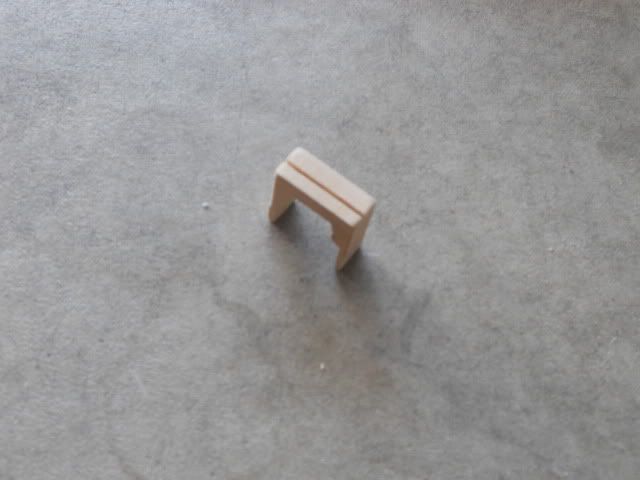
Then came the blade signts. I cut out grooves with my scroll saw in to hold the styrene sights. simply gluing styrene to wood by the edge wouldnt have lasted a day.
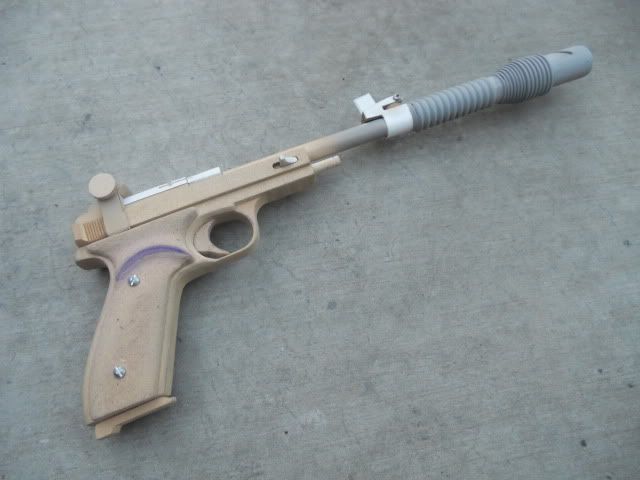
Basic construction done:
Sealed, sanded, painted, and dull coated with testors dull cote.
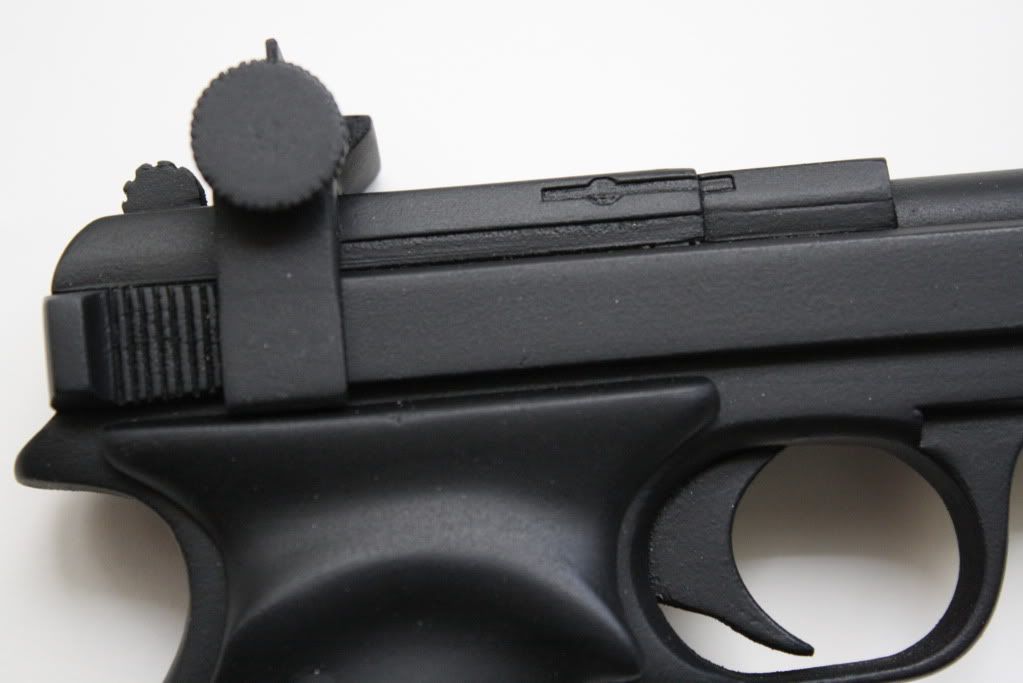
The extractor detials, all grooves, etc were replicated.
Thanks to my good friend Steven Nguyen for the final pictures!
Subscribe to:
Comments (Atom)


