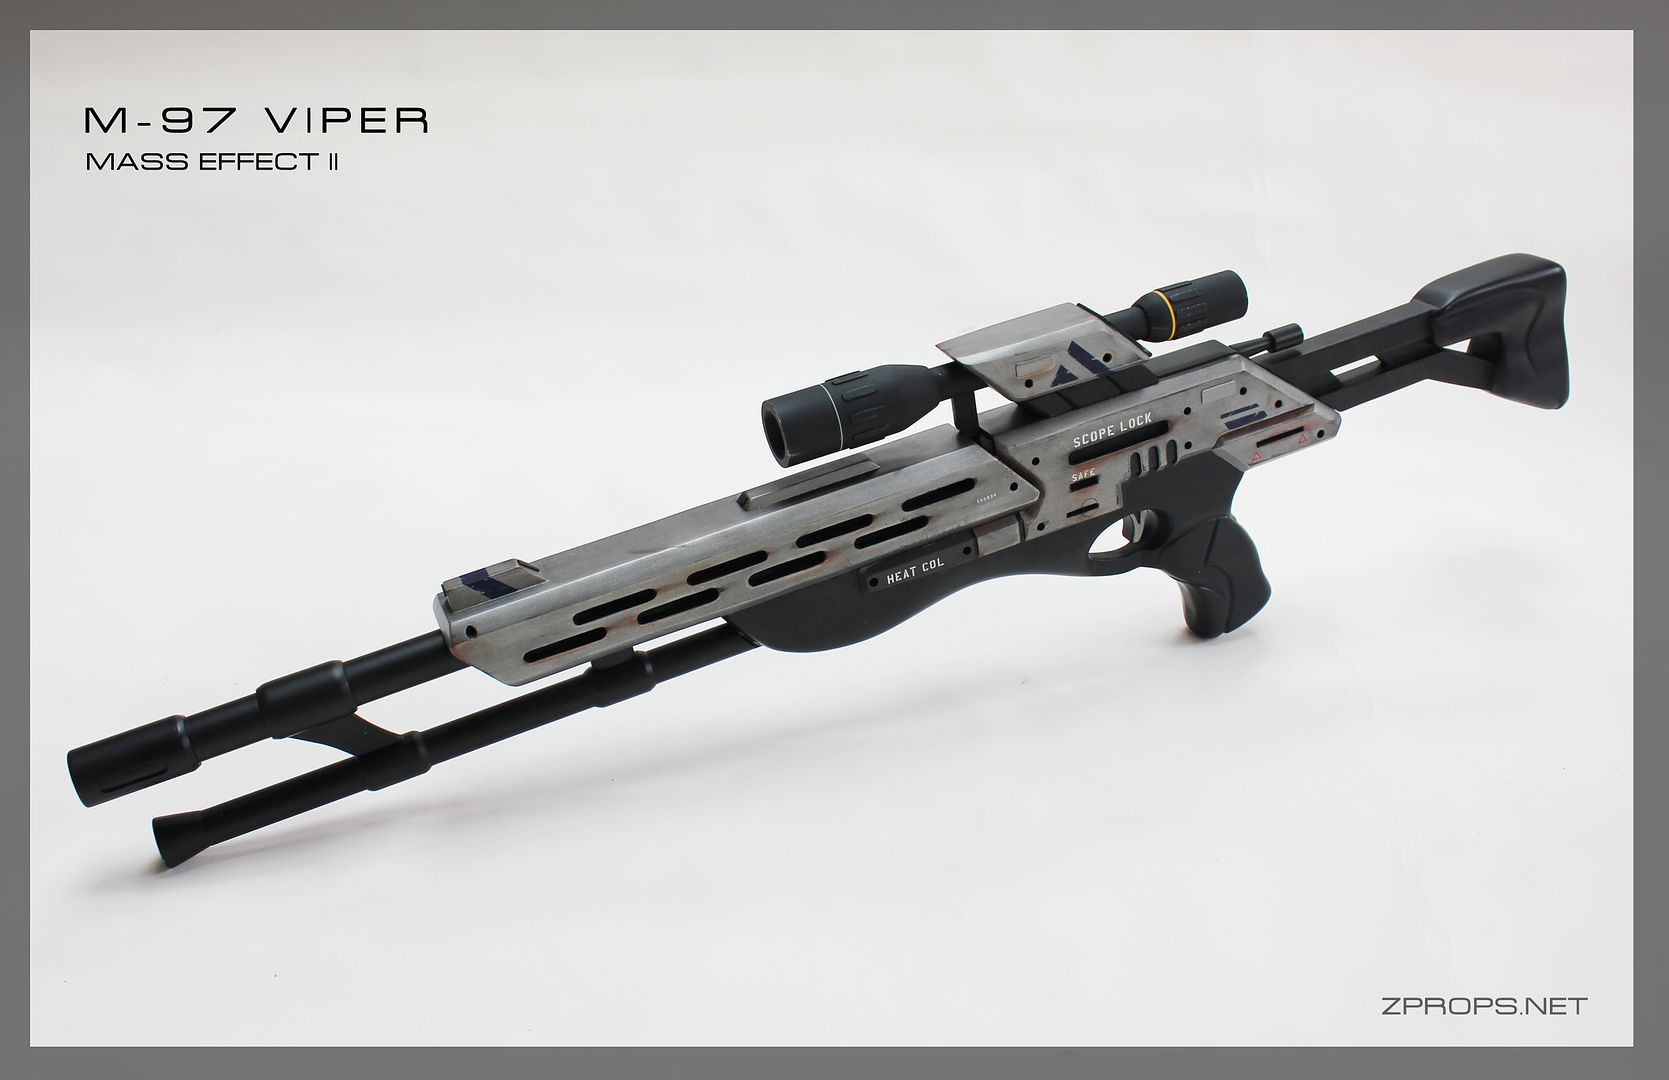
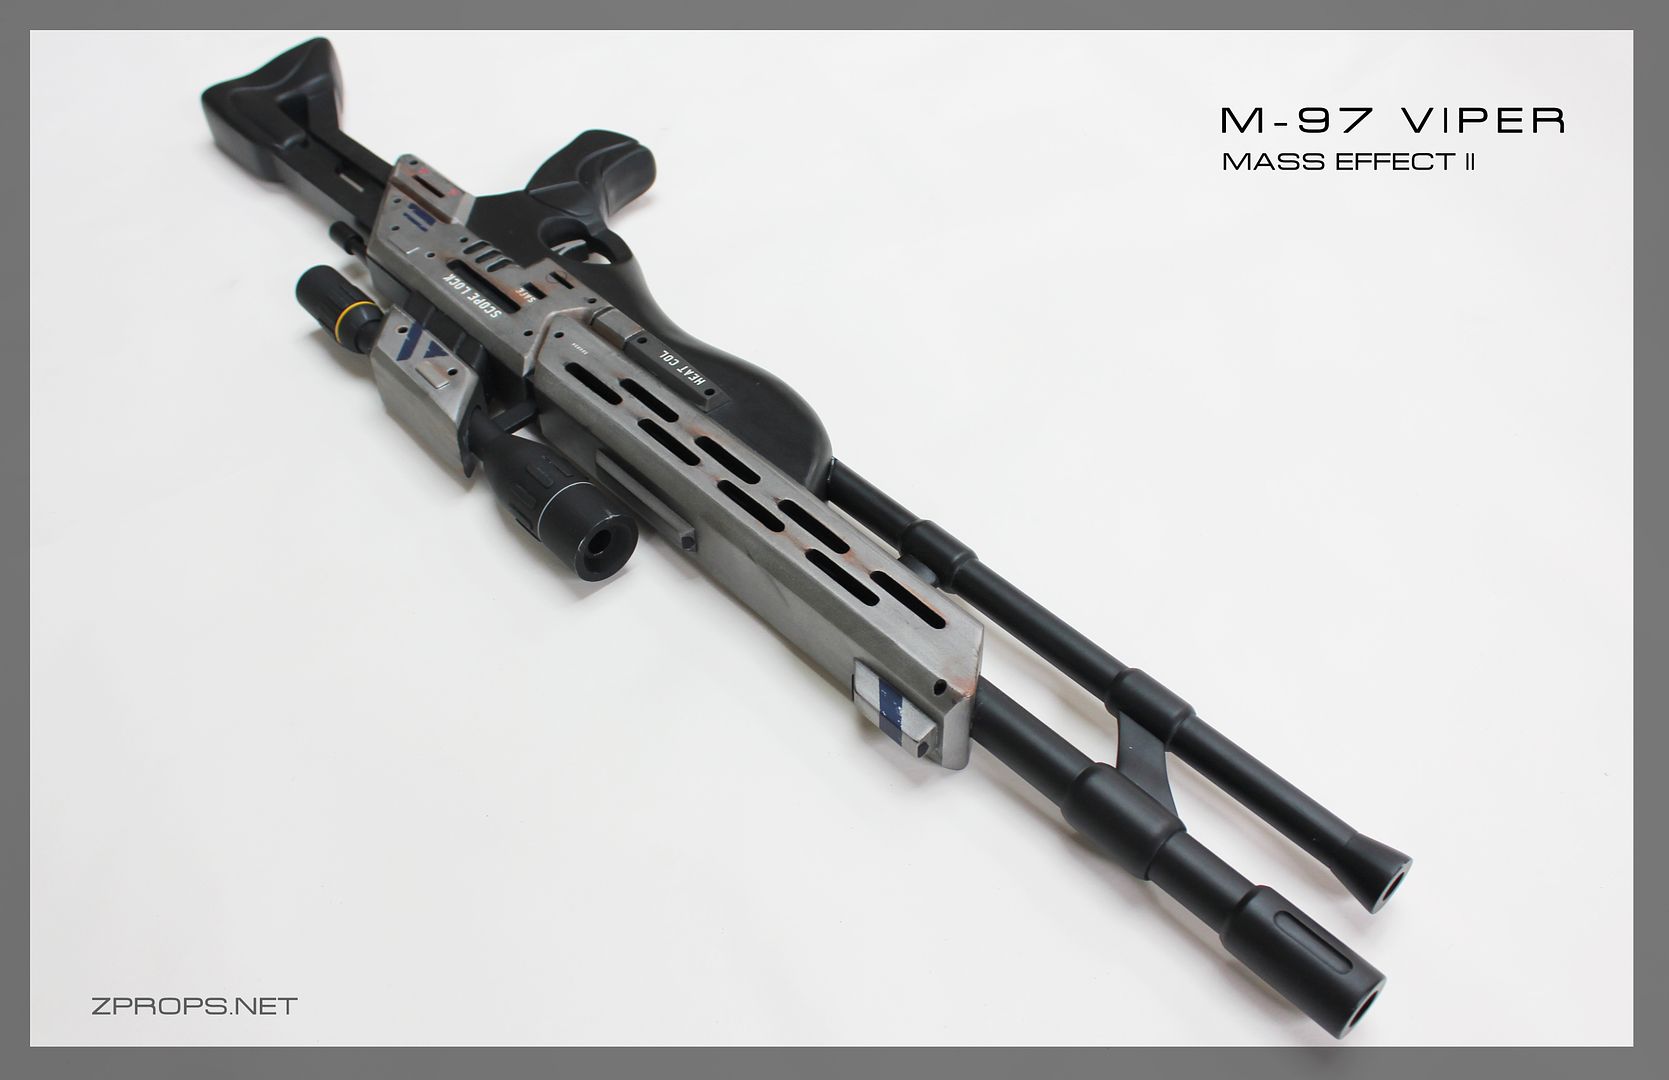
Earlier This year I was contacted to make this thingie from Mass Effect II. (Something new and different, right?)
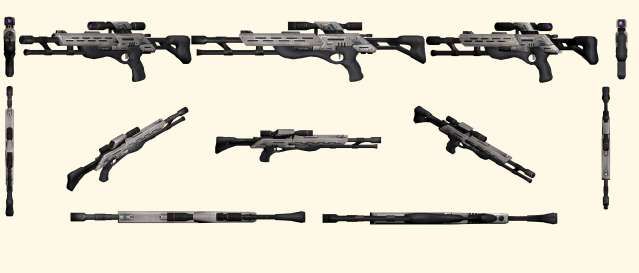
As always, thanks to troodon80 for the reference picture.
Here's another shot with Garrus, which serves as a good scale factor. I scaled it to 42" long if I recall correctly.
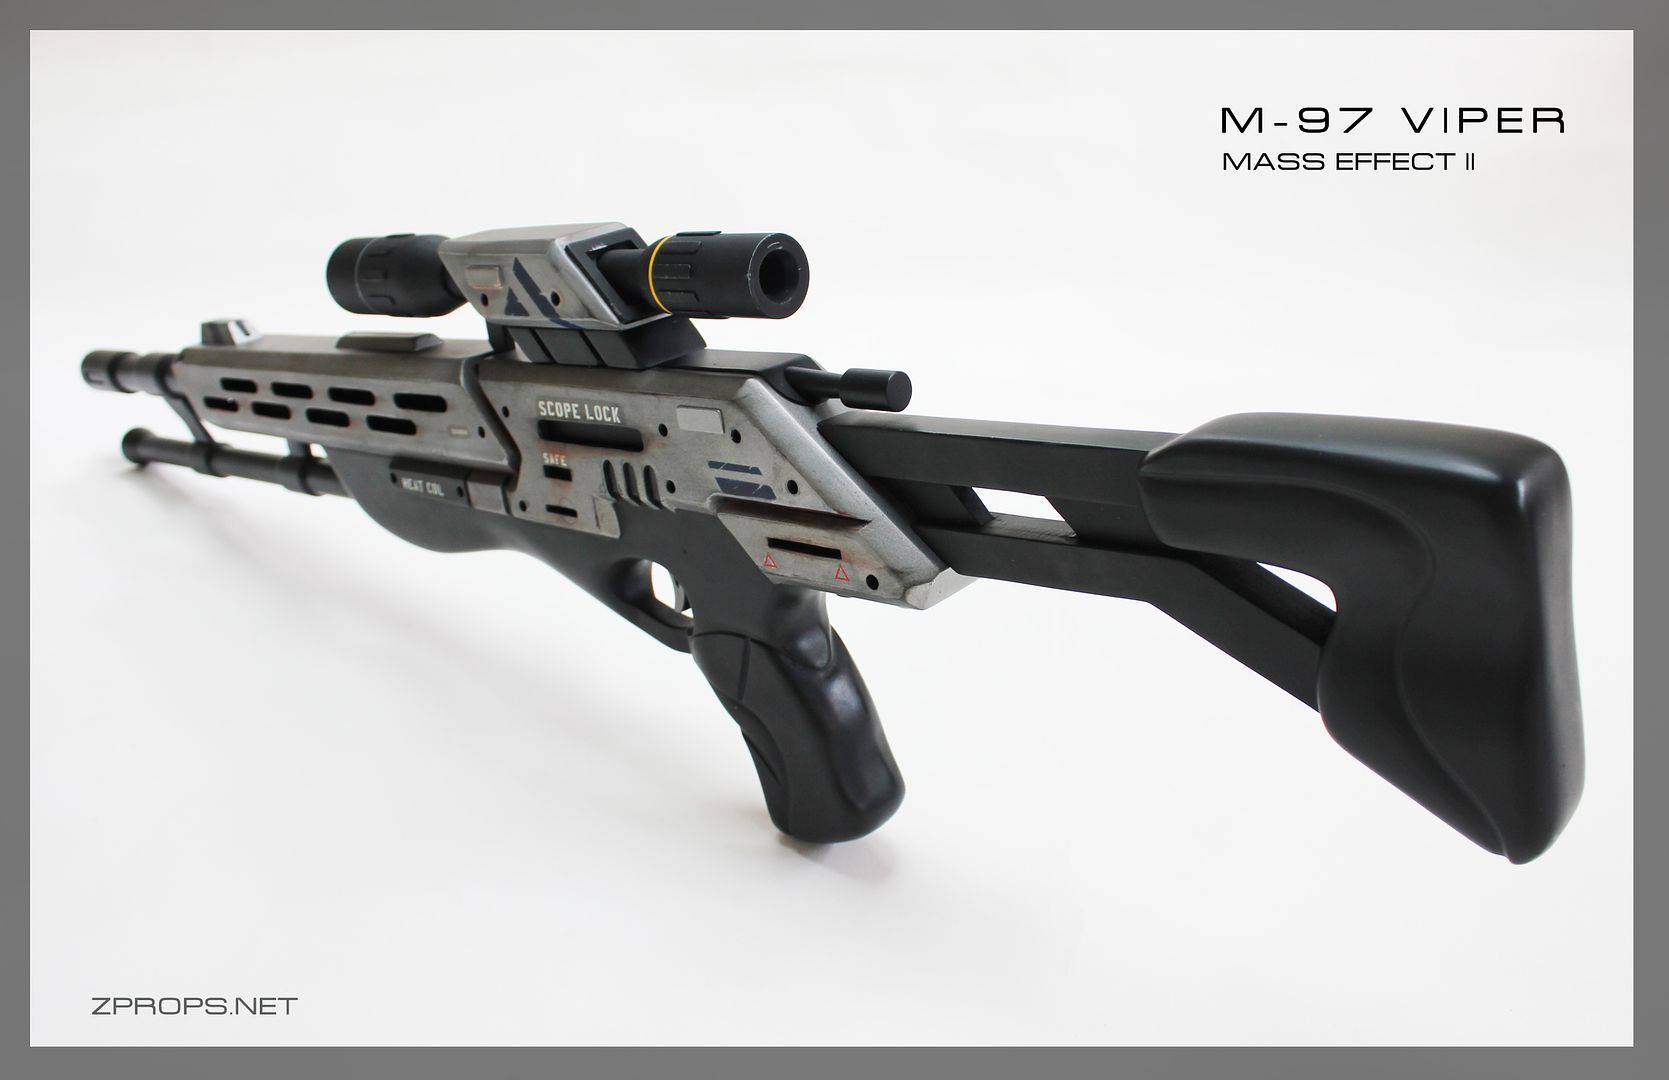
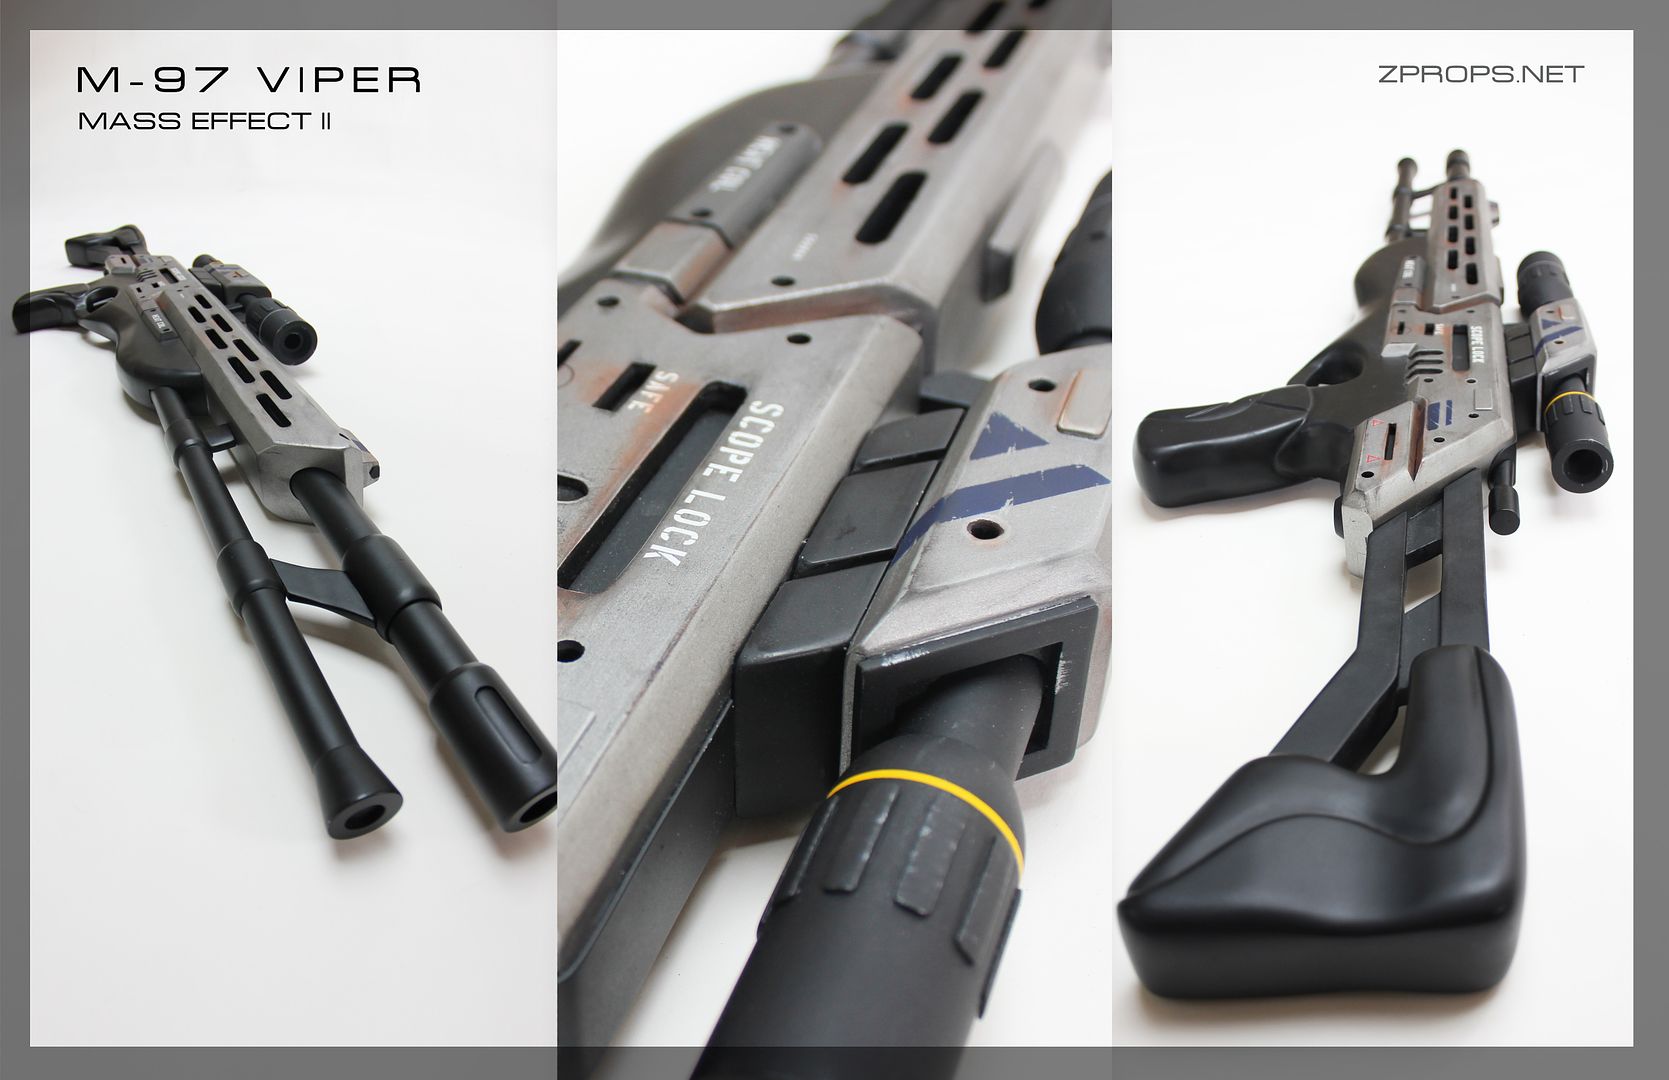
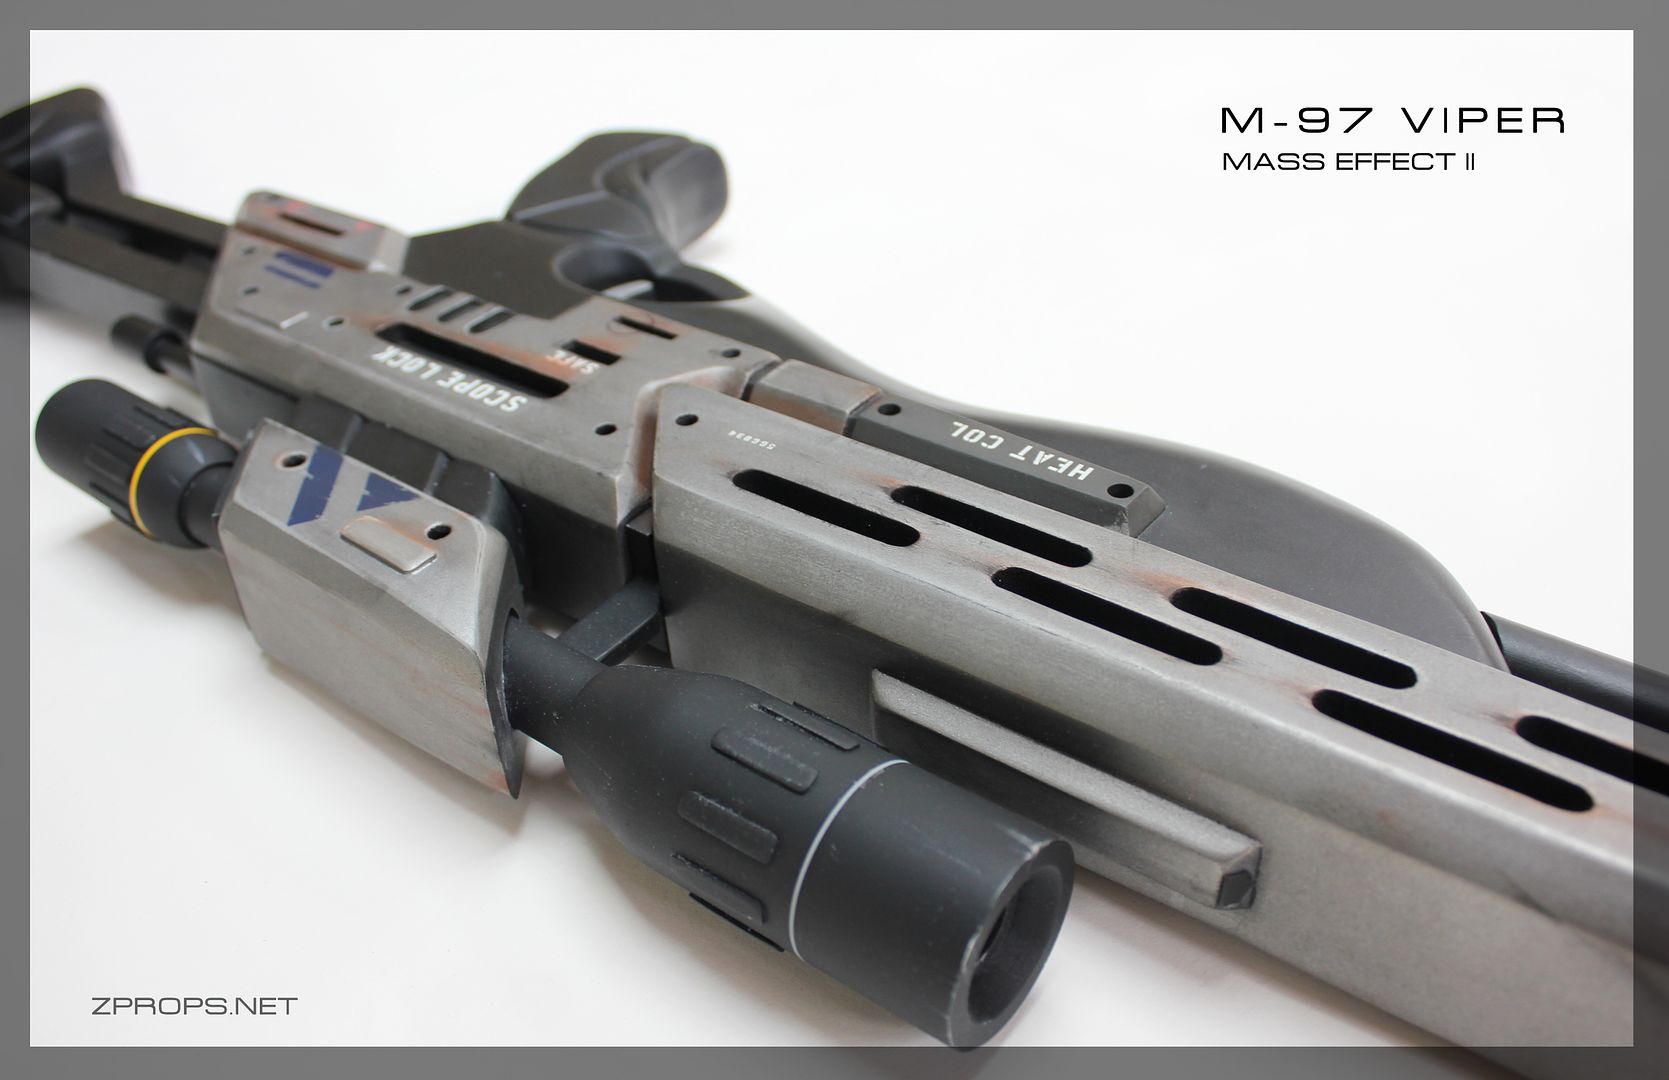
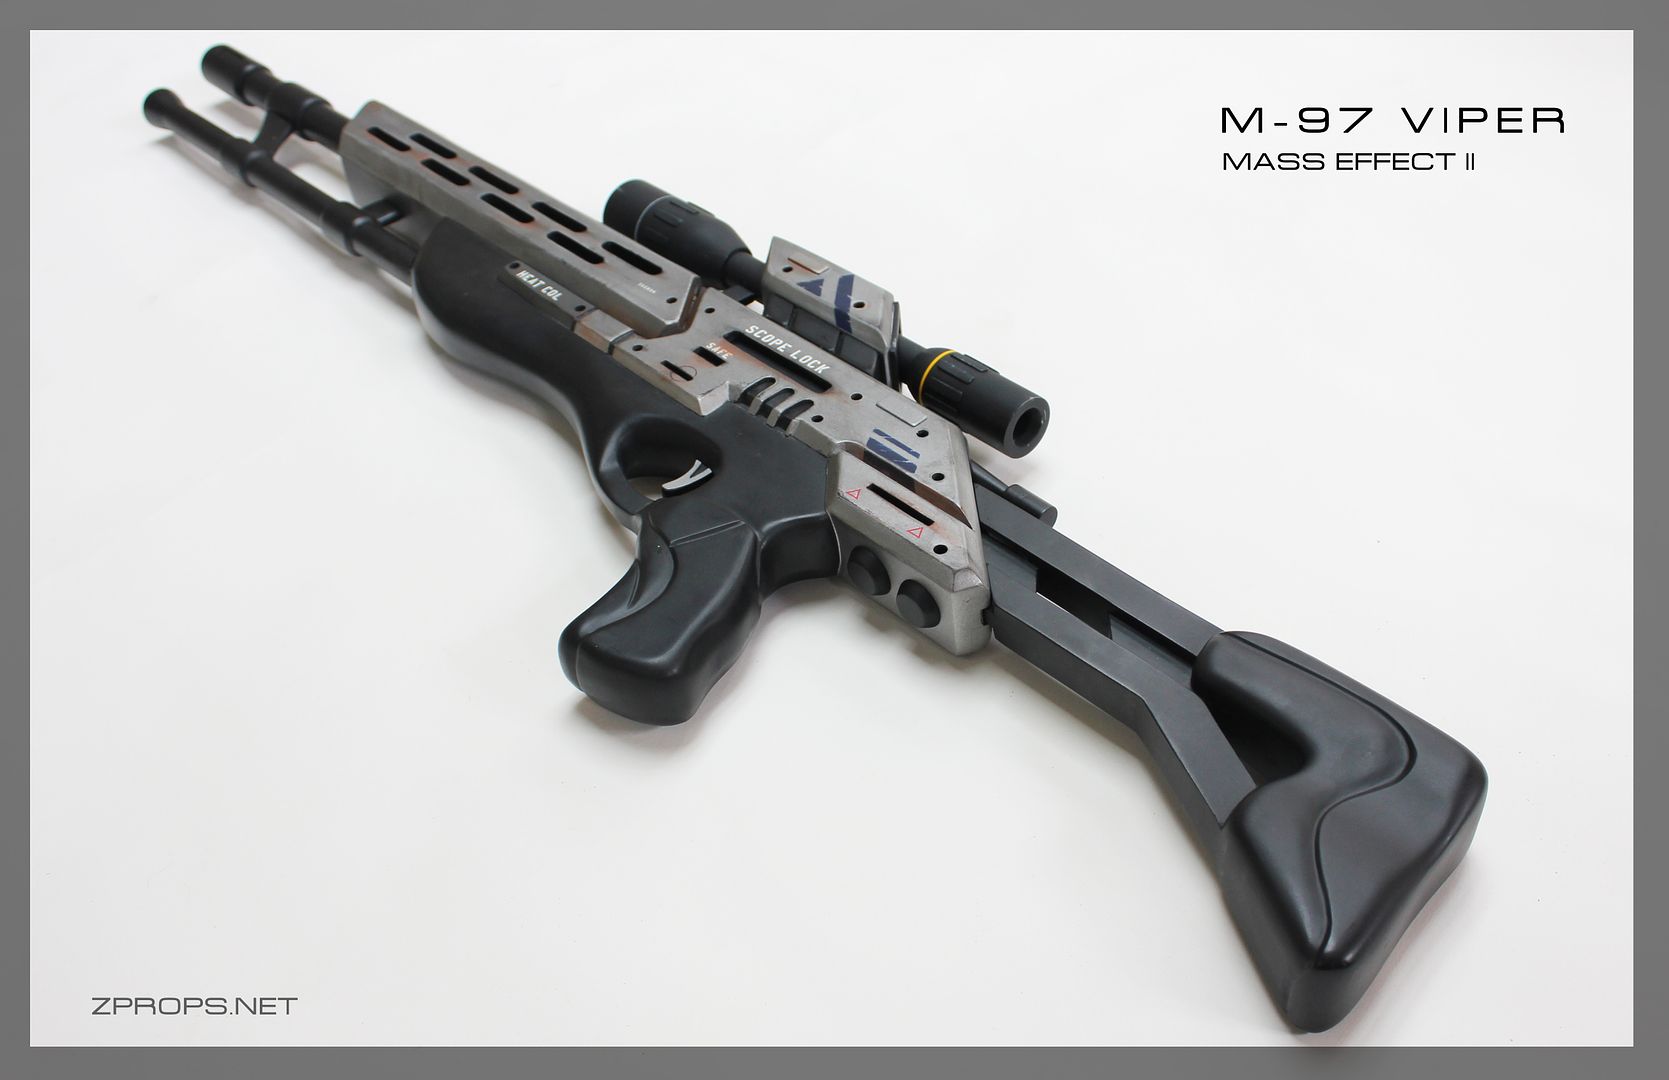
This build was certainly more simple than the other guns I've done. But I was still sure to capture all of the details, especially in the barrel assembly and receiver areas. I definitely didn't care for the gun design initially but it grew on me. It follows the designs of the Mass Effect 1 guns to me. I'm honestly surprised at what a huge fan base this gun has in the game.
I was building this at the same time I was building my first mattock, so I didn't take many pictures as I focused on the mattock.
Anyways, here we go!
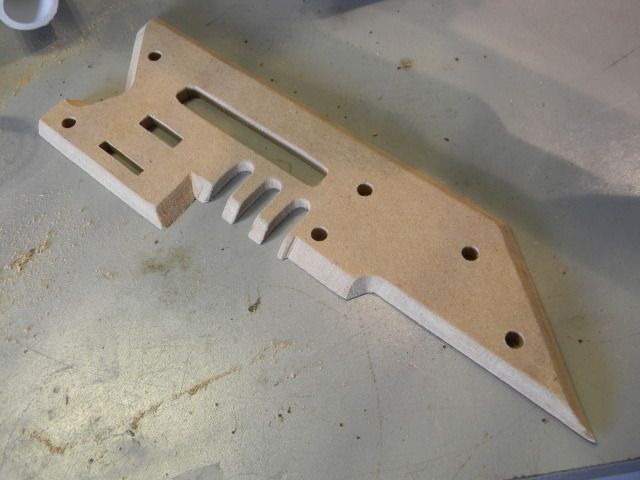
I started with the receiver details. I wanted to get these nice and crisp.
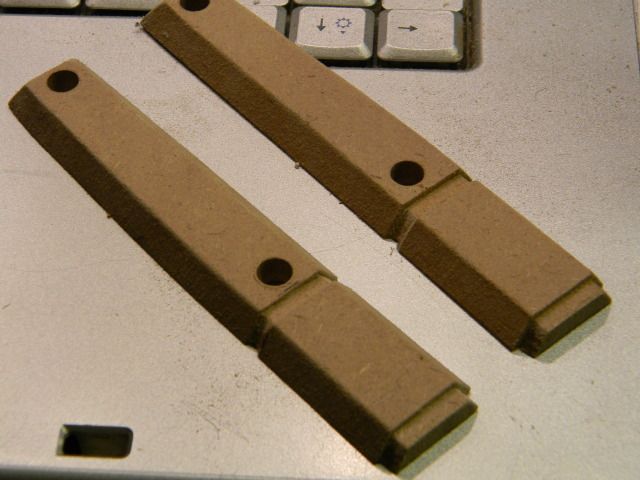
Then I did the little box details below that. Exciting stuff....
Little details on each side
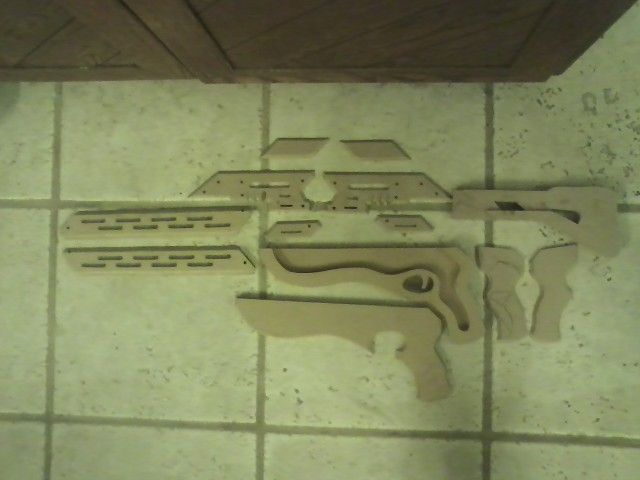
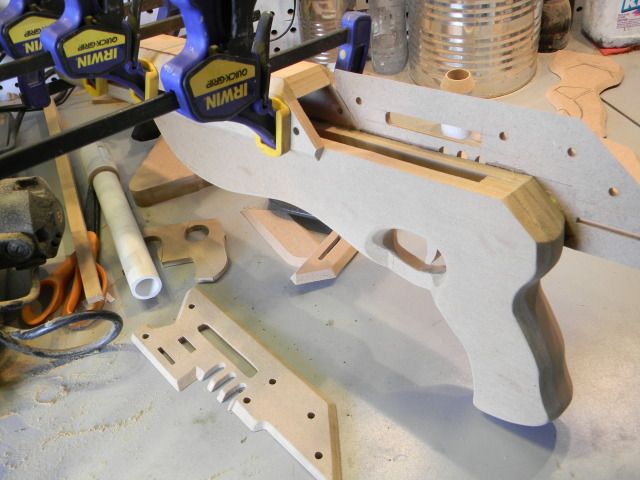
Then I did the rest of the "flat pieces" before laminating them together.
Scope riser. I've seen a couple builds where people skip this piece entirely!
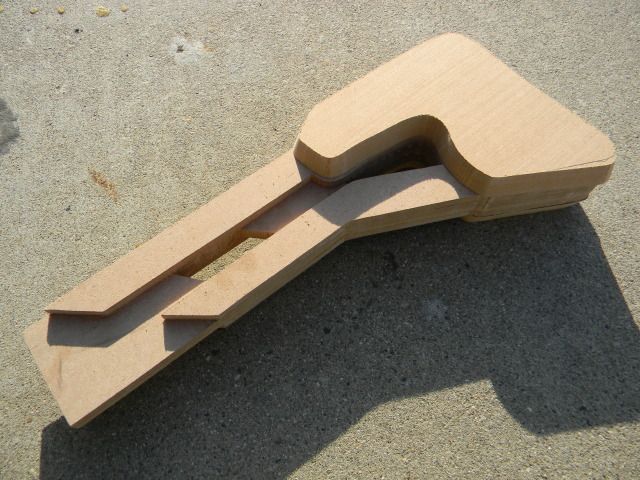
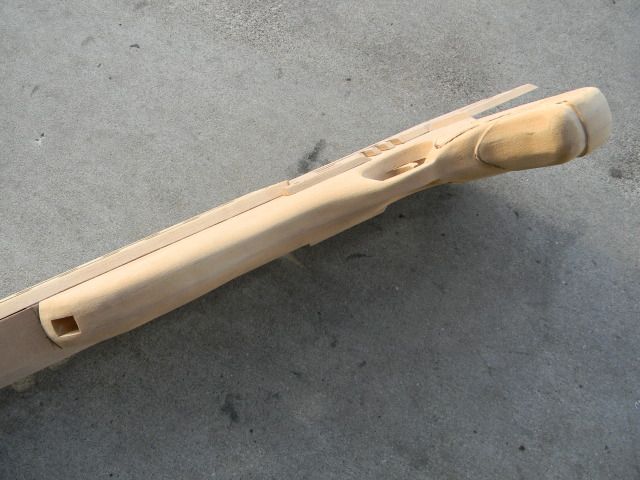
Hollowed stock
Glued on shrouds, etc
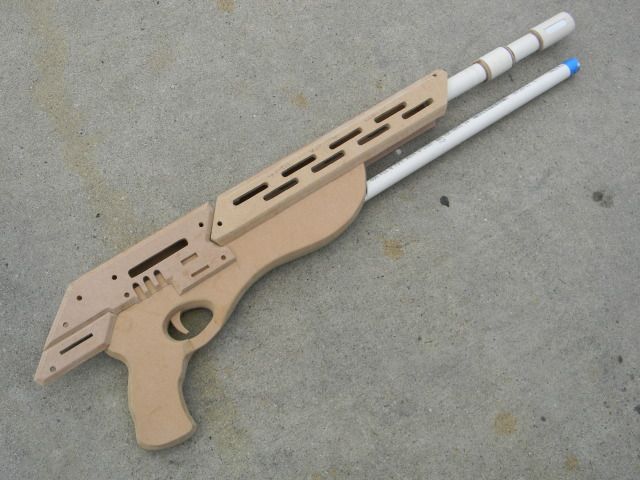
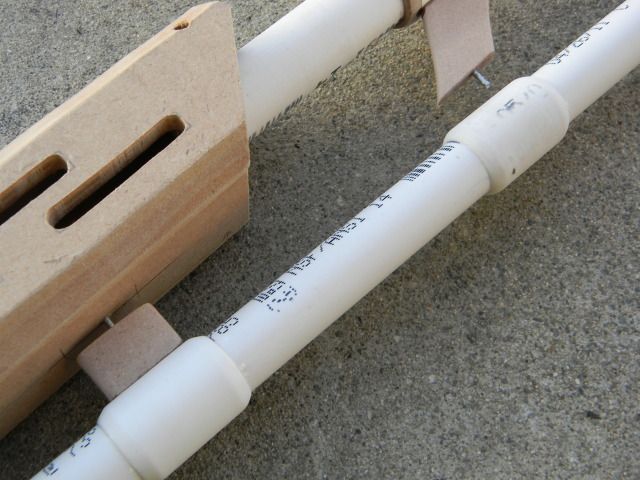
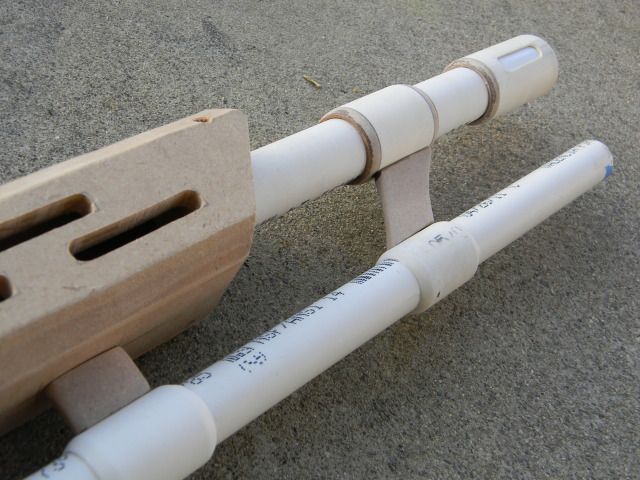
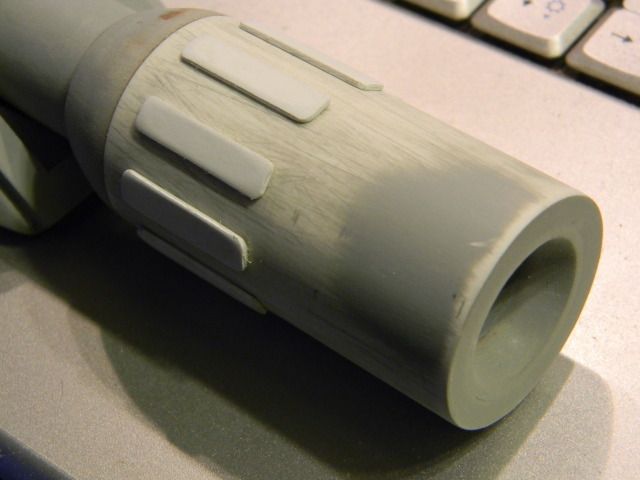
Started on the barrels. At this scale, the PVC worked out perfectly
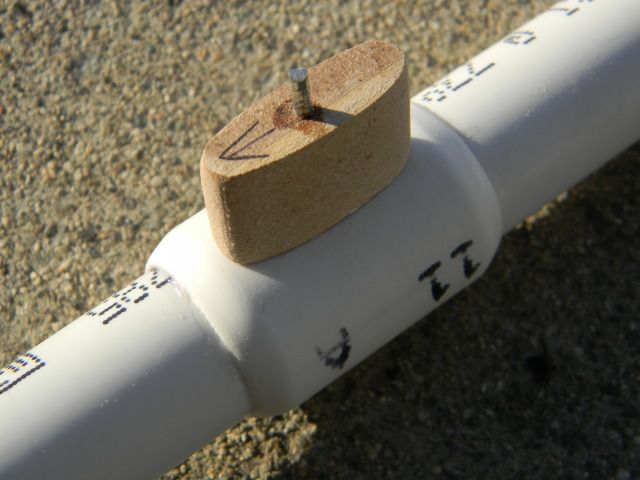
The barrel details are pinned for strength and are all friction fit for removal when painting
Barrel coming together
Blocking out the stock
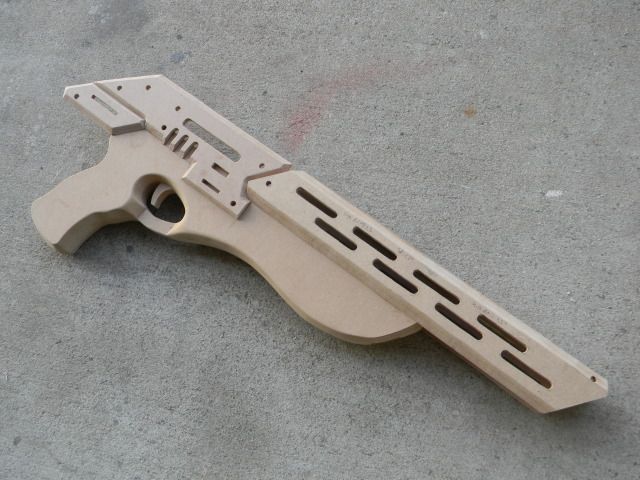
Early test fitting. Things get exciting here.
Stock roughed out and primed. Sanding this was great for my health.
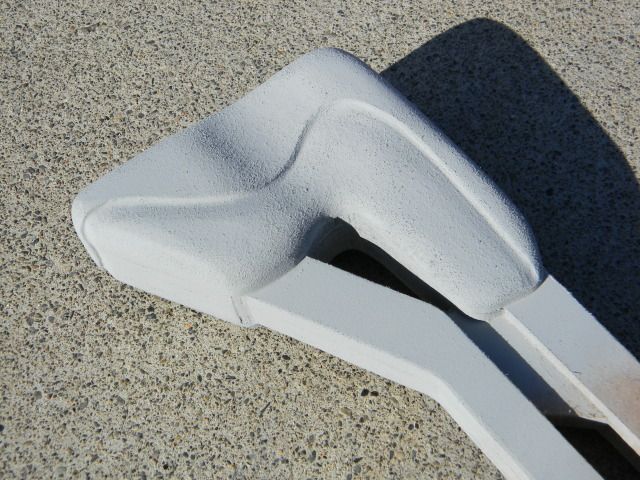
Foregrip and trigger area sanded down. I used the rounded edge of a belt sander for this at my former school's shop.
The grip details. In retrospect, I should have drawn "penispenispenis" all over this volpin style. This pattern is true to the reference. Don't blame me.
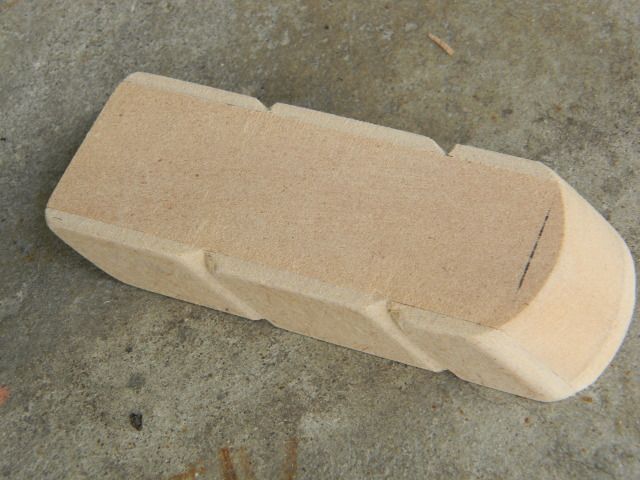
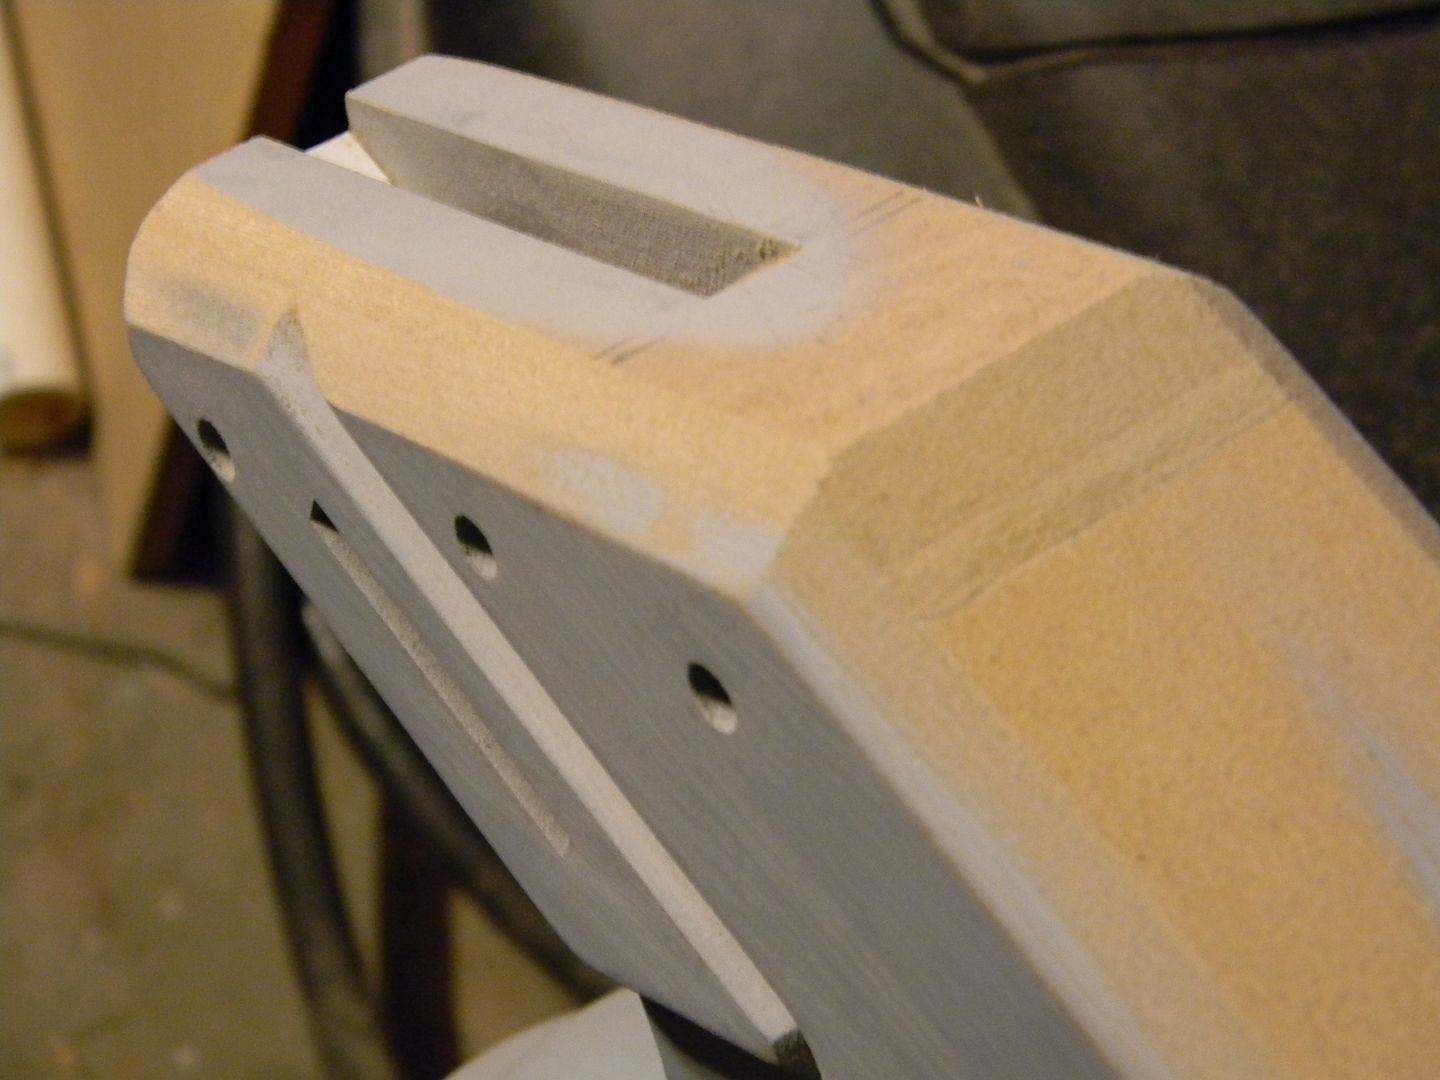
Some beveling. All done with a scroll saw, routers are lame! (I use a scroll saw for everything. Some have speculated that I shave with it, cuddle with it, mow the lawn with it, cut my sandwiches with it. all are true.)
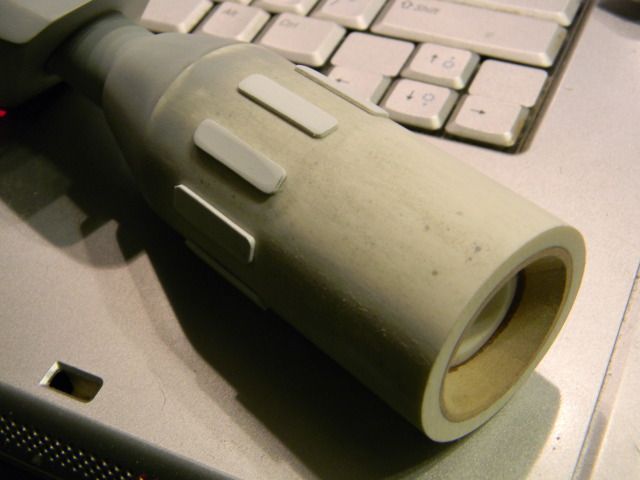
I cant remember which end of the scope this is. They're both different though.
Annnnd the other end.
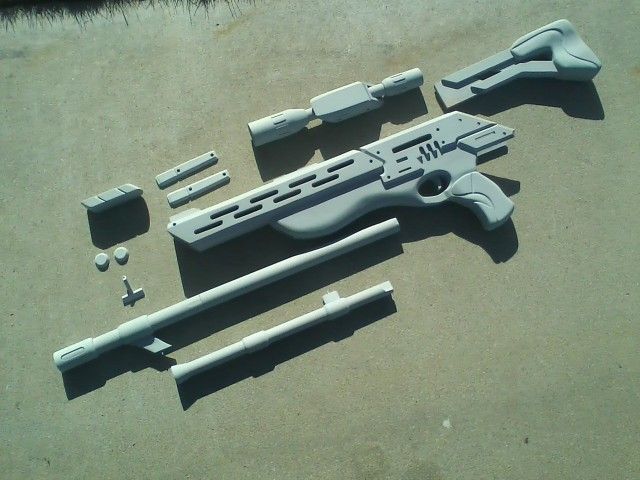
All the parts, sans the little "bolt" part above the stock.
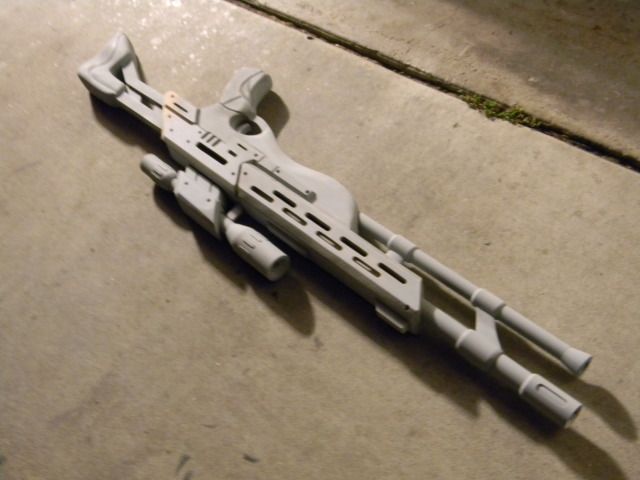
Primed up! (No easy feat with this much MDF)
My friend holding the gun with the basic "colors" mapped out. I got intimidated at this point and took a long break while I researched some good styles to weather silver. A lot of people recommend the acrylic wash and wipe, But I went with a completely different method. Hopefully you think it looks just as good.
(This is not me people.)
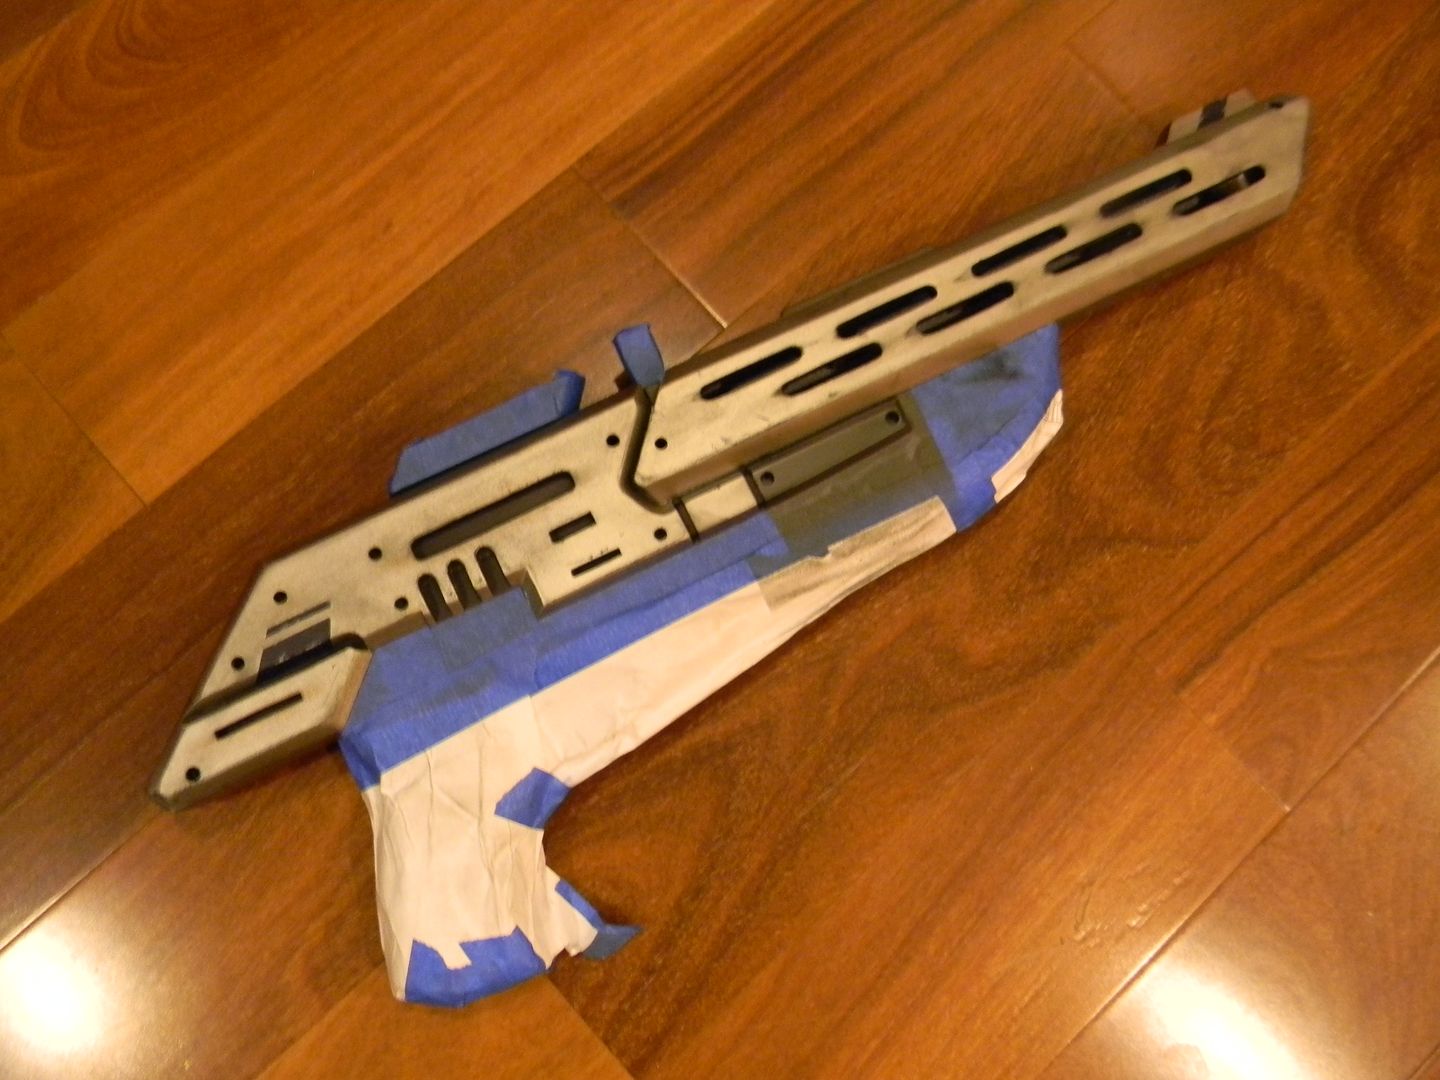
I taped up the black portions because I was smothering the silver areas in dullcote which I didn't want to get on the matte black. (there's a difference between flat, matte, and satin. )
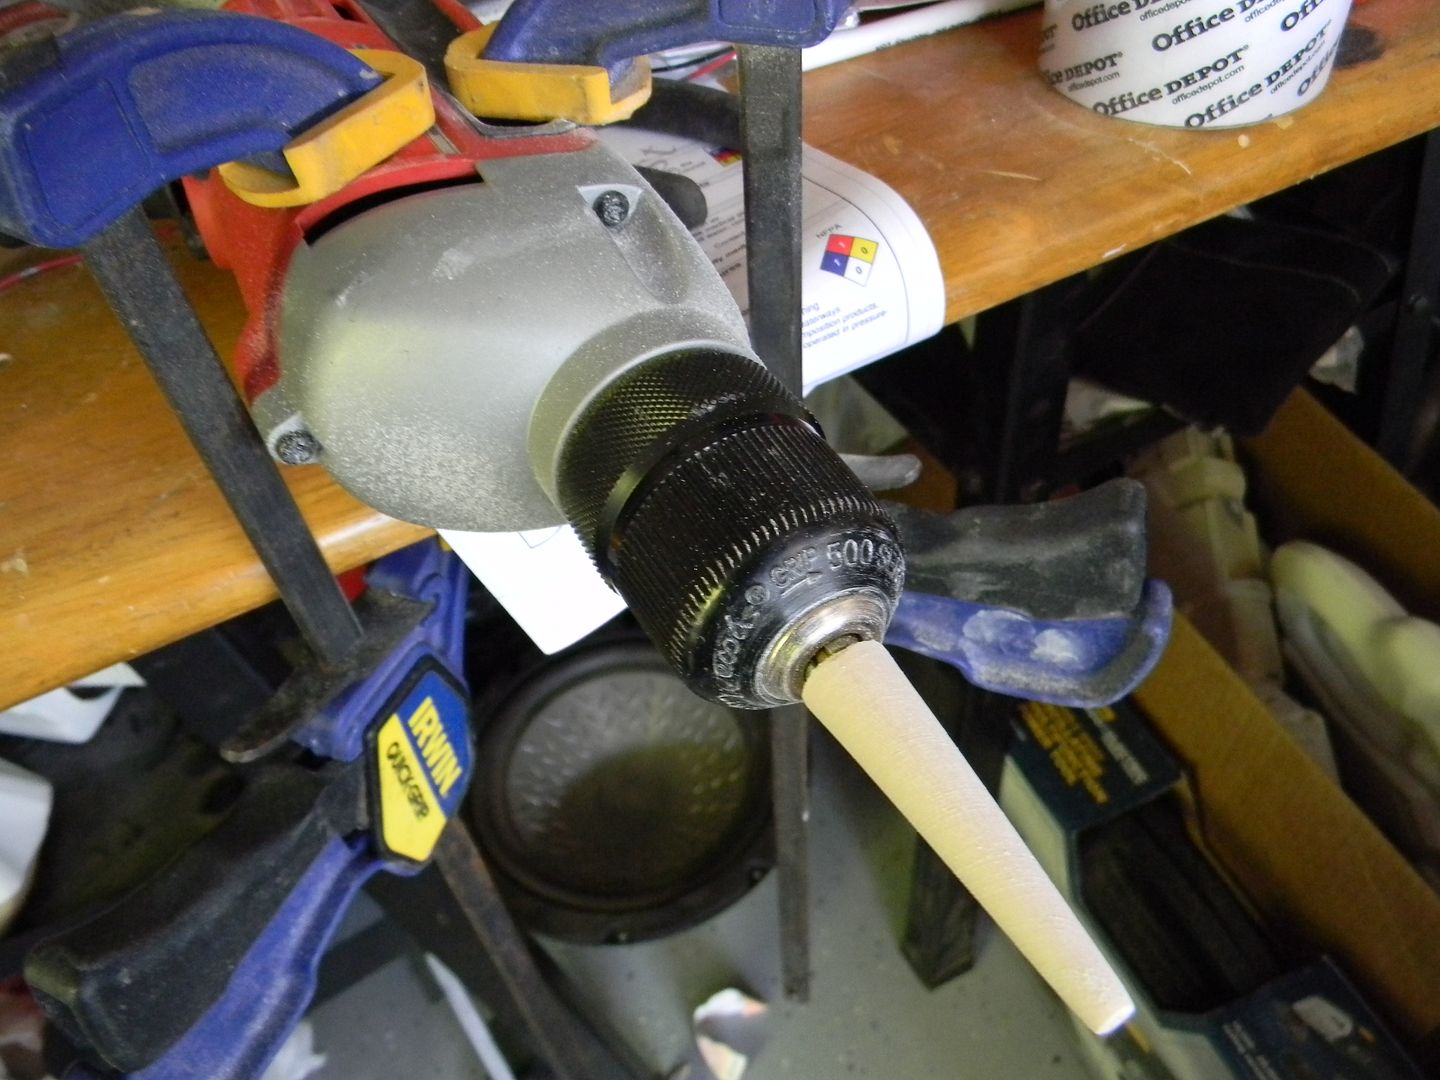
This piece would have been a bit difficult, so I didnt use a scroll saw for it. For those wondering, its the "bolt" end. Charging handle. I'm not sure what its supposed to be really. The important thing is that we here at Zprops are equipped with the finest machines. Here is a picture using my wood lathe/sanding block.
#Cclamps #ghetto #wiredoncoffeetogetitdone
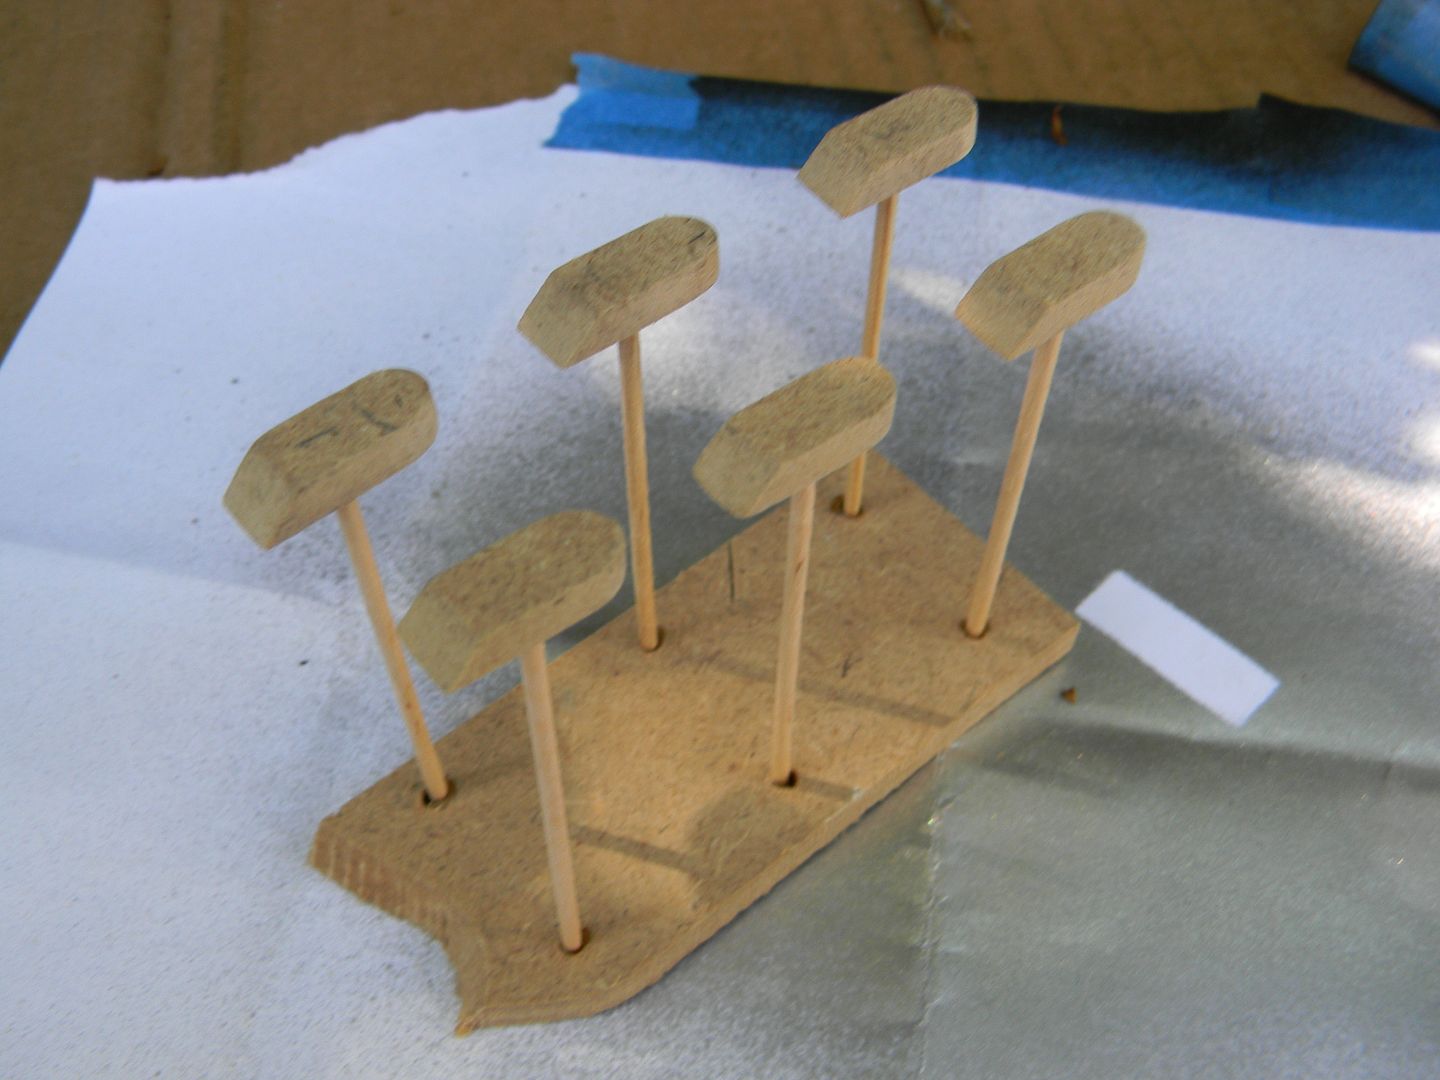
Tedious little inserts that fit into the receiver slots. they all had different width/curvature and had to be dremeled and numbered to fit. If I didn't mount them like this they would have blown all over the place from the spray can.
First time using a high end camera! It was nice.
For updates before write ups get posted here: Ermagherd. Furrsebook purrge.





simply amazing, very well done
ReplyDeleteThanks Zach!
DeleteShut up and take my money! Seriously though, I just meandered over here from Kotaku and would like to know if this is for sale.
ReplyDeleteI sometimes offer resin kits of the guns I make, but this particular one was a one-off, meaning it would be very expenive to make a gain. You can email me at zander_brandt@yahoo.com for commission requests!
DeleteMr. Z,
ReplyDeleteI'm a big fan of your work and aspiring prop builder myself so I was curious about what you used to give your first pieces, picture #1 and #2 the bevel on the edge of the MDF pieces.
Thanks a ton and again great work!
Thanks Matt, I use a template on the MDF, then I tilt the scroll saw table to the desired bevel degree and thus make the cut and the bevel at the same time.
DeleteThat's some fine MDF-fu, there! Good work!
ReplyDeleteany blueprint?
ReplyDelete