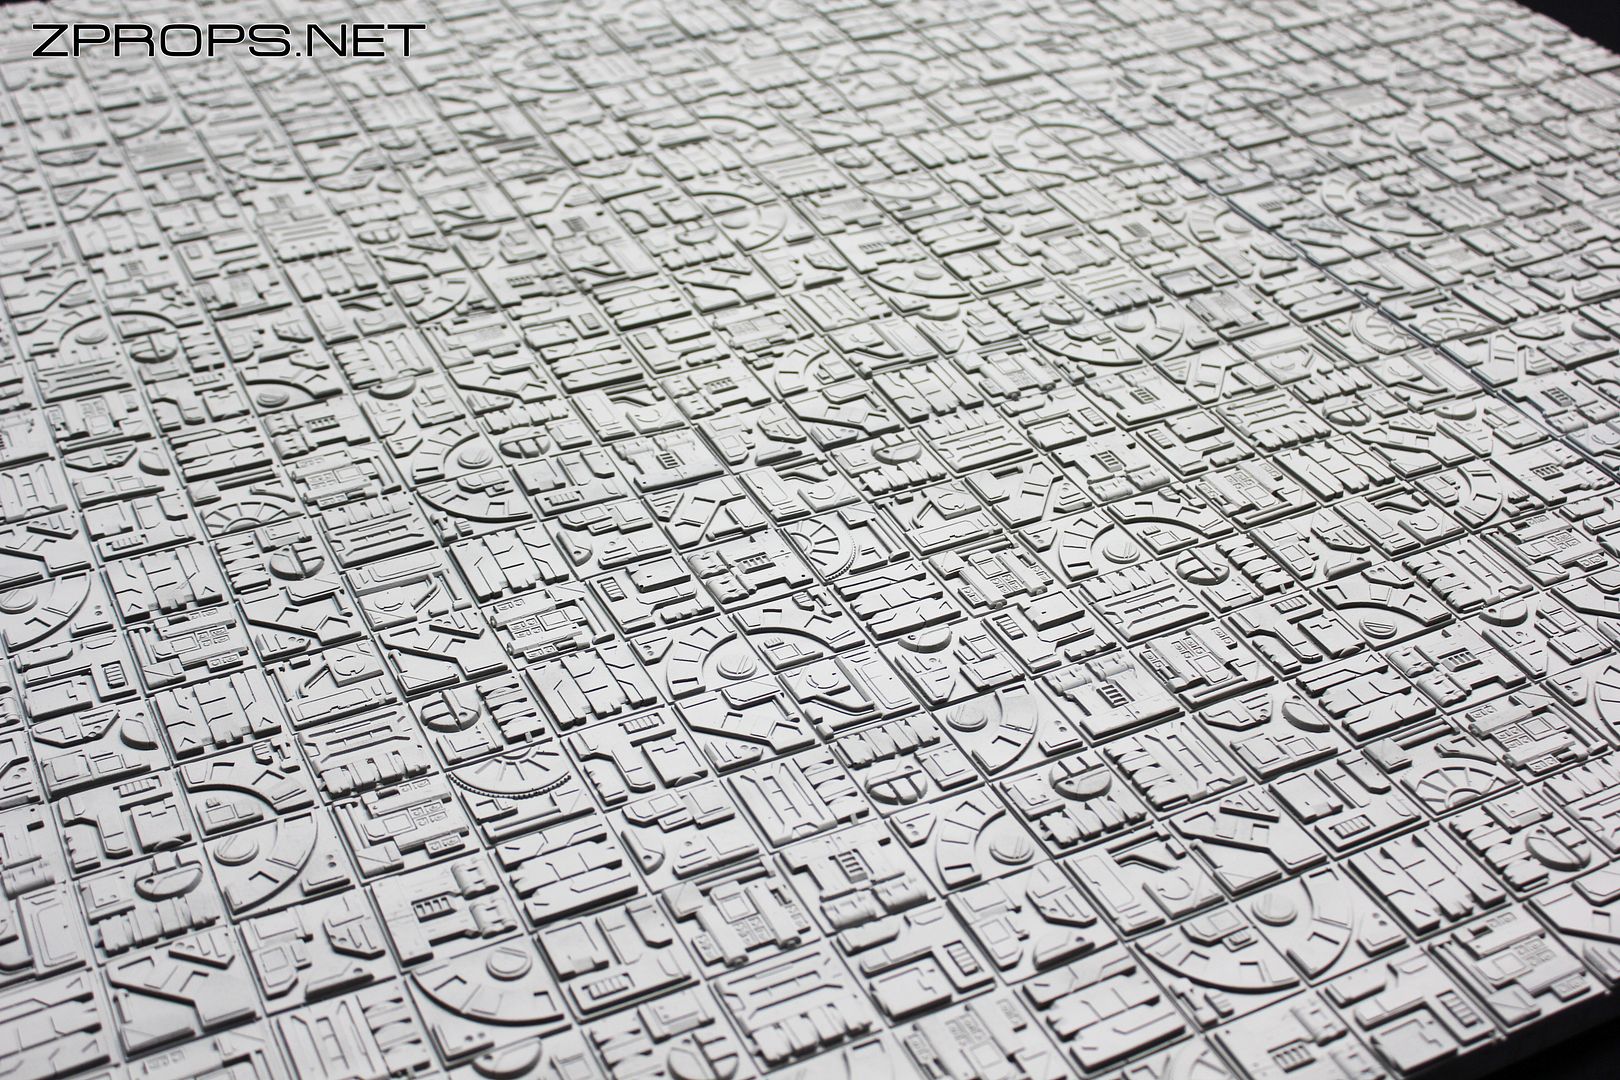
I first decided what thickness I wanted the set to be. Like last time, I used a 1/8th inch piece of MDF as the base, but decided I wanted a clearly visible grid. I decided that building a grid on top of the panel would be easier than trying to scribe an even grid.
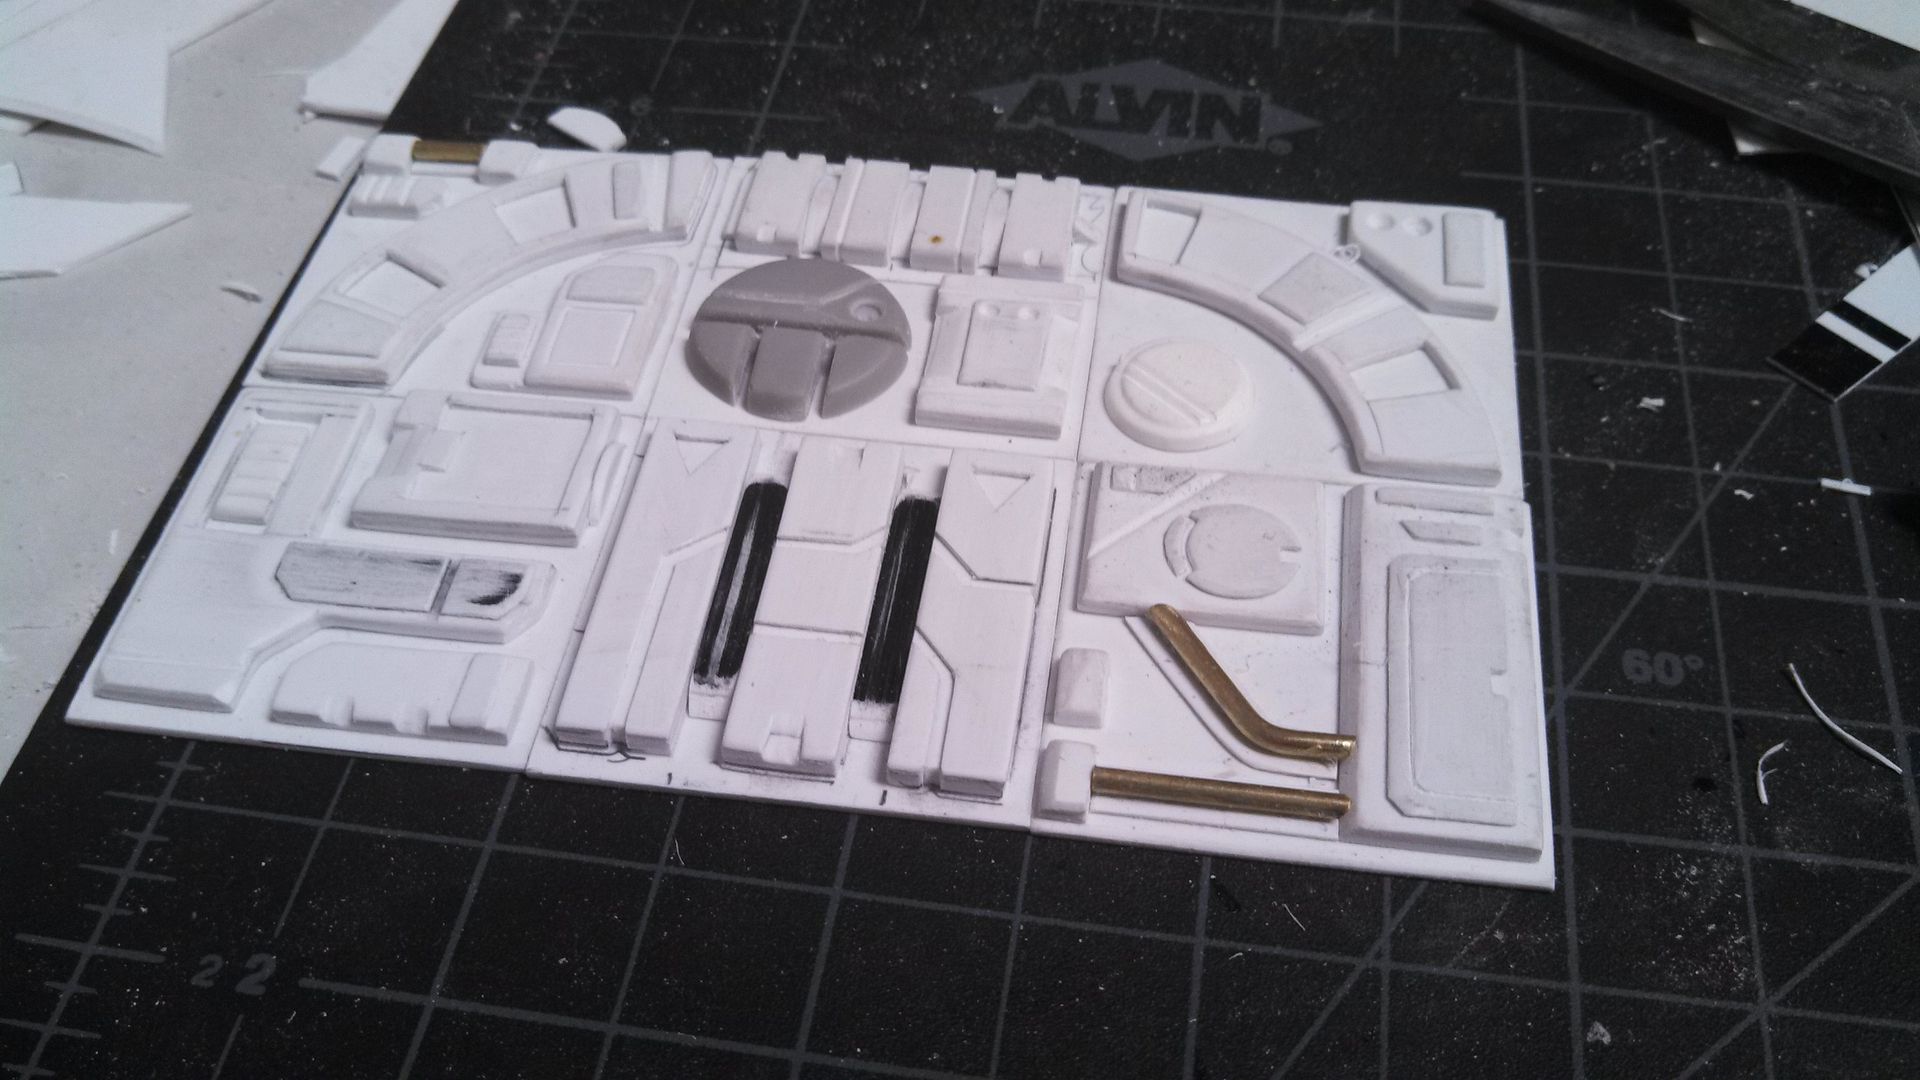
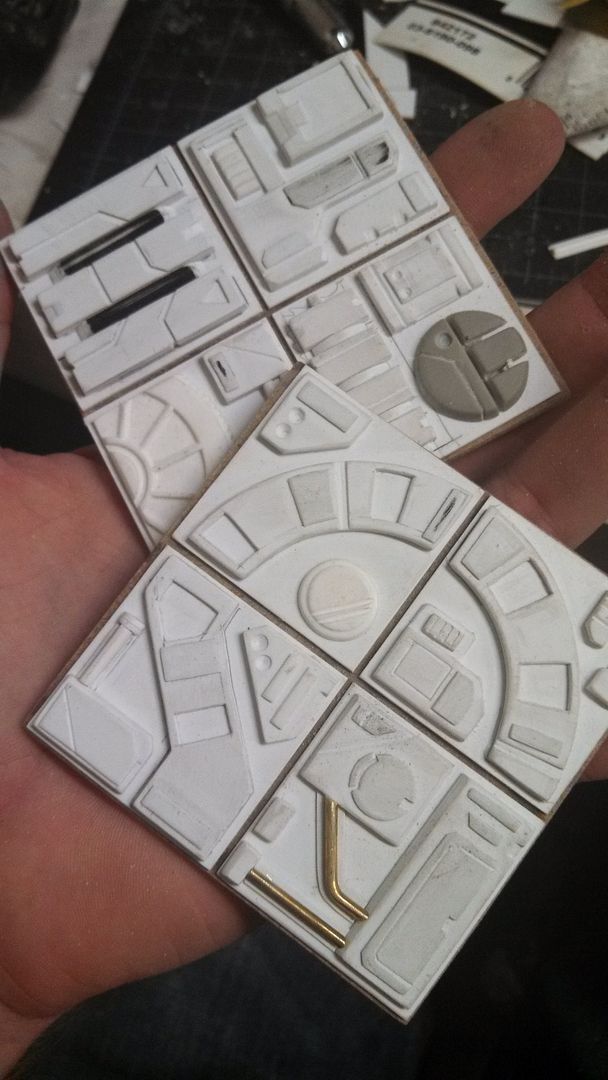
Each detail section is built on a small, roughly 1.5 " x 1.5" piece of styrene. I was initially going to make 8 different detail tiles, cast them, and glue them to the panel. I think I ended up with 12+ different ones though. Here were the first six. The grey round part is cast from a mass effect gun part and then modified to blend in. The brass is...brass.
I got a consistent height by layering three pieces of styrene together for consistency. A smaller layer of styrene was used for the final, detail layering. I could have made the raised detail larger/deeper, but the result would have been a higher cost. Certain details had to be cut out of the top layer before gluing them to the bottom layers, such as the inset details on the semi circle bits.
I had the idea for coasters ahead of time, so I figured I'd make the molds for those first, and then use really thin casts as bits for the full sized panels.
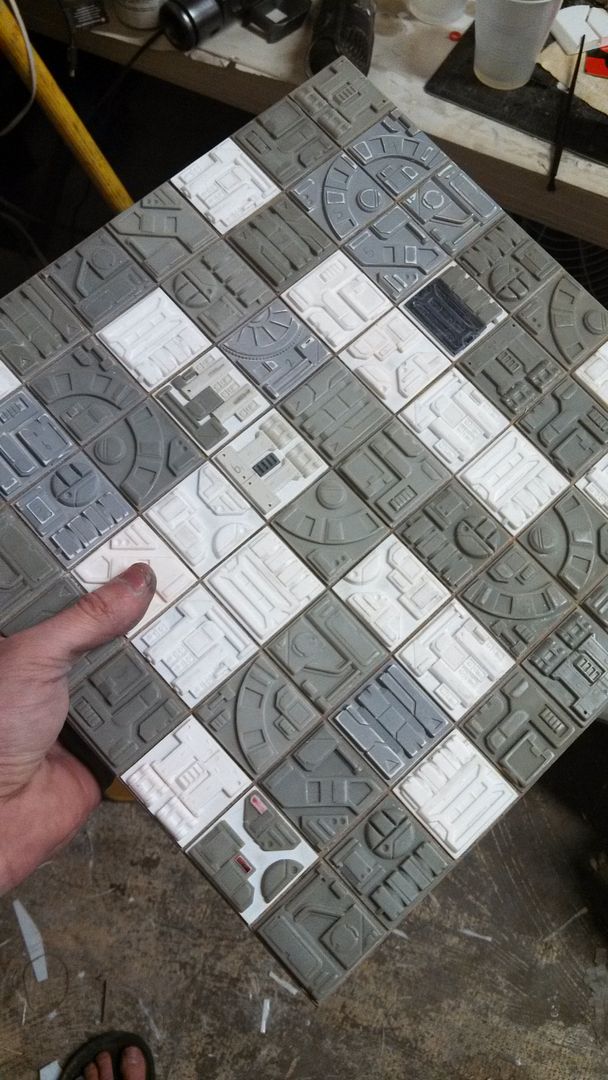
I glued the masters (Blue-ish grey bits) down to the board, then filled in the rest with casts of the masters (White bits and brown-ish grey bits)
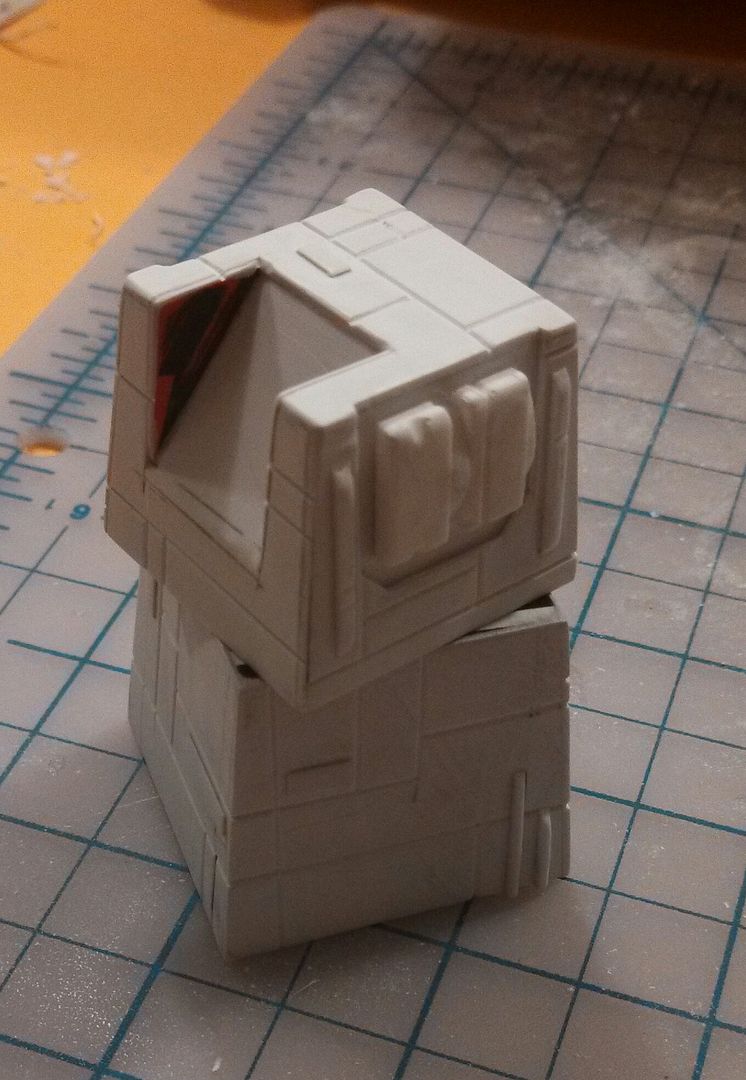
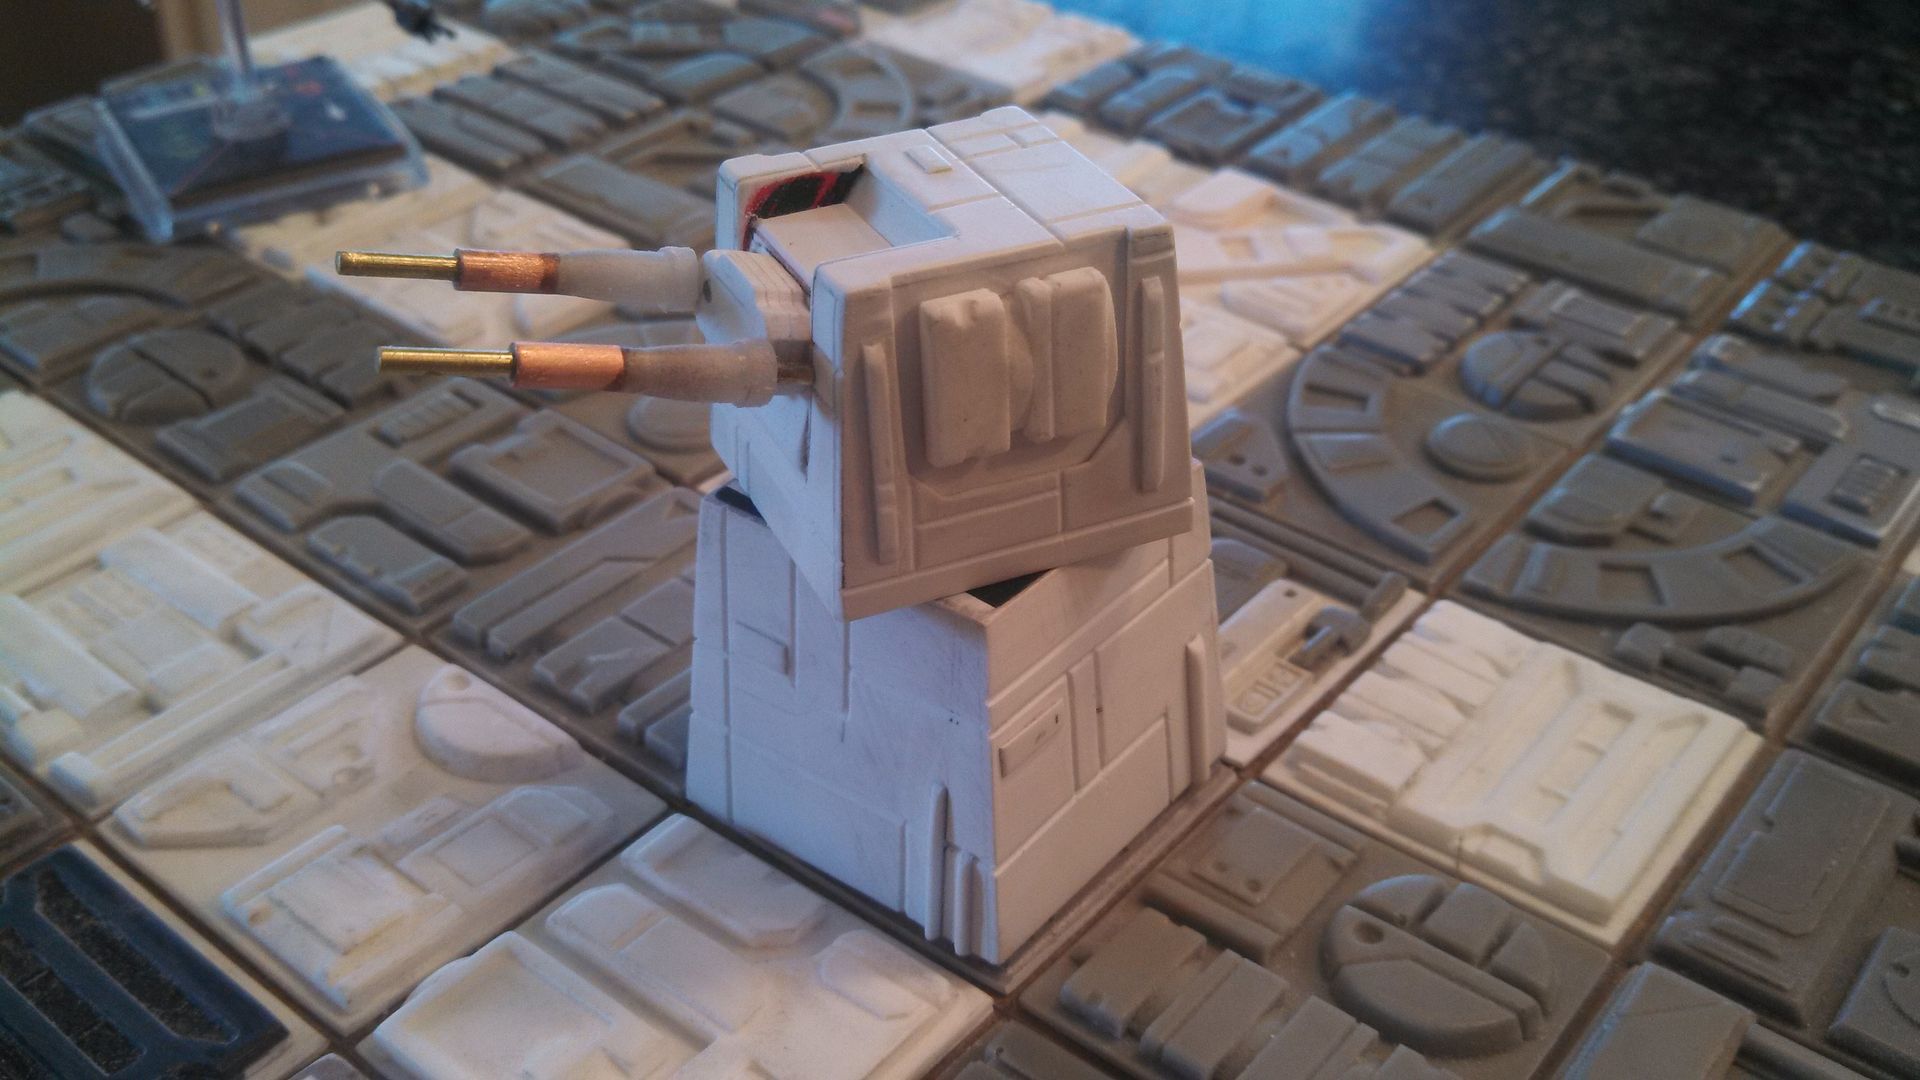
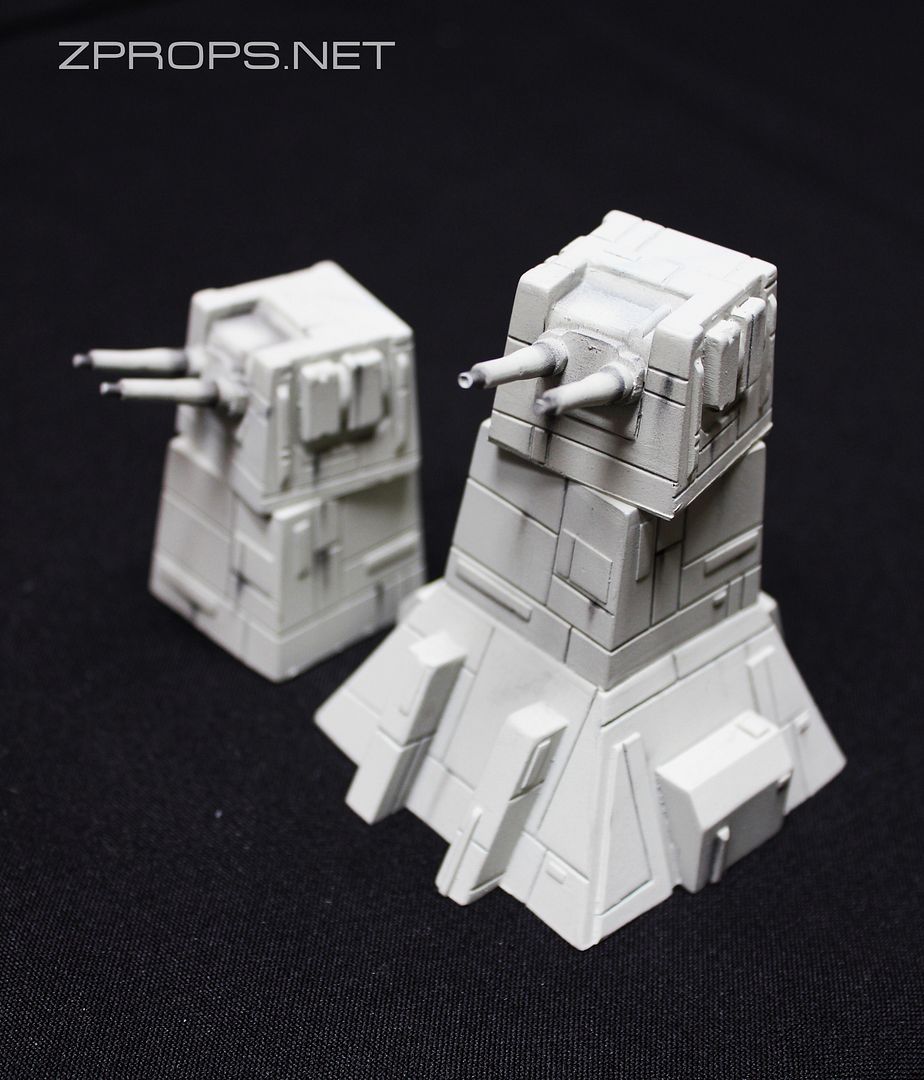
With that ready for molding I moved onto the turret. I initially decided on an incline face for the barrels, but changed it later. the entire turret is carefully scribed and sanded styrene, with the side bits on the top cast from a section of detail from a panel mold. It kind of reminds me of the details on a Bradley tank turret.
The Barrels were made from brass rod, and bits from leftover super glue bottles.
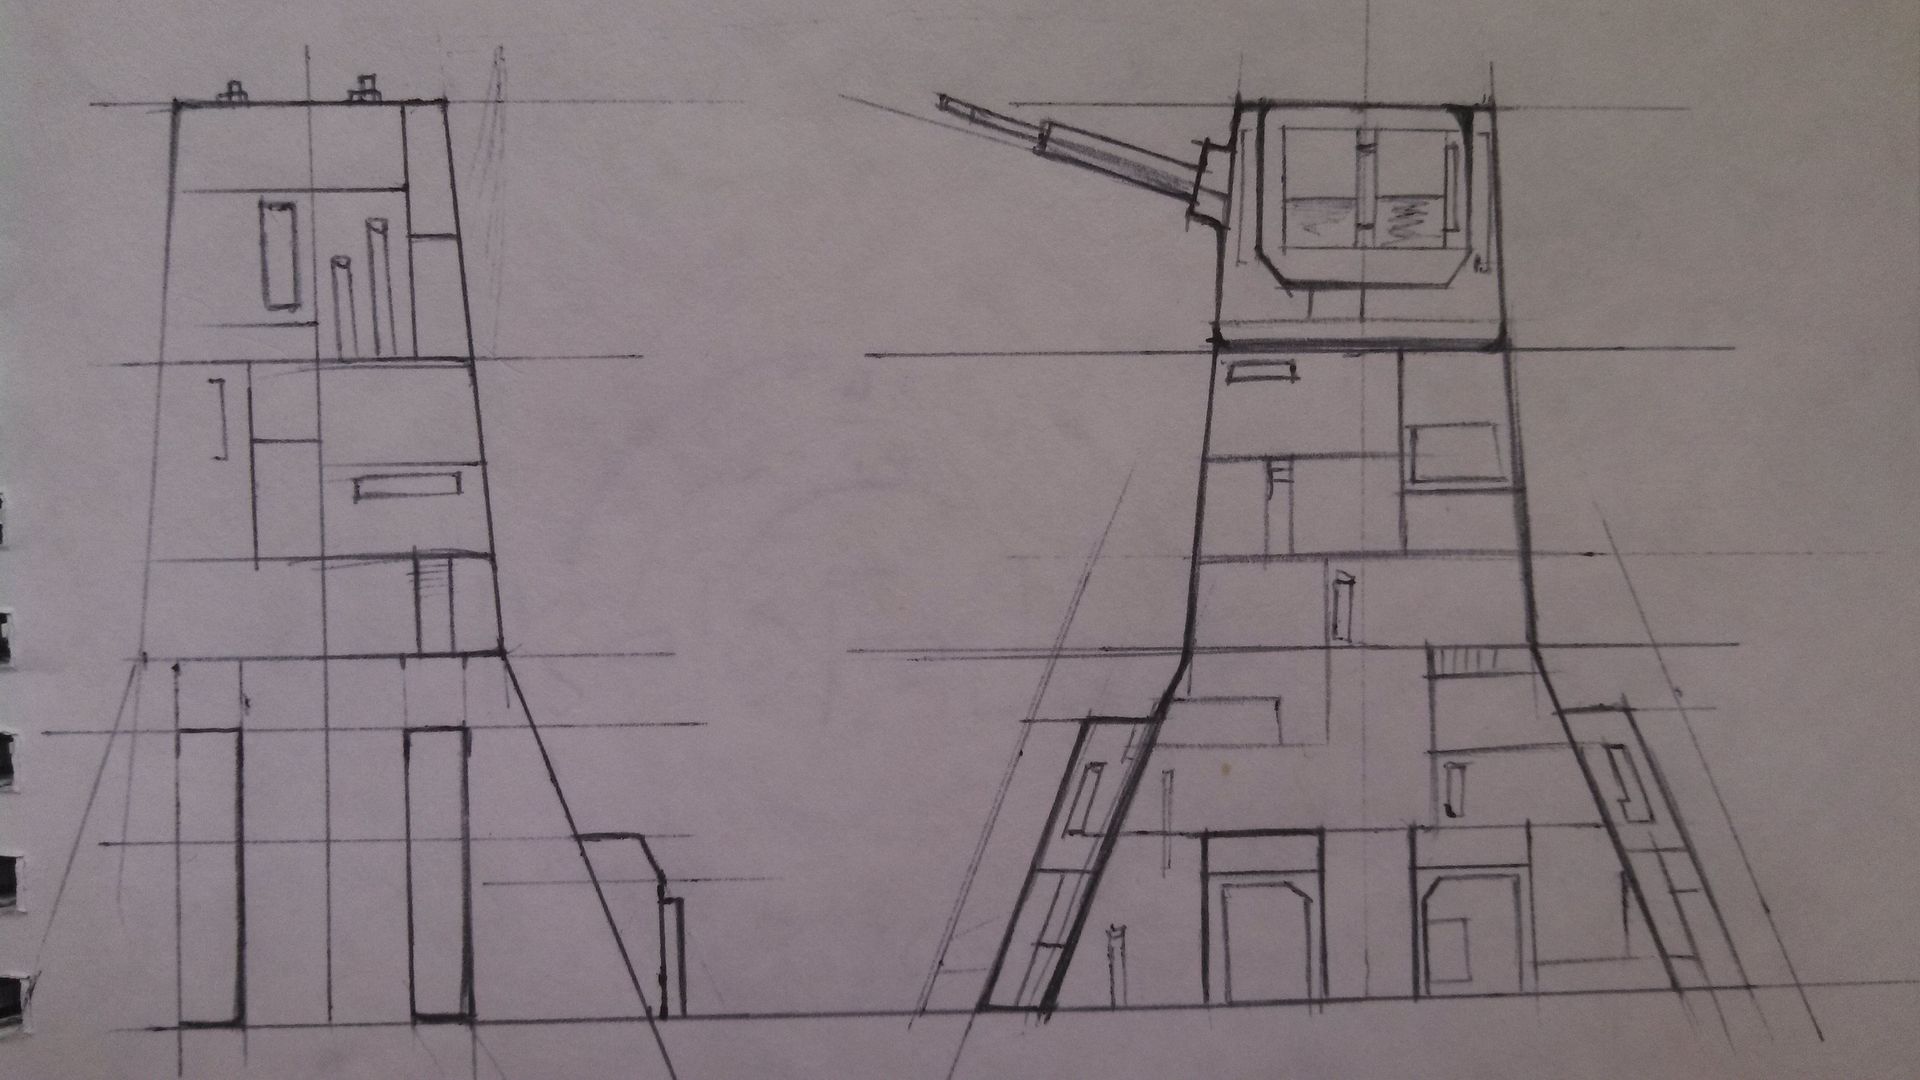
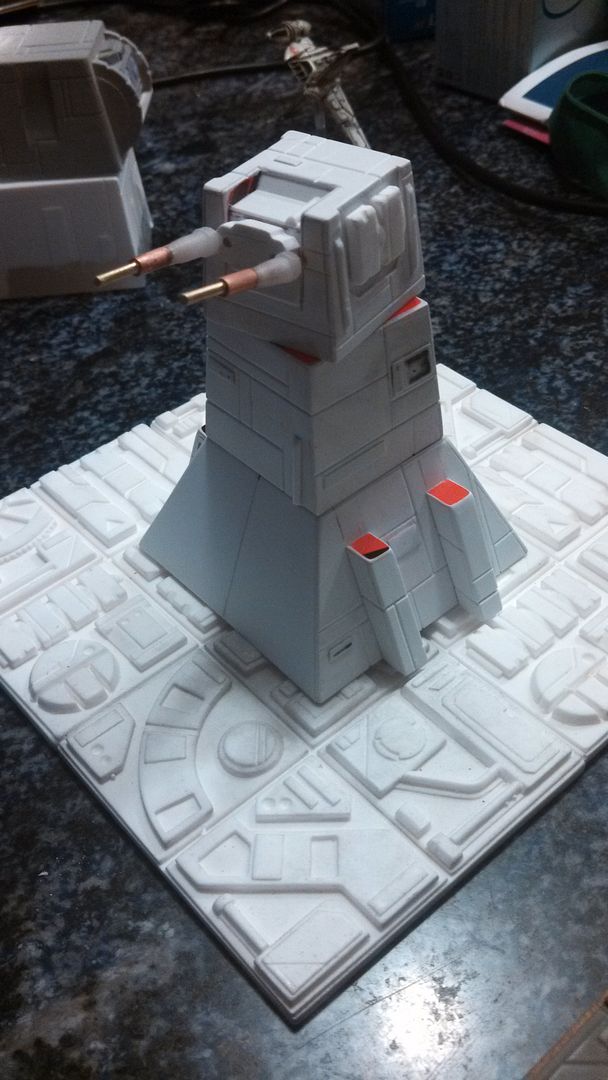
For the large turret, I really wanted a distinctive/unique look. I sketched out what I wanted and get to work. For this I had Star Wars (Of course) and the Gundam universe as my main inspiration.
Almost done with the base piece:
These were the first casts. (ran out of ink, but they were getting painted anyways)
They were painted over with grey primer, and then colored with a color called "Camouflage Grey".
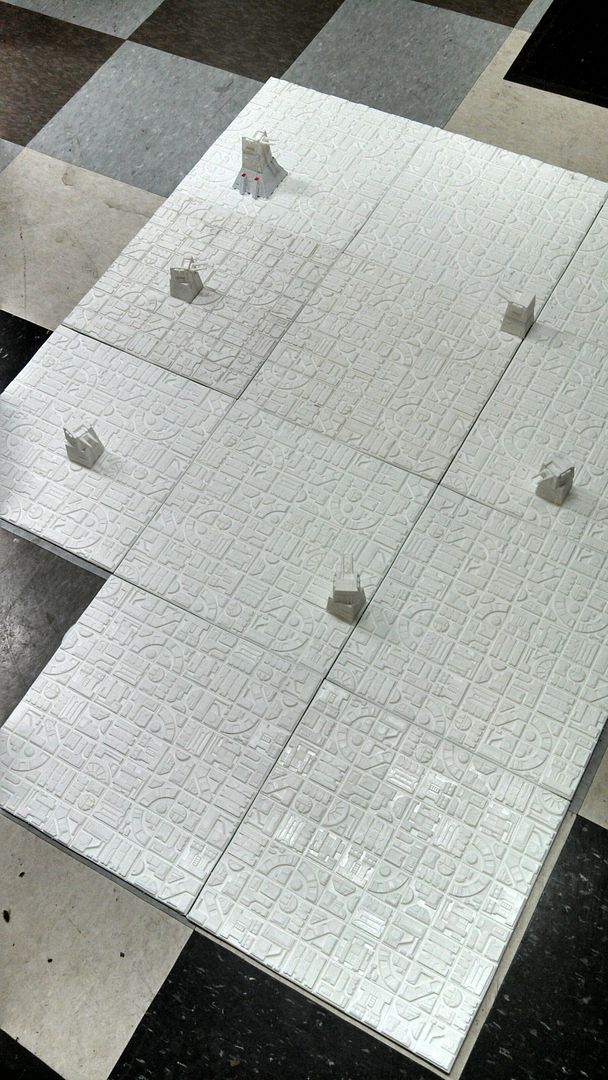
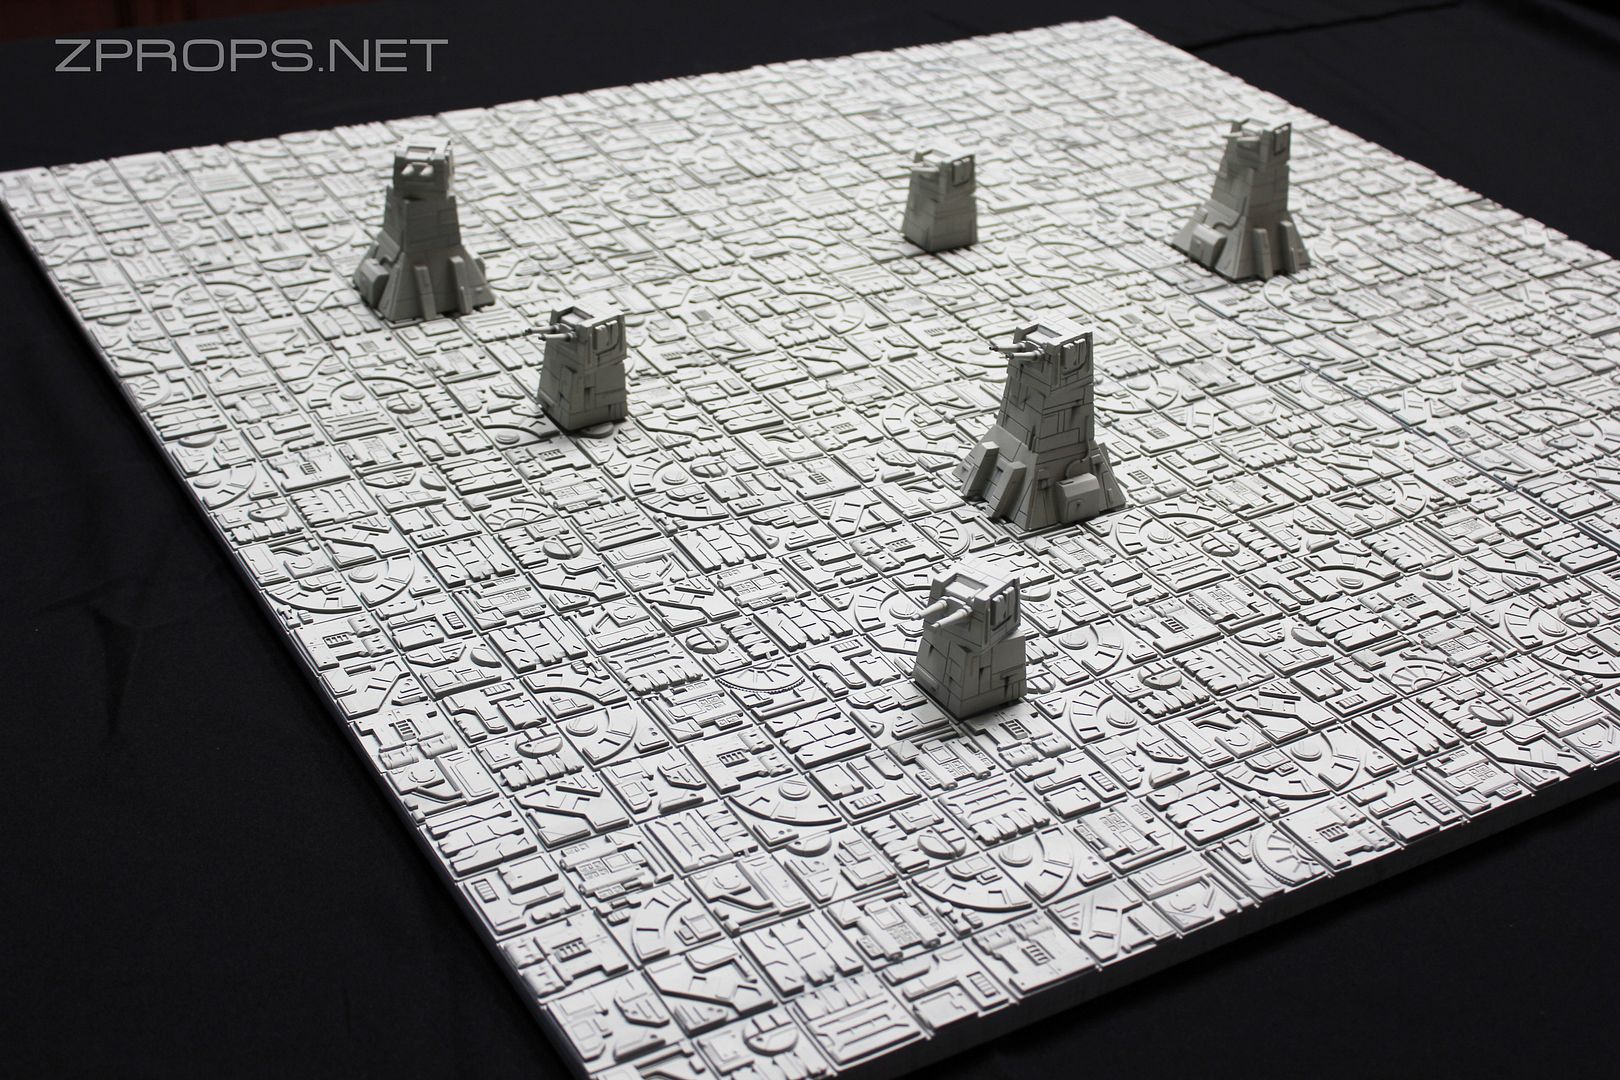
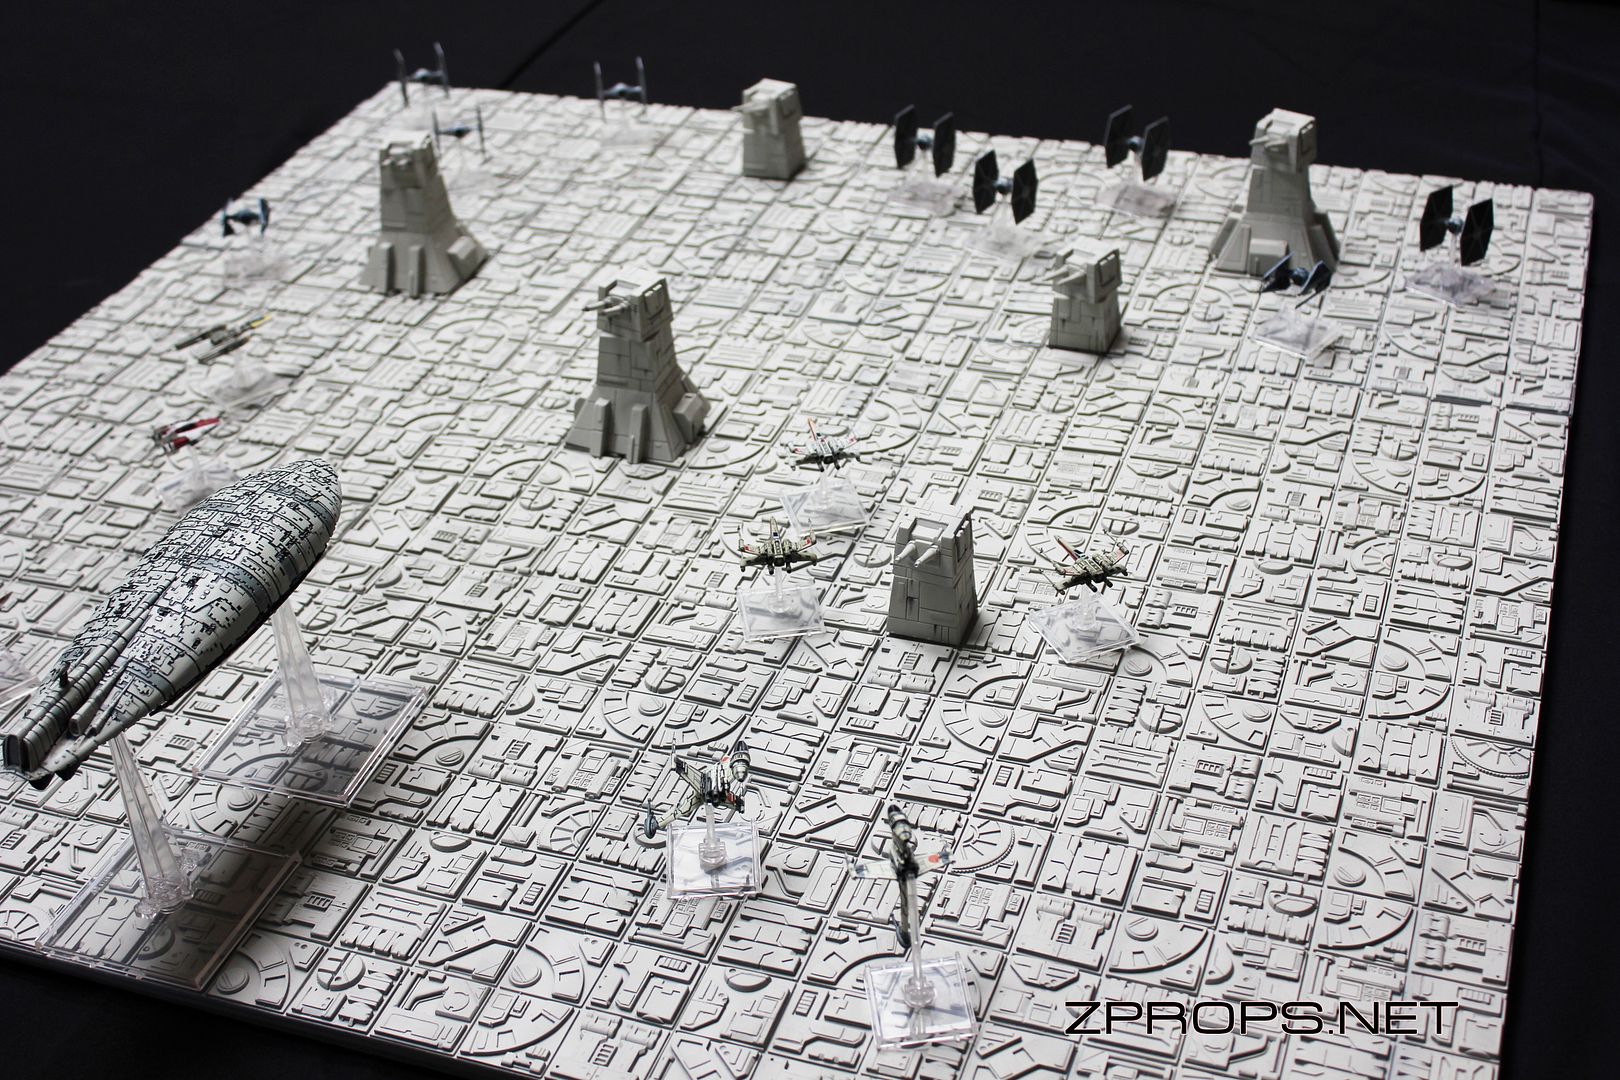
I mounted them to some wood along with some painted up tiles, and the results are spectacular!
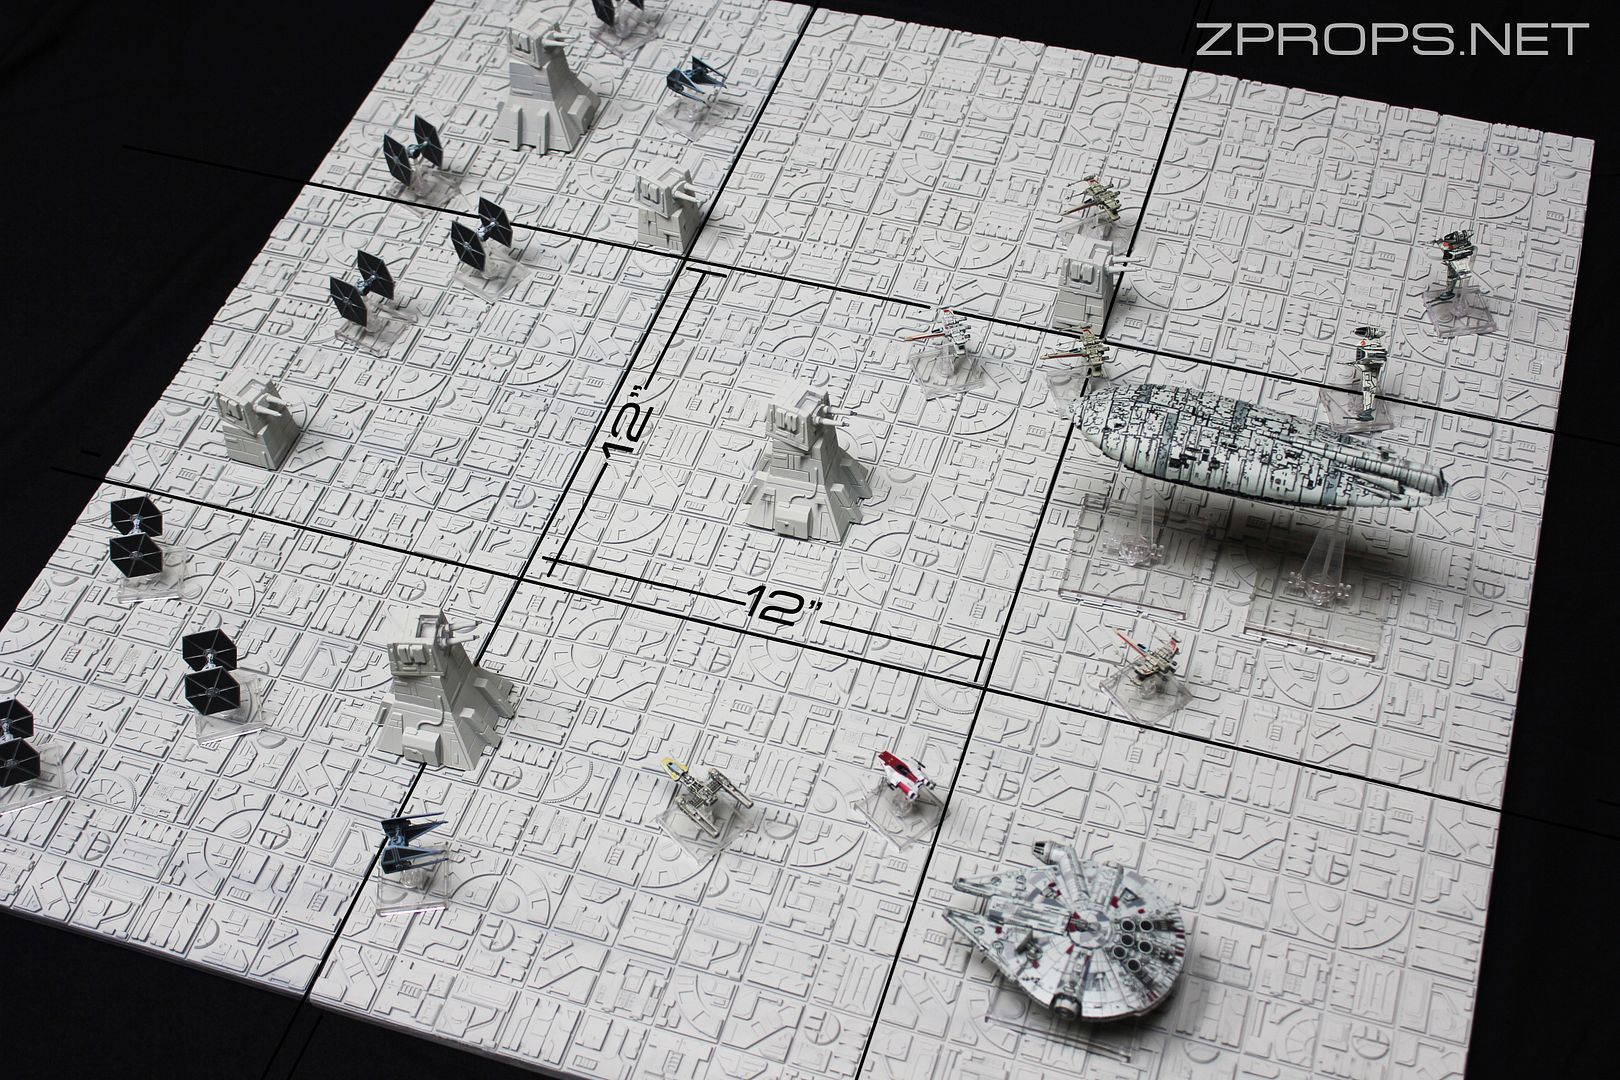
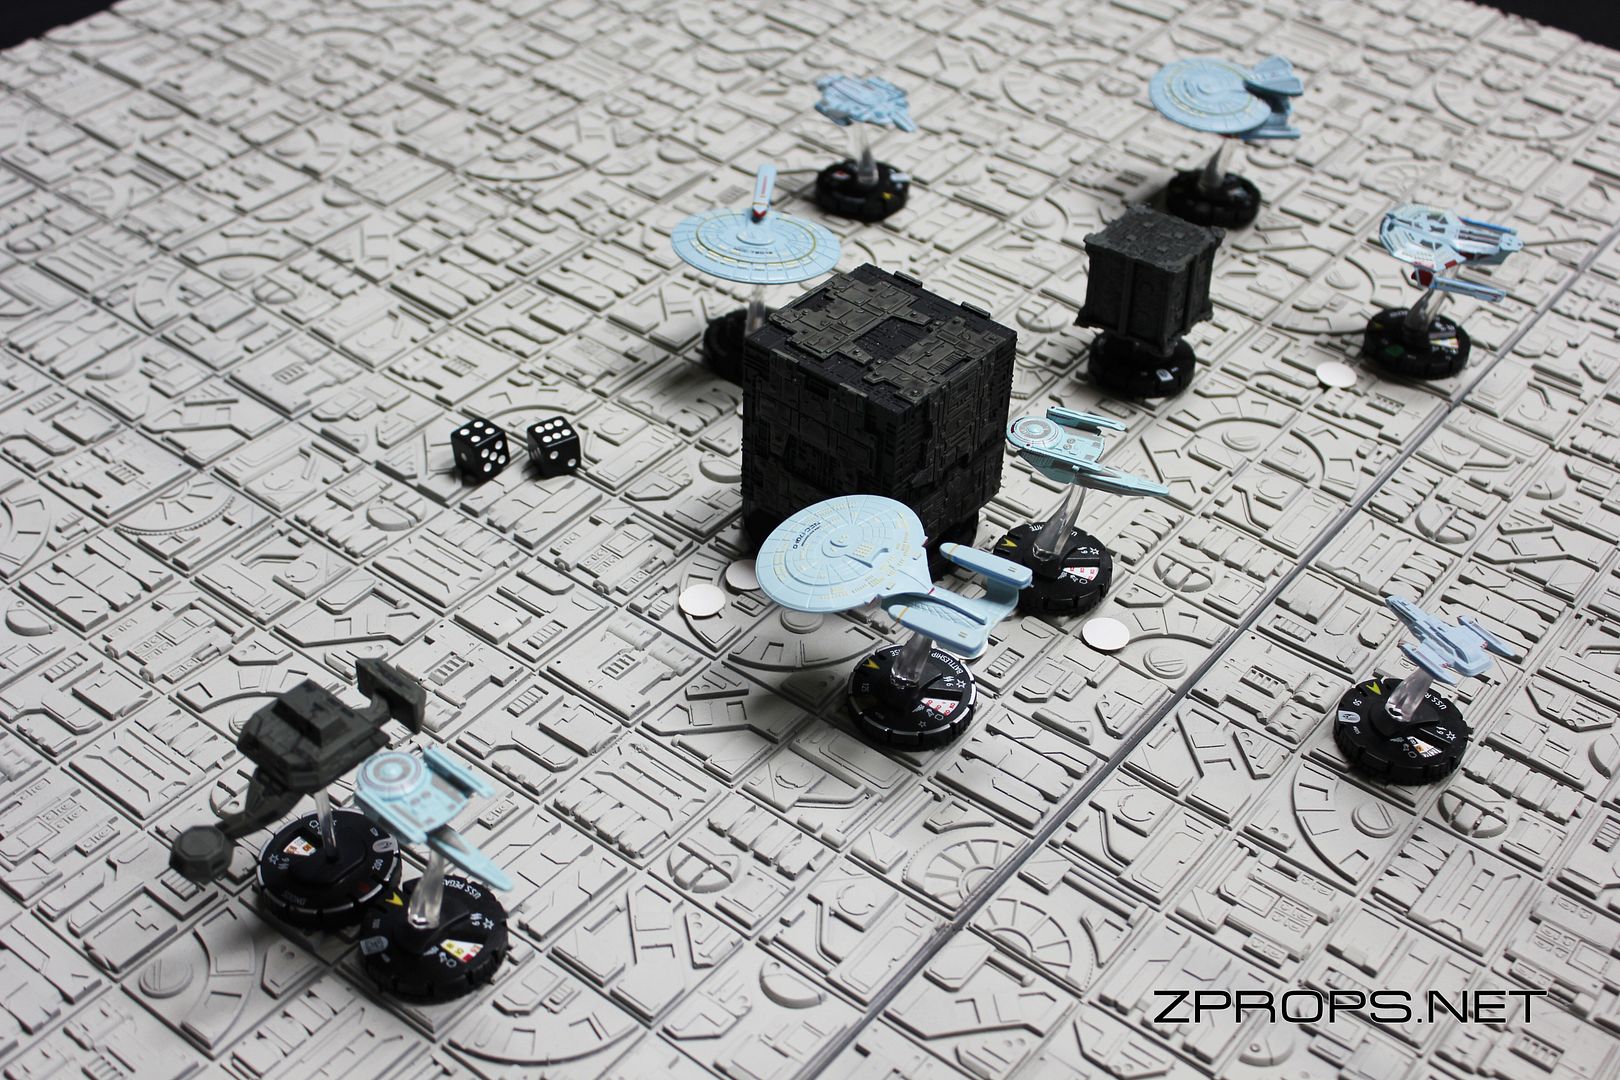
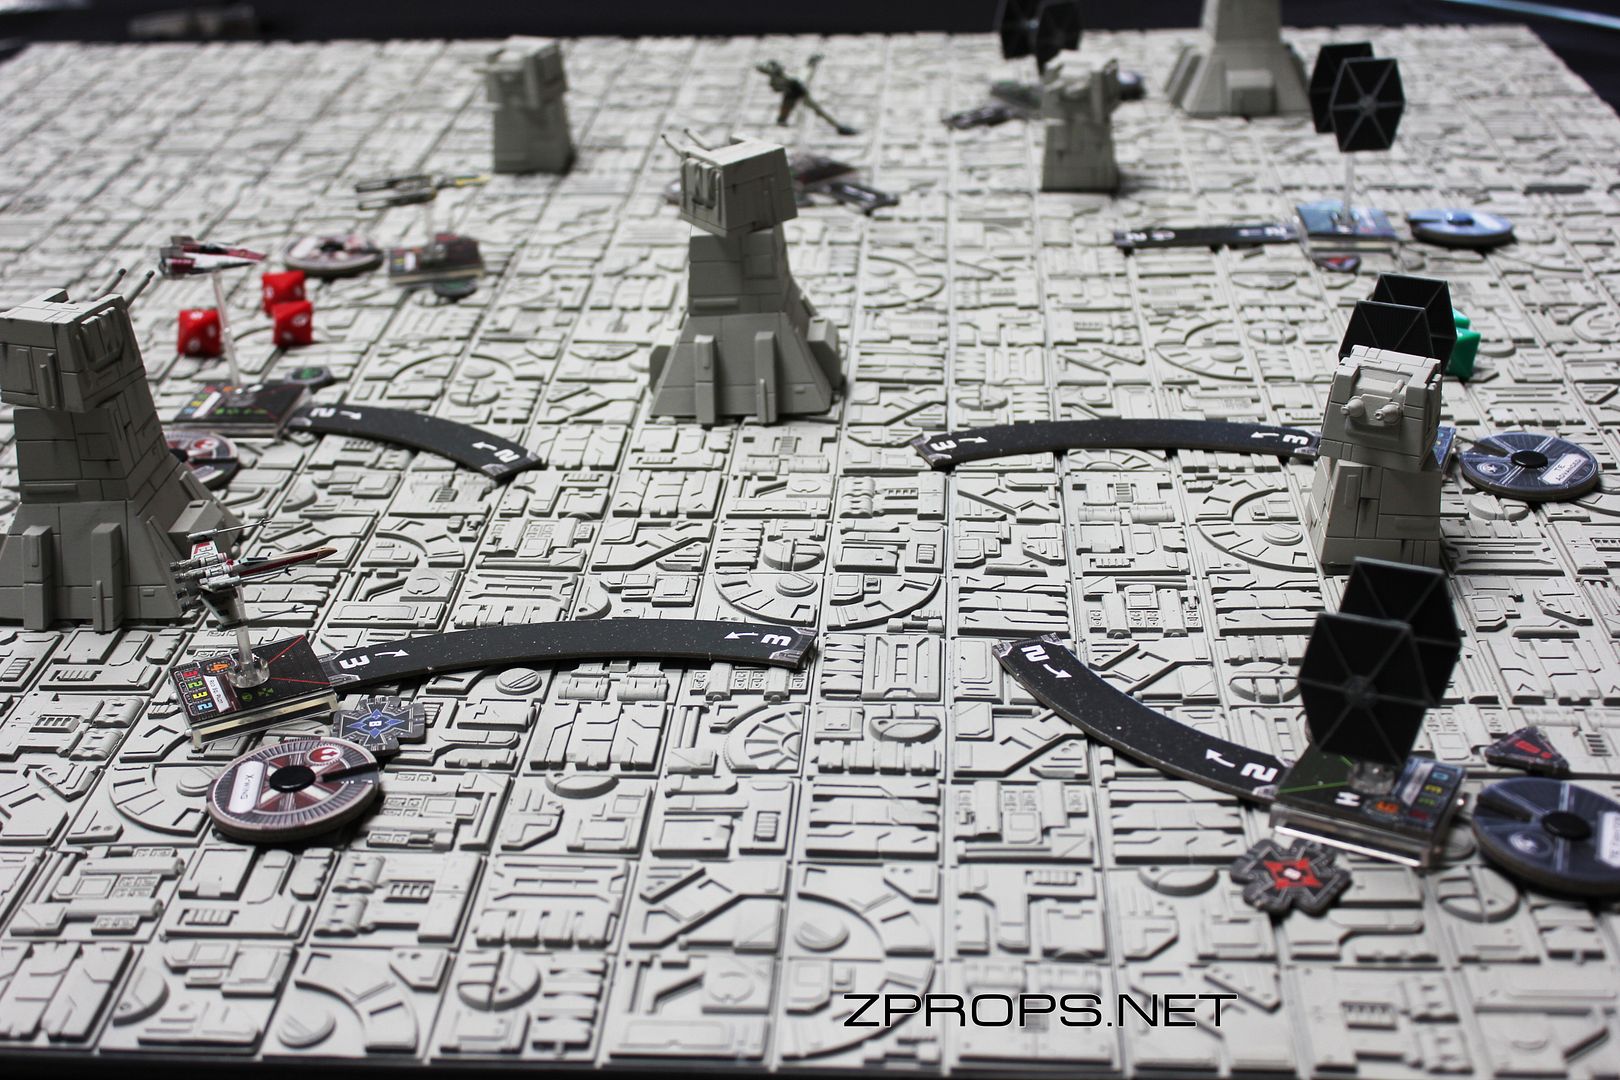
If you like these sort of projects, you can see more at my [ main website.]
