While I typically don't post the same prop build twice, (or even accept to build the same prop twice) this one varies enough from my v1 rife to warrant its own post. (Sort of like the Bryar pistol ordeal) It's Jessica Nigri's fault. She talked me into it.
Like before, I used blindsquirrel's plans since they are still the best ones on there. Here's a reference for you unfamiliar with the prop. This is the most common request I get in terms of anime props.

Lucky for you guys, I took many more pictures on this one than my version 1 build.
I started with the main body (never start with an accessory, or your scale factor might go way off if you don't have a set of blueprints sorted out)
I used a dremel with a grinding bit to do the ports. Unlike my V1, this one has an open breech, on top of the slide for the bolt.
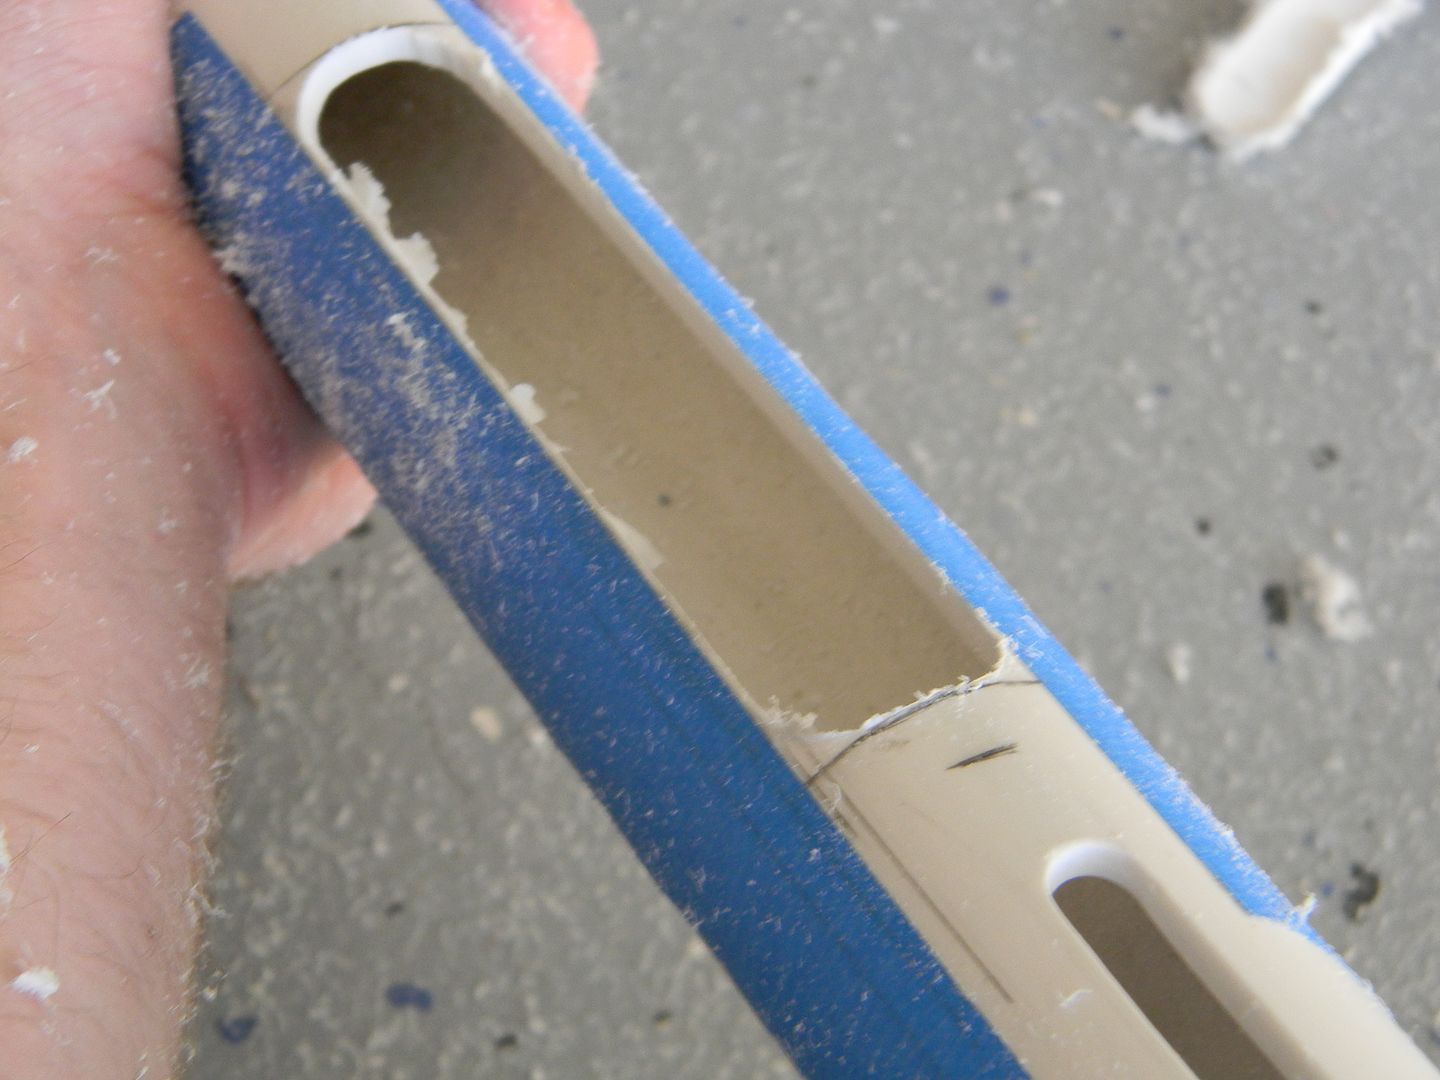
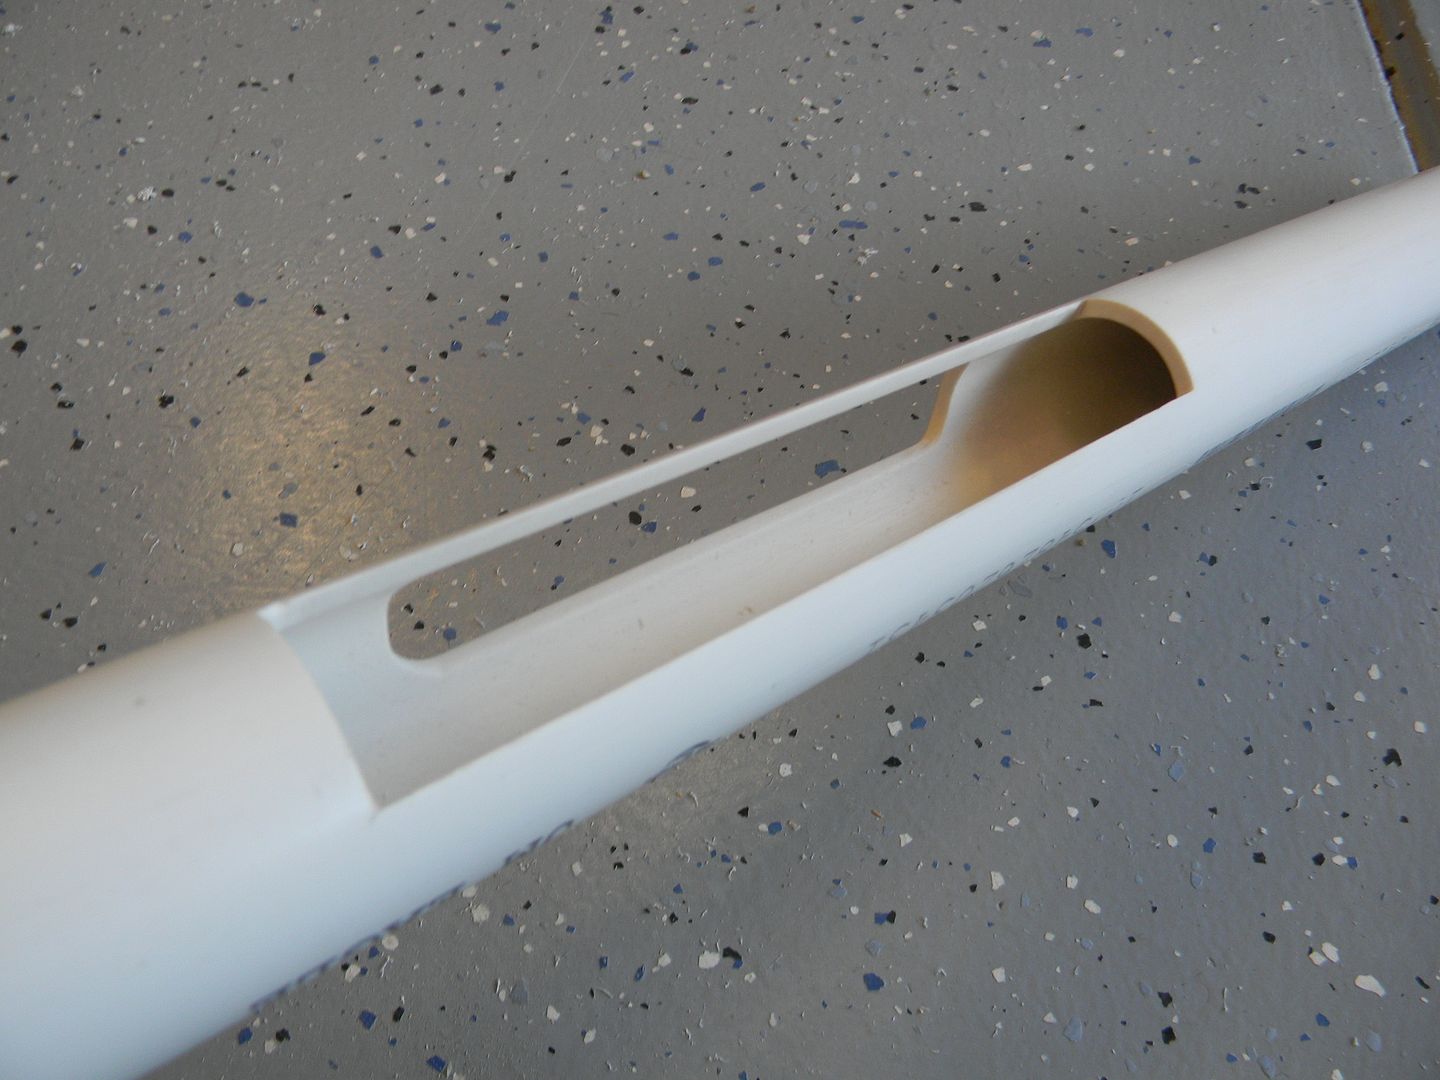
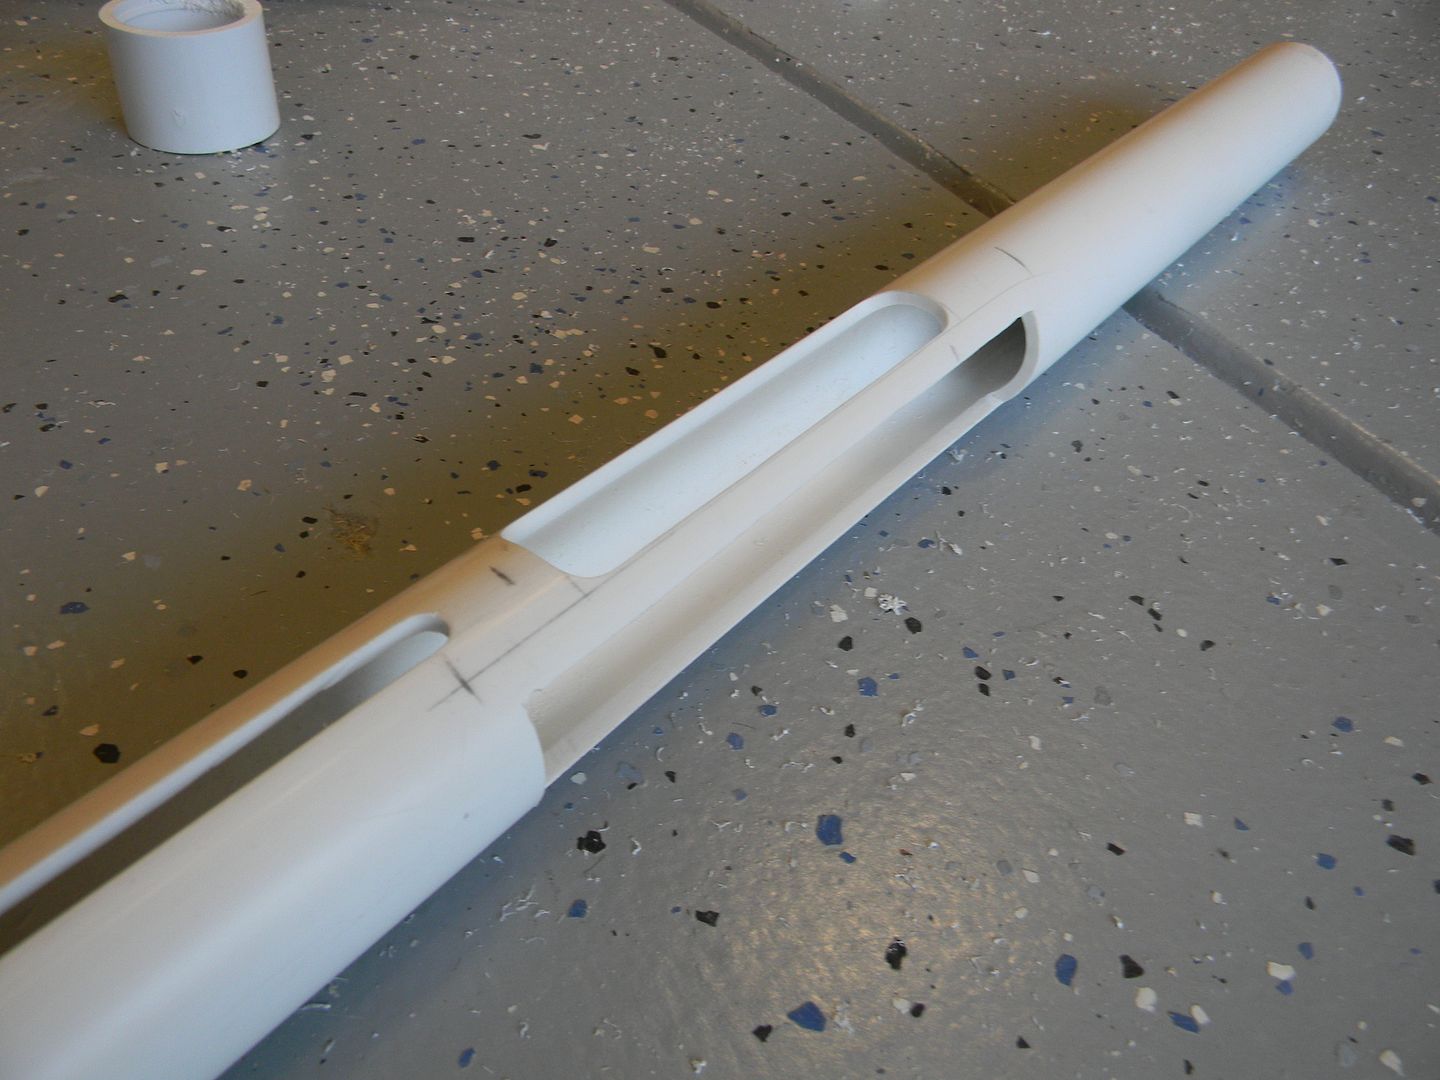
It looked pretty cool on its own with all of the slots
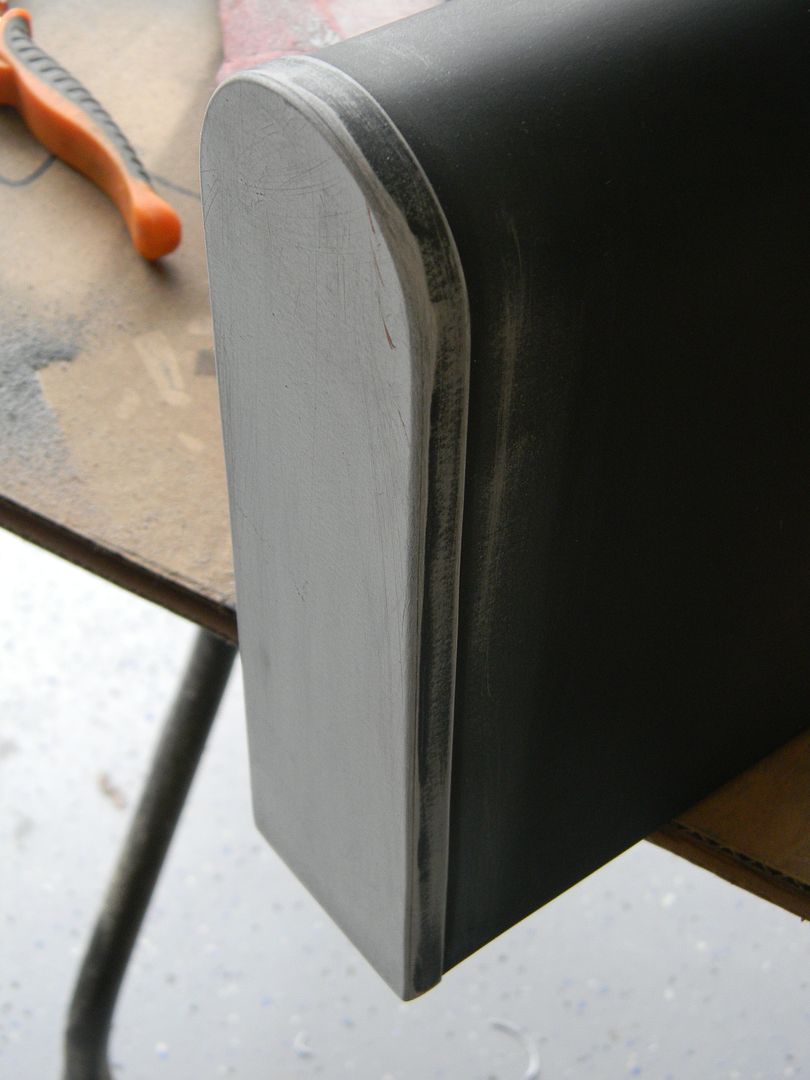
I made the stock the same as last time, since It worked well and is hollow.
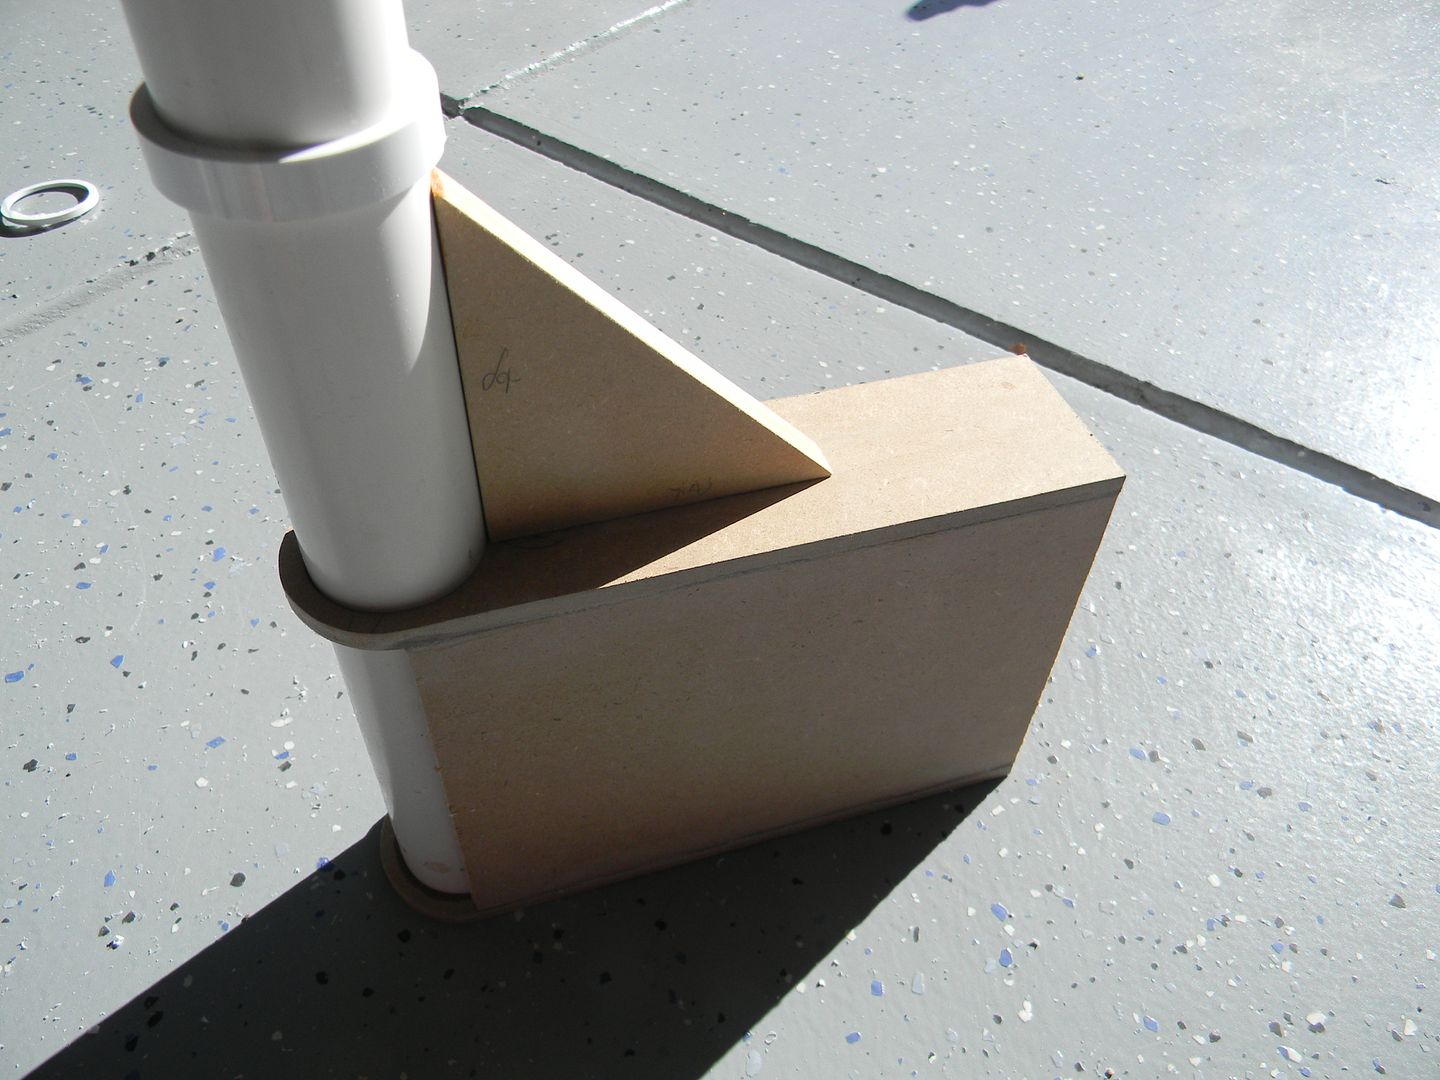
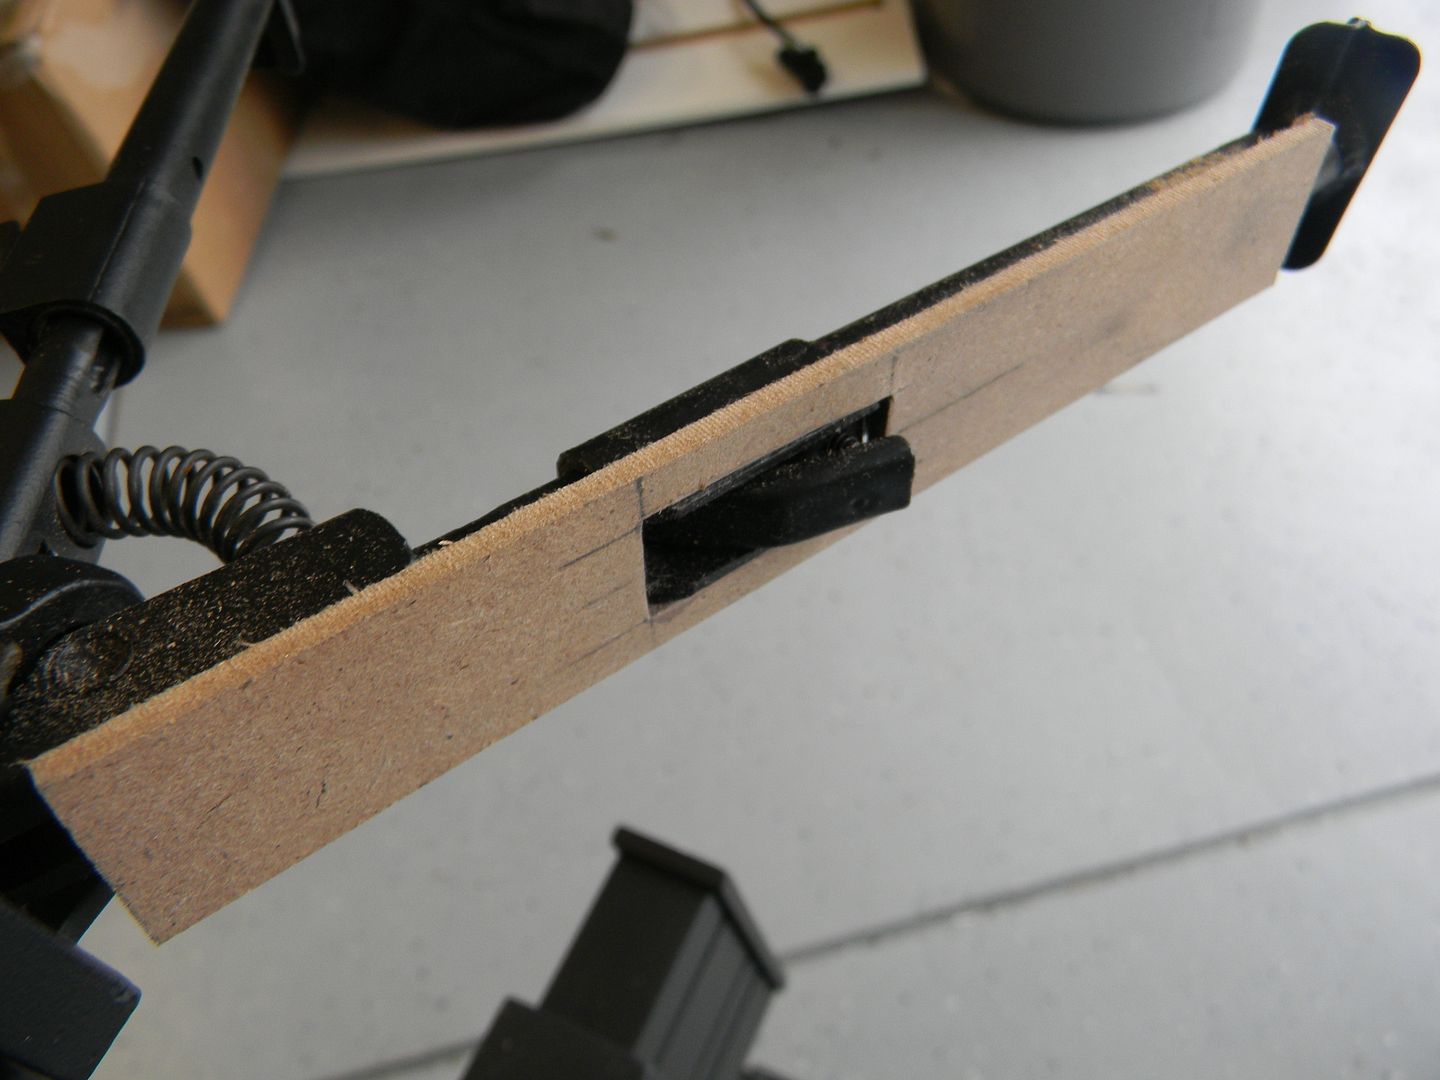
Magwell. .25" MDF cut to the contours of the pipe.
Grip. I use tons of super glue for structural bonds of MDF since it seeps a bit better than wood glue. This is a rather fragile intersection.

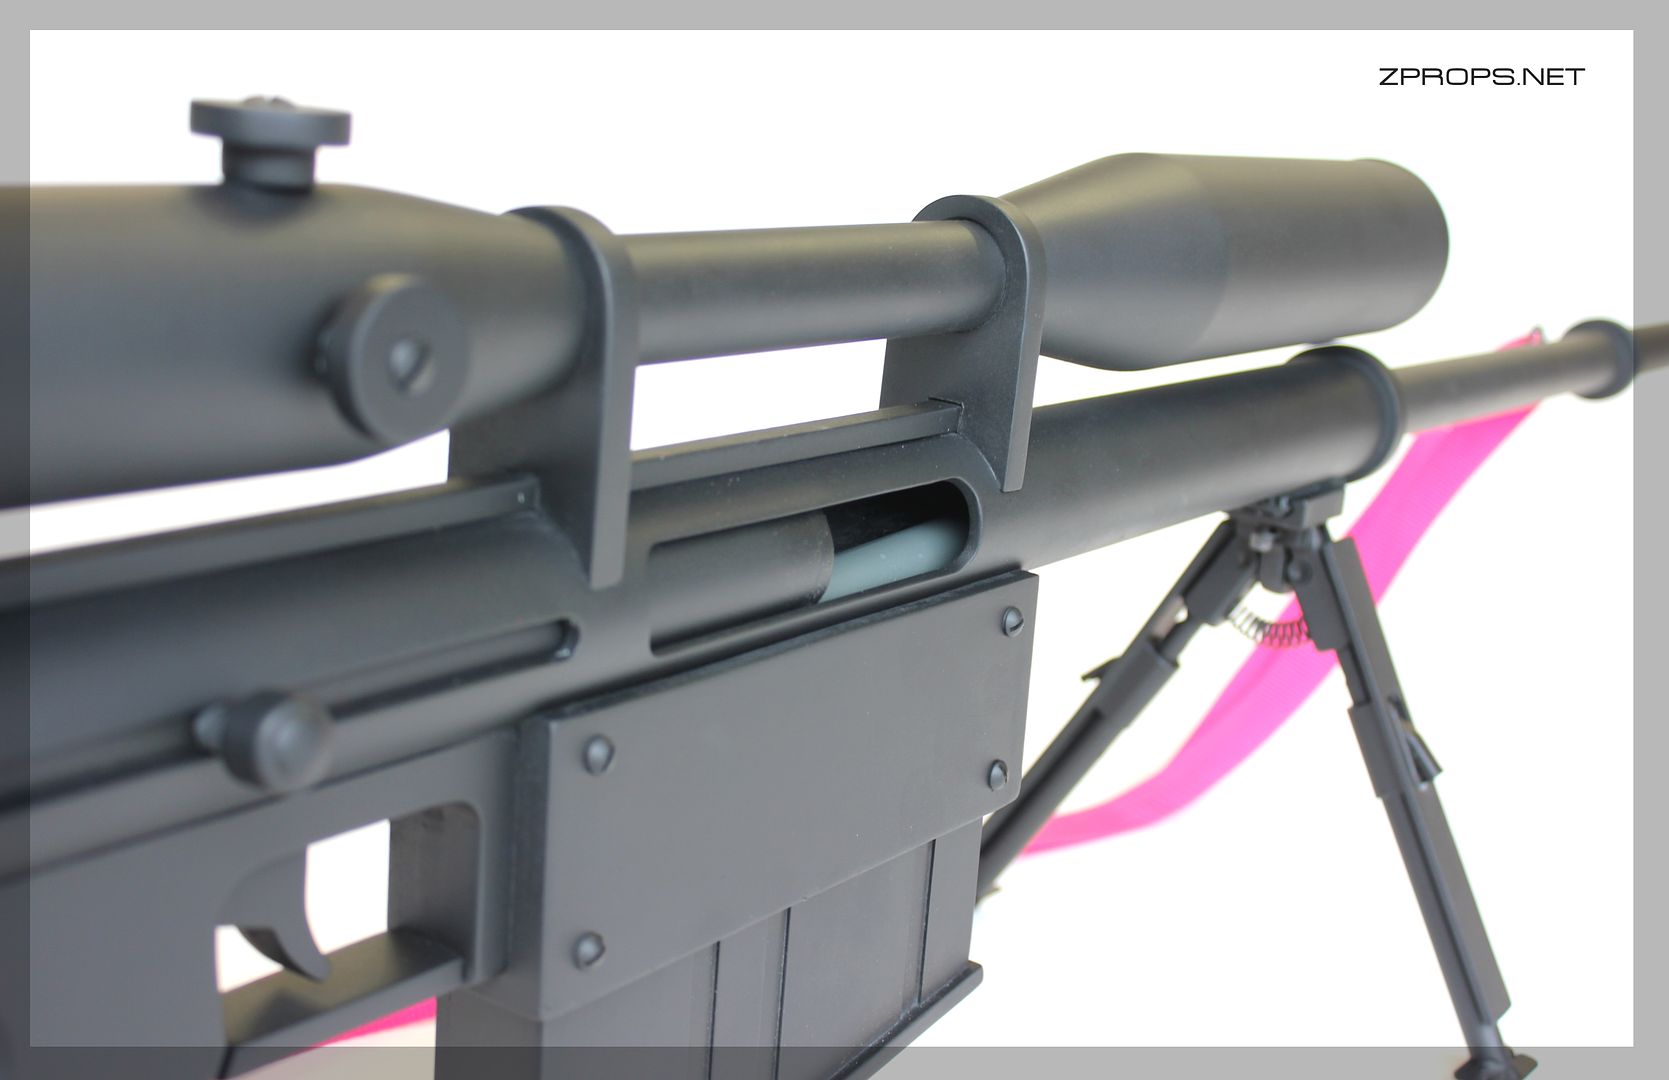
The scope rings needed to be nice and tight. I couldn't screw them in from the underside, as the fasteners on the inside of the tube would interfere with the sliding bolt.
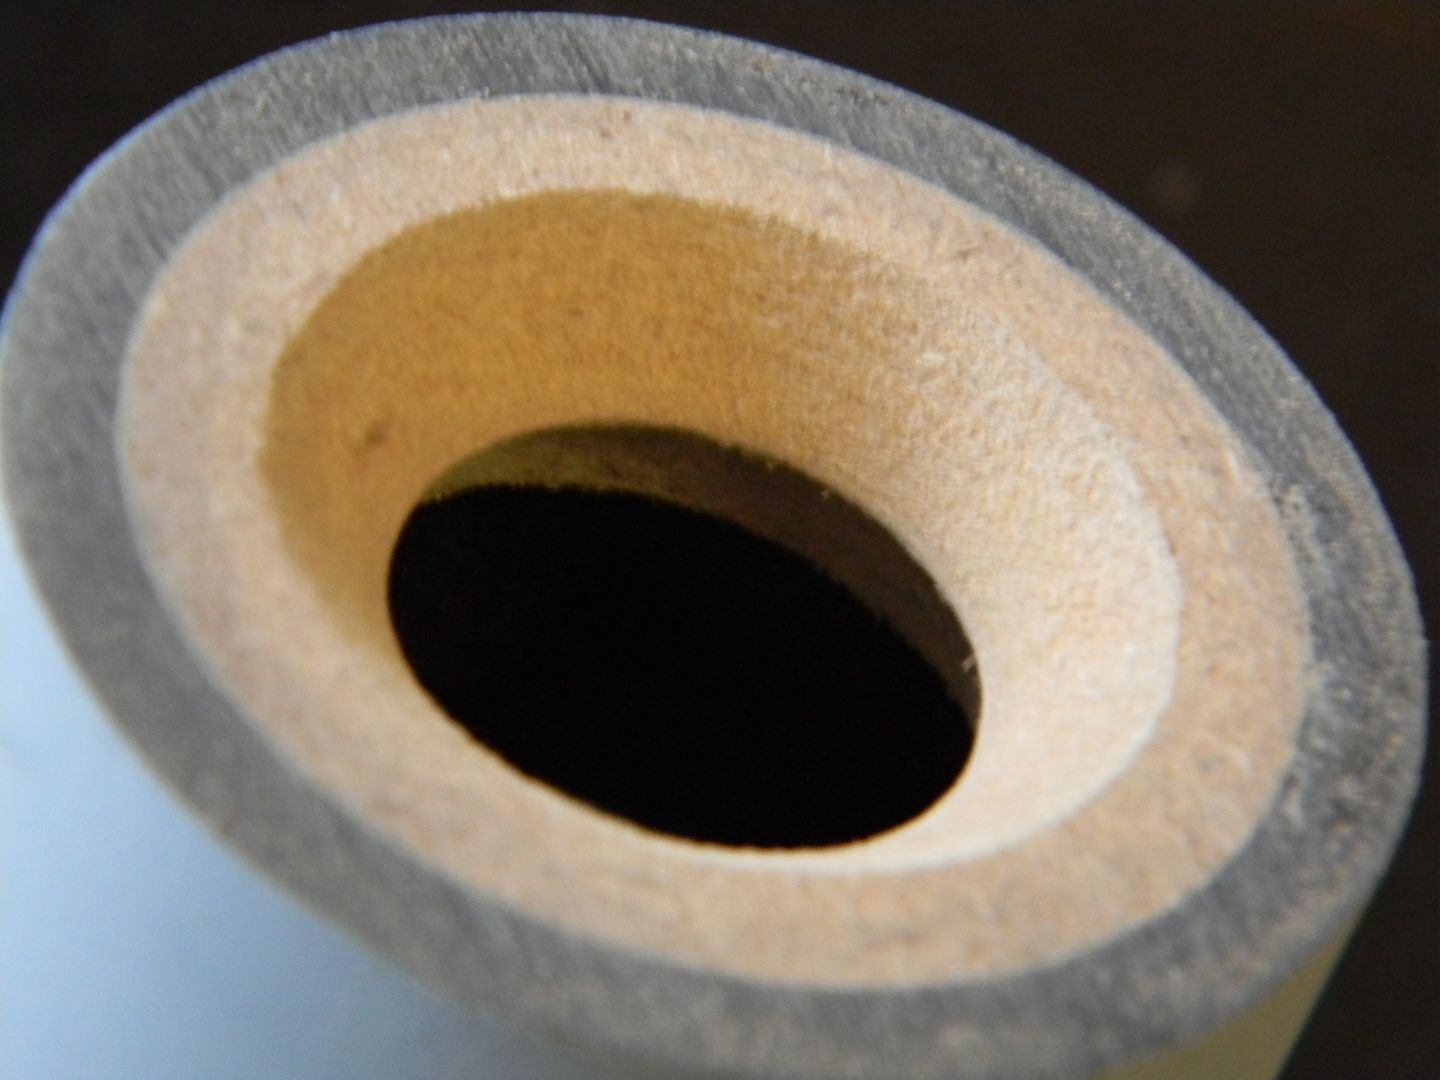
Like any scope, there are sections that taper. I made these out of MDF, with a PVC pipe running through the whole assembly for support.

For the cylindrical parts of the scope, I had to make a concentric spacer to hold the PVC support rod.
If I'm careful, everything lines up because of the concentric relations.
Test fit.
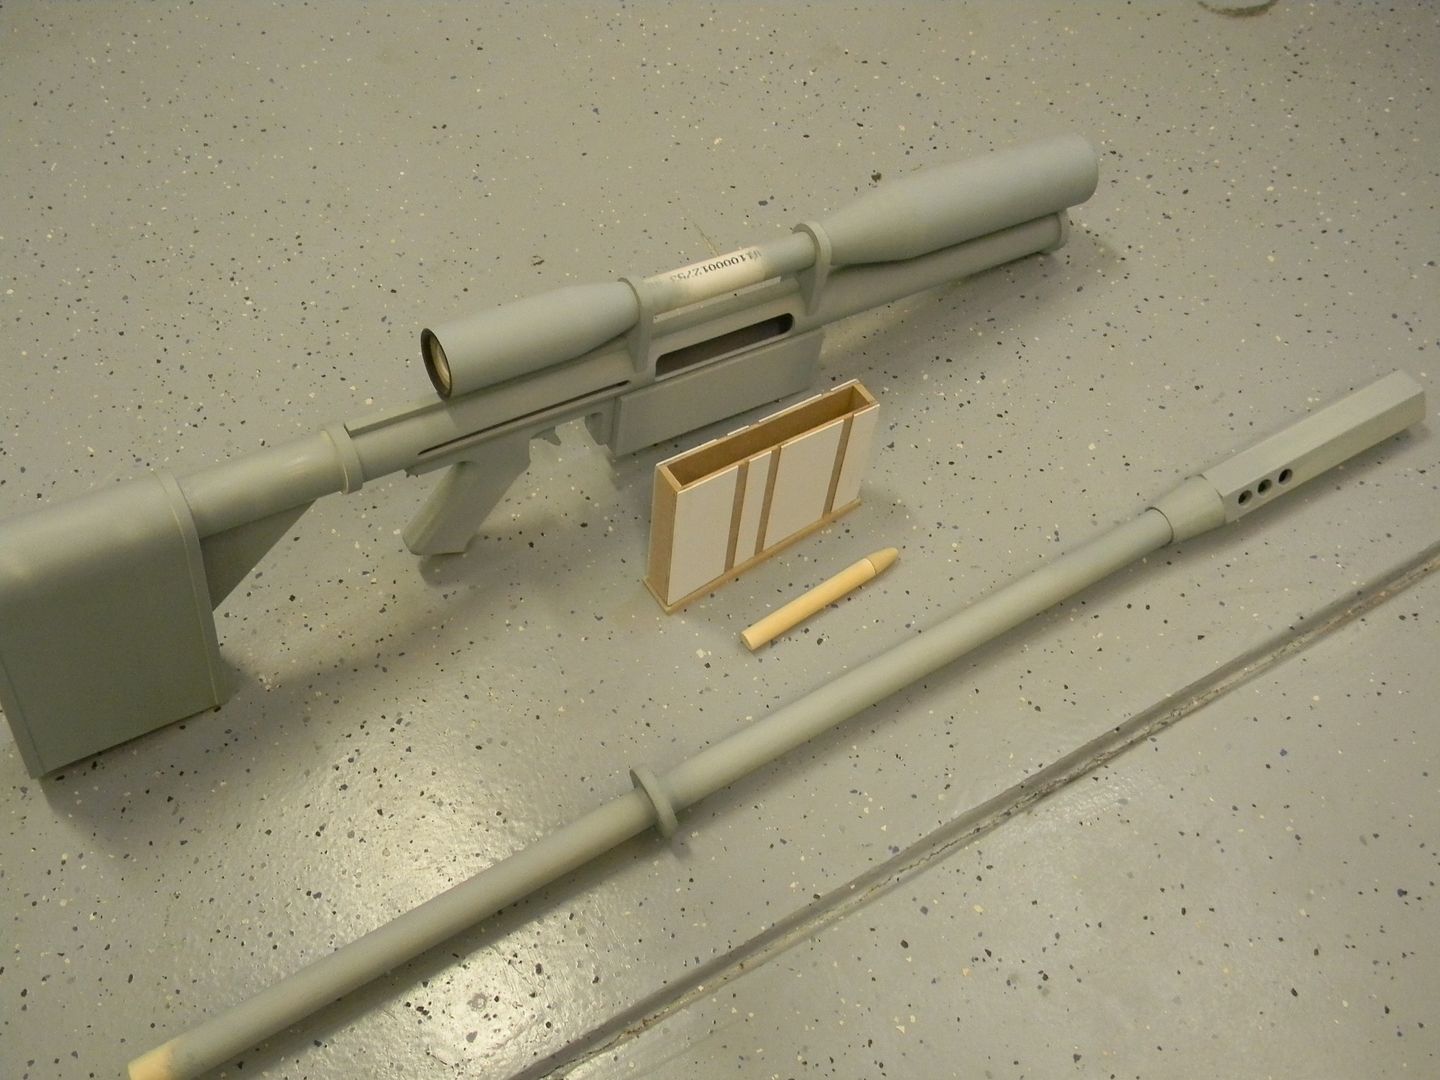
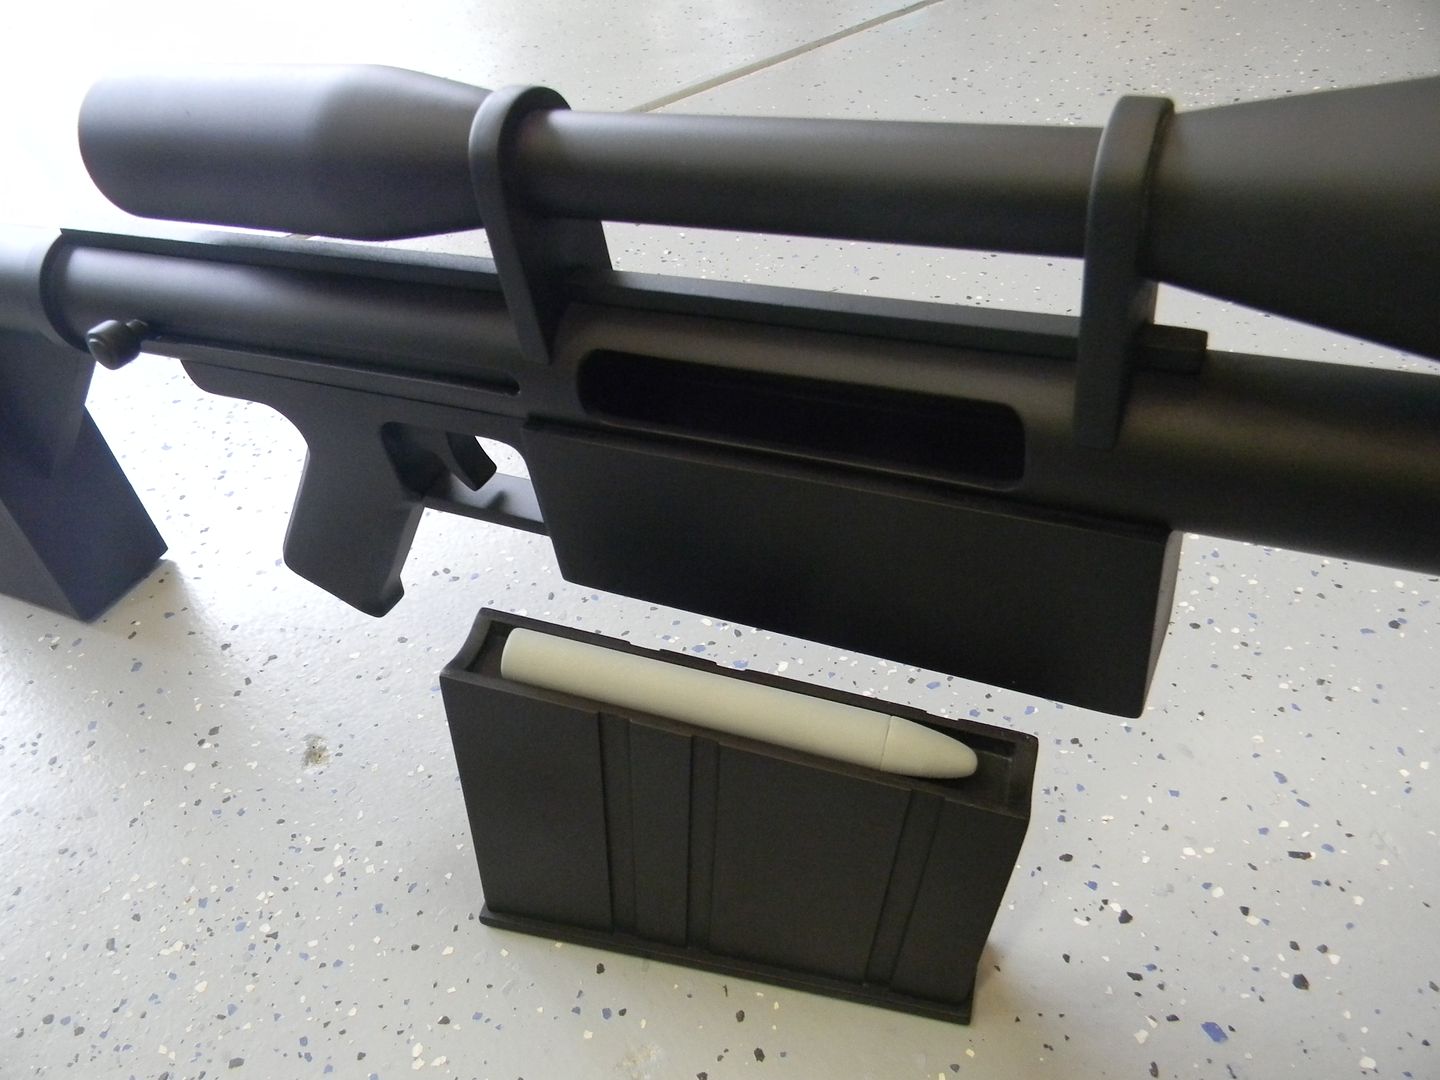
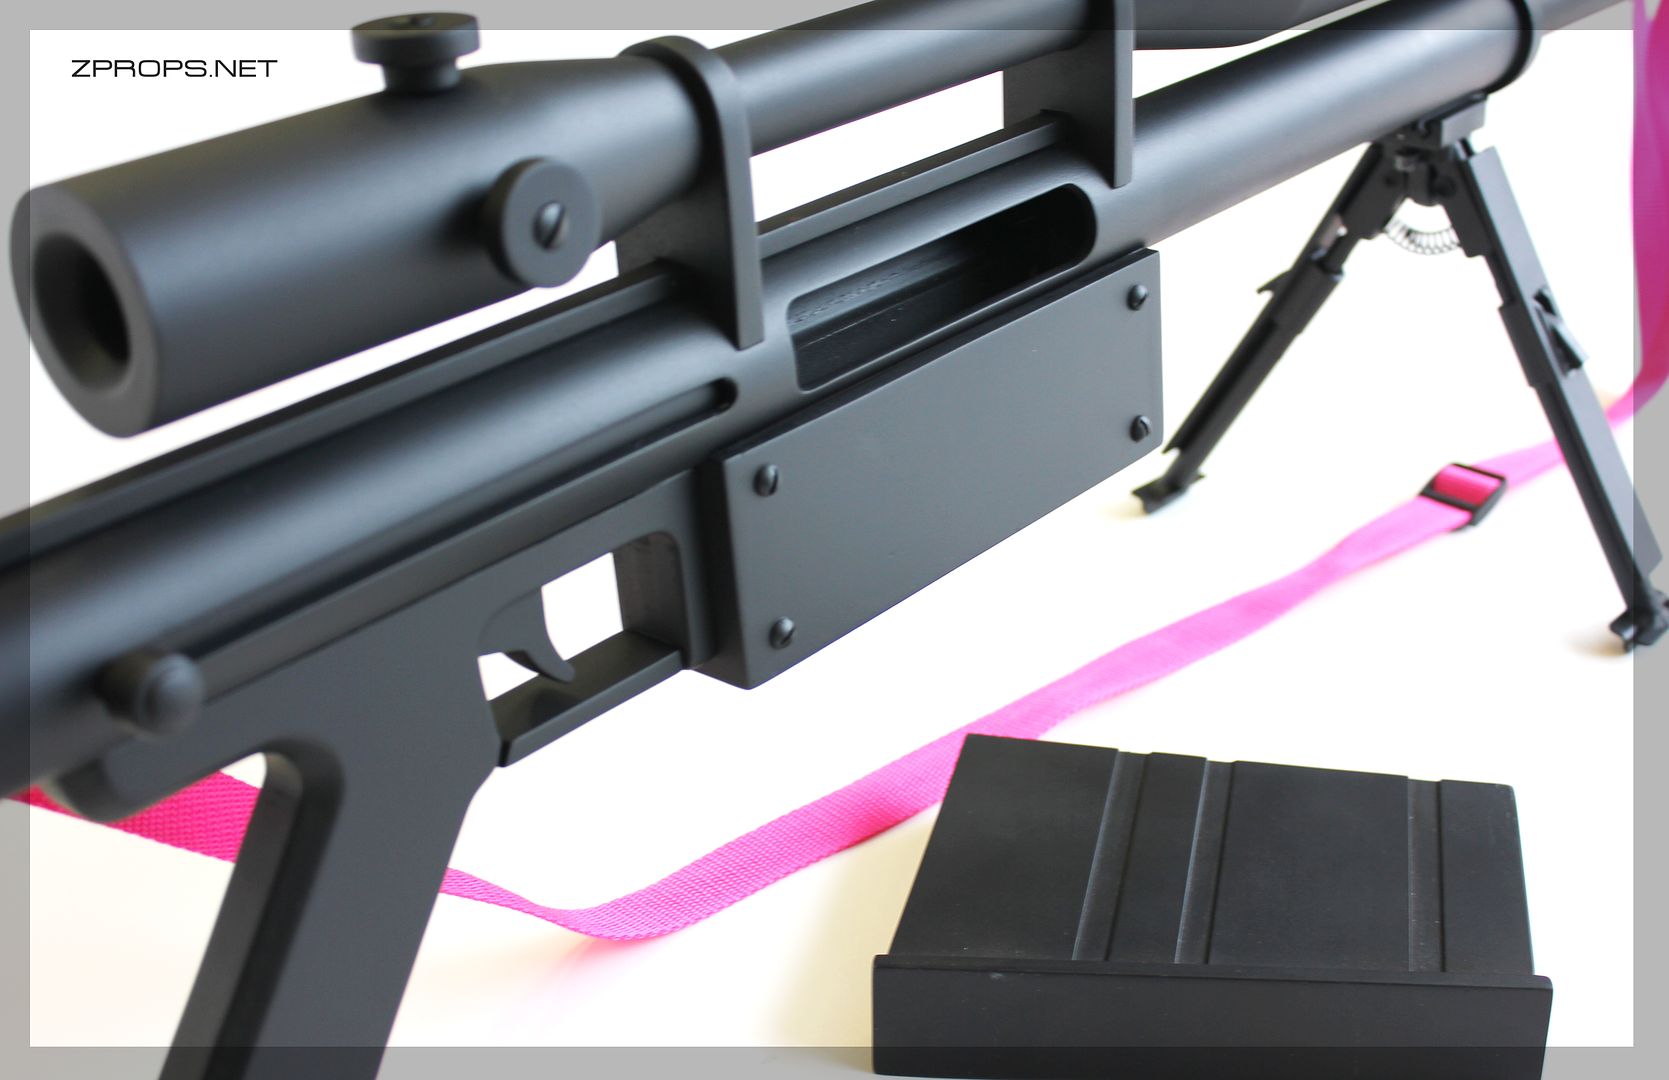
Magazine. I had to make this slightly on the loose end of tolerances, so that when the paint and primer build up, it makes a perfect, friction held fit. (I wasn't making a mag catch.) The basic shape was rather easy to block out.
I liked Blindsquirrel's method of making the slits in the magazine with a table saw, but alas , I do not own one! Enter styrene. The floor plate is just MDF.
Coming together. I started priming the scope because the exposed edges of MDF need a lot more time to dry.
While that sat, I began the flash hider. No drill press, so these holes are cut on a scroll saw.
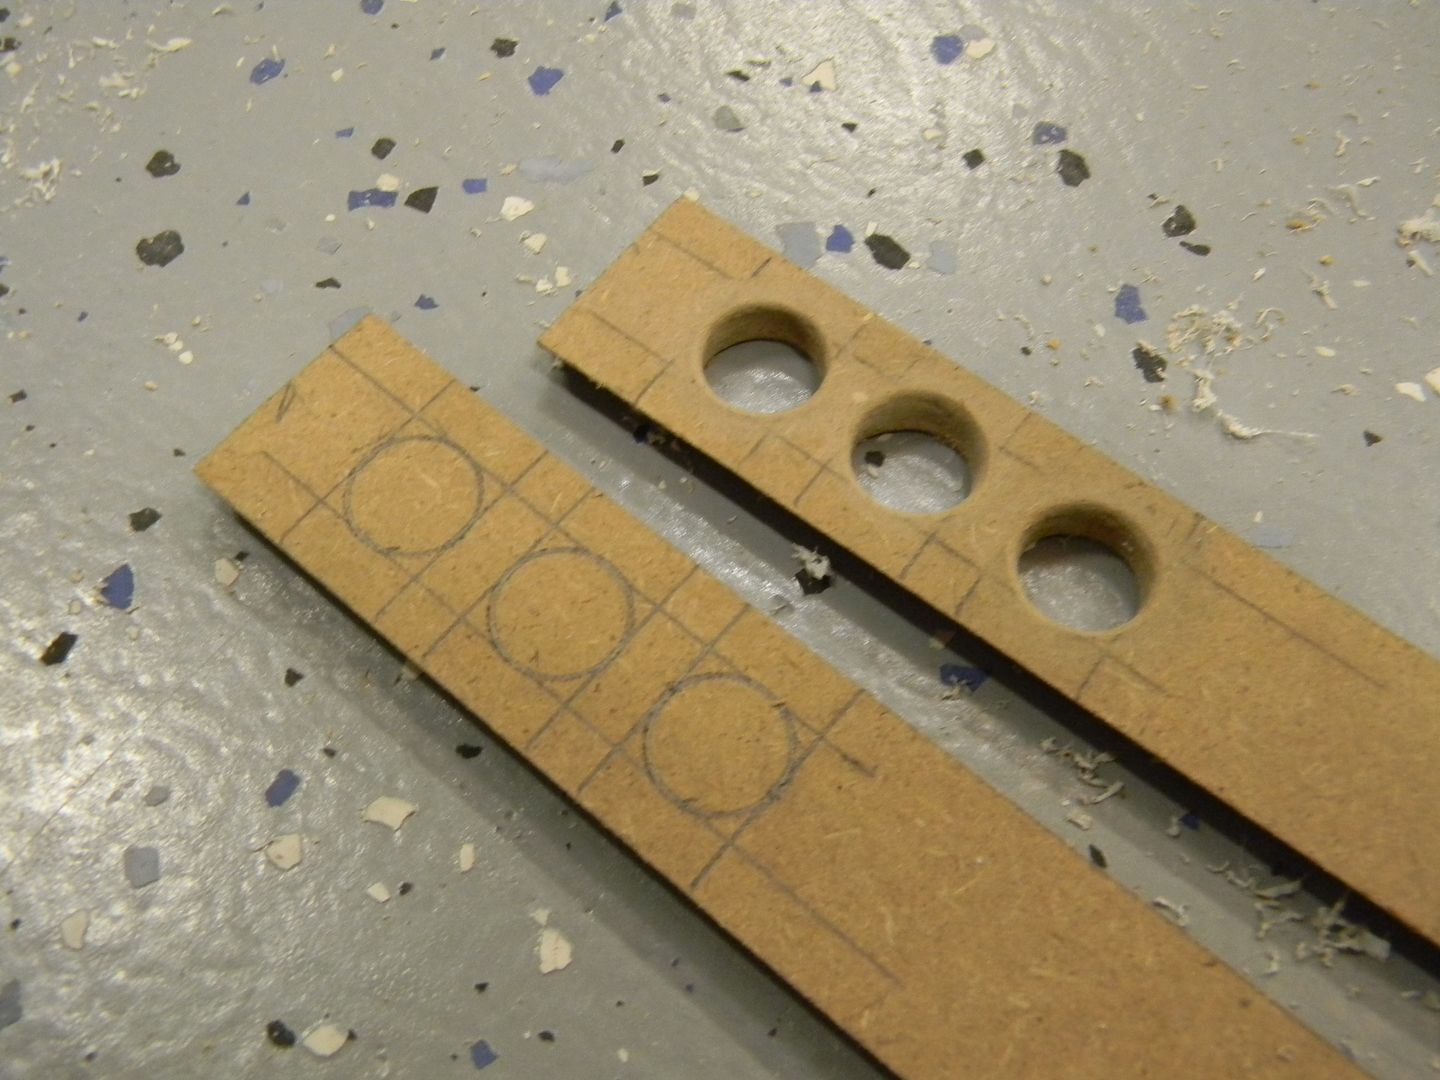
Each piece is cut at 30 degrees. (360 degrees divided by 12 mating edges.) the styrene is acting as a spacer for the barrel opening insert that goes in later.
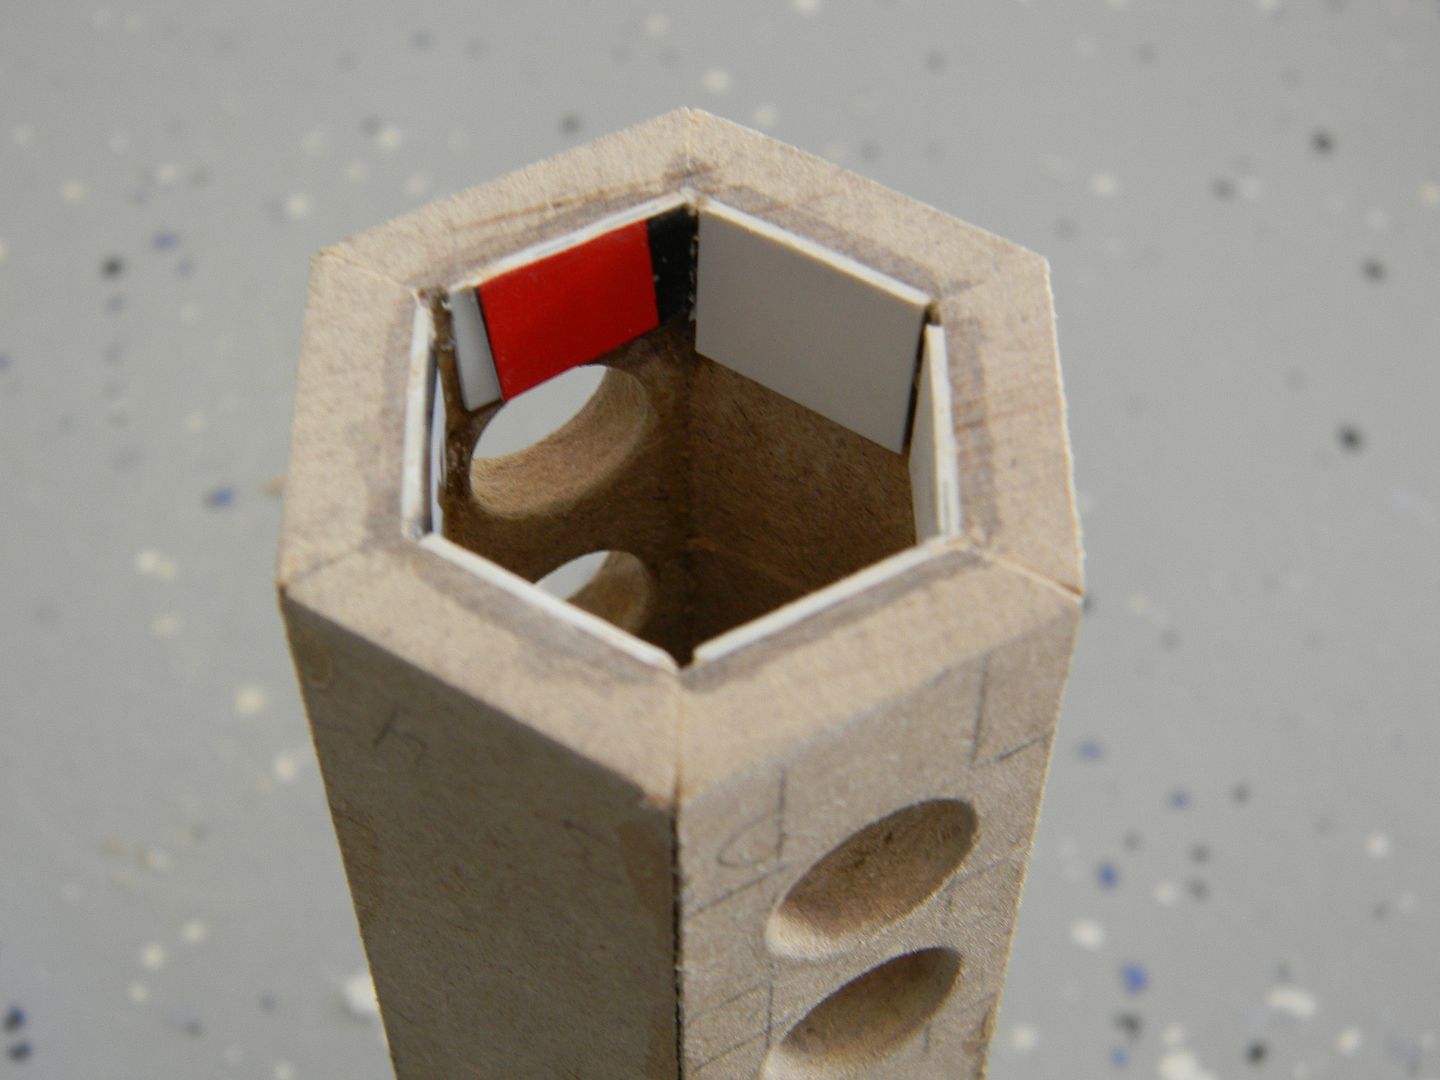
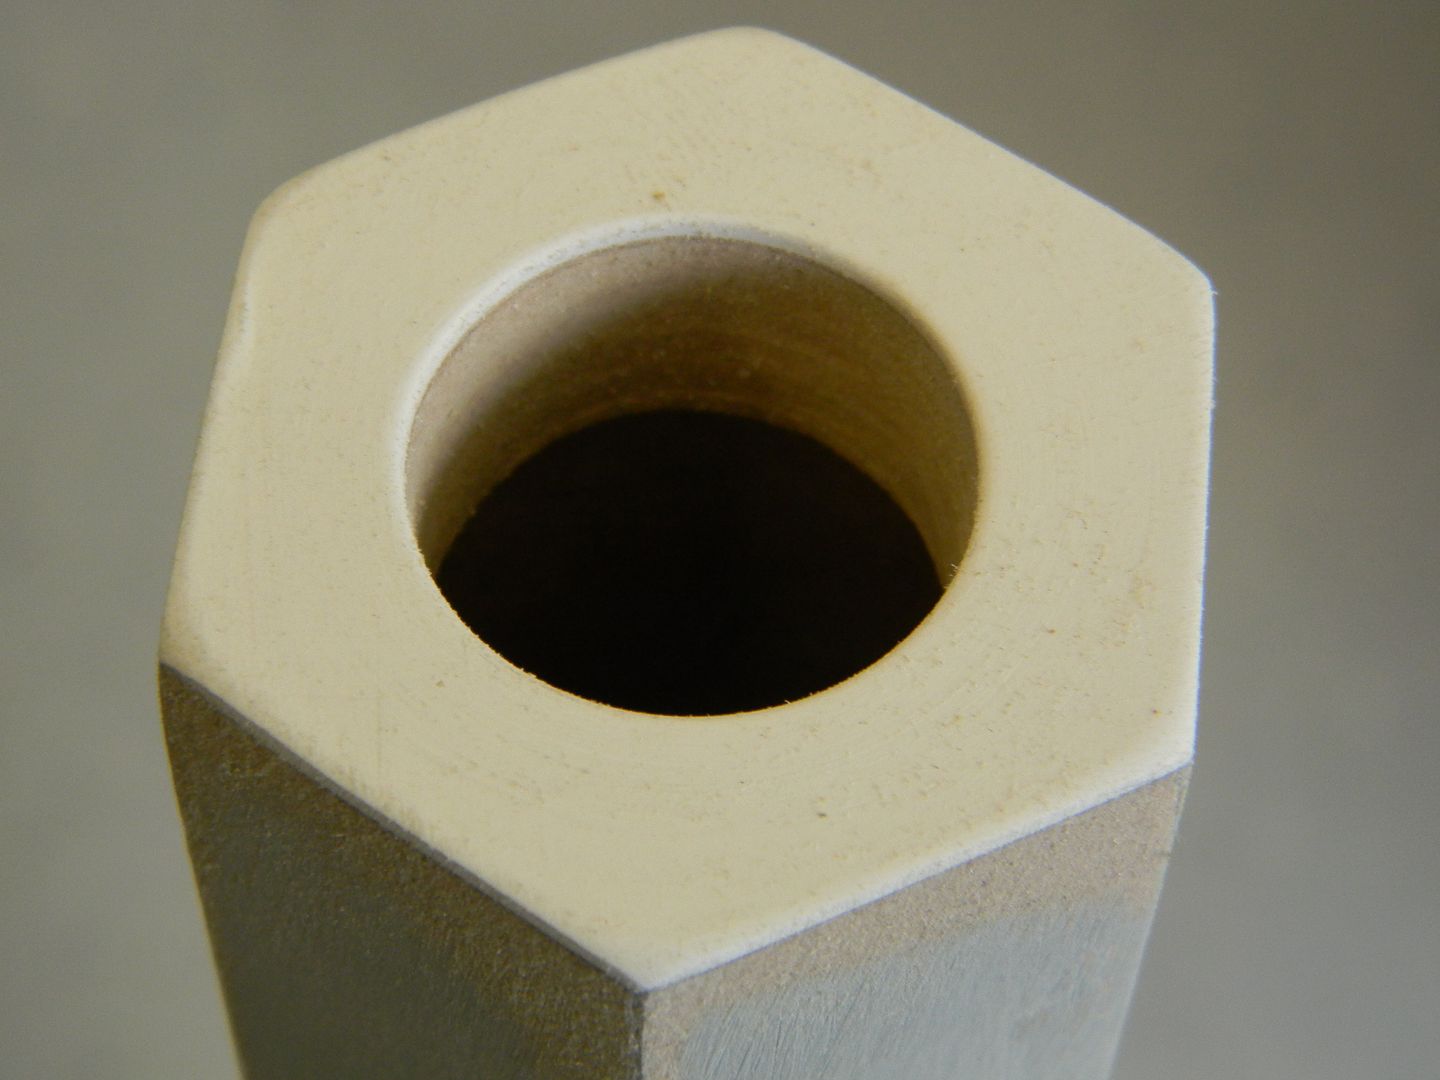
The tapered bit was made the same way as the scope bits, with less drastic of an angle.

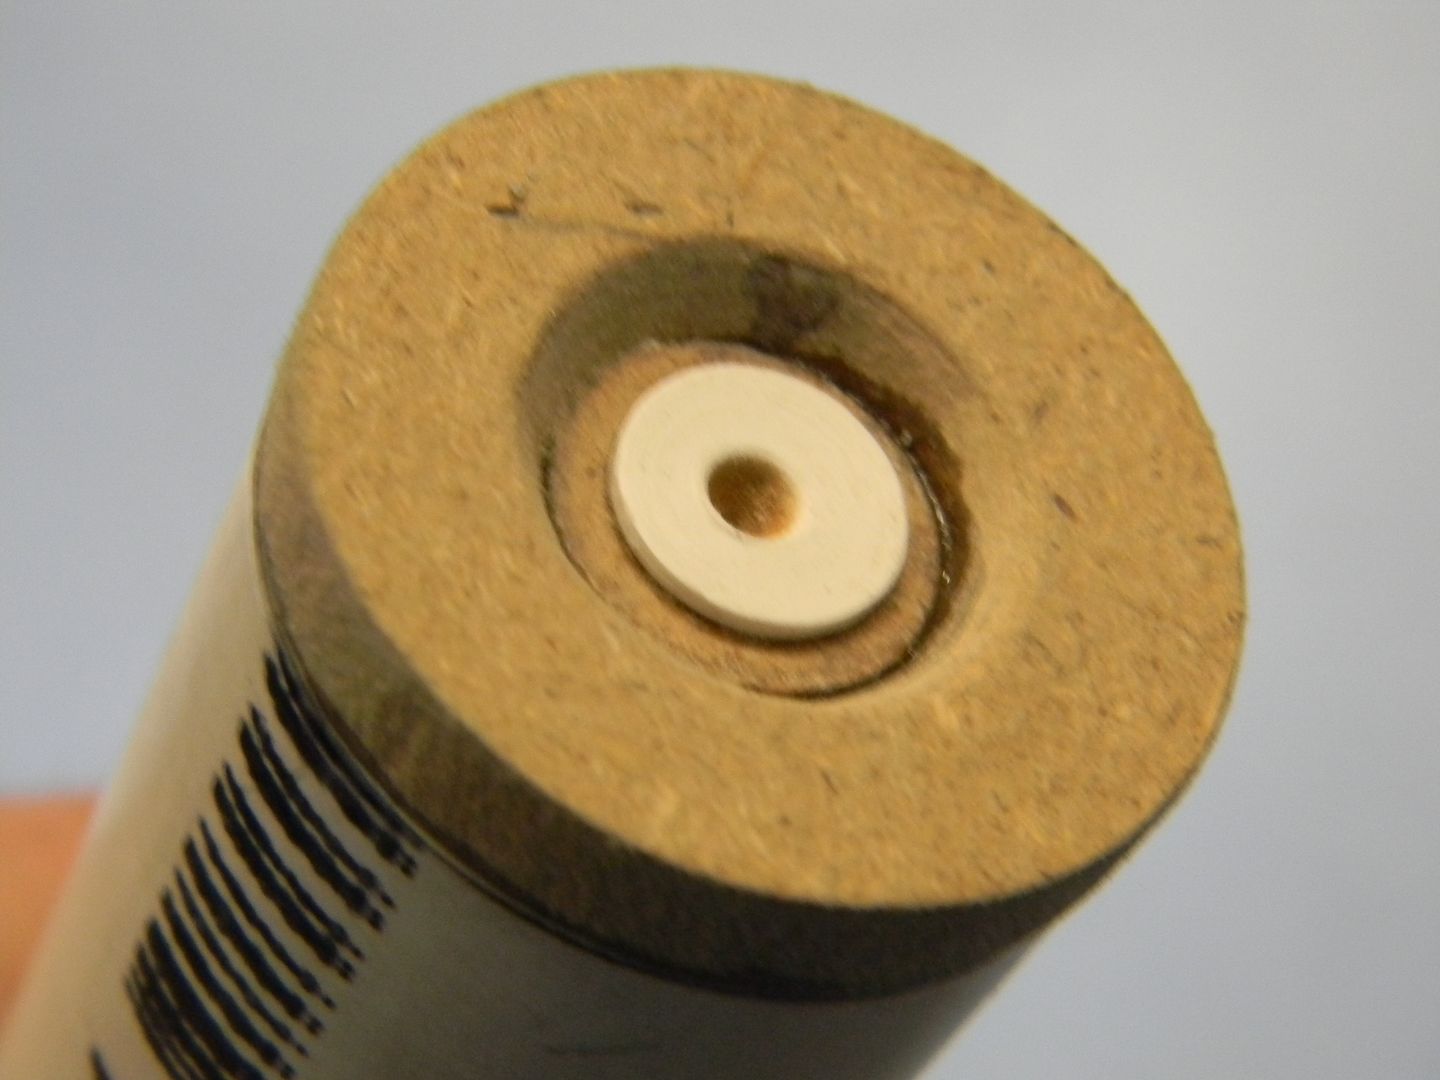
Her'es the flash hider insert. Its plated with styrene to look clean.
More priming. The dowel is around an inch, which simplt has a .325" ring pinned through it as well as the flash hider at the end.
The tip of the receiver uses a sliver of a plastic weaver mount to slide the bipod on and off.

I refined the scope a bit by putting the beveled inserts at the openings.
And, some anime accurate lenses that actually rotate! The slightly domed bits are sections of a ping pong ball.

The bolt is just some detail added to the end of a PVC pipe, that is inserted in the opening of the buttstock. It was important to paint everything before install.
Painted bolt. I made a mock round, as well. A real sniper round wouldn't look anything like this, but since its an anime I made it a little cartoony.
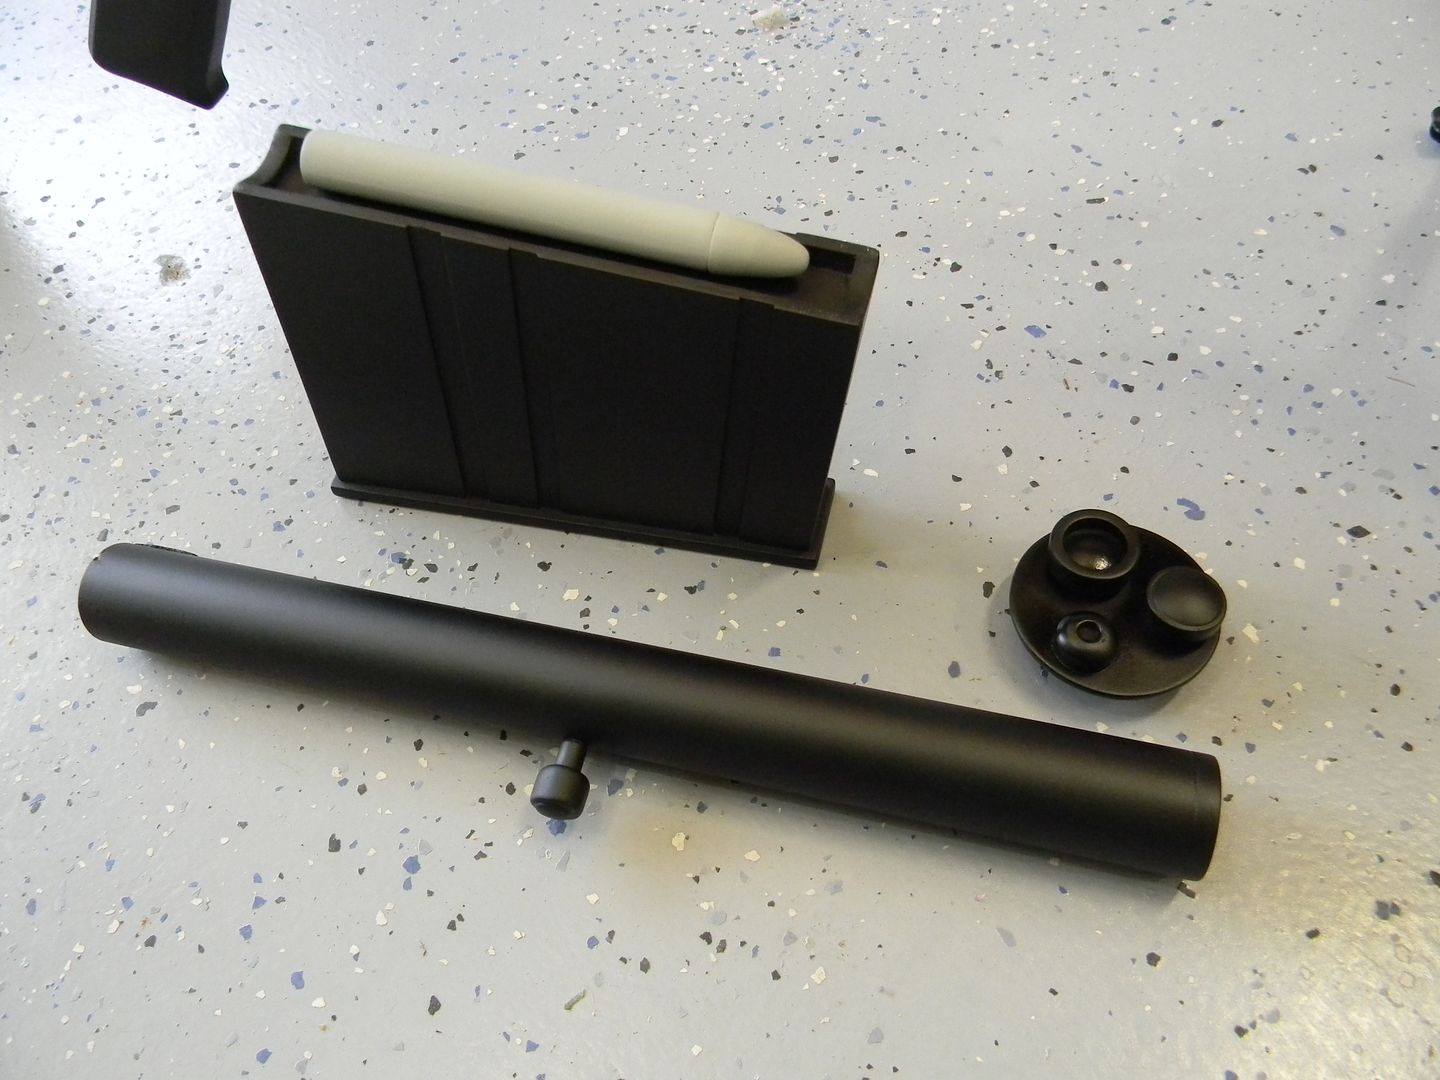
Last up was the bipod. I used the same one as last time, which I swear was made for this gun.
Time to seal that bolt up. The back of the buttstock was coated in super glue, then sanded, laminated with styrene to cover the opening, and painted to match. At this point, if there was a problem with the bolt fitment or it got stuck, there was no going back.

This is gonna be suhweeeeet you guys.
Cloudy day + upped exposure + matte finish = shots that look computer rendered!
This first bit is my favorite part of the prop. a working bolt/magazine, and a round that actually chambers completely!


Thanks for following! For a heads up on these projects, check the Facebook page.
Beautiful job on this prop!
ReplyDeleteDoes that mean Jessica Nigiri is going to cosplay as Yoko? :)
Hey, just wondering if you still do commissions on stuff like this.
ReplyDeleteAlso, if you do, what do you charge, etc.?
My email's adirtysmoot@gmail.com, if you're willing.
Nice!
ReplyDeleteGood Work!