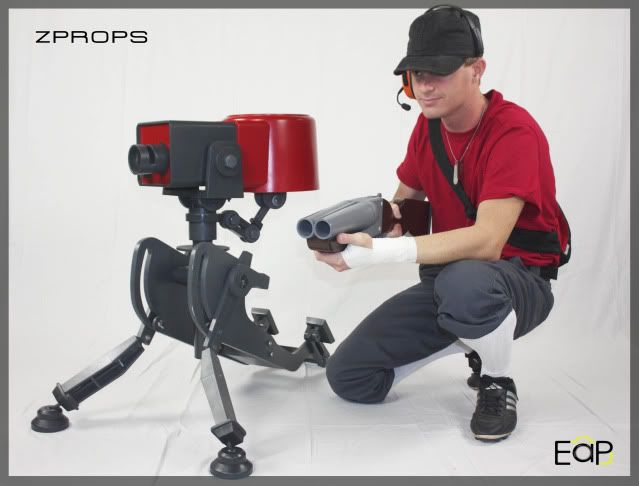
I had a revisit with my old Force A' Nature
when my client sent it back for a repaint after taking it to a few
conventions. This was a huge opportunity, because I was able to mold the
parts I needed while it was disassembled and sanded before the repaint.
This was also one of my first props ever made, and is still one of my
favorites.
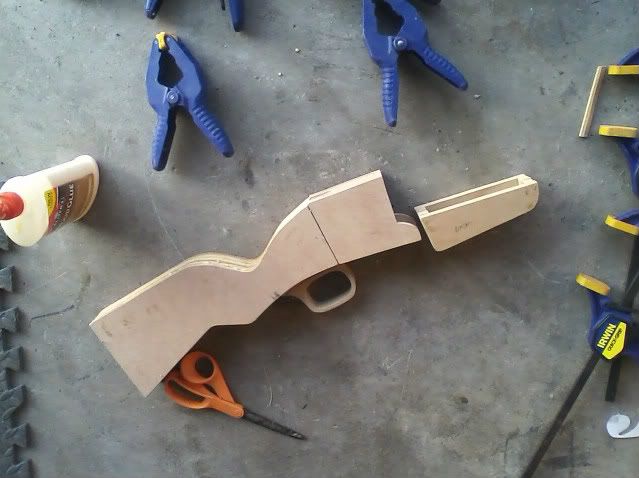
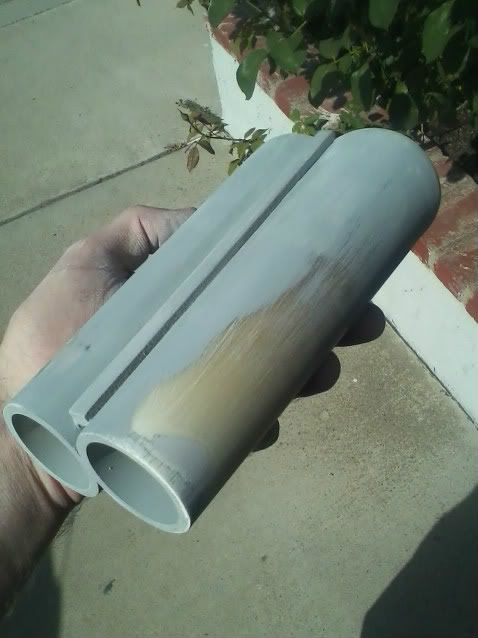
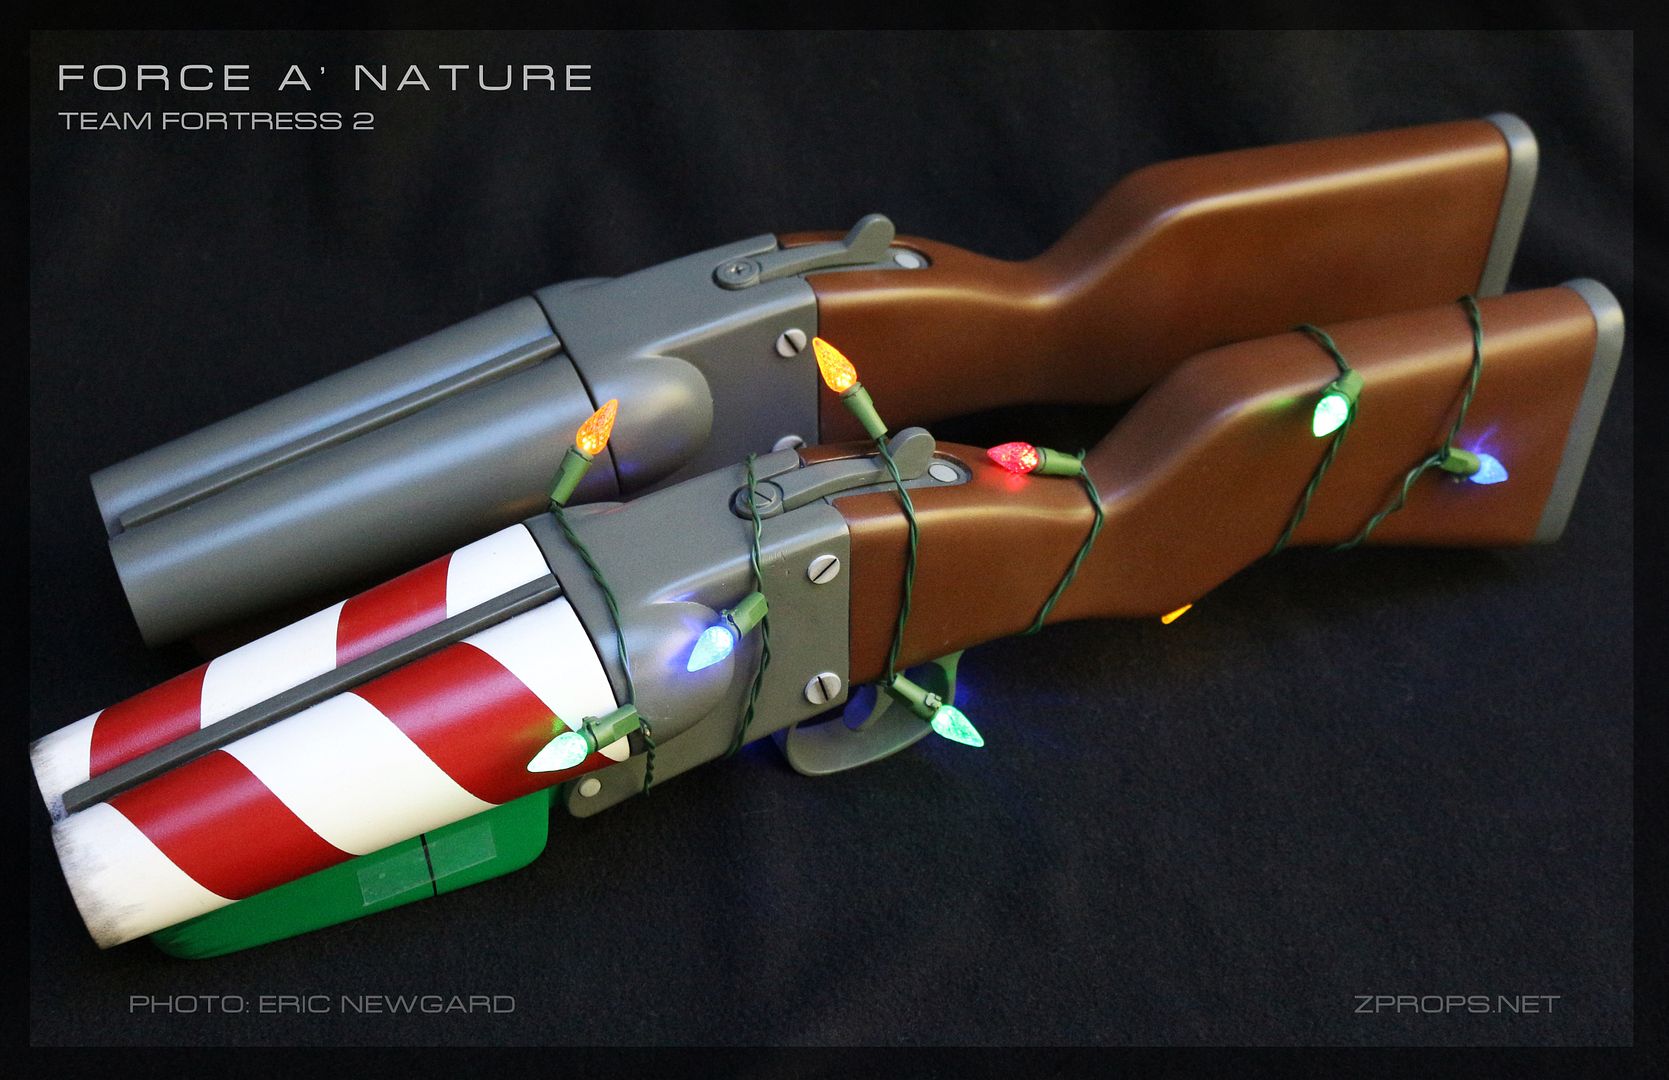
I molded the more accurate parts, (The barrels, receiver, foregrip, lever) and decided to re-make the stock and trigger guard. The trigger guard on the previous version was too thick. (Even for a TF2 prop) The grip on the stock was too thin, as it was designed this way for the client who had smaller hands. The previous stock was also a bit more bulky on the corners and the overall shape was too slim/elegant for a TF2 prop.
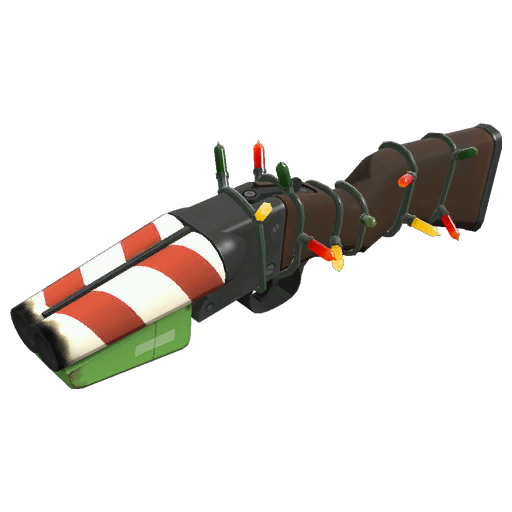
The changes would be ever so slight to a "normal" person, so I decided to christen the new parts with something more.........well, you decide.
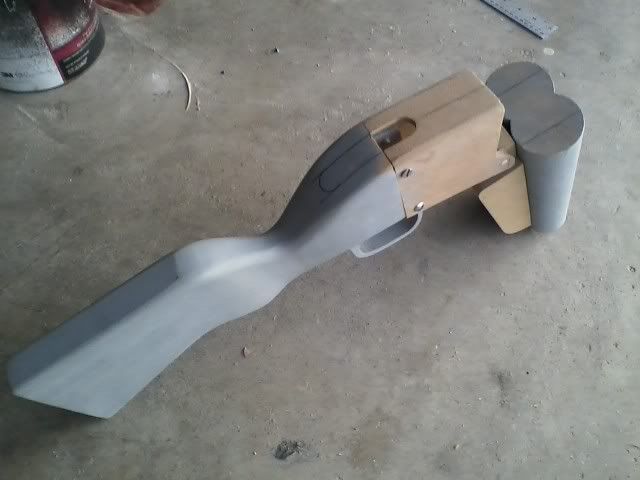
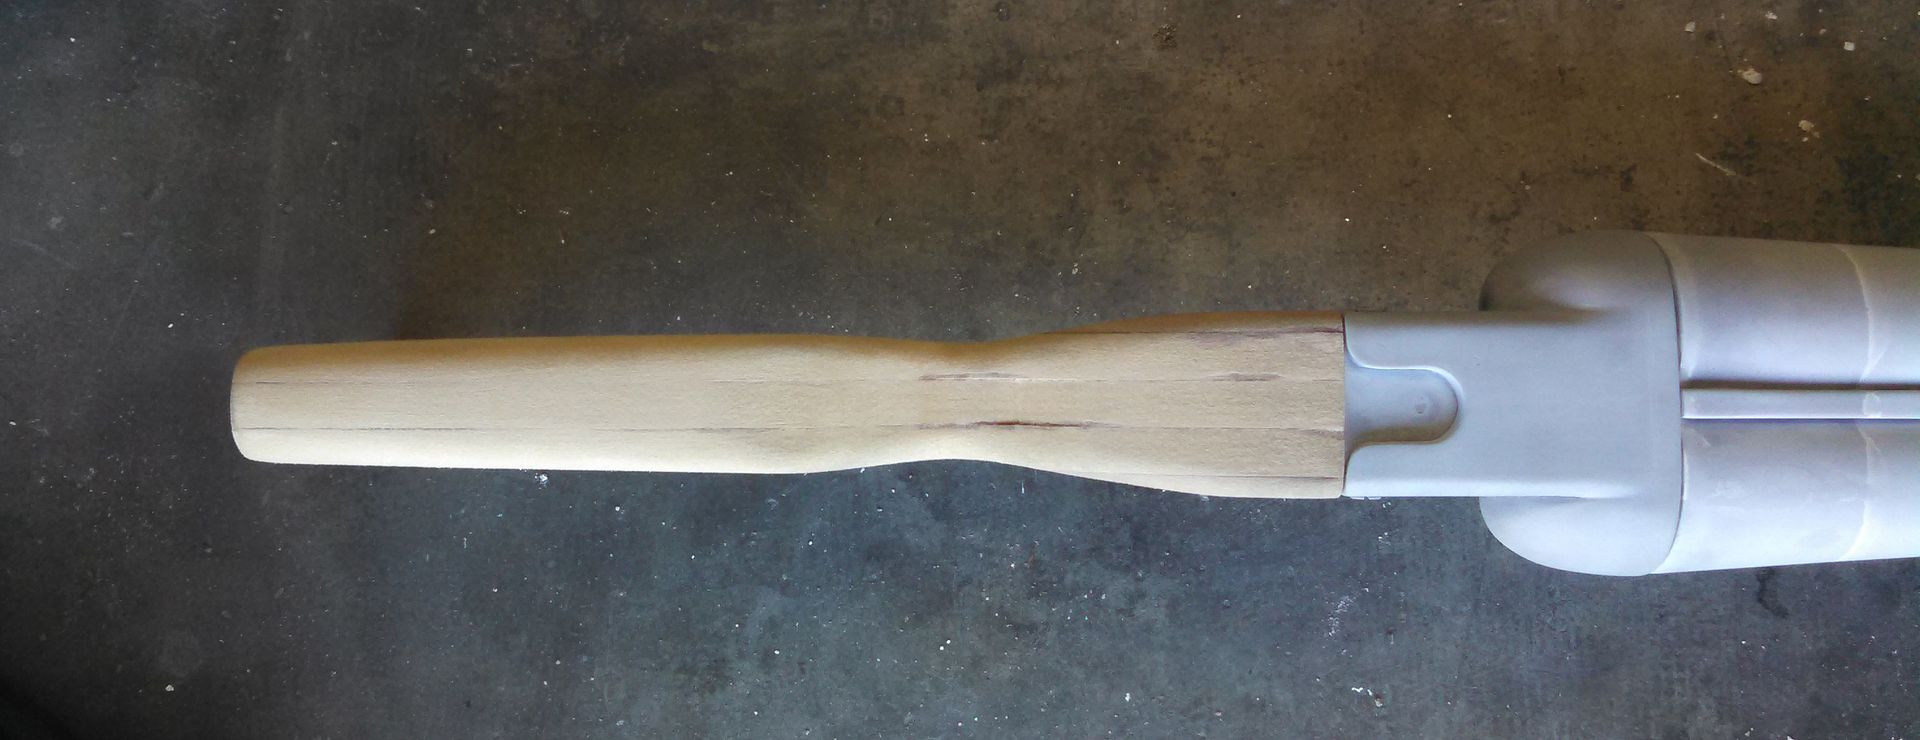
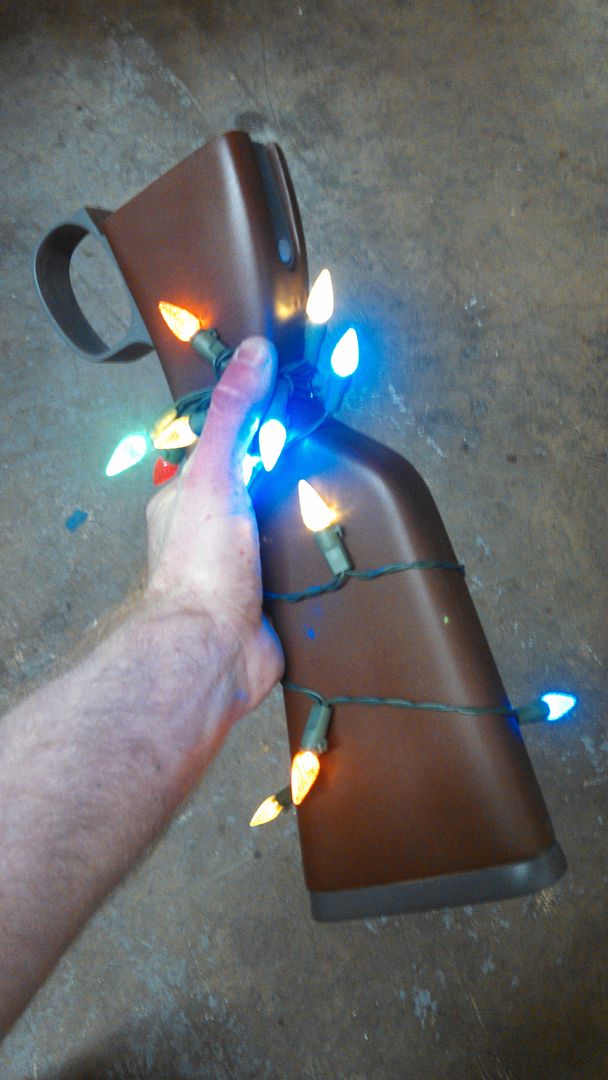
I got started on the new stock asap, as I needed to get this thing
molded and cast too (So that I could not only make reproductions, but
also have a hollow stock for weight and electronics) I shaped it relative to the cast of the receiver I made based off of the previous gun.
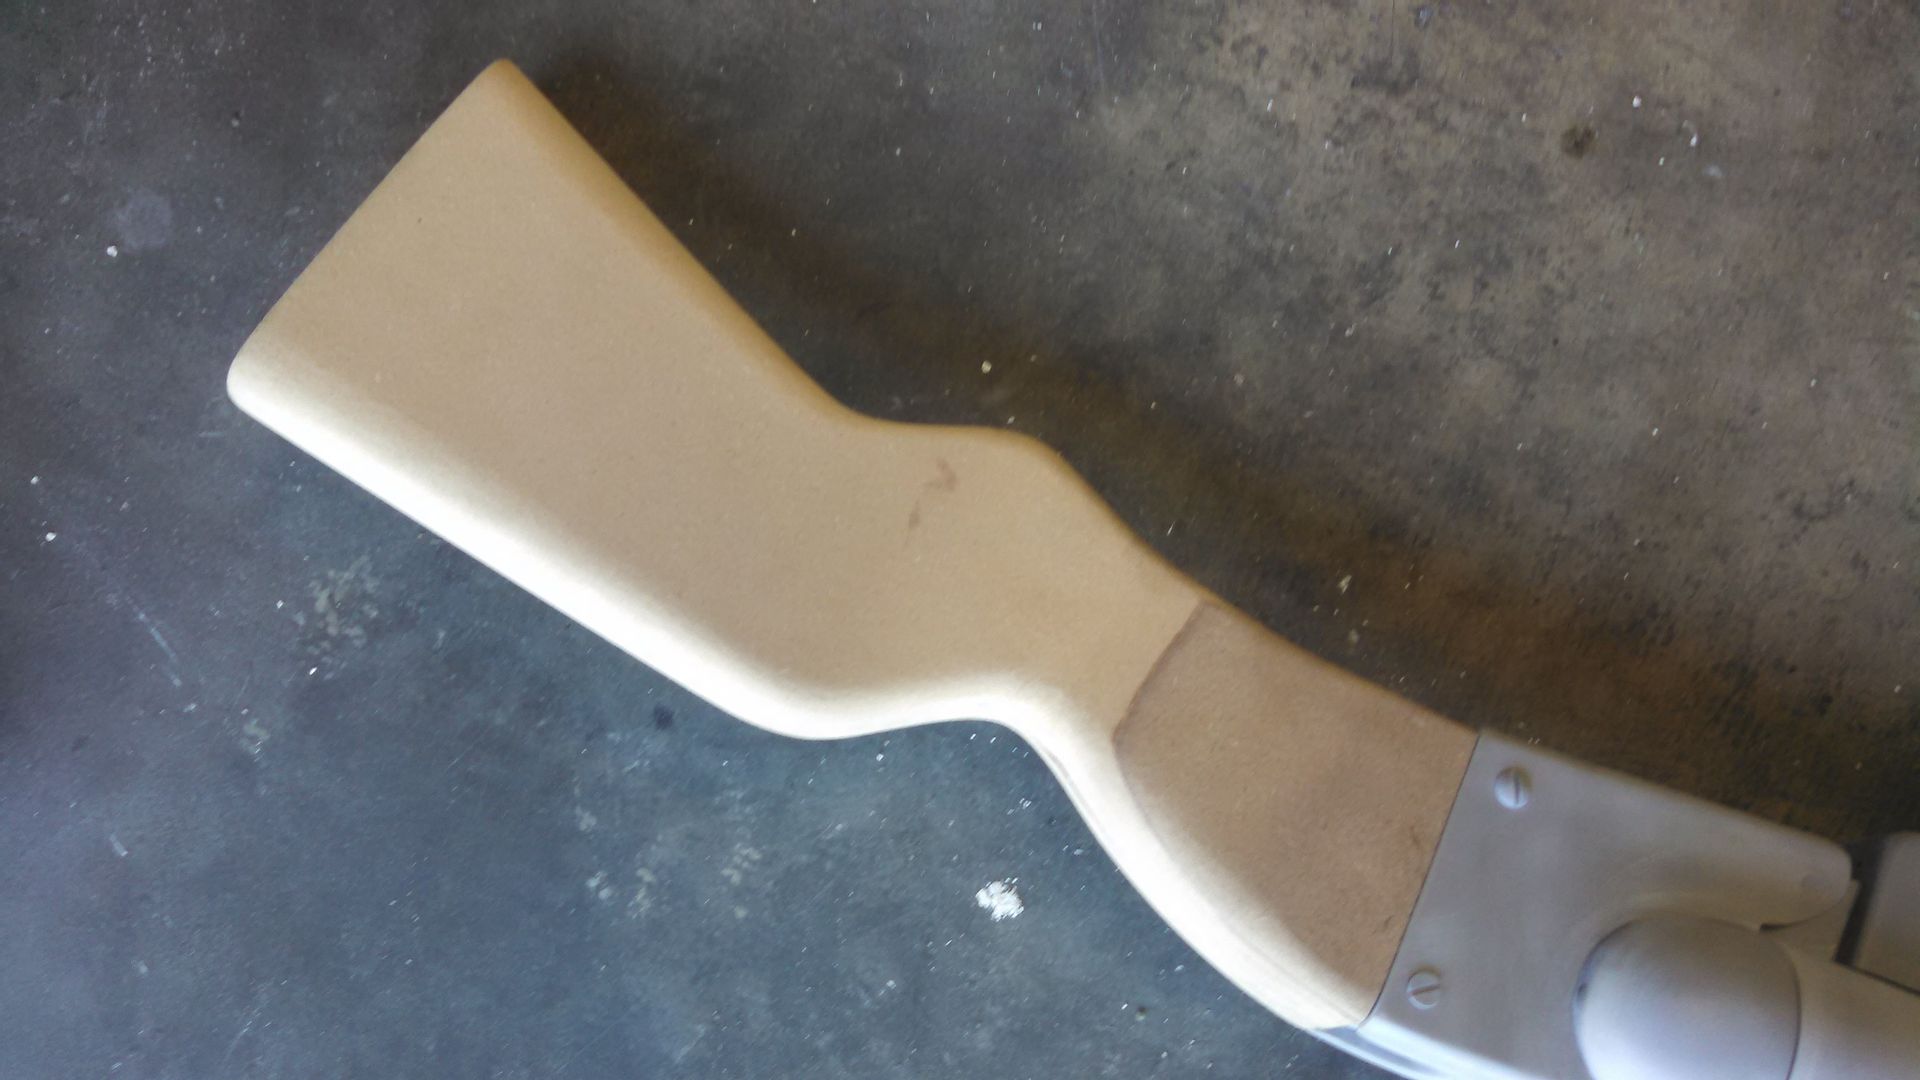
The stock was rounded out quite a bit more, and came out quite nicely.
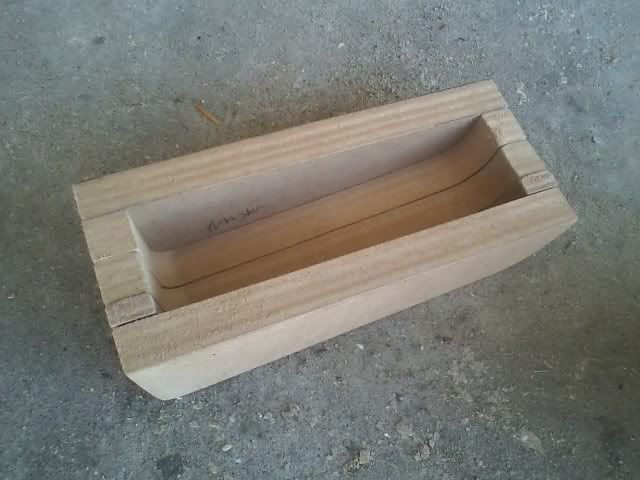
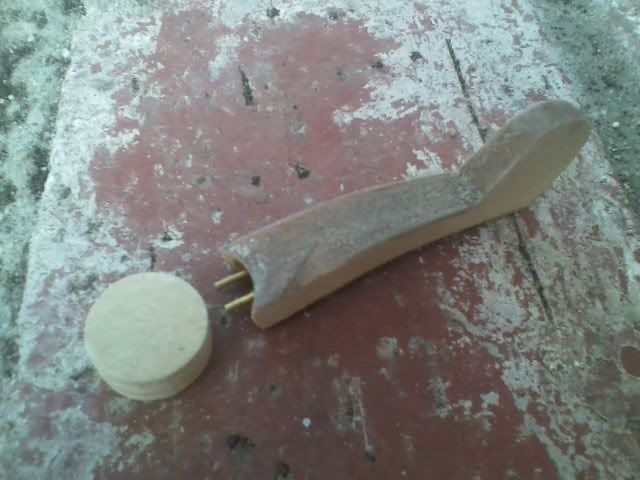
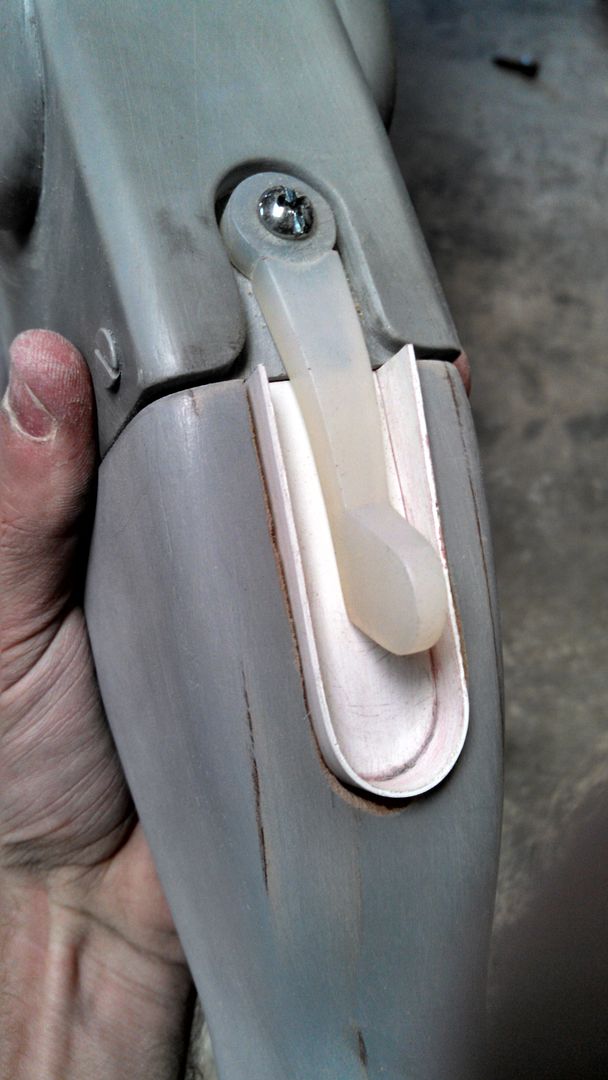
Last time, I did this insert completely by hand with a Dremel. No idea how I did that, so I made a plastic insert, Dremeled it out, and sanded/filled it flush afterwards.
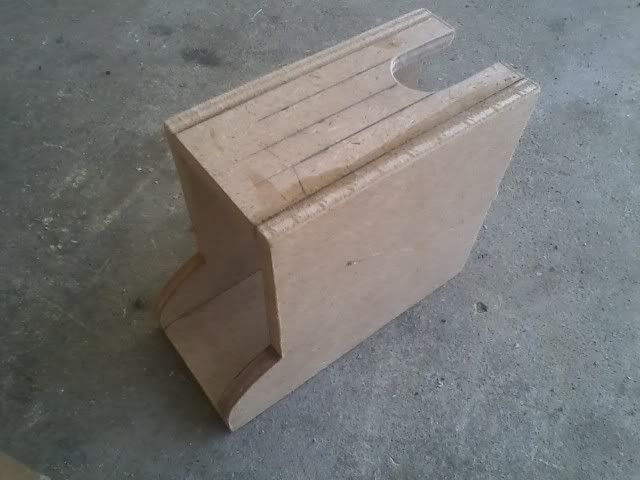
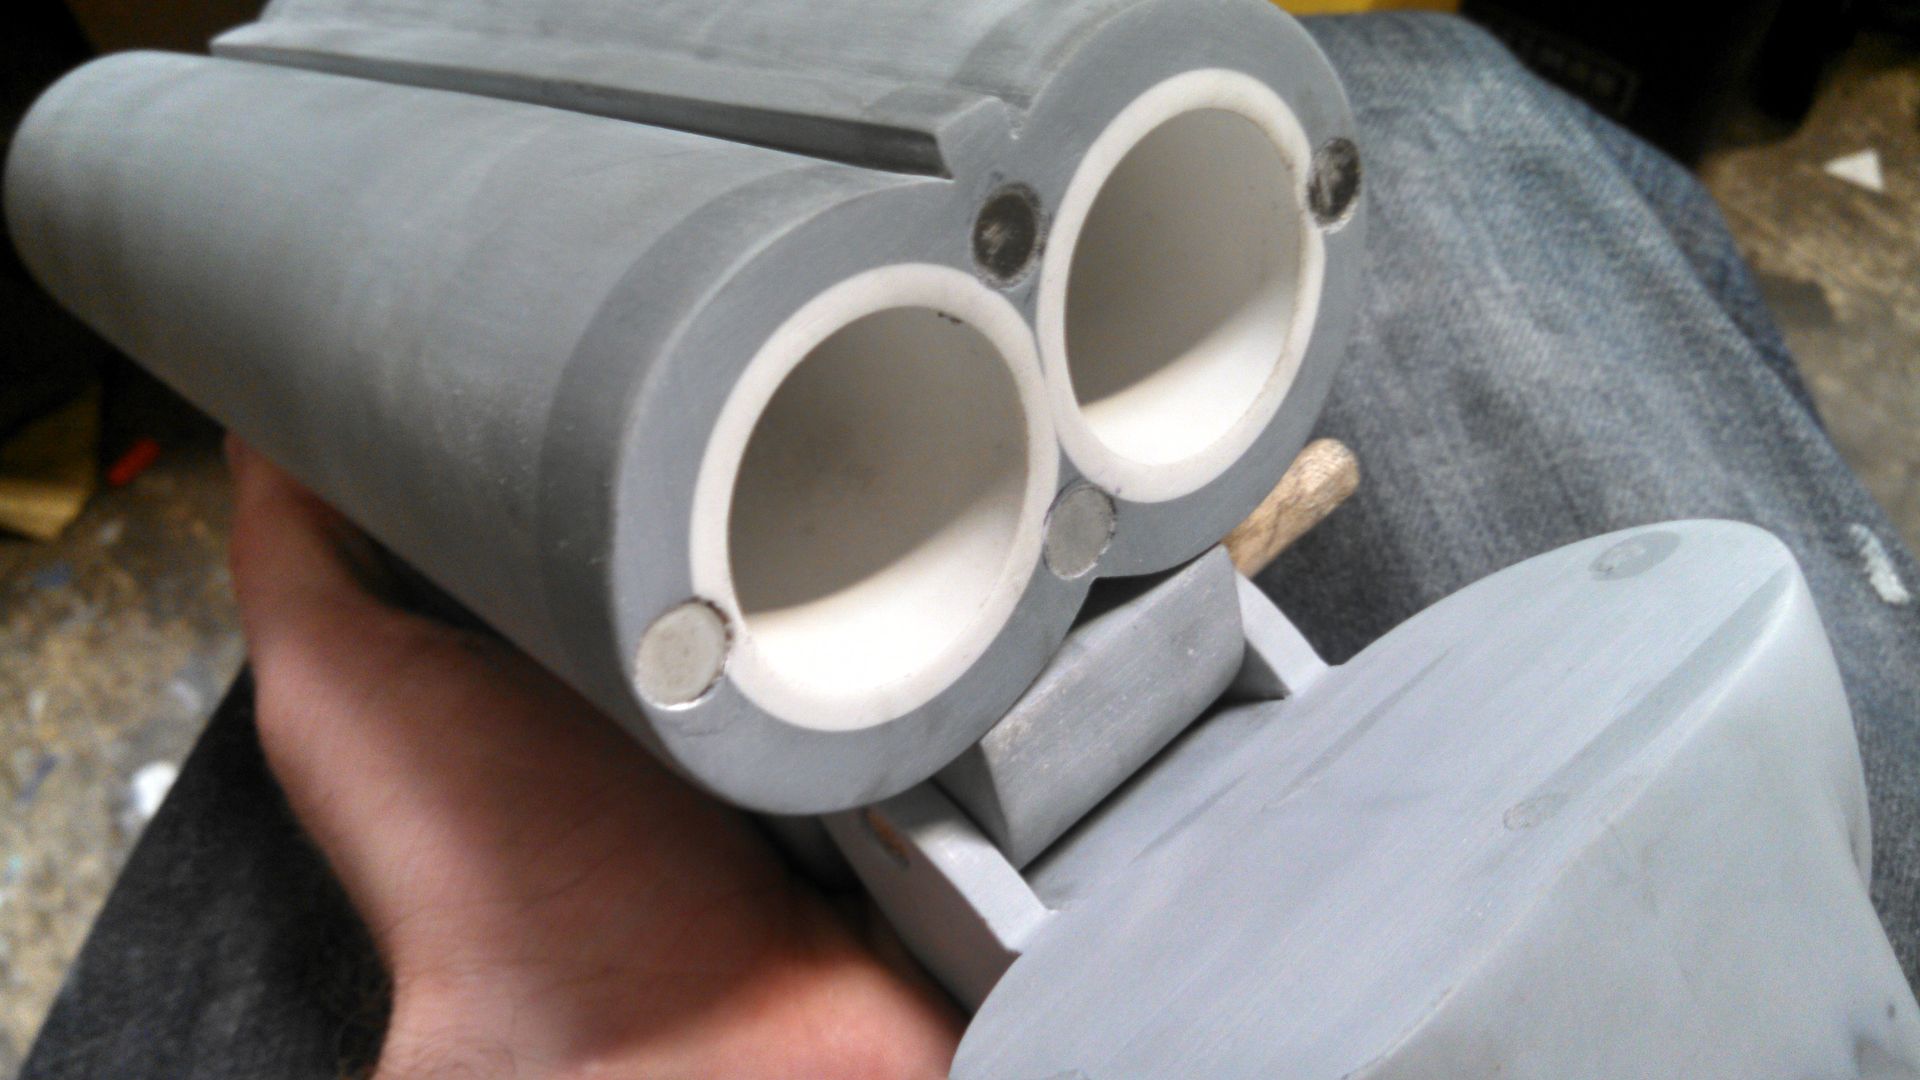
I got the finished stock and trigger guard (No pictures, rushed build. Sorry!) under silicone and focused on the front end. I did the magnet thing blatantly stolen from Volpin Props, just like last time. Getting these perfectly aligned before drilling the holes can be a bit tricky.
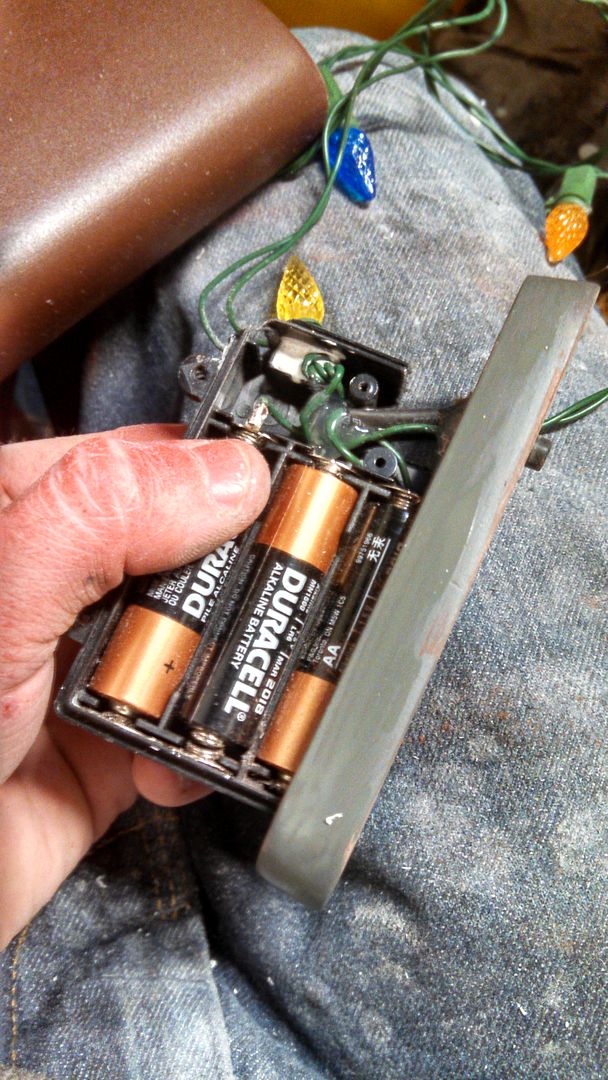
I popped a stock cast out of the new mold, and very very carefully sawed
off the buttplate. I glued this switch/battery back to it, so it can
slide in and out of the hollow stock. (The buttplate is held on by tiny drops
of glue) You can also see here, I cut out the button switch assembly and
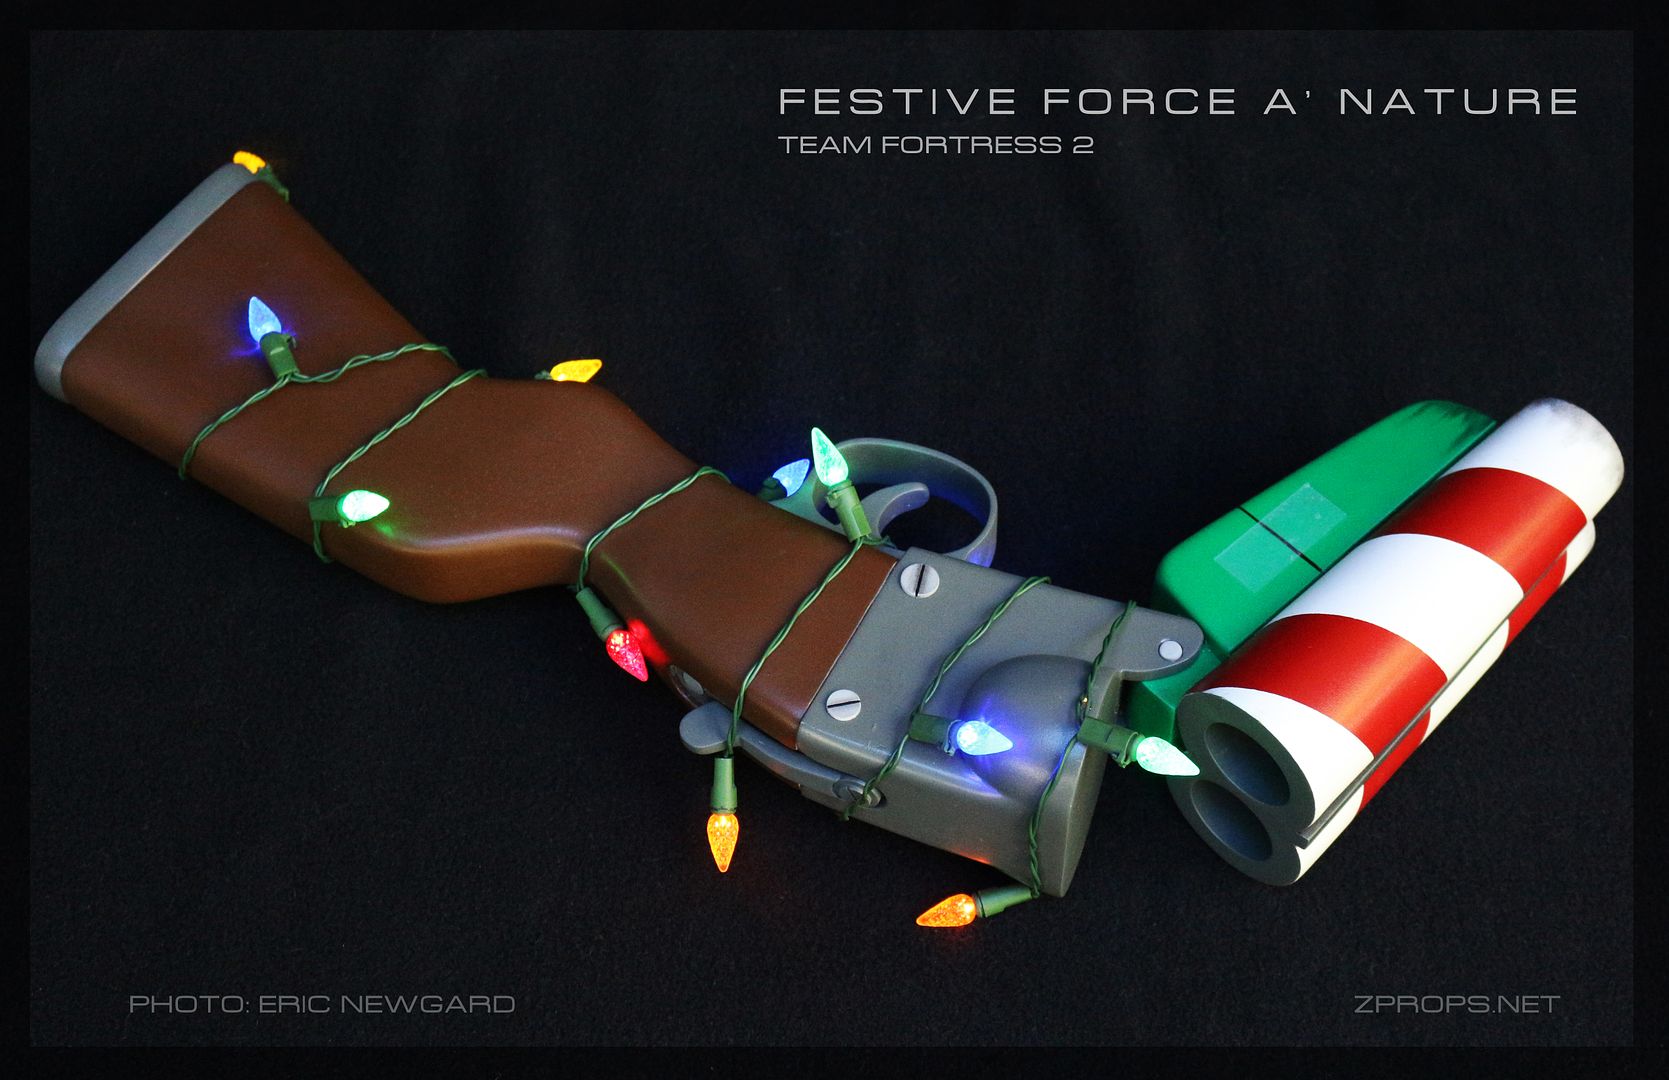
integrated it into the buttplate. I secured everything with hot glue. I got this portable LED strand from Home Depot for around 10 bucks. I shortened it by about 4 LEDs and it works perfectly.
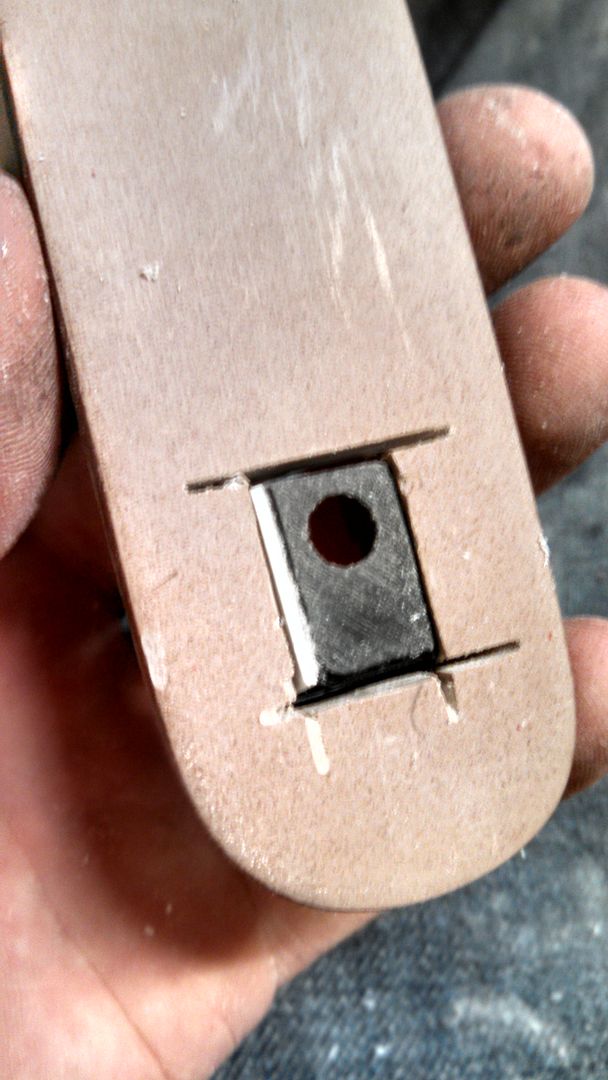
(Like everything) I cut the button space out with a scroll saw and filled the voids with styrene and suerglue.
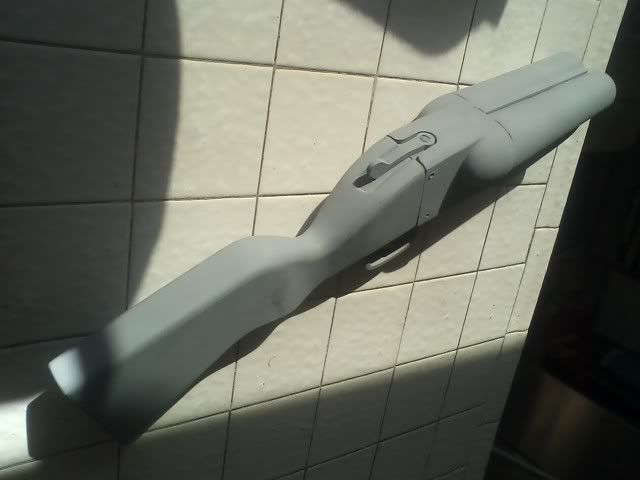
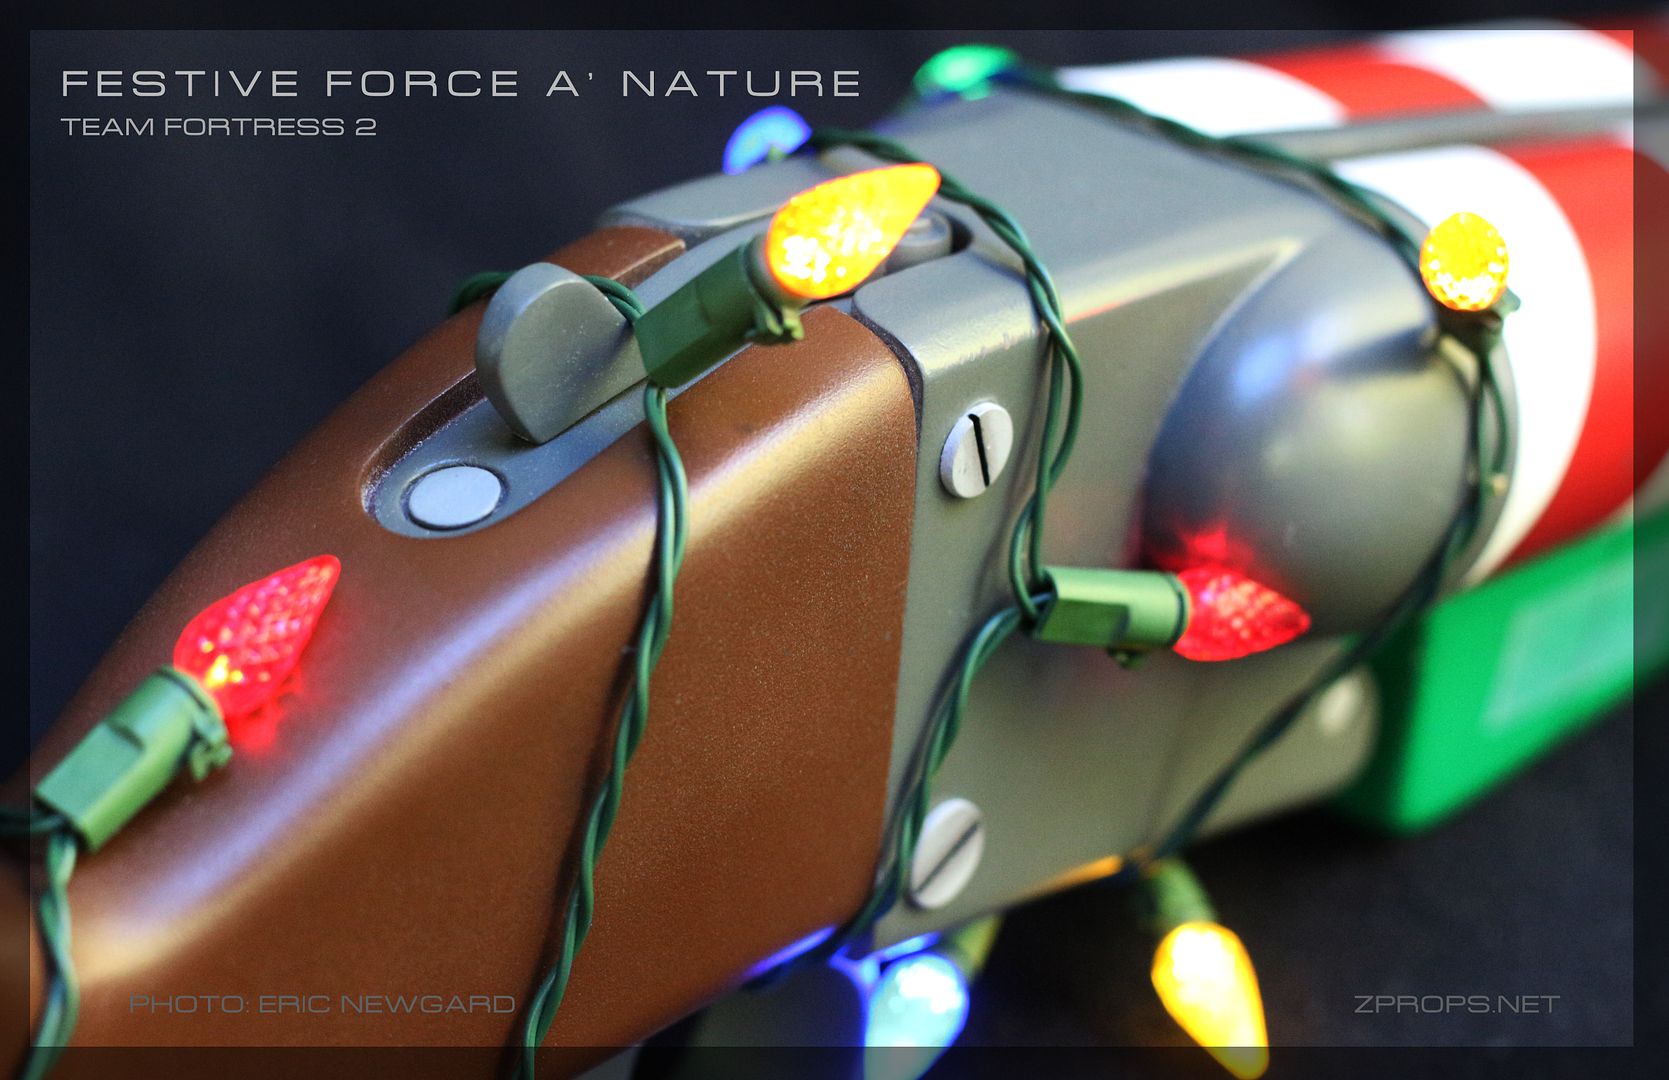
Got the rear end all painted and good to go! I strung the rest of the lights around the prop and stapled the last LED in under the receiver. There are two tiny brass pins that keep the wiring on high spots where the wires want to slide out of place. Here it is before that, where I'm just happy to have lights on a TF2 thingie.
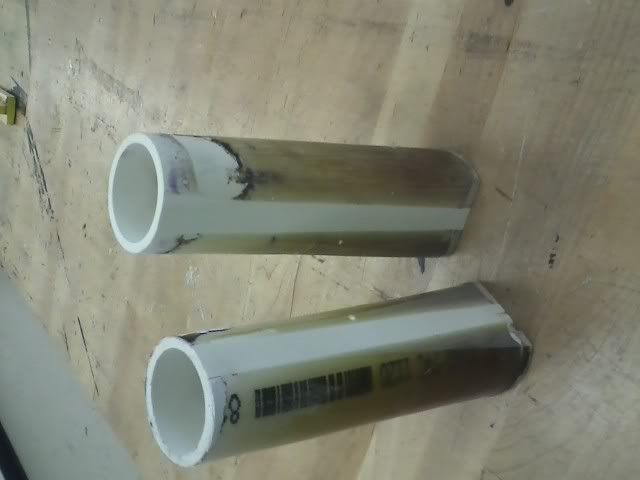
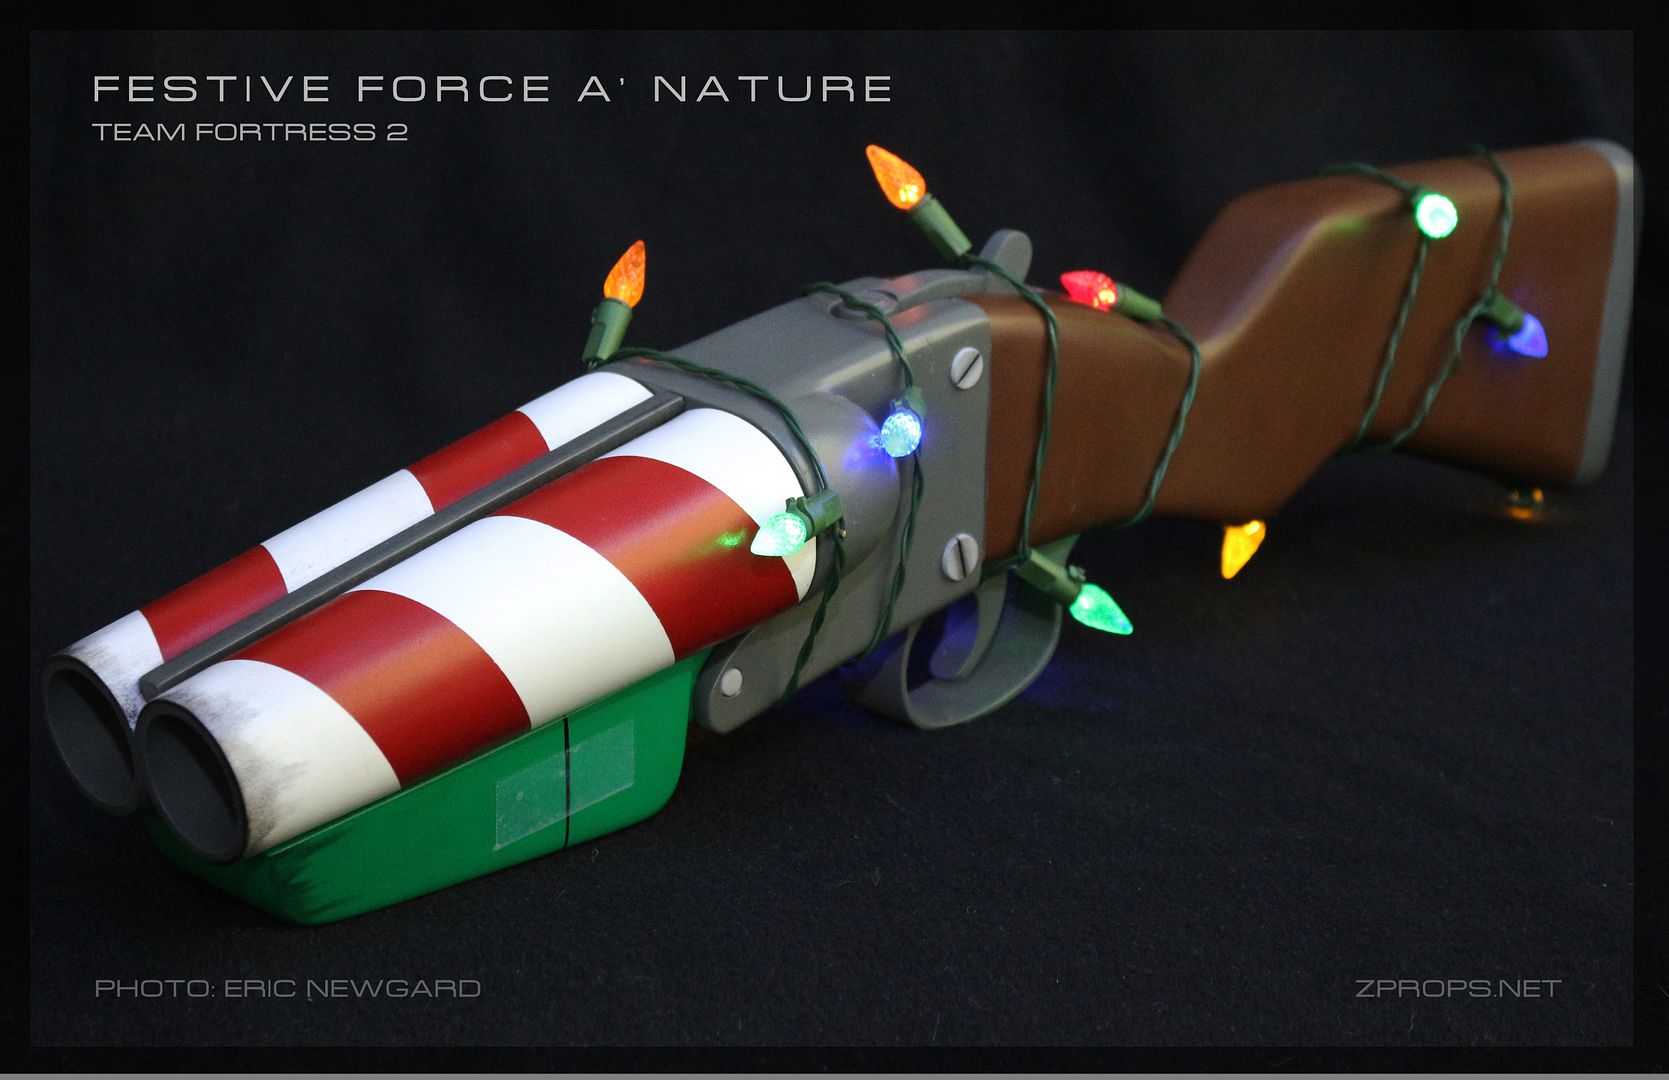
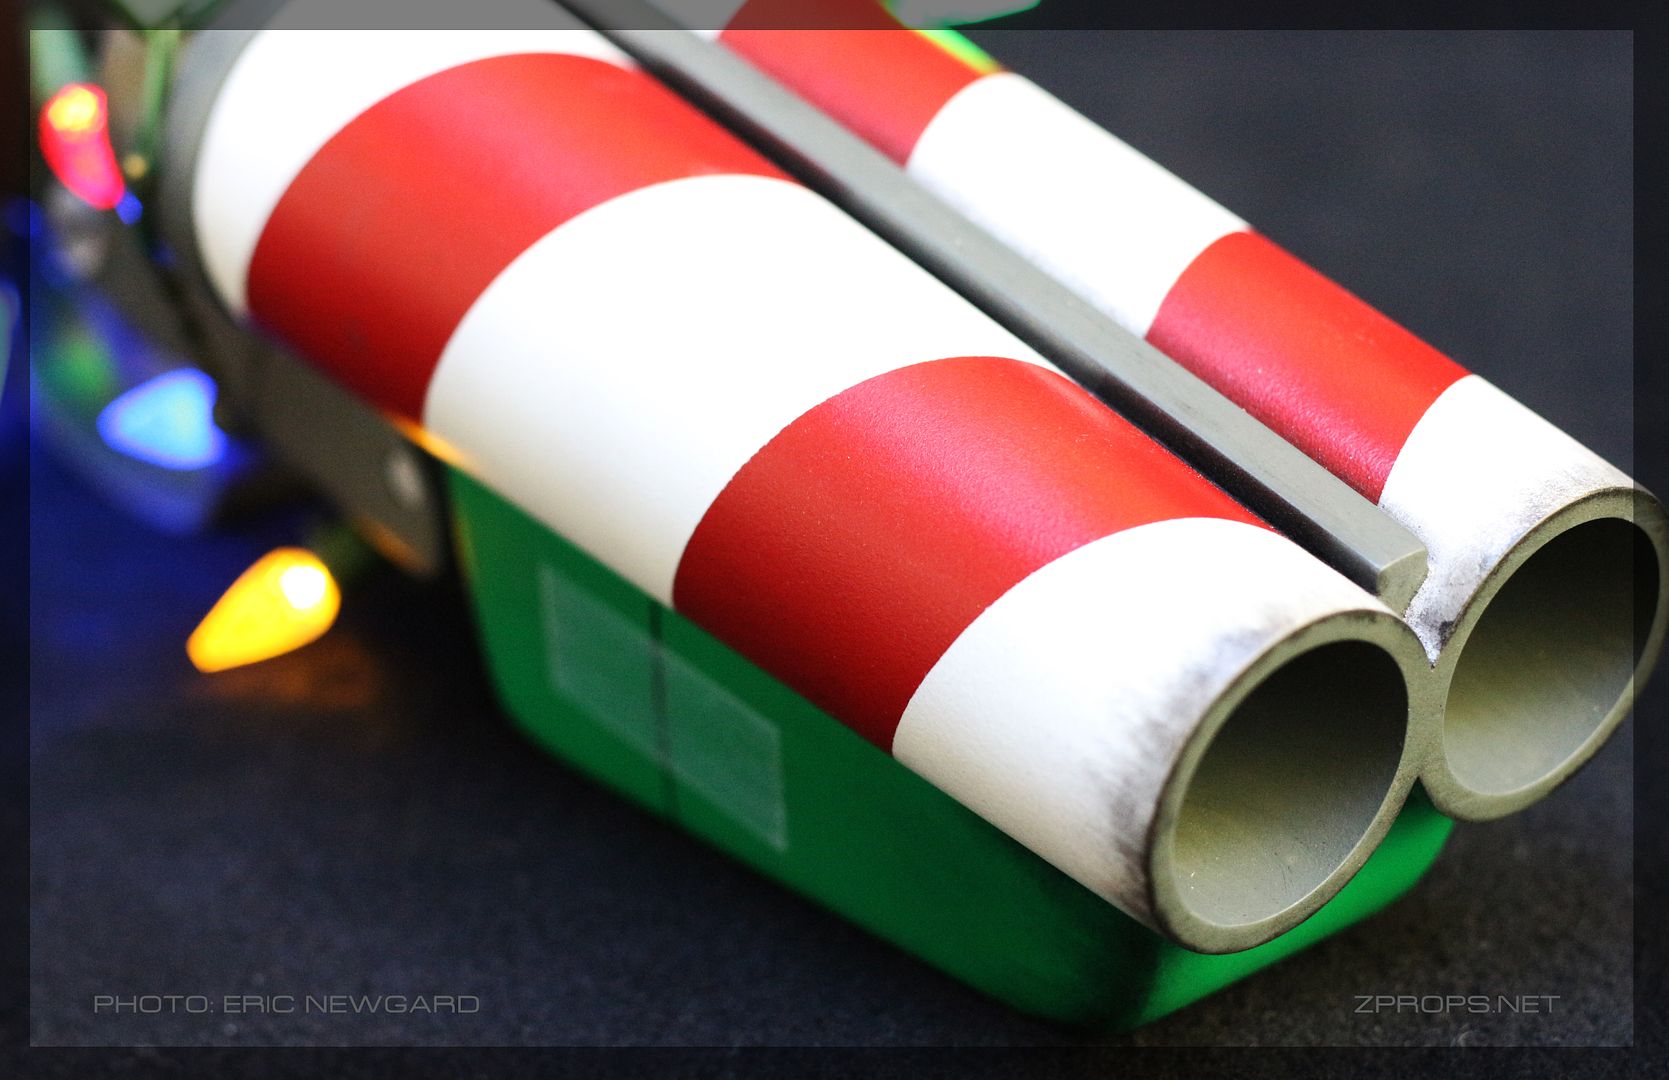
The front end paint job was just simple painting with the white red of the barrels painted first, then the white. This enabled me to just mask the two winding strips on each side, paint, and un-mask. The foregrip is a green color with a carefully sharpied panel line. (This is supposed to represent green wrapping paper on the models) The tape is scotch tape over packing tape. Doing just one or the other was too glossy and less pronounced, or too flat and too bright. This balanced the two. I take my tape details pretty seriously.
Special thanks to Impact Props for the great photos!
More props at the Facebook page, here.
Want one of your own or something similar? Here is a good place to start.
Bonk!