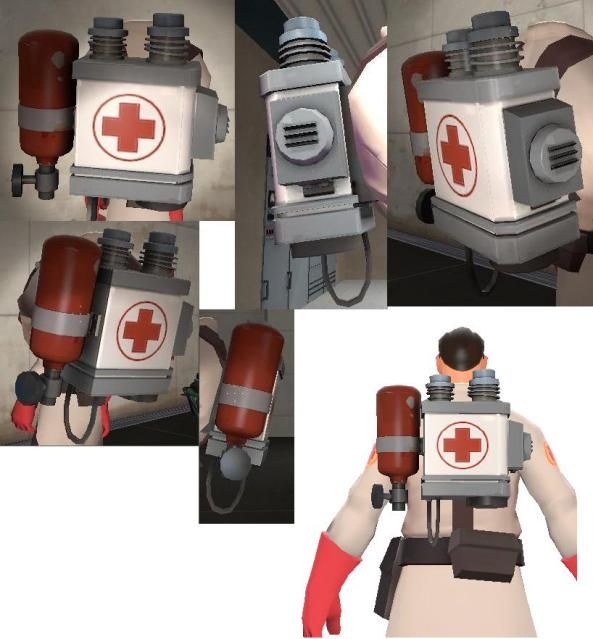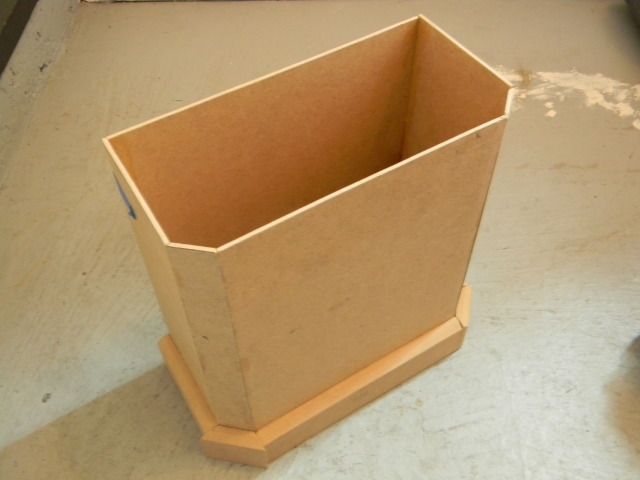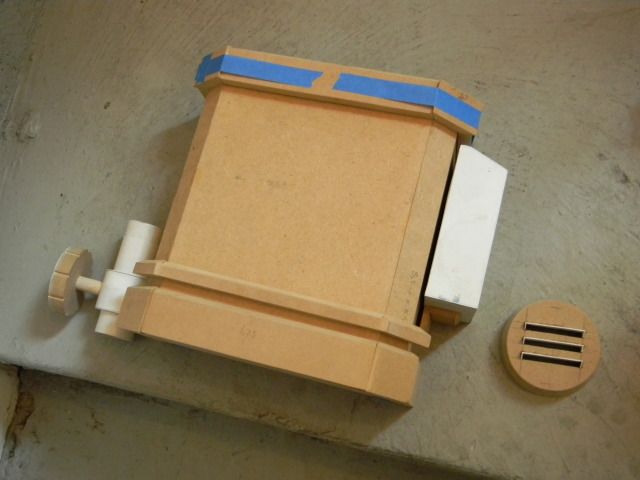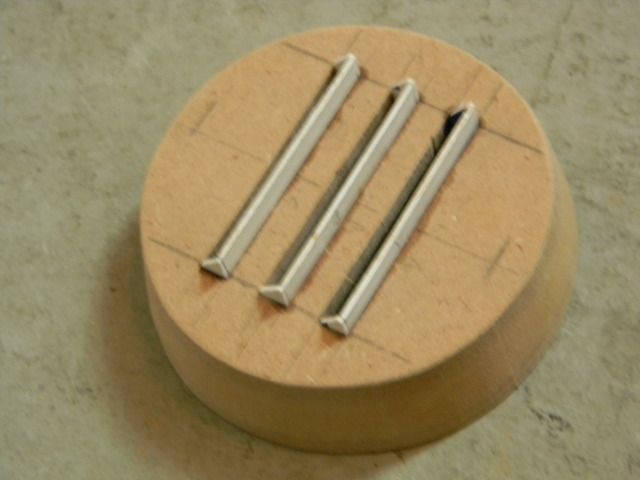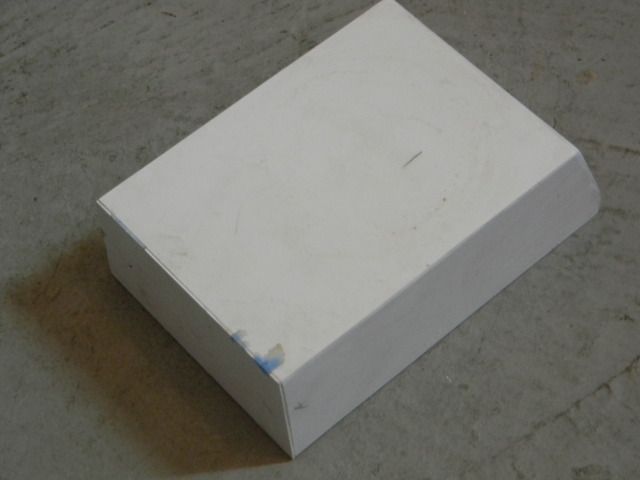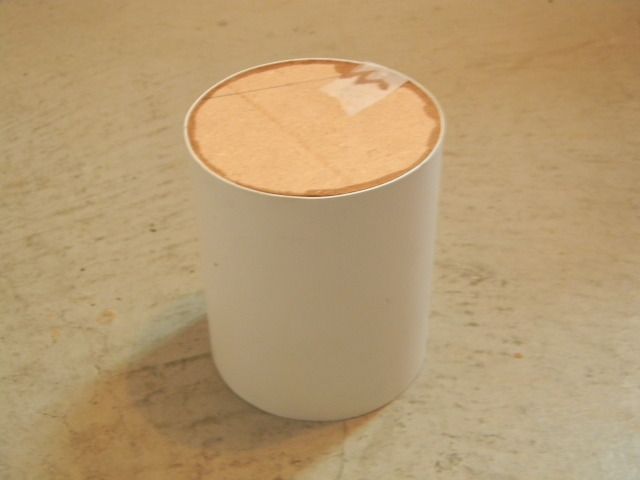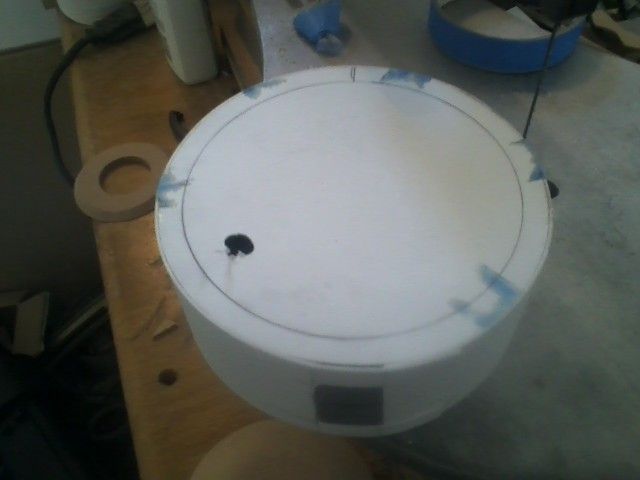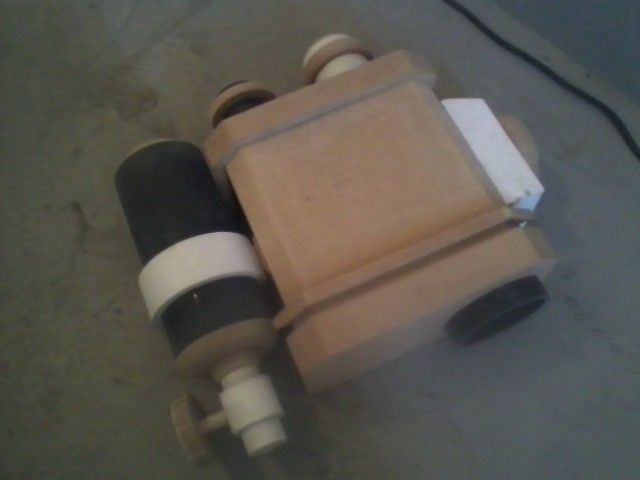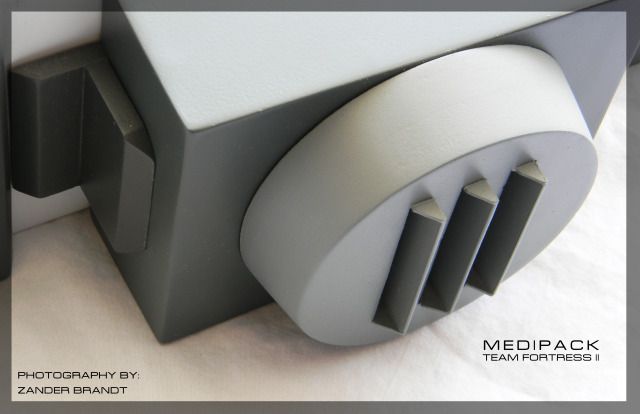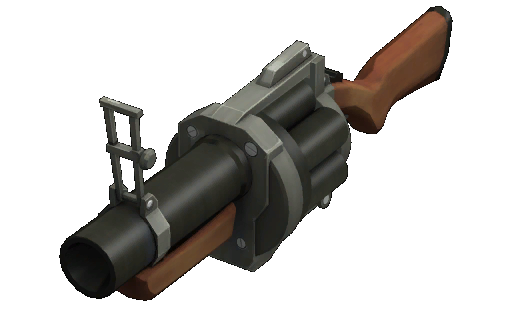
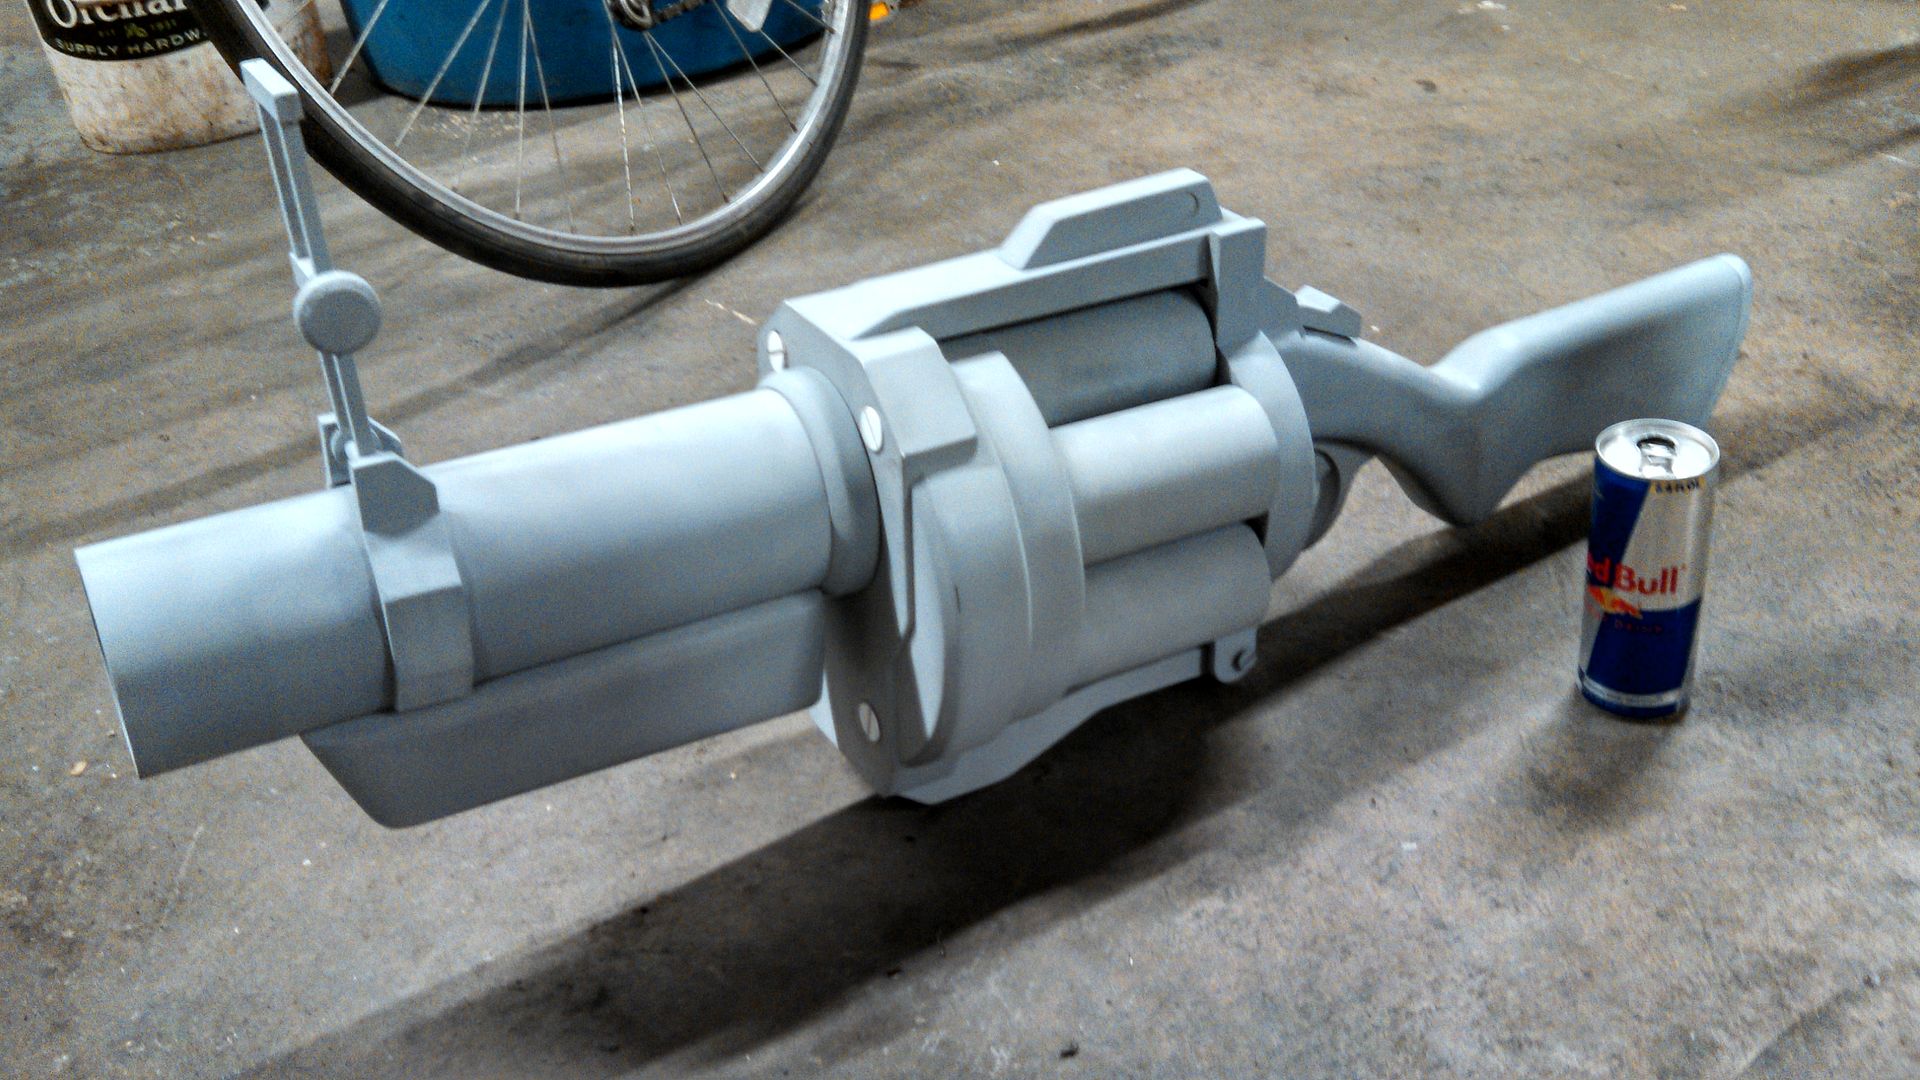
Did I mention this thing is huge?
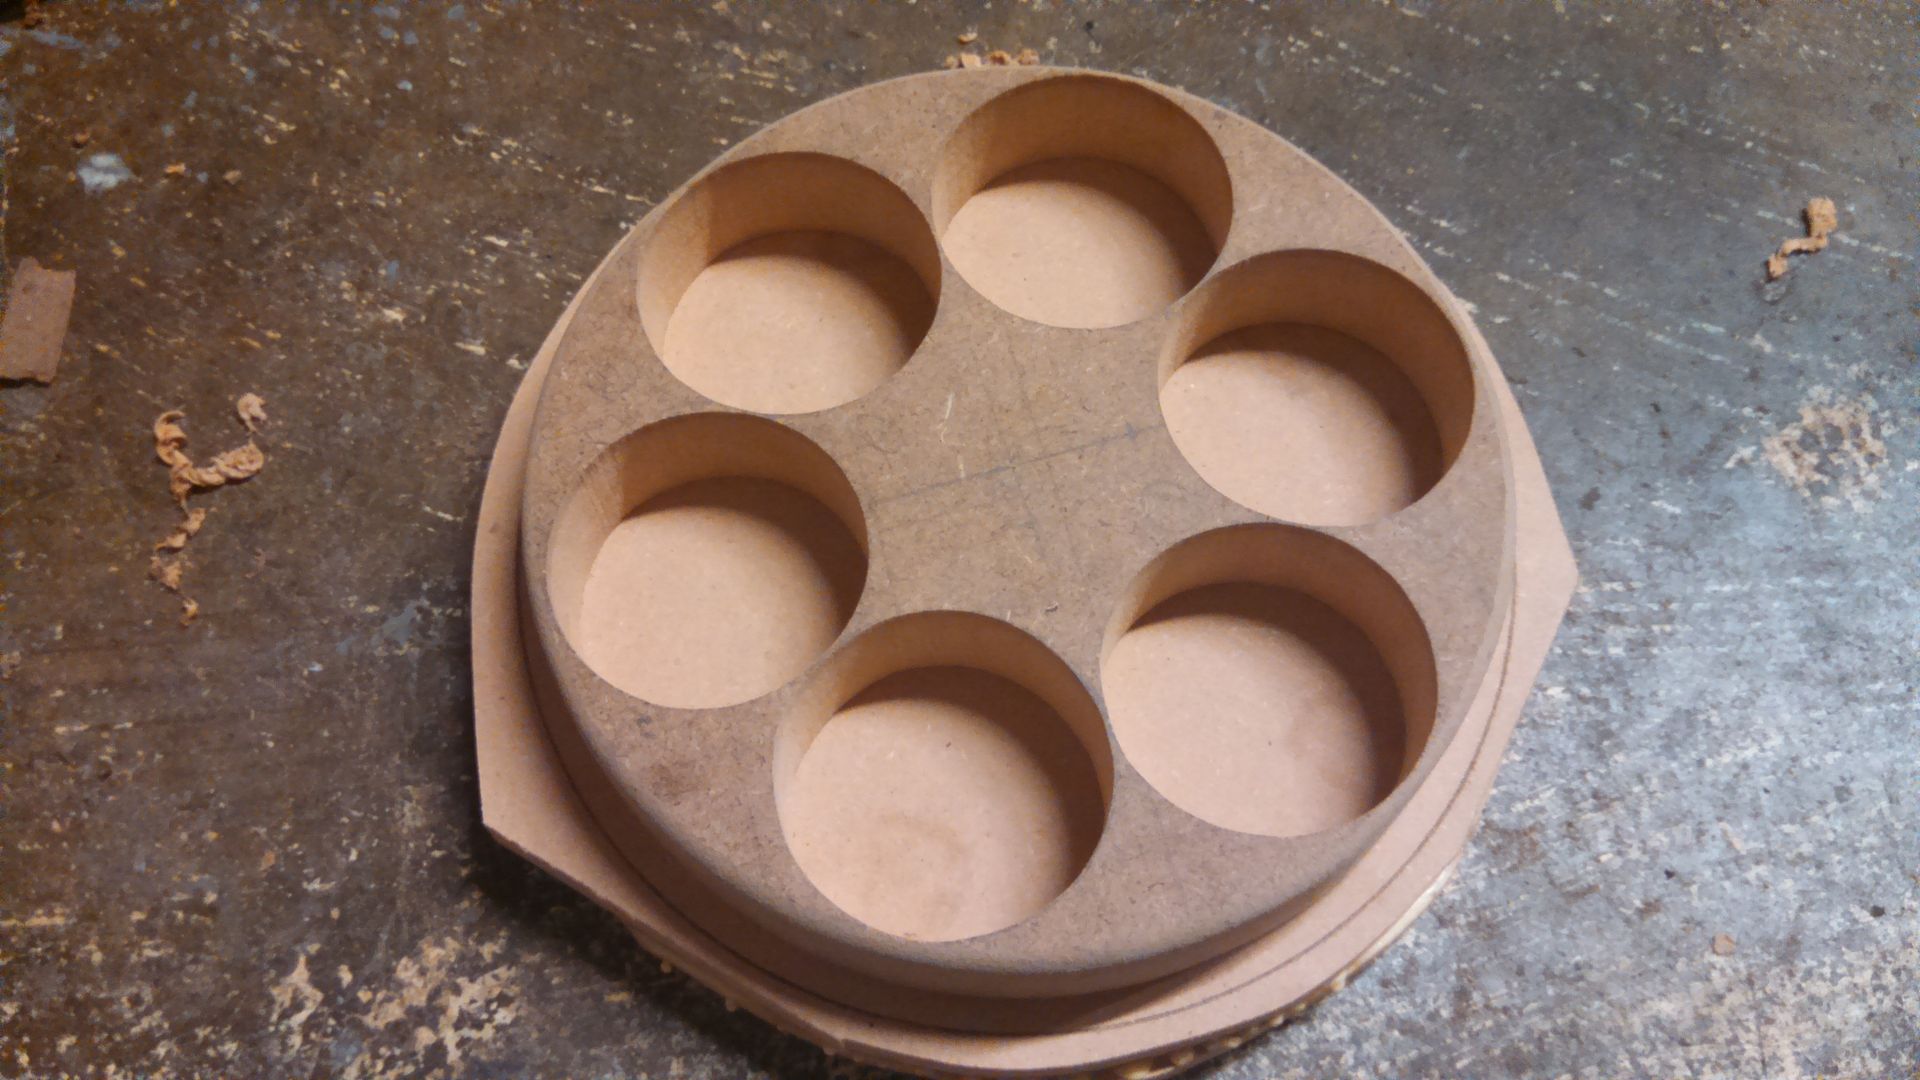
I started with the chamber and the frame that goes around it. This is the heart of the gun, and if something is slightly off, everything else will follow. I decided to get it right before trucking onwards.
This is one of the only MDF parts on the gun that isn't hollow. A you can see, there's only a hair of structure keeping the center "star" attached.
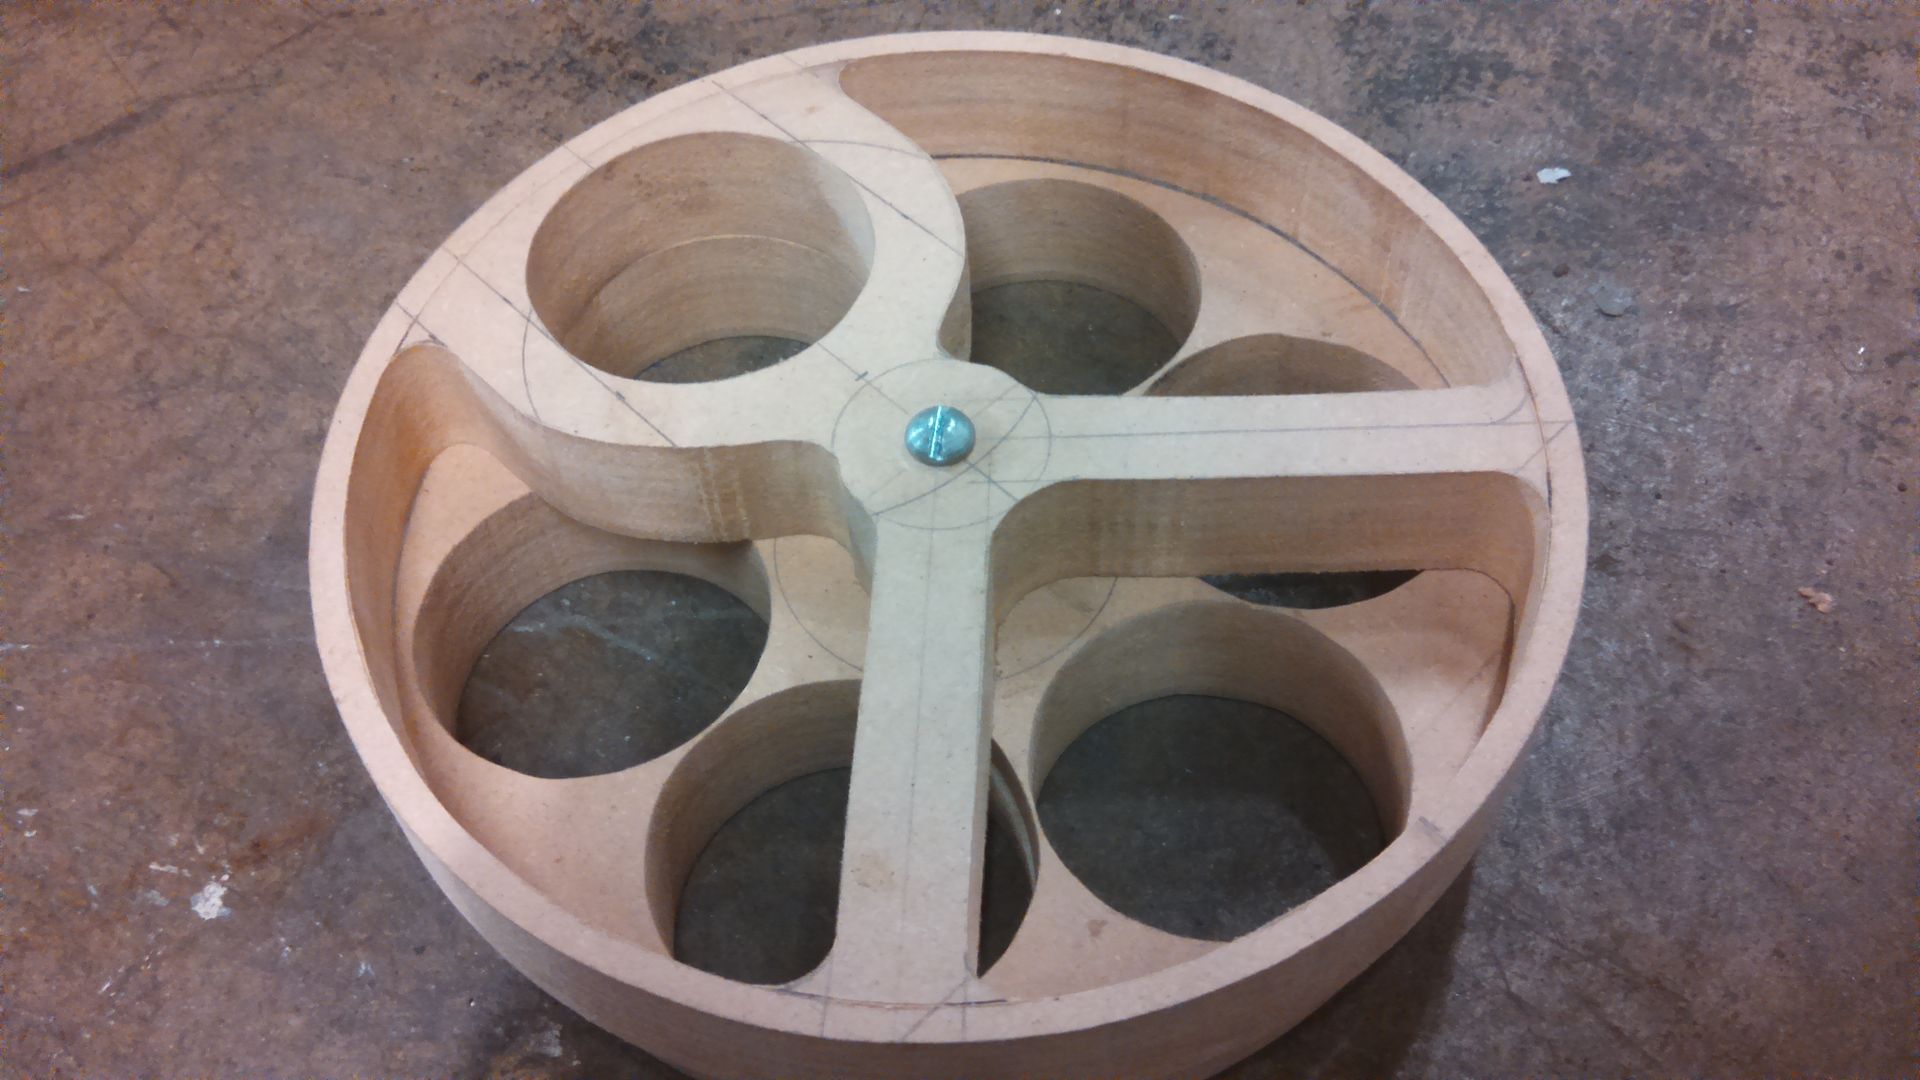
The top part is the start of the "frame" of the launcher. I left a circle as an opening to line up with the chamber, and left two stems of support. The edges are relatively thin, but it saves a ton of weight.
This, of course, had to be covered up. Even in this layer I
eliminated any MDF that was going to be covered up with yet another layer, but also didn't
effect the structure.
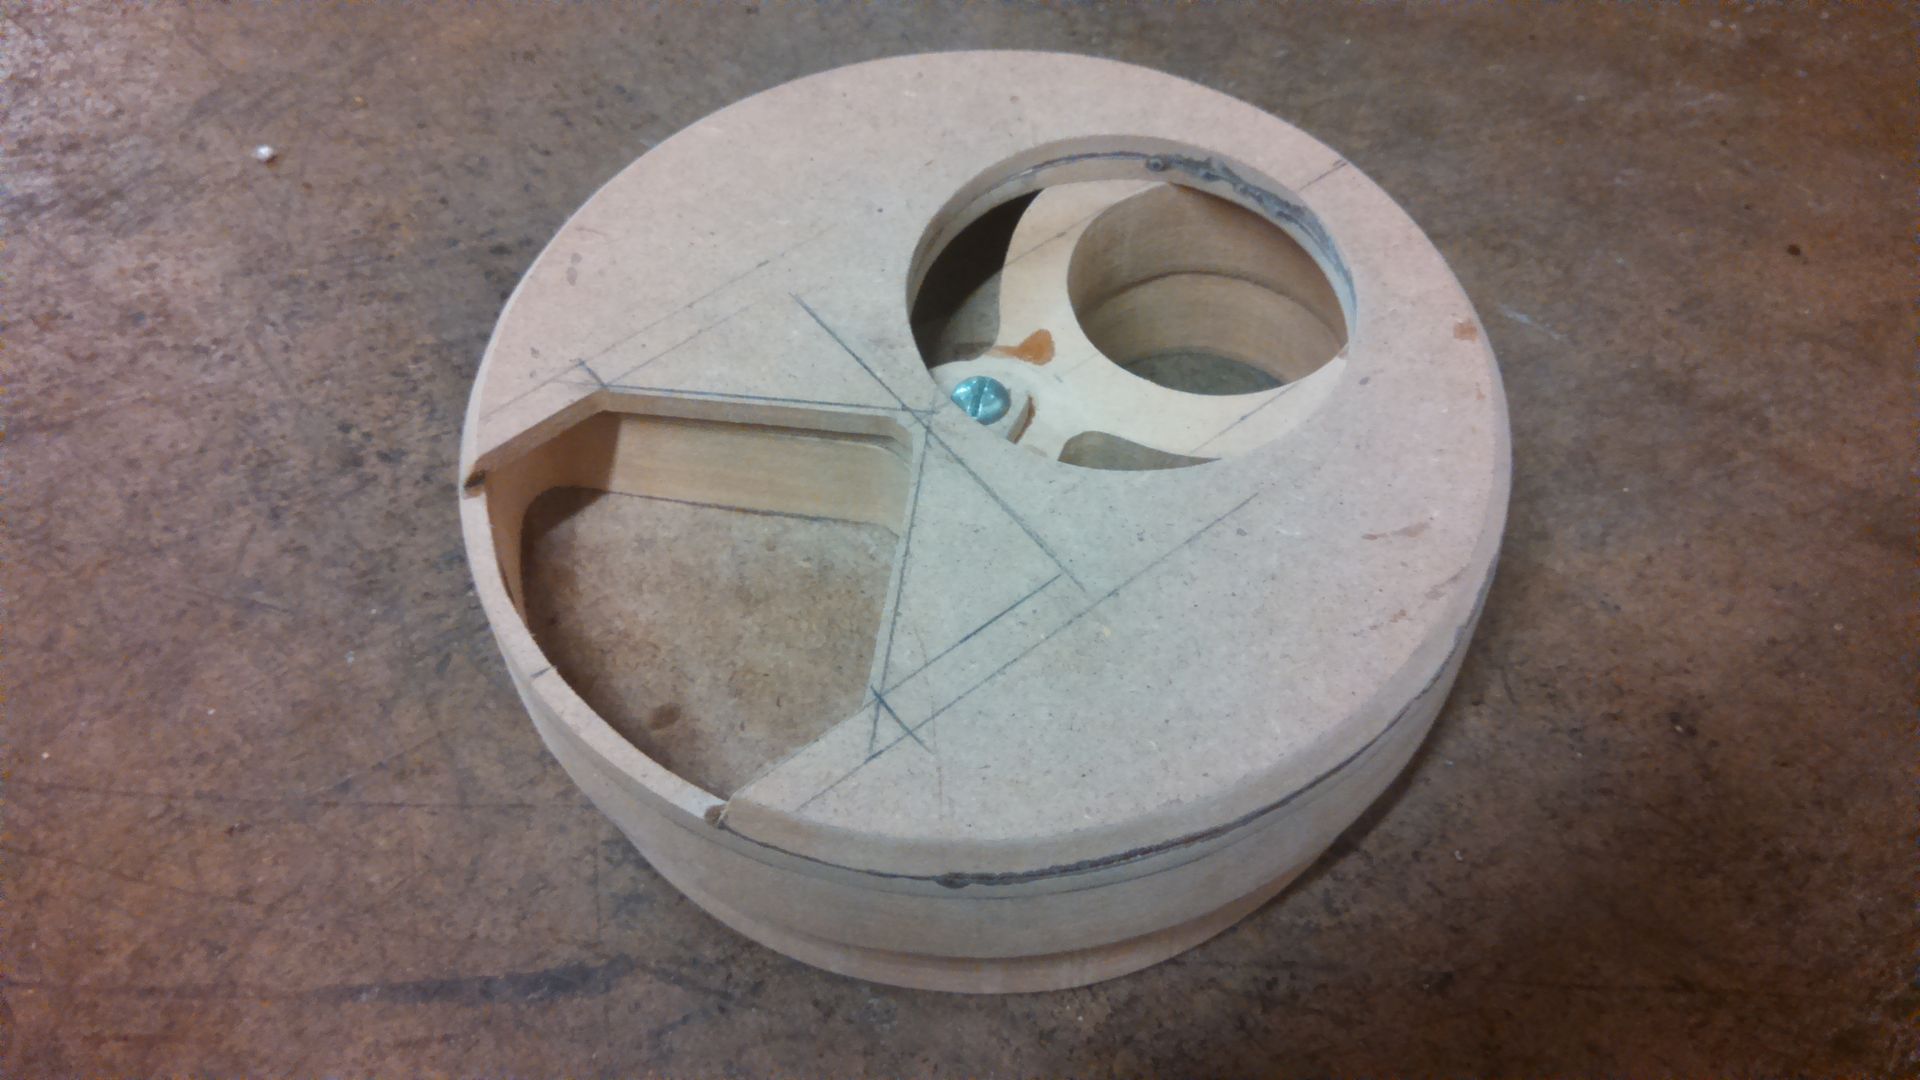
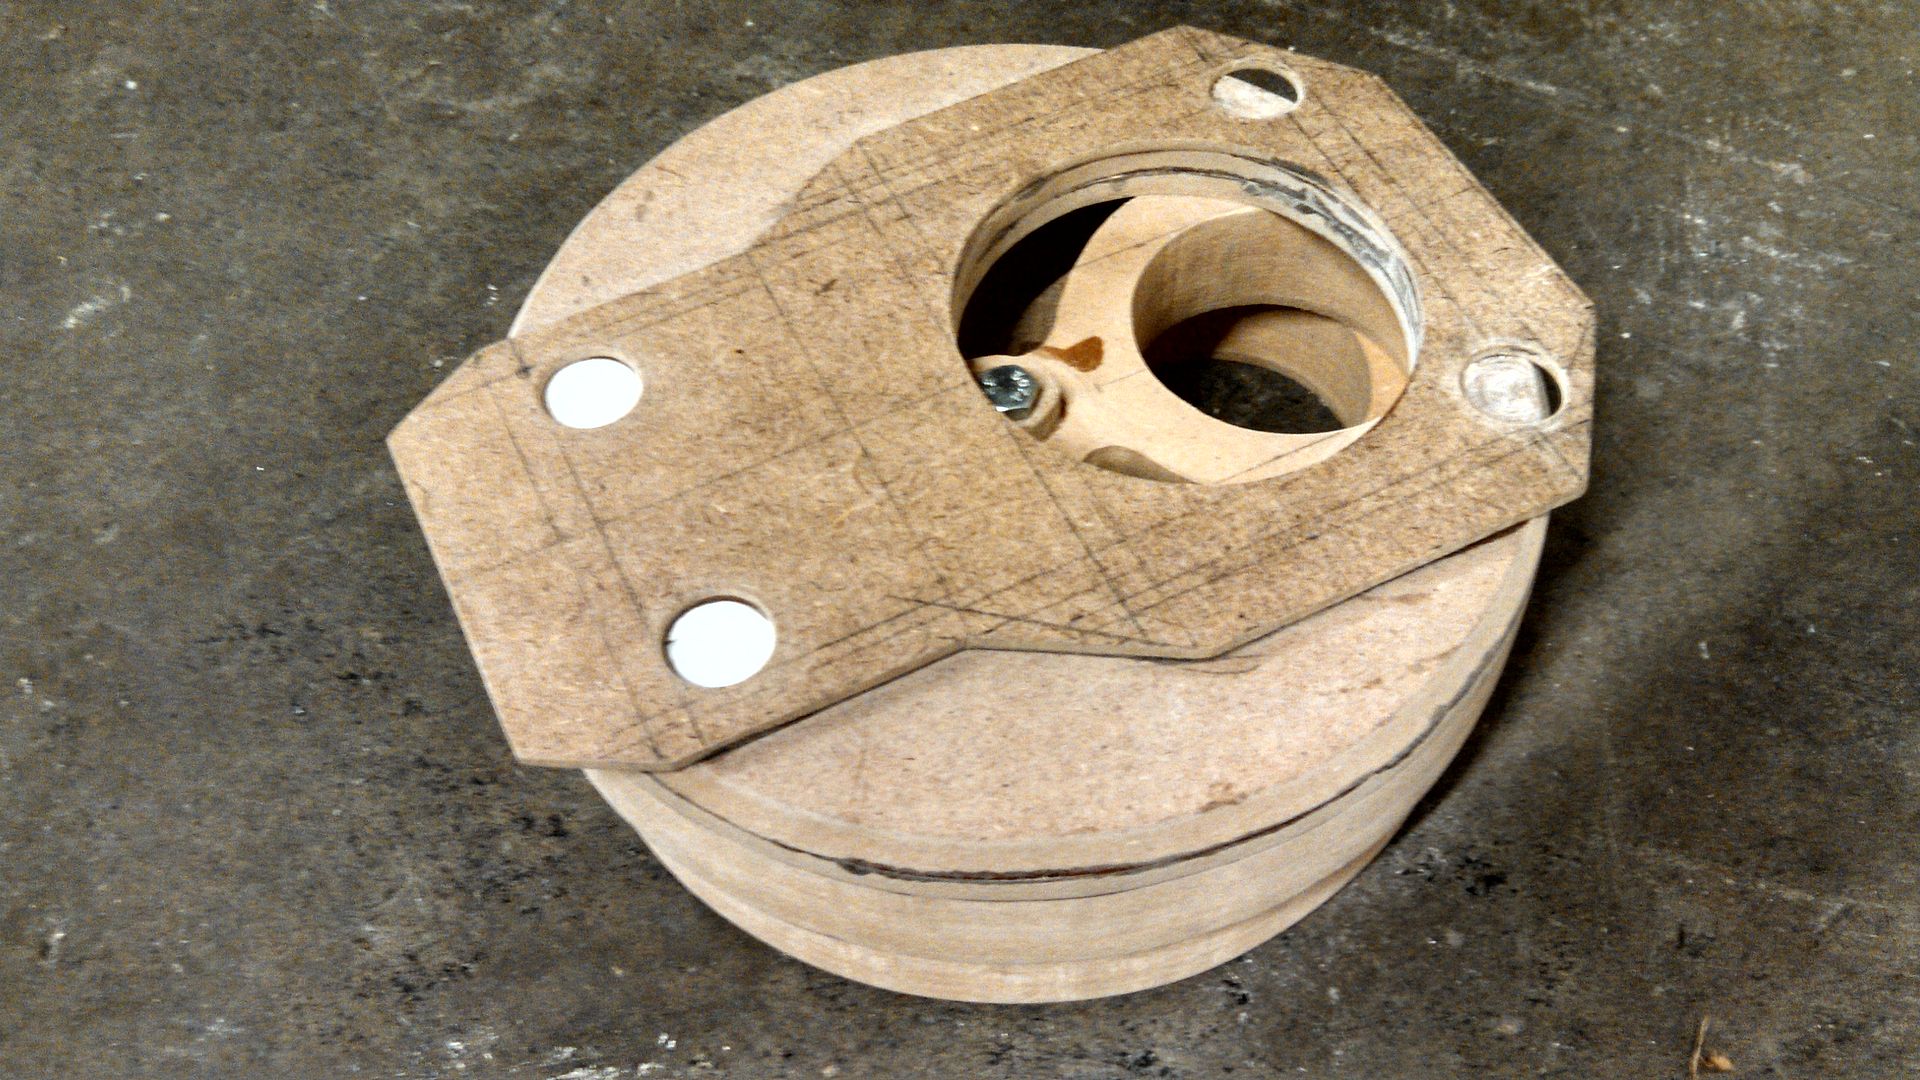
Happy with how everything fit so far, I started gluing the tubes in the revolving drum bit.
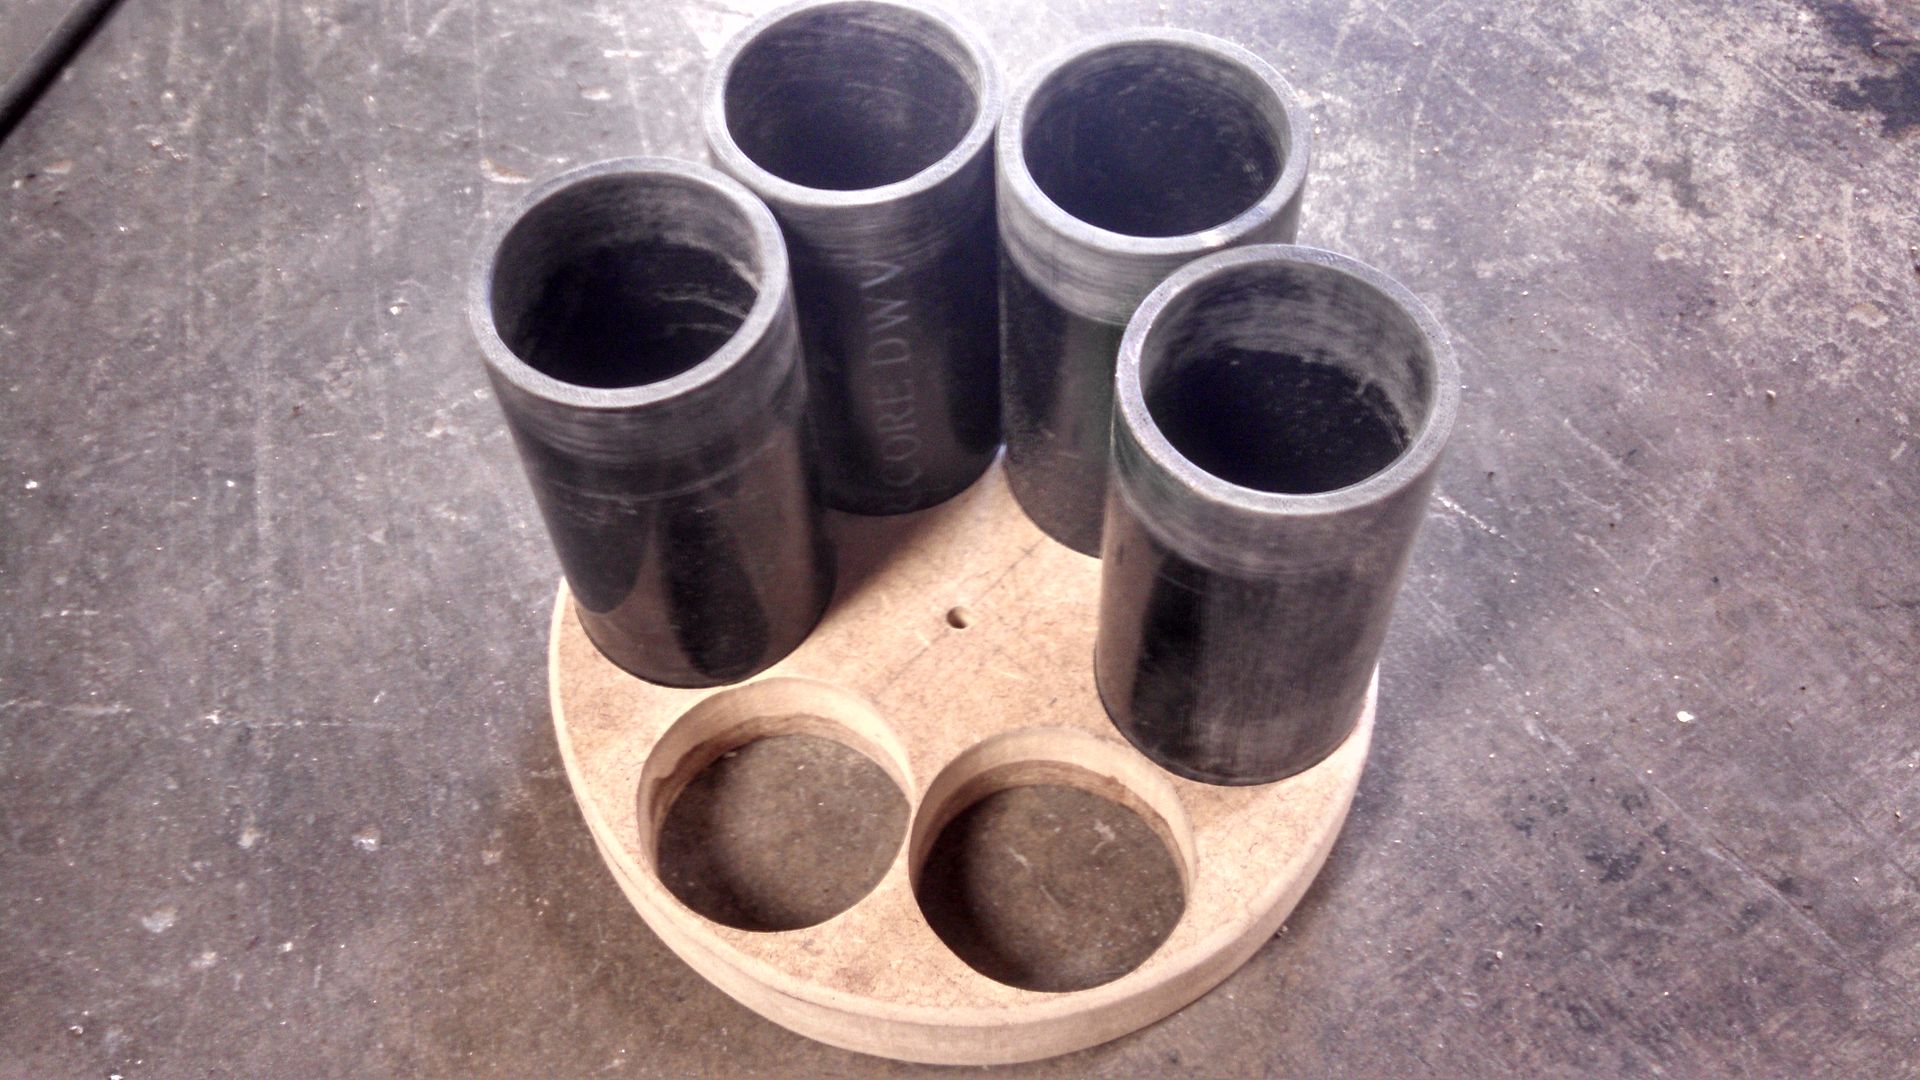
Dry fitting the barrel to see how everything lines up, as well as creating a parallel reference for the upper support arm pictured below.

Did the front sight and took a teaser picture.
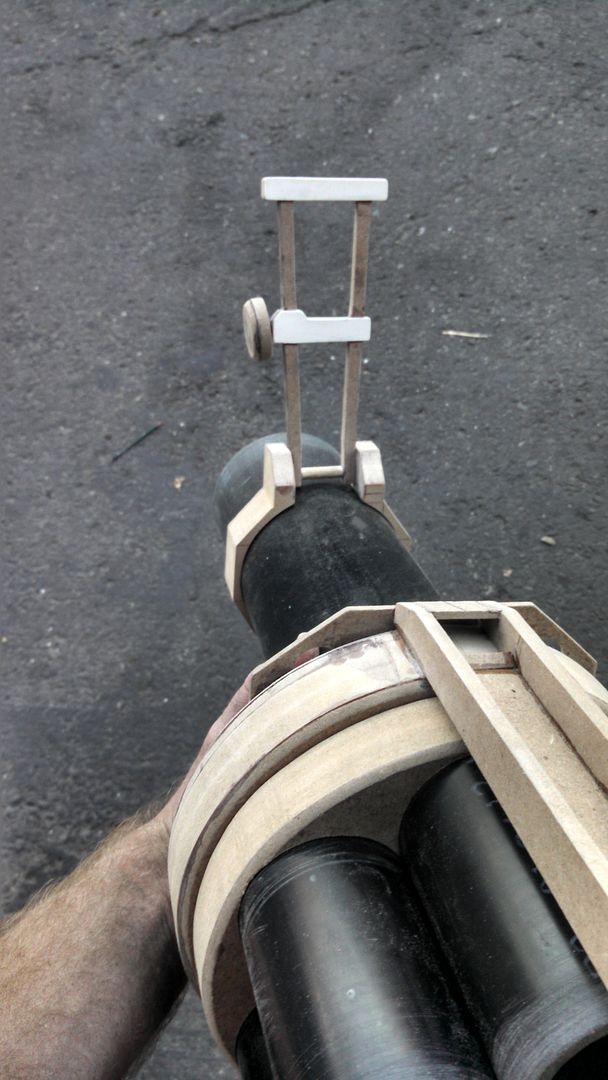
I don't have any non-blurry pictures of the lower support arm. So here's this. It too, was hollow and took about 8 parts to make. I could have done this on a few layers of MDF but it would have been heavier. Every bit helps!
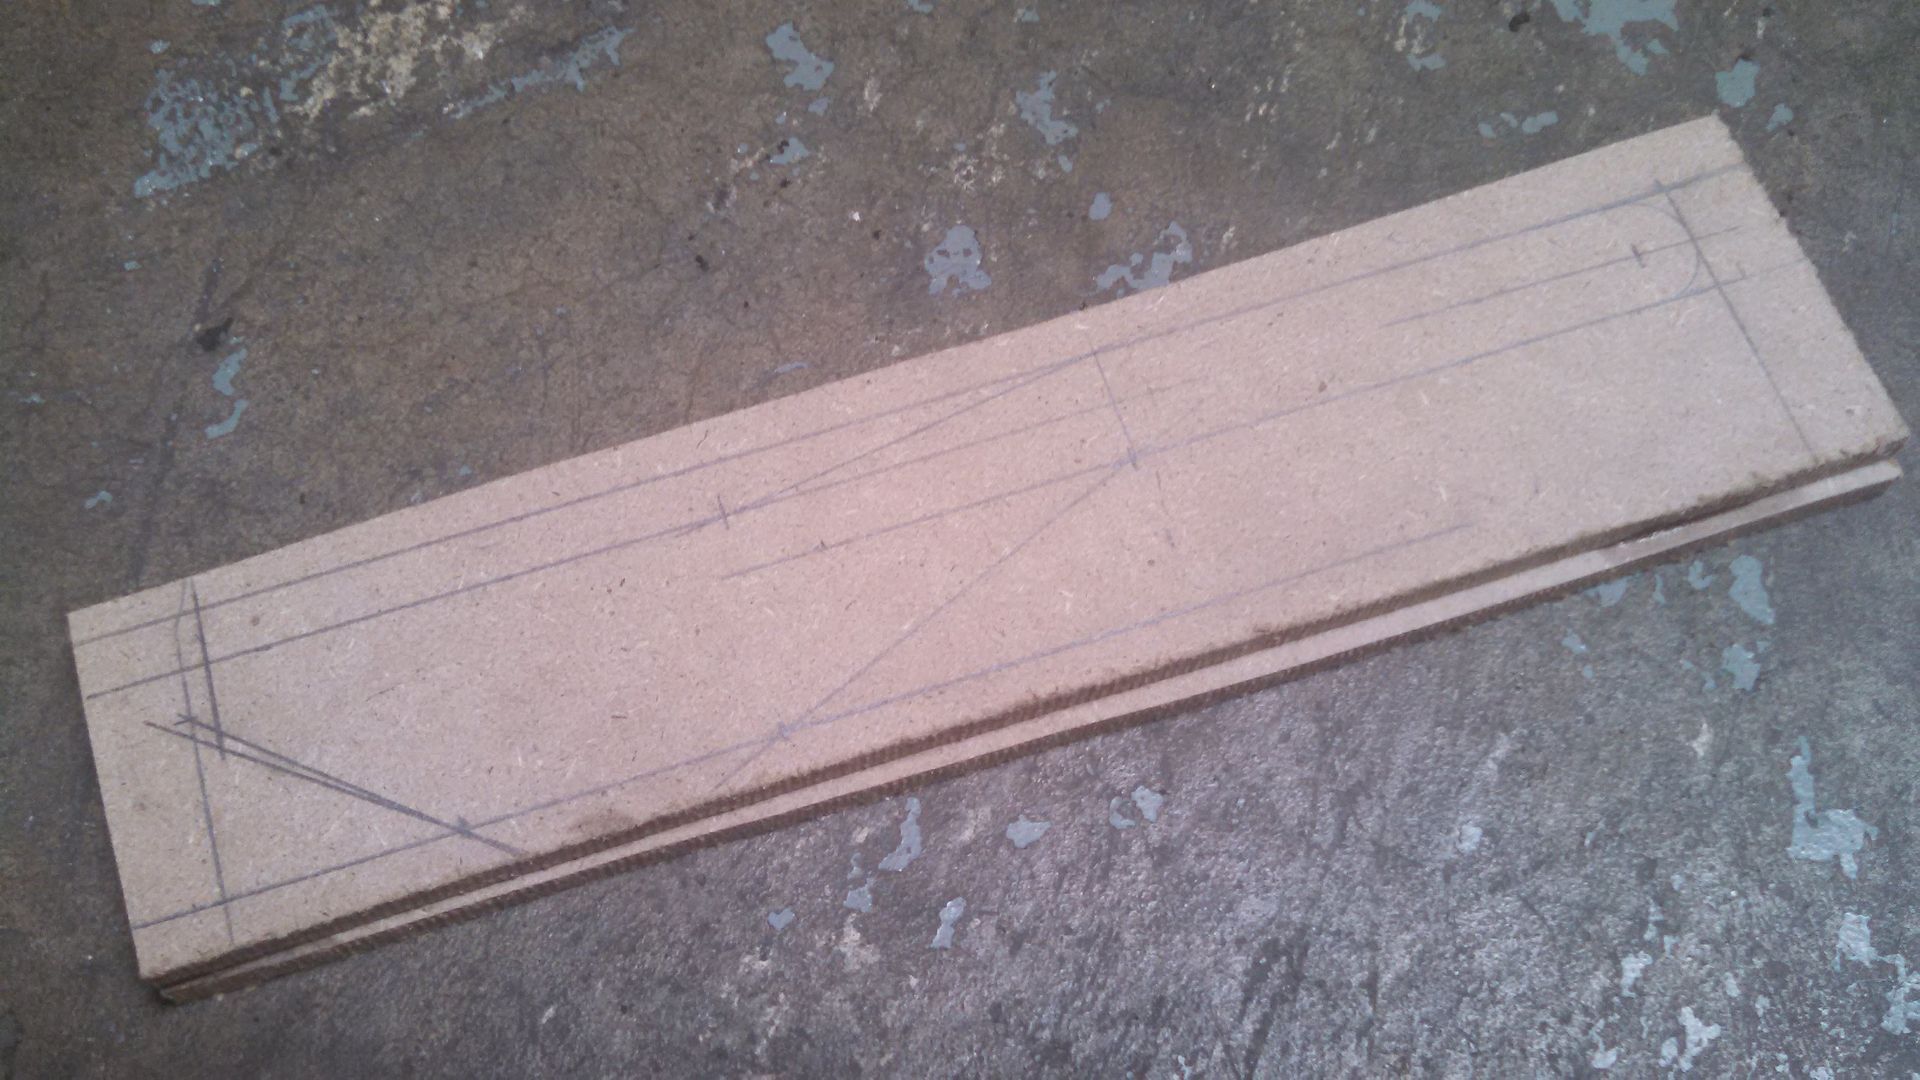
Did a quick layer of the back plate. The lower arm was off just a hair here, so this was a good place to correct it.
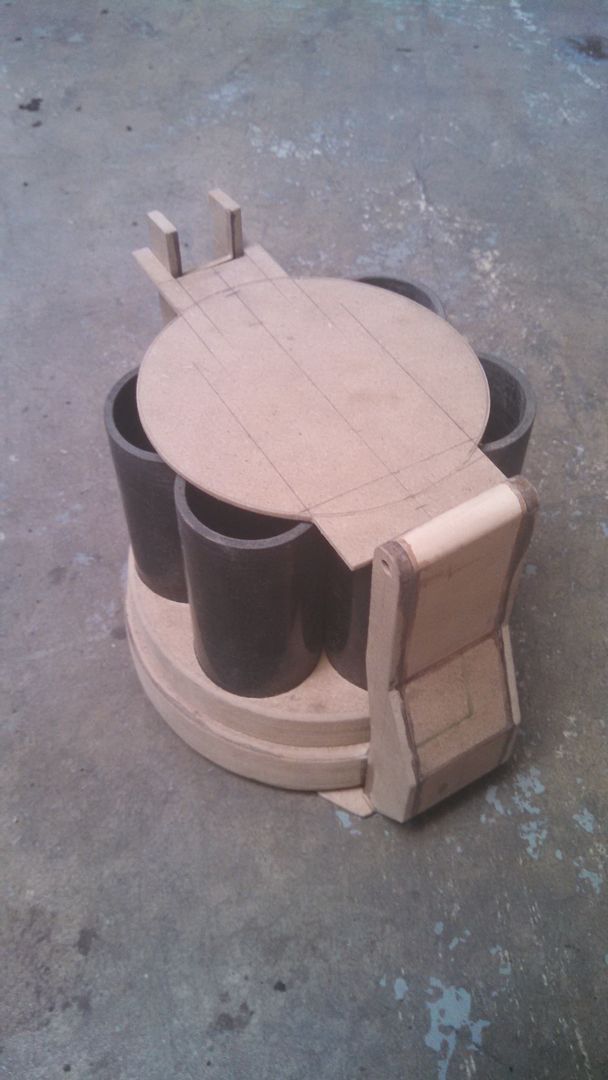
I cut out and glued the mass of the back plate to the part I just made.
Hollow as always, but I left a small support frame for the stock. Also I
left a square area for a mechanism that I knew I'd have to retrofit in
there eventually.

Moving right along!
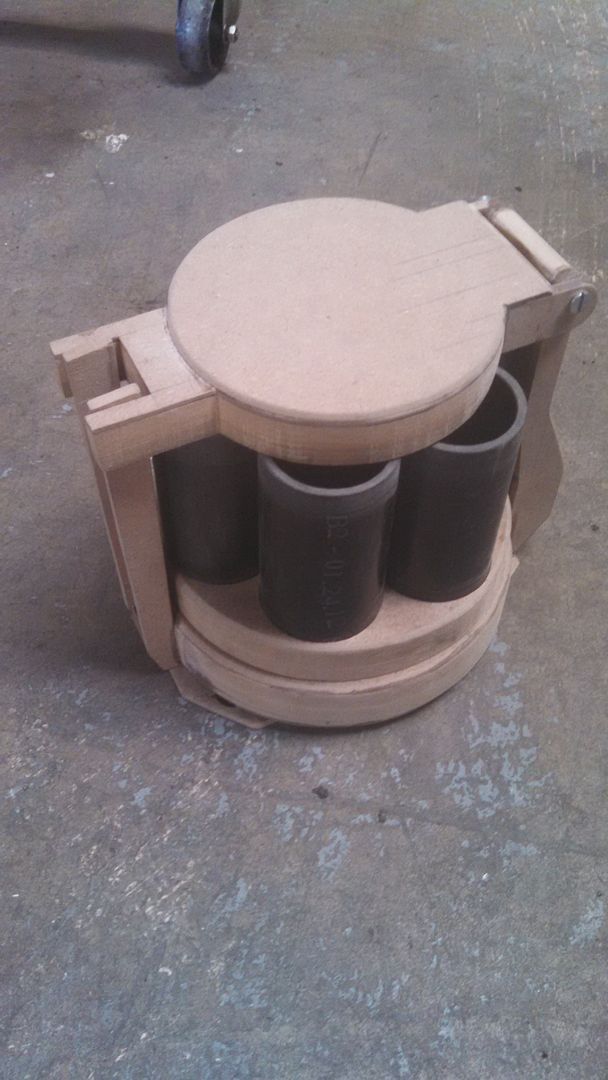
The stock had to be made next so that the trigger, mechanism, and
trim pieces could be made based on measurements taken from the outlines
of the stock. This is what I started with:

*Correction* This is what I started with: (Shaved a pound just by taking this simple, extra step.)
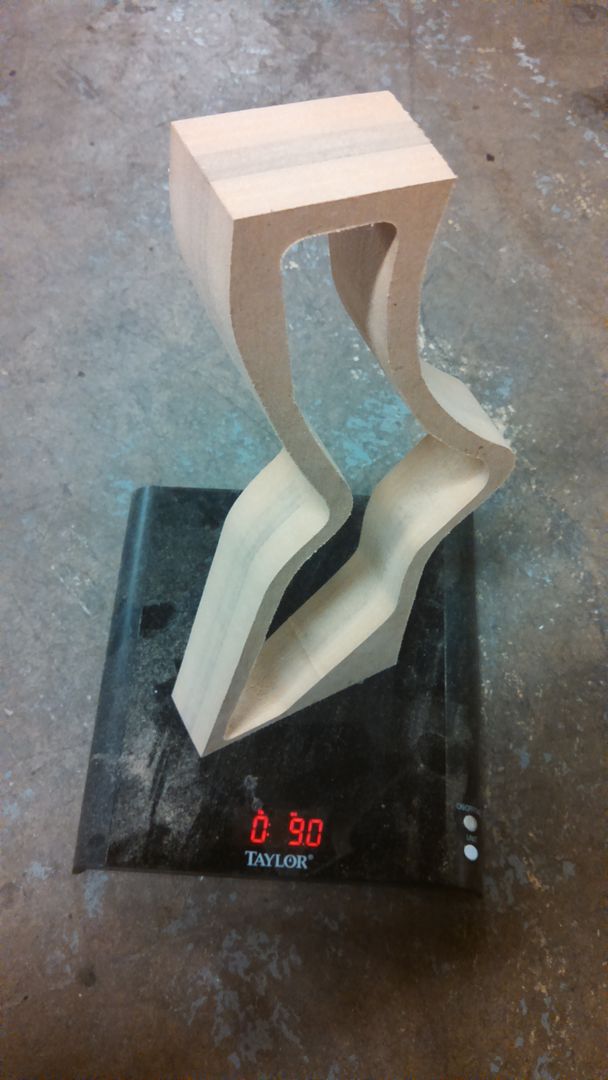
I might have forgotten to take more pictures of the stock progression..
Anyways, heres the basics of the stock mechanism shamelessly stolen from
a similar build by TLL Creations. I refined the idea a little bit and it works great!
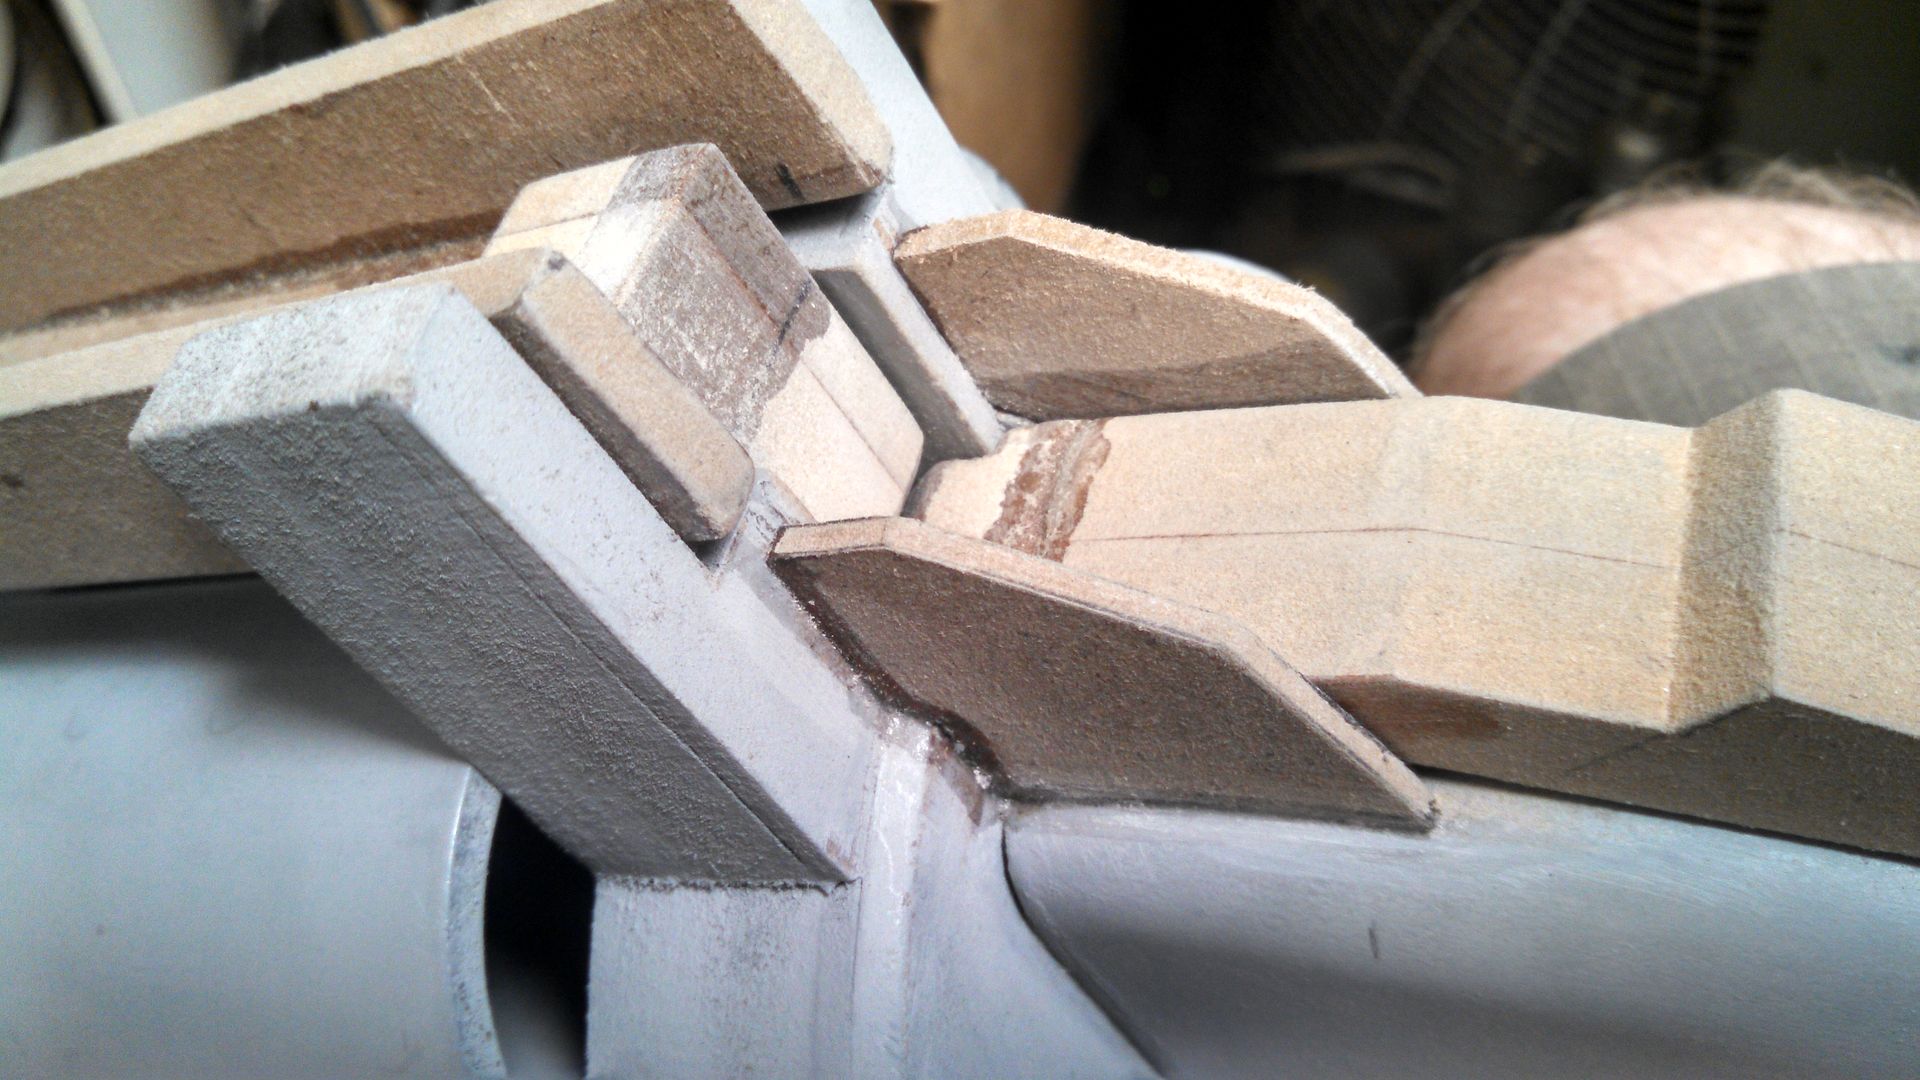
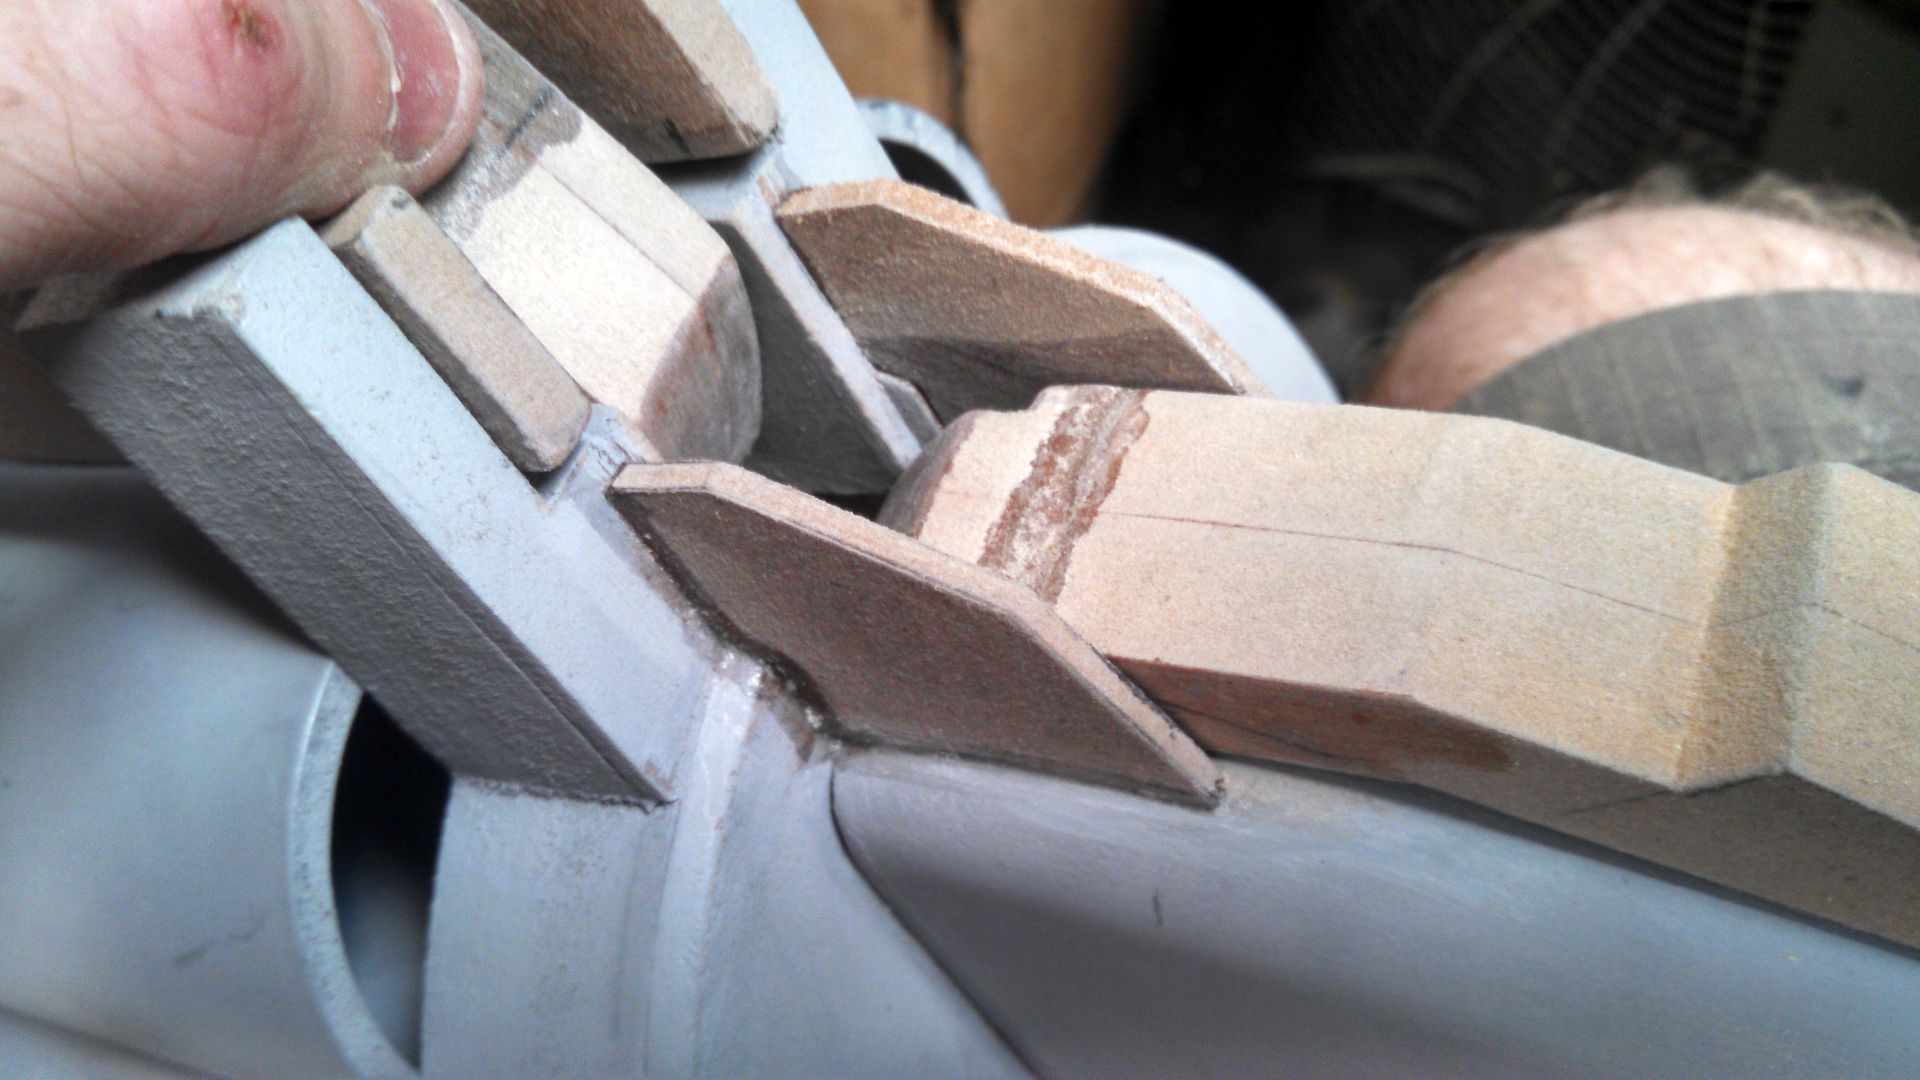
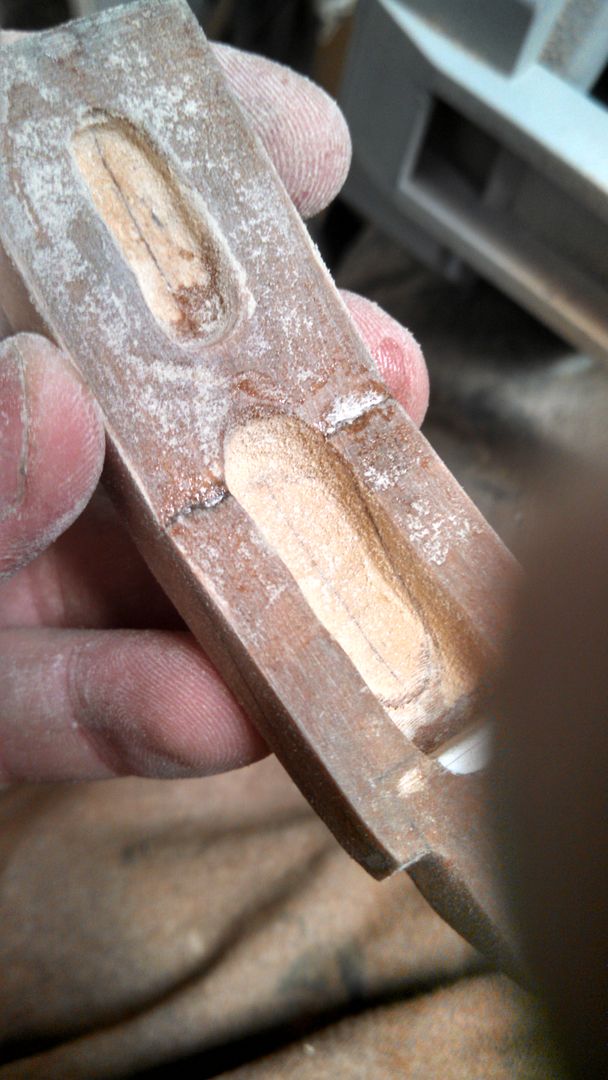
This is the underside of the release lever. The deeper notch is for a spring, and the shallow notch is for a stop.
Happy with everything, I sealed up the mechanism.
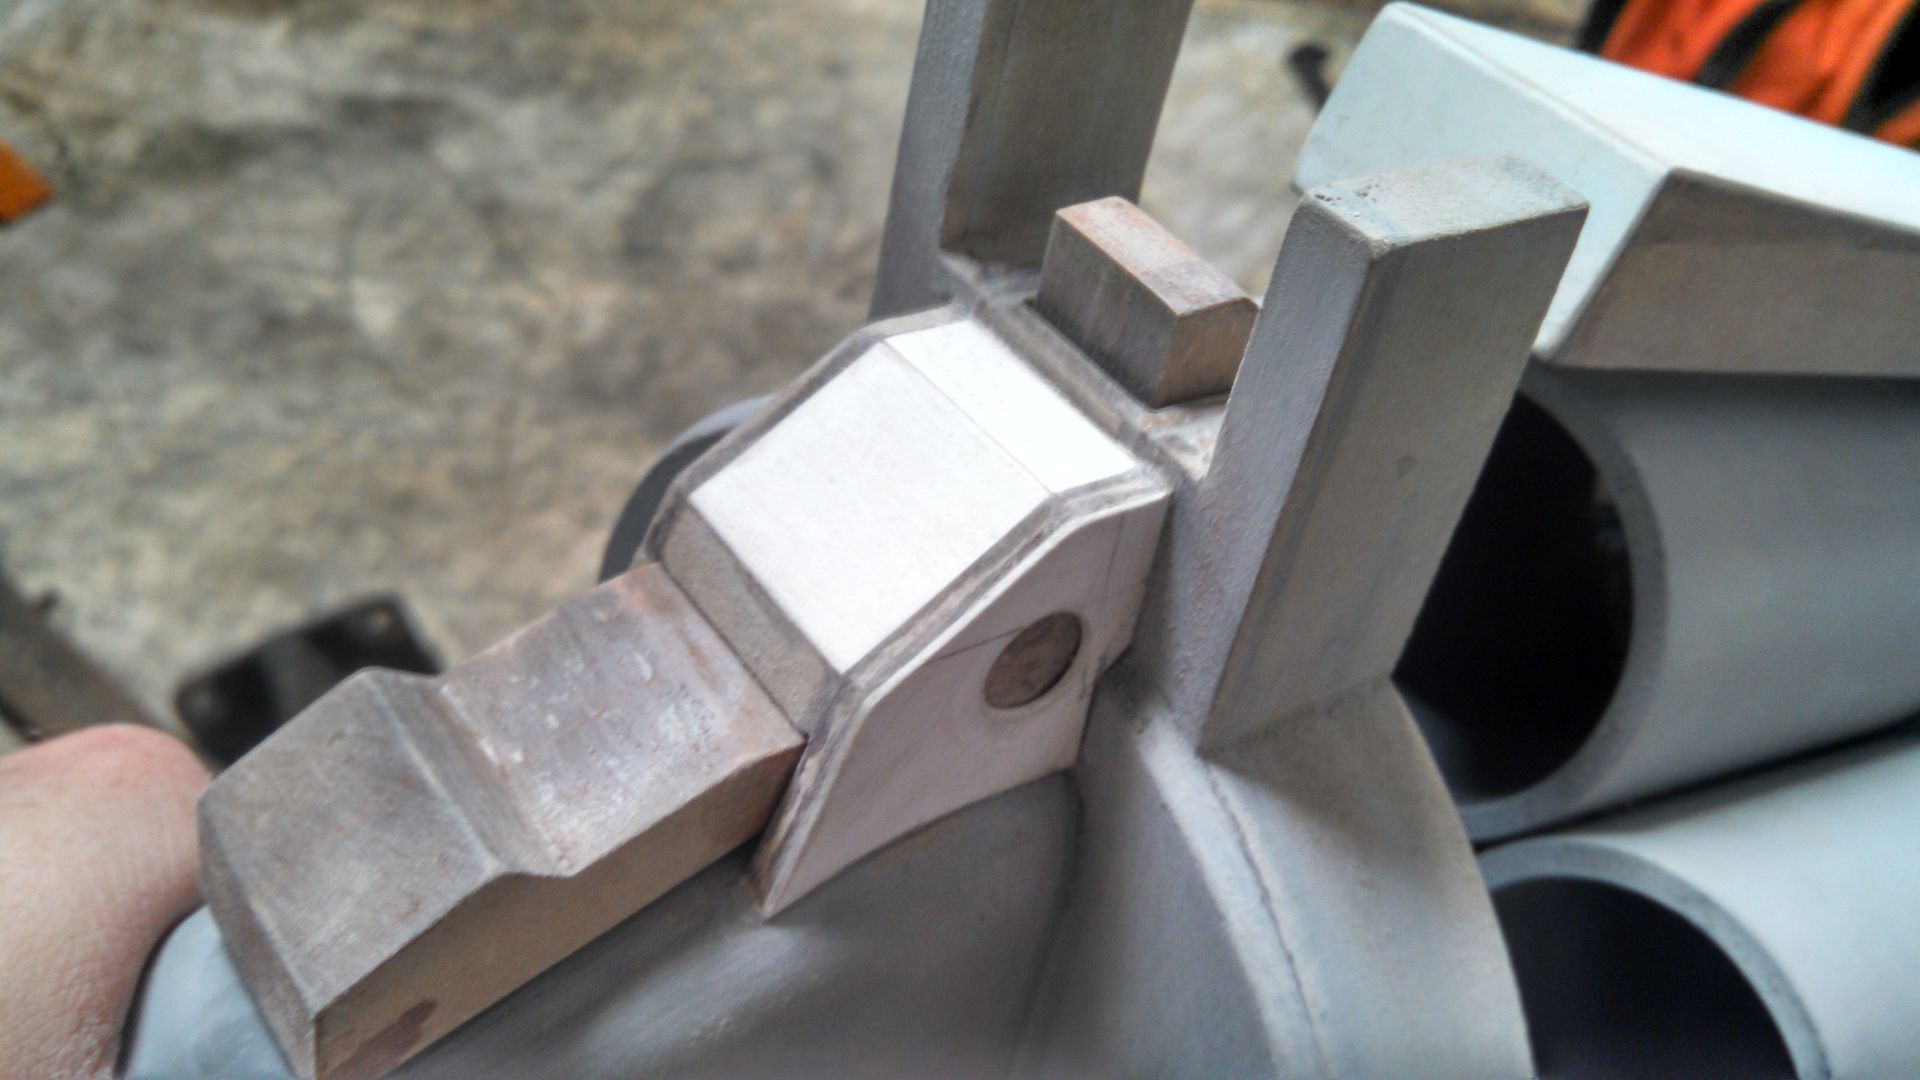
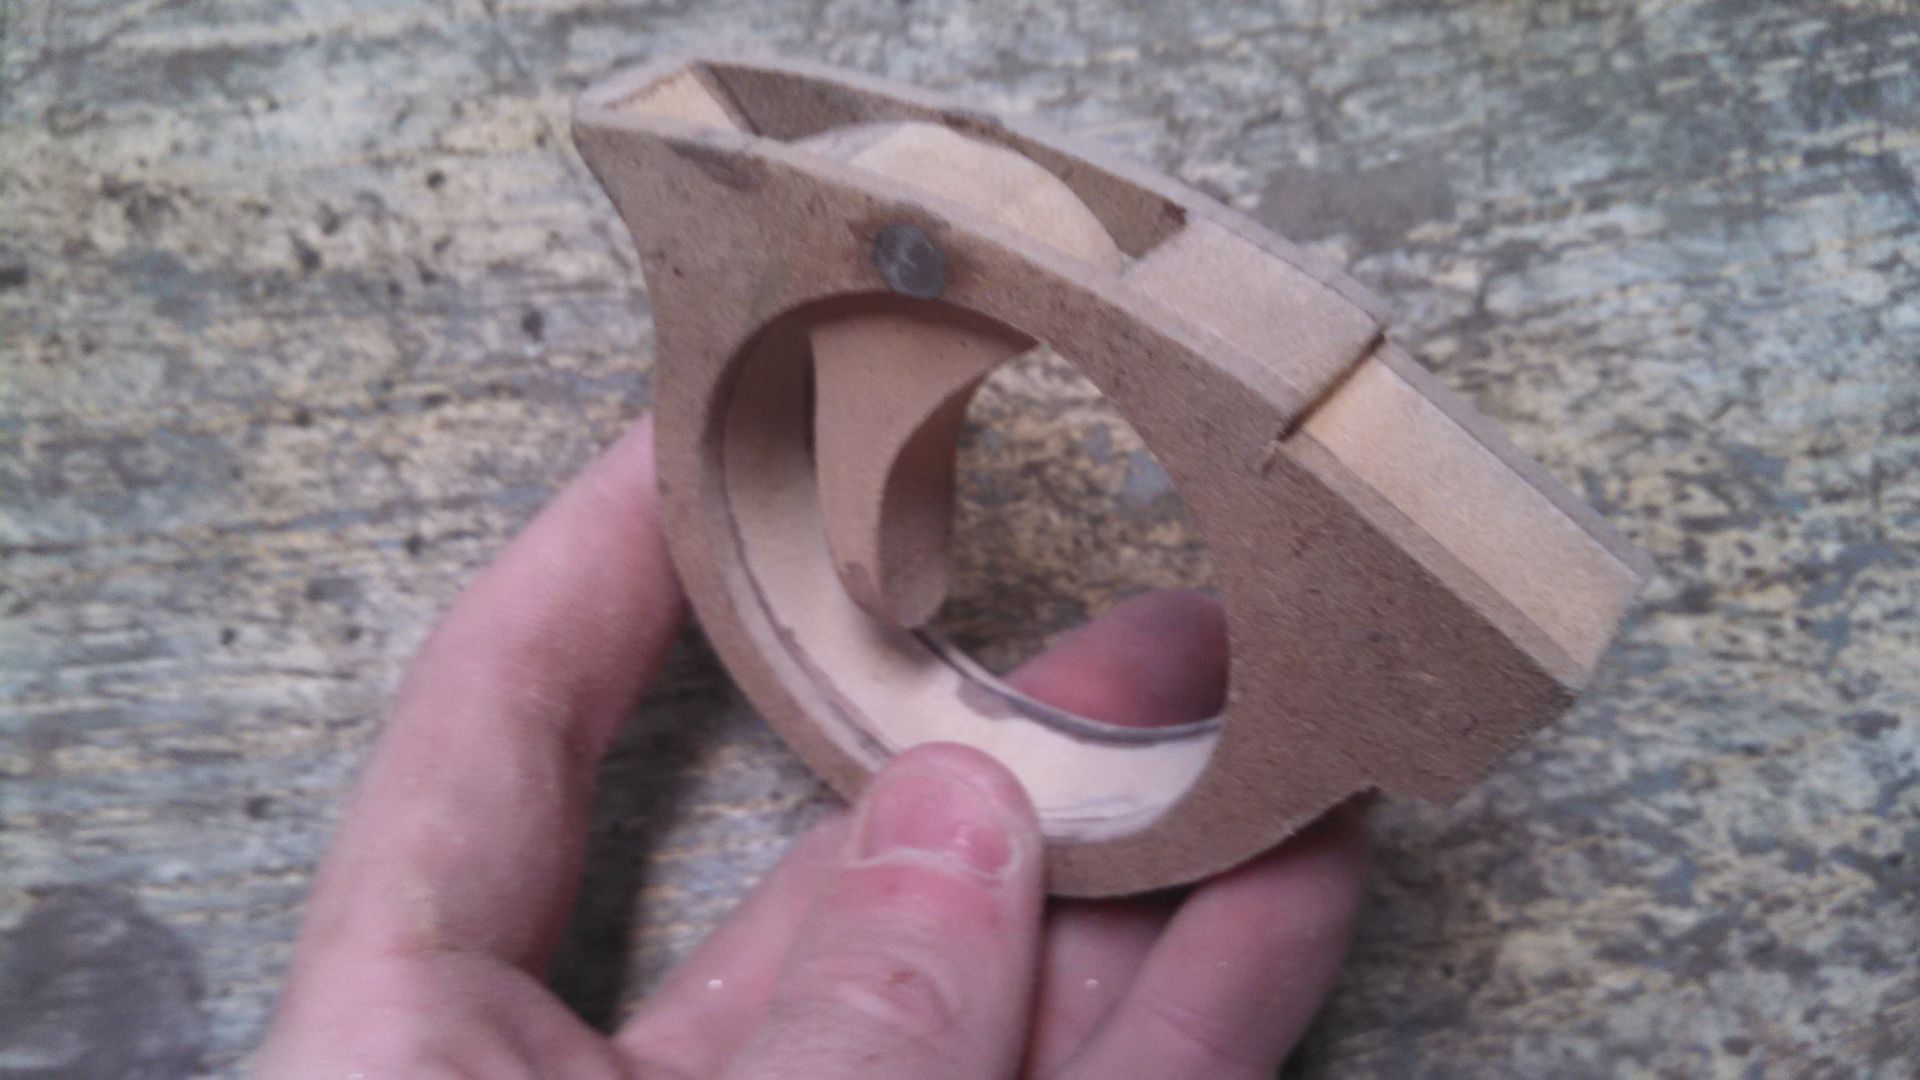
The frame for the trigger was made, of course with some room left to make the trigger move.

Trigger made and Pinned. A spring was inserted between the rear of the trigger and a corresponding hole drilled into the stock.
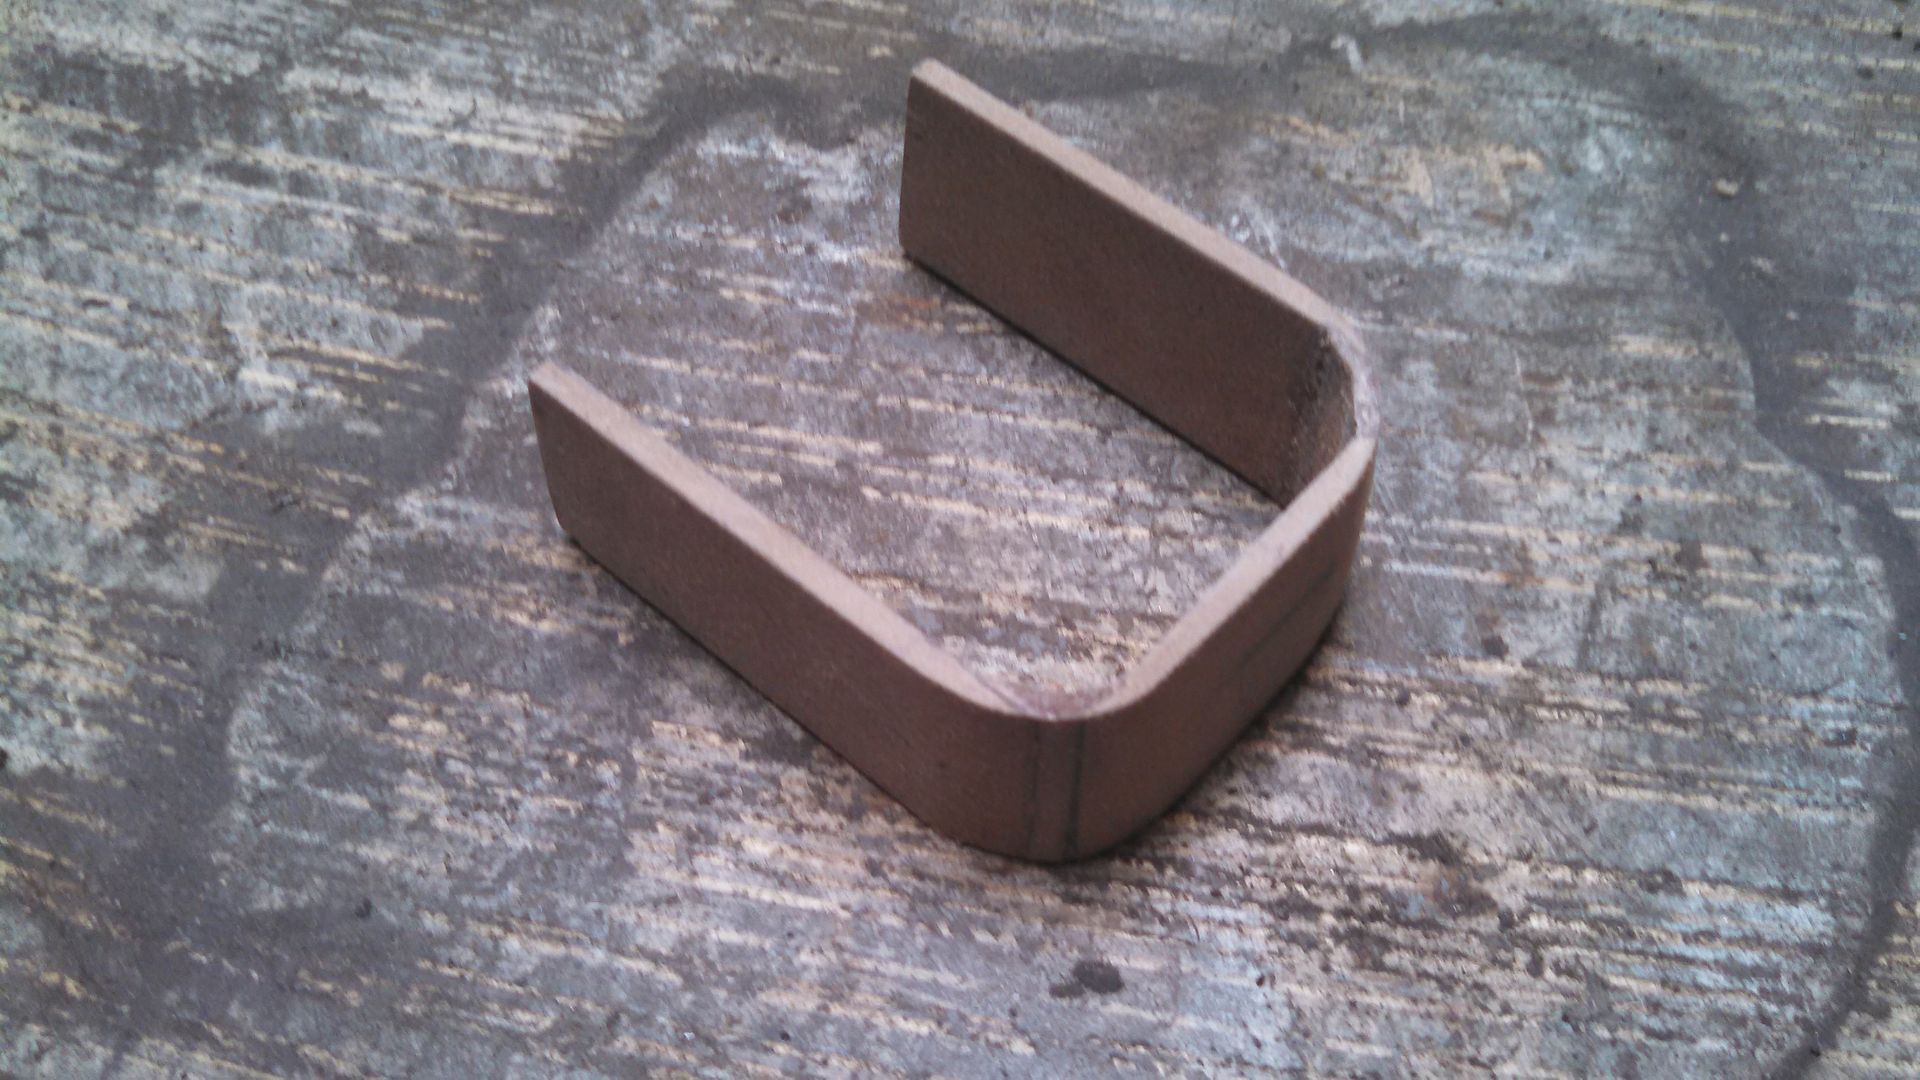
This is the cuff that goes around the stock where it meets the back
plate. It was shaped using some....unusual....methods in a successful
attempt to avoid filler.
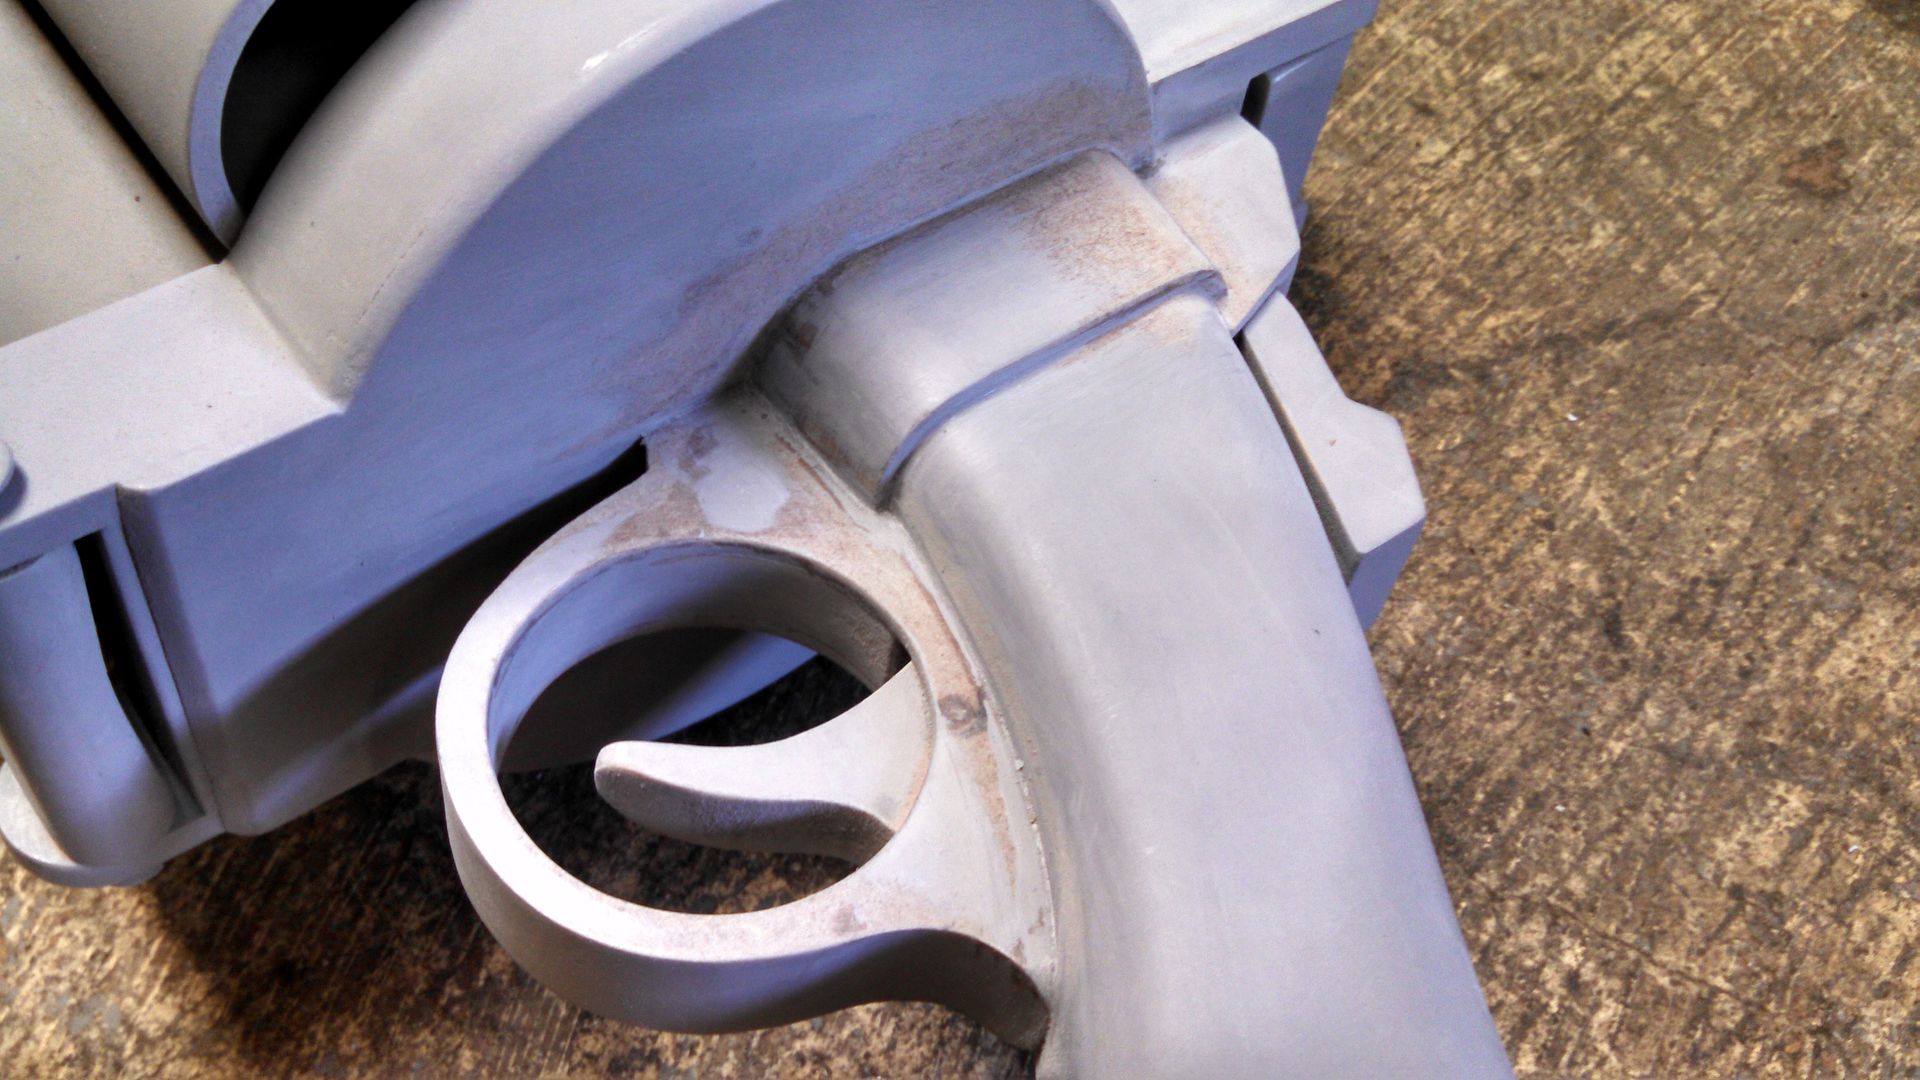
Coming together. #Prime #Sand #Repeat
Time to revisit the front end. To panel everything on the front, I made a
series of MDF supports to be covered in styrene. That means that yes, even
these parts are hollow. Gotta save that weight!
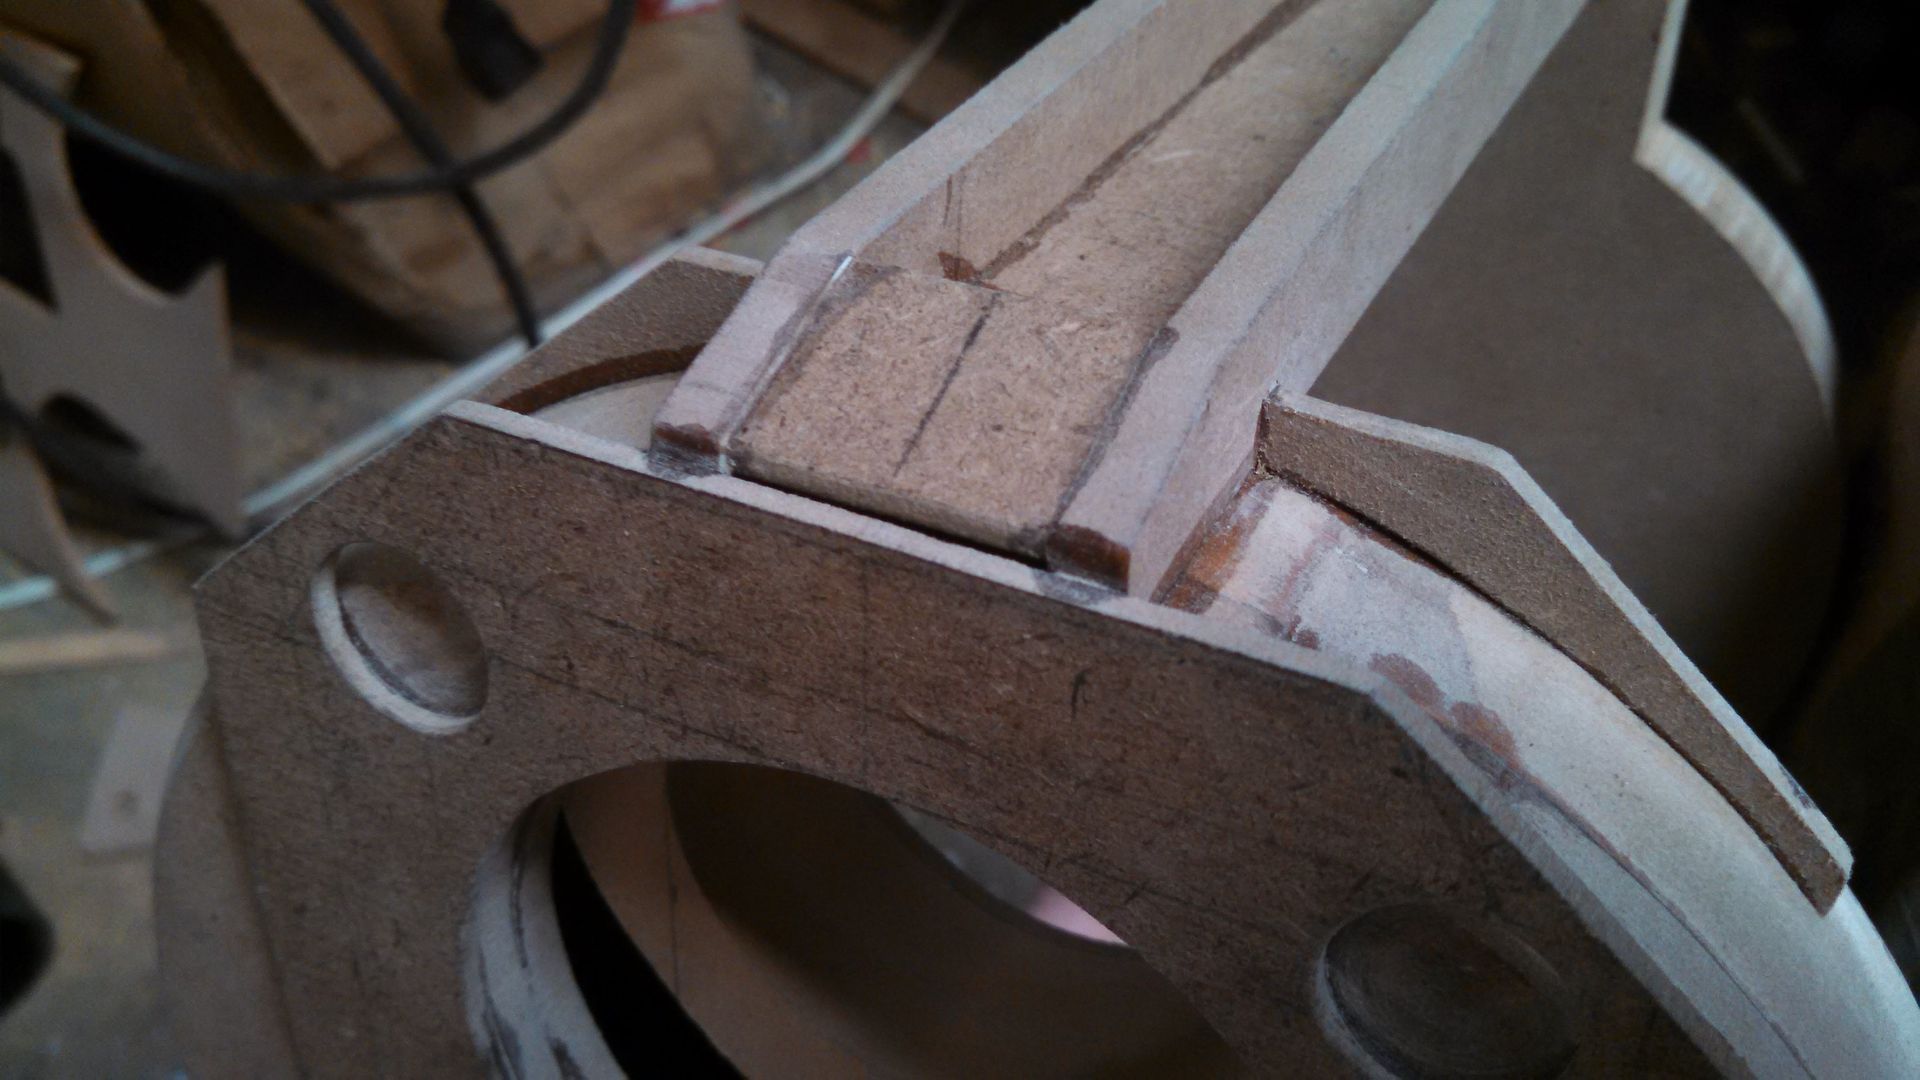
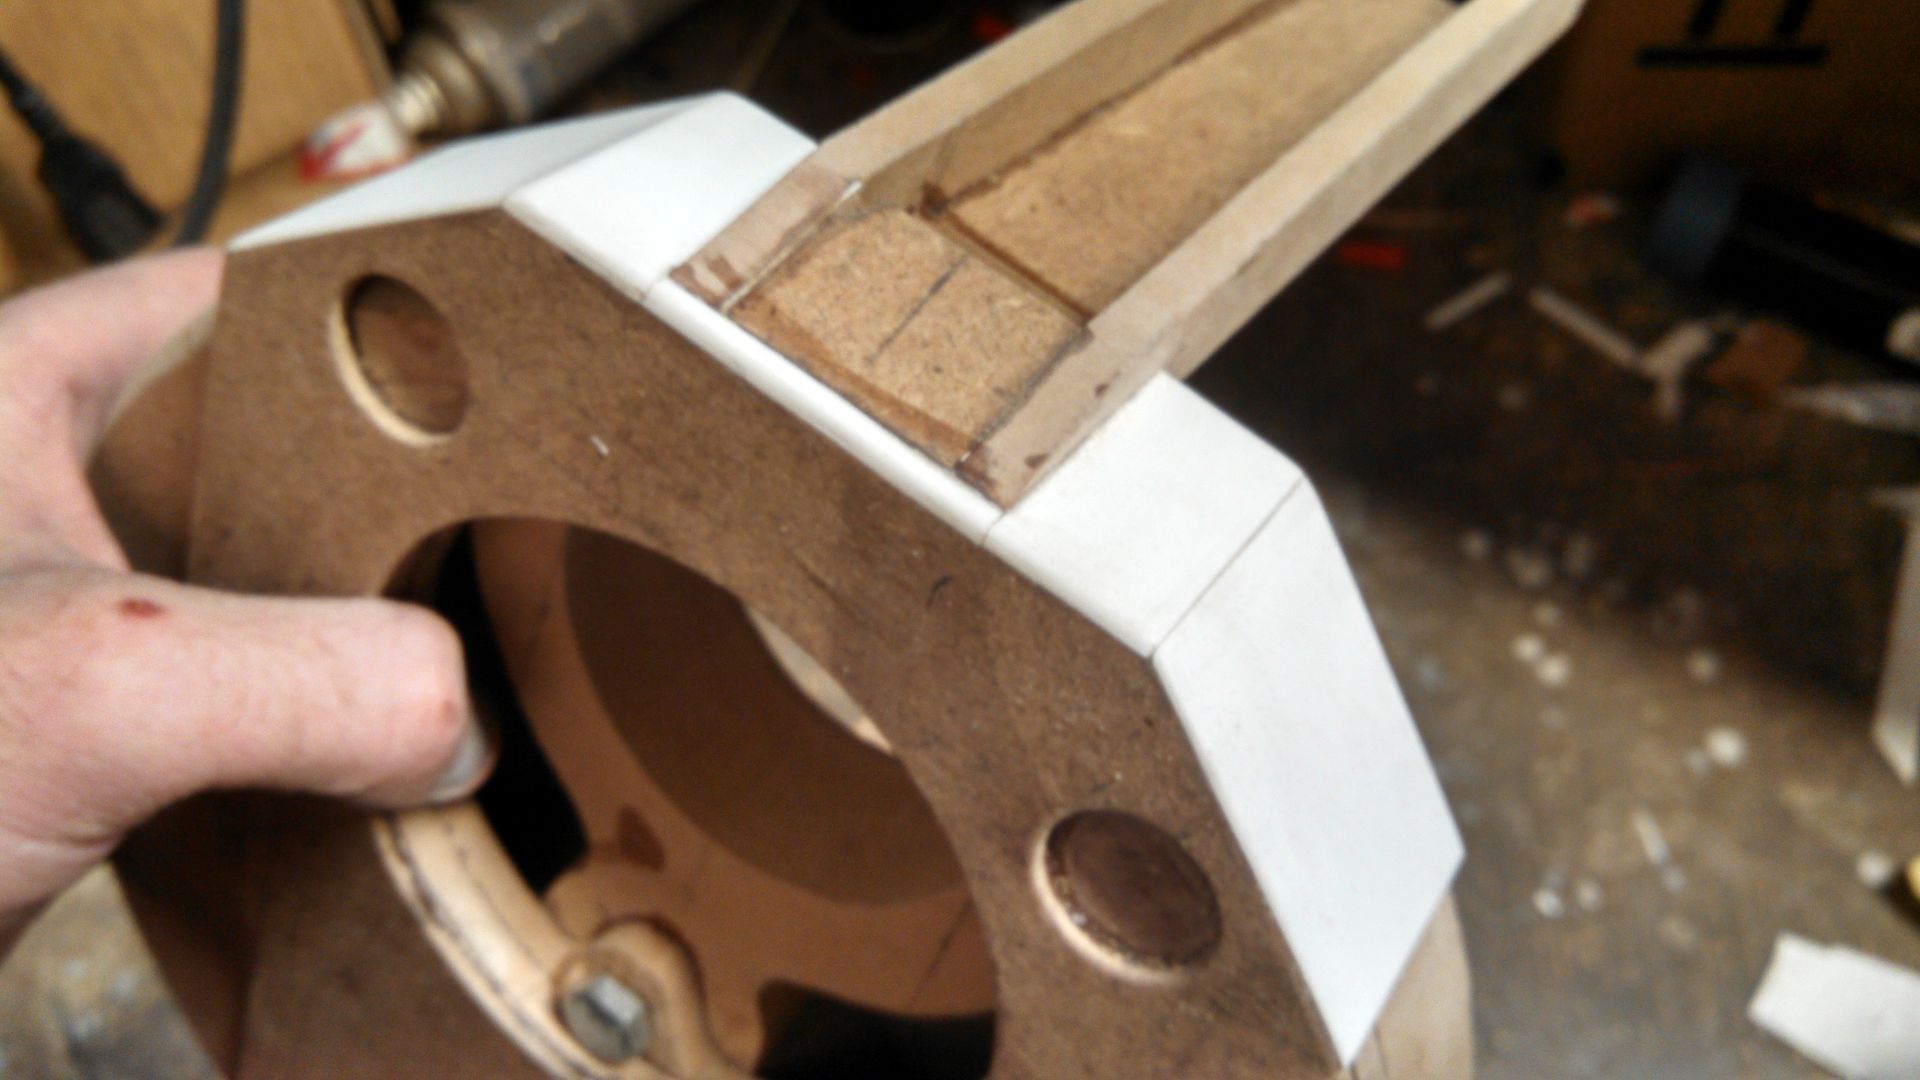
Same story with the bottom.
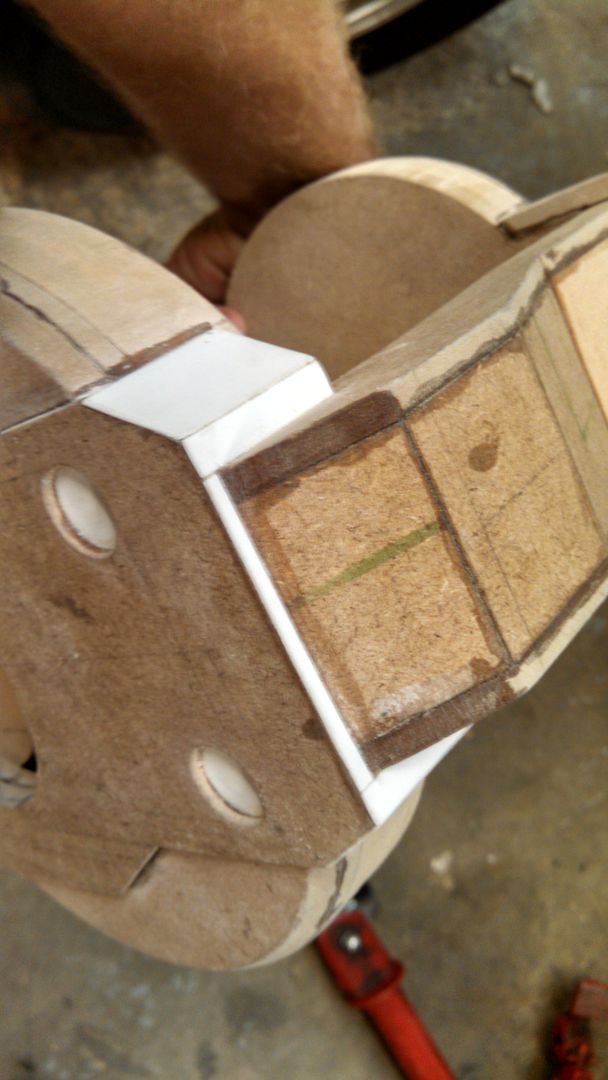
The foregrip was made hollow by calculating all of the angles in which a bunch of 1/2" pieces of MDF need to meet at. The rest was just simple sanding.
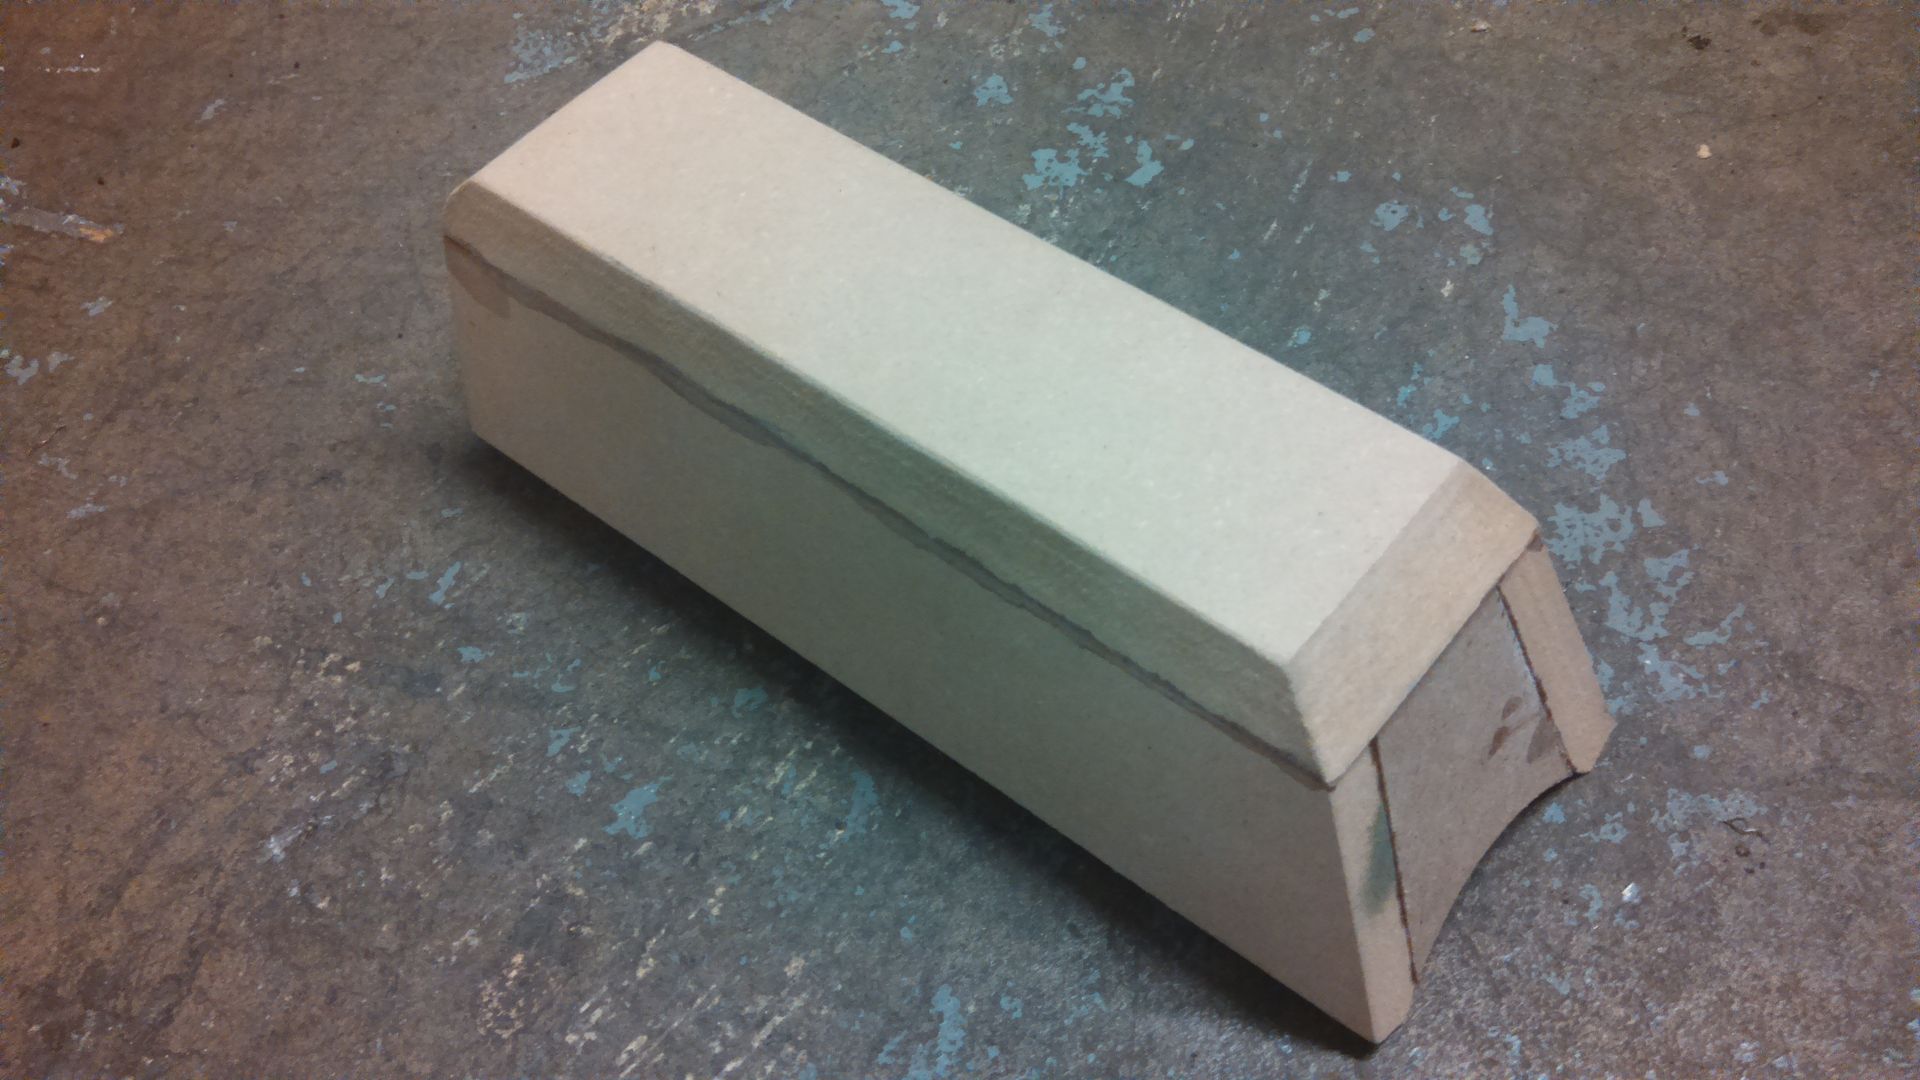
Looking good so far! (PS. Spot the Coke can in the picture.)
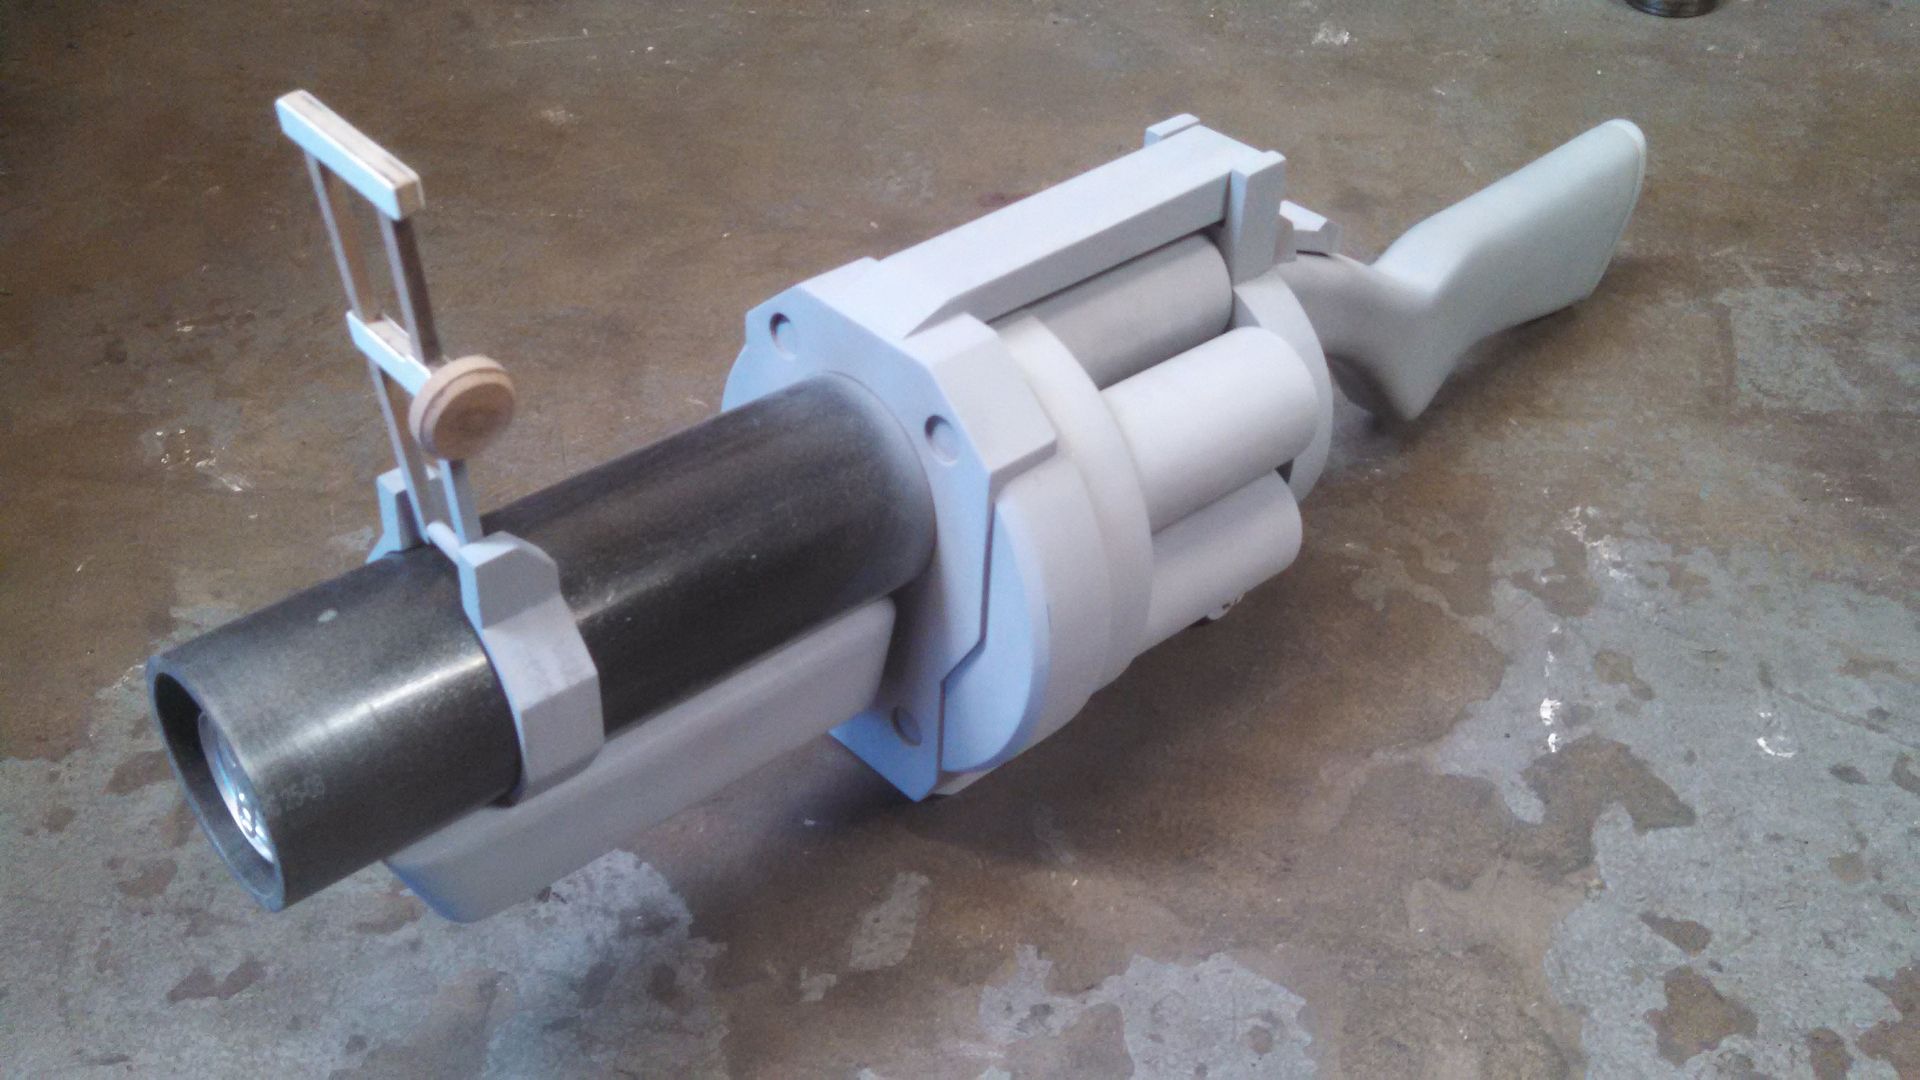
This is a cuff that goes at the base of the barrel. I borrowed a chop saw to get the section cut at exactly 90 degrees. Then I taped a line and used my scroll saw to do a 45 degree bevel all around.
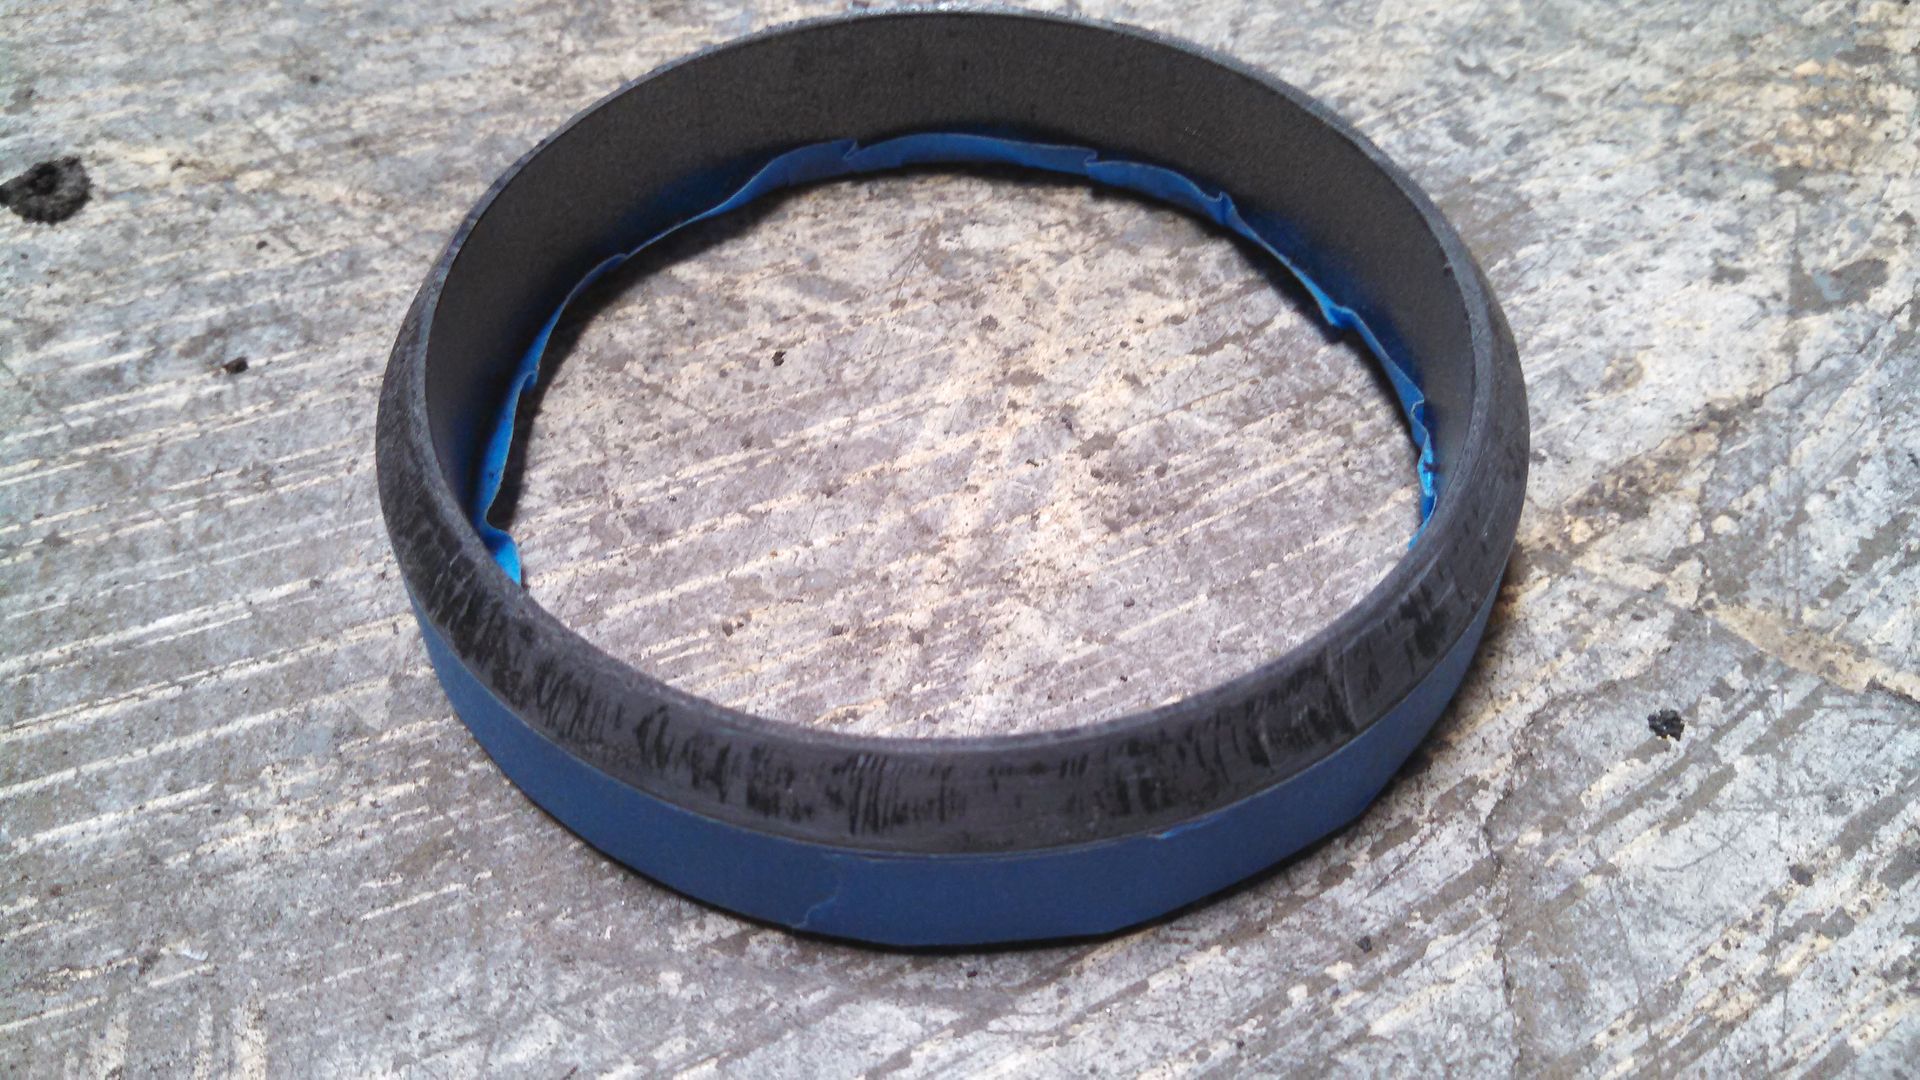
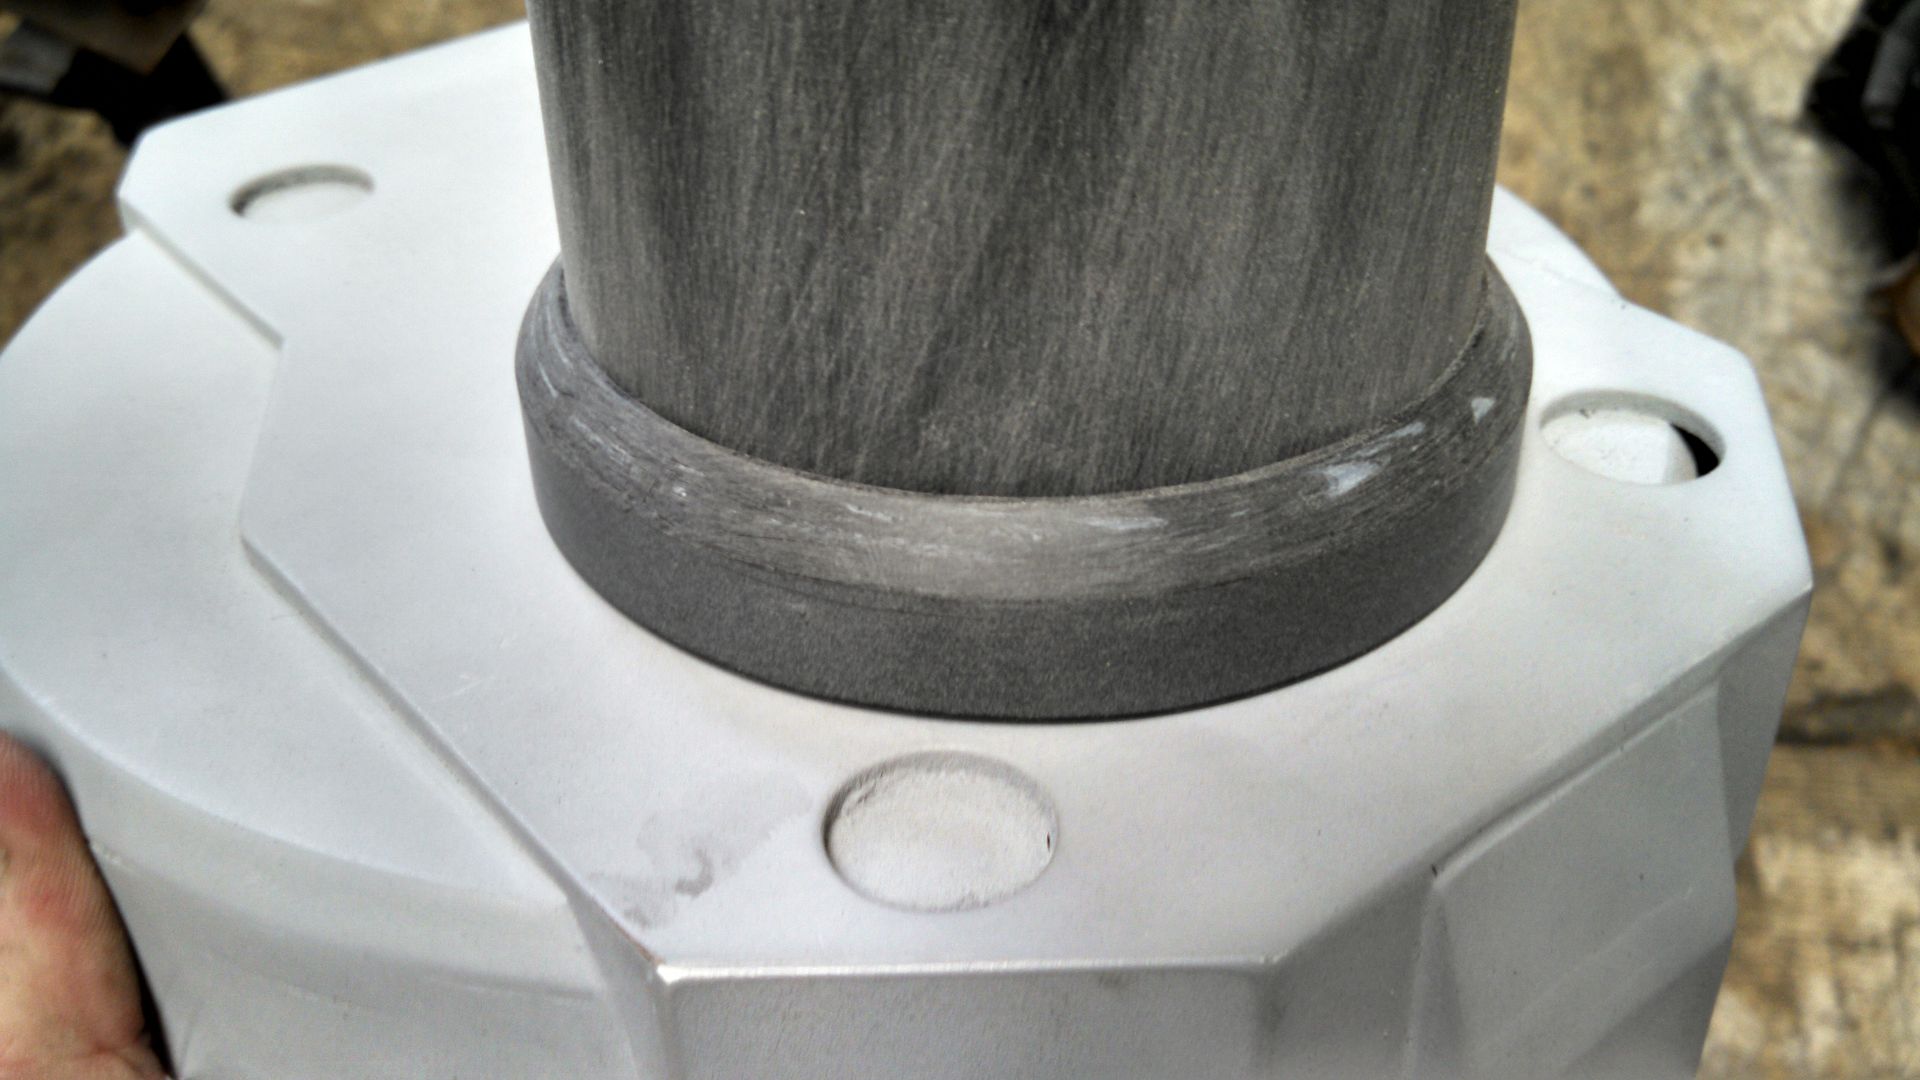
Made the "rear sight" that sits on the upper support arm. The mechanism is also fun to play with. Almost there!
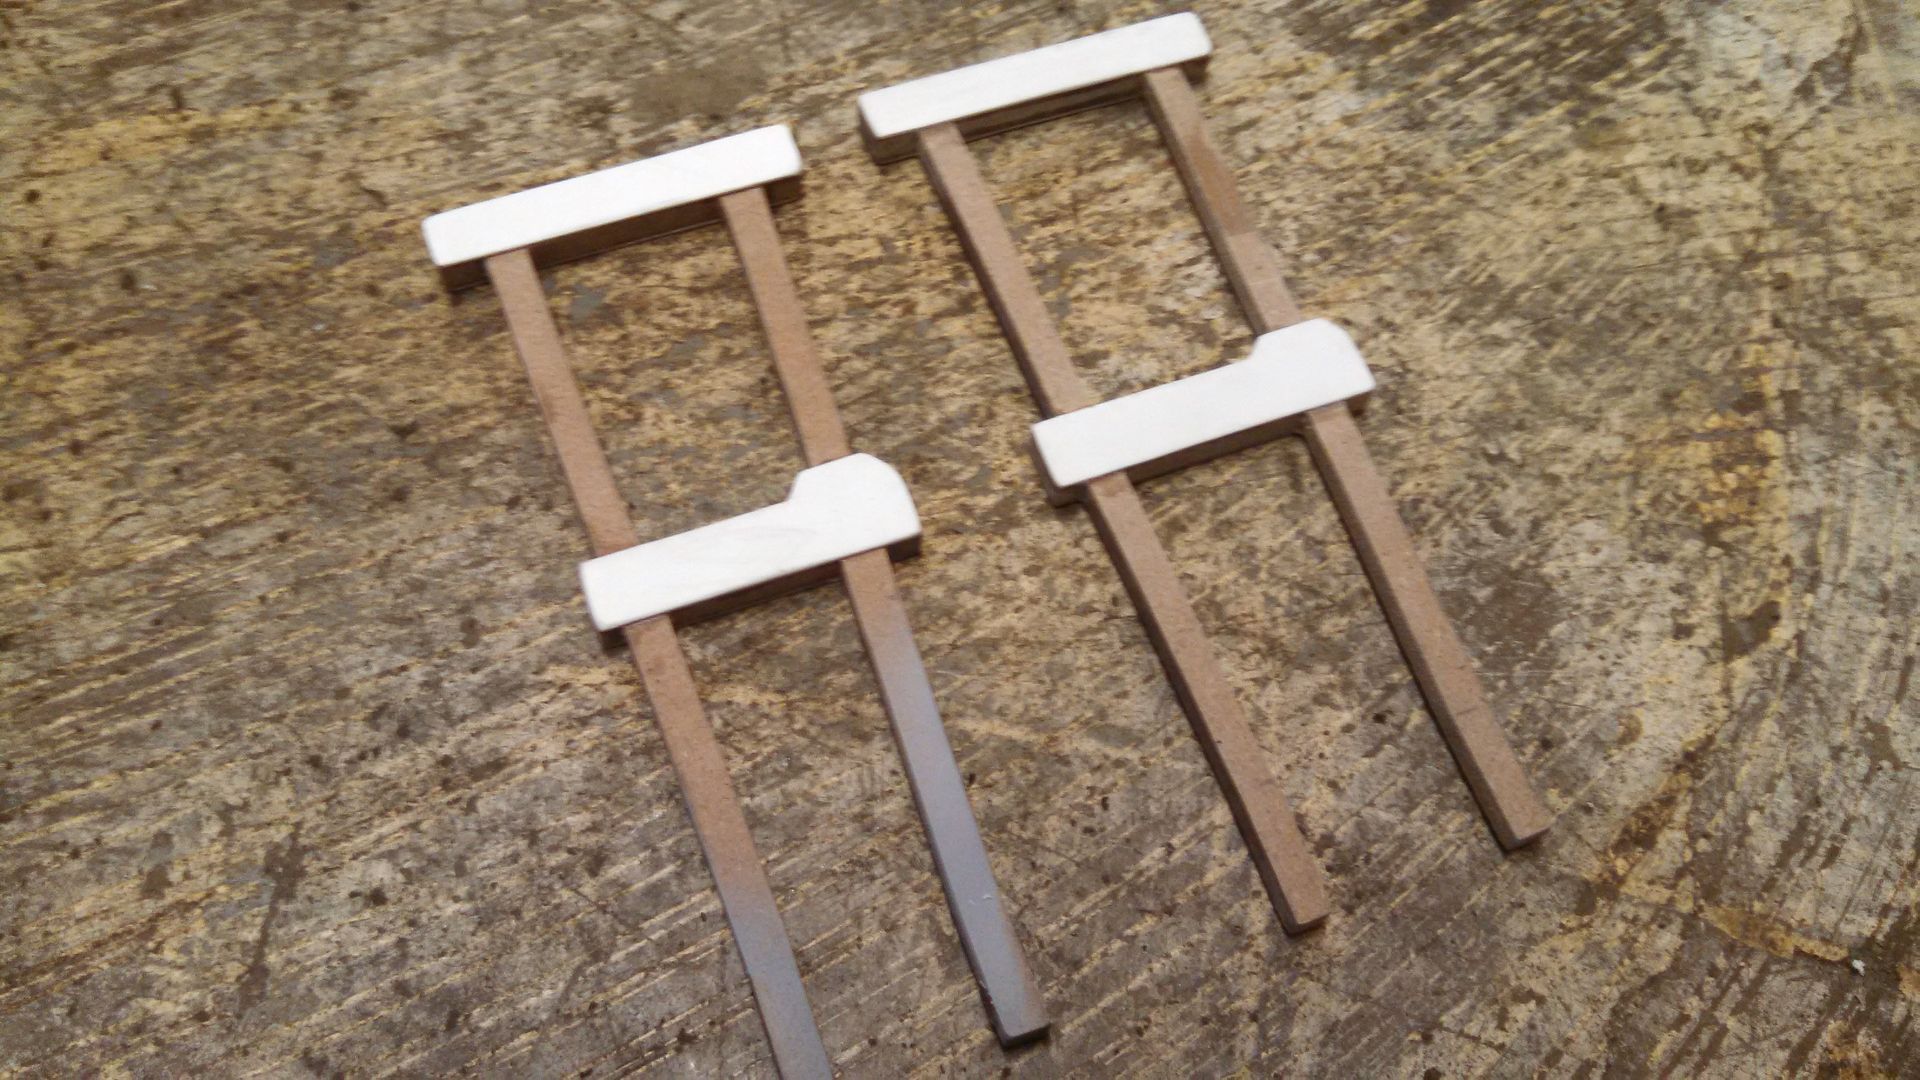
I re-did the front sight at the last minute. The one on the left
(The first version) had too much angle and just looked too cartoony.
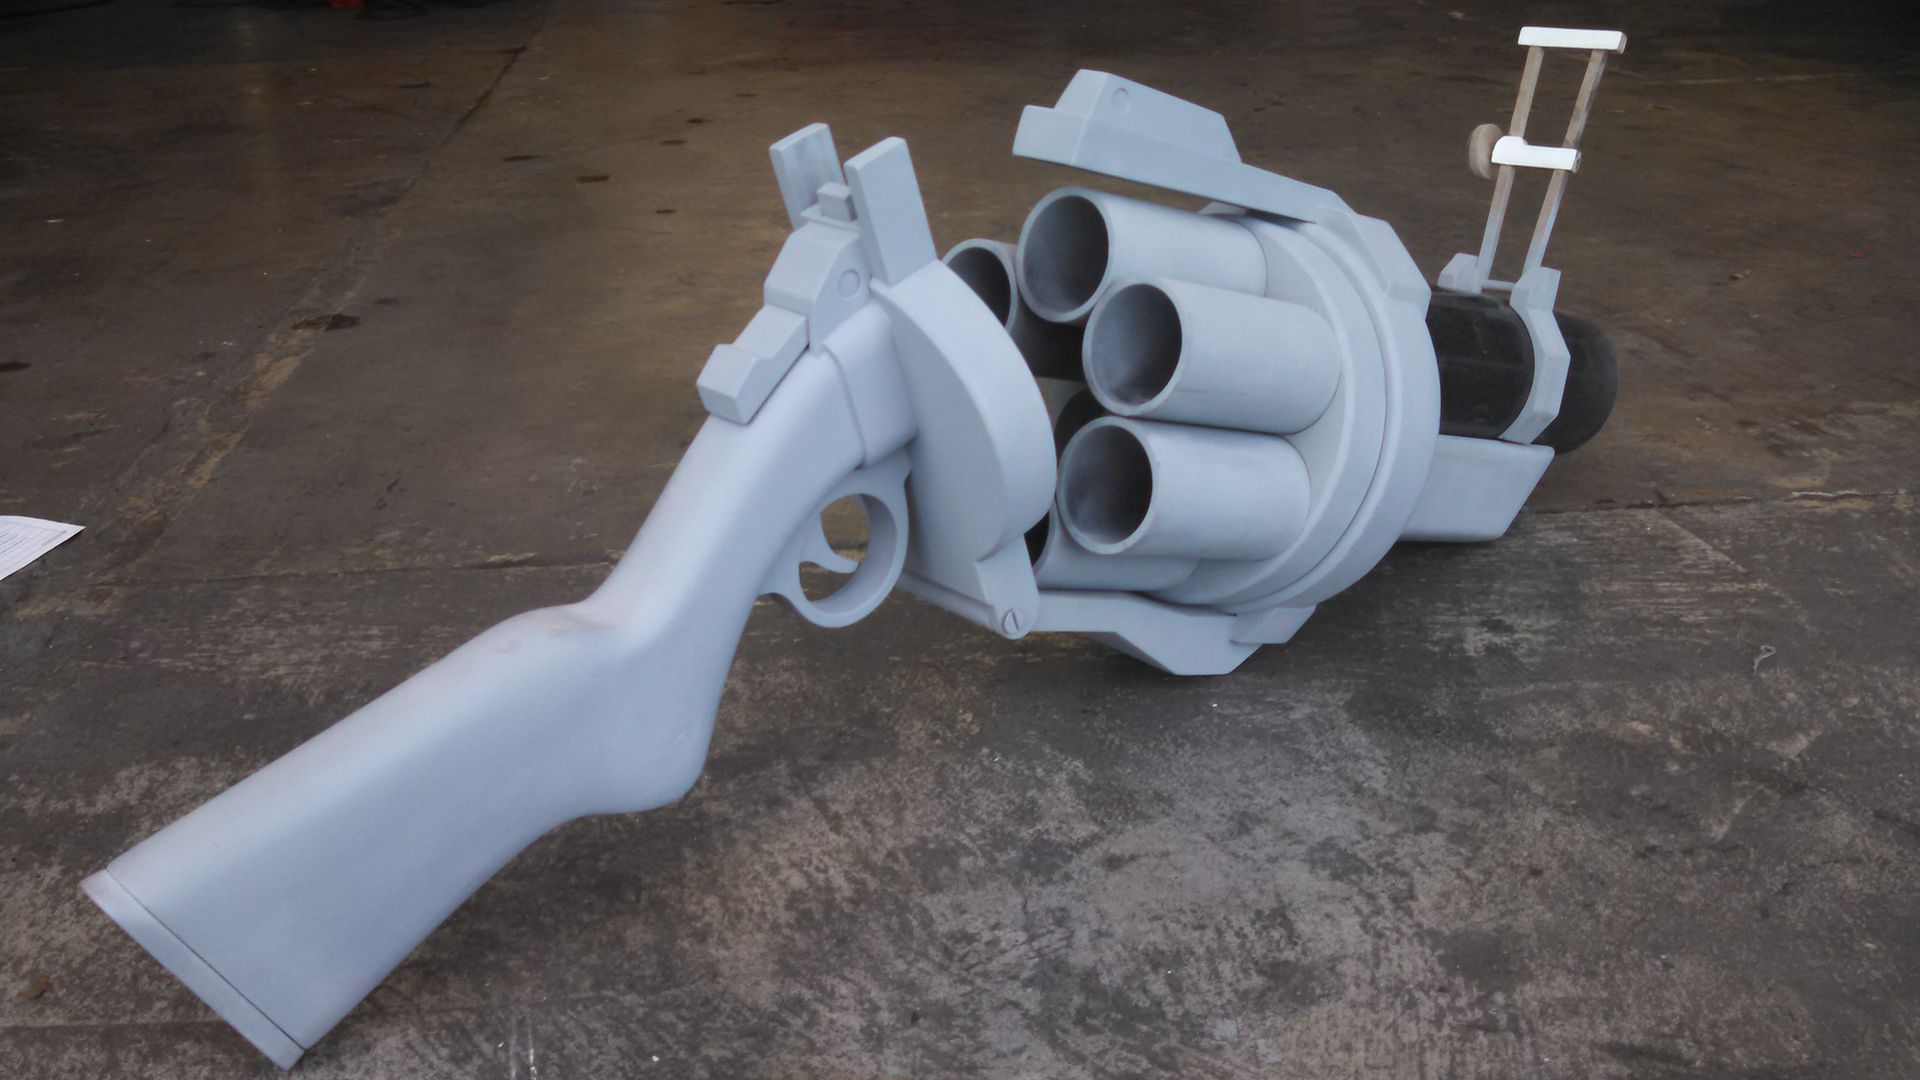
Last shot before small detail bits and paint. Redbull for scale. (No, it doesn't fit in the chamber. Barely...)
"Leeeeeet's do ittttttt!"
Special thanks to Dagger 6 Productions for the awesome photos!
Special thanks to Dagger 6 Productions for the awesome photos!
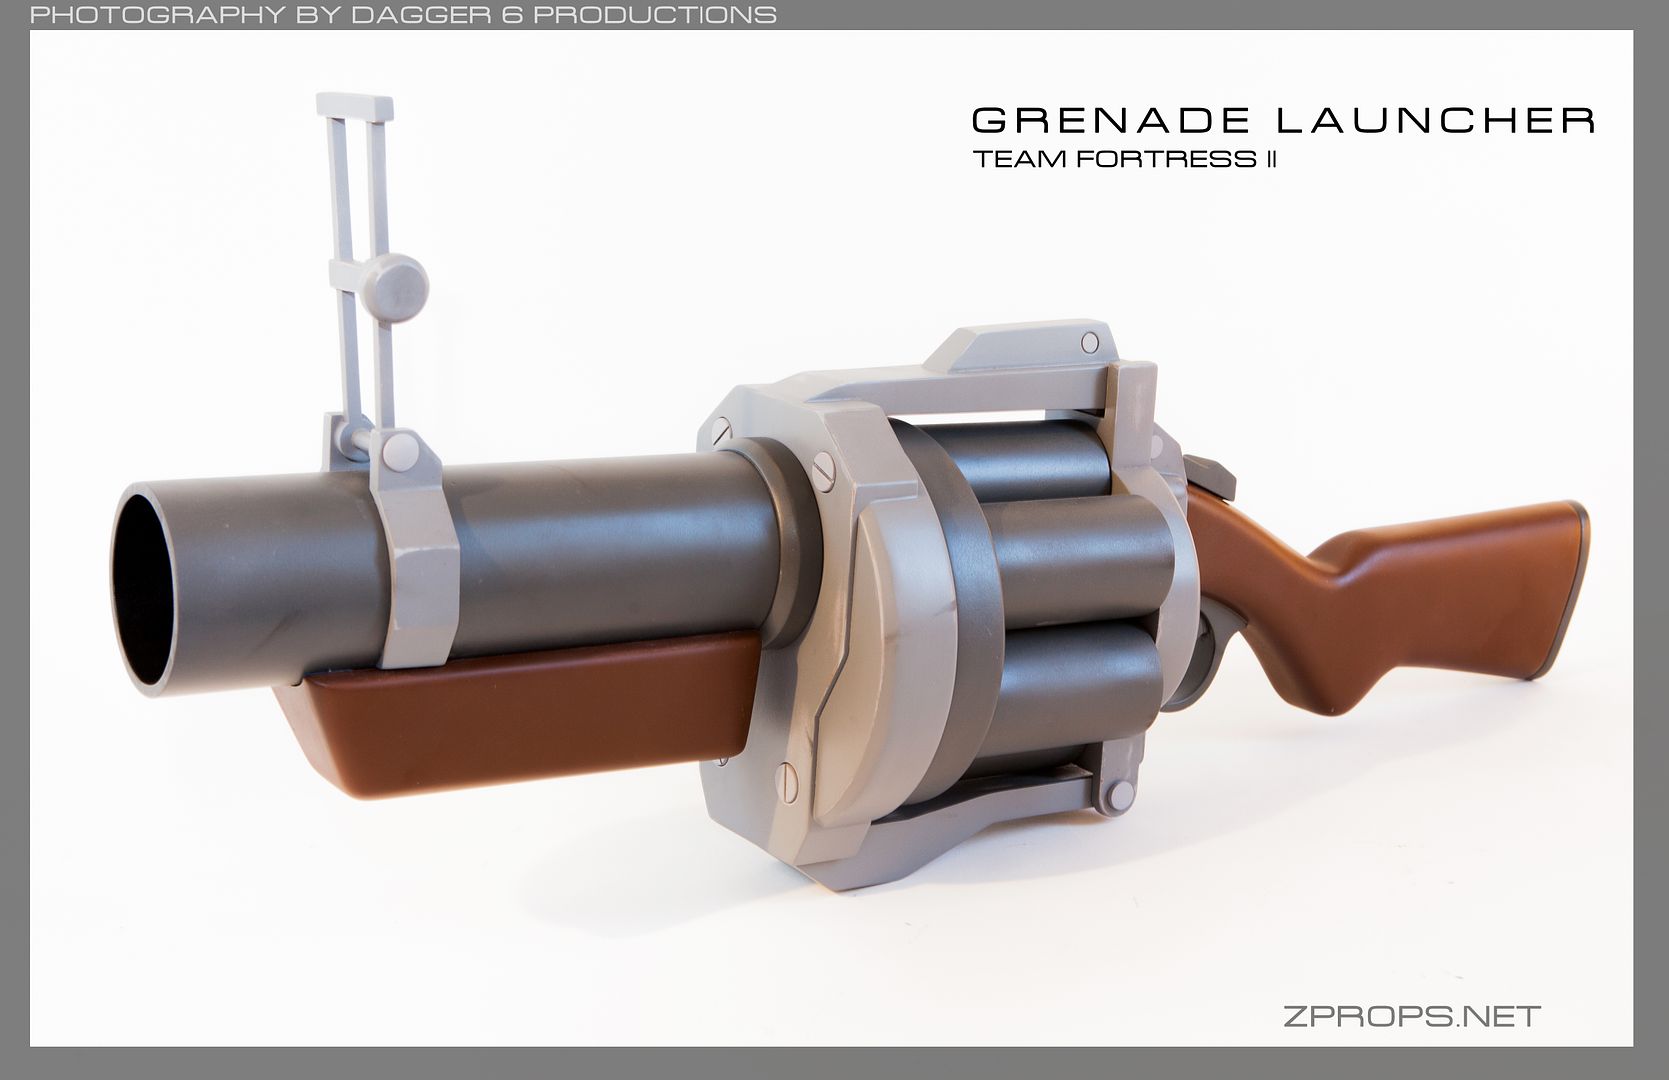
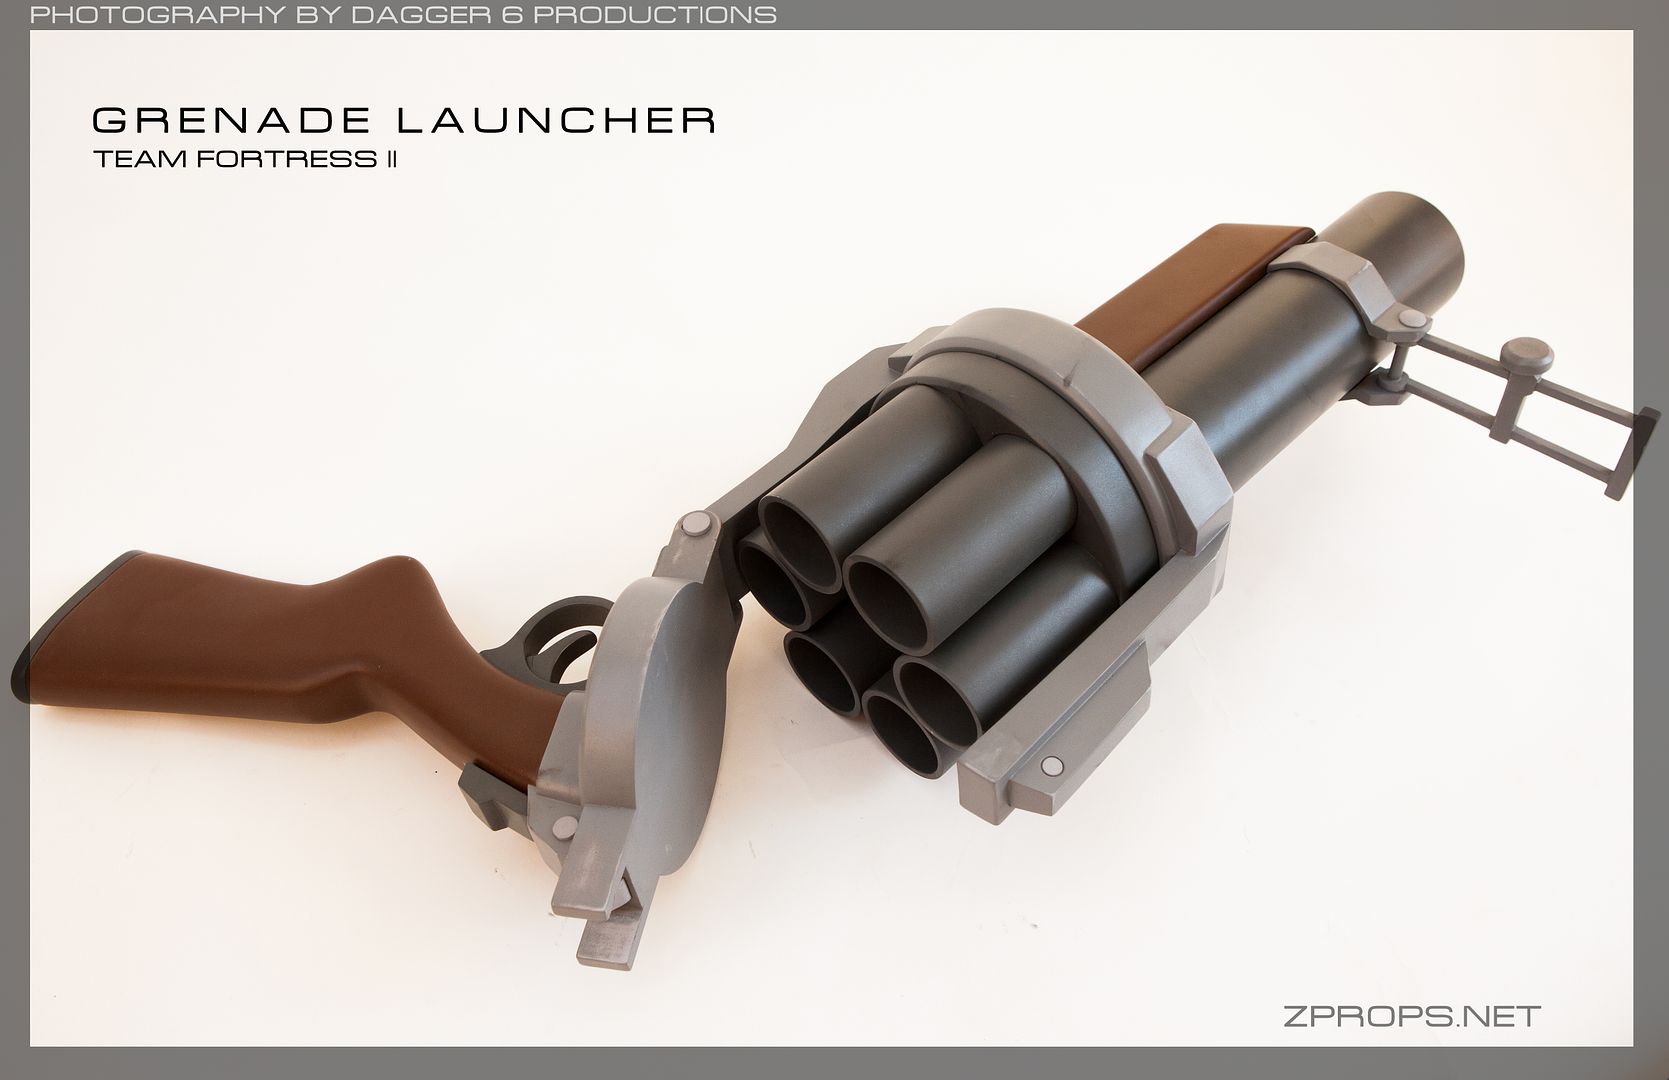
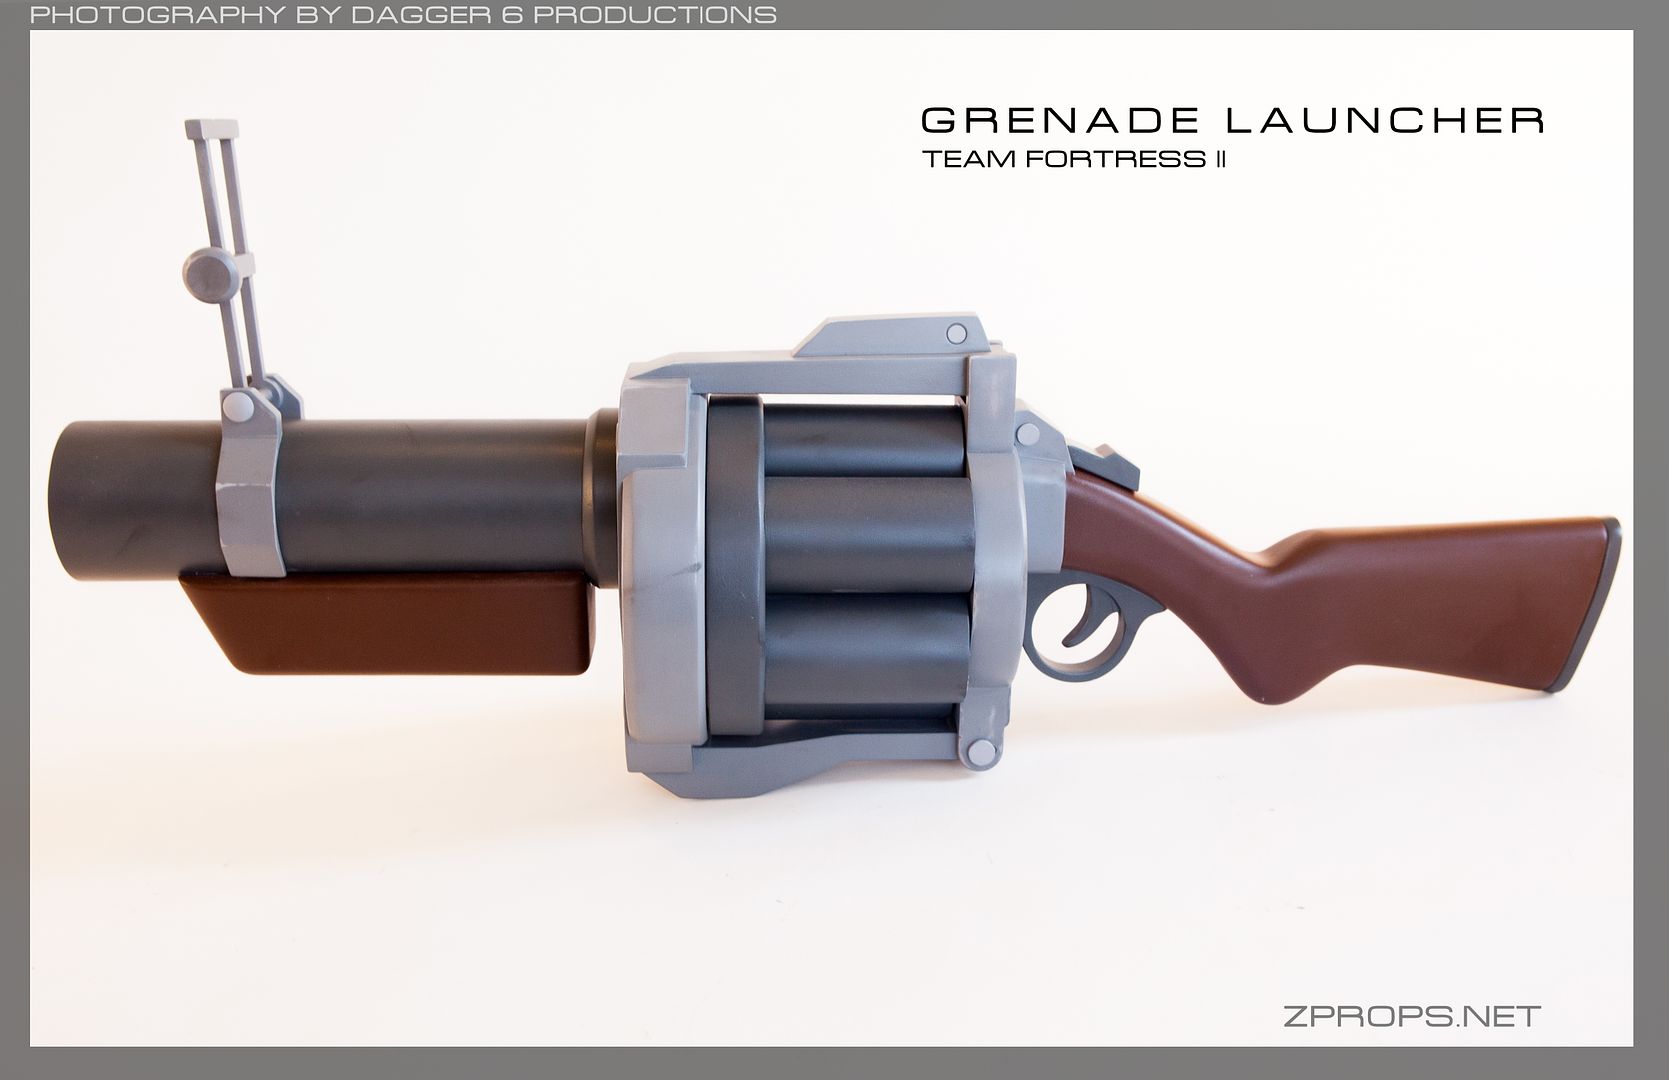
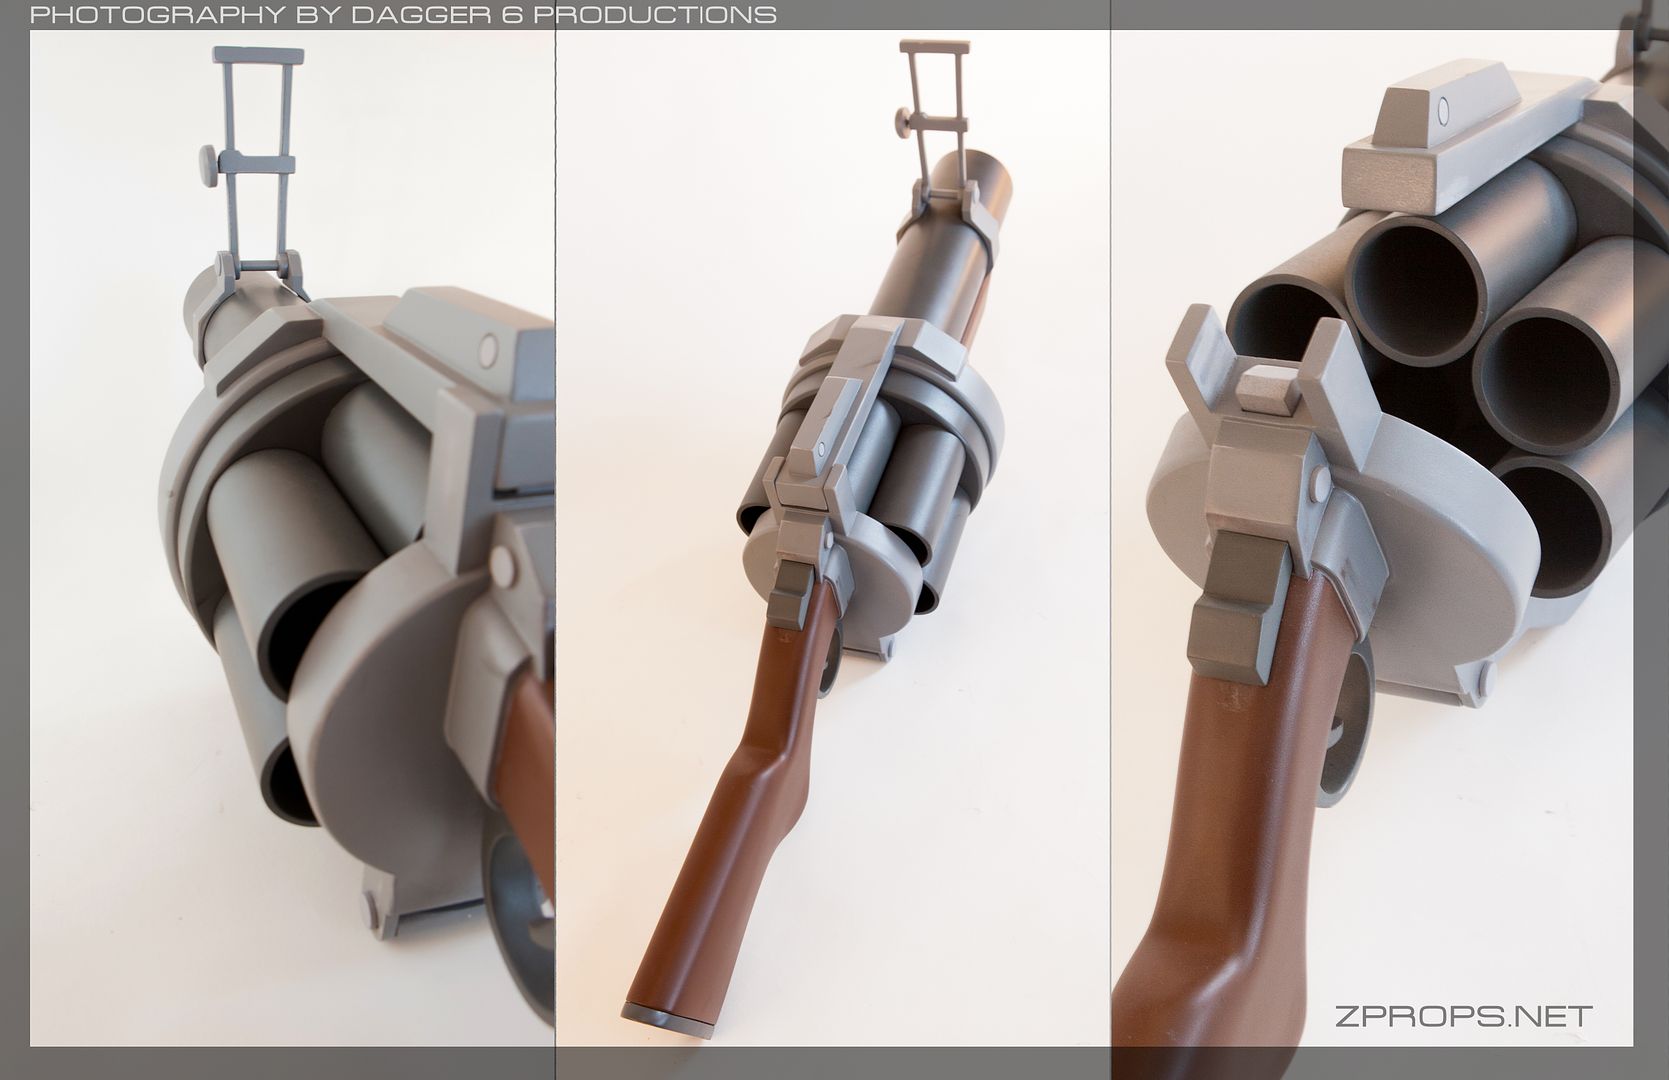
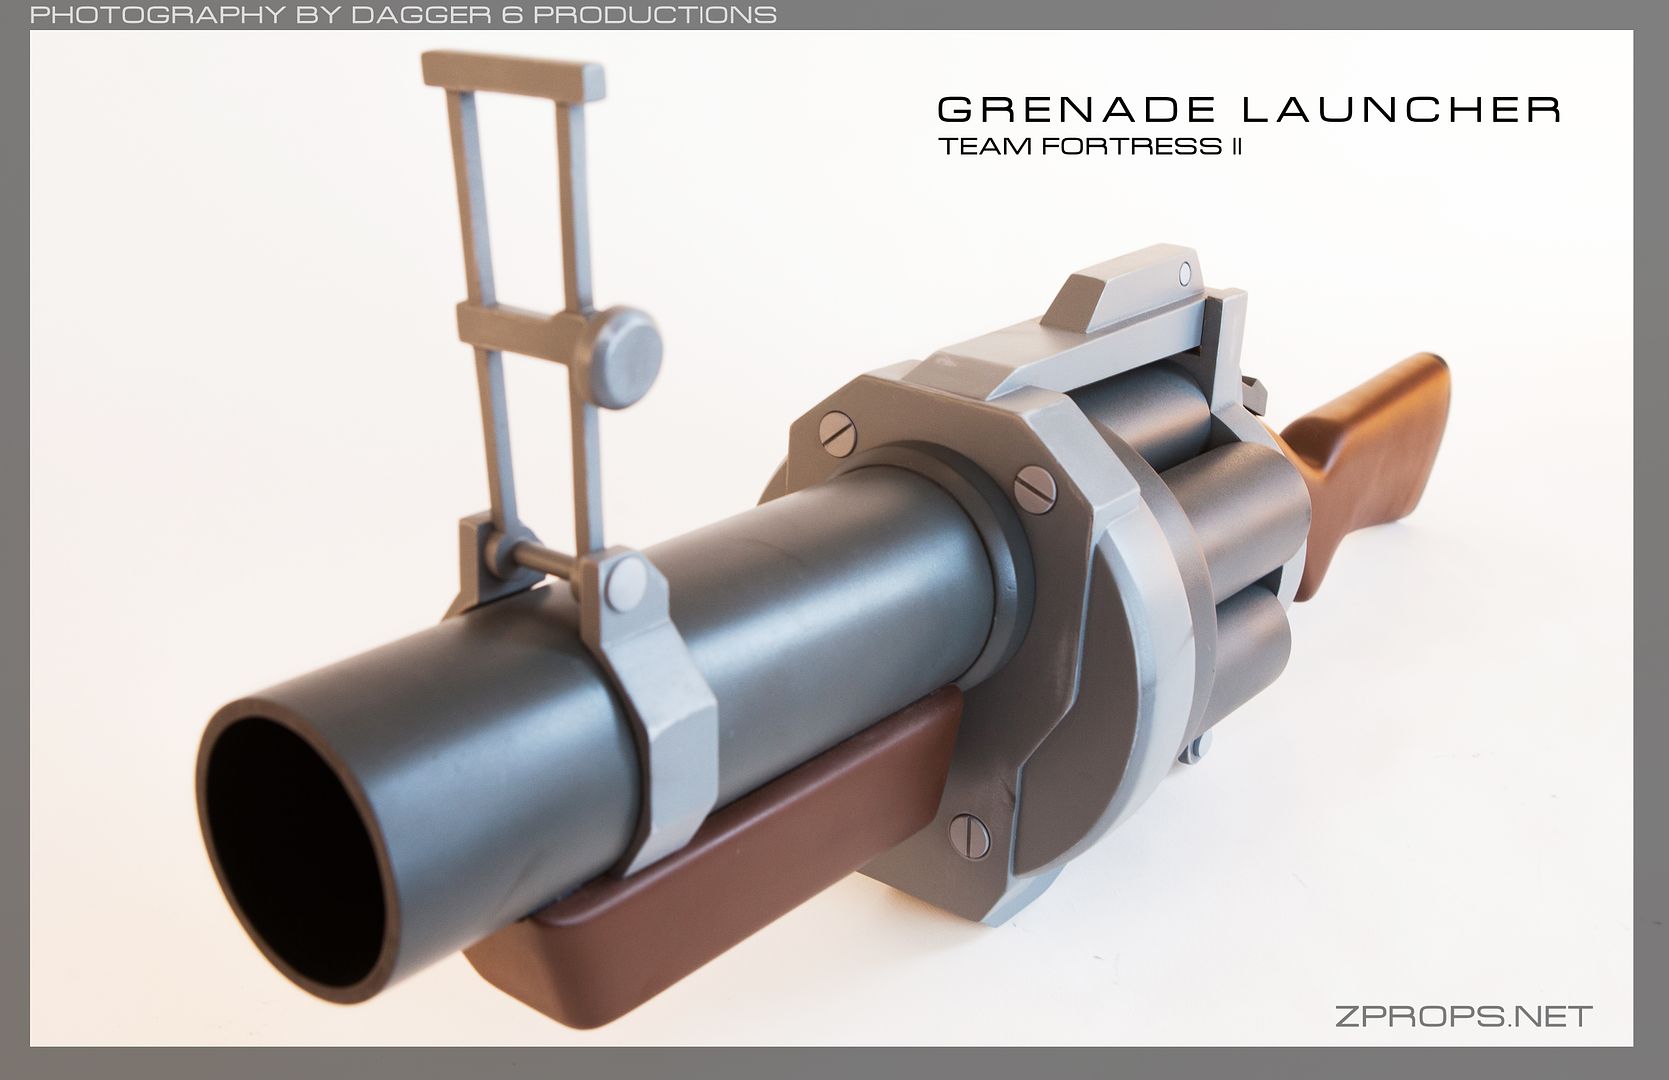
Off ye' go lads!
Zprops on Facebook
Home