Showing posts with label cosplay. Show all posts

Friday, September 9, 2016

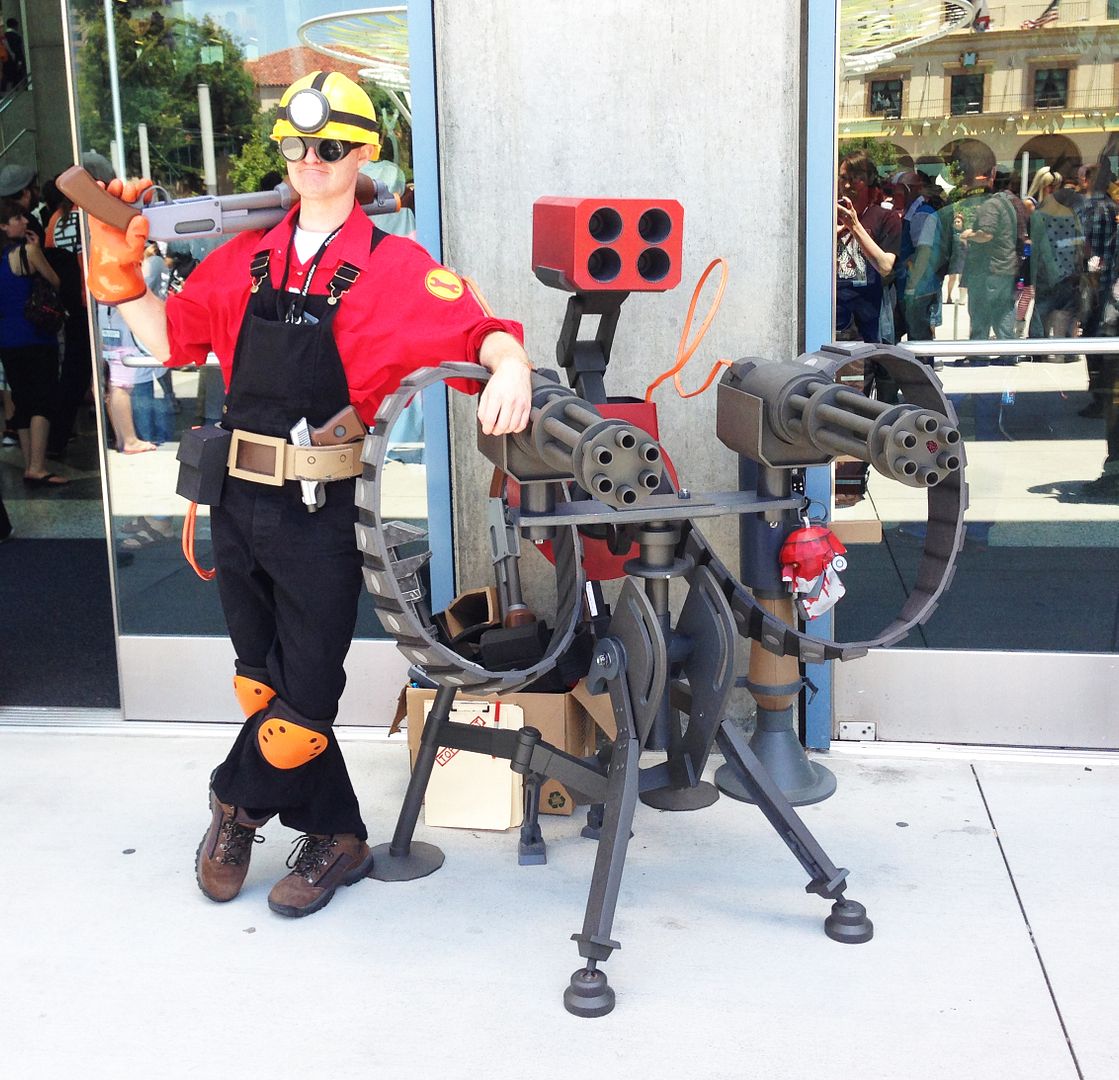
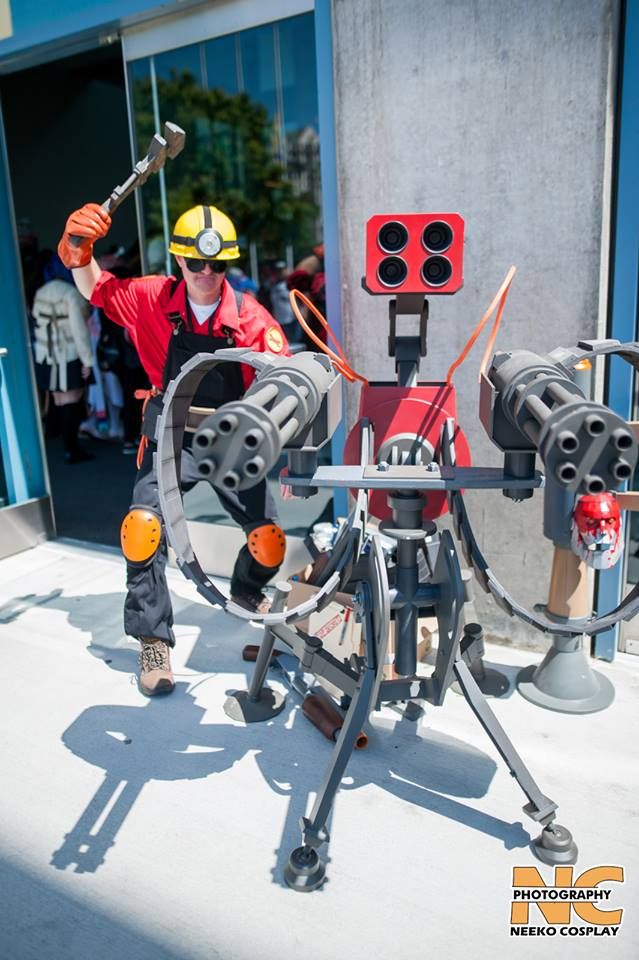
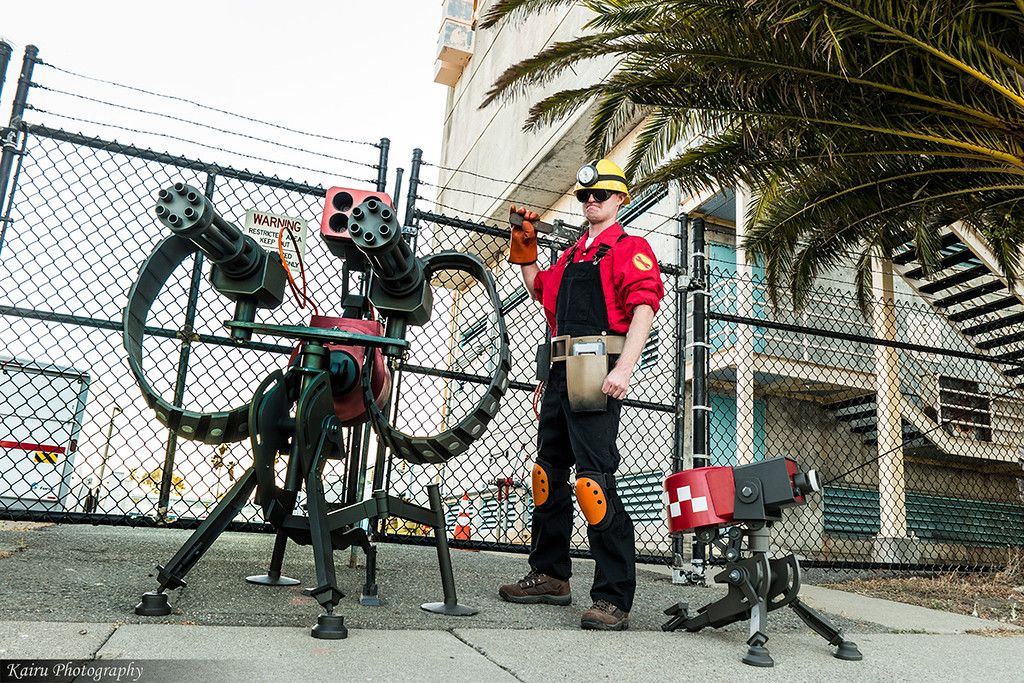
Team Fortress 2 Level 3 Sentry Gun

Ahh, the level 3 sentry gun. The holy grail of Team Fortress 2 props. It only took me about a decade to get around to....

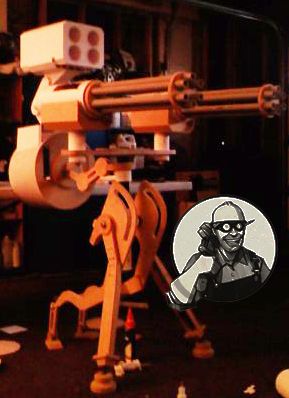
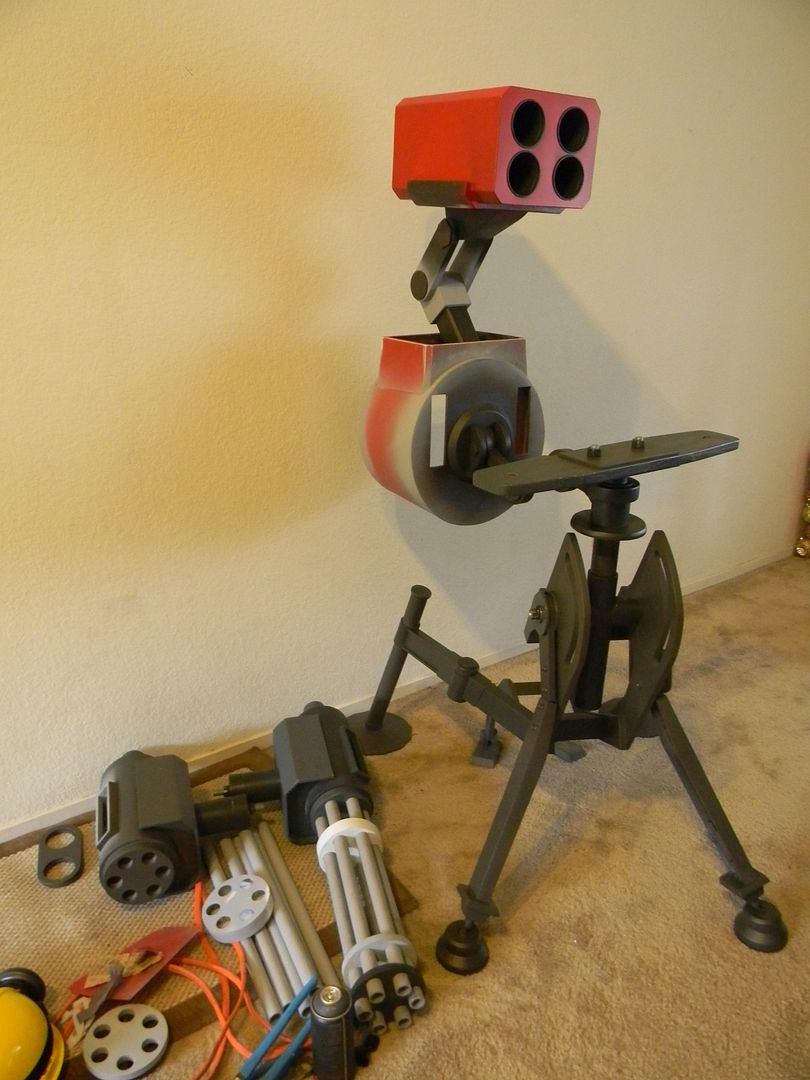
Immediately after finishing the "level 1" sentry gun (I use "level one loosely as I look back on it somewhat unsatisfied with the proportions and scale, but more on that in another post) I went to work on the level three, which looks like this: 
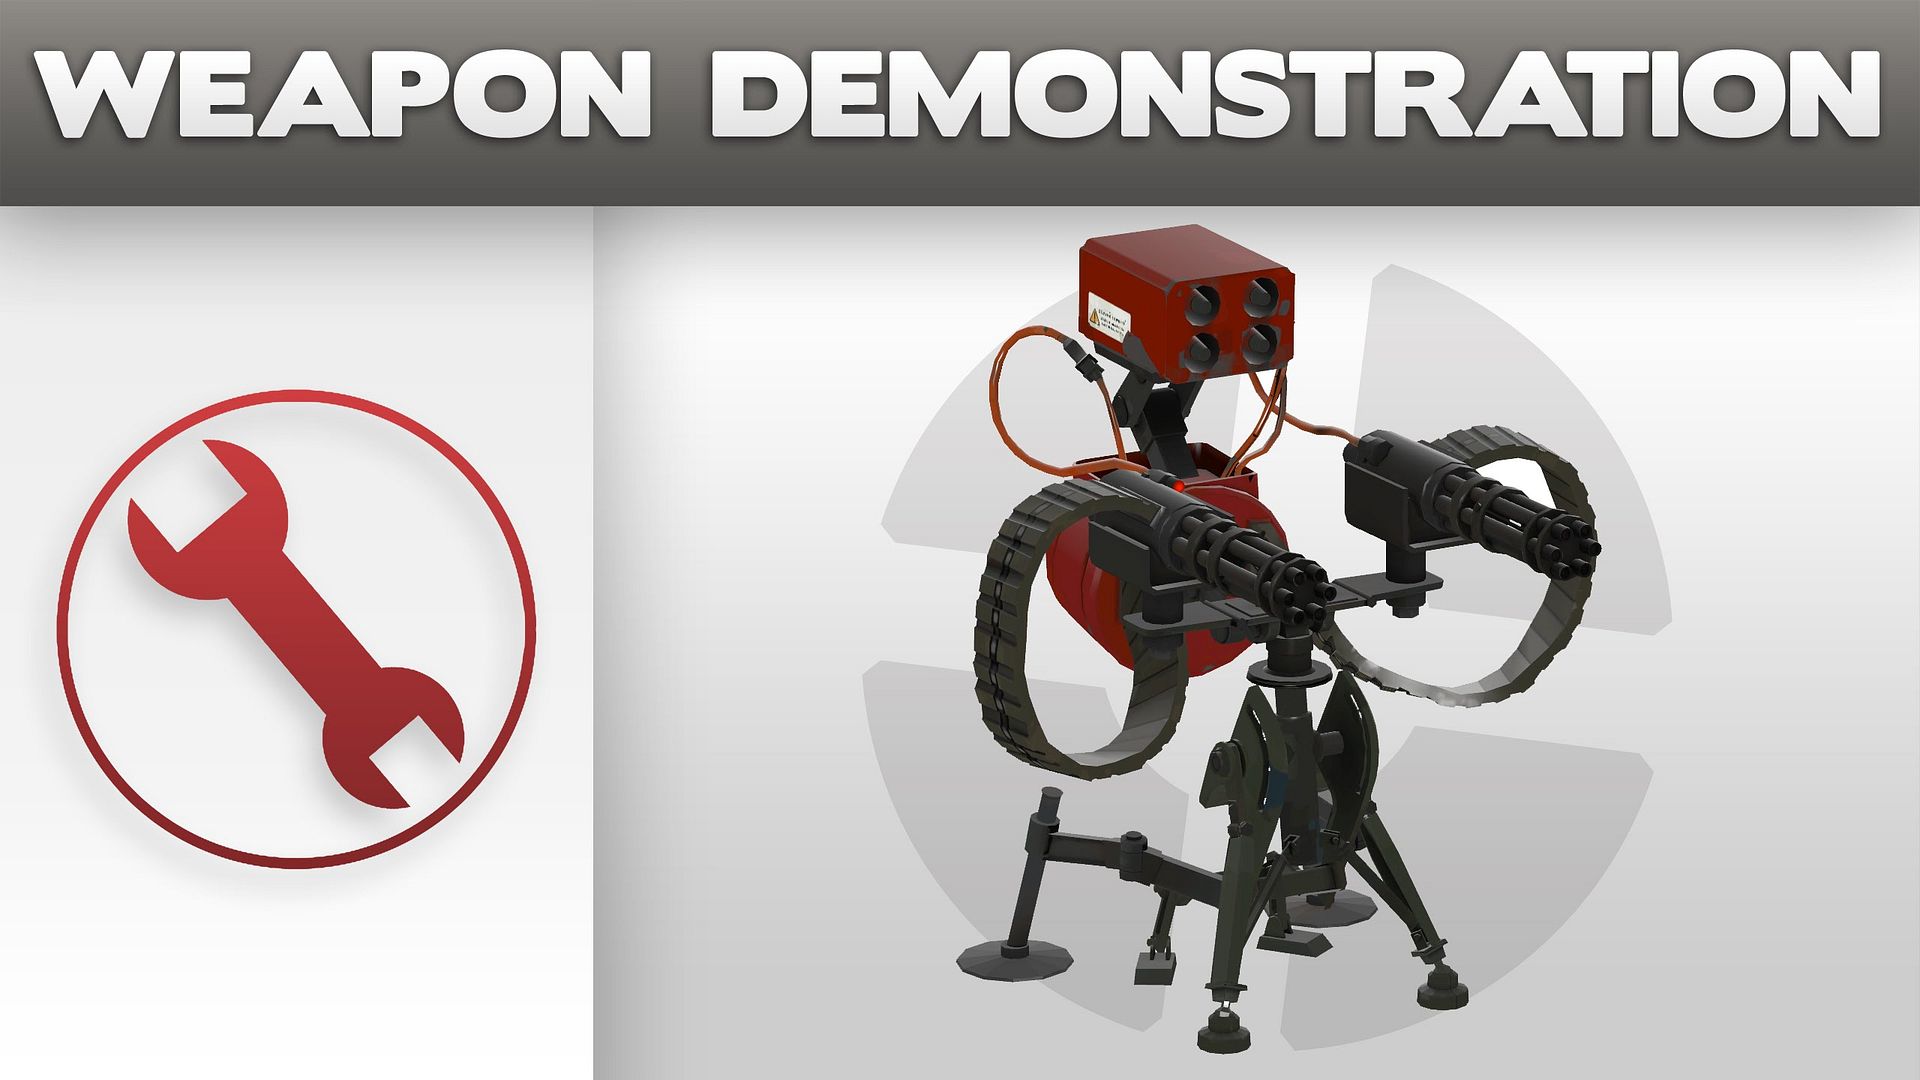


I paid slightly more attention to scale and proportions, but like my first version, ultimately didn't make any blueprints or anything. I just eyeballed it from a few screen shots.

I also didn't think 8 years ago people would be reading my blogs, so my photos are horrid on this project and are taken with a flip phone in a messy garage and/or bedroom up until a certain point. This sentry gun survived (Mostly) 5 moving trips during my time in college and right after. I refused to let it go, and was adamant about finishing it one day. When I say I'm going to do something, I do it. It might take me 8 years, but I do it dammit!

21 year old me started on the base, using the same materials and techniques as the previous sentry.
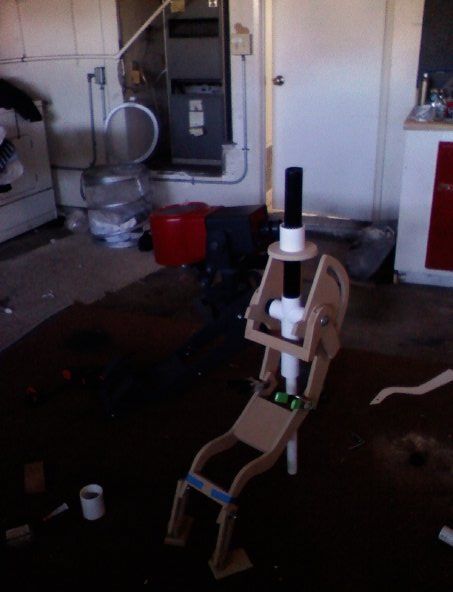

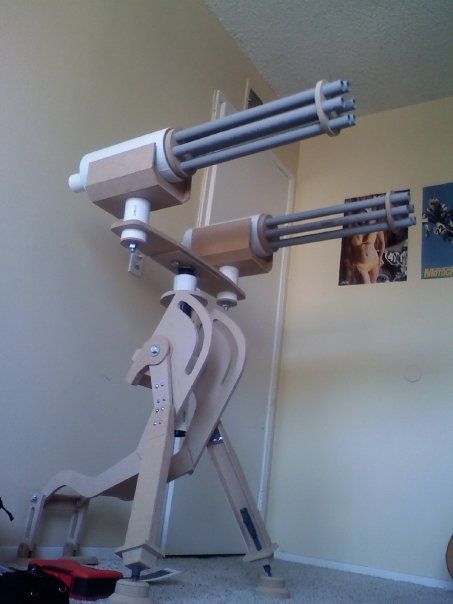
I made the miniguns out of an MDF frame with lots of supports, and a thin wrap of styrene for the skin. Then the well for the ammo belt feed and other details and layering were made. I skimped on photos here. That, or they got lost long ago. 
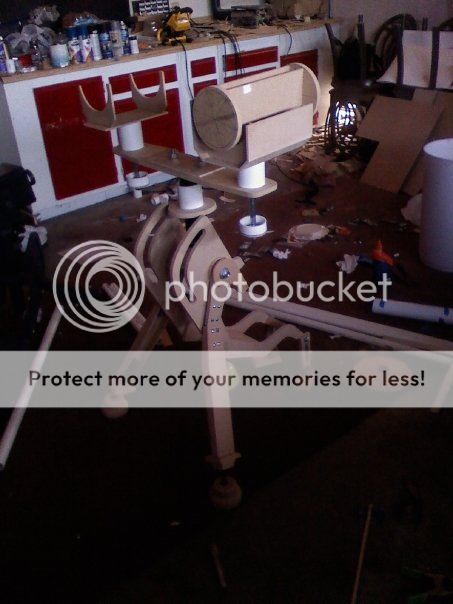


It started looking imposing at this point, especially at low angles. TMI. 


Like the previous build, the canister was made out of a polypropylene trash can. Glue and paint doesn't stick to it particularly well, so it needed a lot of sanding and reinforcements to bite the paint and glue. 
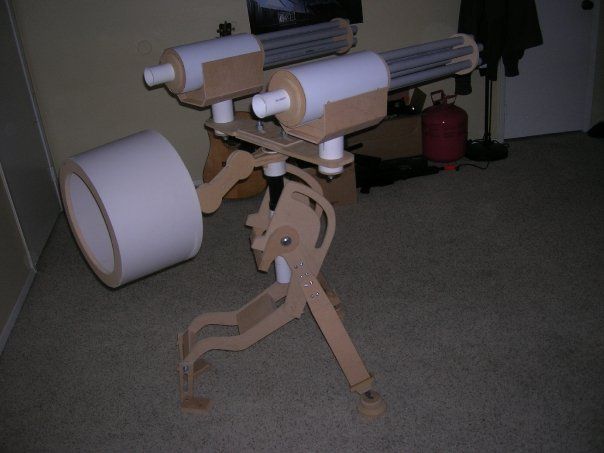


The missile pod was made from sheet styrene, as well as the support arms and shroud around the canister. This all had to be as light as humanly possible as the design is not only back heavy, but that little support arm is made from MDF... not the strongest stuff in the world. Not to mention it would later be supporting thick cables, a few layers of sealing and paint, plus the giant ammo belts that plug into the back end. The "holes" for the missiles are solo cups. I wasn't exactly the worlds wealthiest 21 year old, and this whole project only cost me around 100-200 bucks in the end in raw materials. That's about $2.08 in sentry gun monthly payments over 8 years. I can live with that. People do dumber things with their coin....


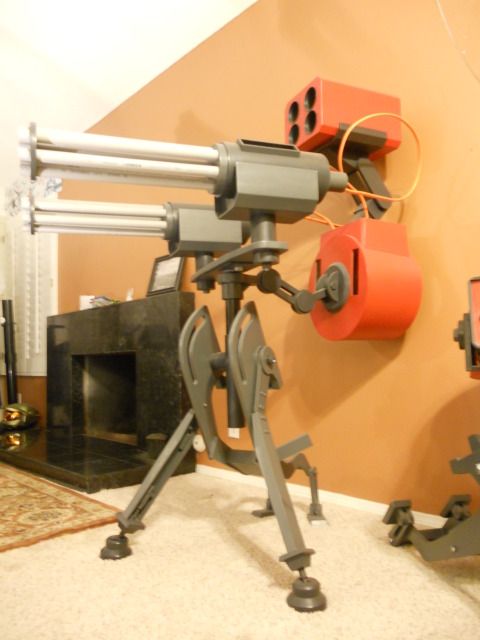
Getting a little bit ahead of myself, I began to seal and paint everything. Which, could have been worse since it sat like this for years. 

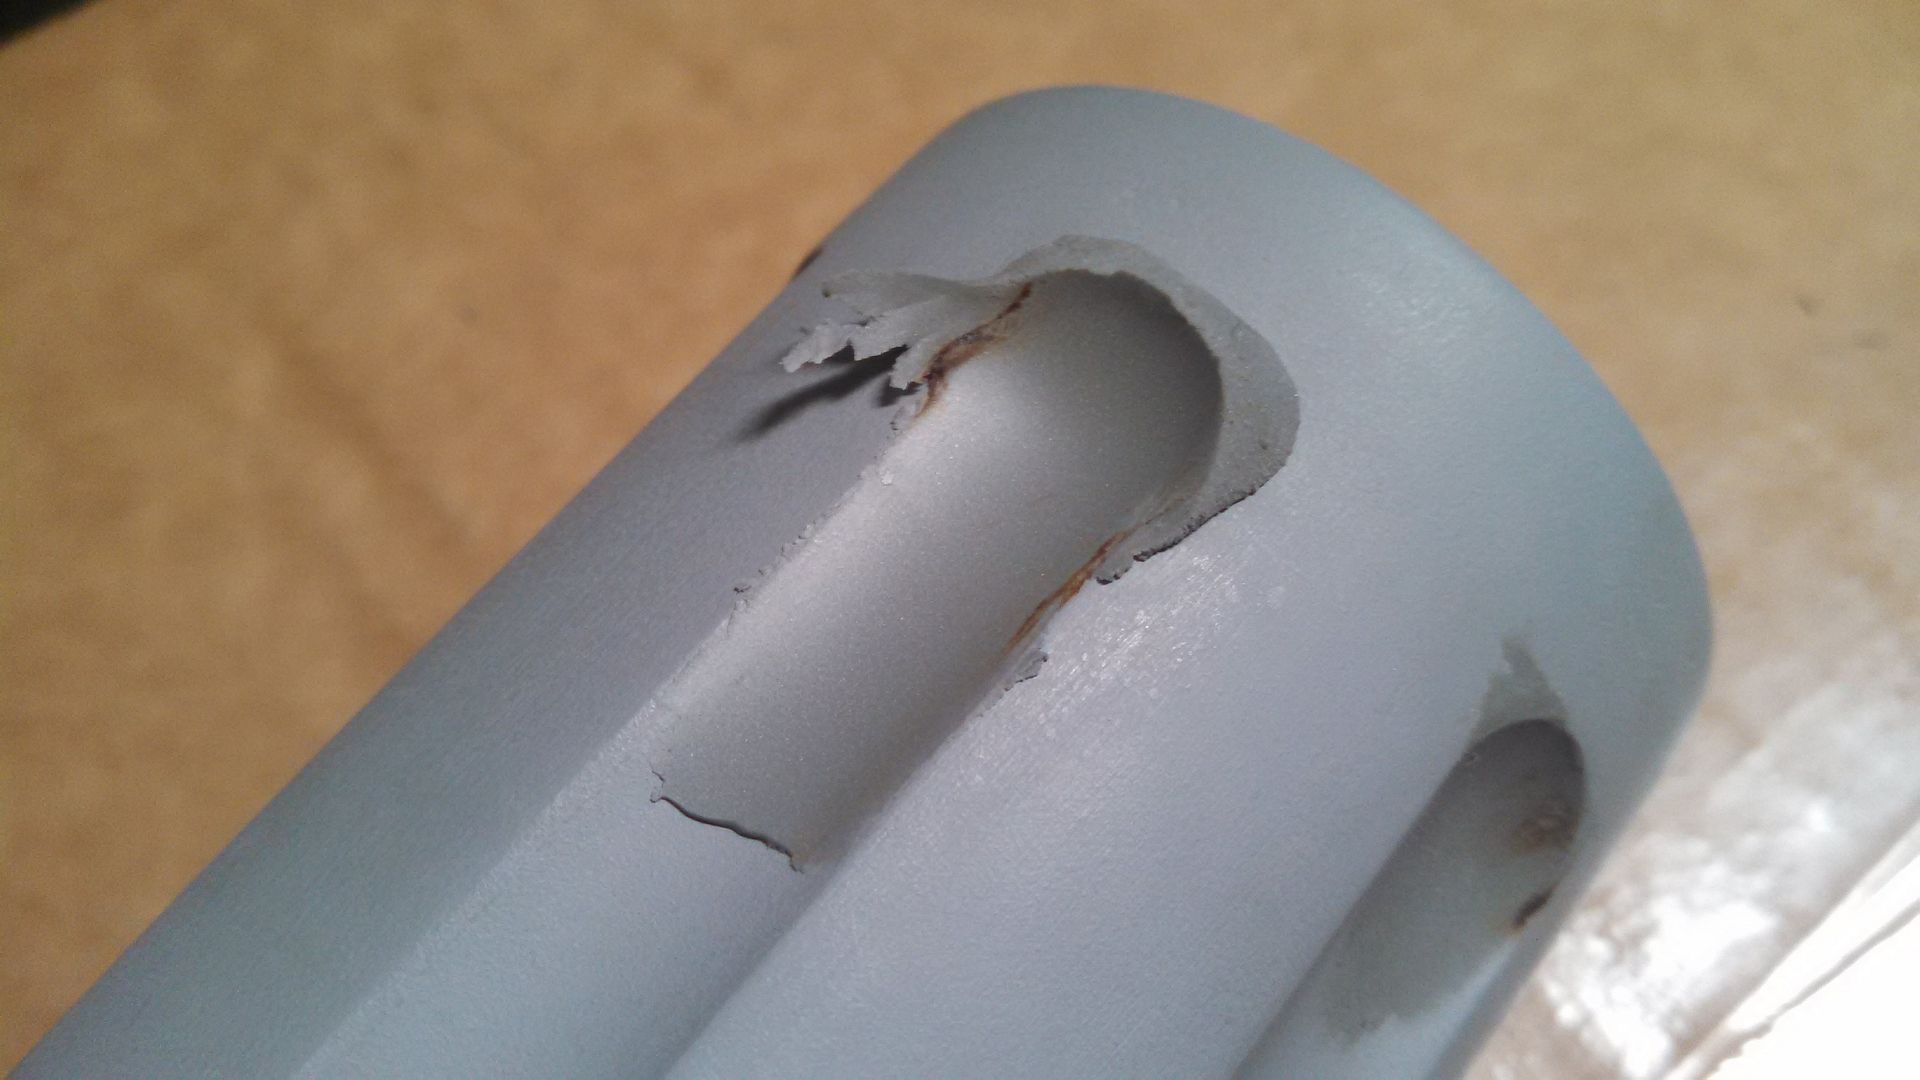
Then after school I found myself on the move quite a bit. During one of the last moves, I left the miniguns in my hatchback during the summer. They baked in the car and were in direct sunlight for at least a day. Styrene as you might know is a thermoplastic, and warps considerably in high temperatures. One of the skins on the cannons became warped to high heaven. the other less so, but noticeable still. I ripped the un-salvageable one apart. 
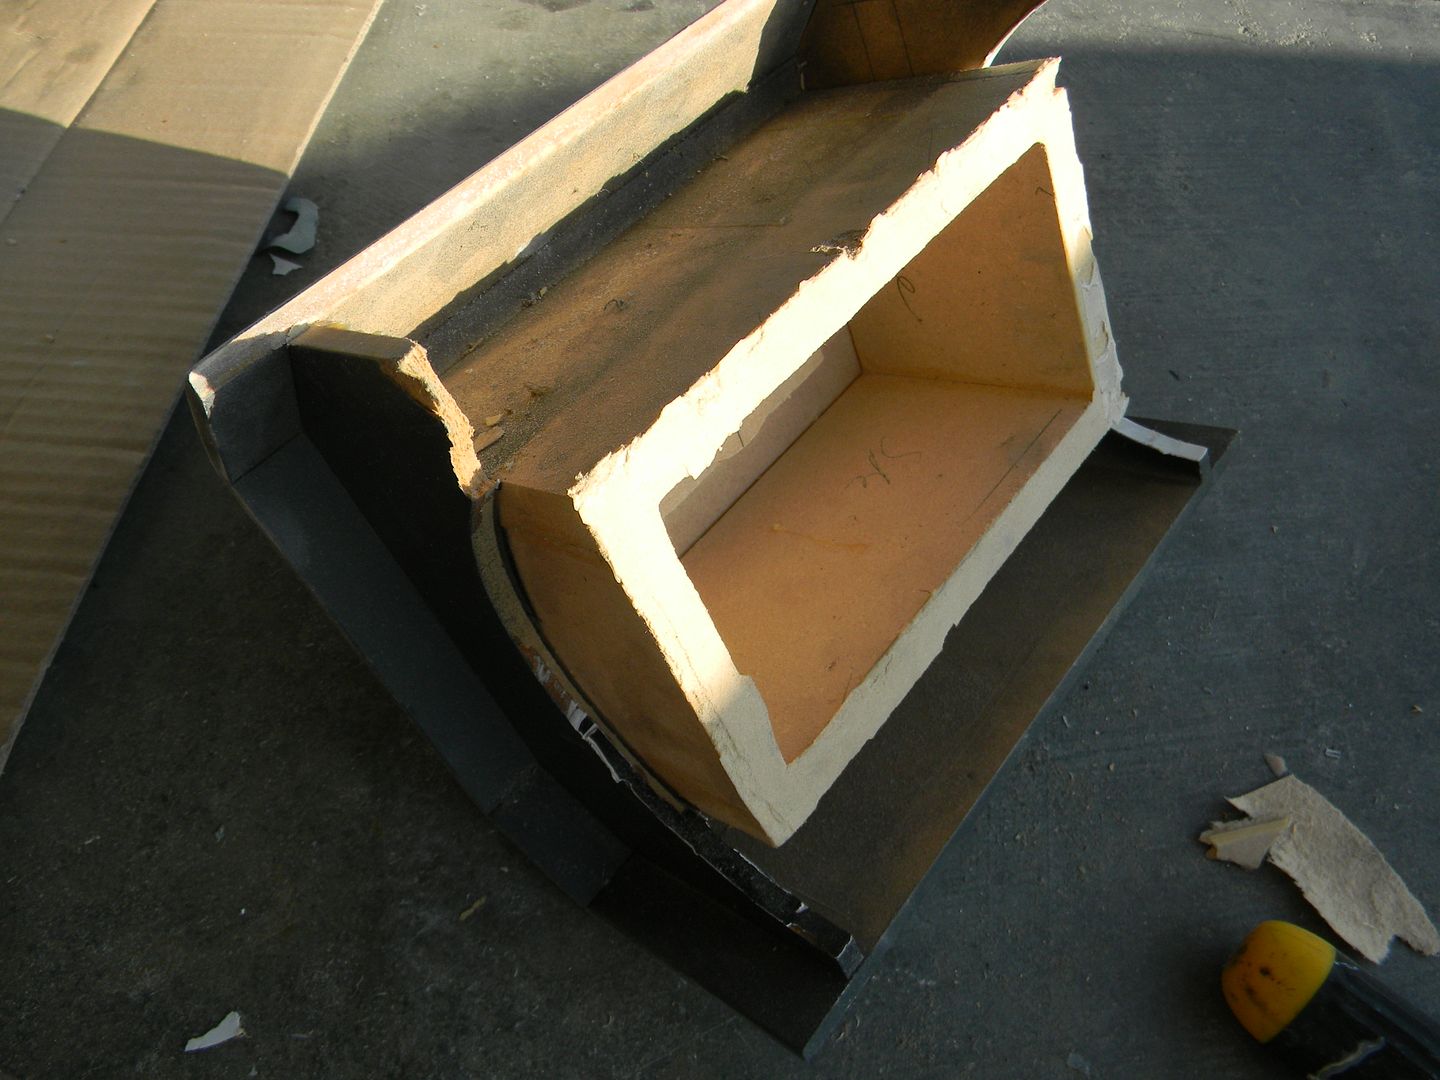


I had forgotten how tough I made these. It didn't just de-laminate at the frame like I was hoping. The parts supporting the styrene were everywhere, and as a result everything broke to some degree when taking it off. 
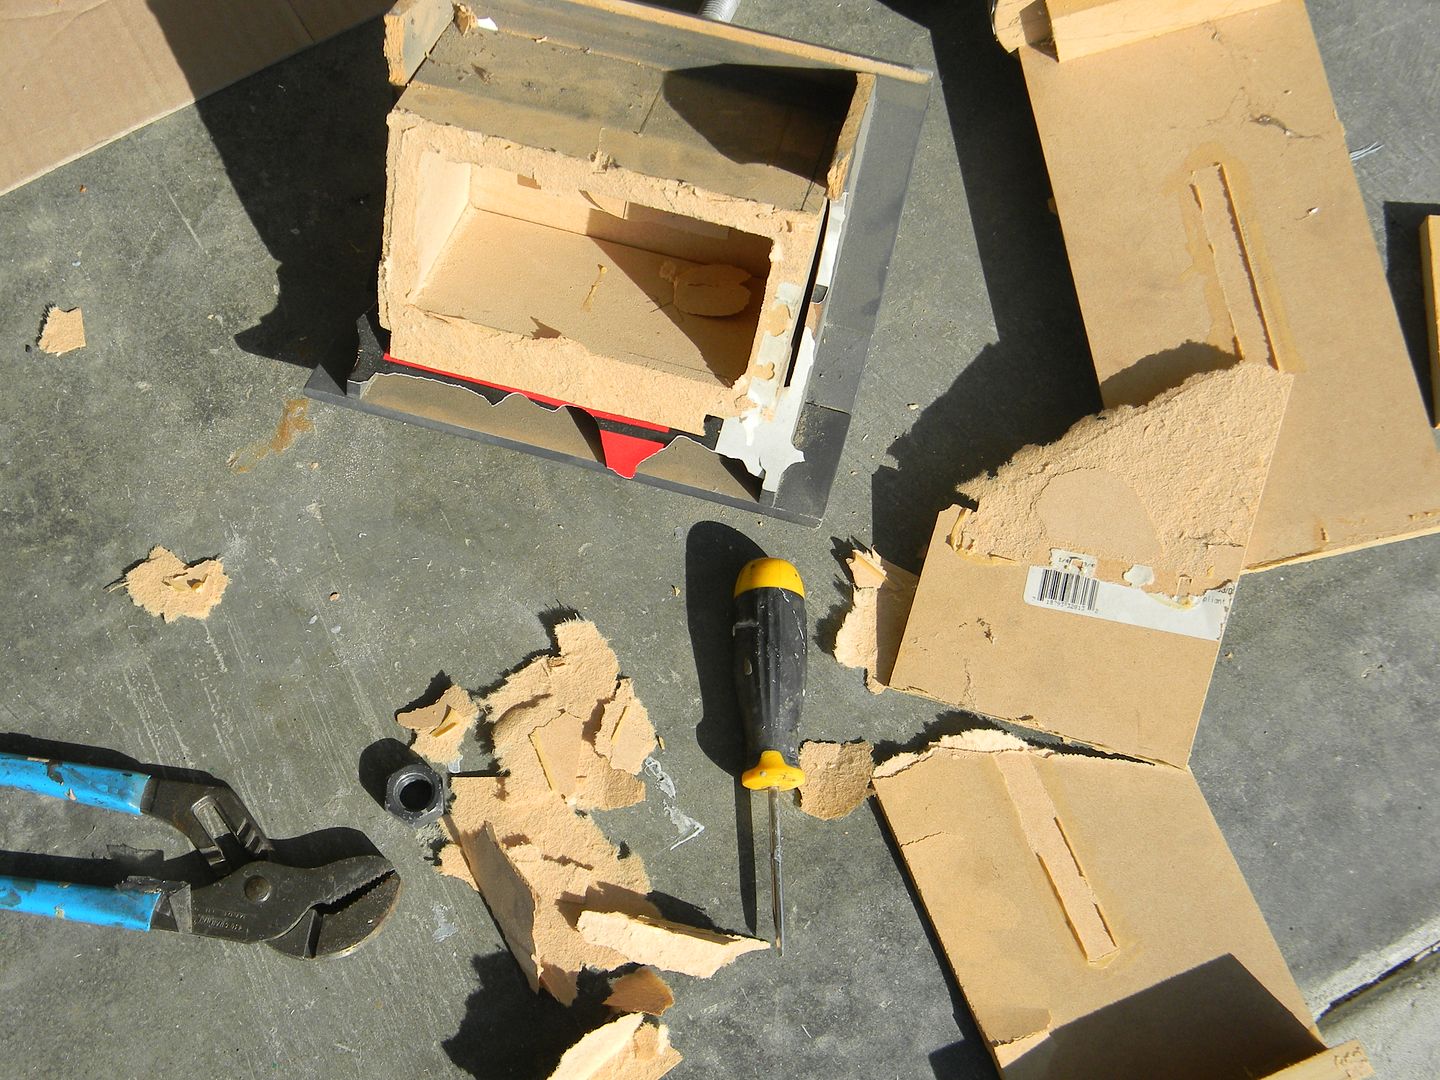


Even though it wasn't as bad as it looks, it still took me half a day to salvage what I could without remaking the whole thing, which I was quite happy with considering if one of those supports was off or the circles weren't concentric, the whole thing would wrap together nicely and be structurally or cosmetically sound enough. 
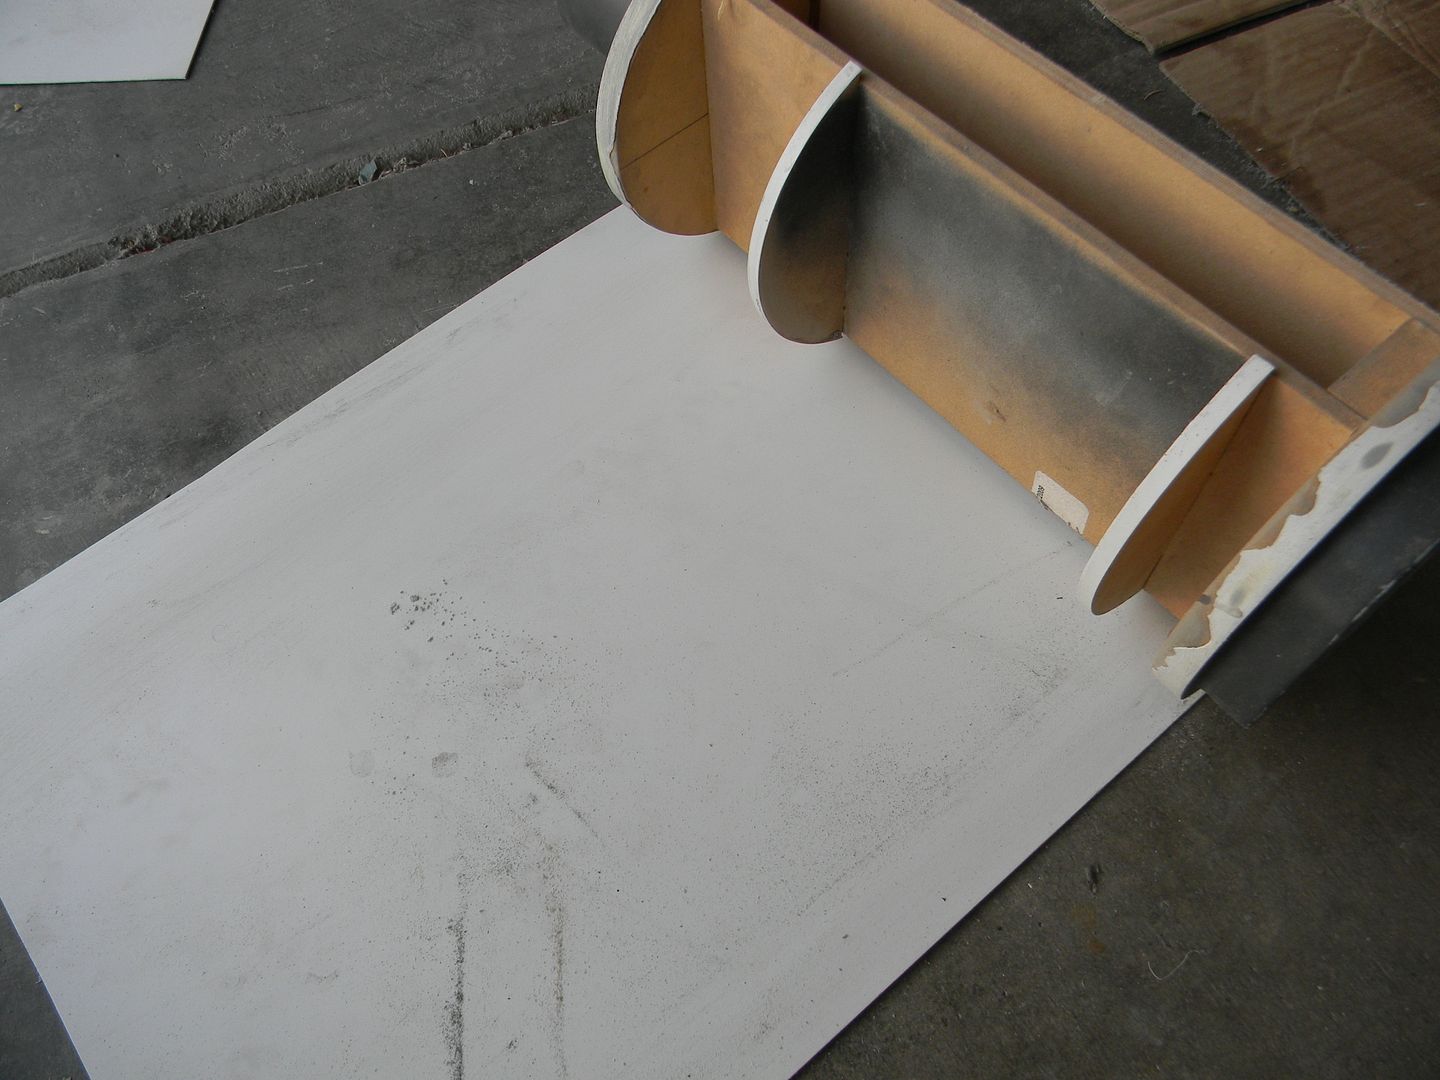


I used thicker styrene this time, so the heat wouldn't distort it. At least in my state's temperature range. A bit more fussy to do, but worth the peace of mind. I taped it in place and let the glue dry. 
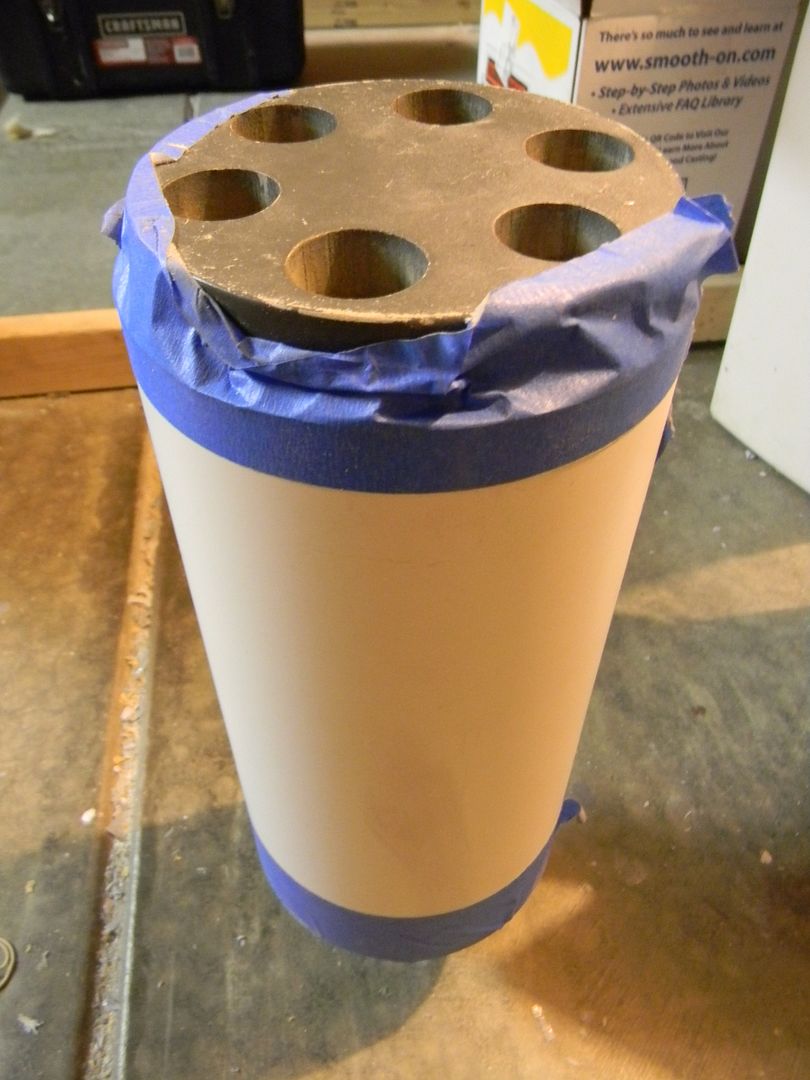


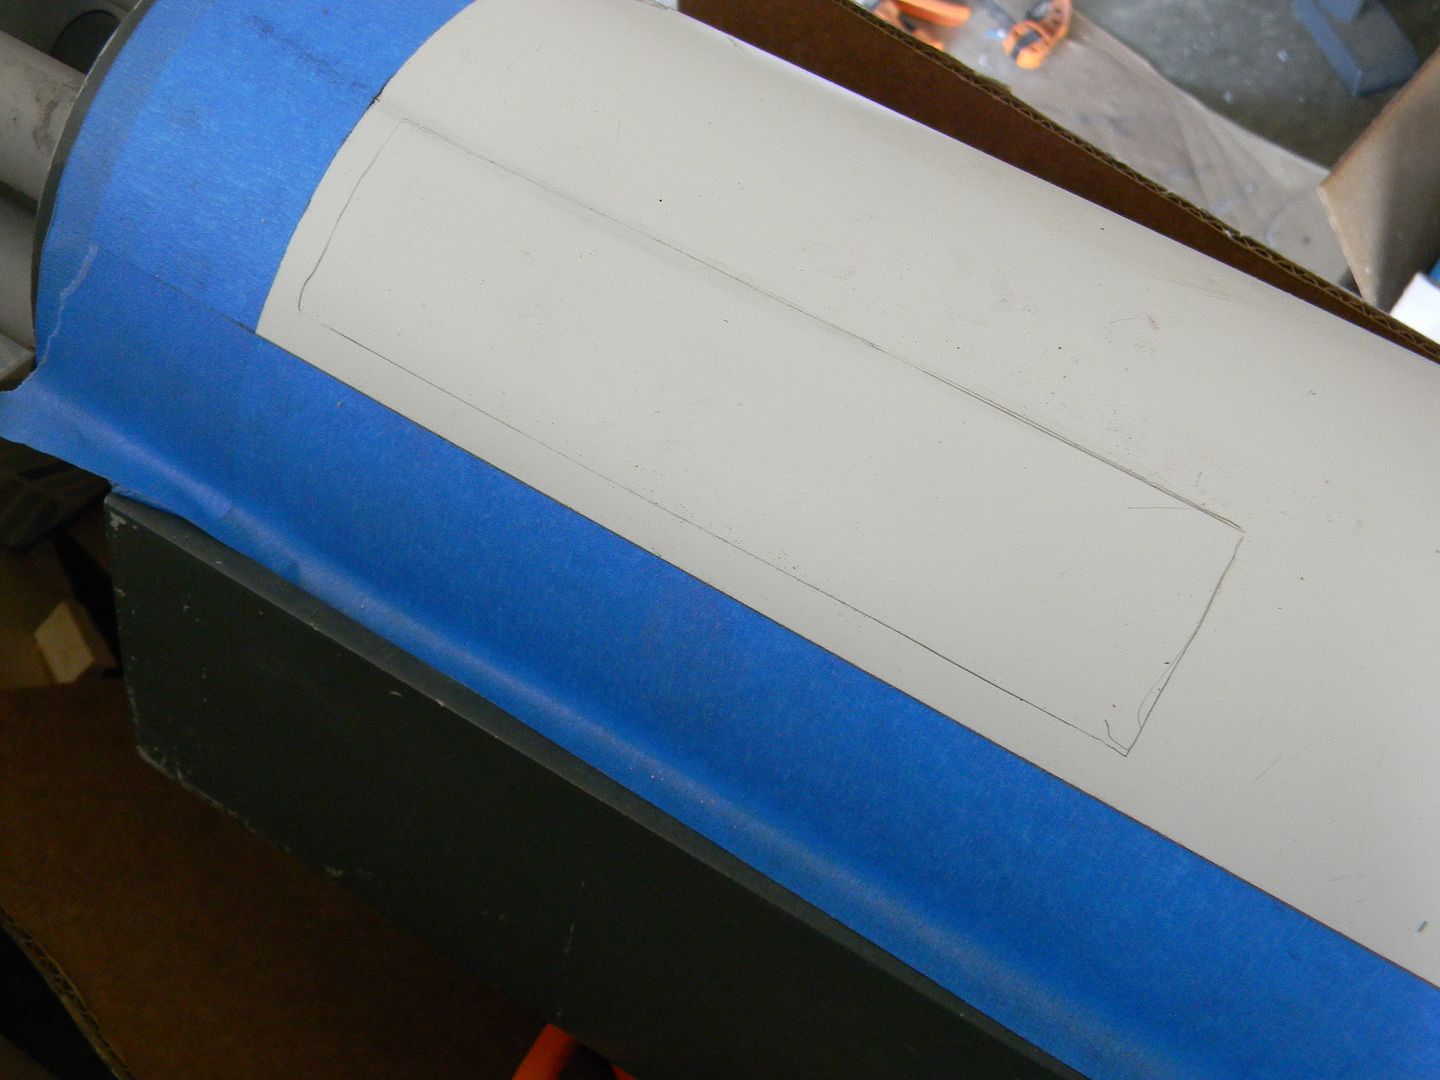
I cut the hole for the frame mount. Its harder than it looks, because if the hole is too small, it obviously won't sit. If the hole is too big, or crooked, a gap might show and there is no way to patch it and still preserve the curvature that is supposed to be there. I simply marked and measured, using masking tape edges as guides. Great success. Is nice. 


 I caked on some wood glue and hopefully it will last many years. 
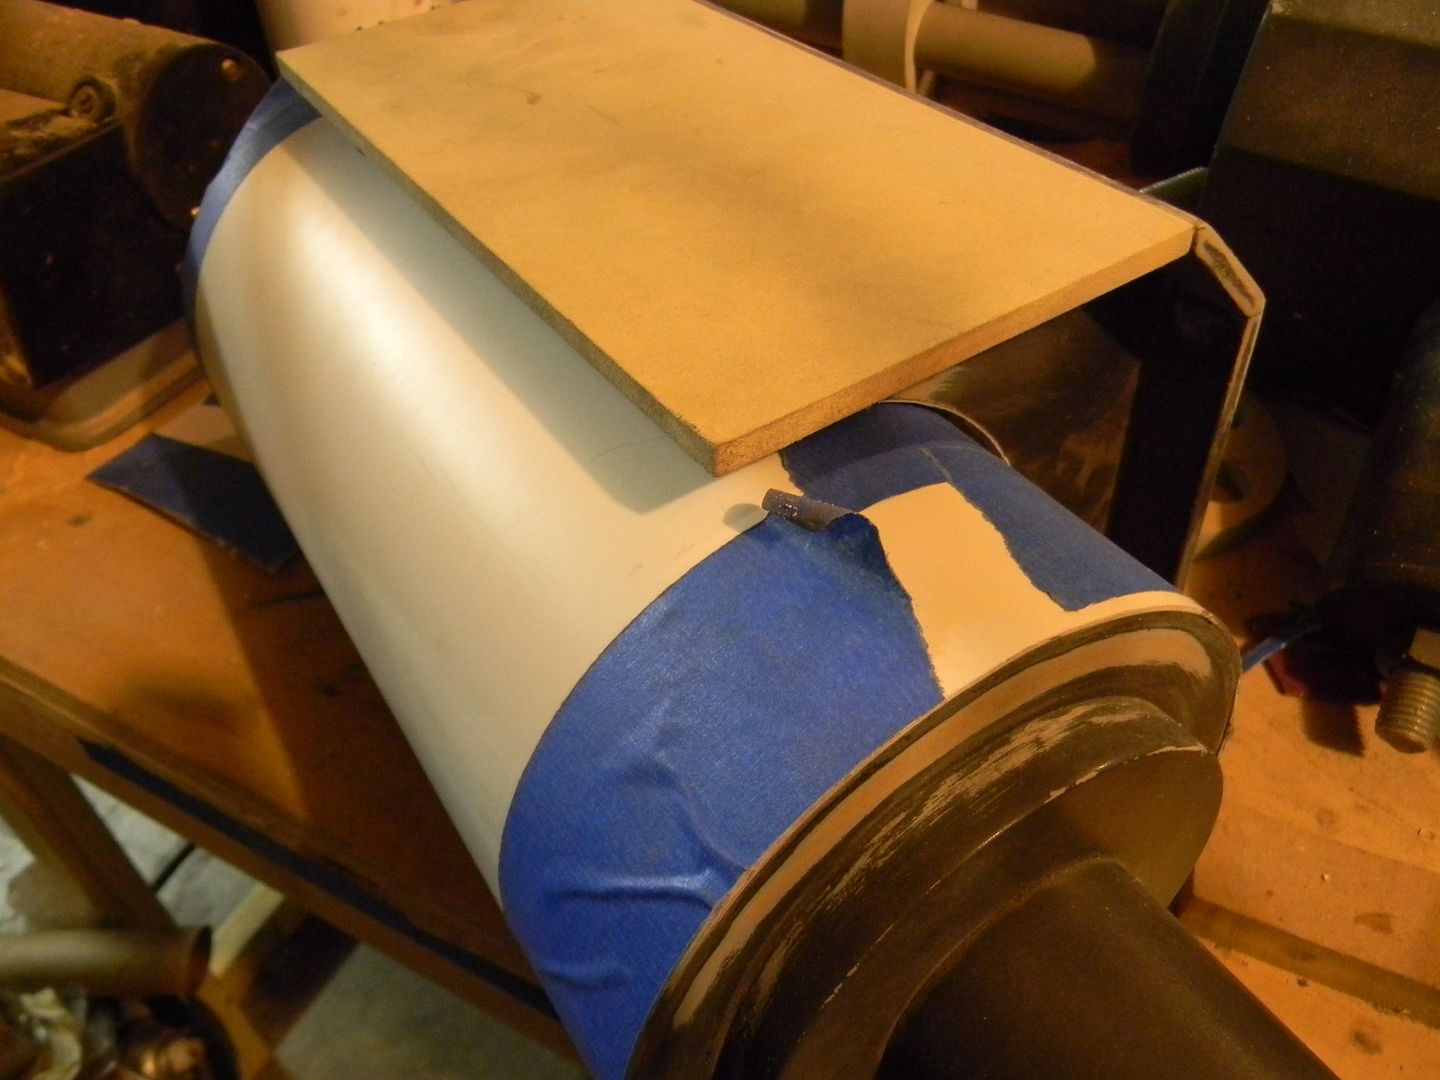


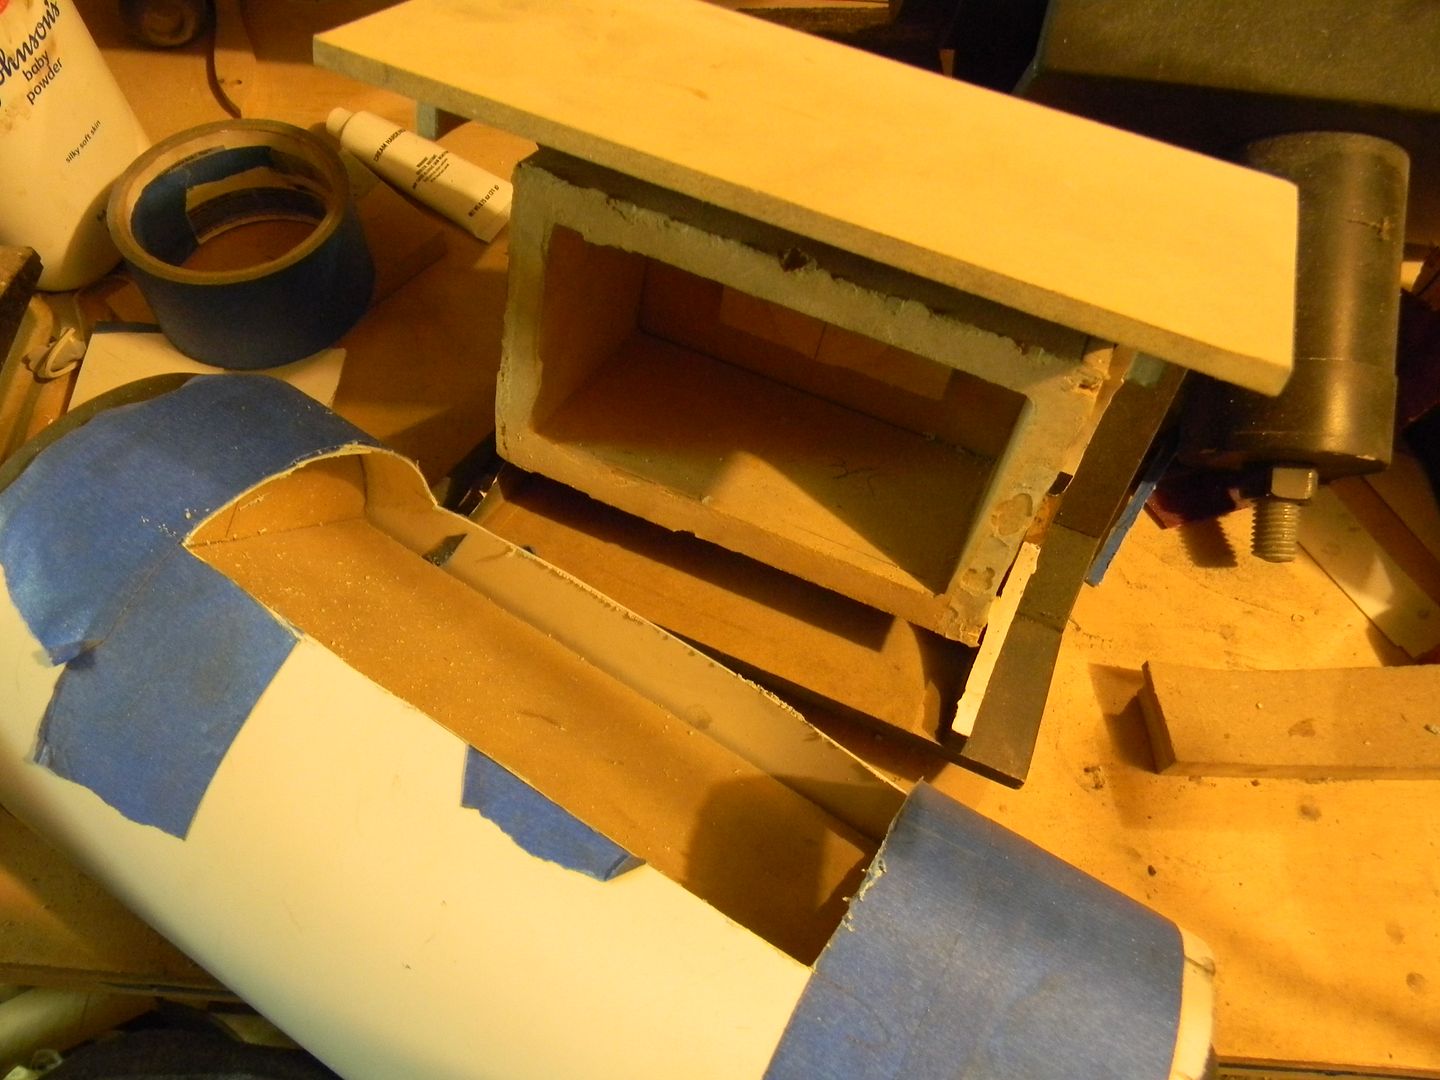
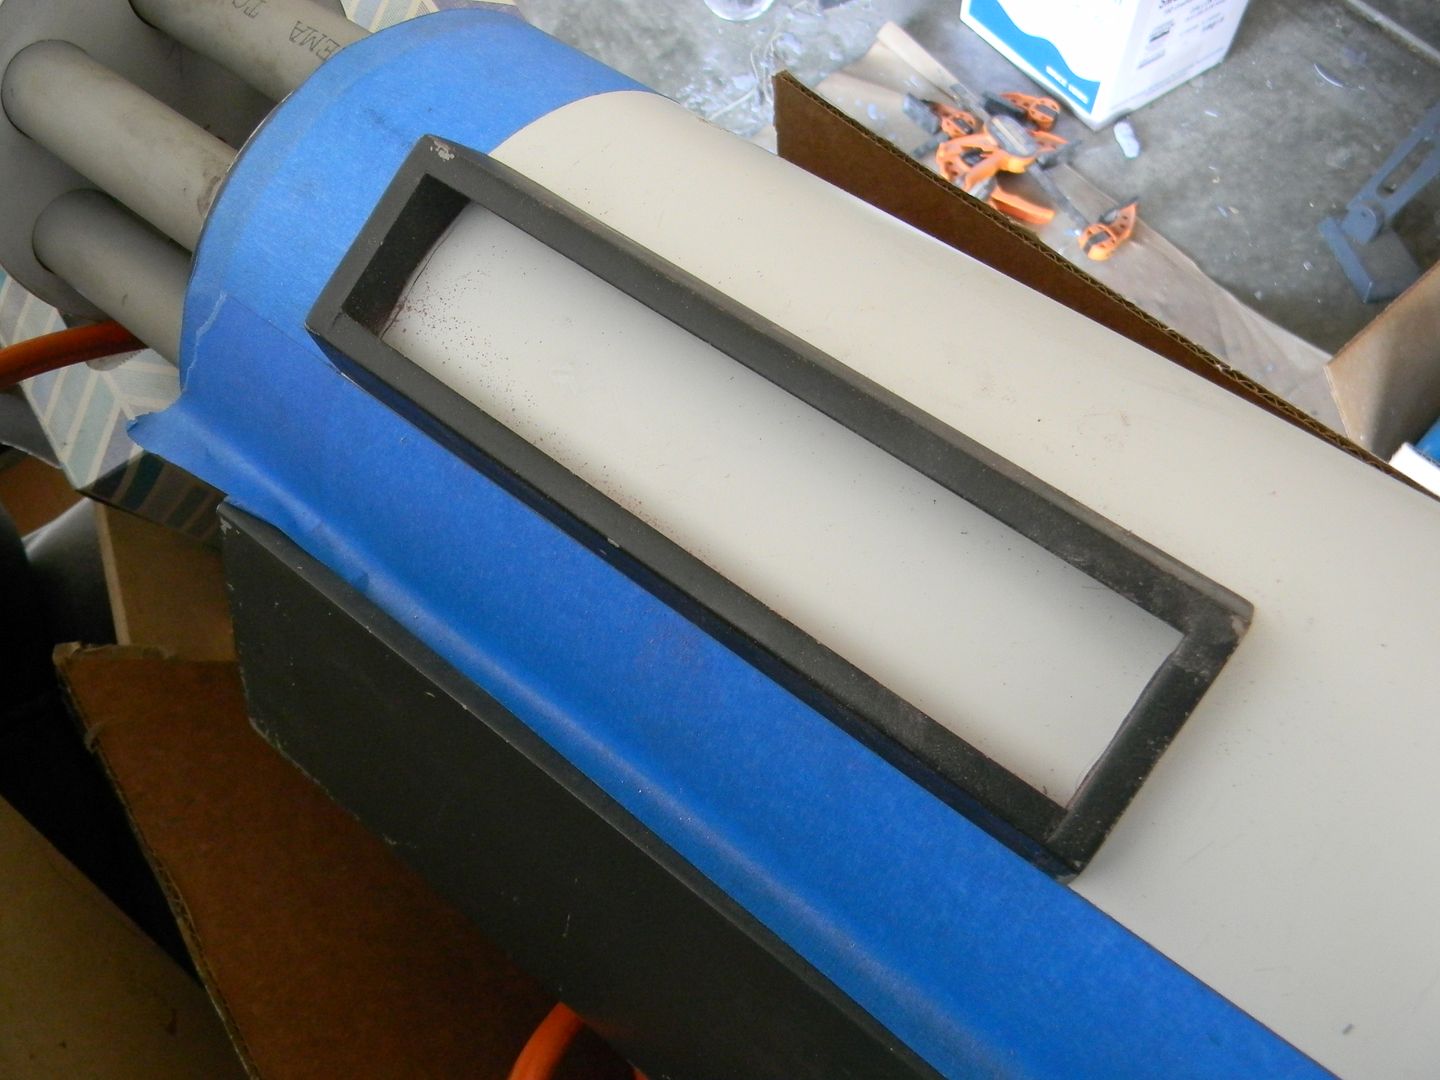
The holes for the magazine well was much easier to measure and cut. After copying the other gun, I glued the salvage magwell on top of the new skin and cut out the hole. 


Welcome home, you 8 year old piece of MDF.

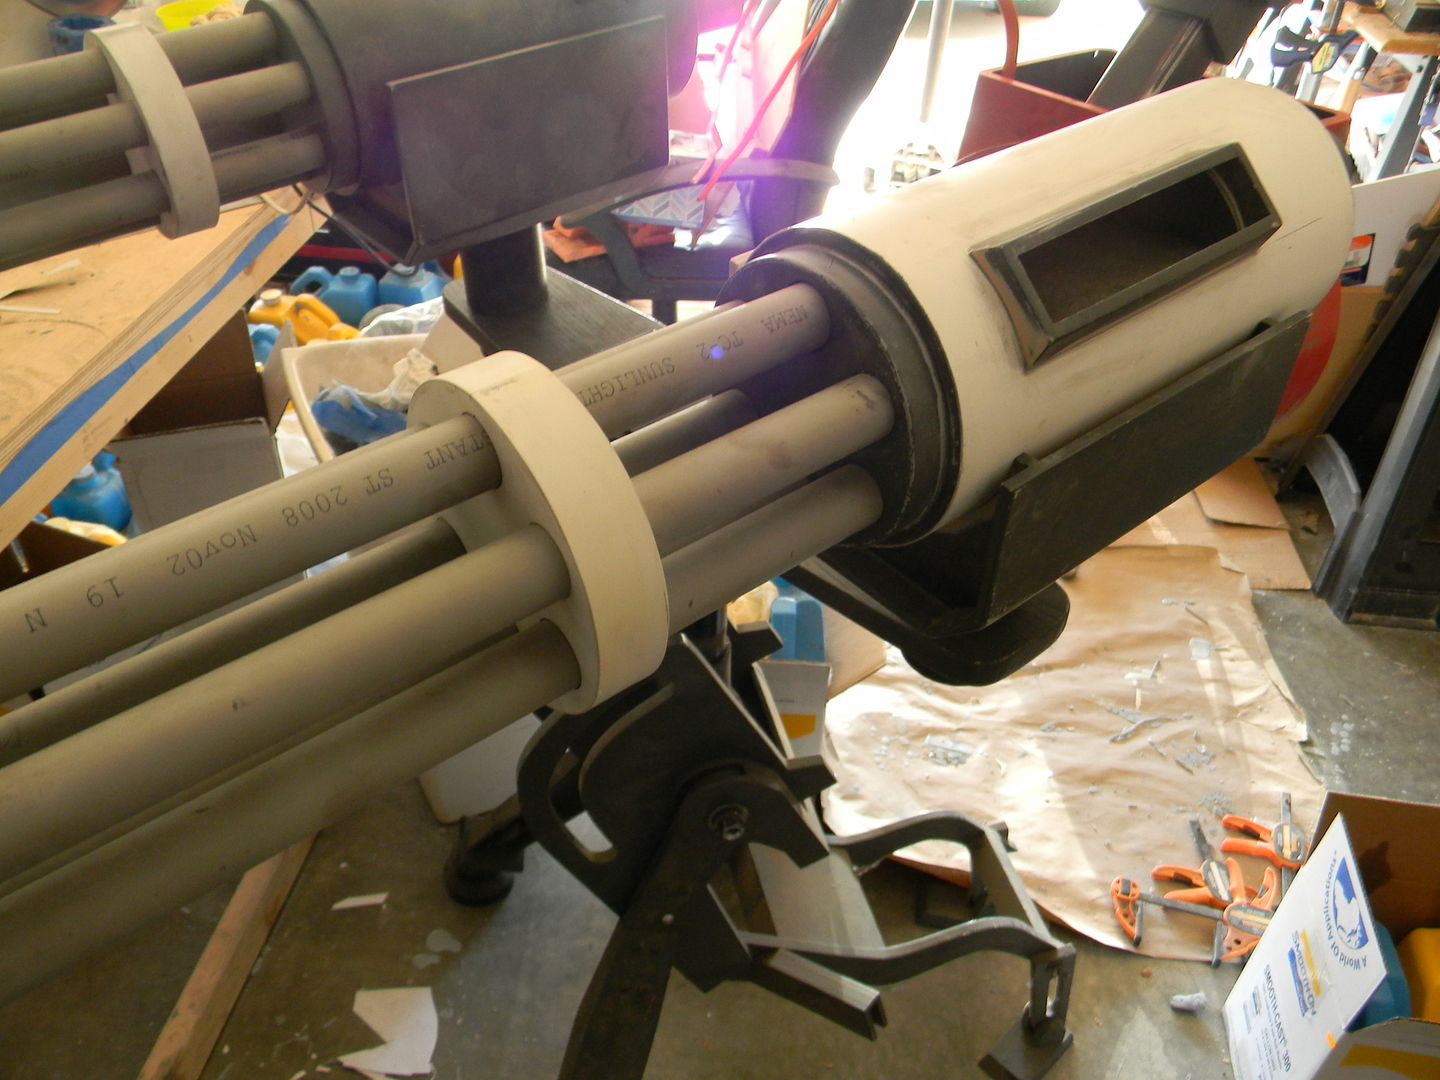
I once again had non-distorted miniguns! The other side needed moderate filling and sanding to preserve.


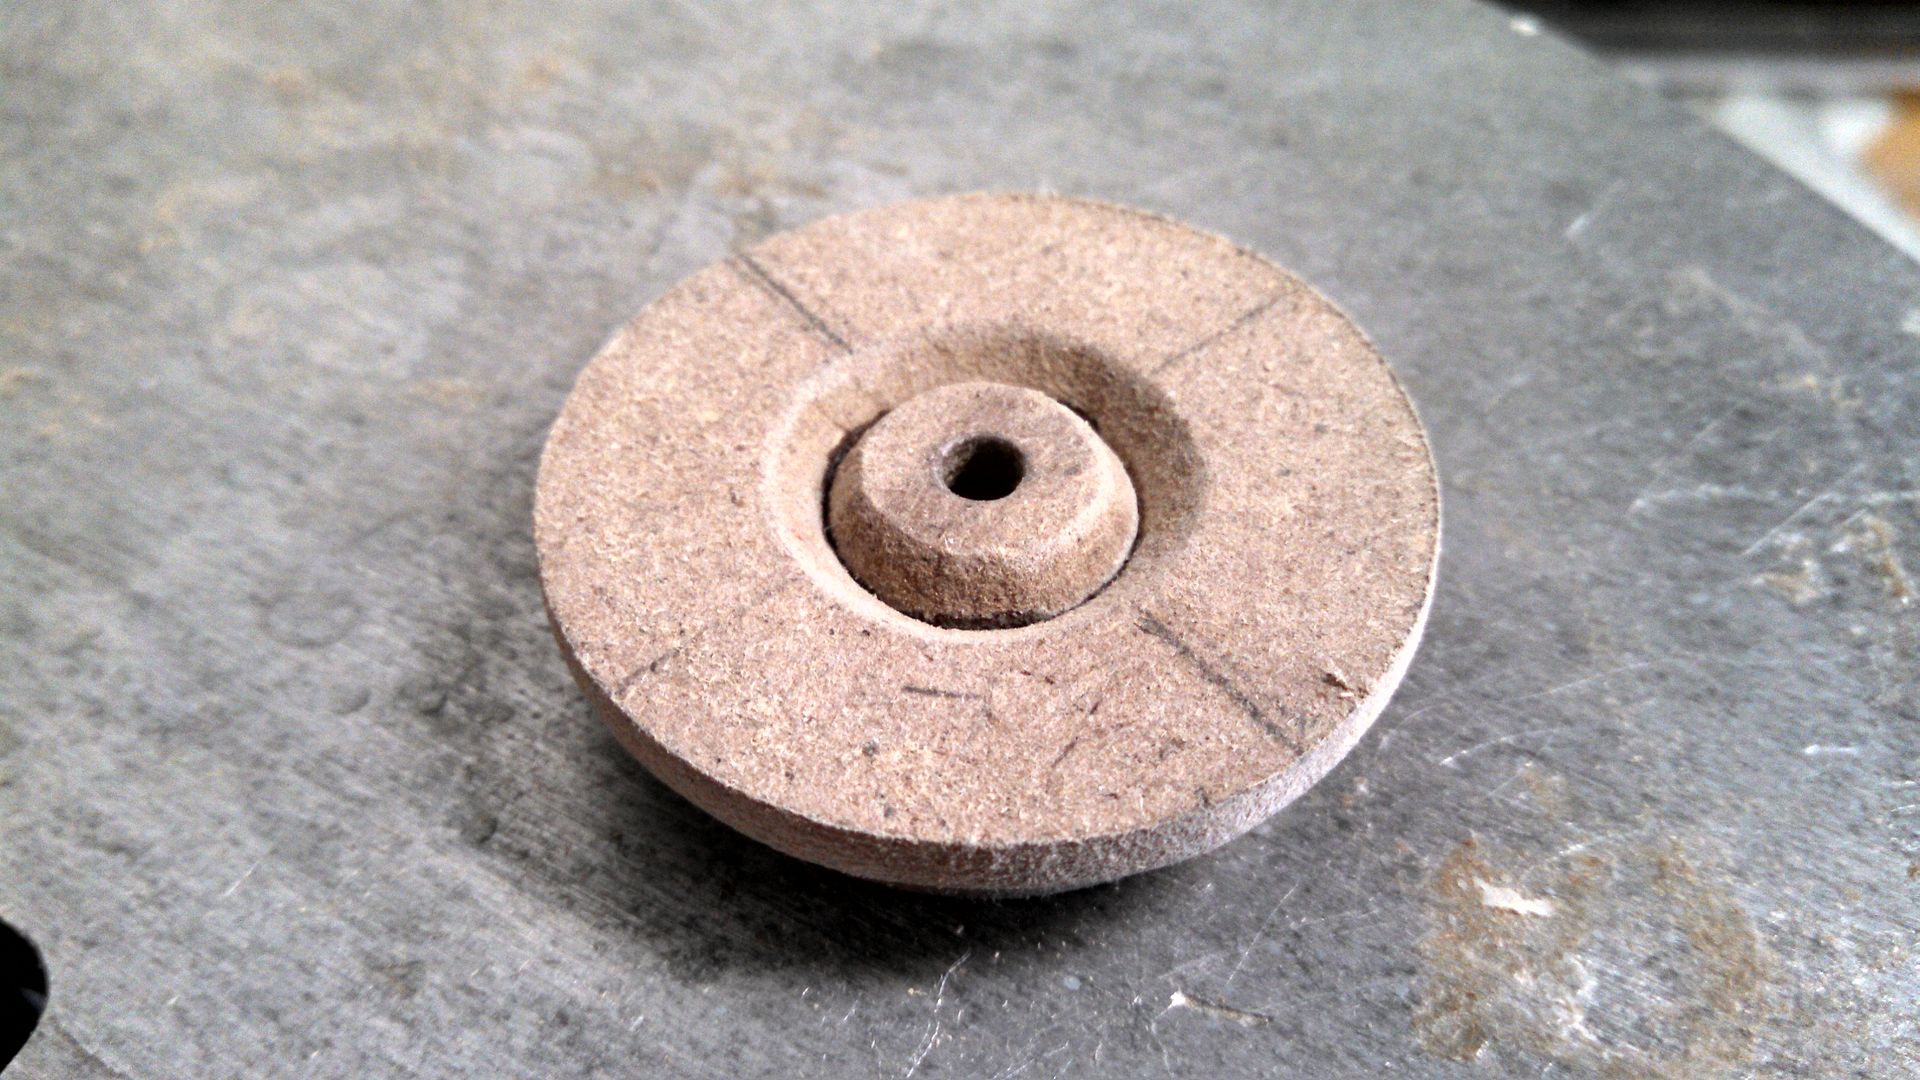
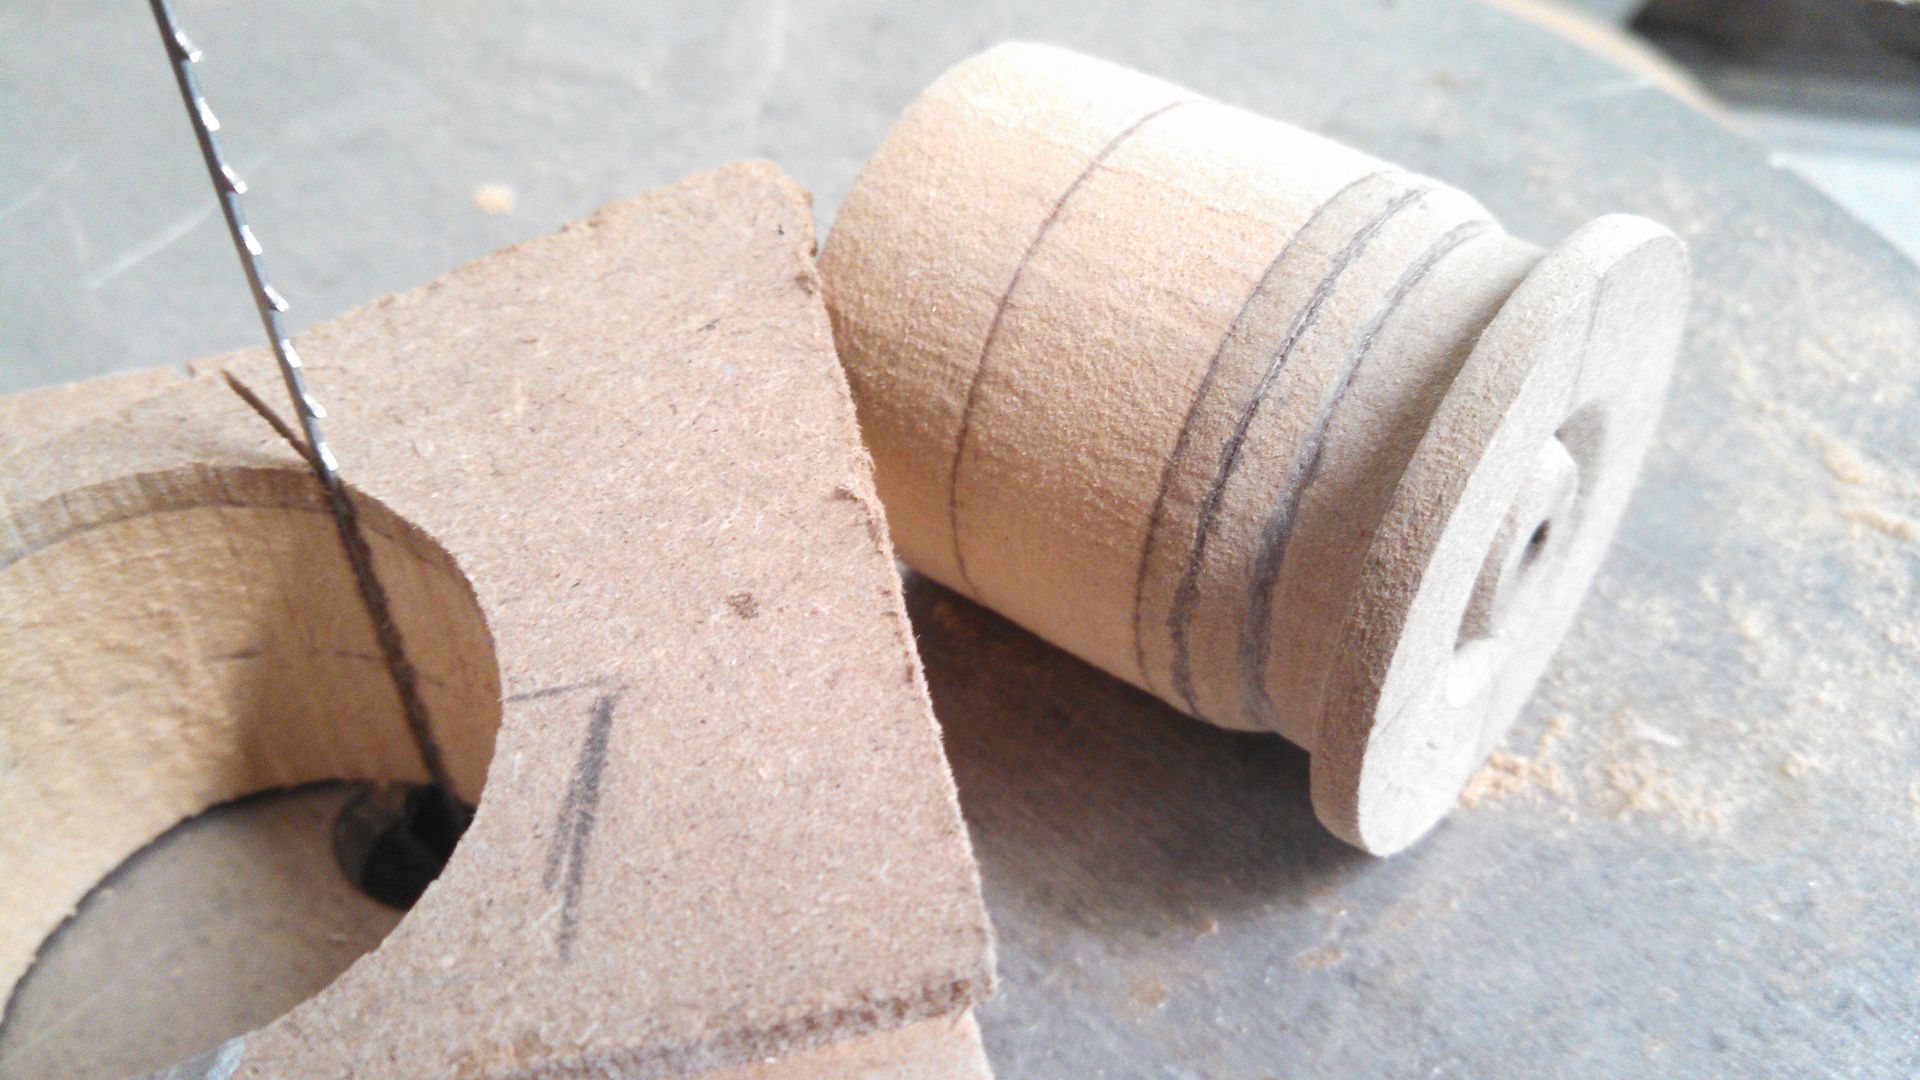
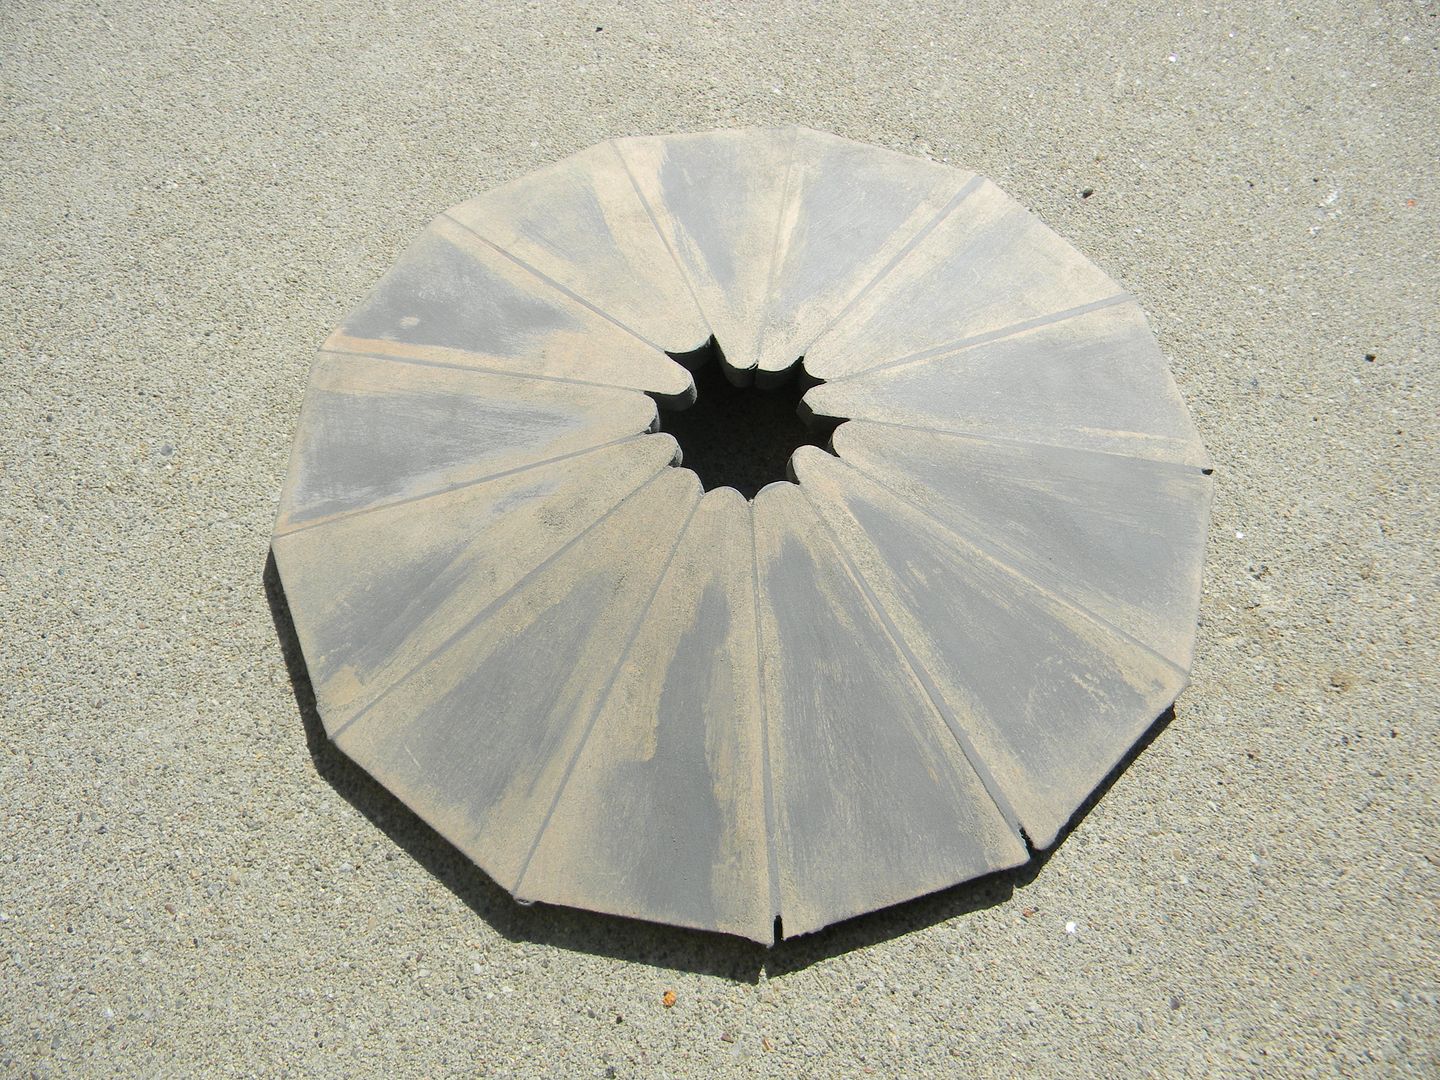
I skimped on photos for the rear most legs. Surprised? Anyways, this was kind of a pain. I didnt want to just use a plate or a saucer. The feet in game have a very angled but subtle look to them. I cut one out on a scroll saw, adjusted it as needed, and made a bunch of copies. I did some half-assed math to do this, but more than anything I'm pretty sure I just got lucky that it all fit together. The inside circle doesn't matter since its getting cut out for a PVC coupling. 


New guns mounted, new feet taking shape.
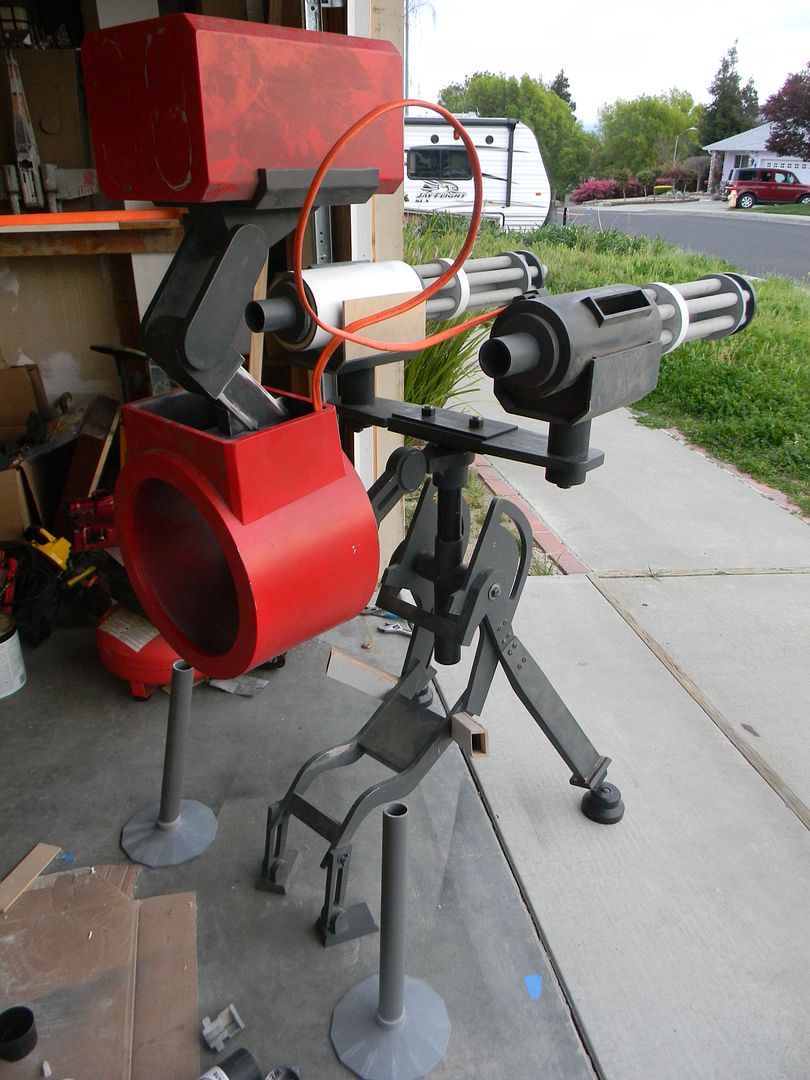


These rear legs....were a complete pain. No amount of screenshots could give me the correct angles at which they meet. They are kinked on at least 3 axis' and nothing is perfectly horizontal or vertical to reference off of. It took a lot of temporary gluing and real world fitting/frustration to get these right. 
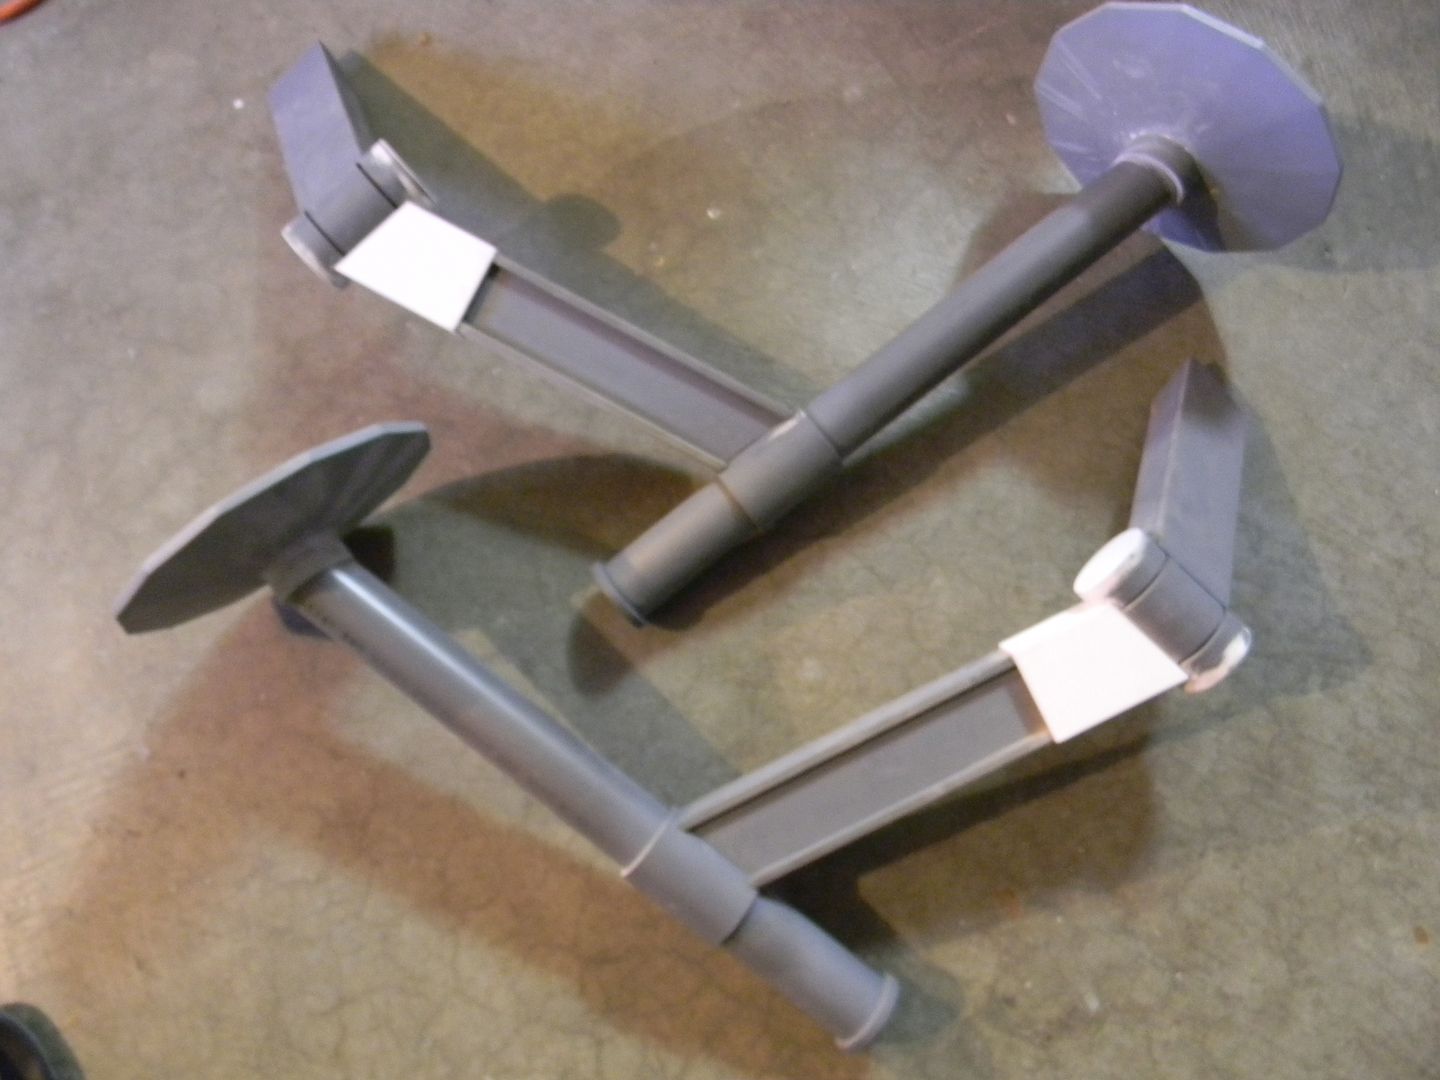


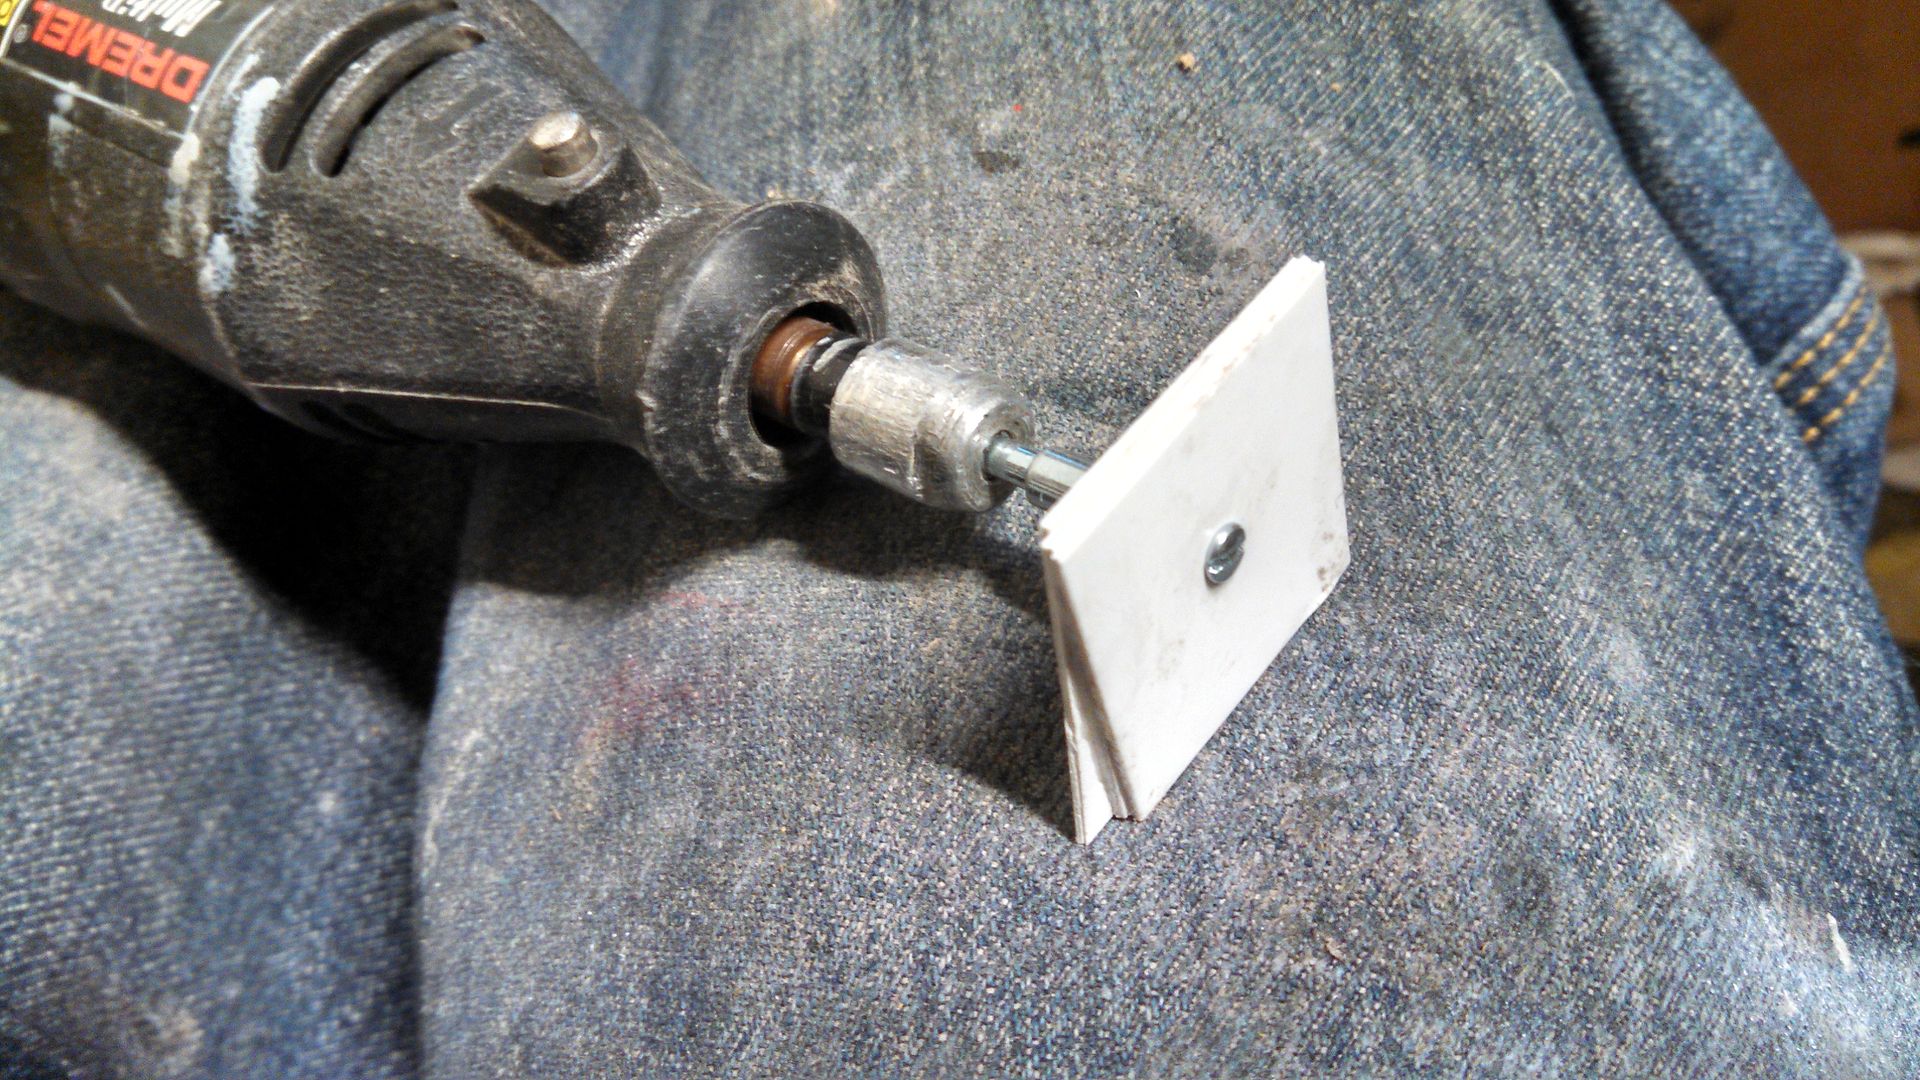
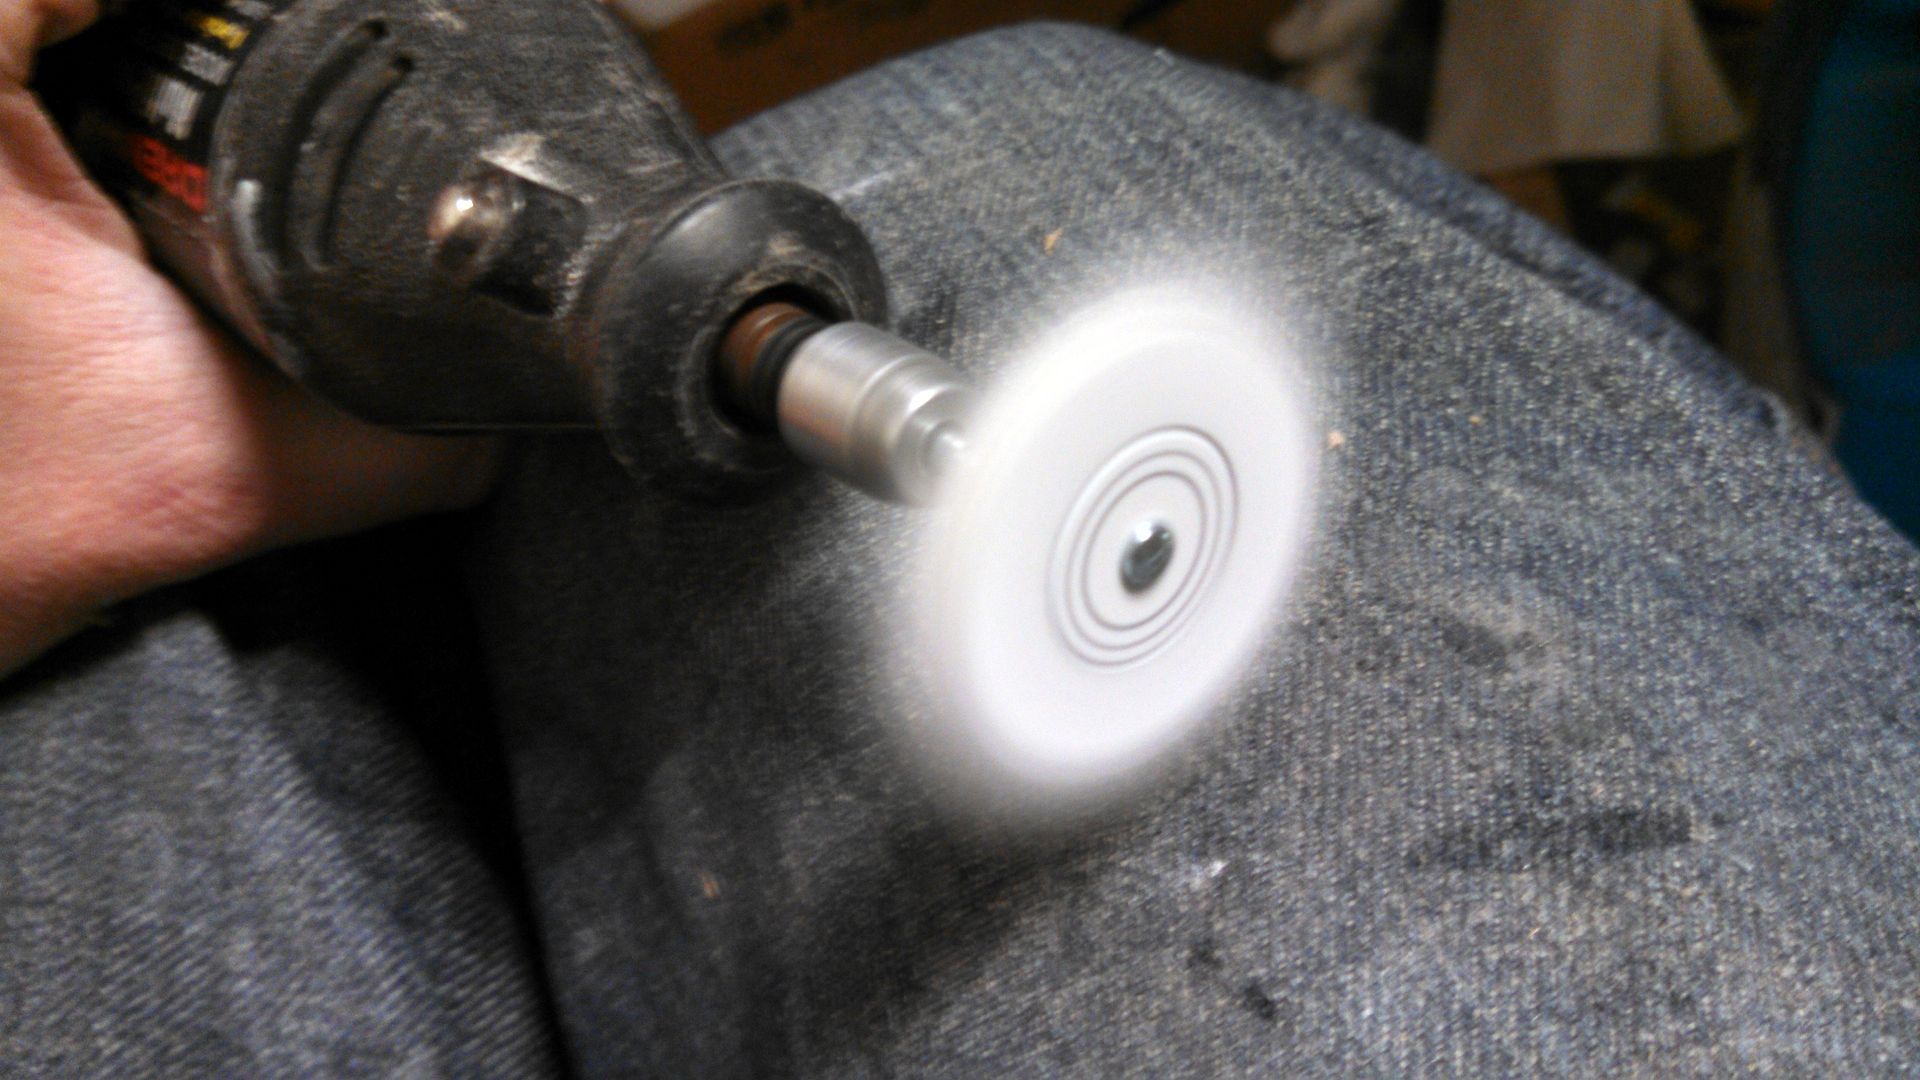
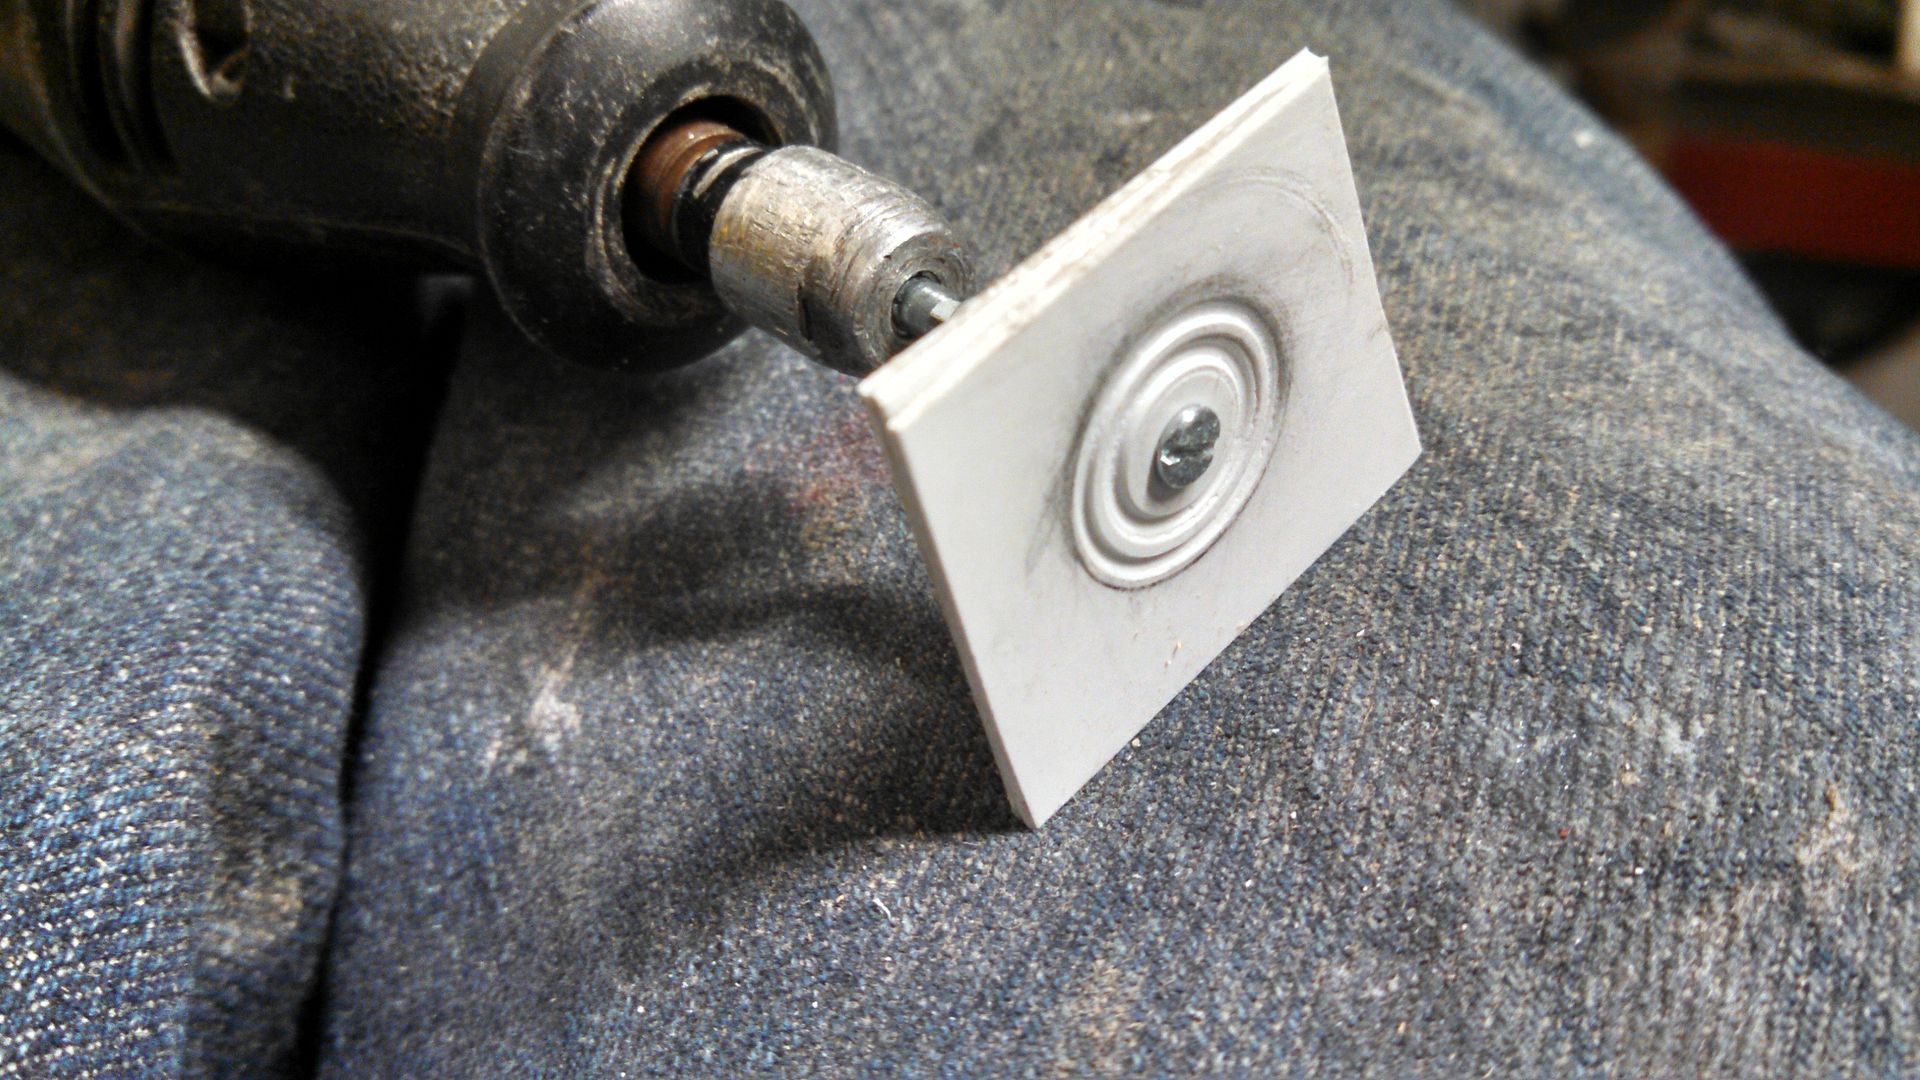
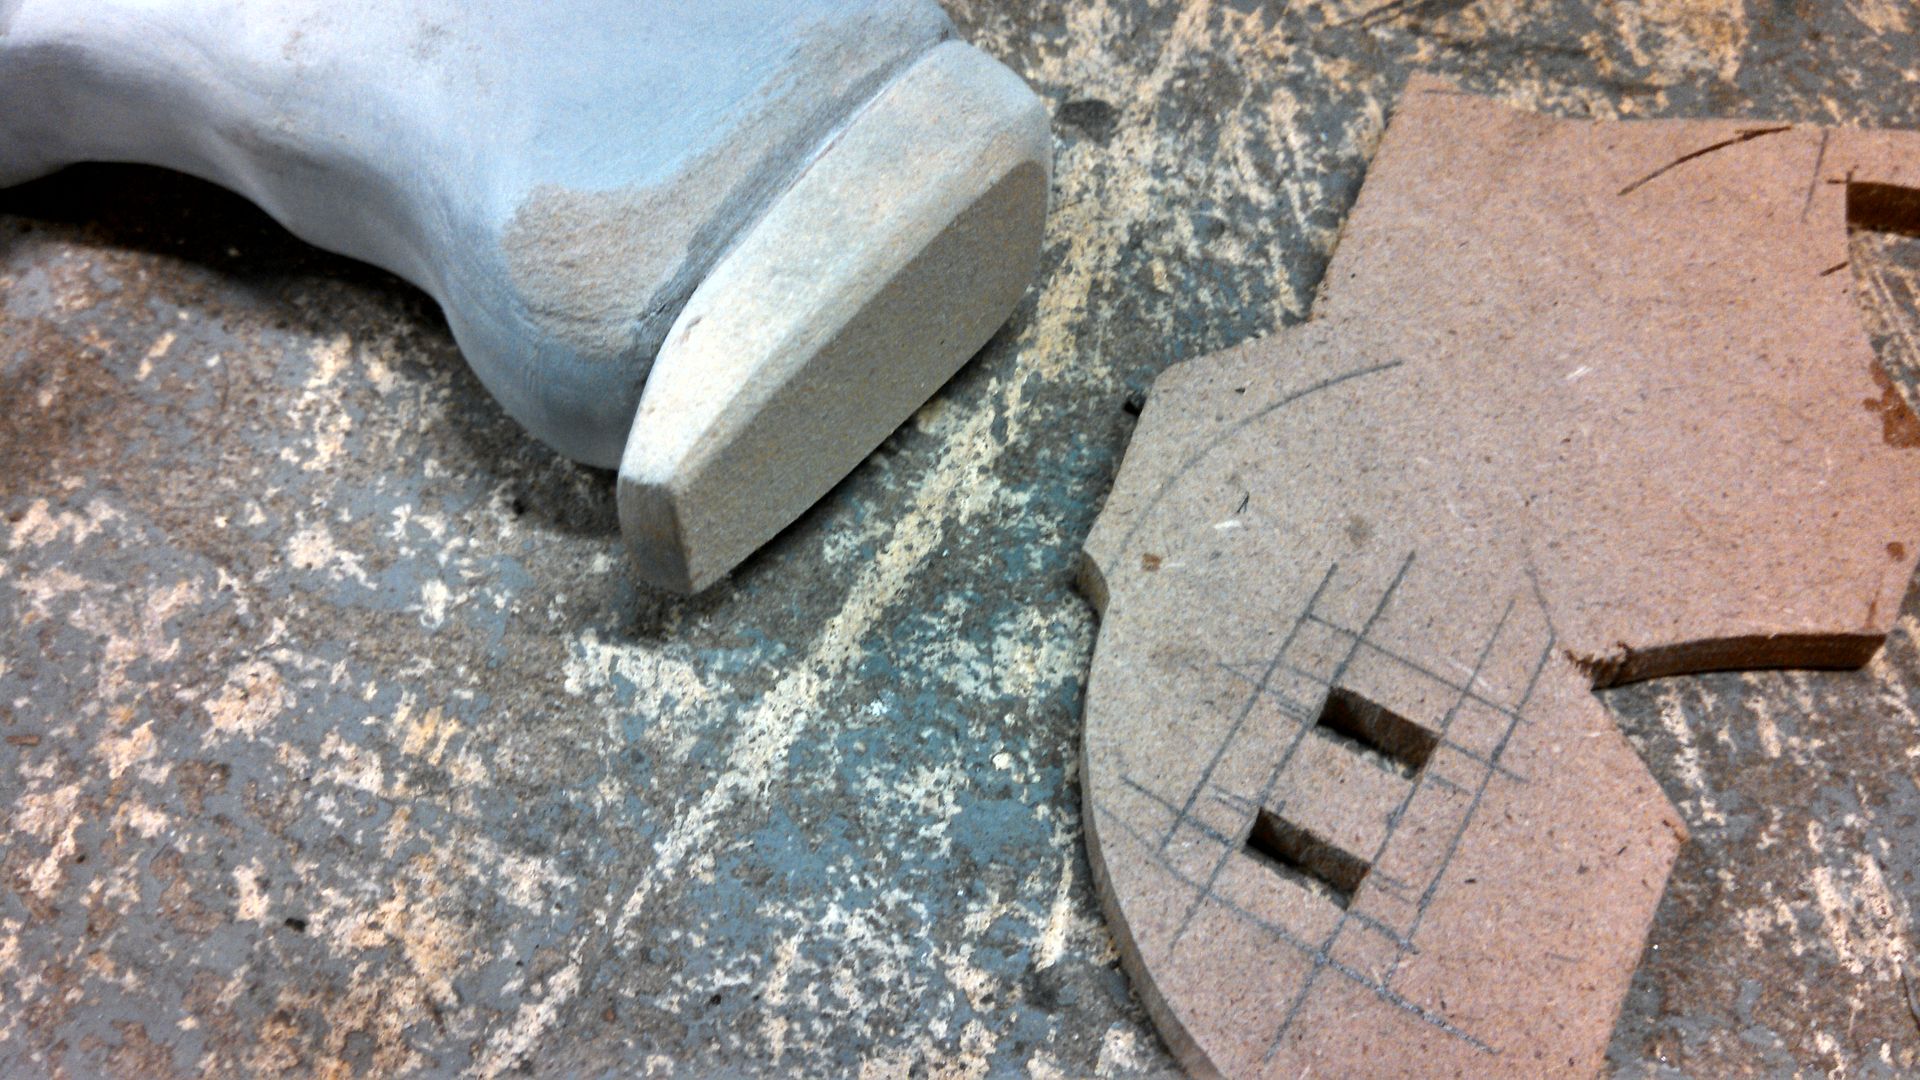
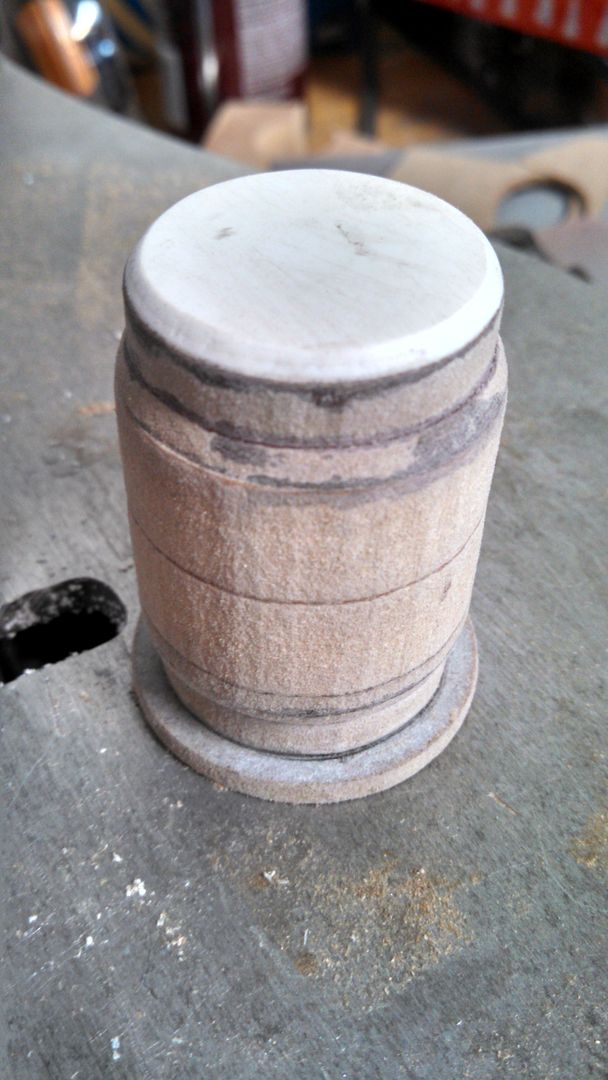
Time to paint (Again) and make some ammo belts! Before I forget, Those rings on the barrel are made from 1/2 inch MDF. Except for the white ones, which are styrene to keep the weight down. 21 year old me didn't own a hand drill, and certainly not a drill press. They were ALL drafted by hand and cut by hand on a scroll saw. It was a ton of work. The styrene holes were sanded out with a dremel. 
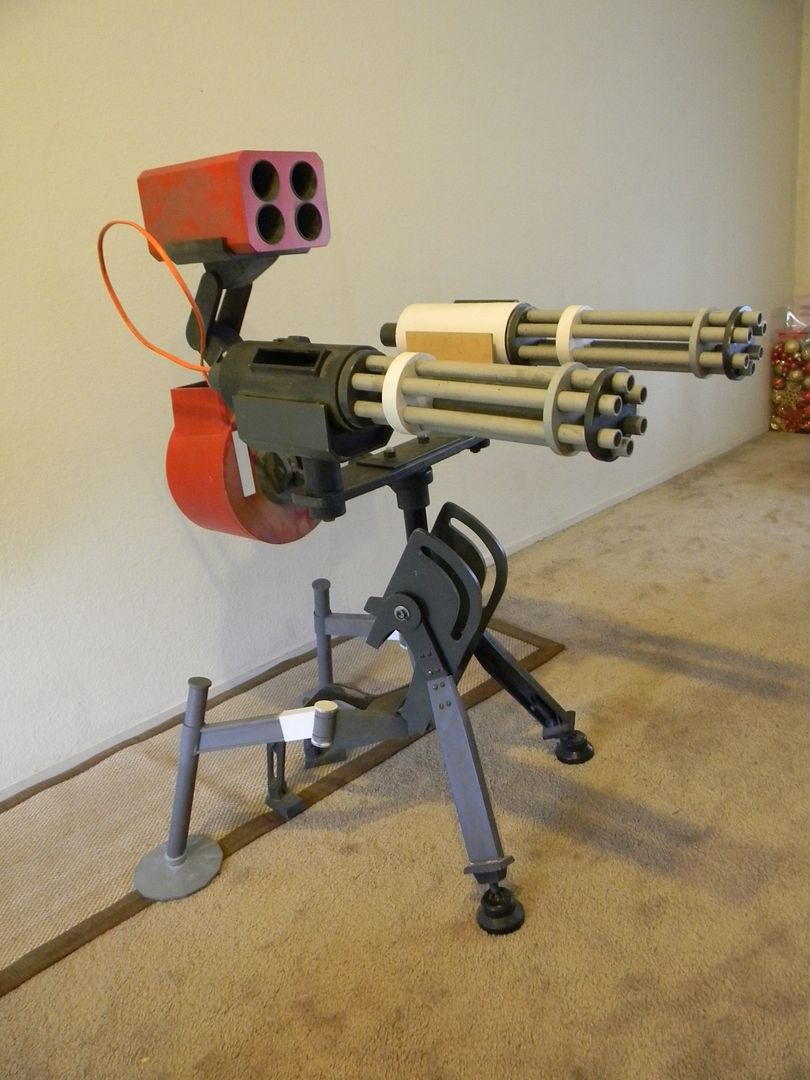


Not only was the old paint showing its age, but the company that make the paint doesn't offer it any more so the new parts wouldn't have matched. It all got sanded, primed, and painted. Again. Which is a few days of work by itself. 
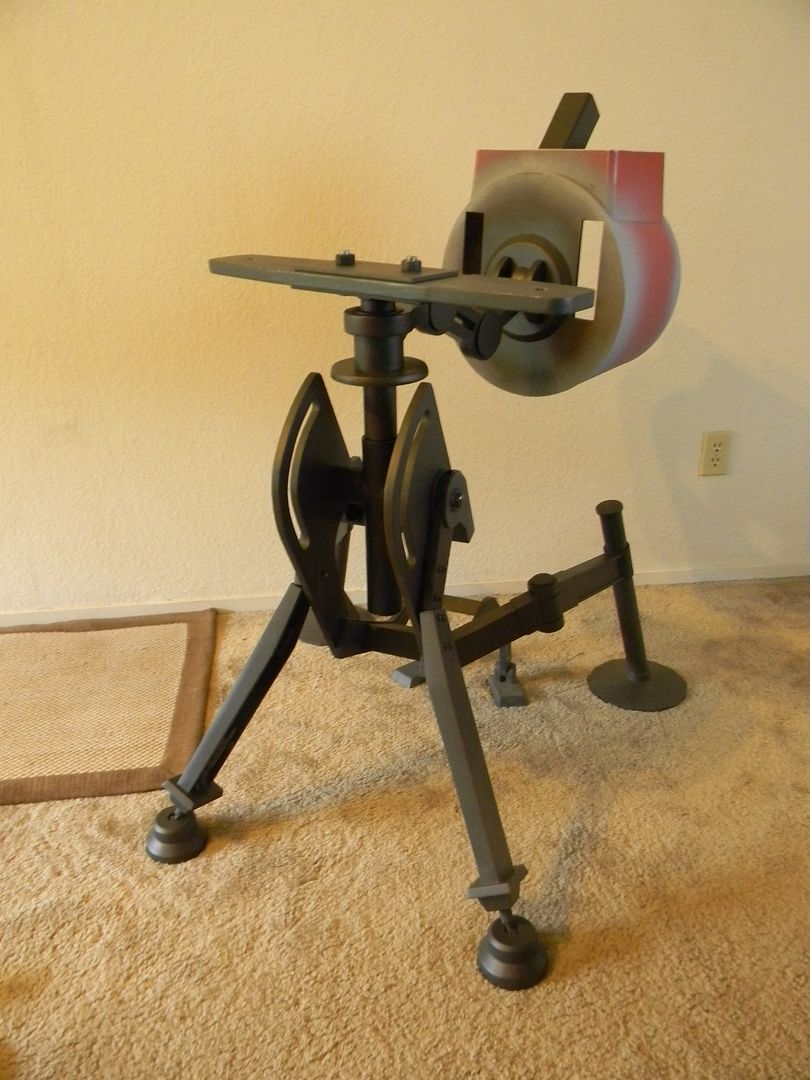


The ammo belts were hastily made from EVA foam, and were the only rushed part of this build. I wanted to get it ready for a local convention, called Silicon Valley Comic Con. Do I need to mention for the Nth time that I didn't take pictures?

The results are nothing short of spectacular. Not only is this fun to have at a convention, but this bad boy greets guests in my living room. Every day. So worth it. 

Photo by Asian Treehouse Studios.
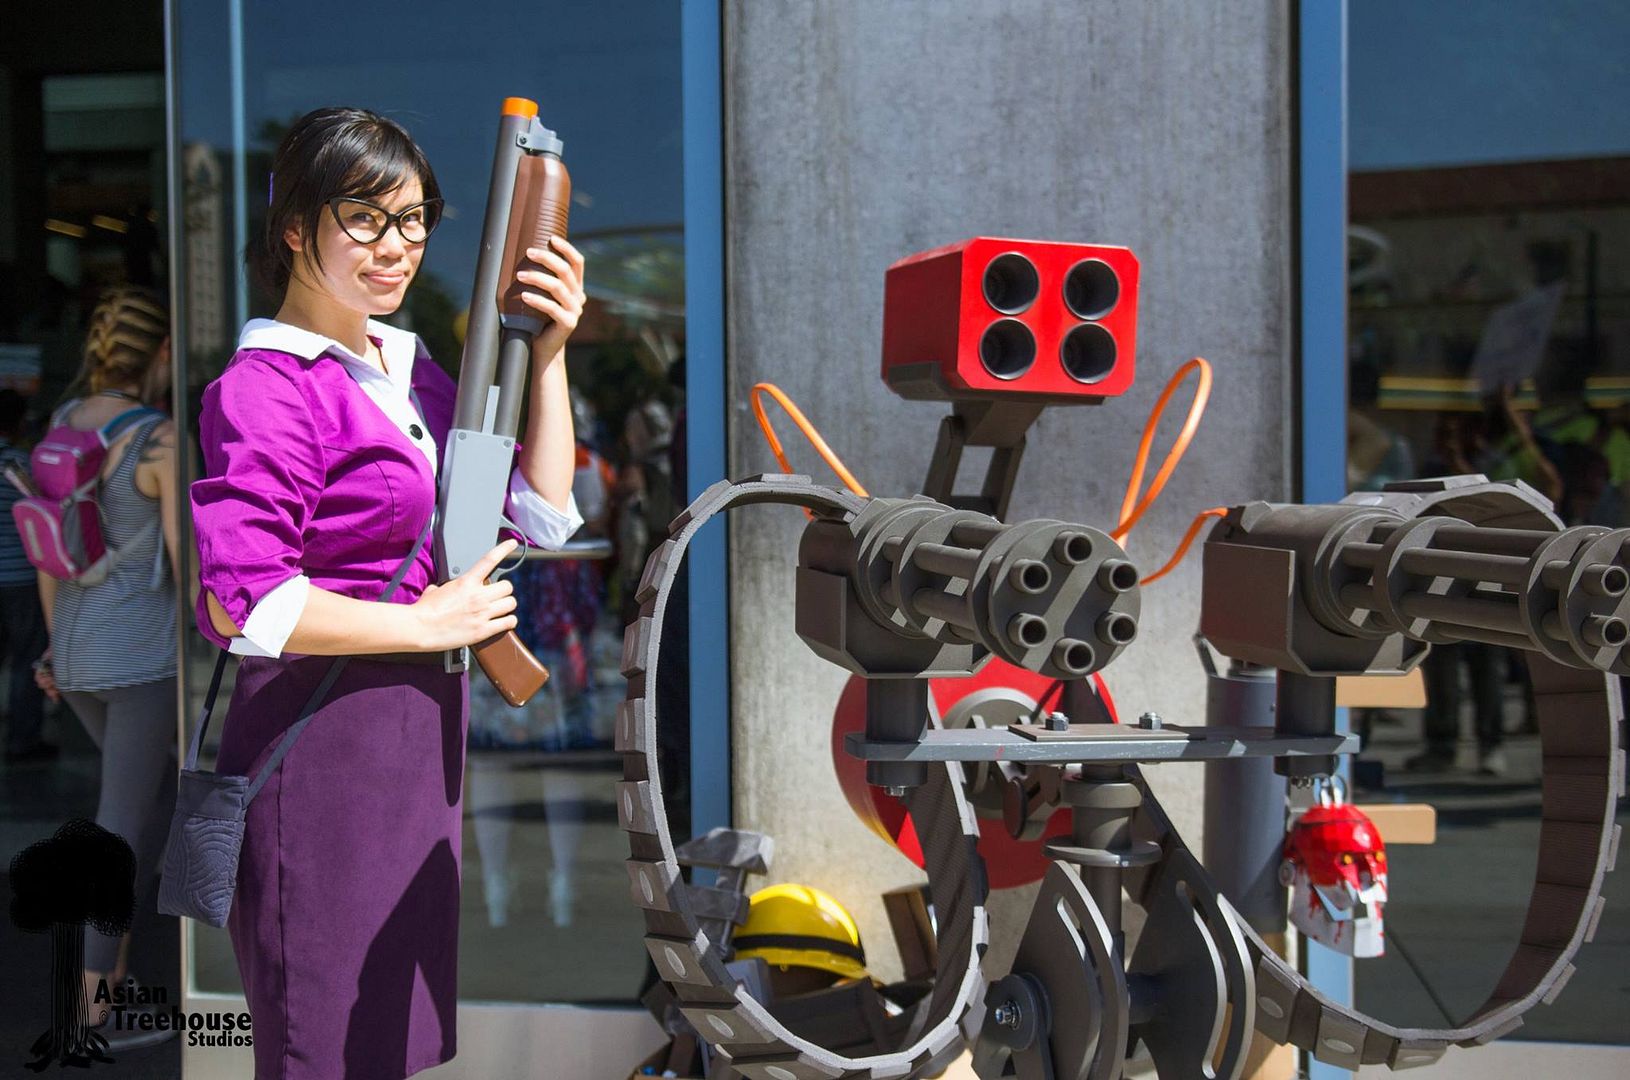


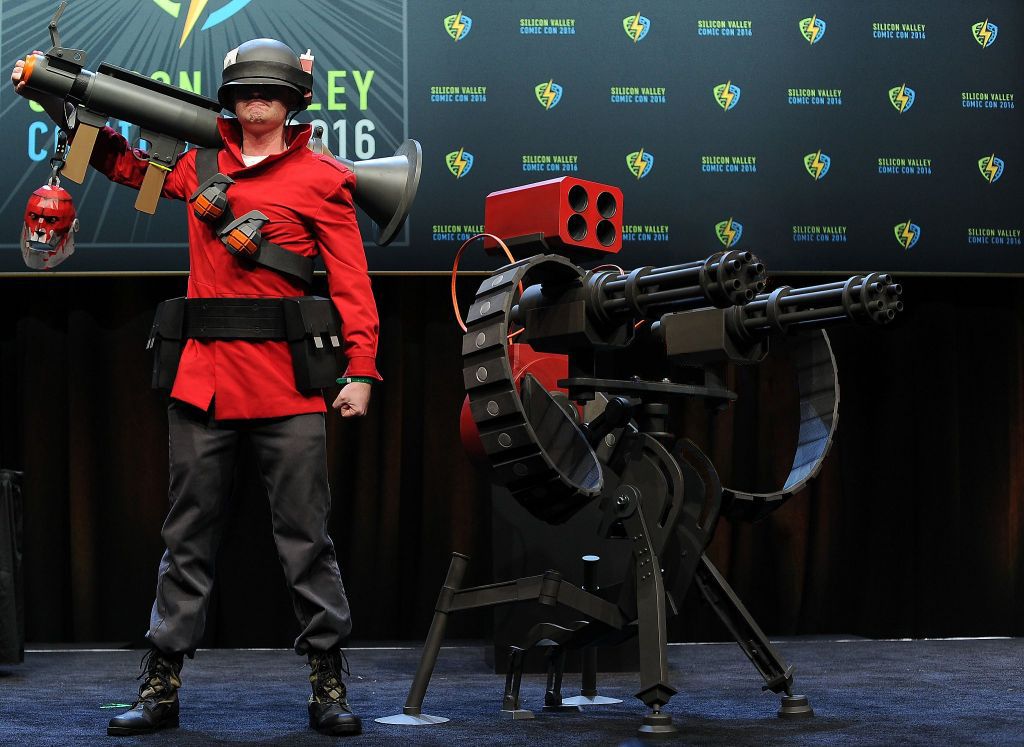
Photo by Kiel of Kairu Photography


I entered a costume contest for my first time. I wore my soldier costume instead of my engineer, and brought the sentry.... 


The result was my first award! hooray!
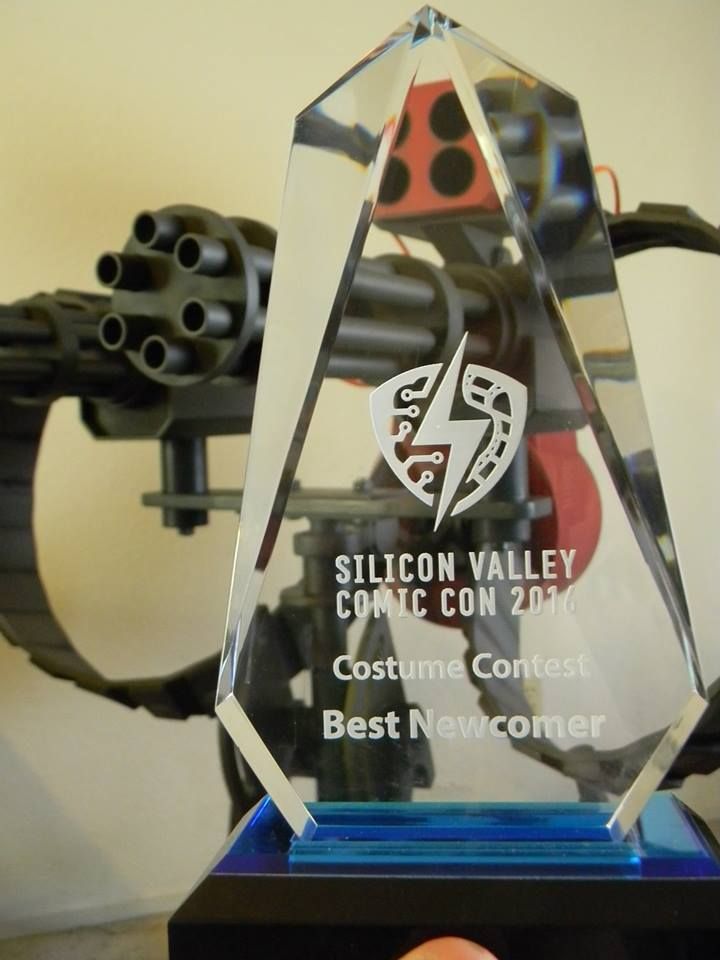


Yeah, I don't think I can top that, but this isn't the end of my sentry gun builds...


Friday, January 8, 2016

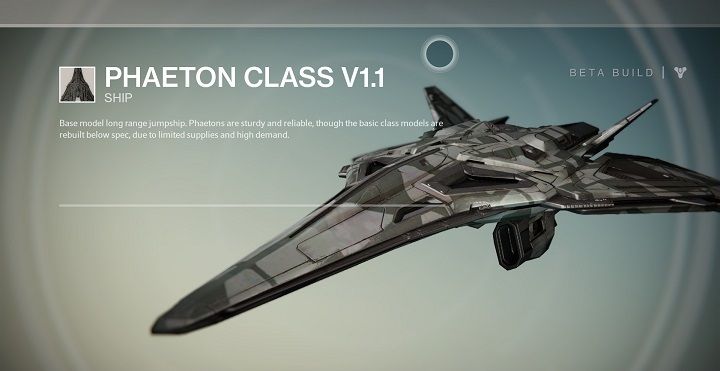
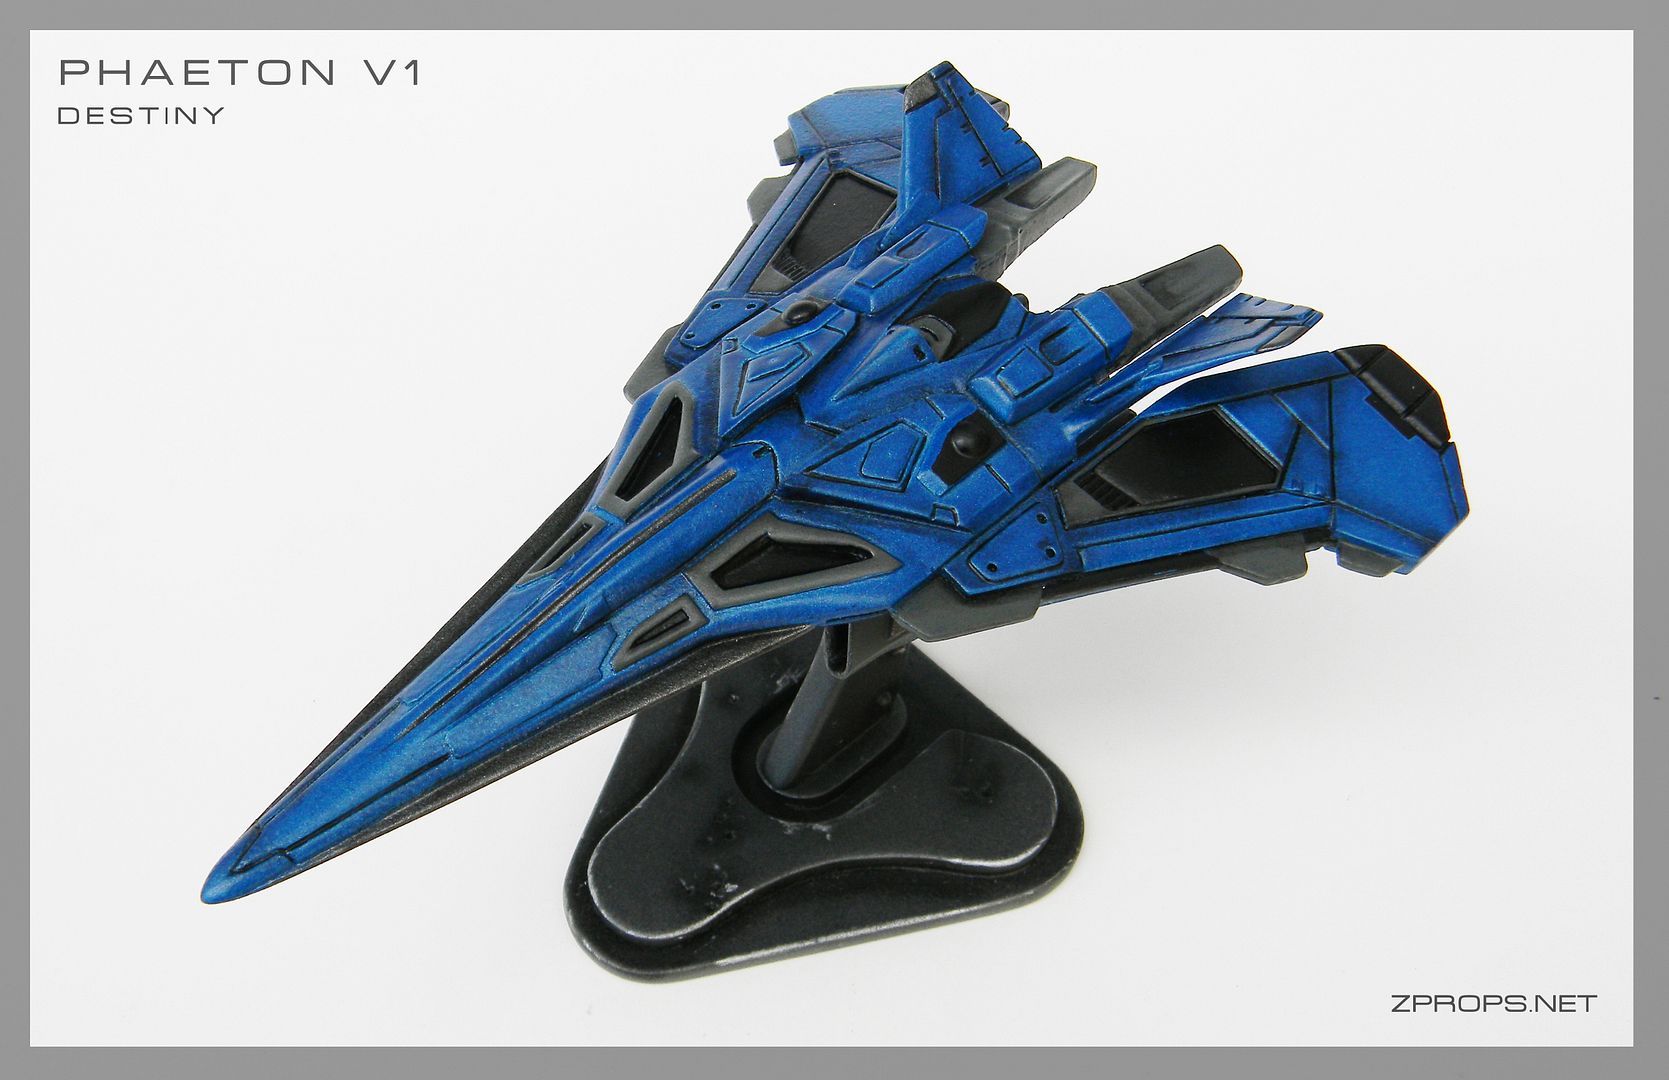
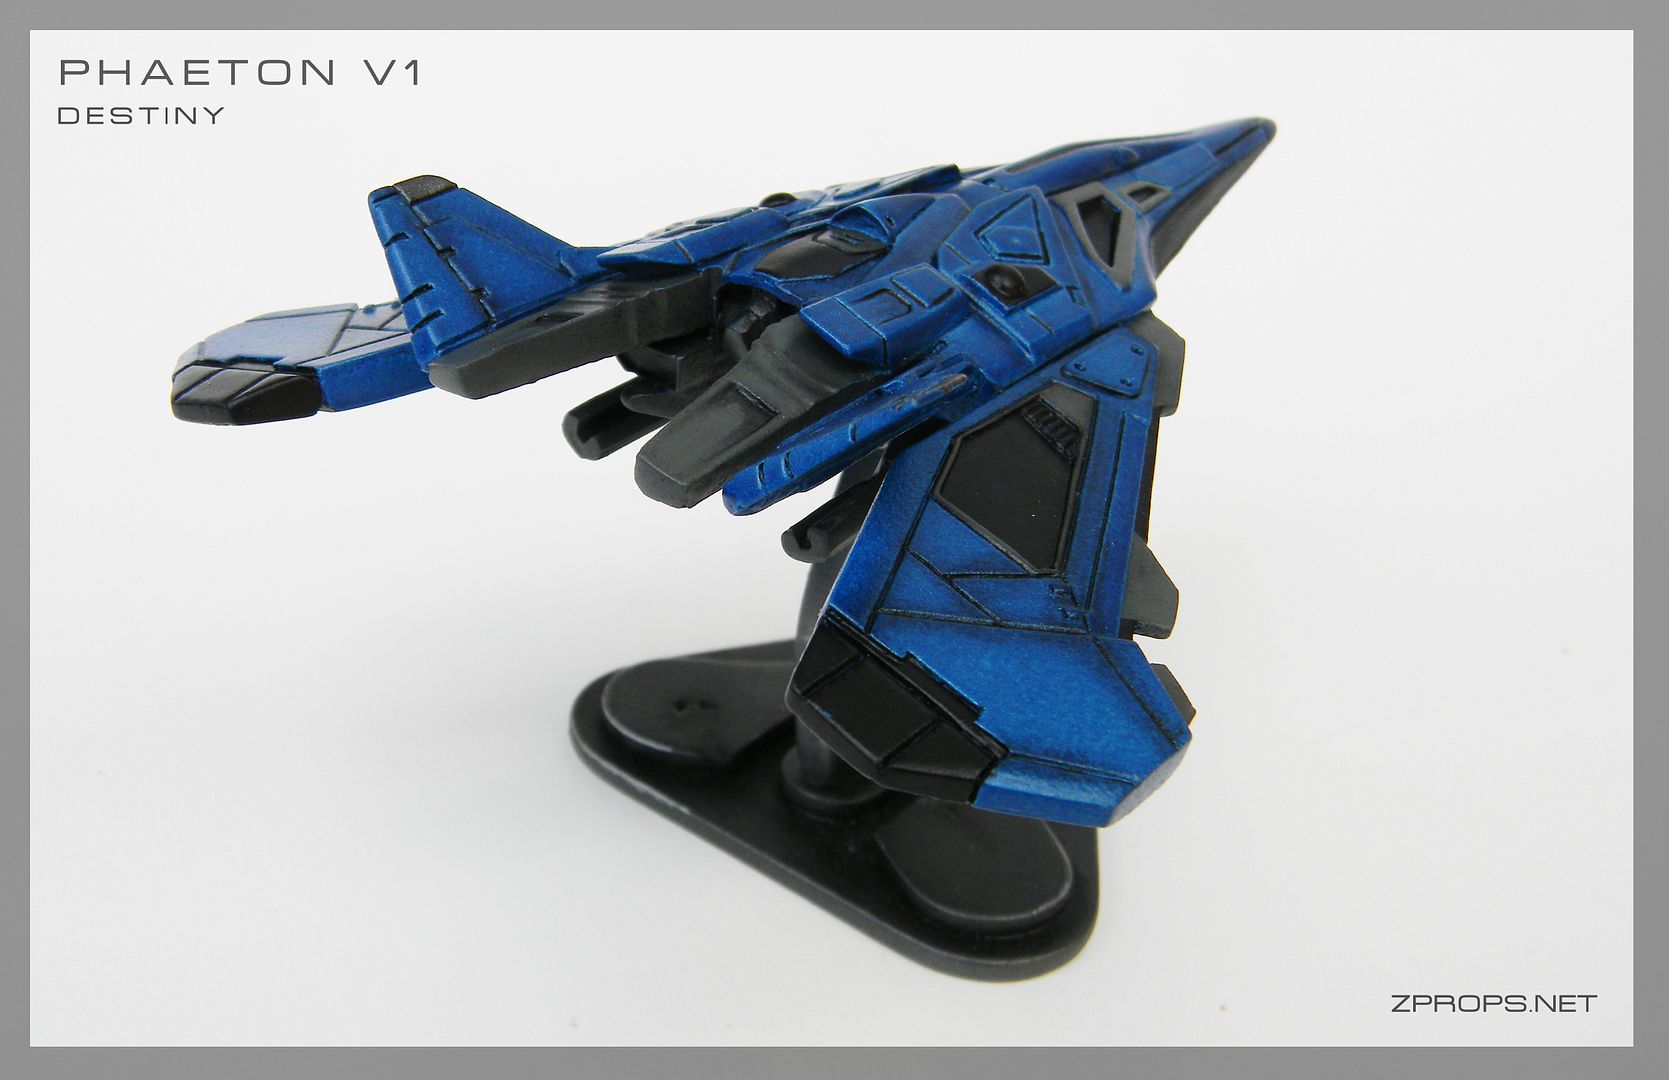
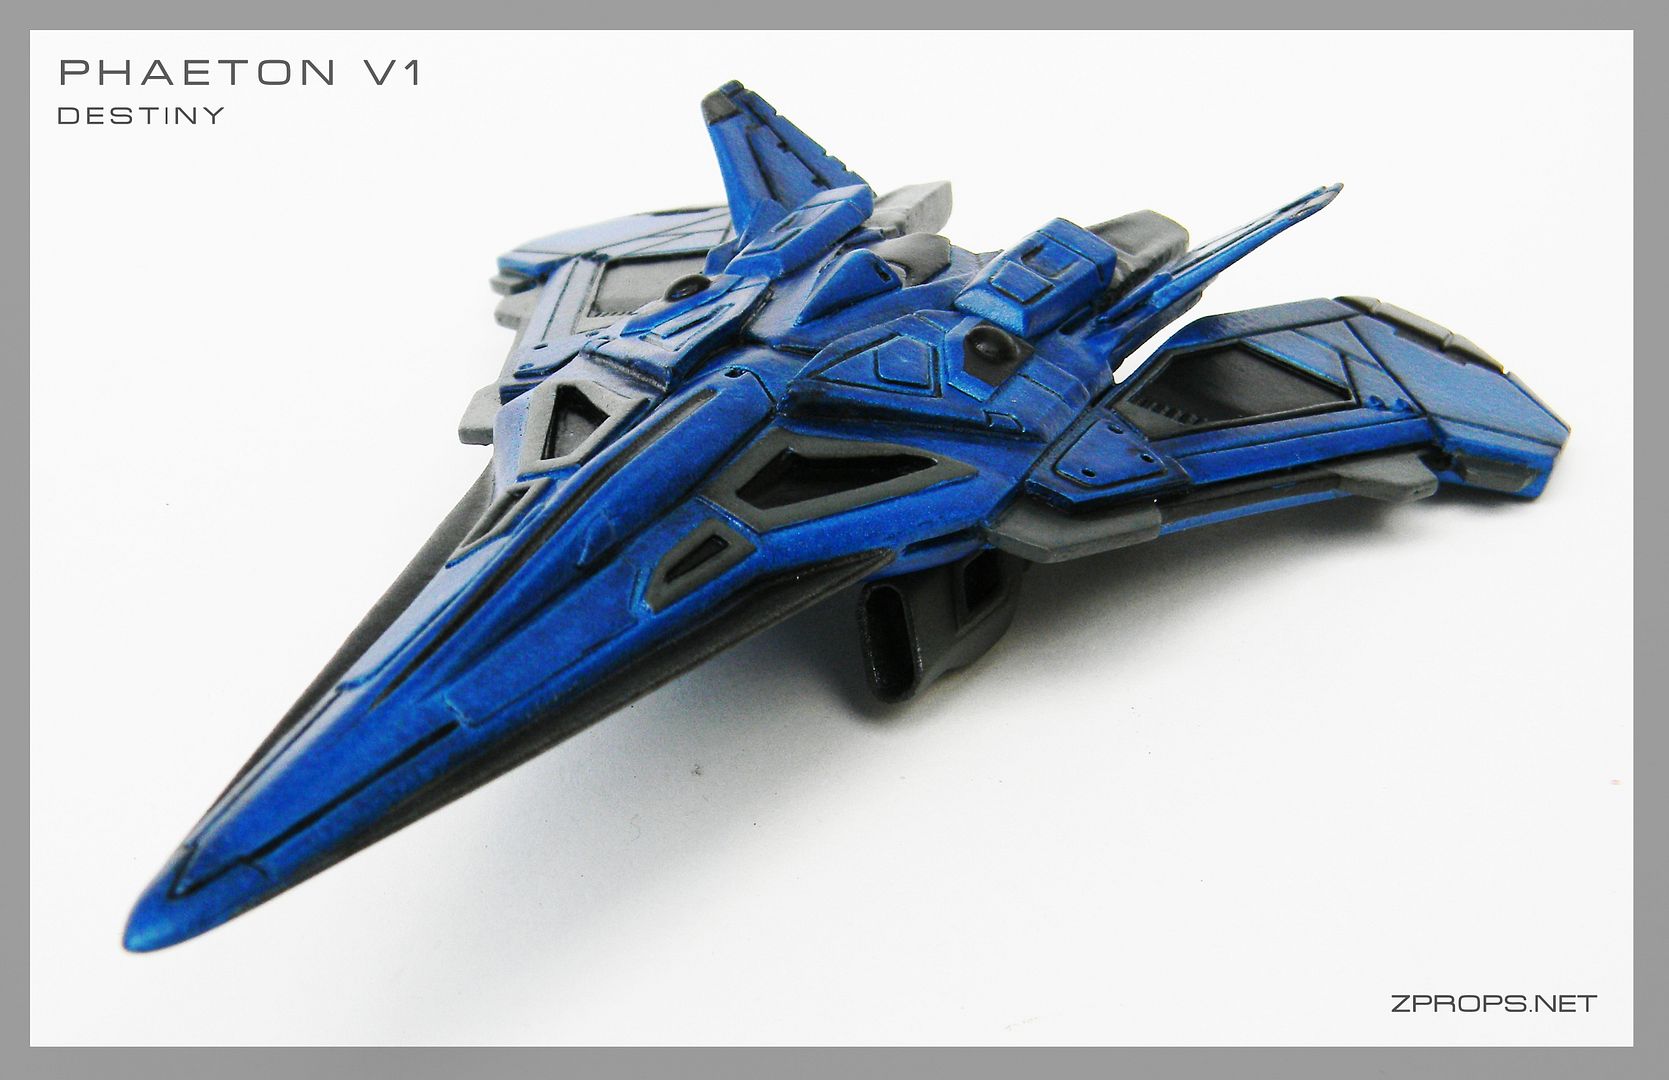
Destiny Phaeton Class Jumpship V1.1

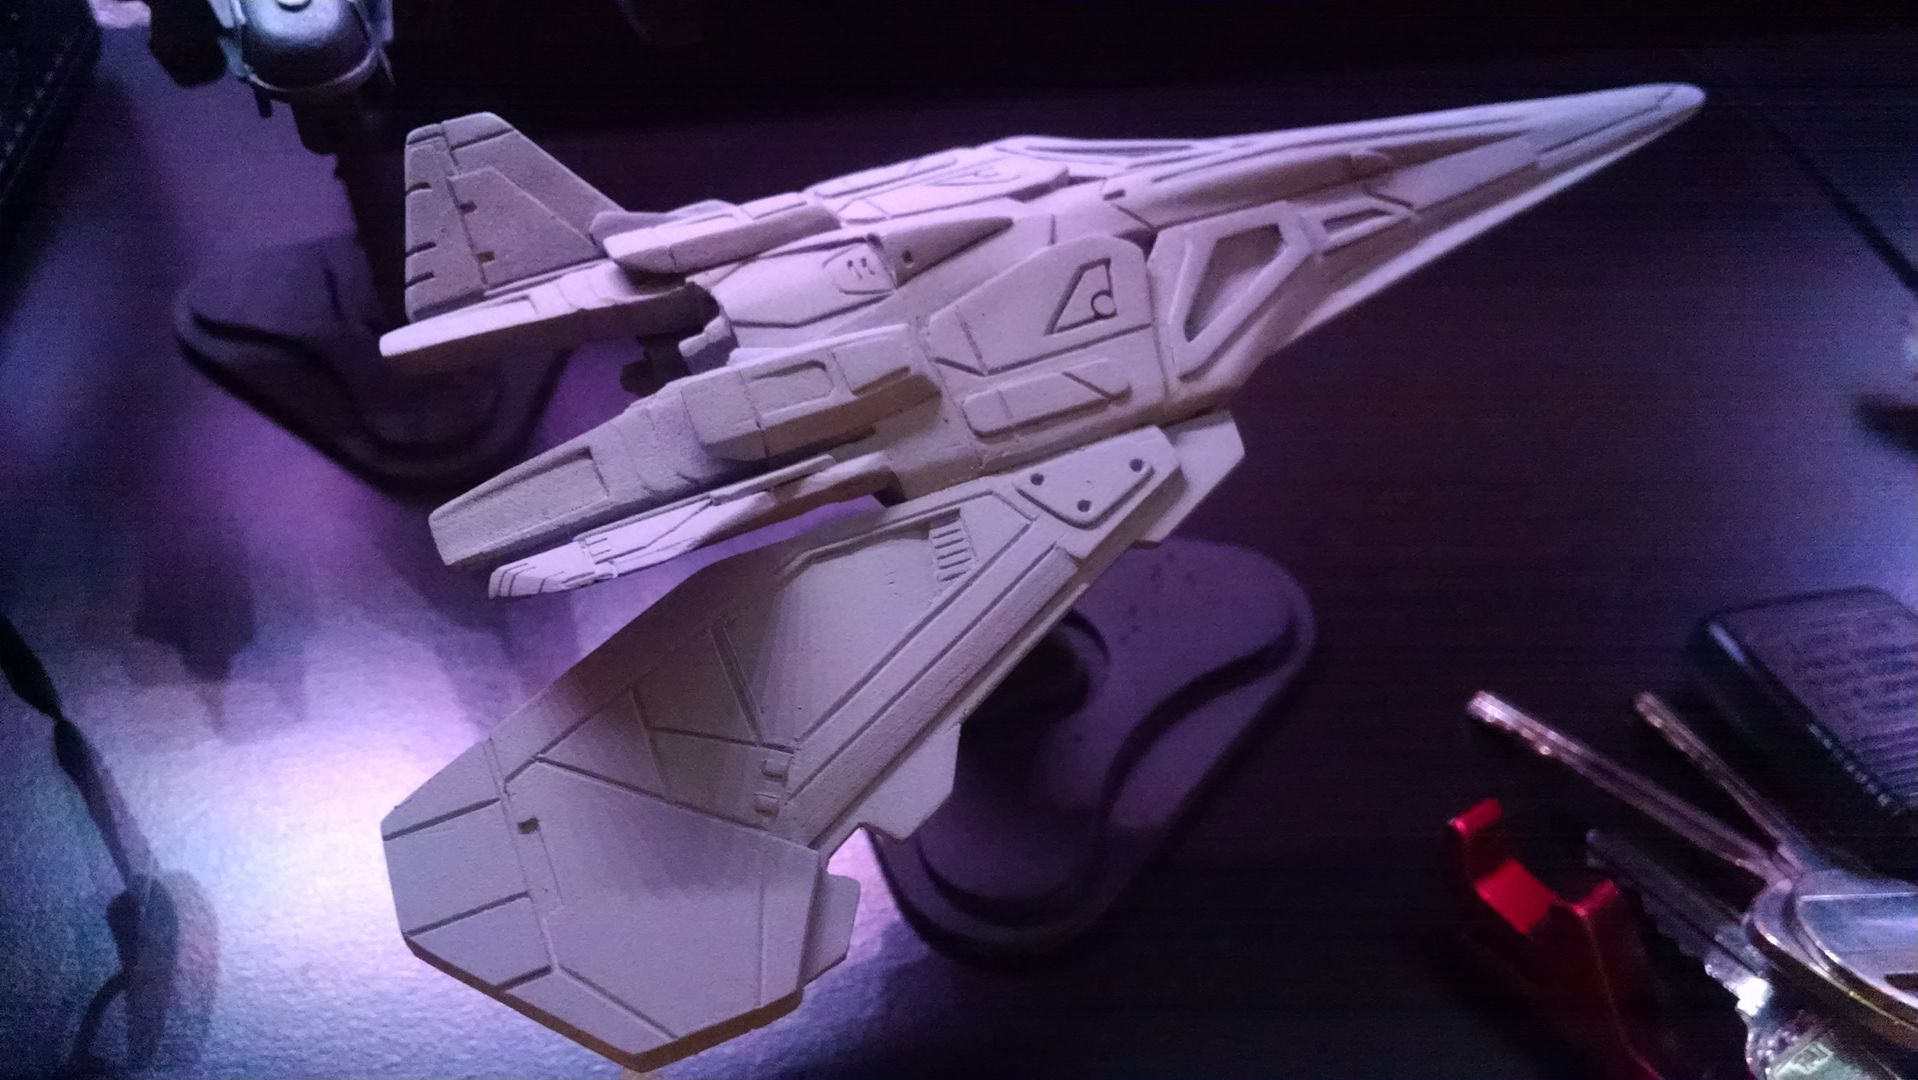
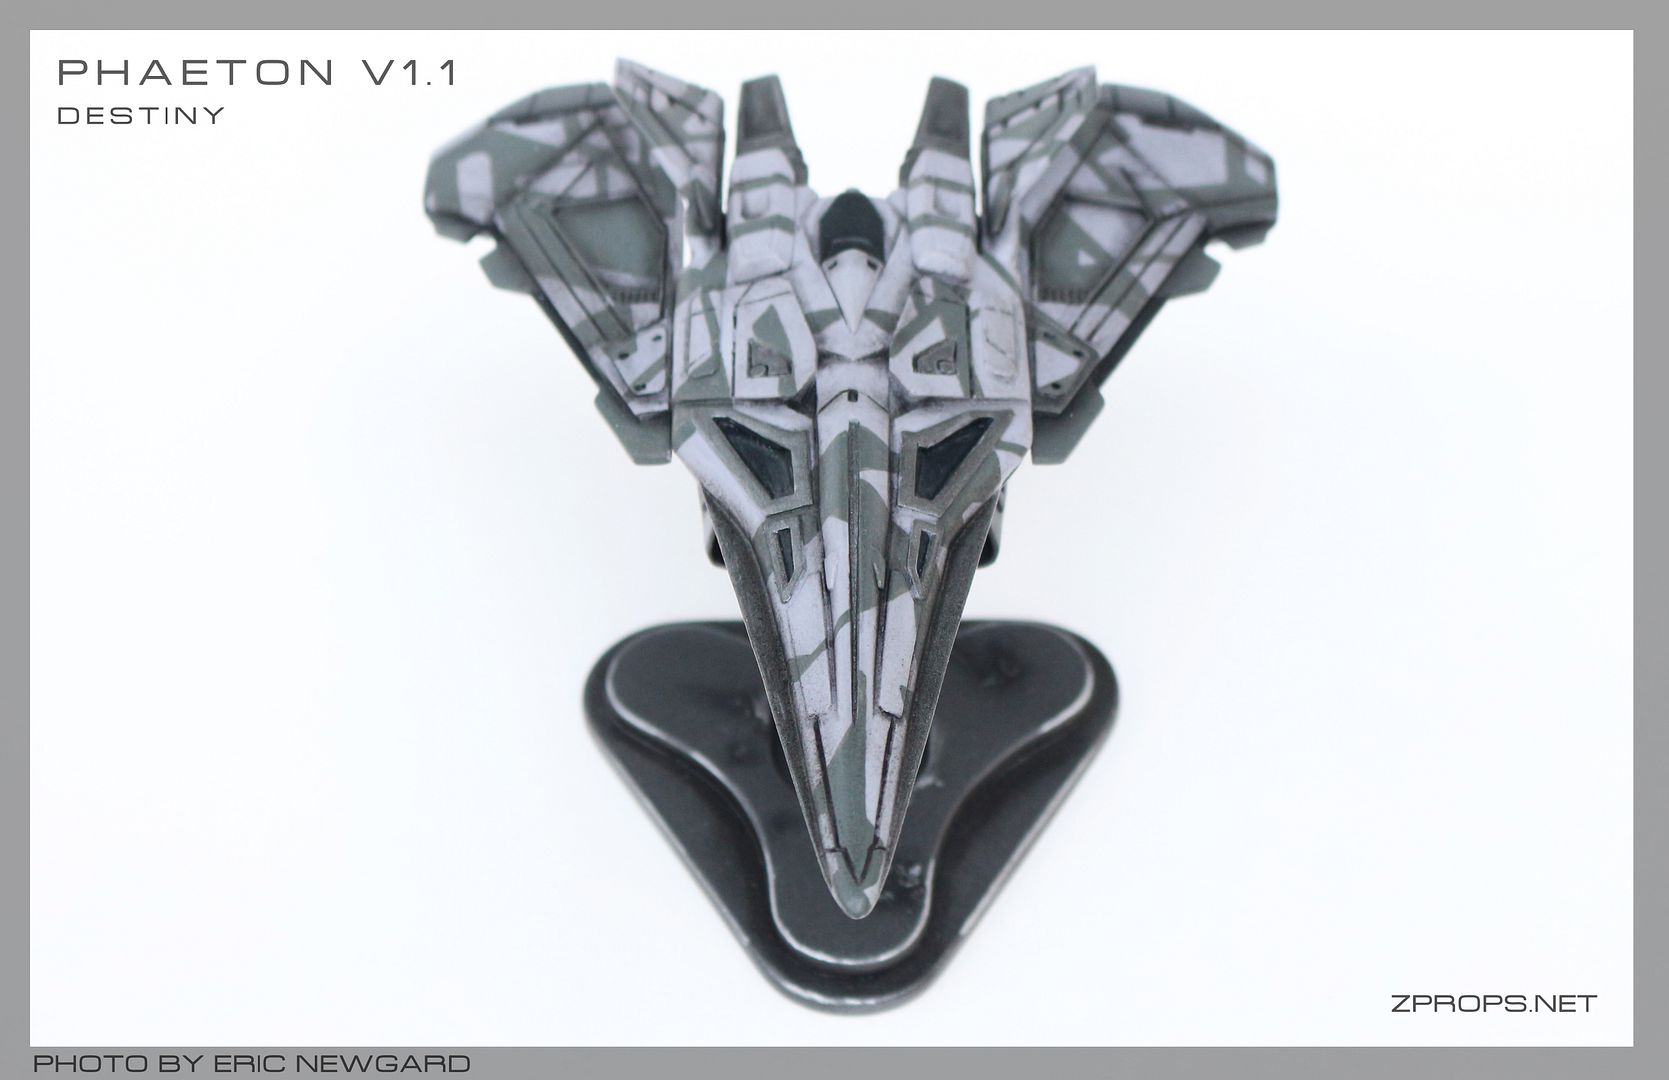
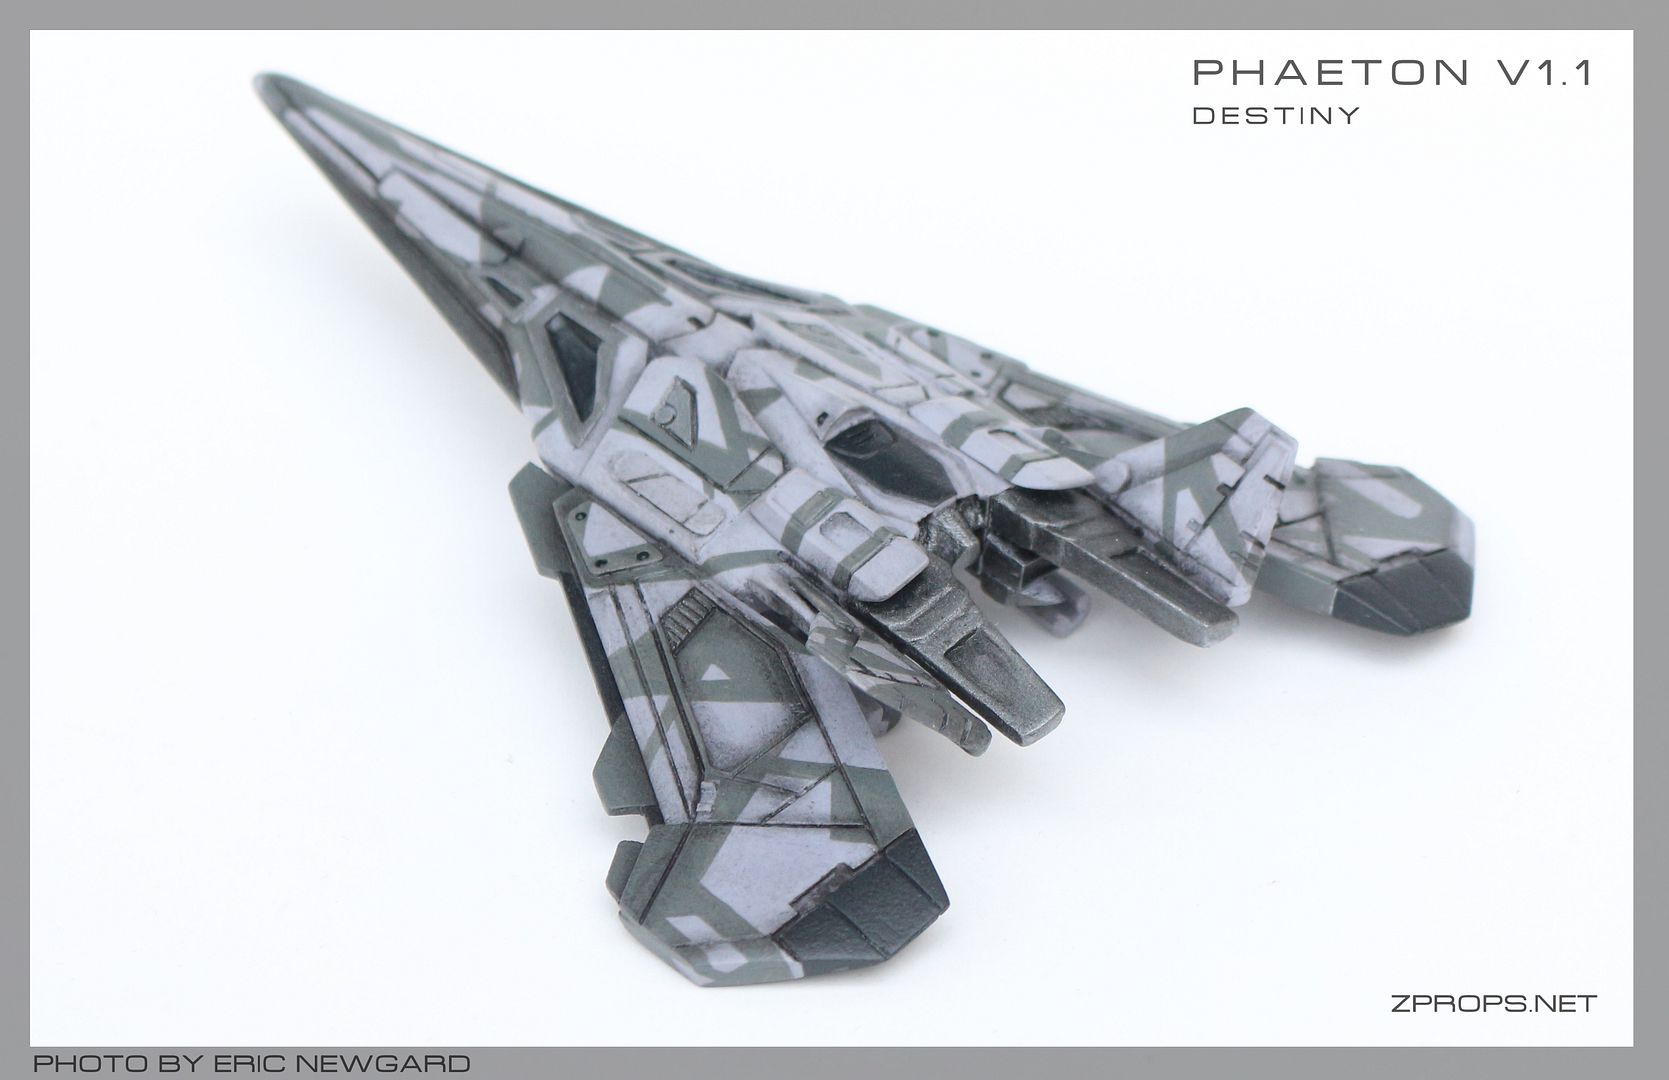
After Completing the V2 jumpship last year, it only made sense to make the winged version. This was a pretty popular design, and was one of the only designs released before the game came out. Also, It was mold/cast friendly so naturally it had to be done.


The build is mostly based off the previous sculpt, my first ever to utilize a 3d printed part. Read that one here. 

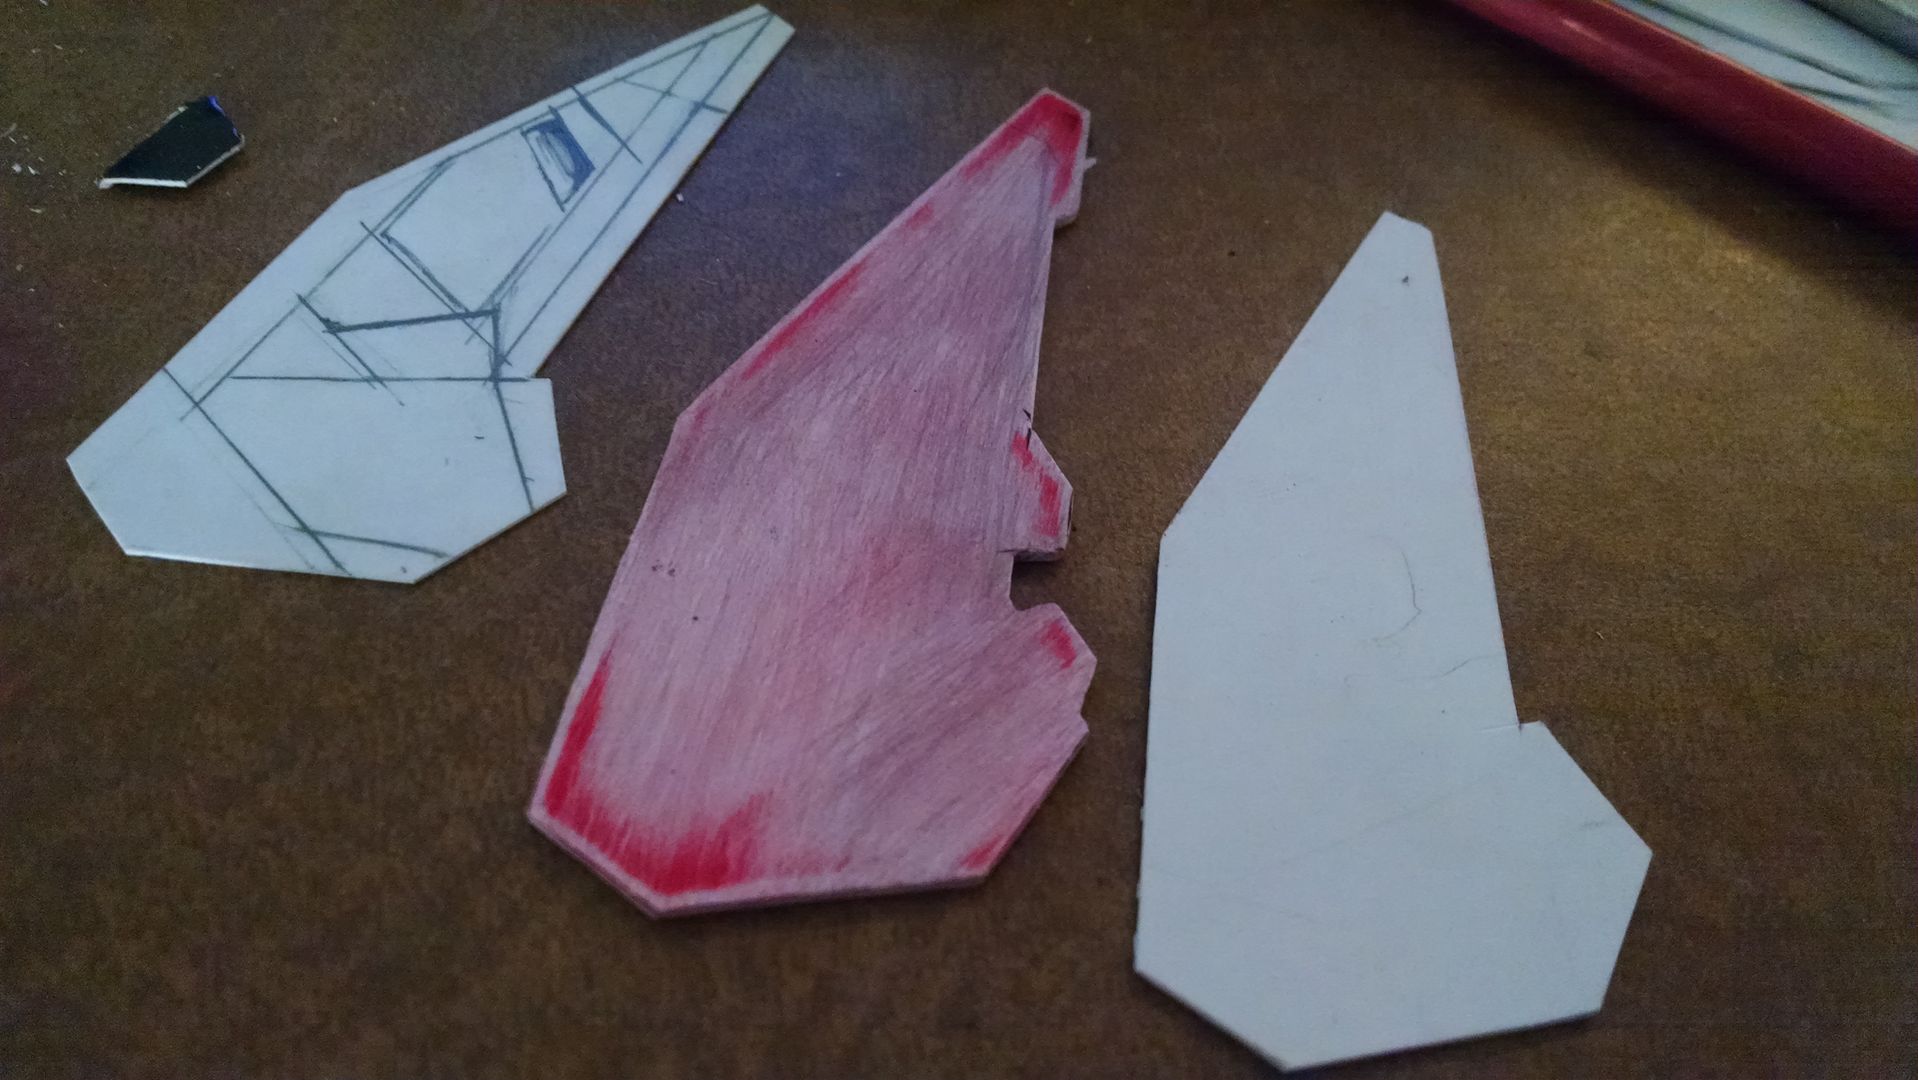
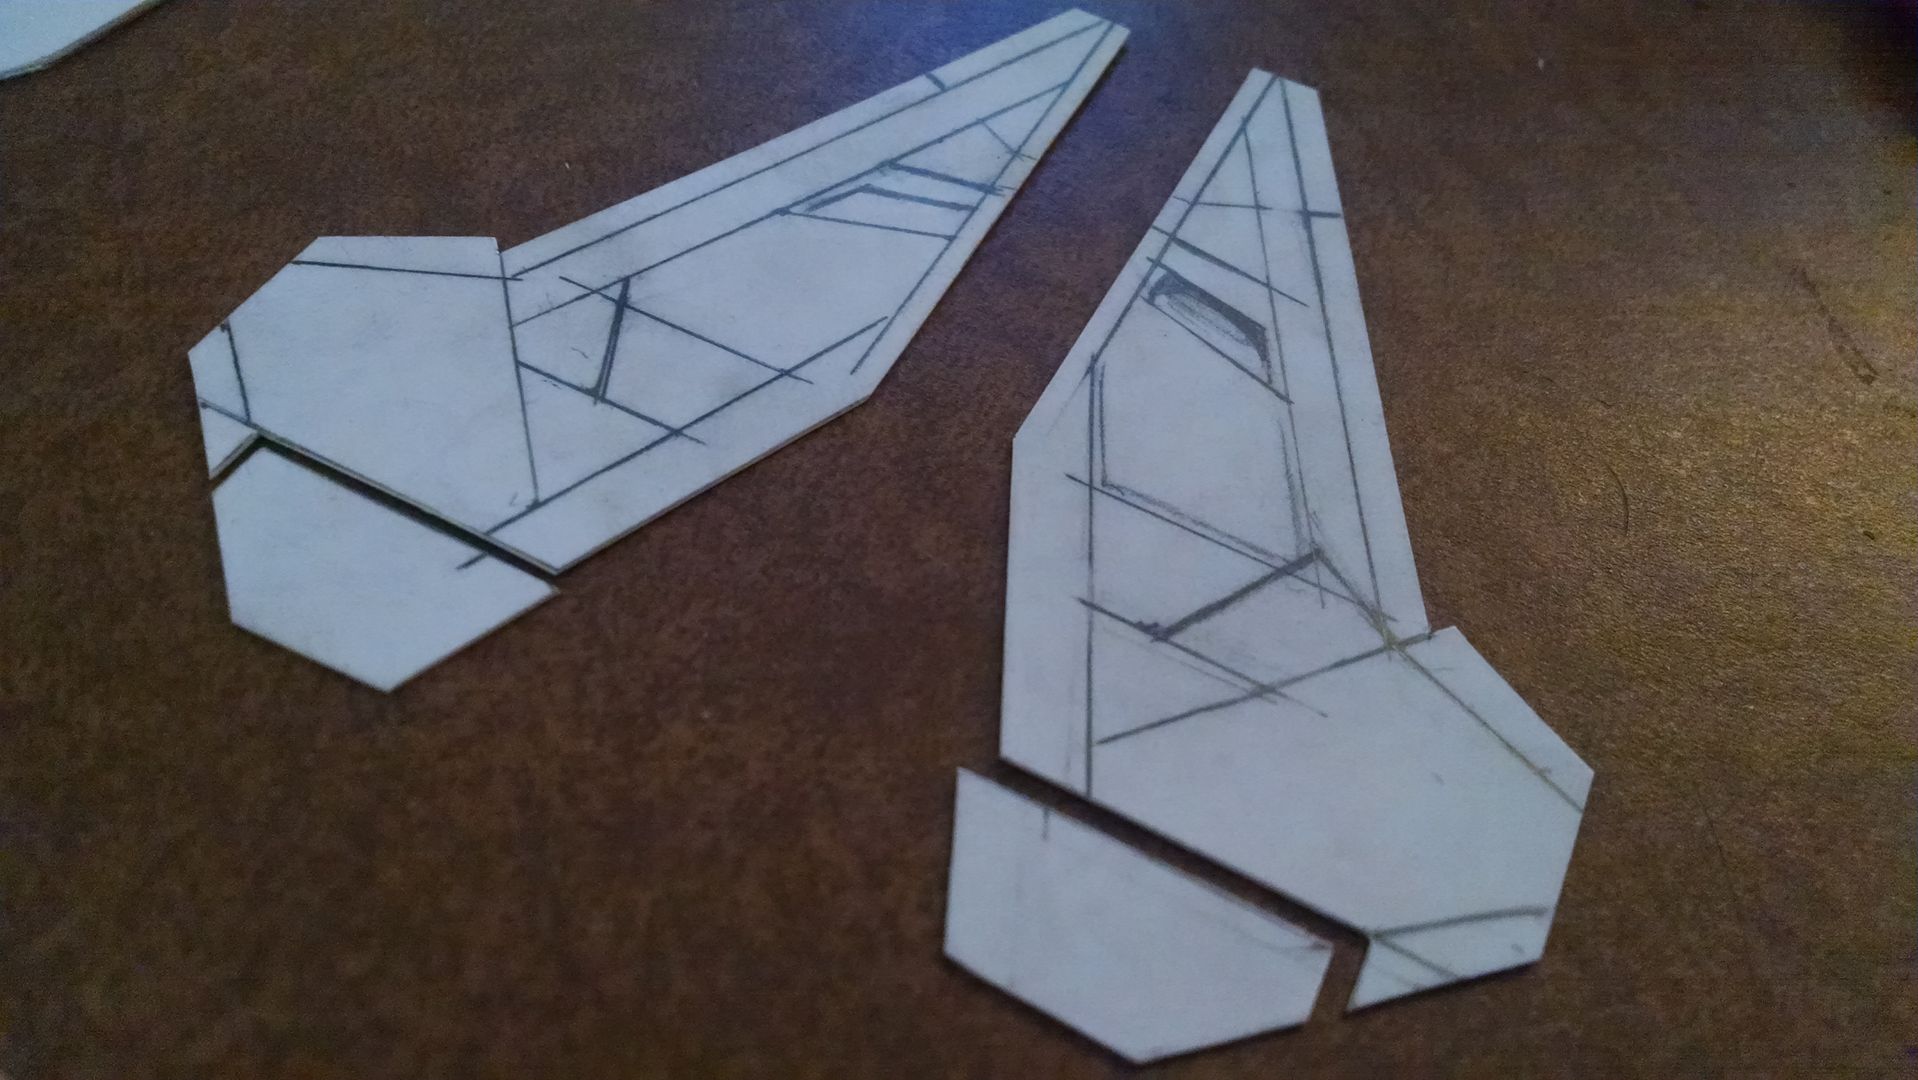
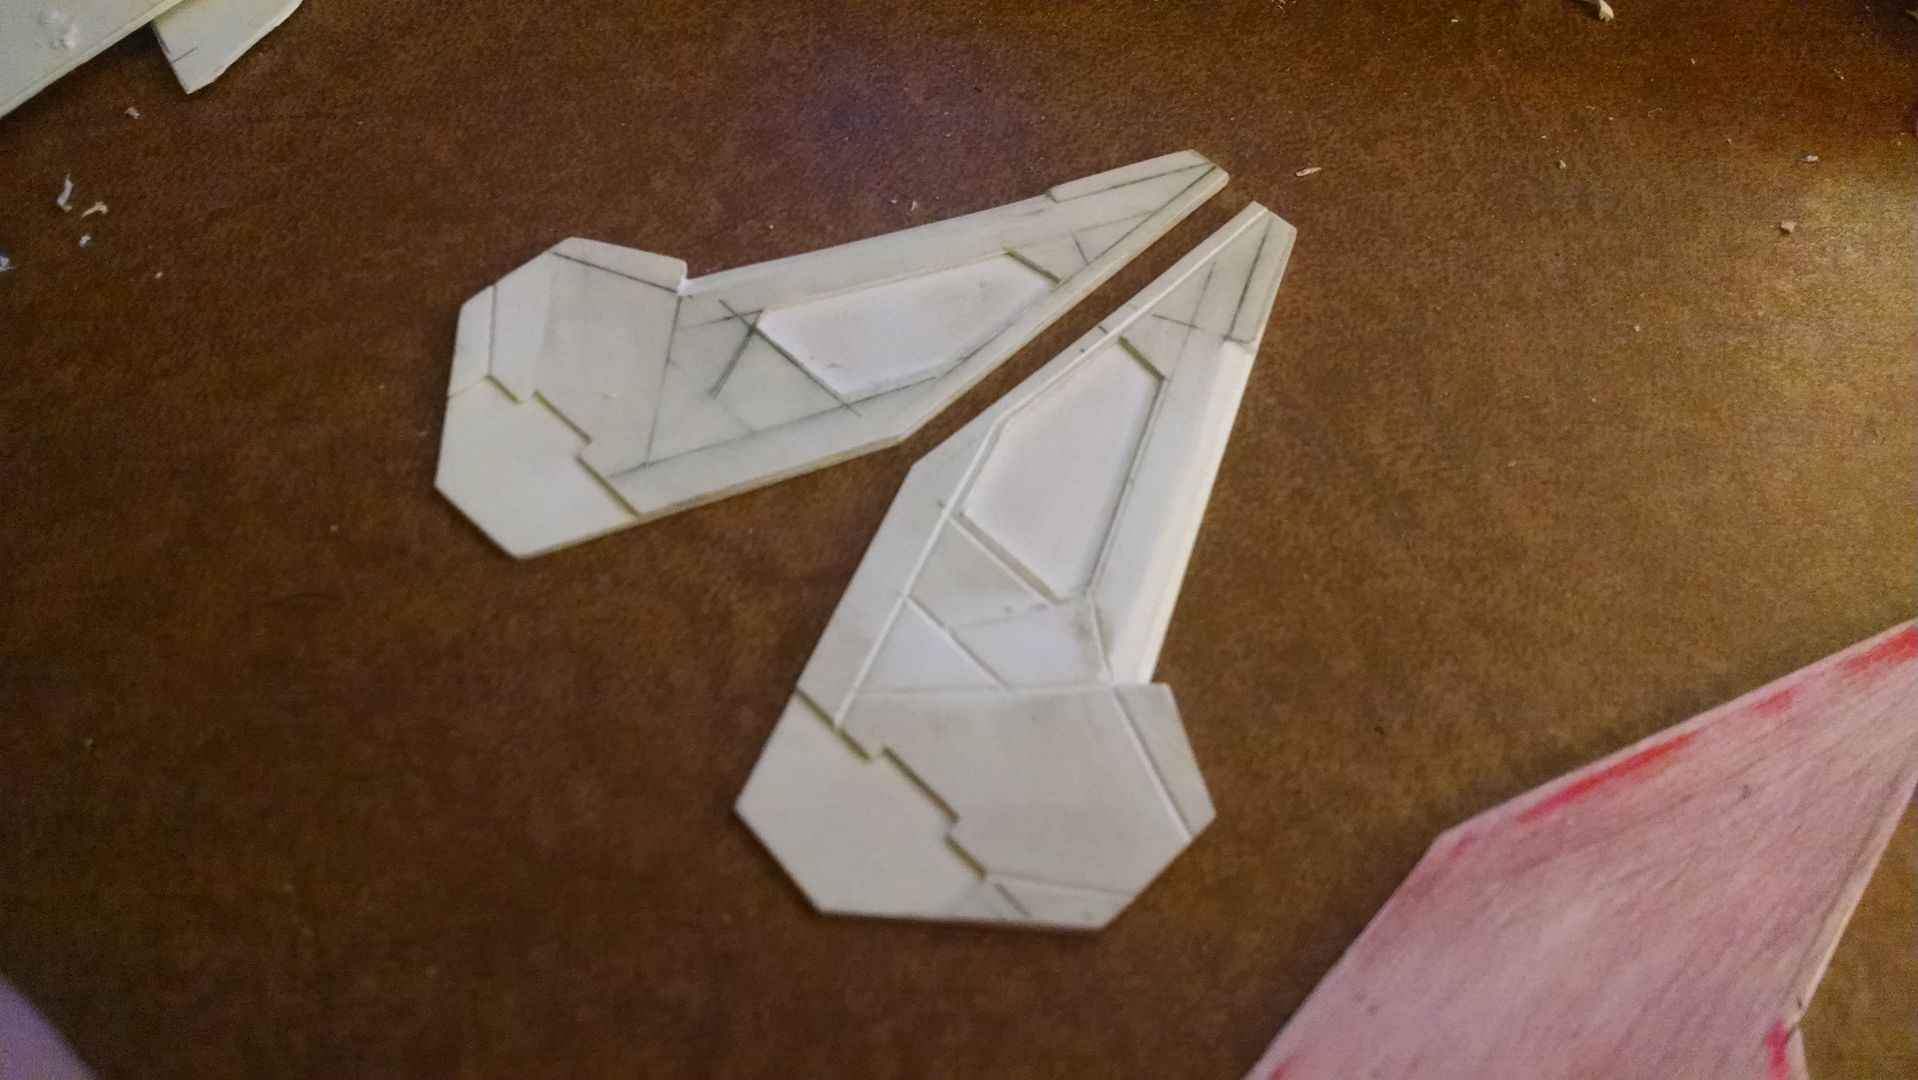
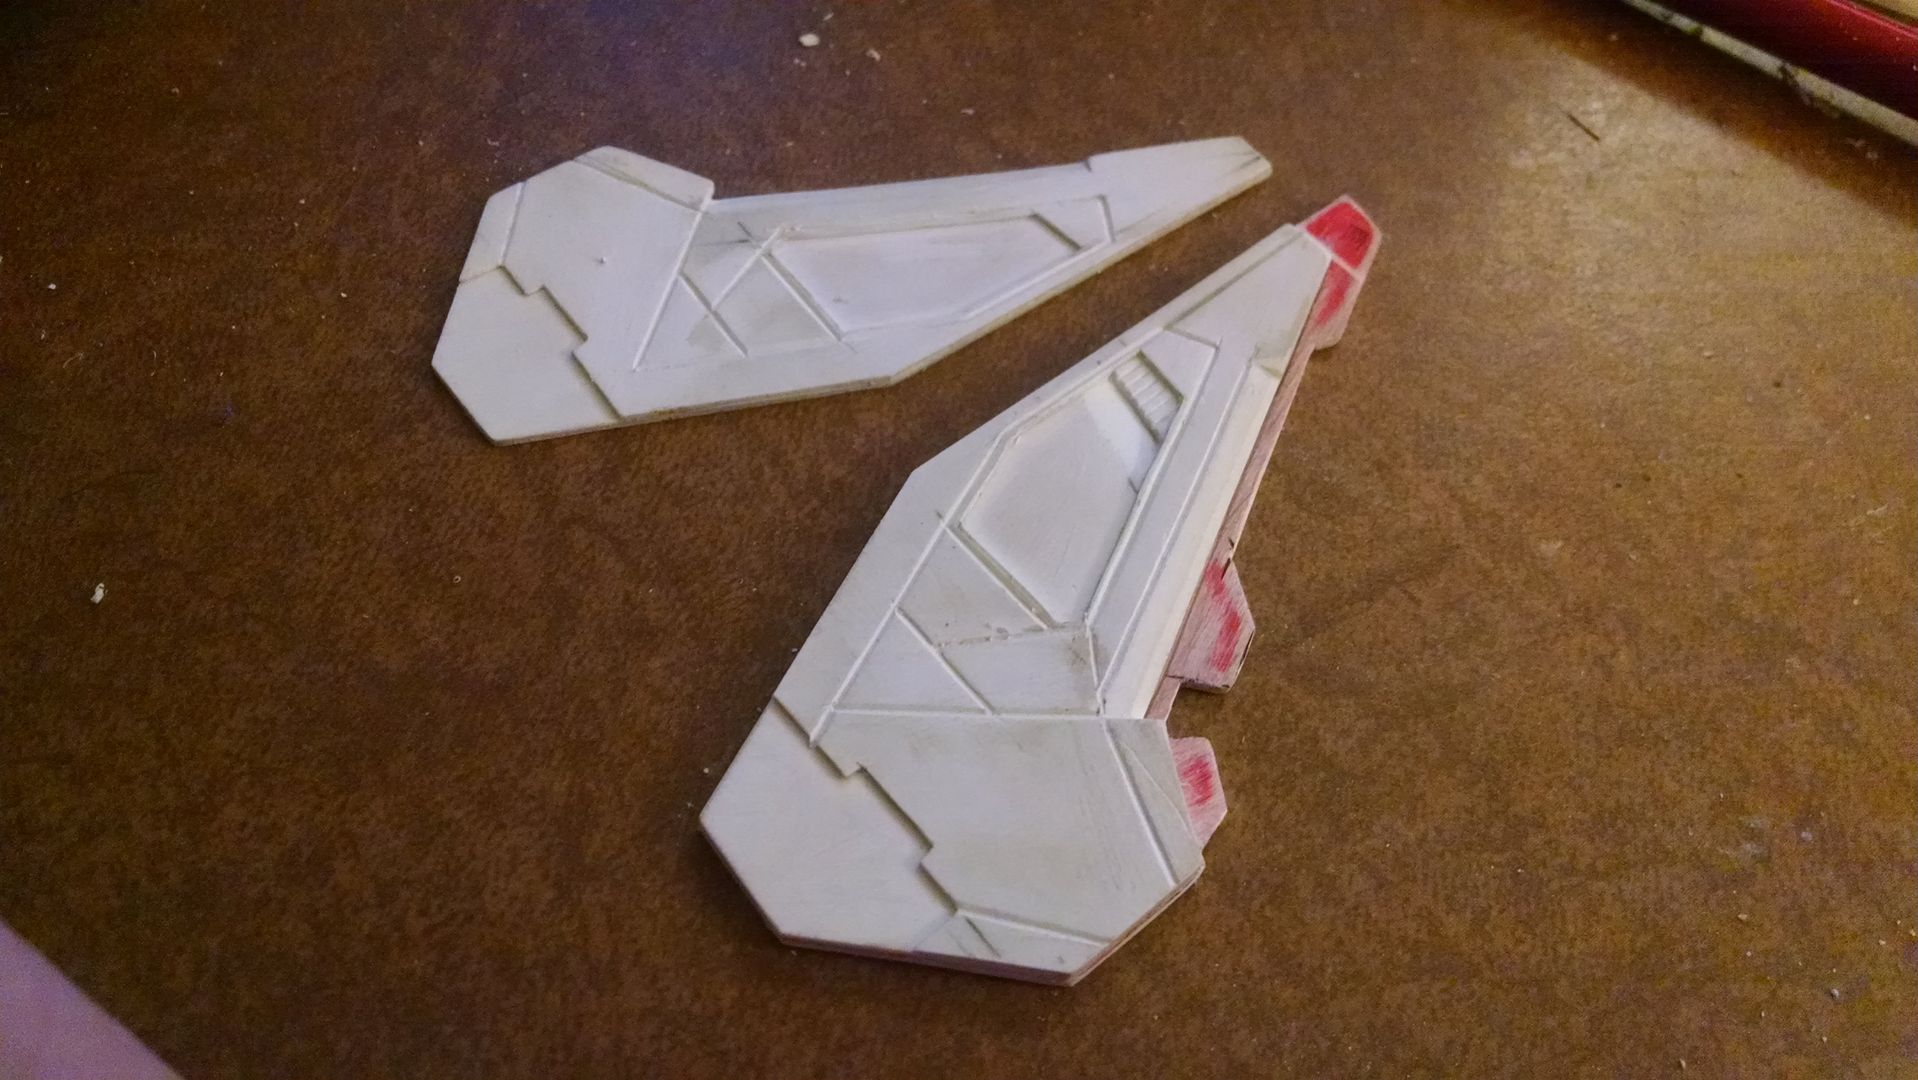
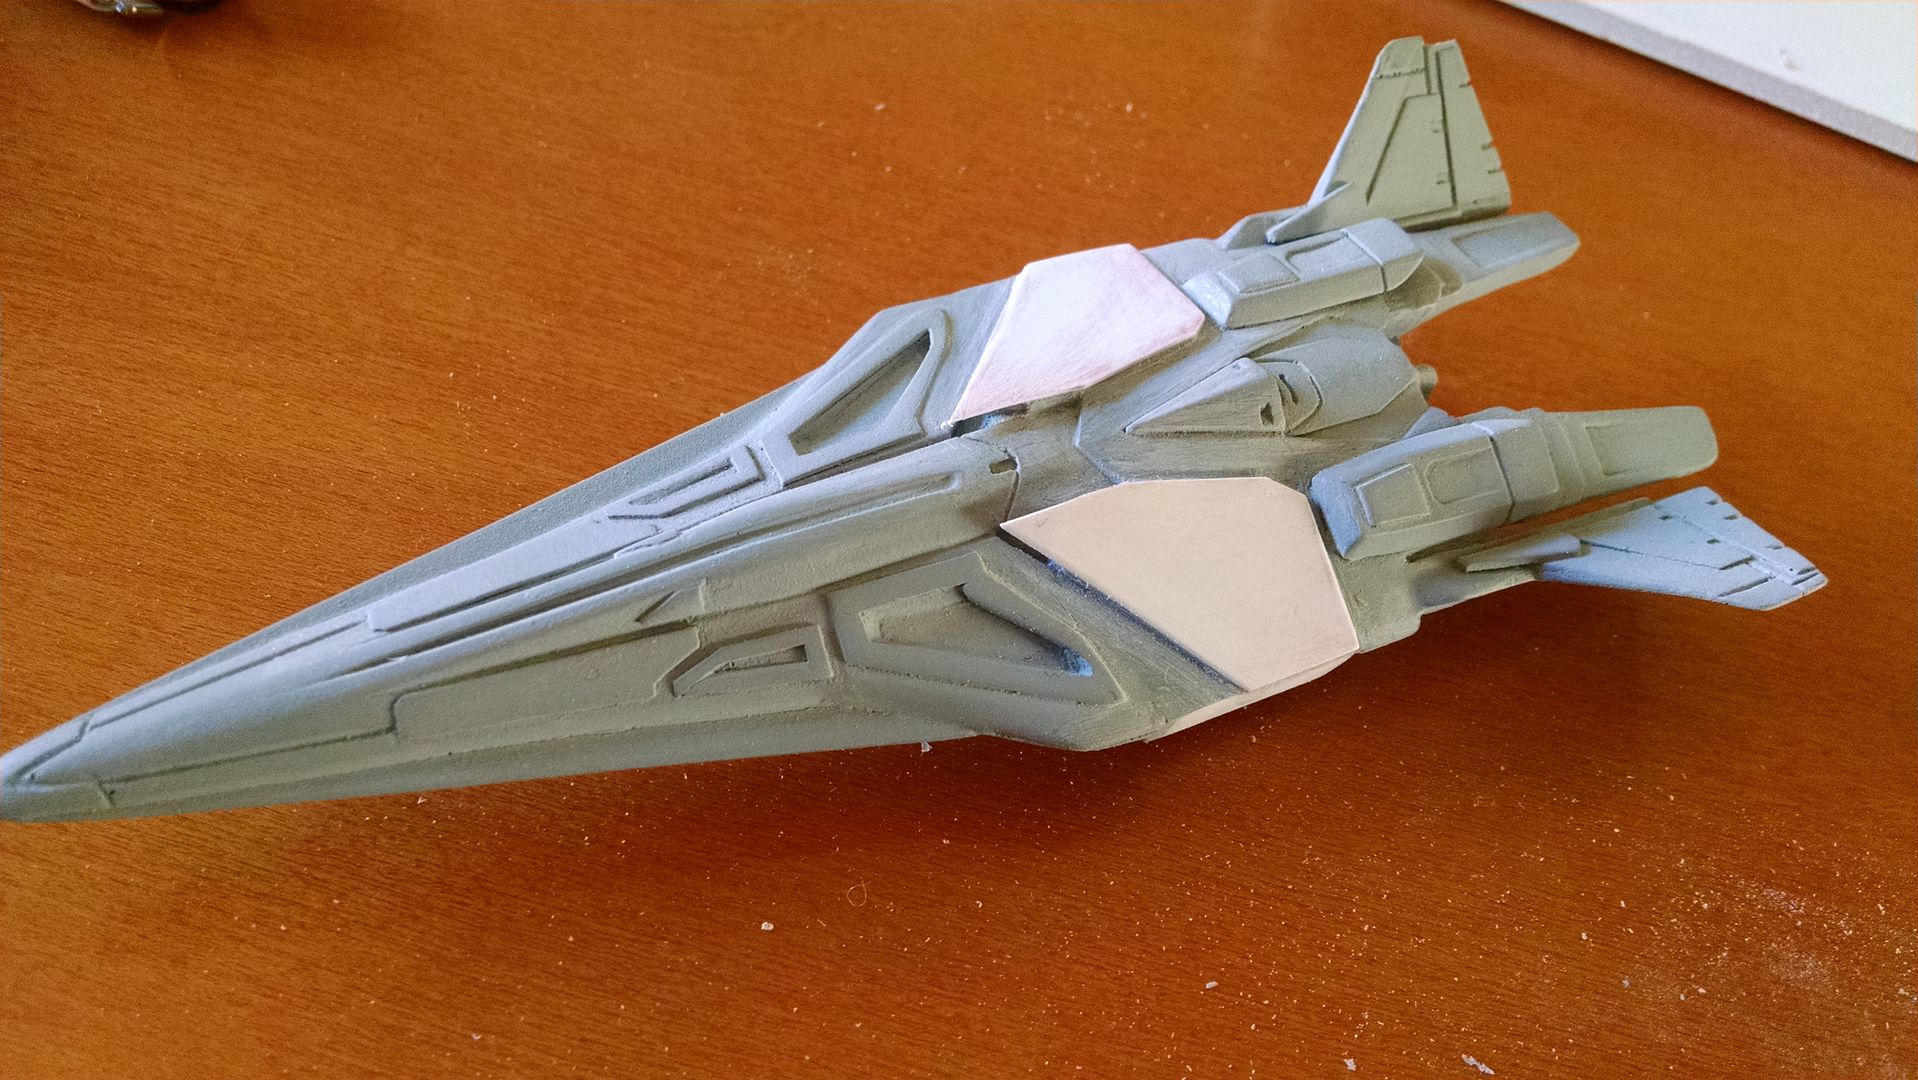
First thing, the wings. These screamed "styrene" so thats what I made them out of. Same old story, I cut them out with scissors, scribed panel lines with an exacto knife and saw, and laminated materials as needed.


The most important part is cutting out sections and scribing before you glue them together. 


This was all for one wing, which was symmetrical at the time. 


I then made a mold (not pictured) and cast out another one. Then I modified the bottom halves of each cast to more closely match the reference. I didn't want to scratch build both wings.

The fuselage isn't quite the same between the v1 and v2, so I had to sand a lot of detail off, and sand some harder angles on certain sections. I started with blank styrene. 


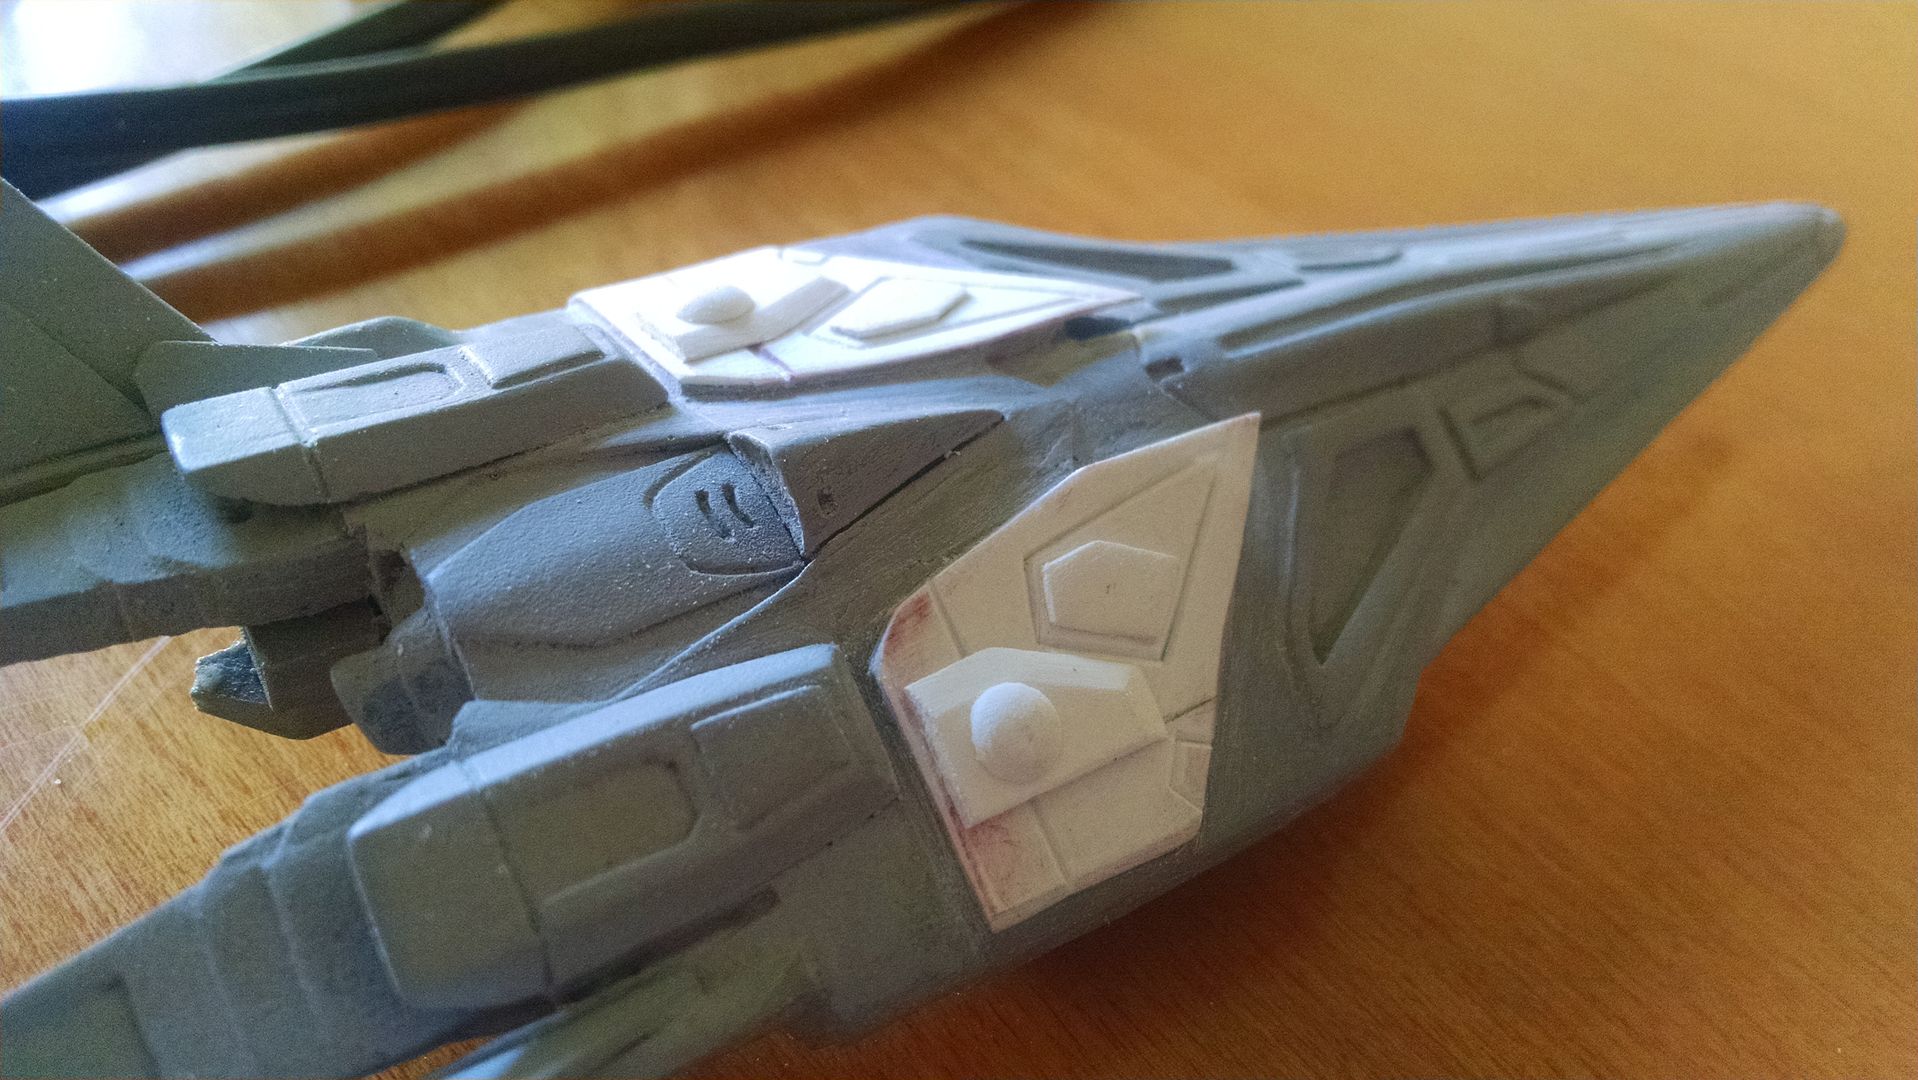
I carefully built up the detail. unfortunately, the modules on the original are so detailed and tiny that I had to simplify some bits in this area, which is saying something because its still fairly detailed as is. 


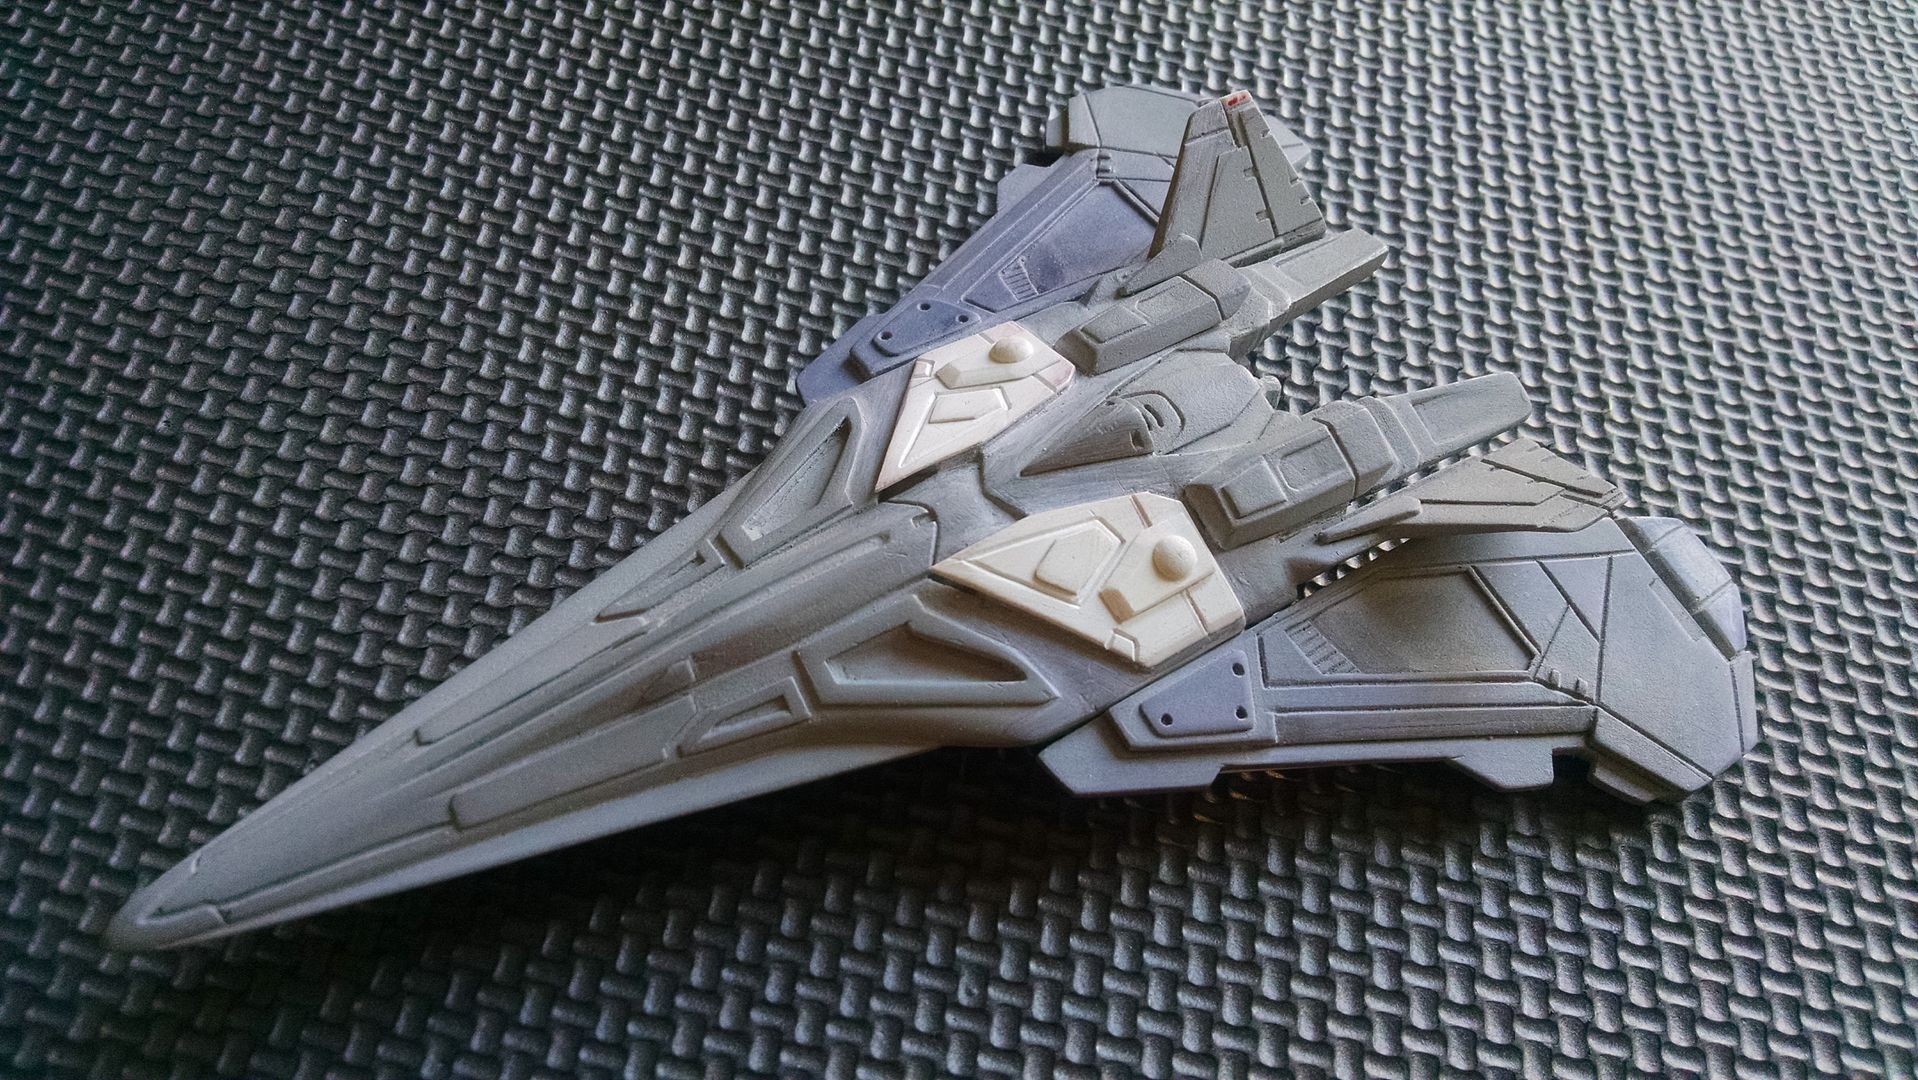
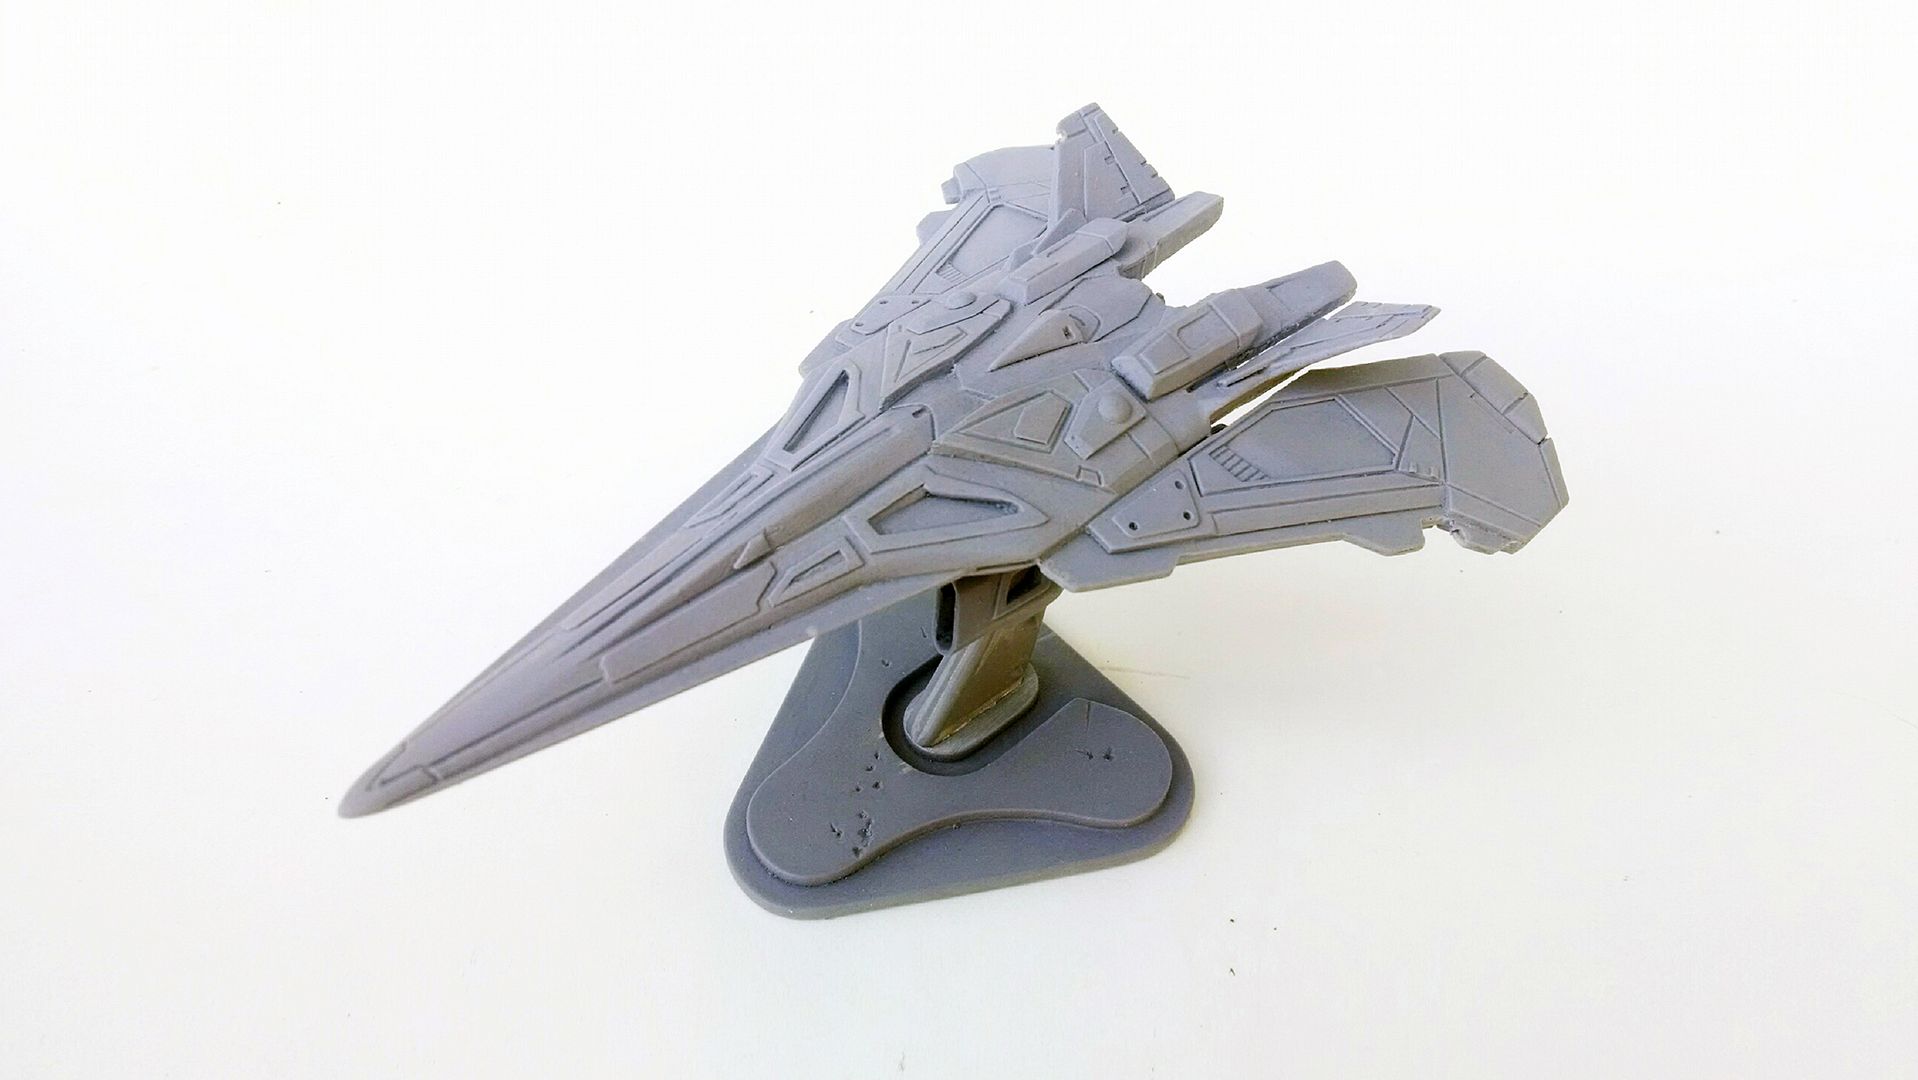
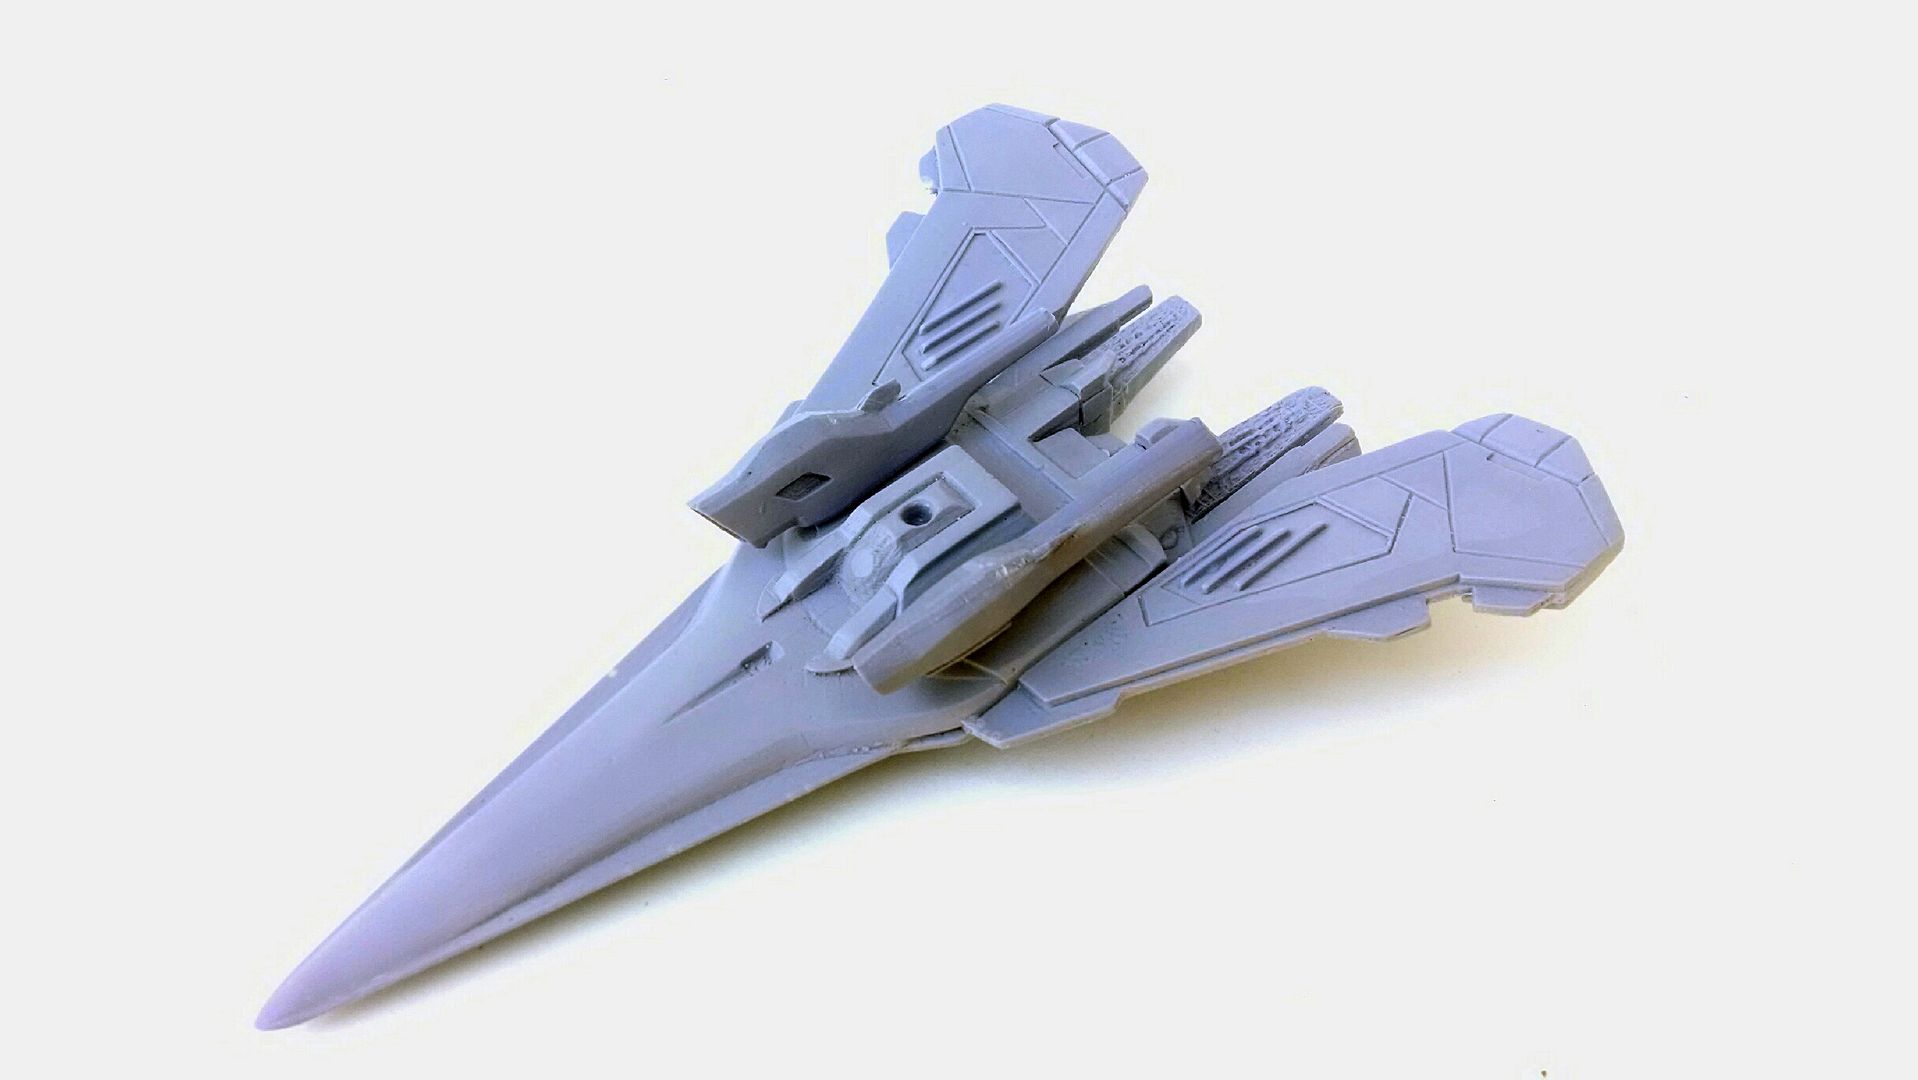
The wings sit at about 15 degrees, so after they were done I made a mold, cast them up, and glued them to the new body!


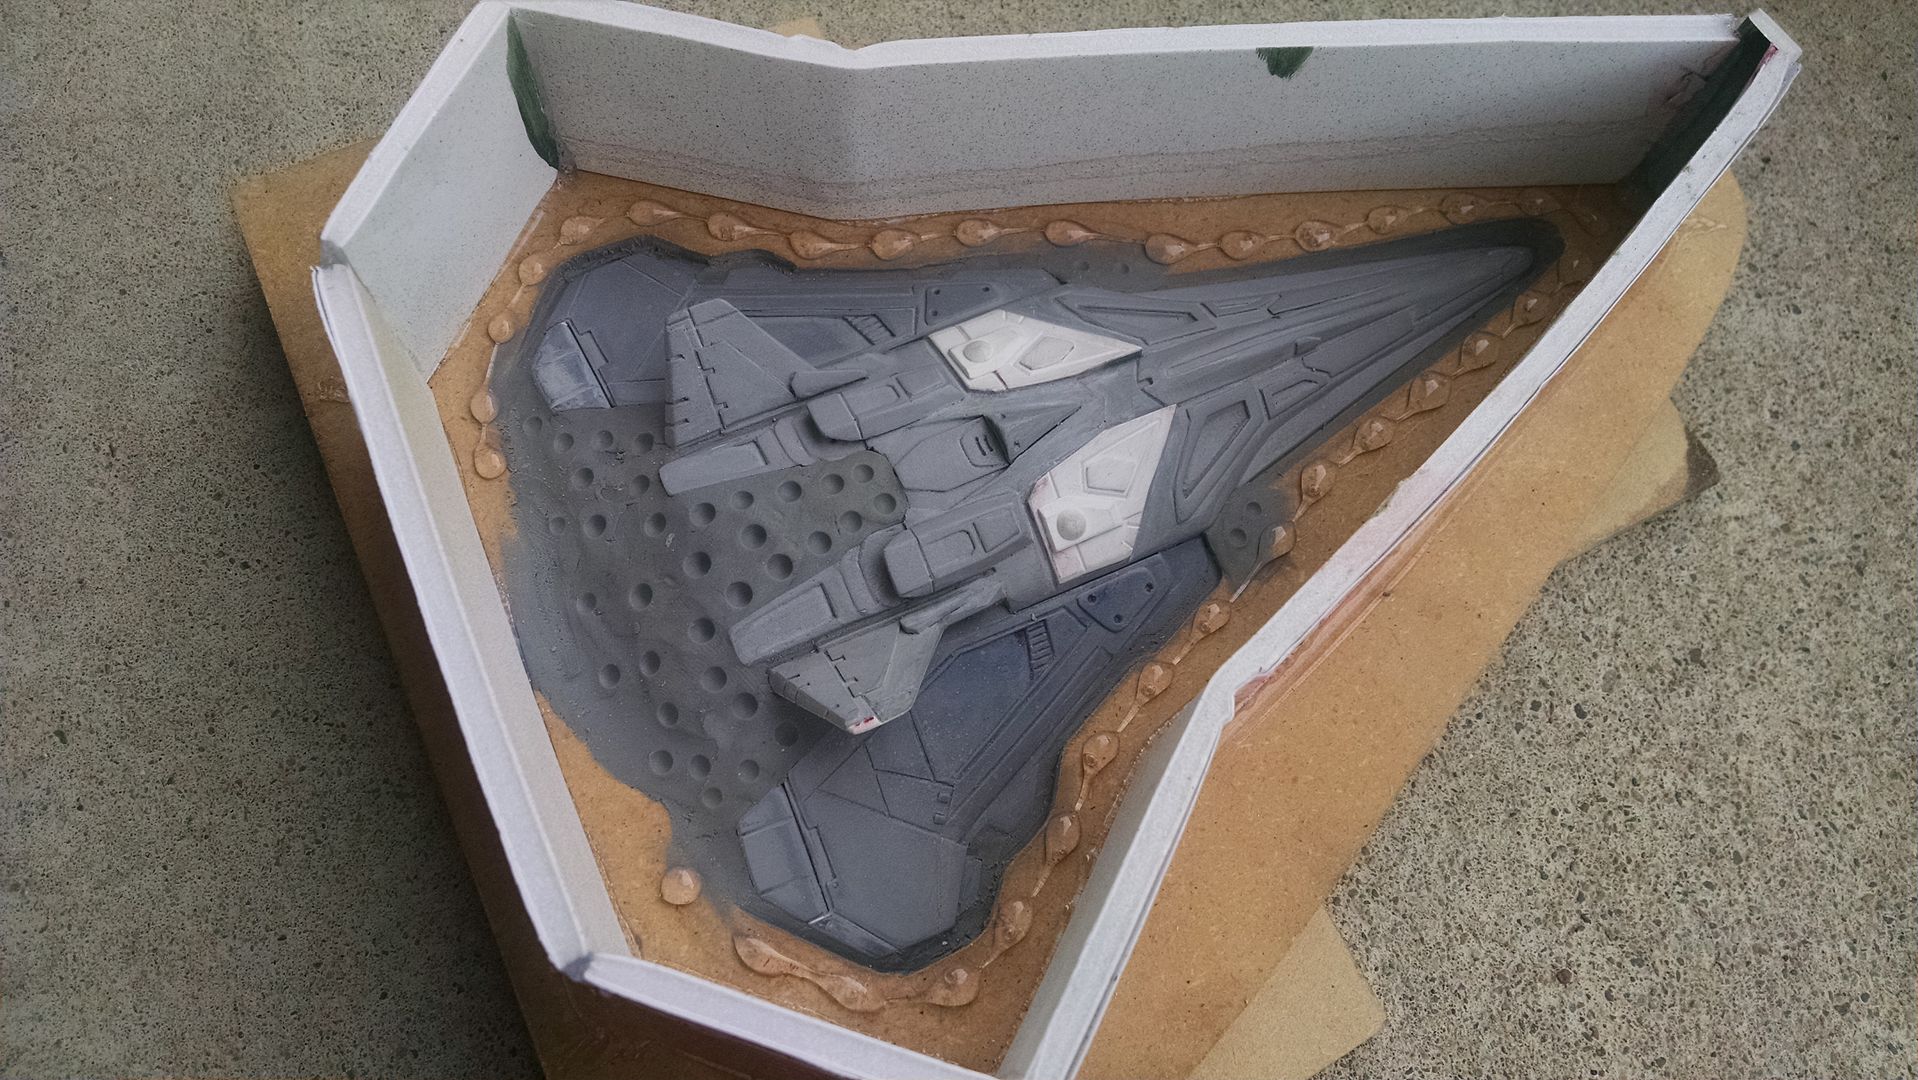
I made an MDF jig as usual, clayed it up, and got ready for goop!


After pouring both sides of the mold, I had my first cast! The cast uses exactly 4oz of resin for the whole thing. Its the smallest/lightest kit I've made to date. Considering that these are not vacuum degassed/pressure cast, I am extremely proud of the results. 


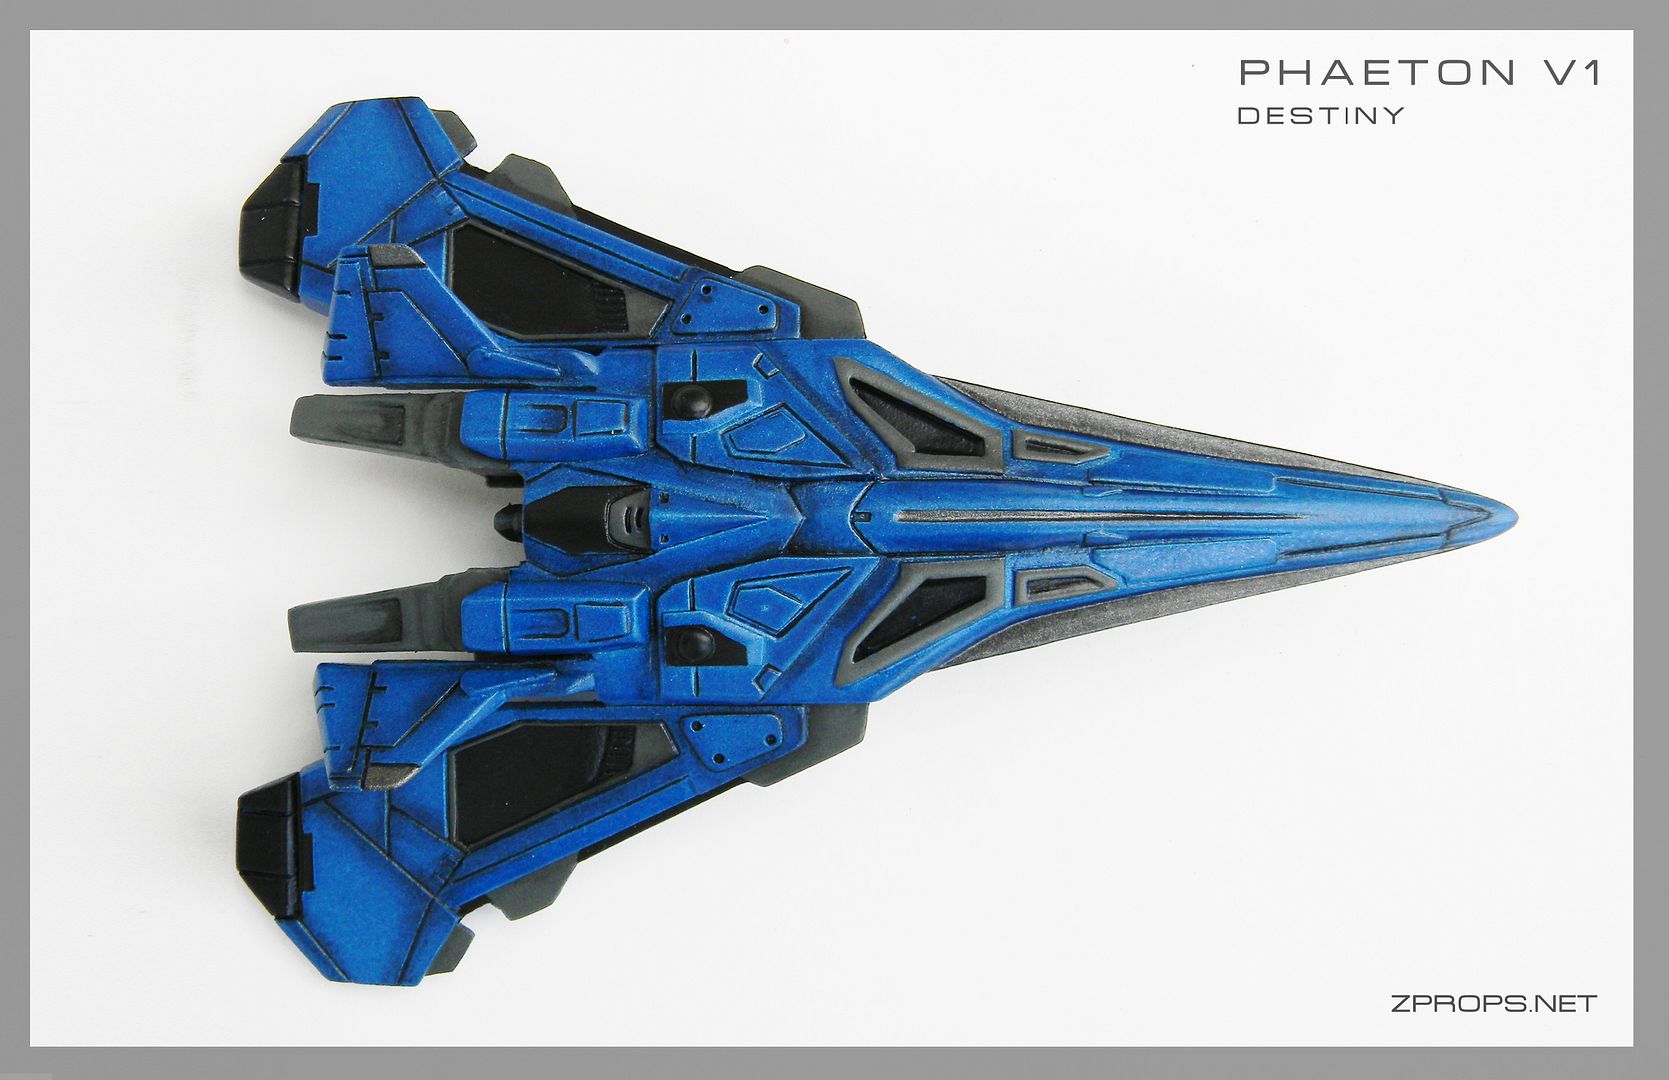
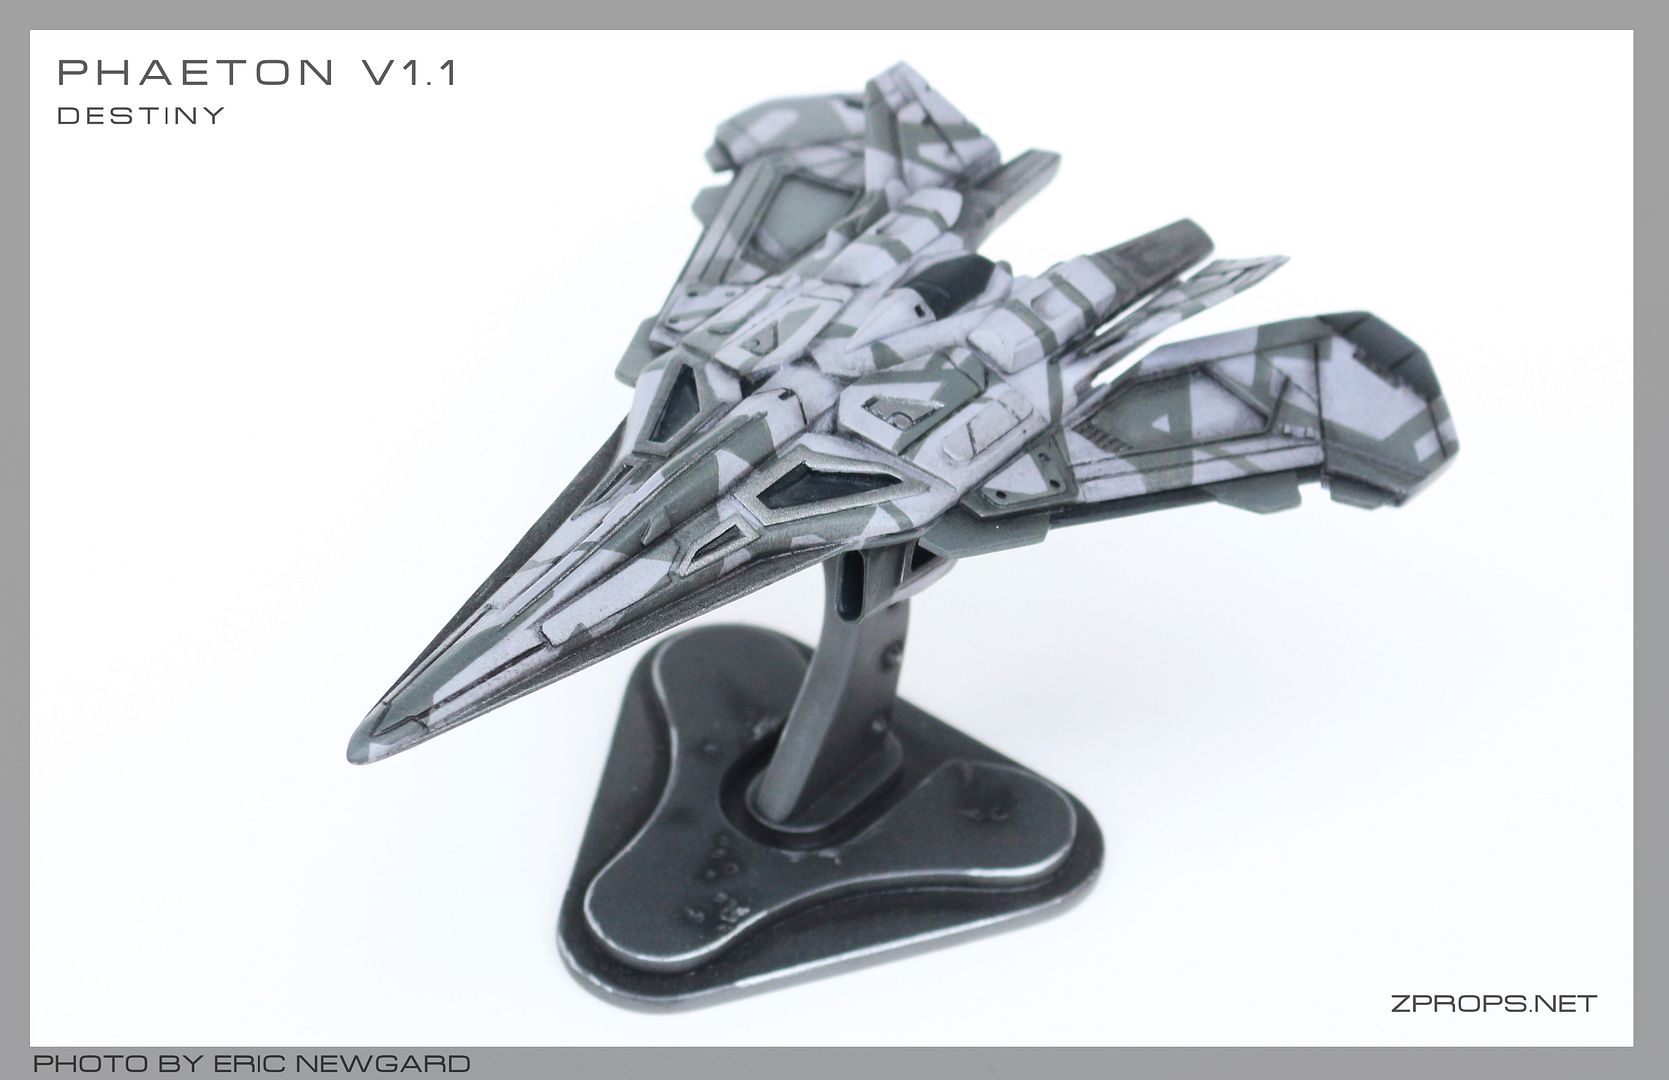
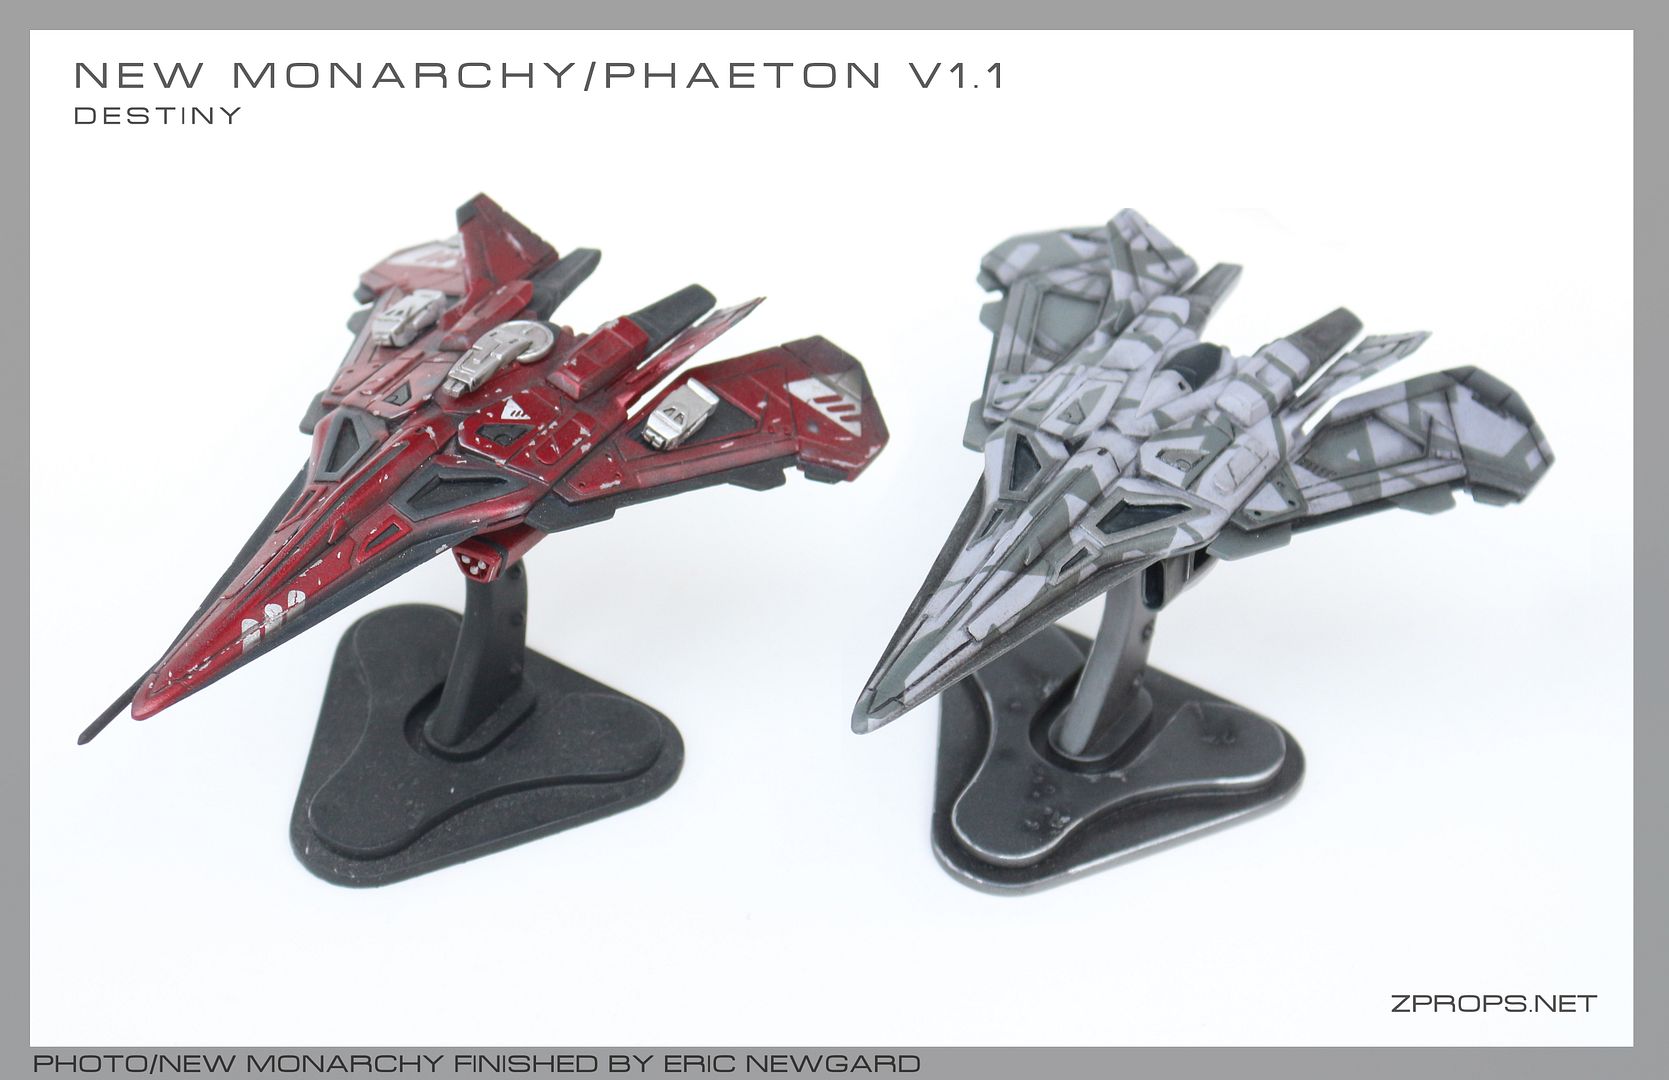
And some painted variations:


I made an early version outfitted with BKR guns for my friend Eric to paint. 


Build your own for purchase here. Thanks for following along!


Monday, March 30, 2015

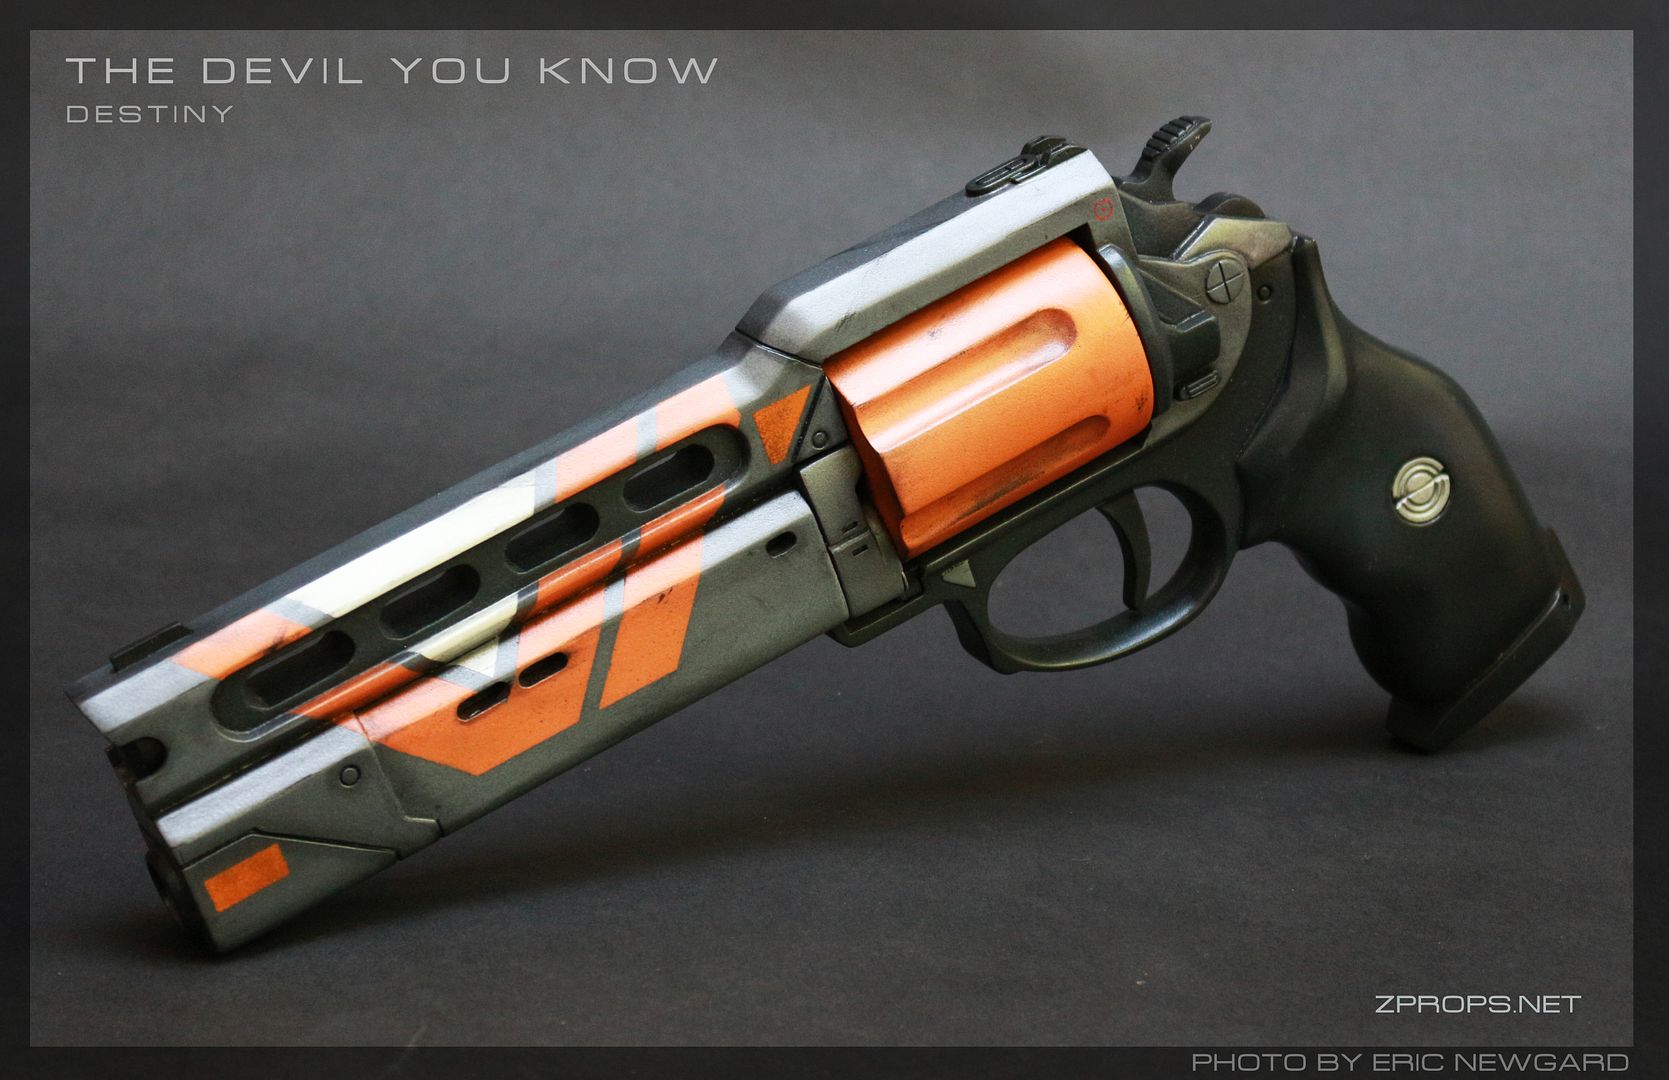
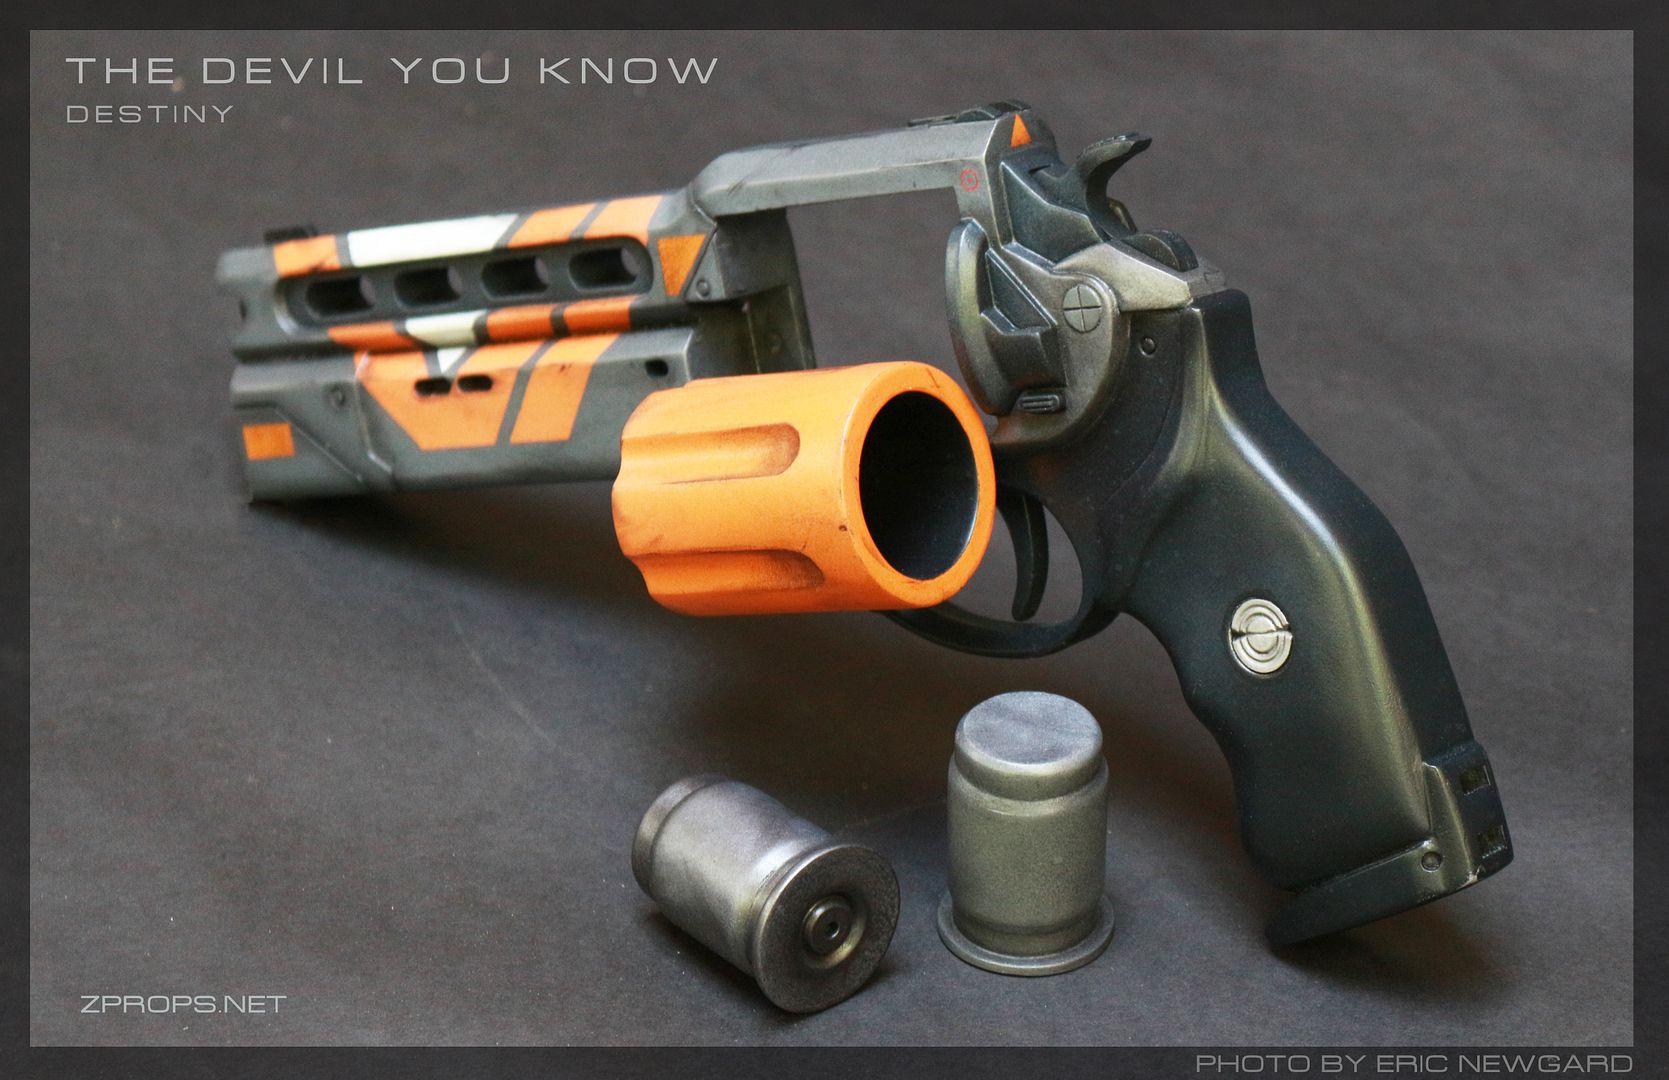
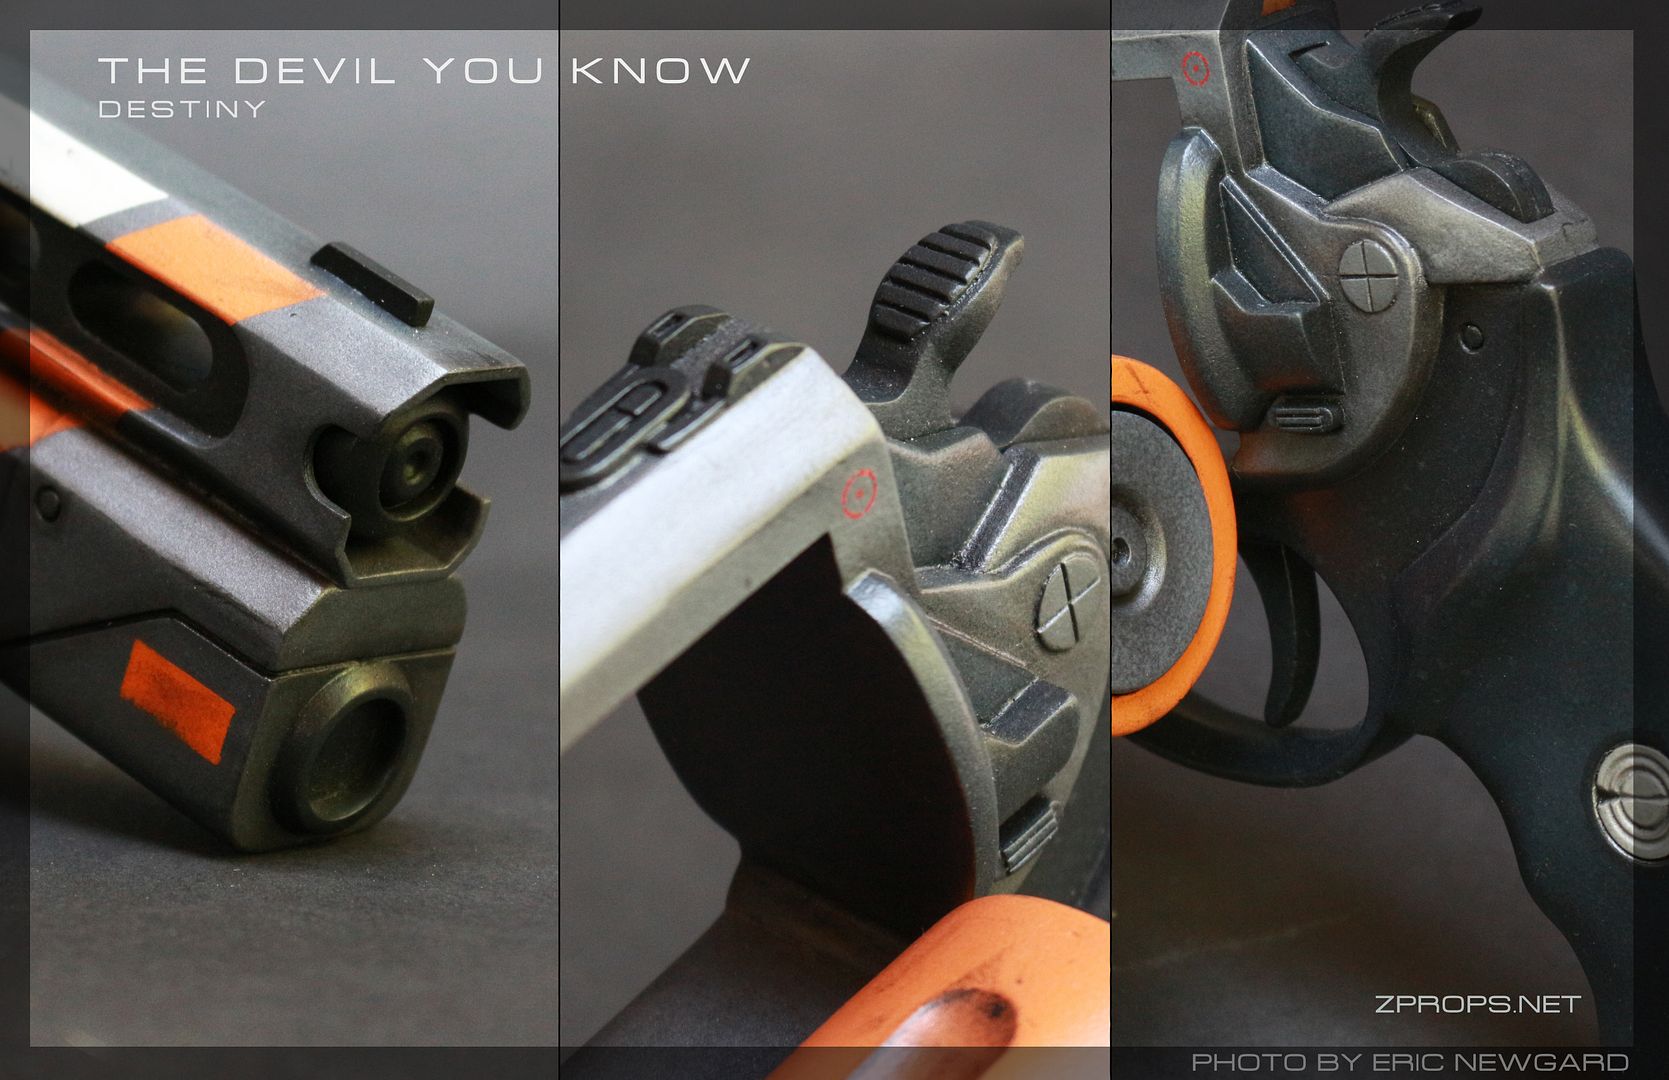
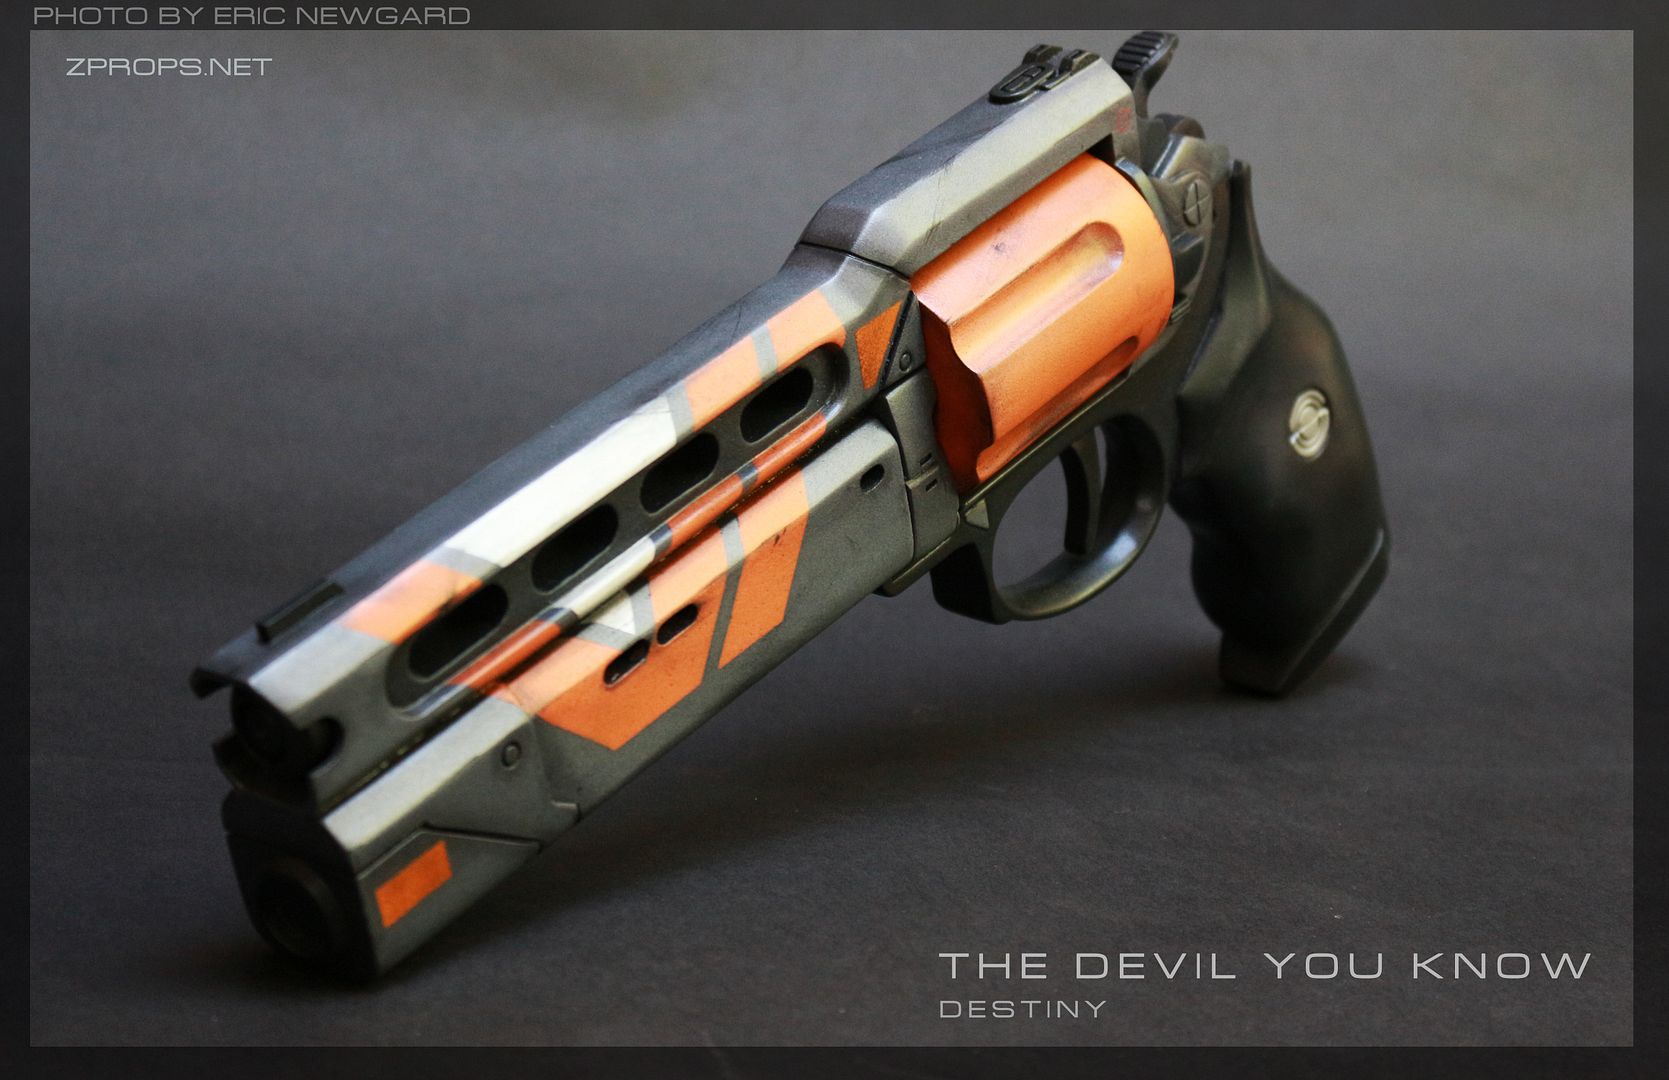
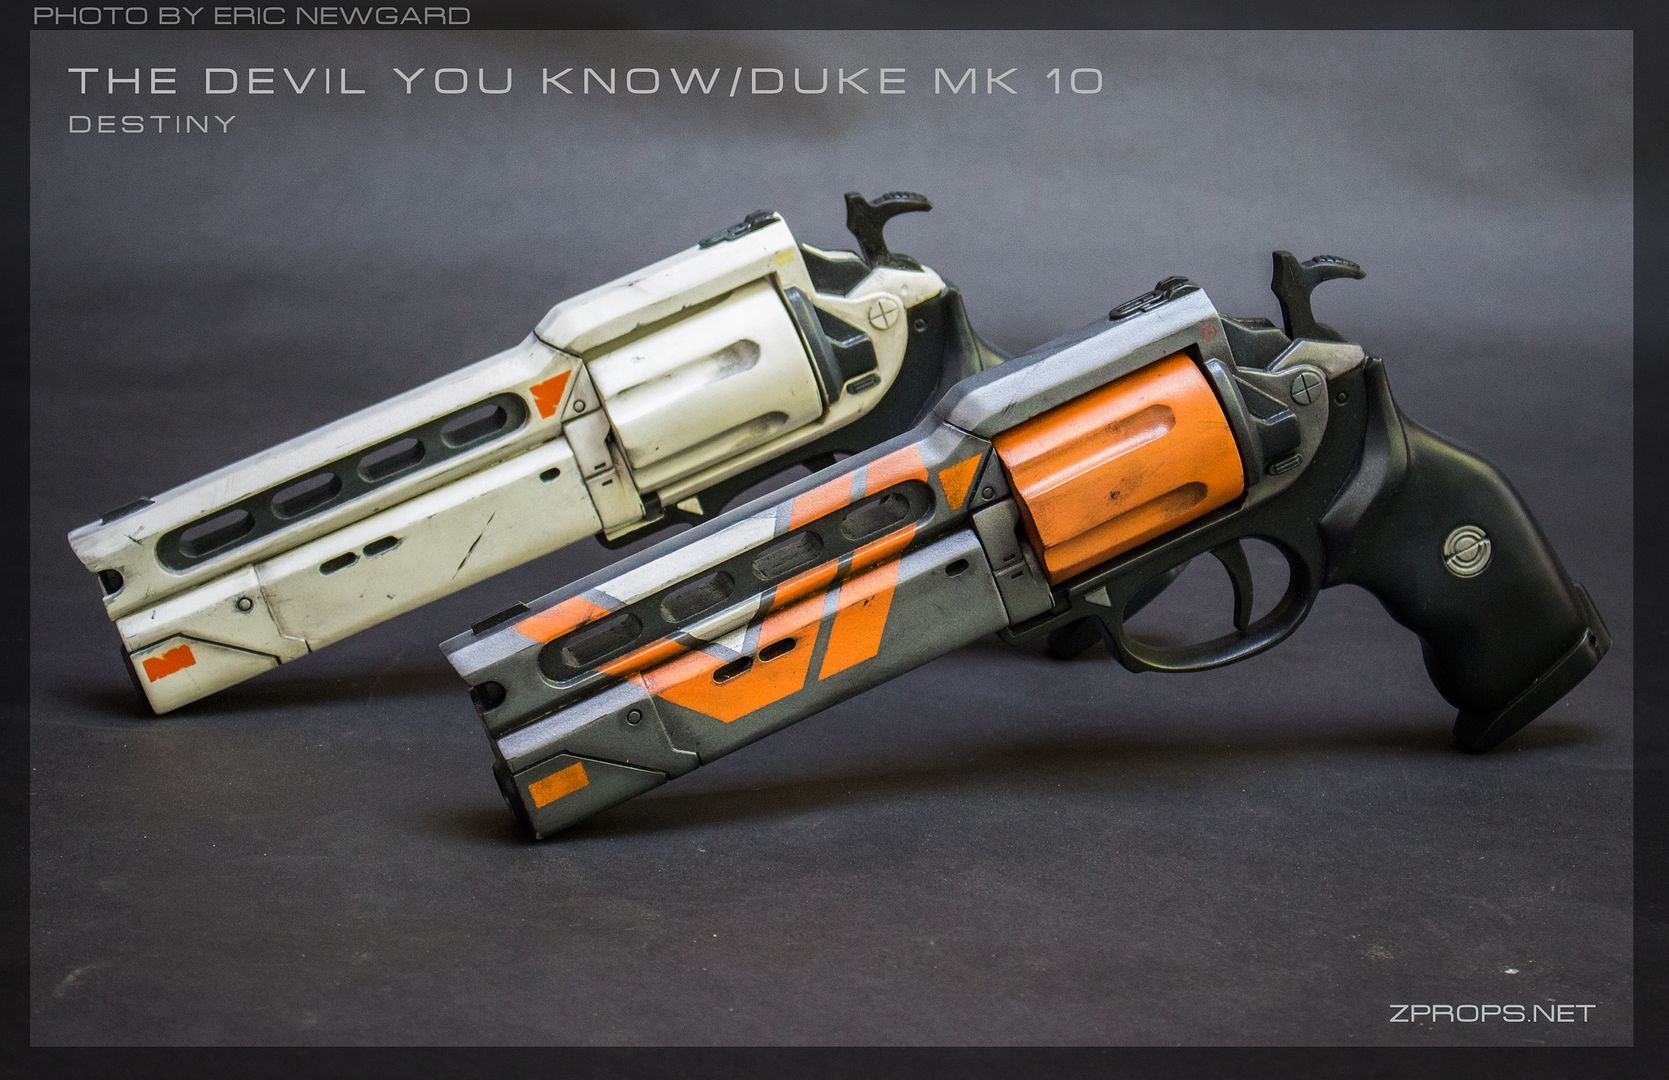
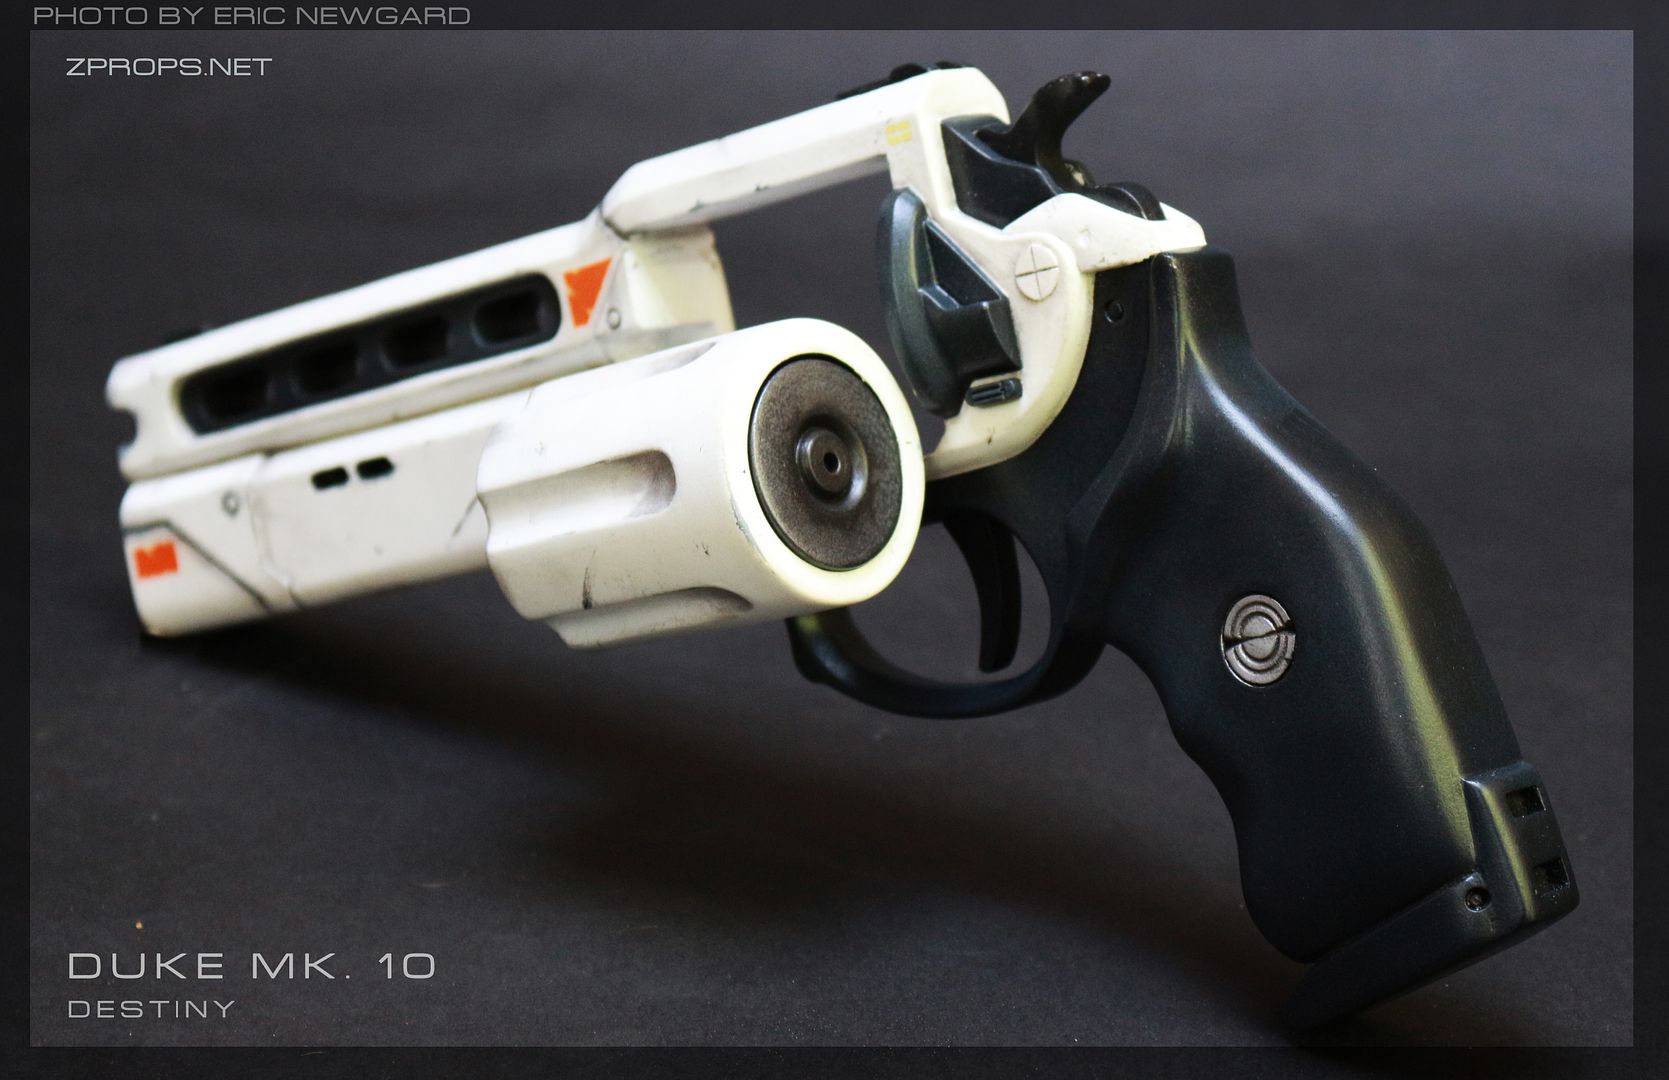
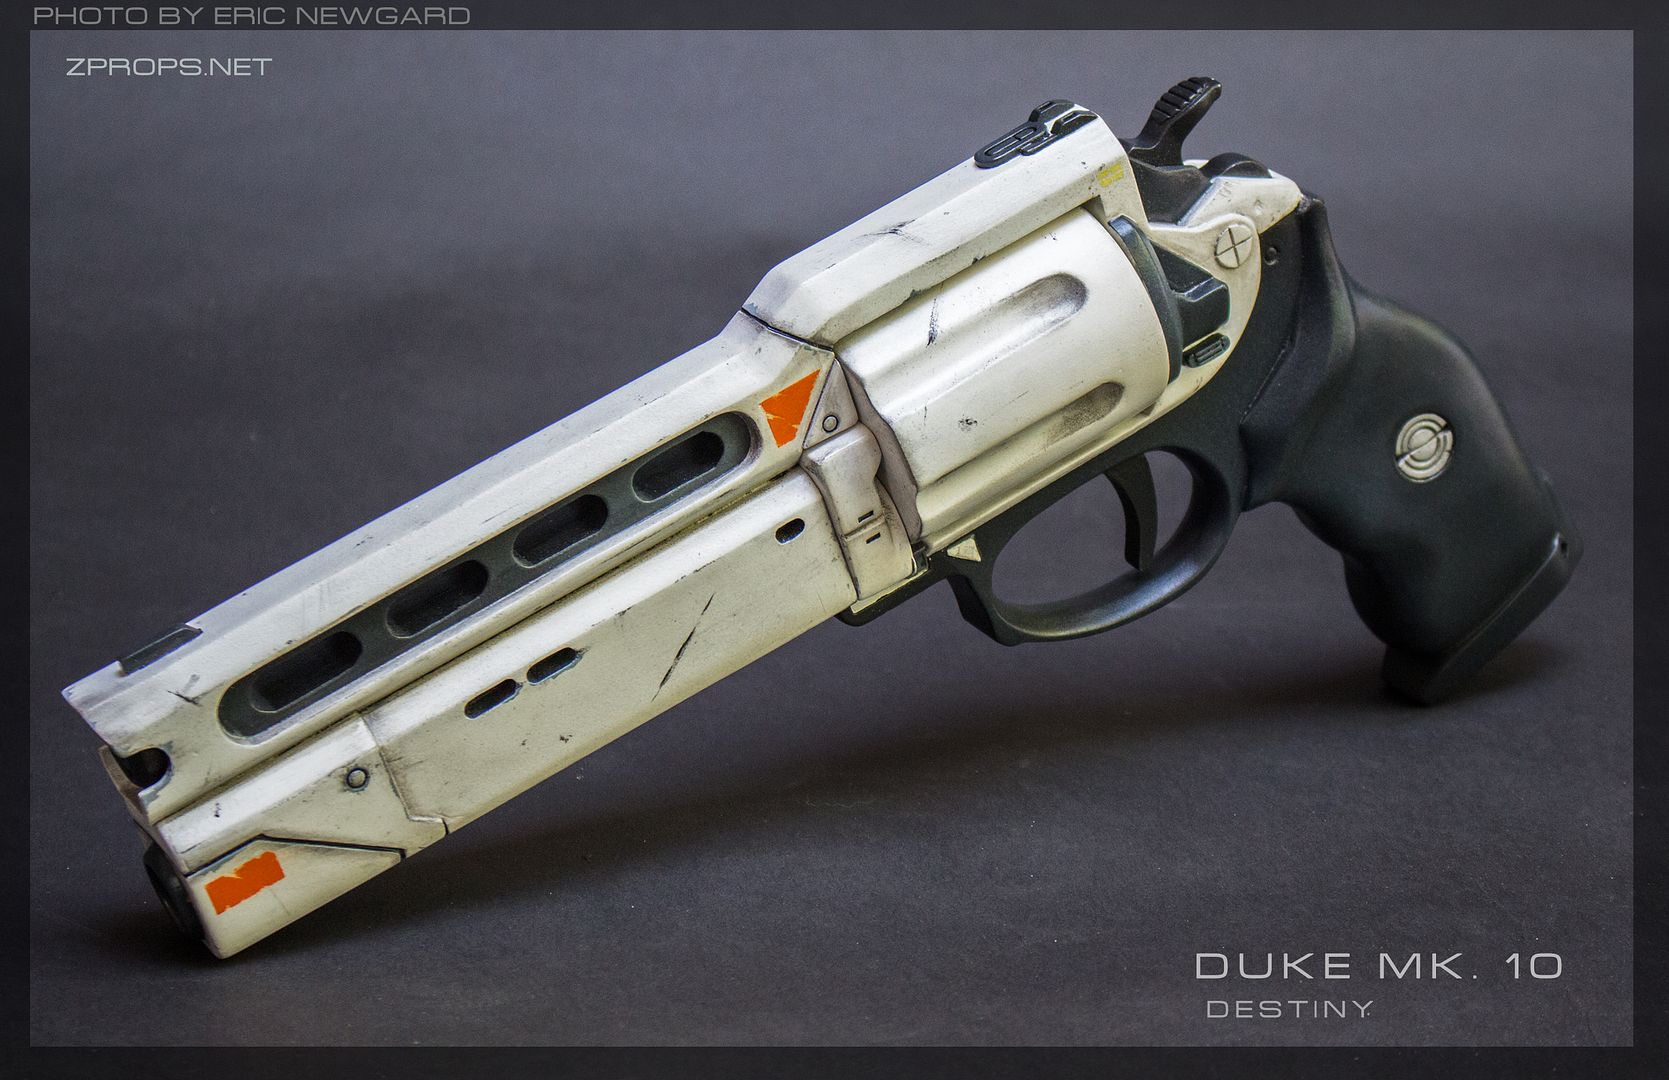
Destiny Hand Cannon (Devil you know, Duke MK 10/21, Pecadillo's grace, etc)

In every sci-fi game or anime, there's there's always the more basic/generic militarized version of weapons and vehicles, and then there's always the flashy rare rendition of things. This holds true for nearly everything. (Gundams VS GM's, tie fighter vs tie advanced, UNSC spartans vs marines, you get the idea)

I typically enjoy the more "mass produced" looking stuff more than the flashy stuff, and this destiny hand cannon was a perfect example of something designed to be plain and basic (Comparatively) that can still be made to look beautiful. So here it goes!

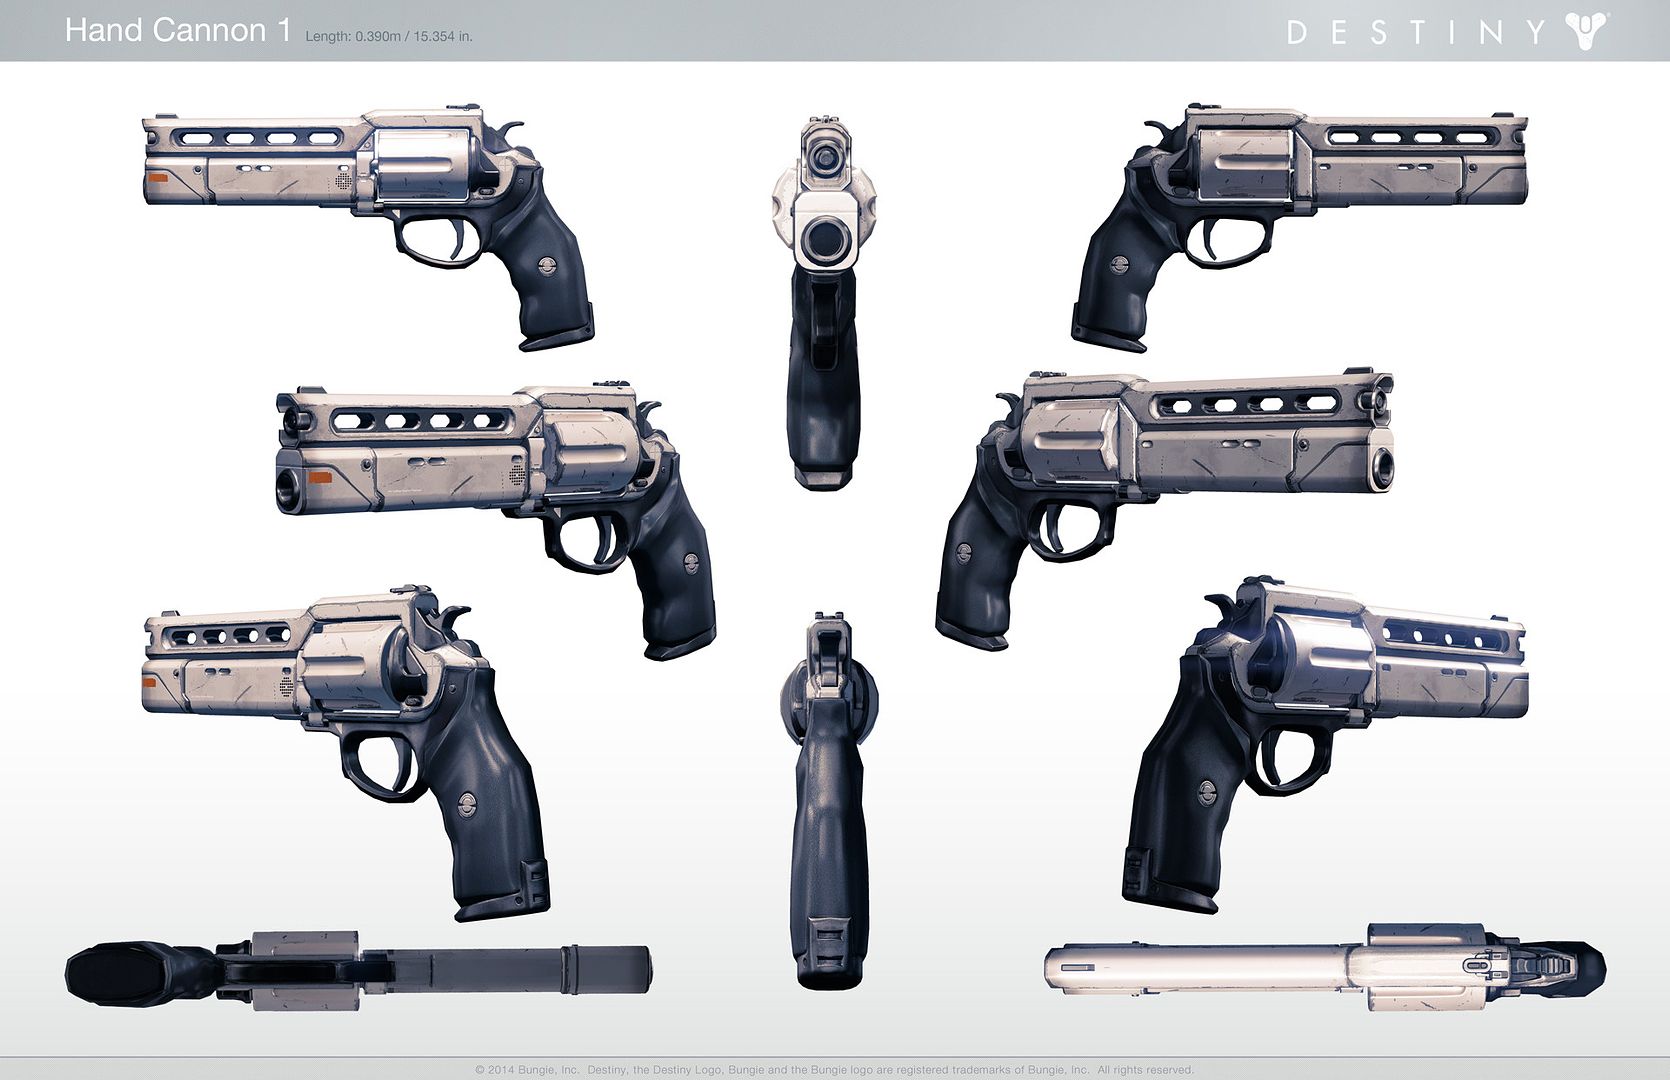
Destiny released this official reference before the game came out. If you've been reading through my other posts, I'm also a big fan on concept work over the in game models because in game models are typically less detailed and are "neutered" versions of the artists original vision. In this case the basic hand cannon was almost perfect, so all they did was change the little ridge under the cylinder a bit in the final version. Win!

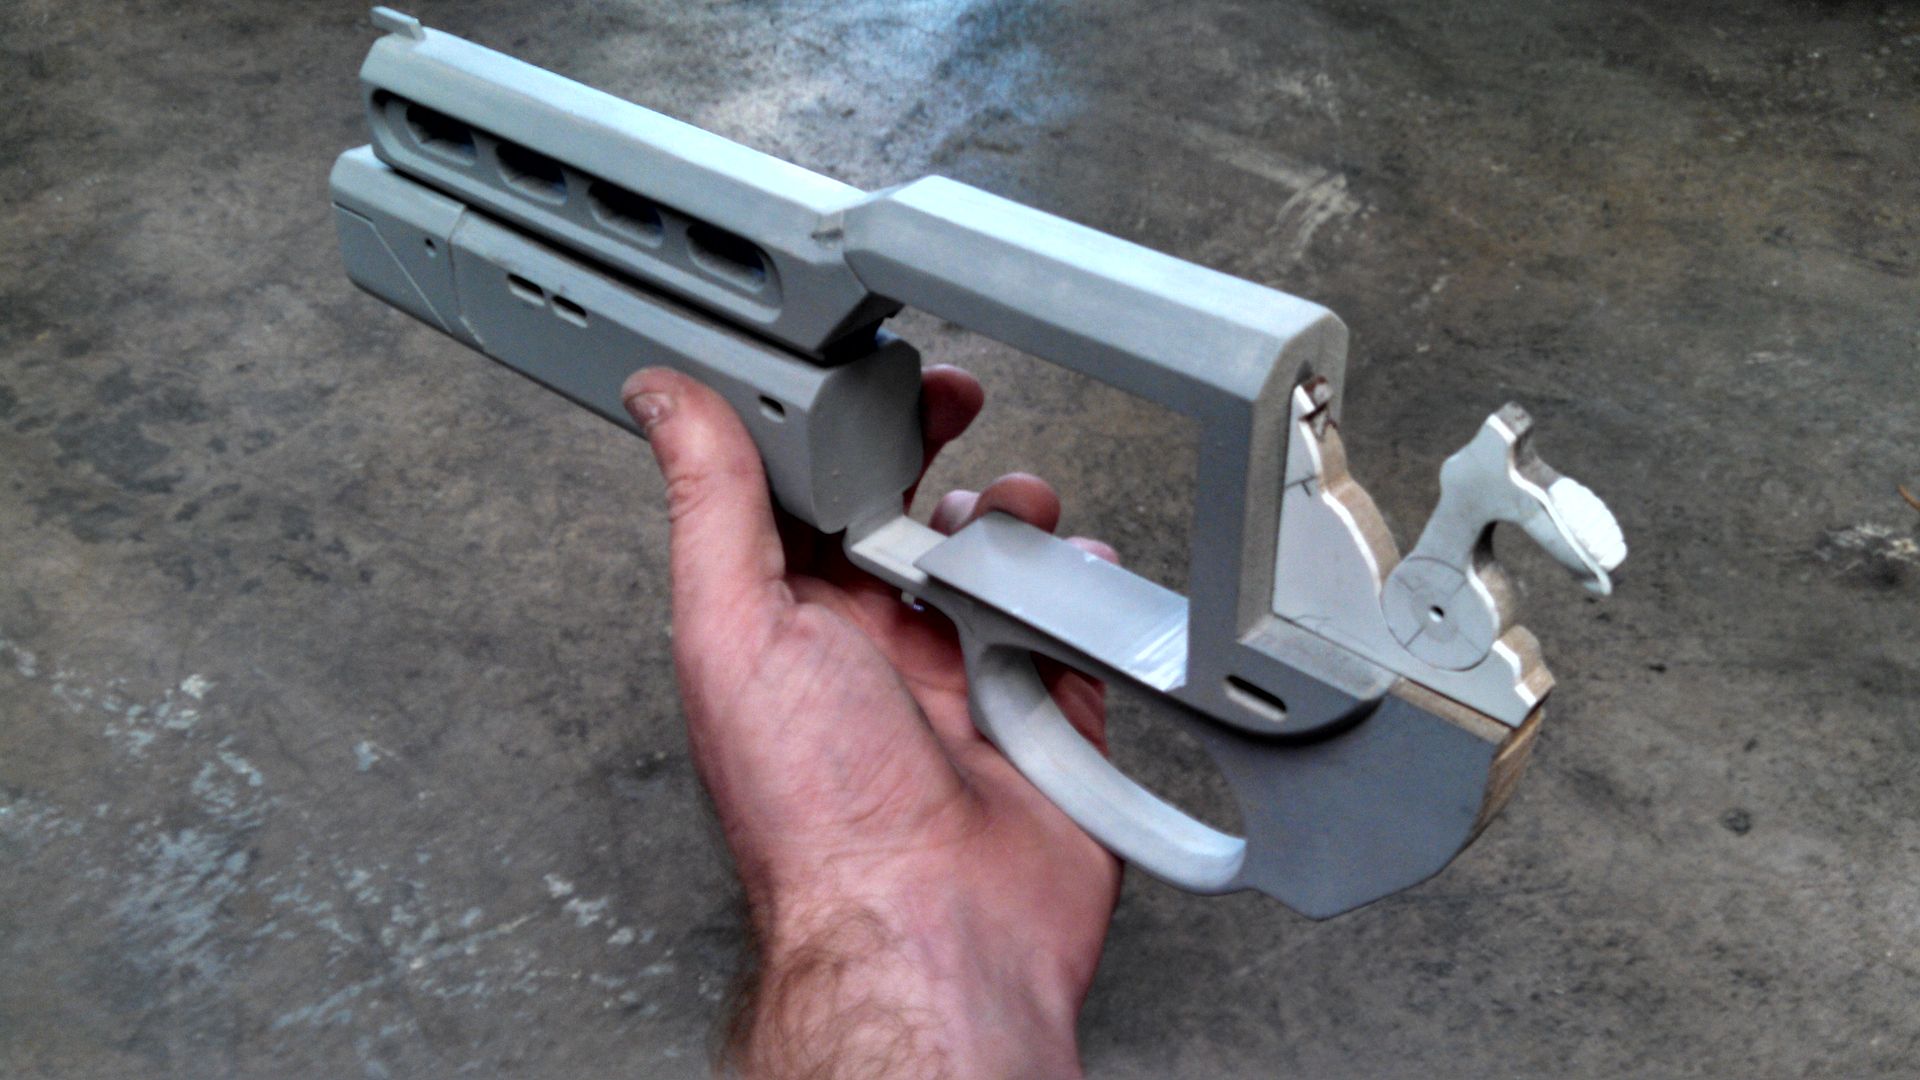
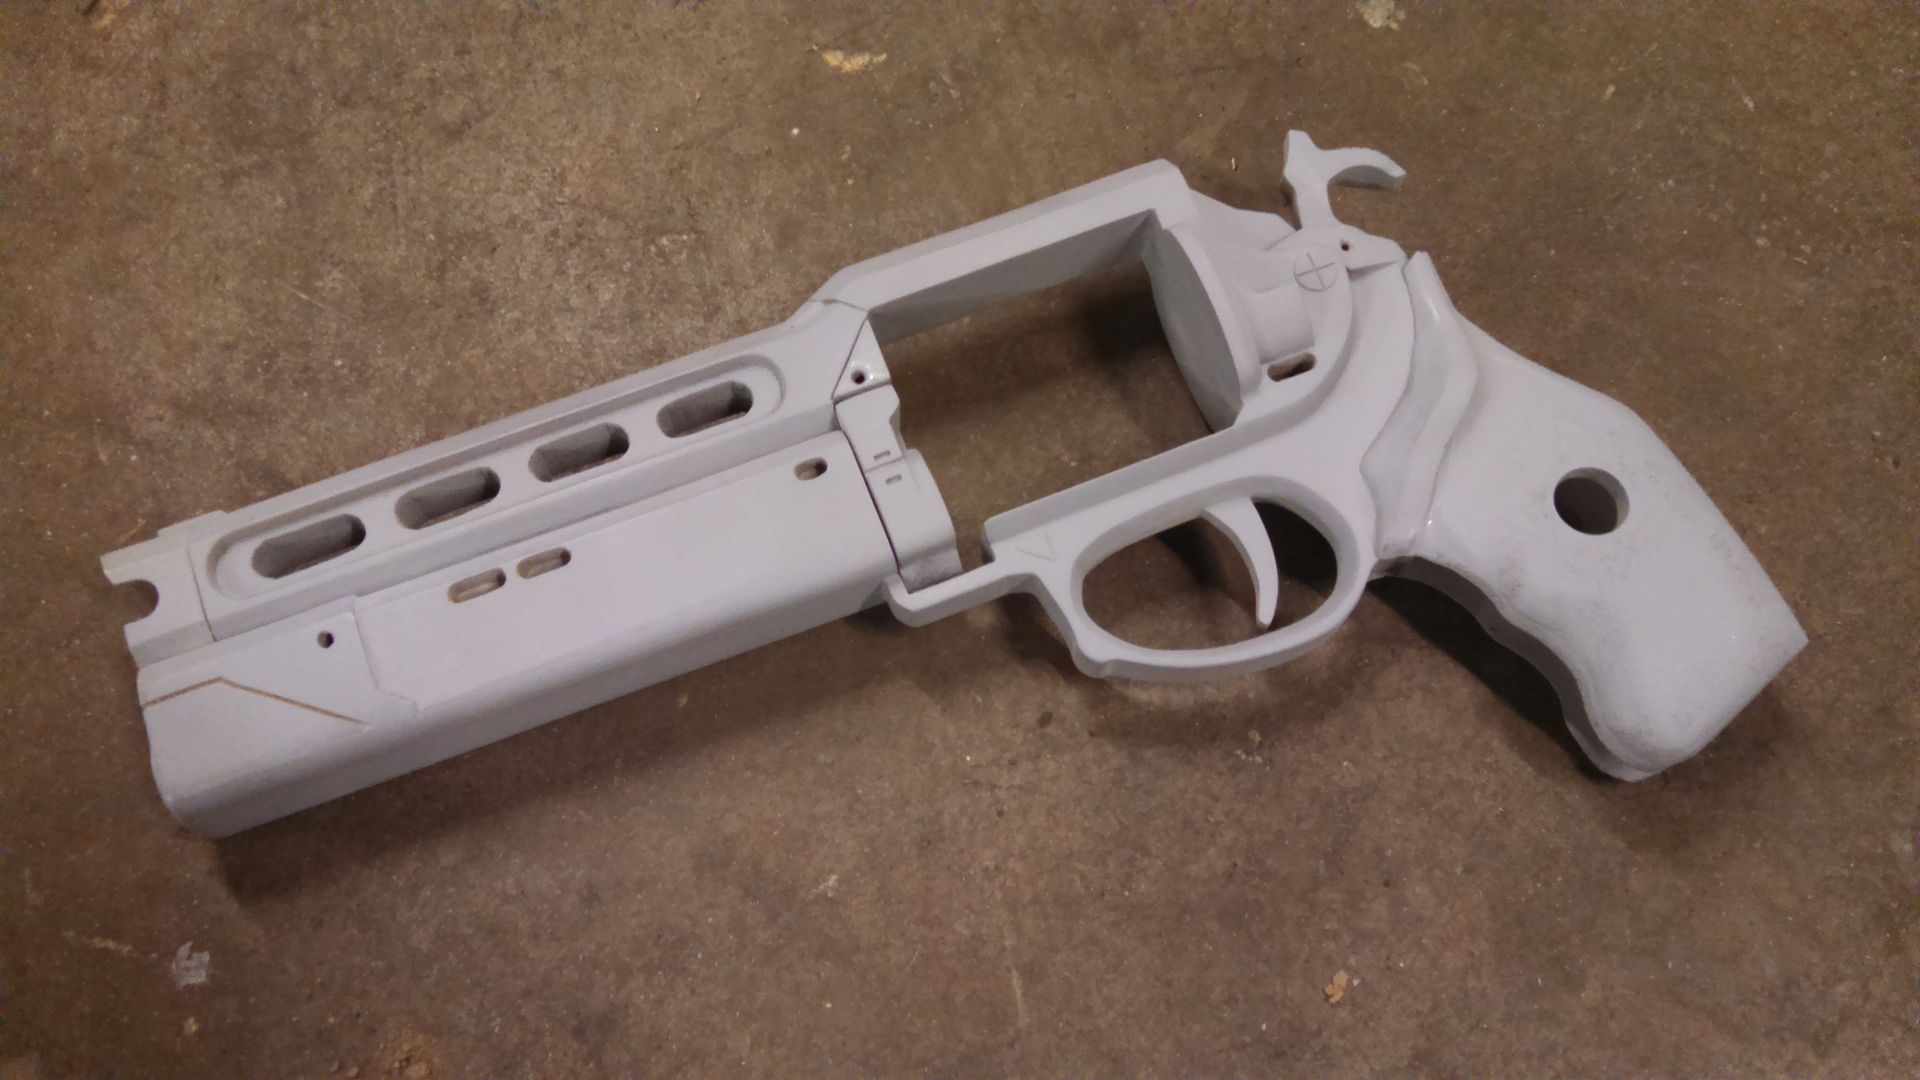
In game this thing is 15.35 inches long... I printed it out and decided to scale it down to 14"..Not happy with how far away the hammer was (Since I wanted a moving hammer that I could cock with my thumb) I scaled it down to the final number of 13.5 inches long, which puts the barrel at .55 caliber or so. These are all I used to build the thing. Please don't ask me for blueprints. 


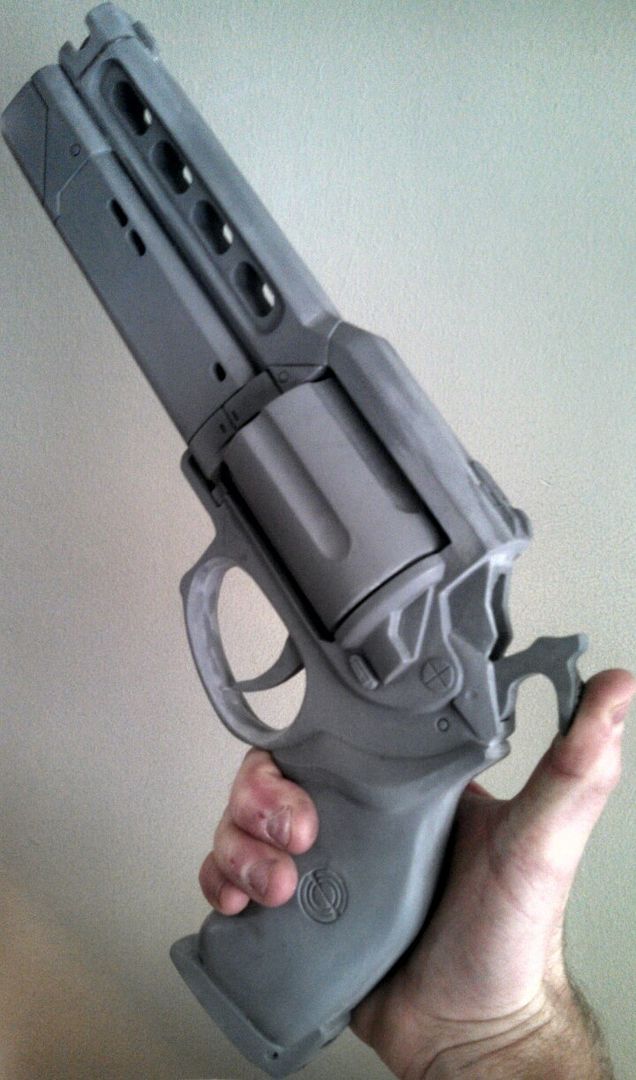
I started off with the front vents, which probably wasn't the best idea because they are hard to clean up later. Since I cut these on a scroll saw when it was freezing, my cuts weren't as nice as usual and it shows here and a few other places up front. It got warmer though as I went on and my cuts got better again.

This is probably one of the hardest parts to interpret. Most people think the front hole is larger, and the rest are small. The reality is they get  progressively larger as you move towards the front, so I did my best to measure/show that. 


I did both sides of the lower shroud after, by simply layering up some styrene before gluing everything together. 


I framed the gun in two separate sections and then glued them together. I cant remember why I did that, but there was a good reason at the time. 


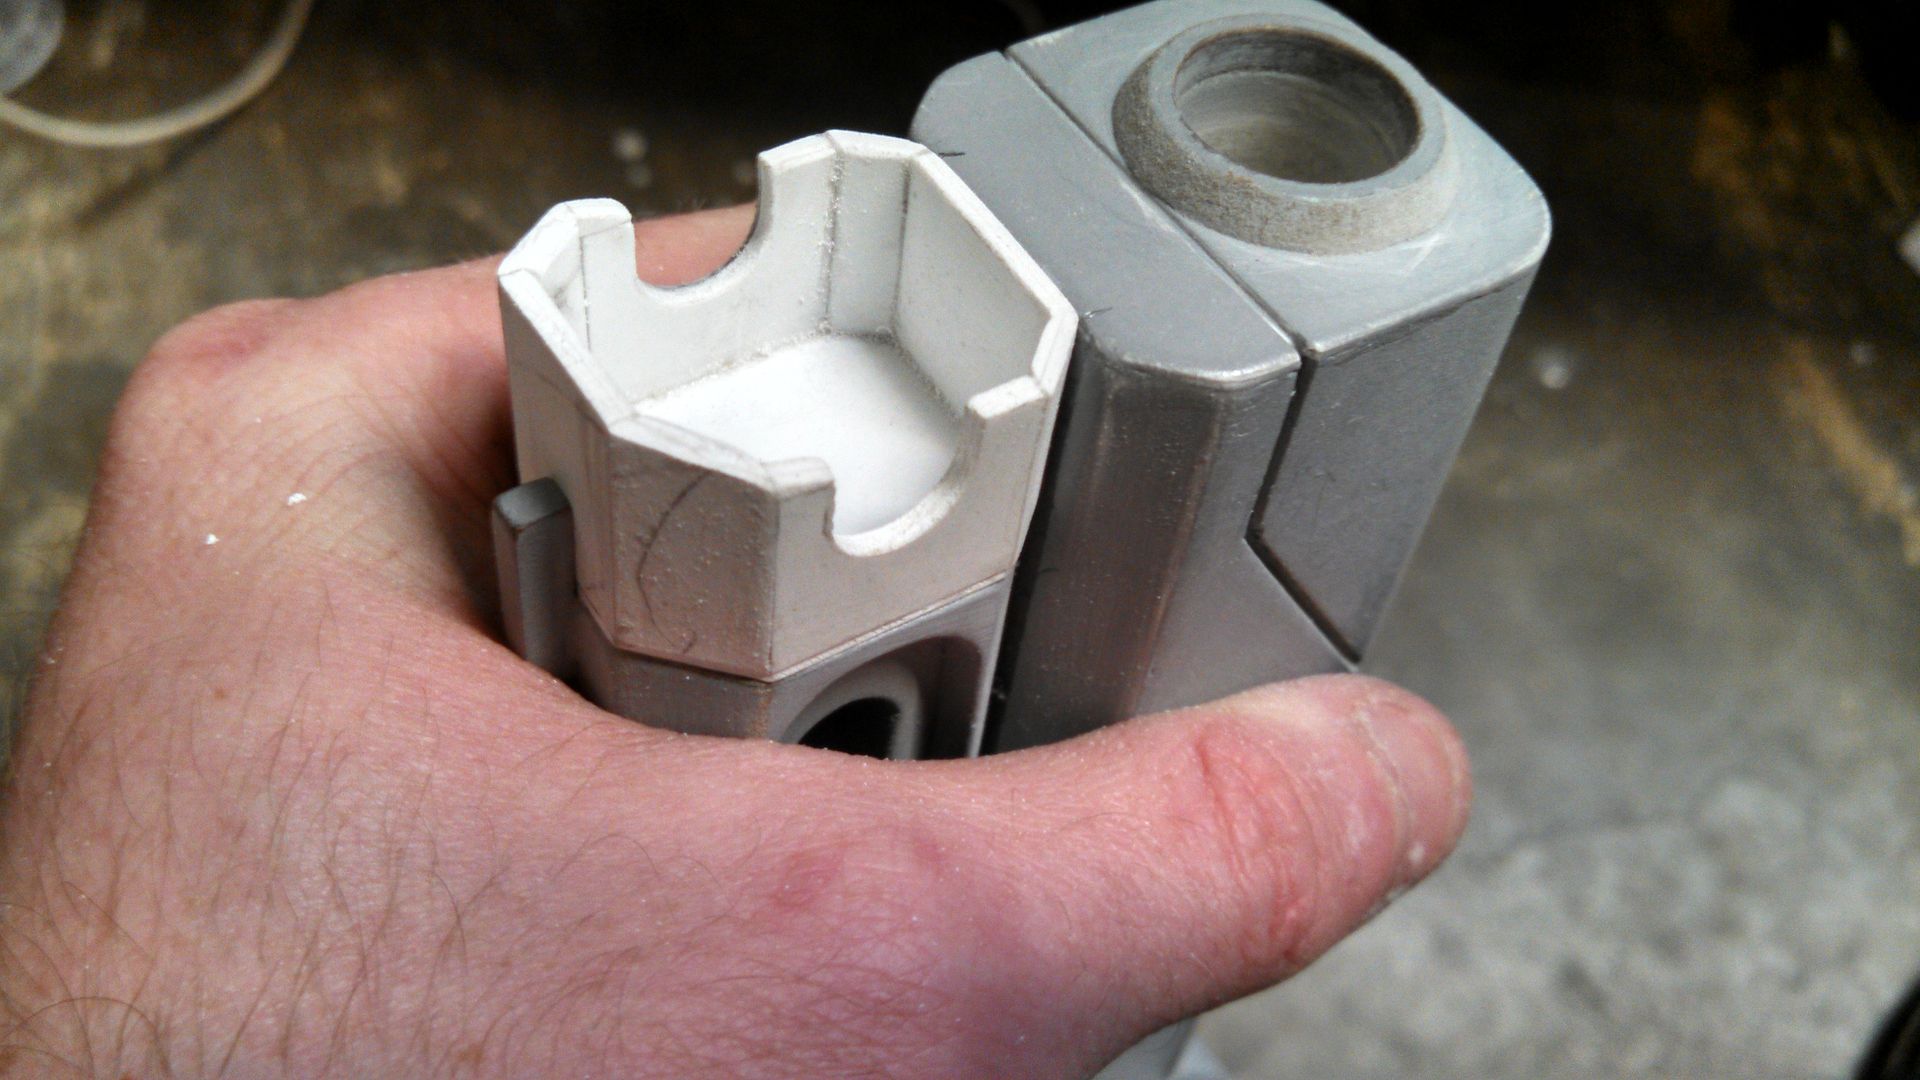
Since the trigger guard section was a different thickness, it had to be made as a separate part. 


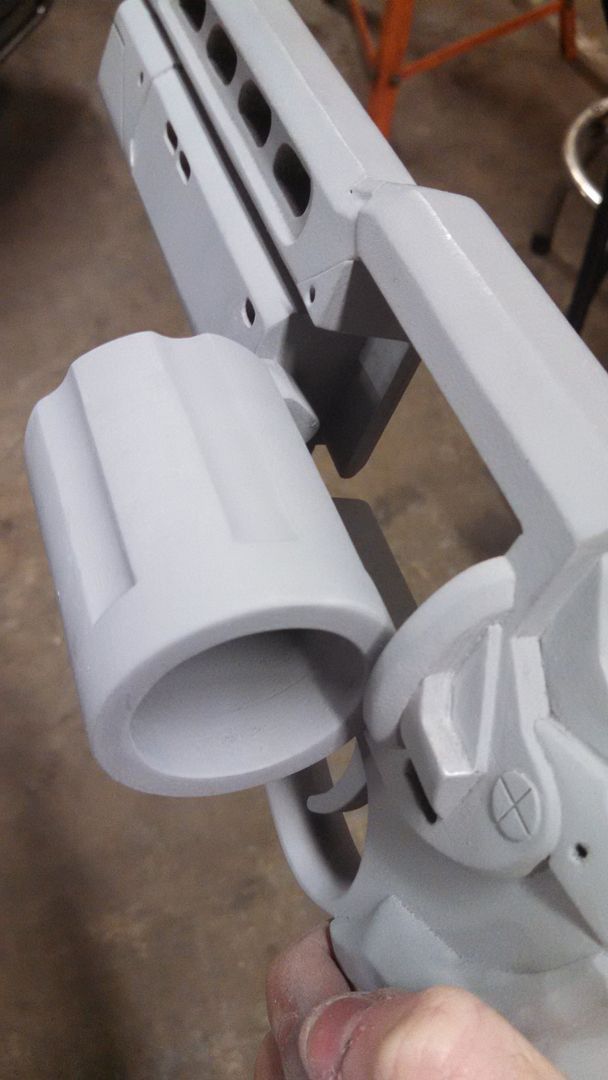
I cleaned up the trigger guard some and added detail. I also added the "lip" that goes under the cylinder here. Simply leaving it off would have saved me a TON of trouble designing the reload mechanism, but since I'm a sucker for accuracy I left it in there. In game the cylinder magically floats right through that lip when it pops out. A real life solution had to be made down the road. 


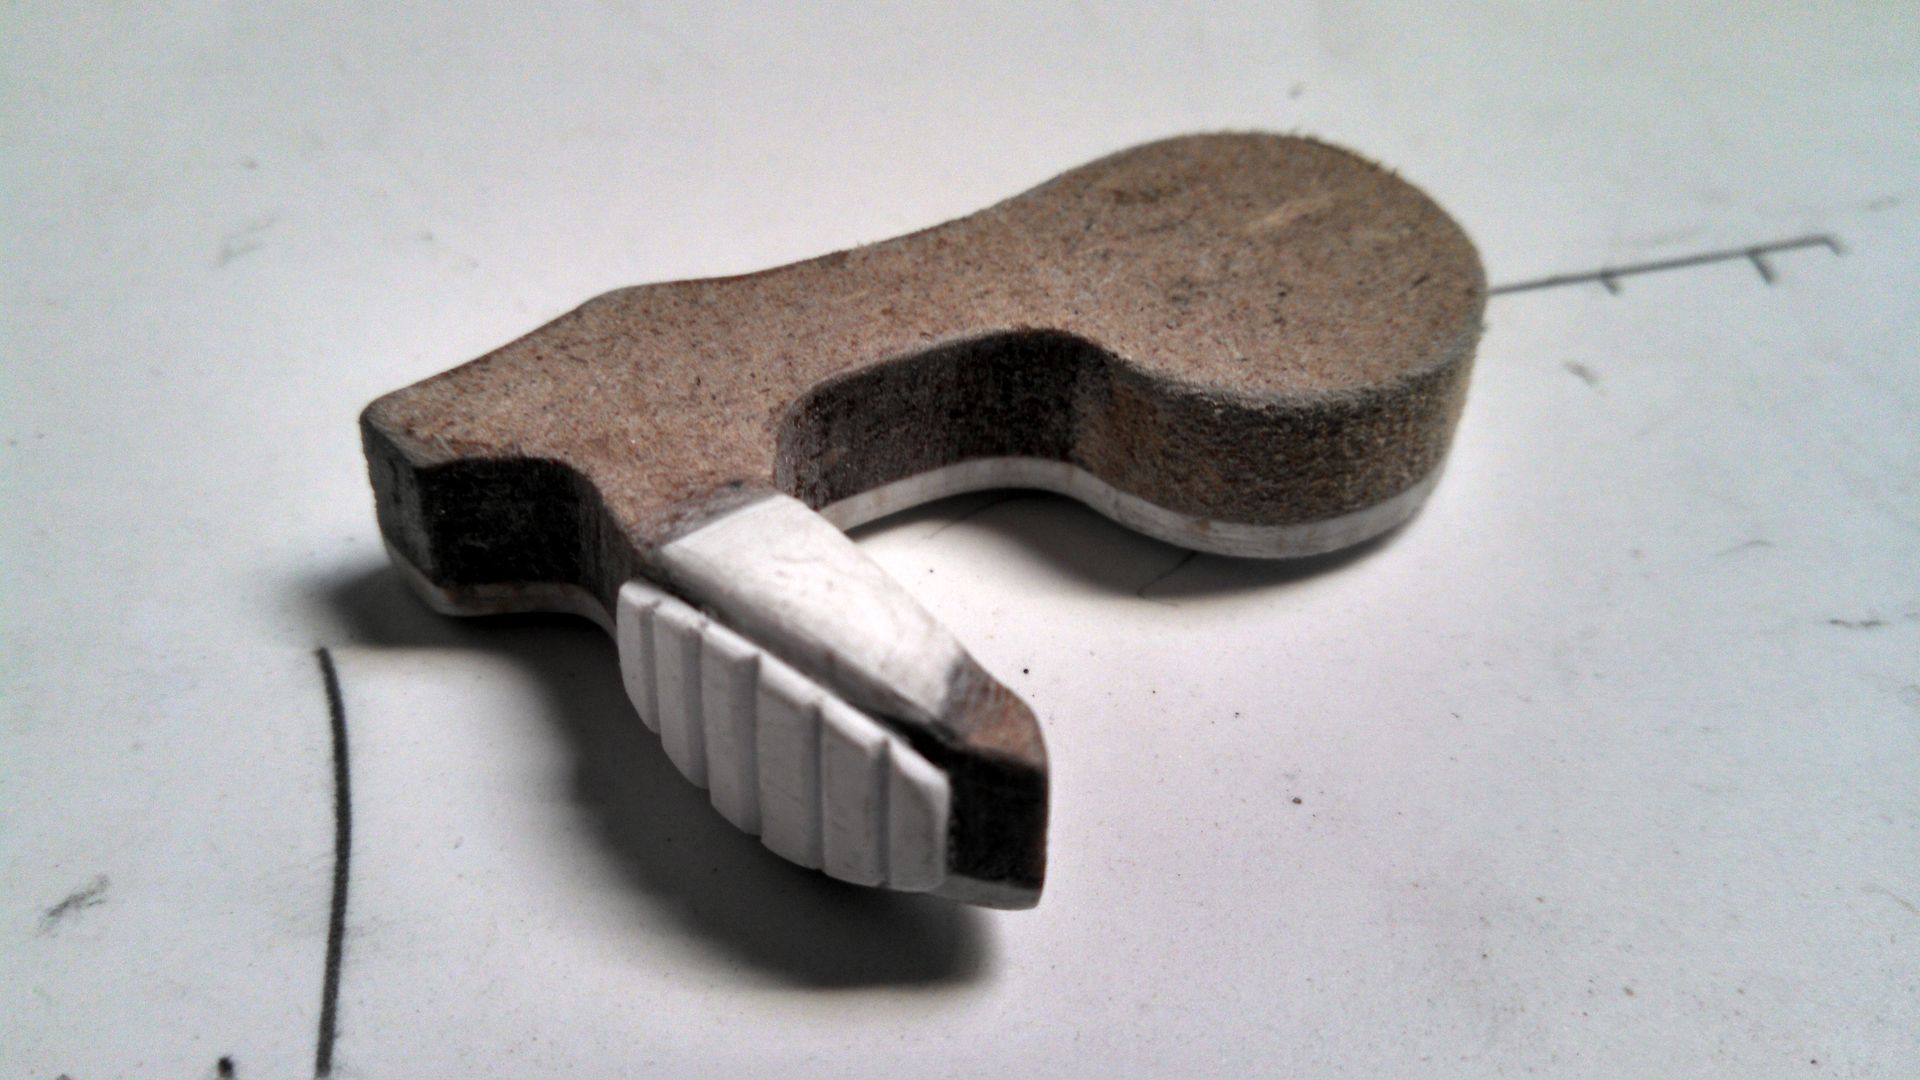
1/4" MDF wasn't quite as thick as I'd liked for the hammer, so I beefed it up some. I added details with styrene and careful scribing/sanding. 


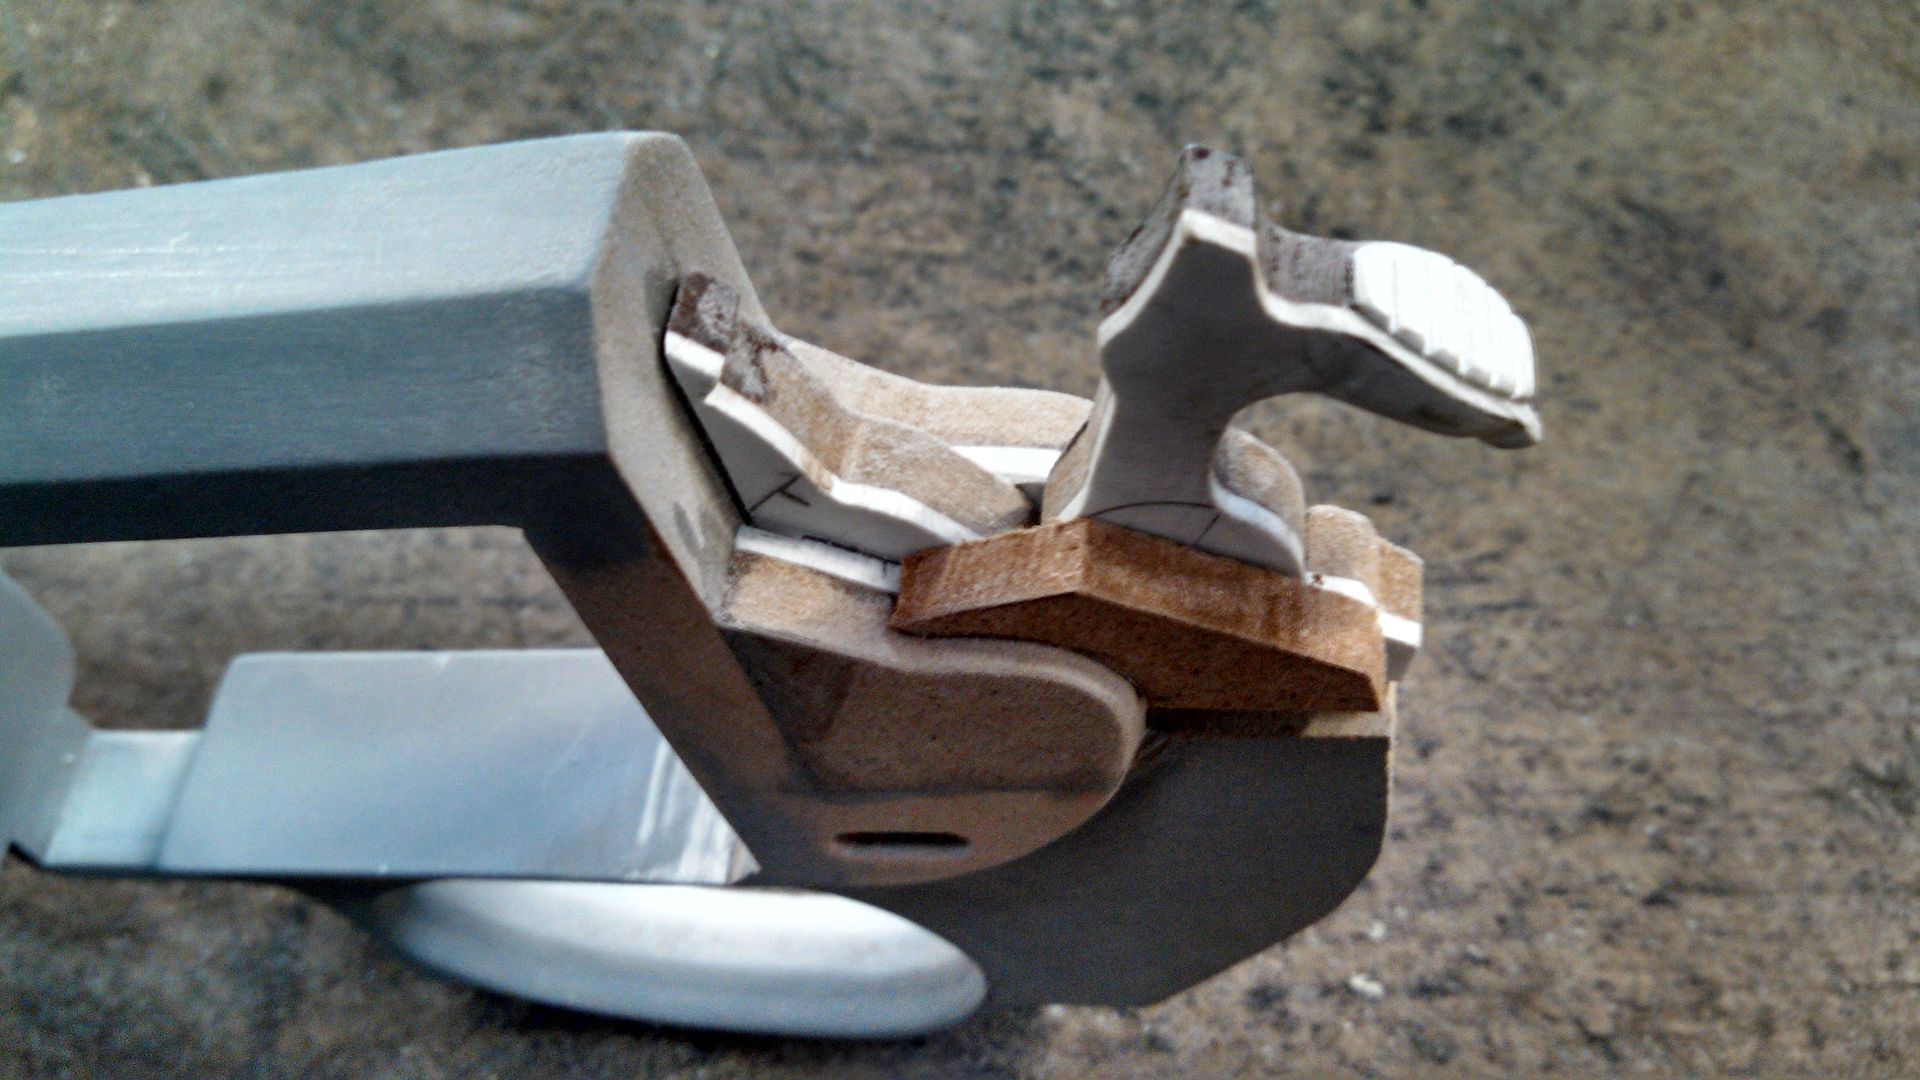
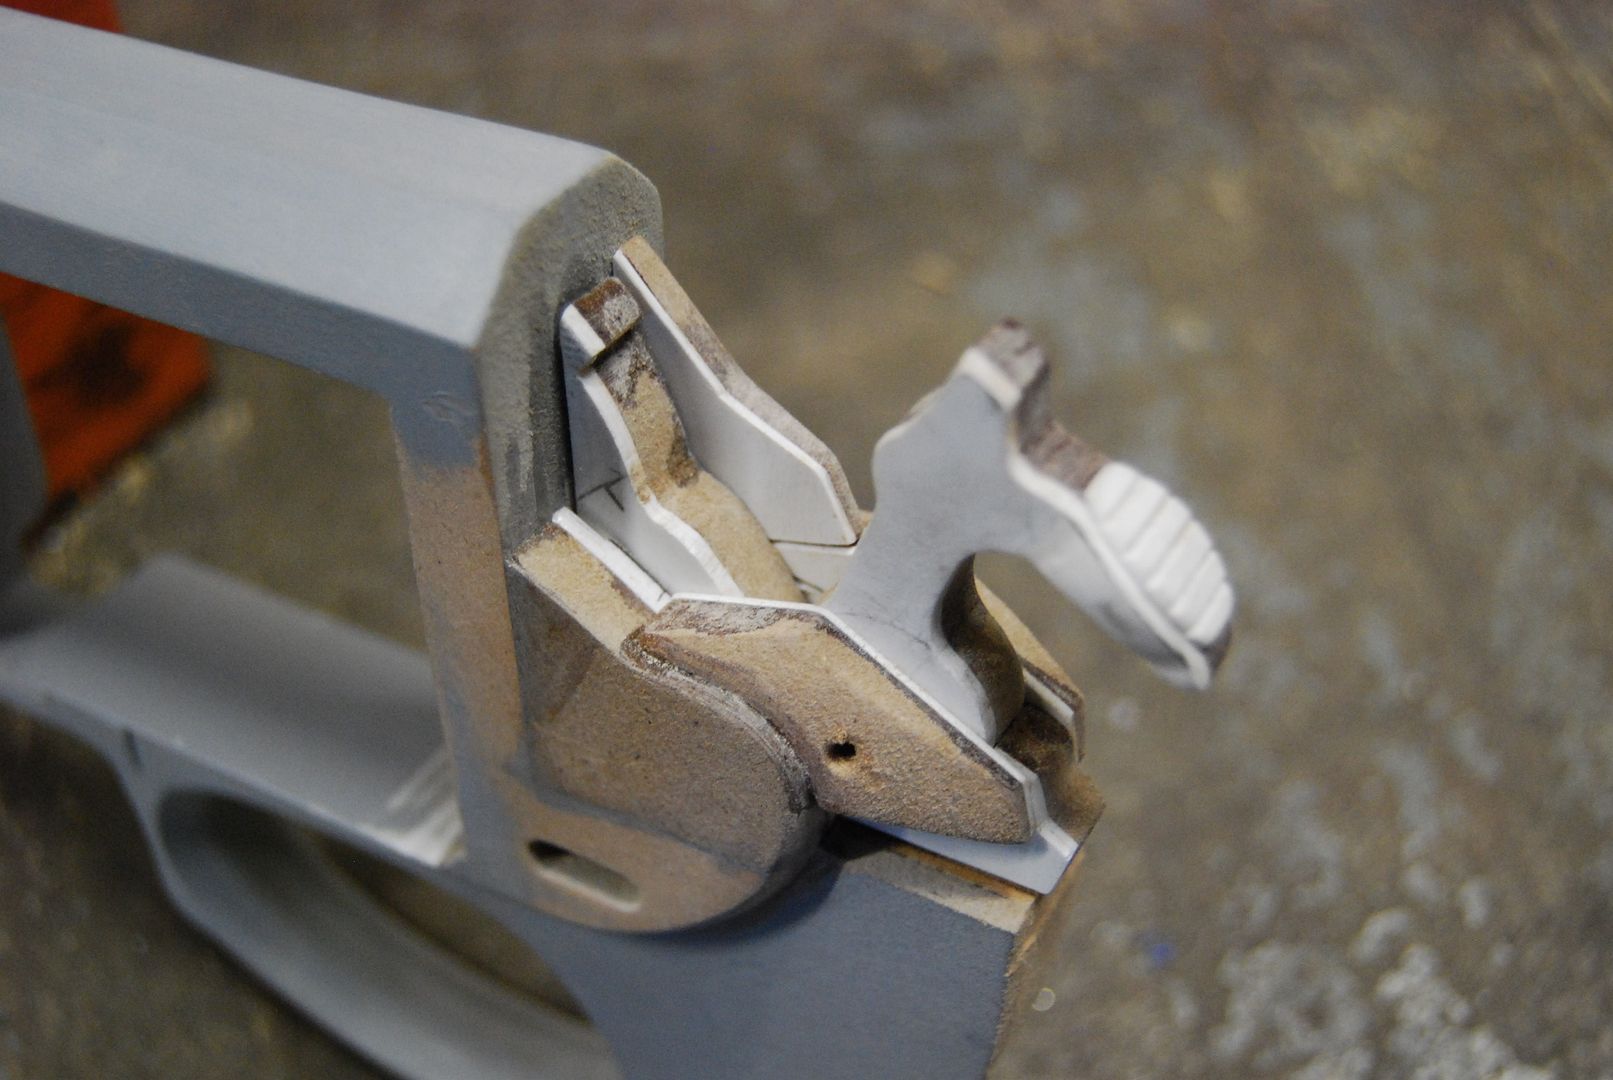
I made the "cradle" for the hammer and went forward on the priming. 


I shaped the parts that cradle the sides, but didn't glue them on so I could pop them out when needed and sanded them to shape. 


It just gets more and more tedious. 


The half domes on the rear were carefully made with 2 layers of 1/8" MDF.


Followed by some 1/2" MDF, which was cut to shape.


Clean up and final little details.


While the back soaked in primer, I started in the front. This part had to be cast as a separate part later on, so getting it to line up with the shroud/front sight was important. At this point, I made the barrel opening out of 1/8" MDF. 


Coming together.


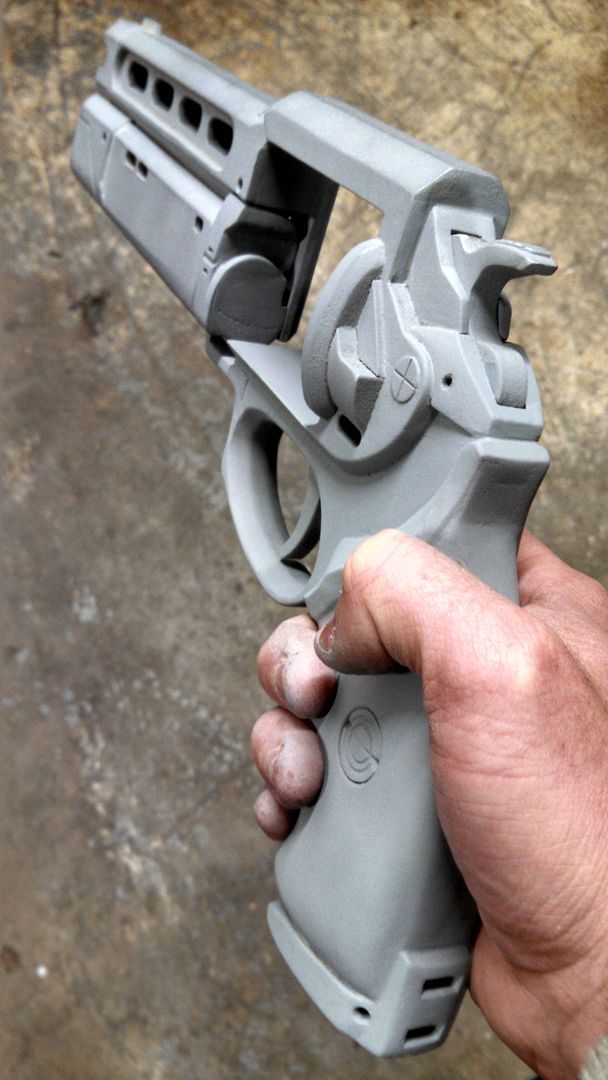
This is where the tricky mechanical challenge started. The gun isn't symmetrical, and has this little nook for the swingarm to sit in. This is great because I don't need to make a stop for it, and I can easily install magnets to hold the swingarm all of the way closed. 


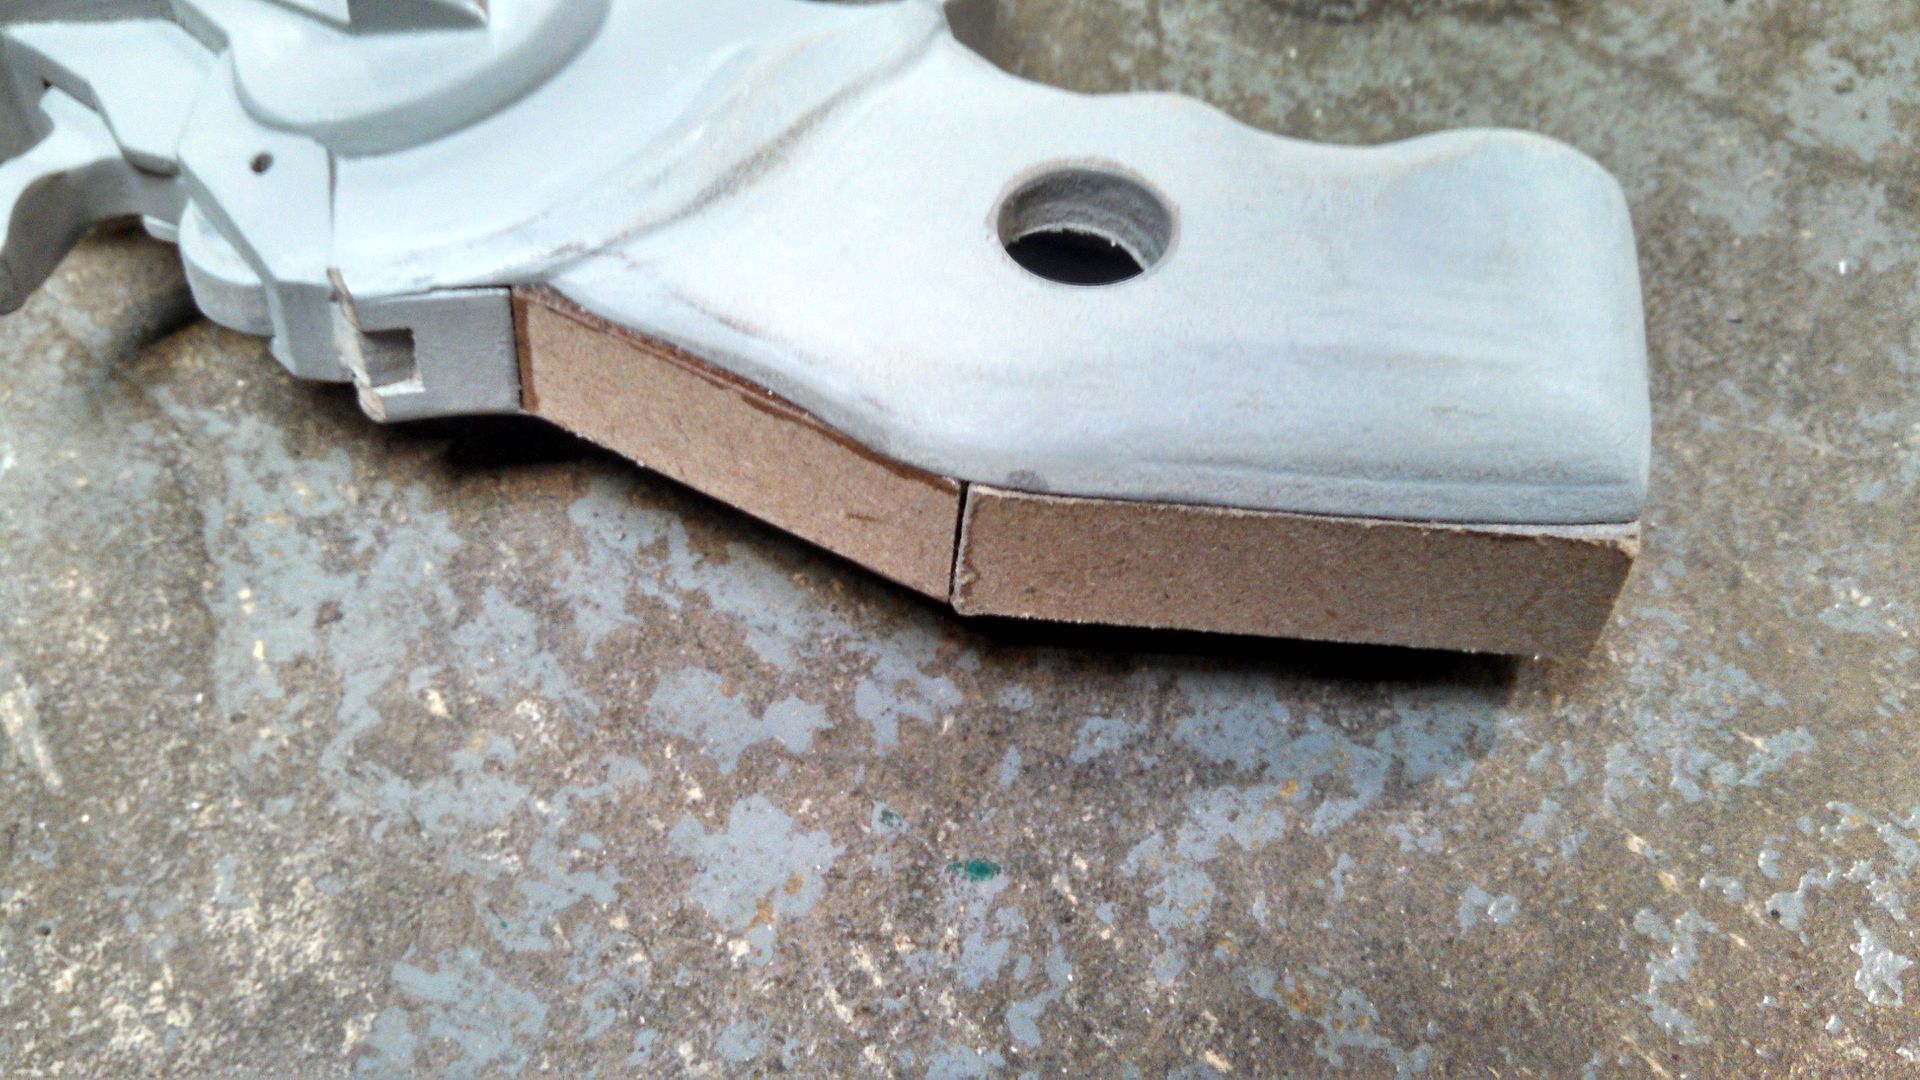
I don't have pictures of the swingarm being made, so we'll jump forward to the grips. They always start like this, and its always a ton o work to shape them and make them look like... well...not MDF. 
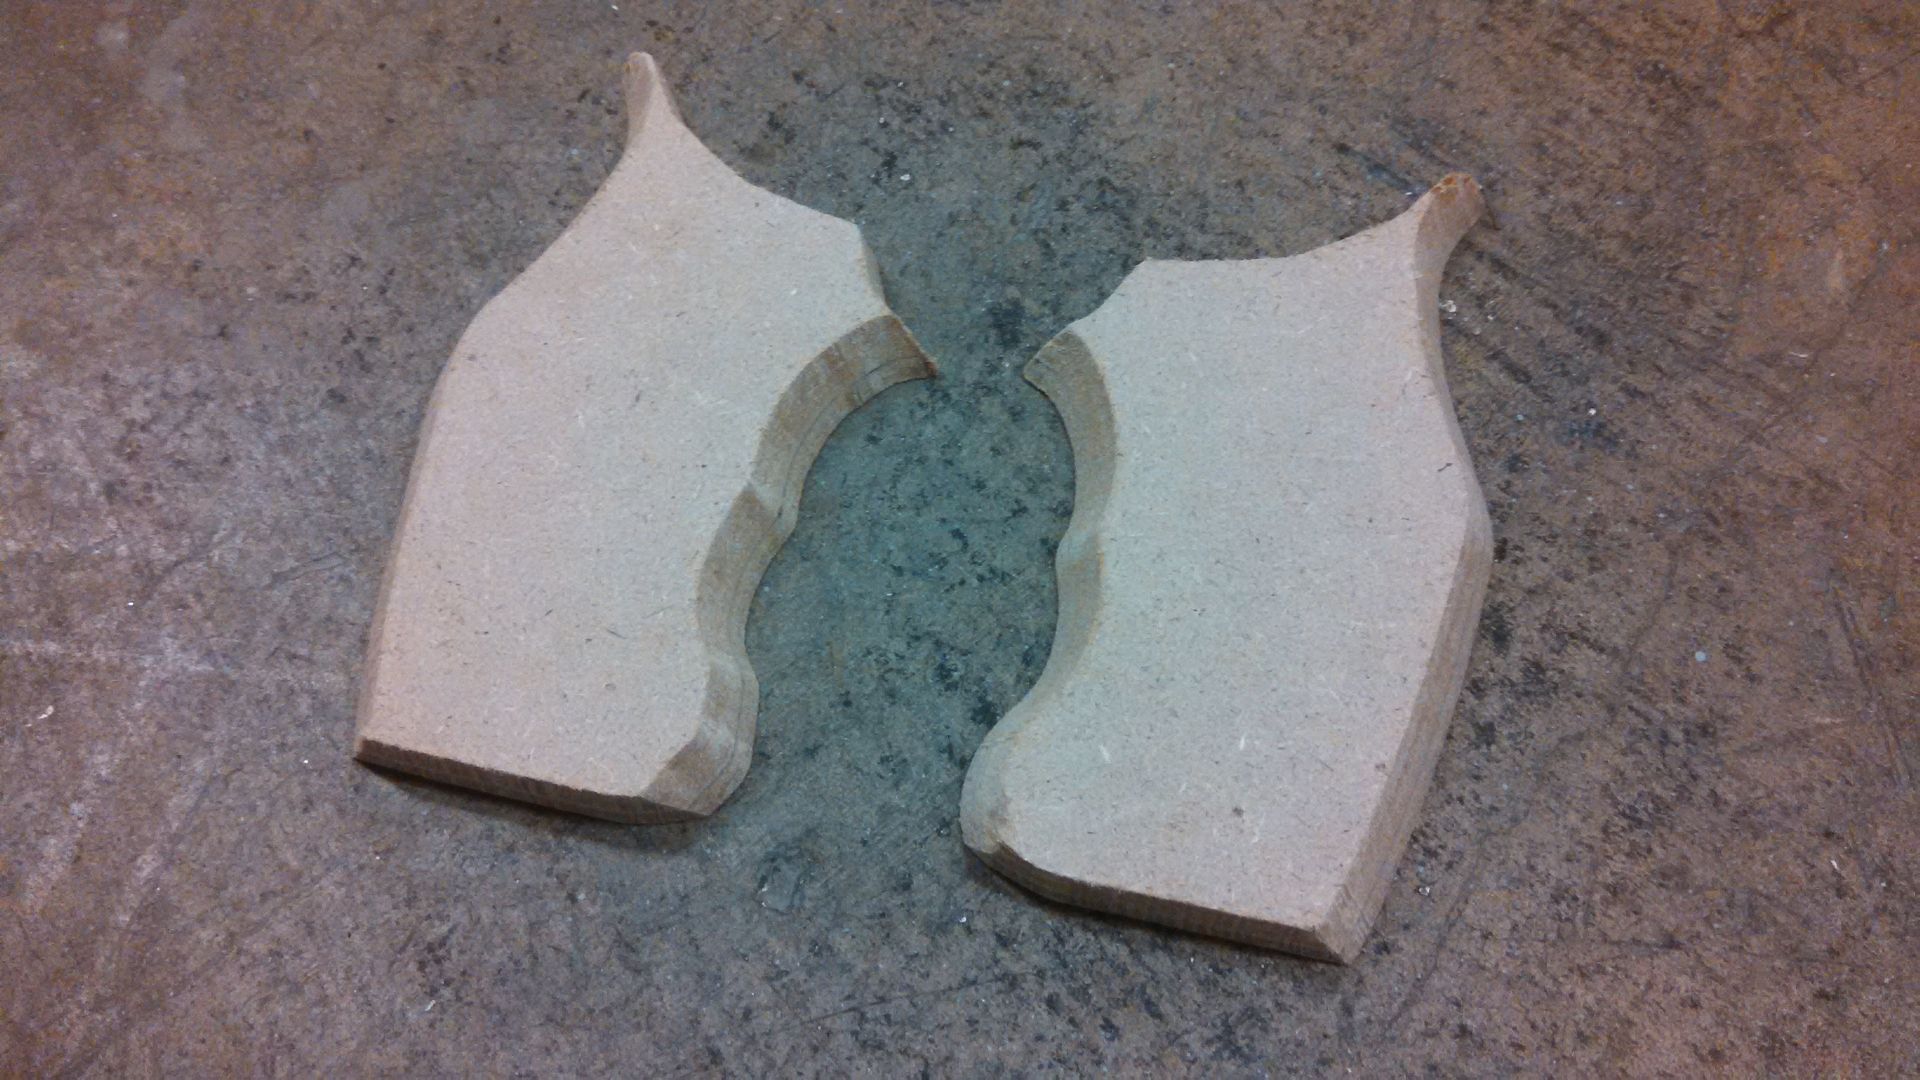


Somehow I managed by drawing the contours with a pencil, sanding, re-drawing, etc. until I checked the shape against the reference image and got something almost perfect. Then I drilled the hole for the emblems, and glued them in place. 


I wanted the grips hollow so I could get a tool through the bottom and push the emblems back up if I pressed them in too far later on. So, I just made some thin MDF walls and sanded them to shape. 


I'd say it worked pretty well! I hate filler, so I filled the little nooks with carefully cut pieces of styrene. 


For the emblems, I used my ghetto lathe. Its pretty easy to follow.


Then, I cut the angled horizontal slit with an exacto and filled the hole in the center. Into place they go!


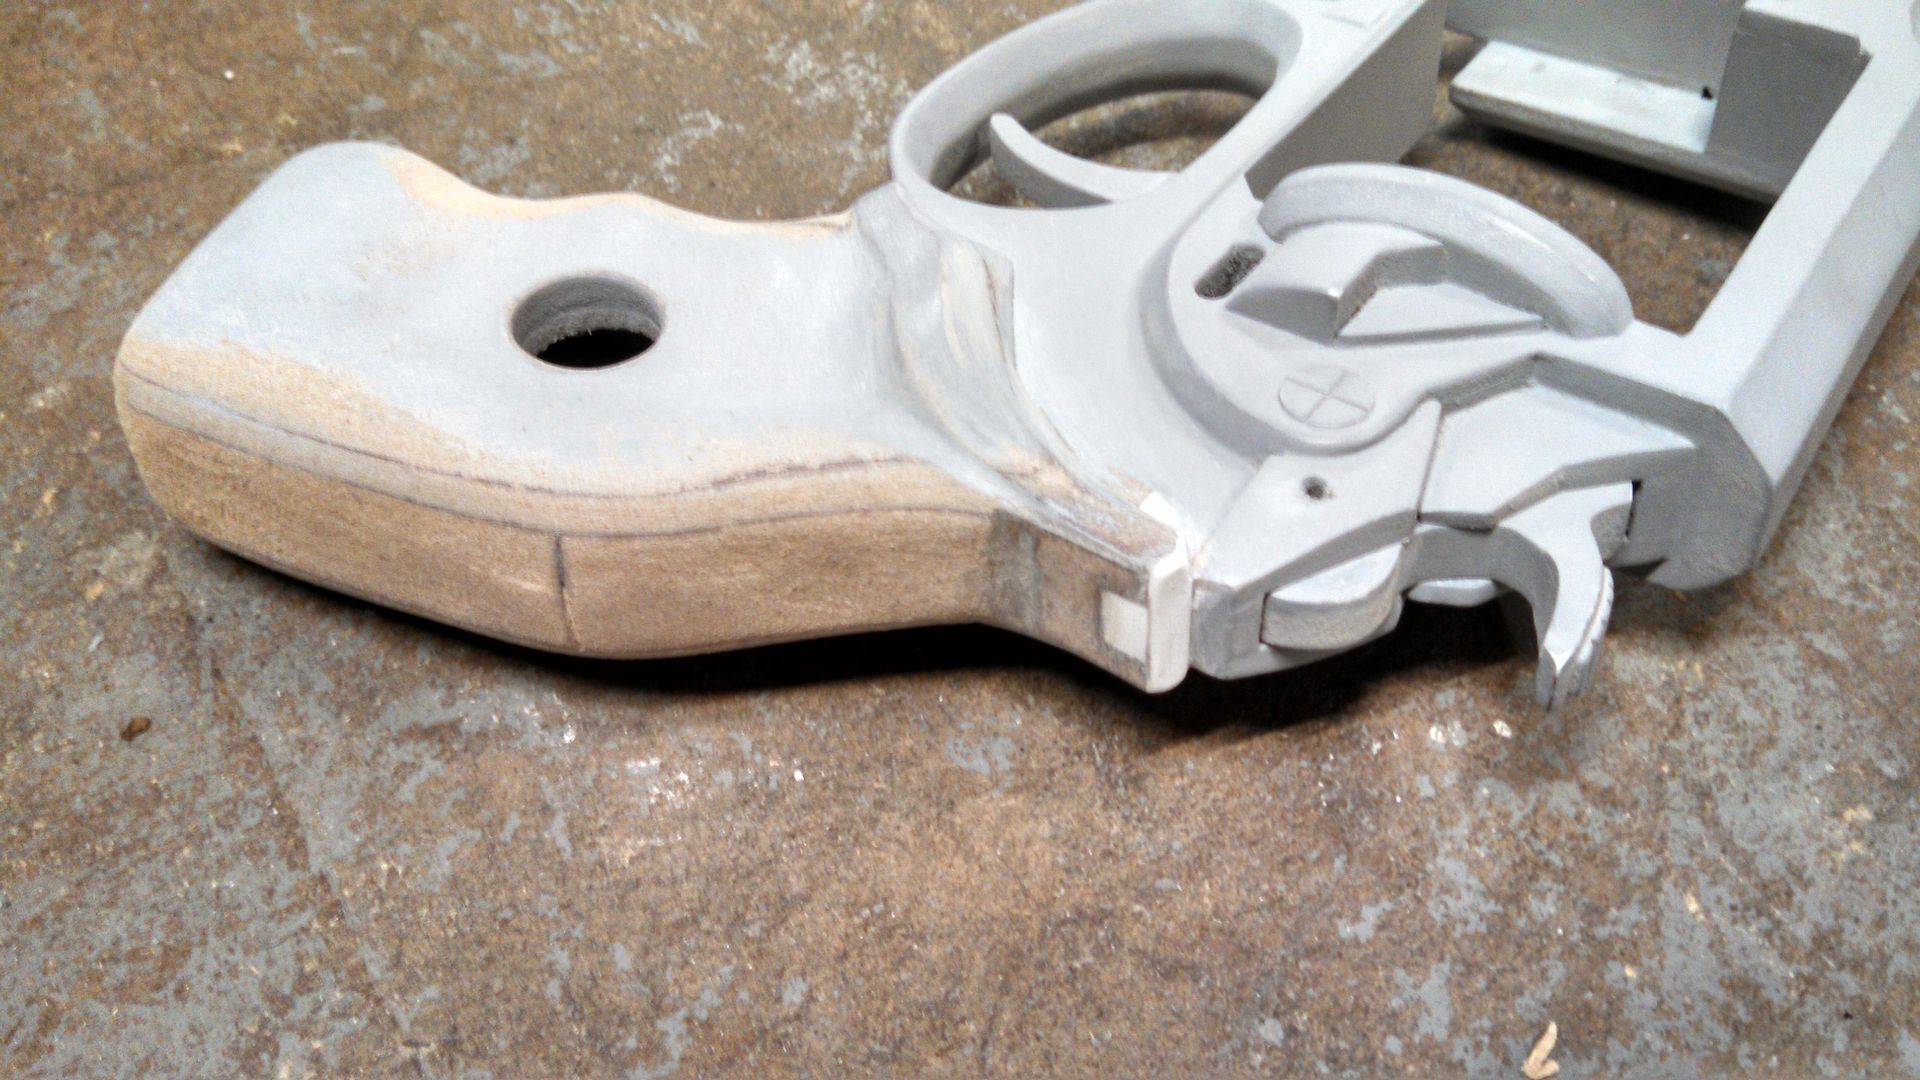
I think I made this bottom lip part 2 or 3 times. Its a tricky shape to get just right. I started drafting the rectangular but that goes behind it. 


Glued in place behind the grip, and grafted to the handle. A few holes for detail, and a test fit of the swingarm. Getting that almost finished vibe at this point. 


This is just loosely glued in place, but here I was testing the geometry of the newly completed cylinder. I don't have photos, but its very similar to how this guy was about to do his. (Although the flutes were eventually dremeled and a hole saw was used for the overall cut. The inside cut had to be done by hand.)


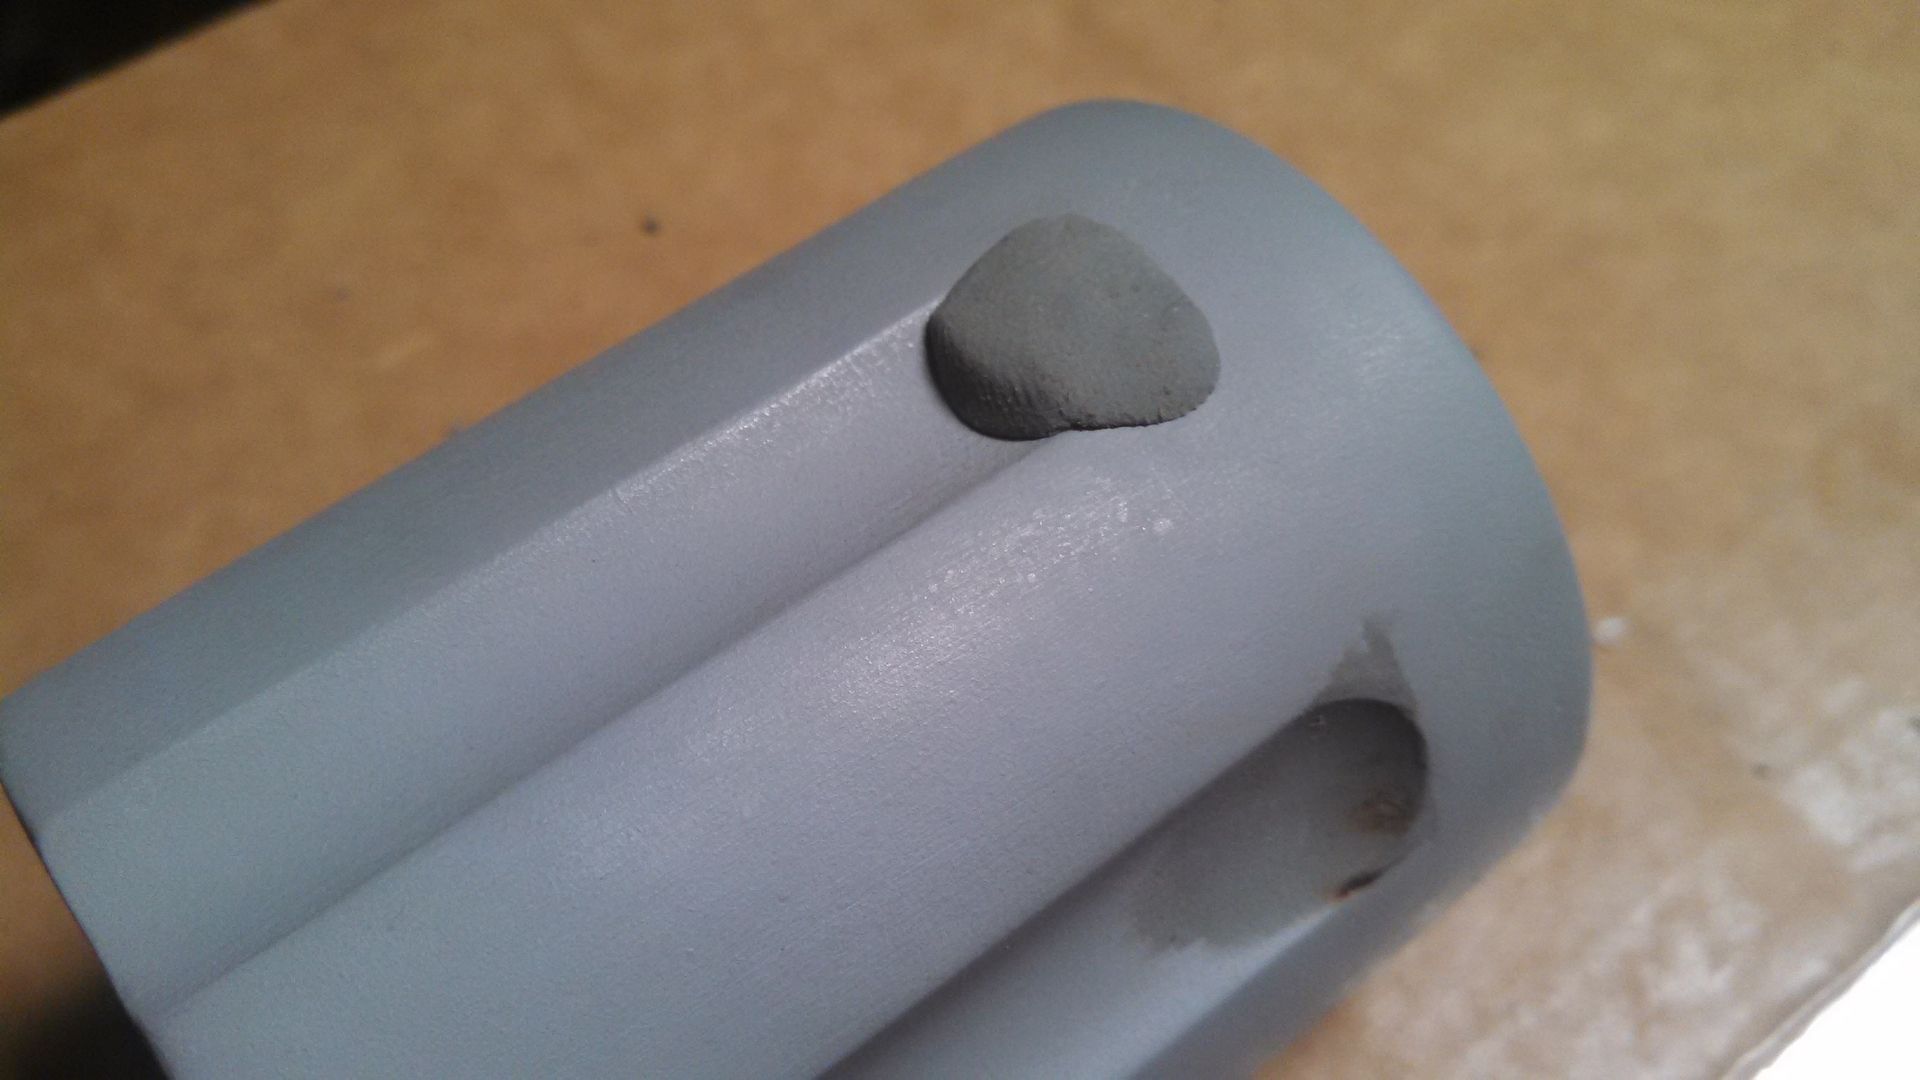
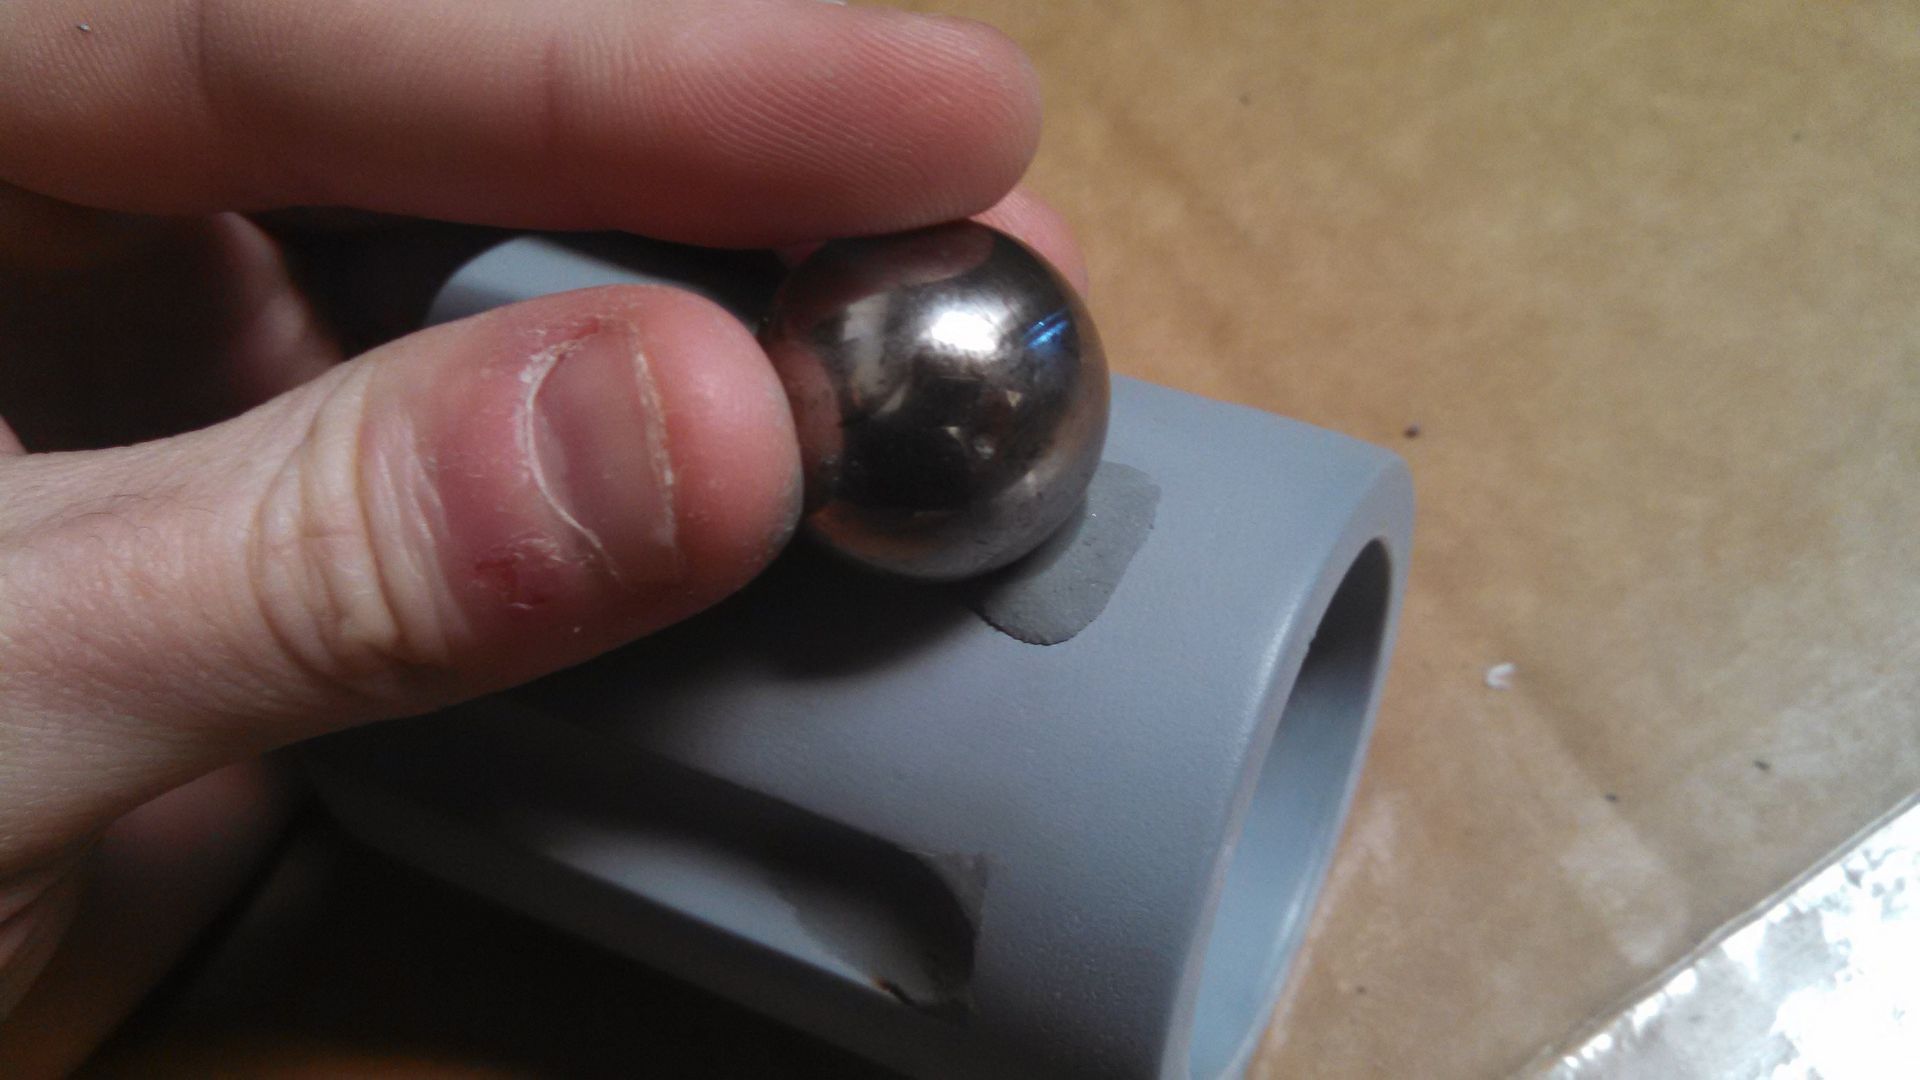
Not wanting to deal with epoxy sculpy, bondo, or machining these things on a mill, I used some plastalina clay and a ball bearing to blend the flutes.


I simply trimmed the excess clay with an exacto and was careful not to smudge it until it was ready for molding. 


I needed something to pop into the cylinder so I took  a screen grab in game of the power cell dropping out. It seems to be rather simple so I made it as such. I started with the back end which needed to fit the cylinder perfectly. (There should be some text engraved that I cant read, but I don't have a laser so whatevs!)


Since I don't have/use a lathe, I layered up bits and then cut them out. Some beveled, some not. 


The last layer was made in styrene. This thing is huge. (Like a shortened 40mm grenade.)


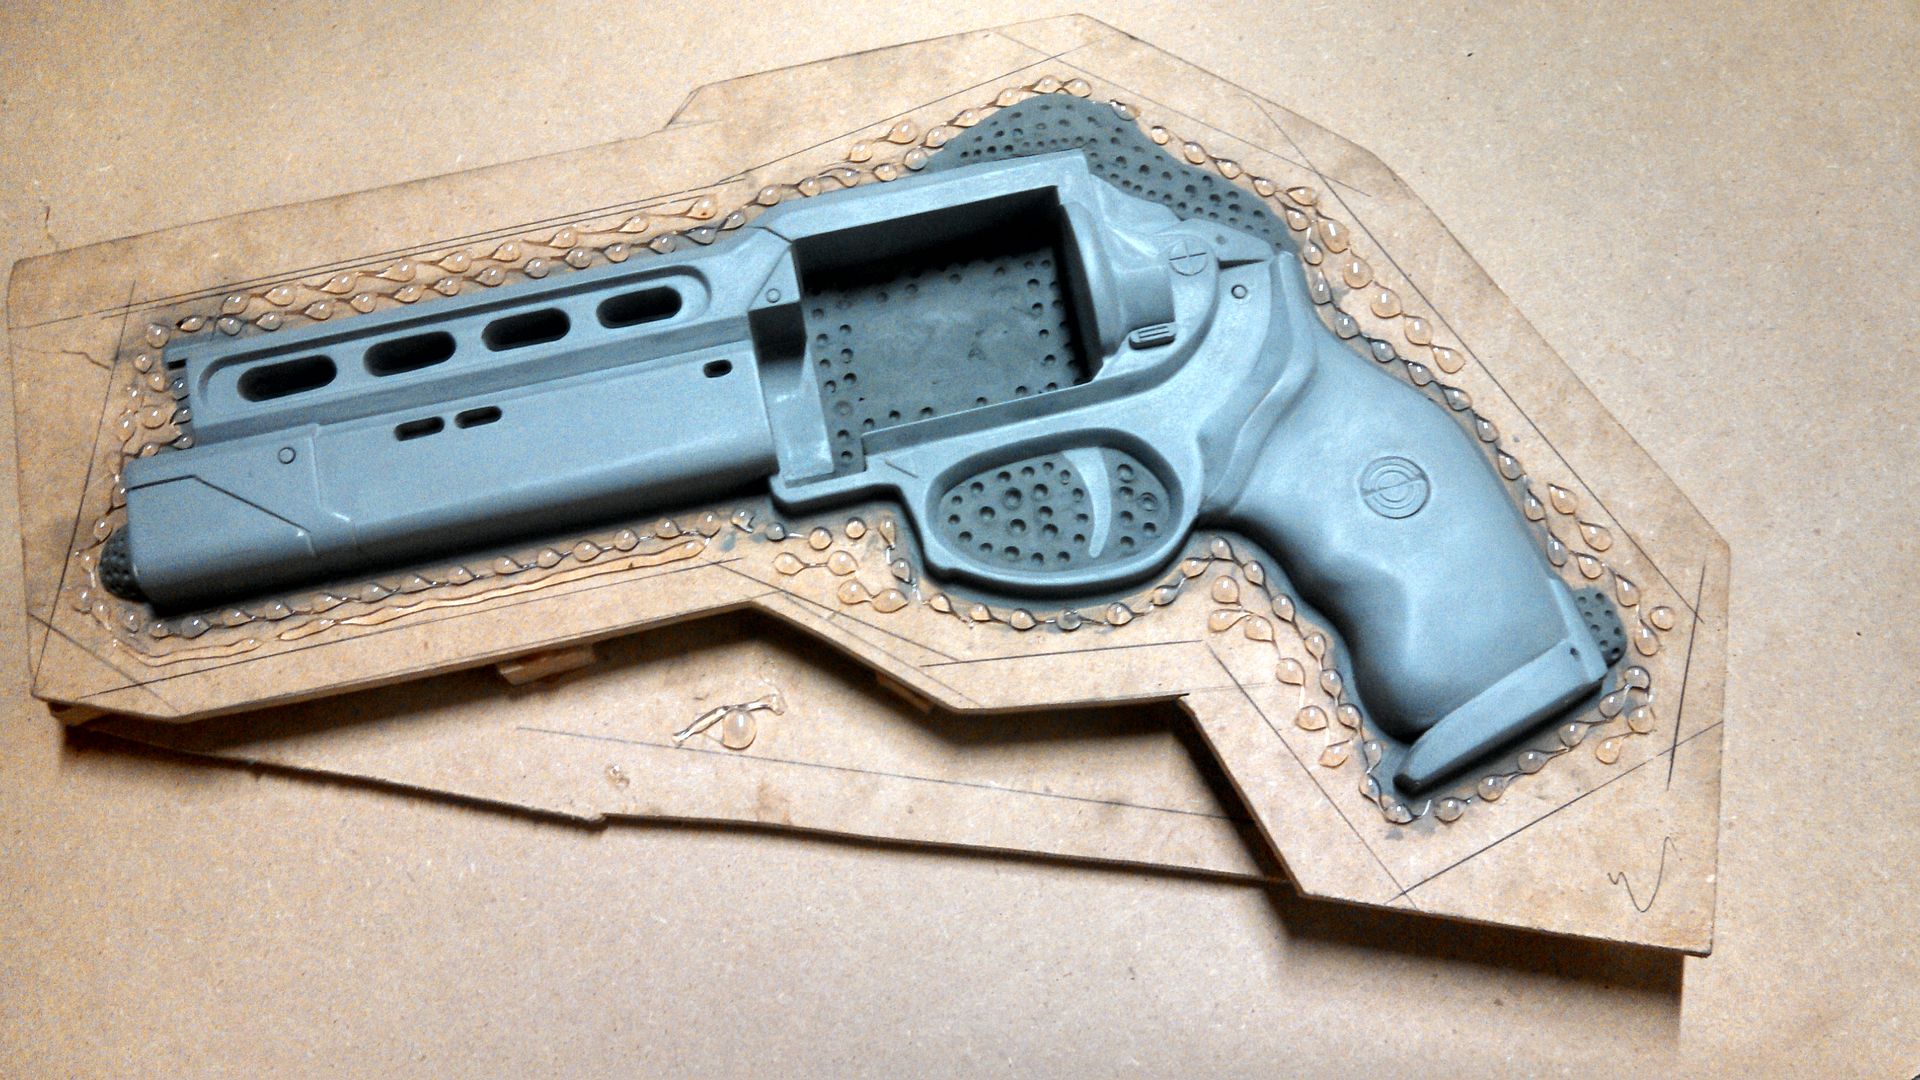
I wanted a bunch of these. As always, an MDF jig was used for molding. 


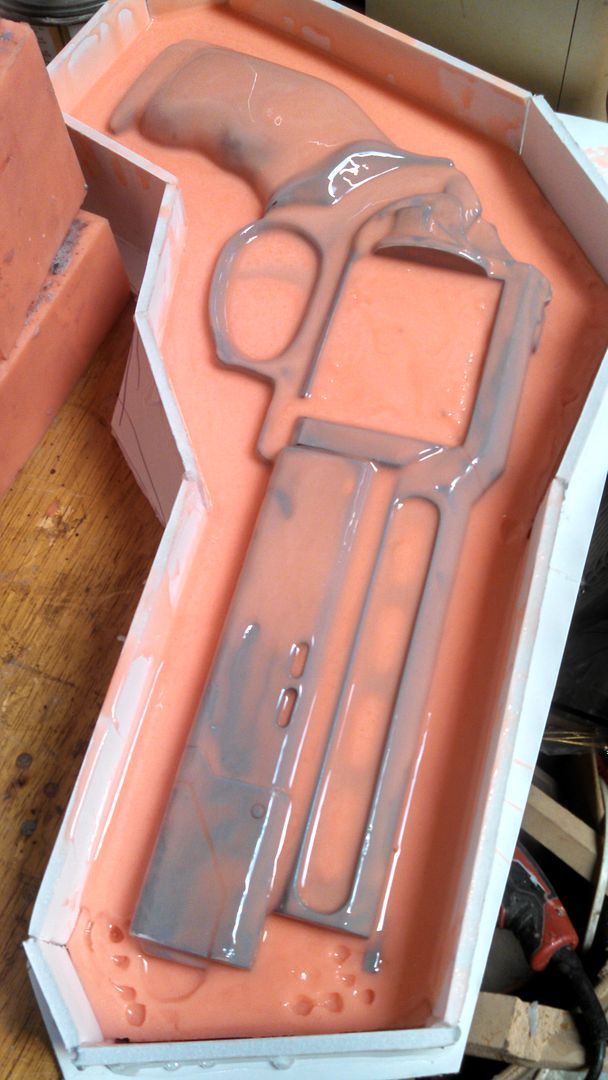
First couple of coats.


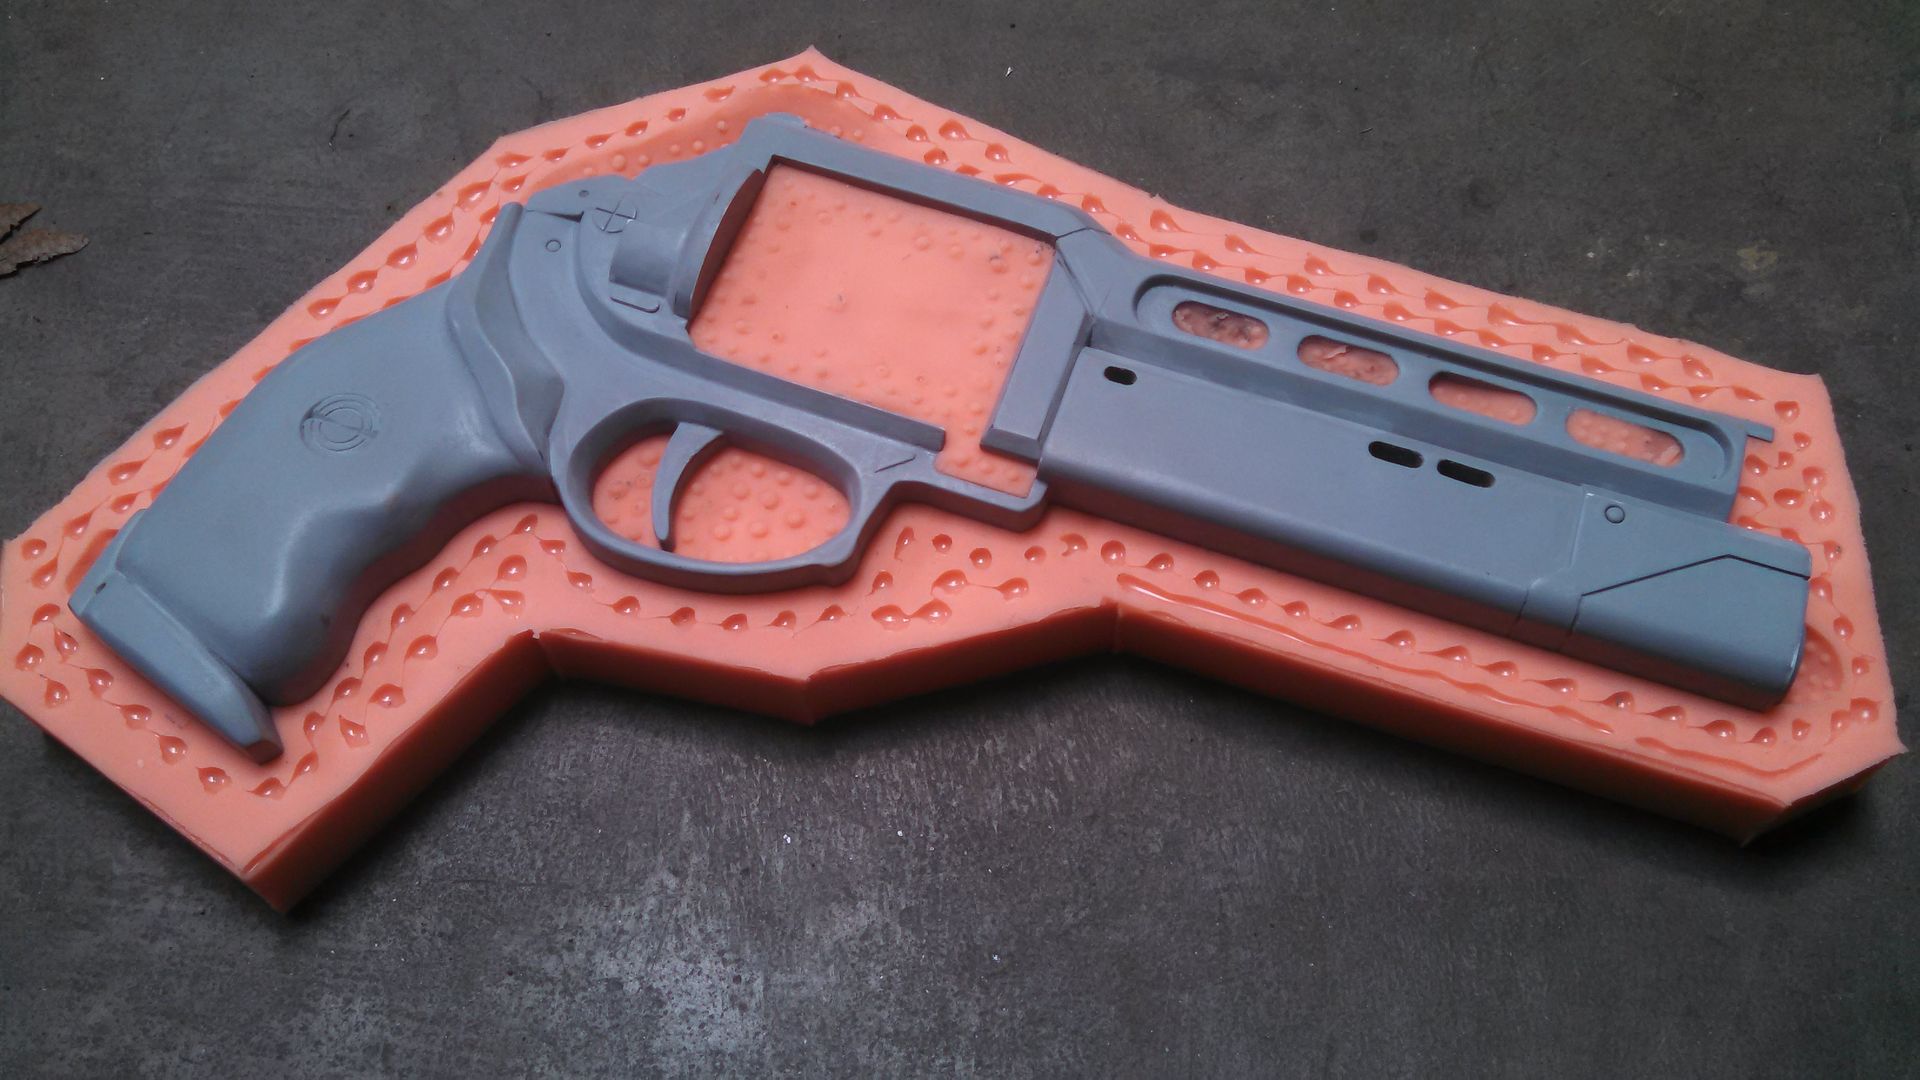
Cured, flipped over, repeat.


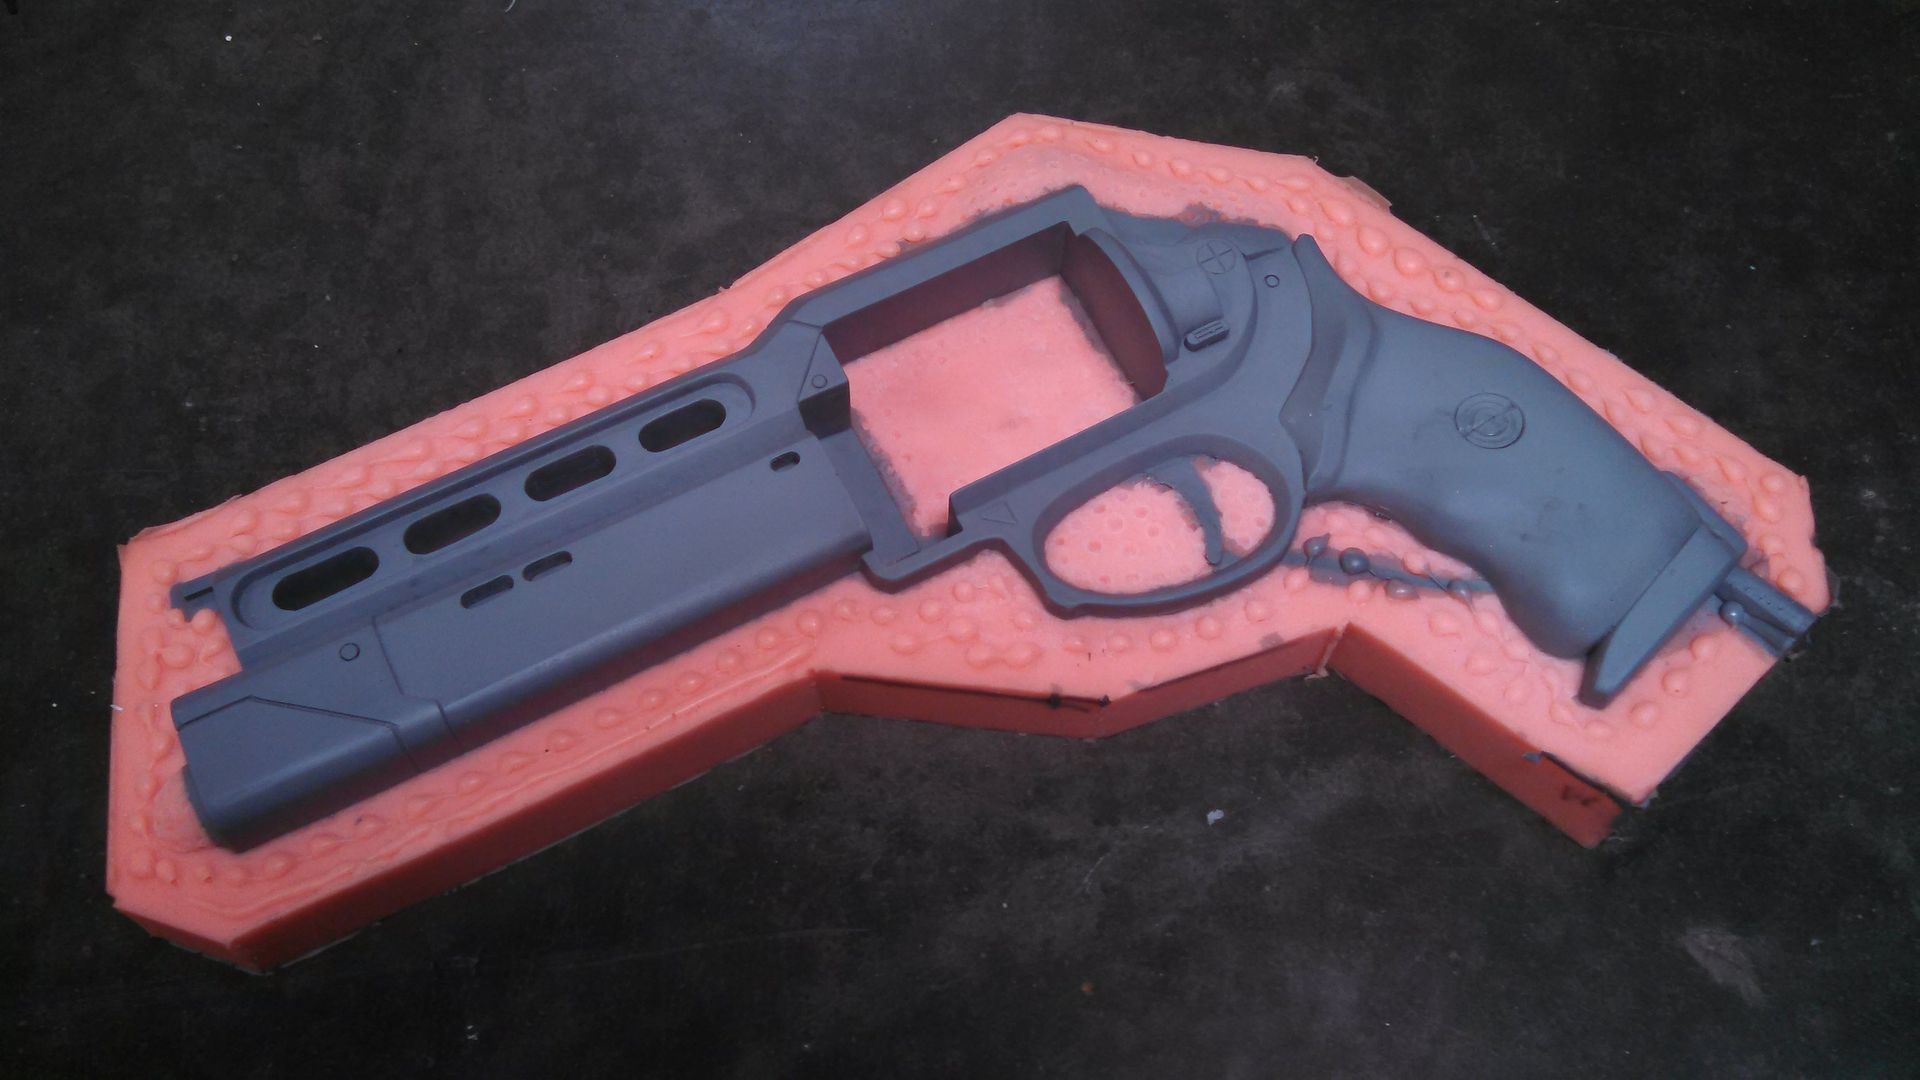
I had to cut a few vents, but the casts come out great. This is the first pull. I didn't take progress pictures of the other molds, sadly.


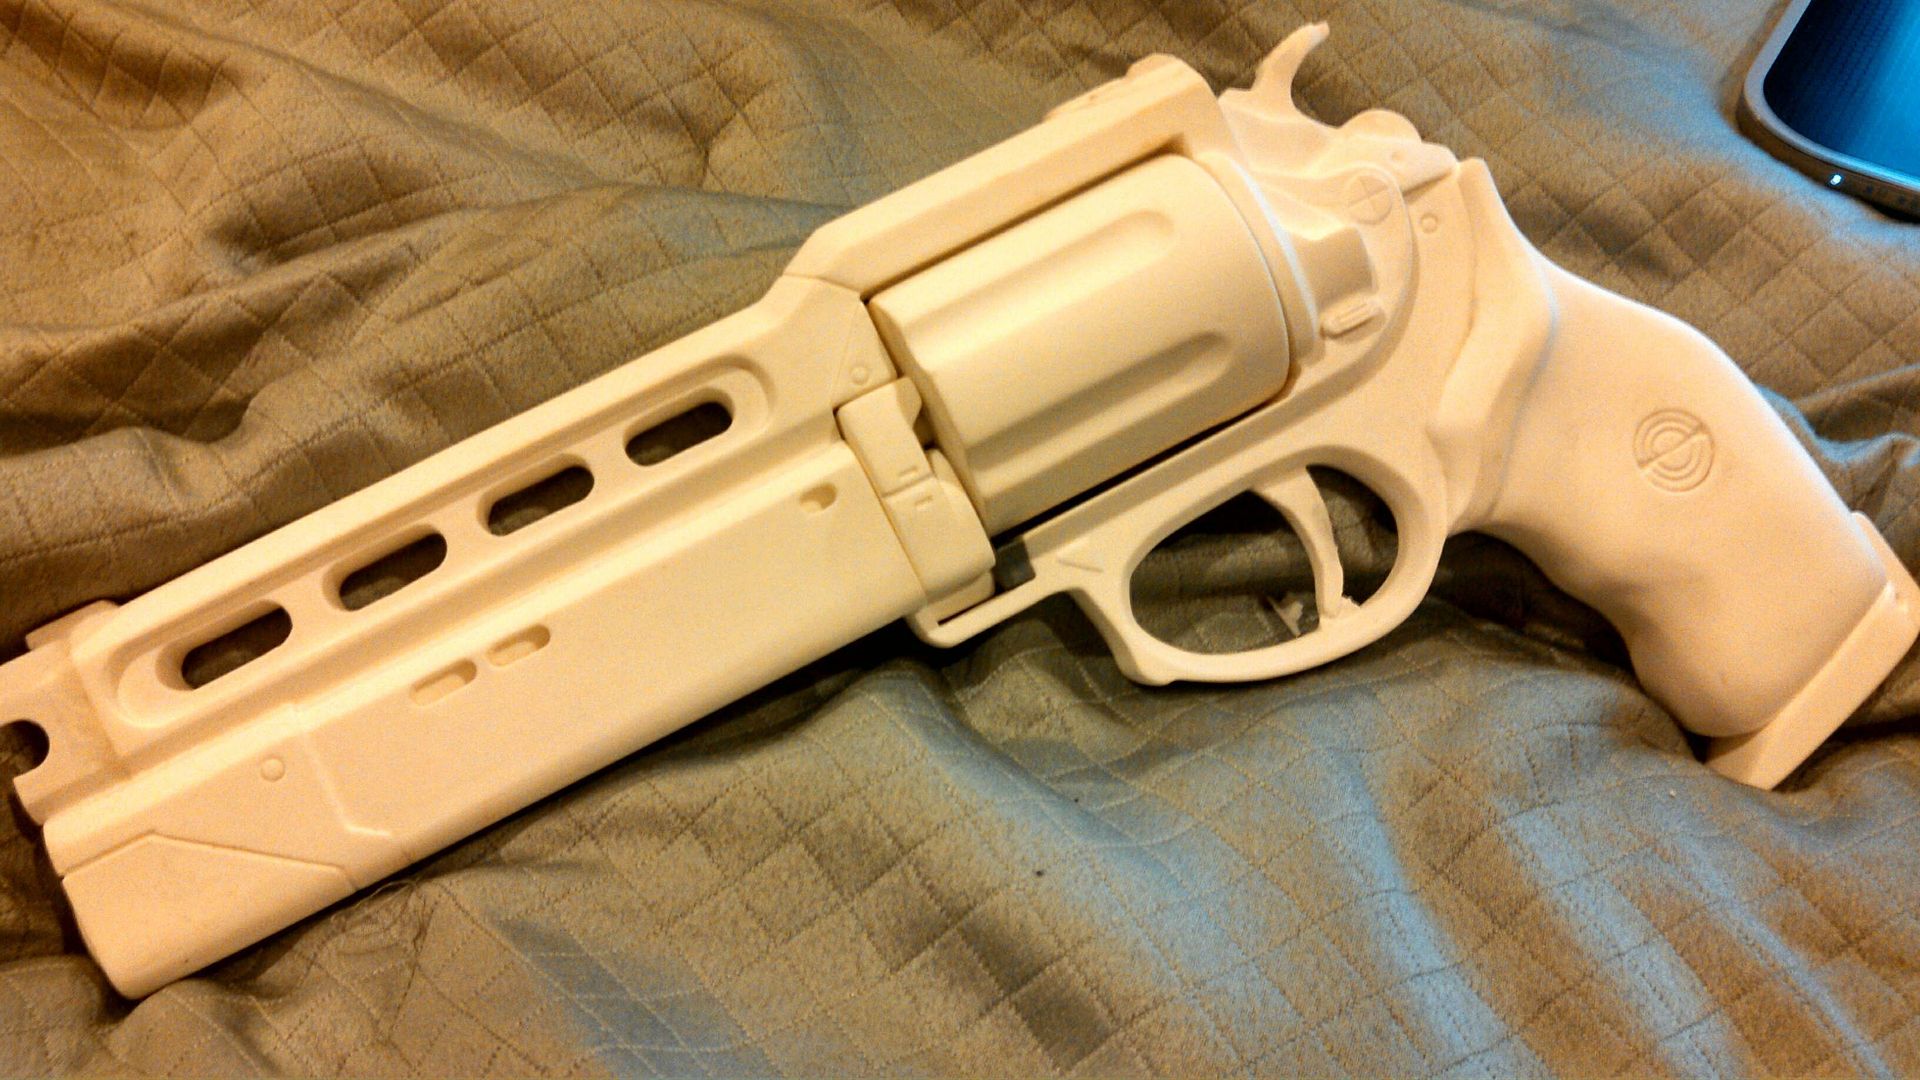
I started playing with....errr...cleaning up the first cast molded in grey. The first two I wanted to make were the duke MK 10, and the Devil you know. I did them at the same time. 


Then I made a cast in bright white. 


After prep, I did the full reload conversion on both. You can see how it was done here.

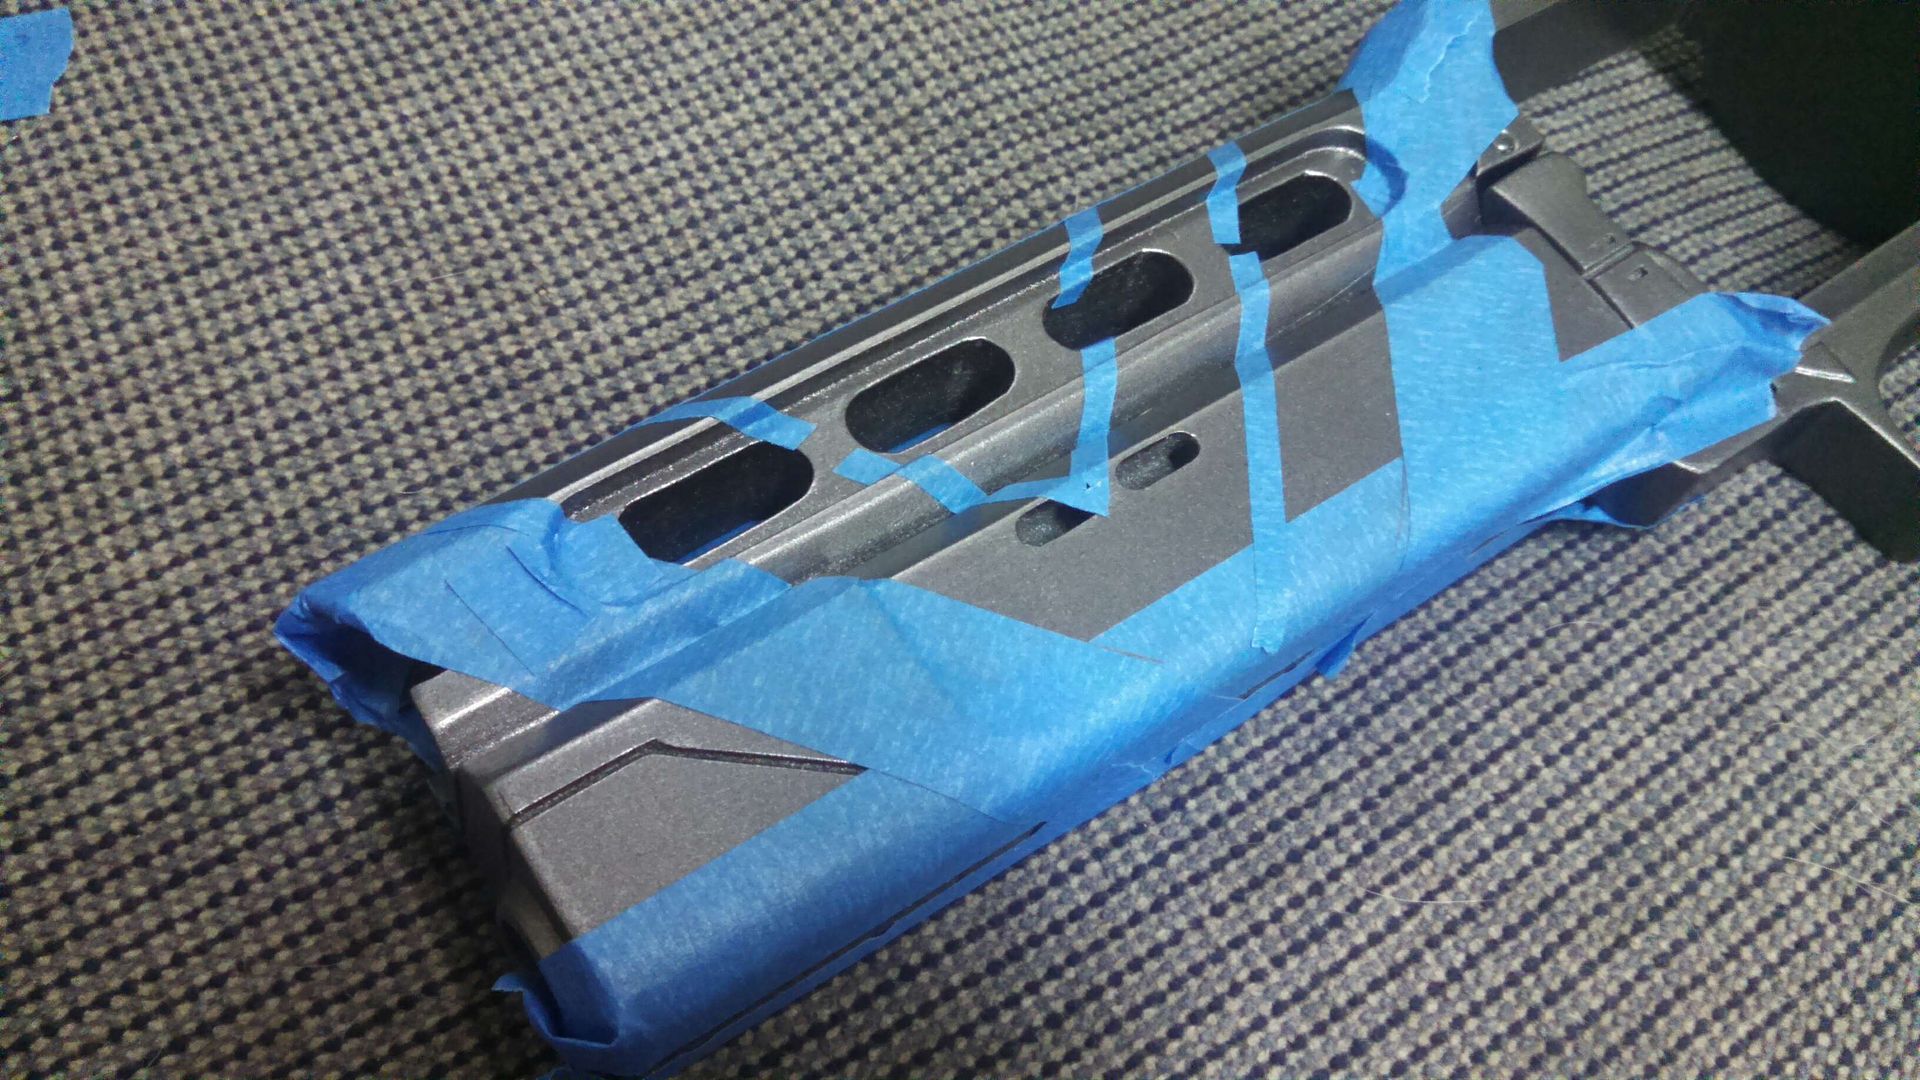
Onto some tedious masking...


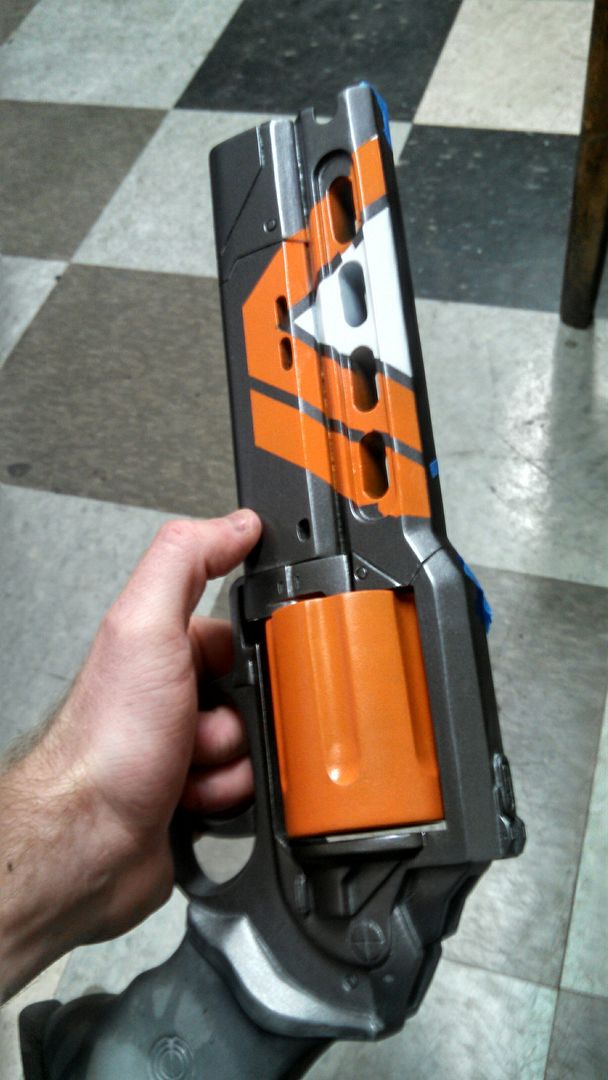
Shiny!


I chose the Duke MK 10 as tribute to the concept artist, but also because I love weathering white. 


Special thanks to Eric at Impact Props for the photos!


Thanks for reading!

If you're interested in a resin cast, you can grab one here. 

You can find daily updates or message me on the Facebook page.