Showing posts with label legendary. Show all posts

Friday, January 8, 2016

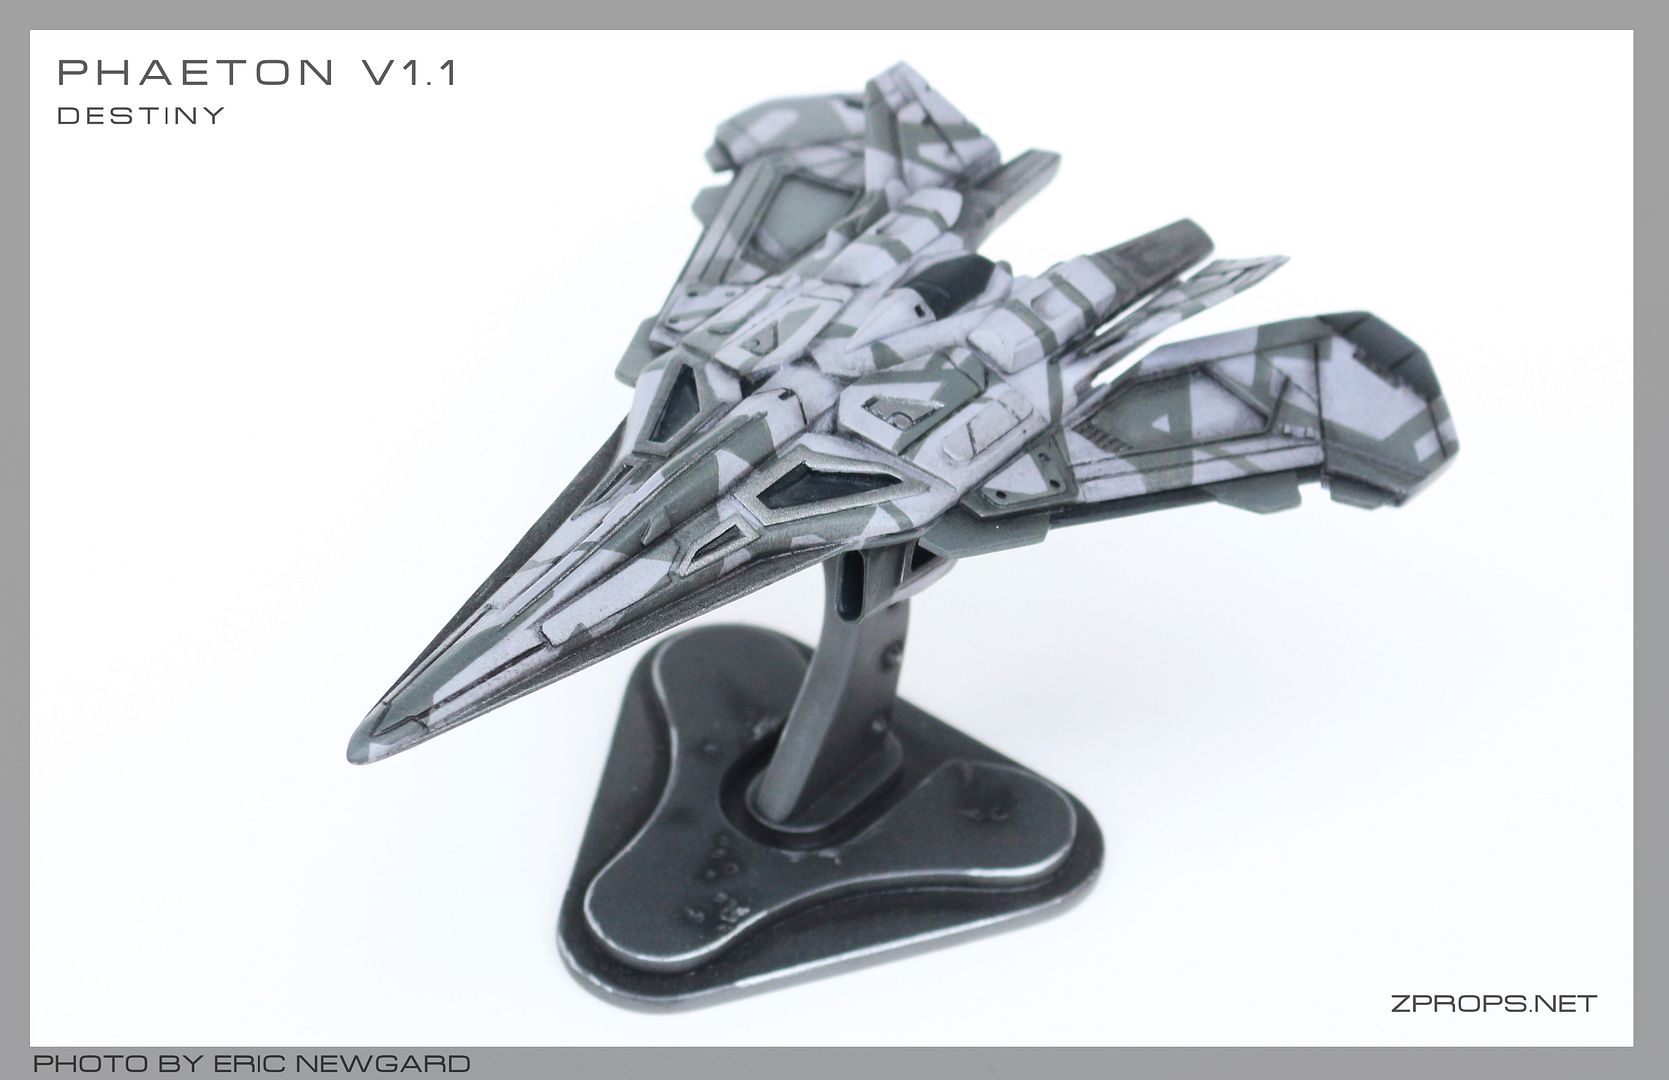
Destiny Phaeton Class Jumpship V1.1

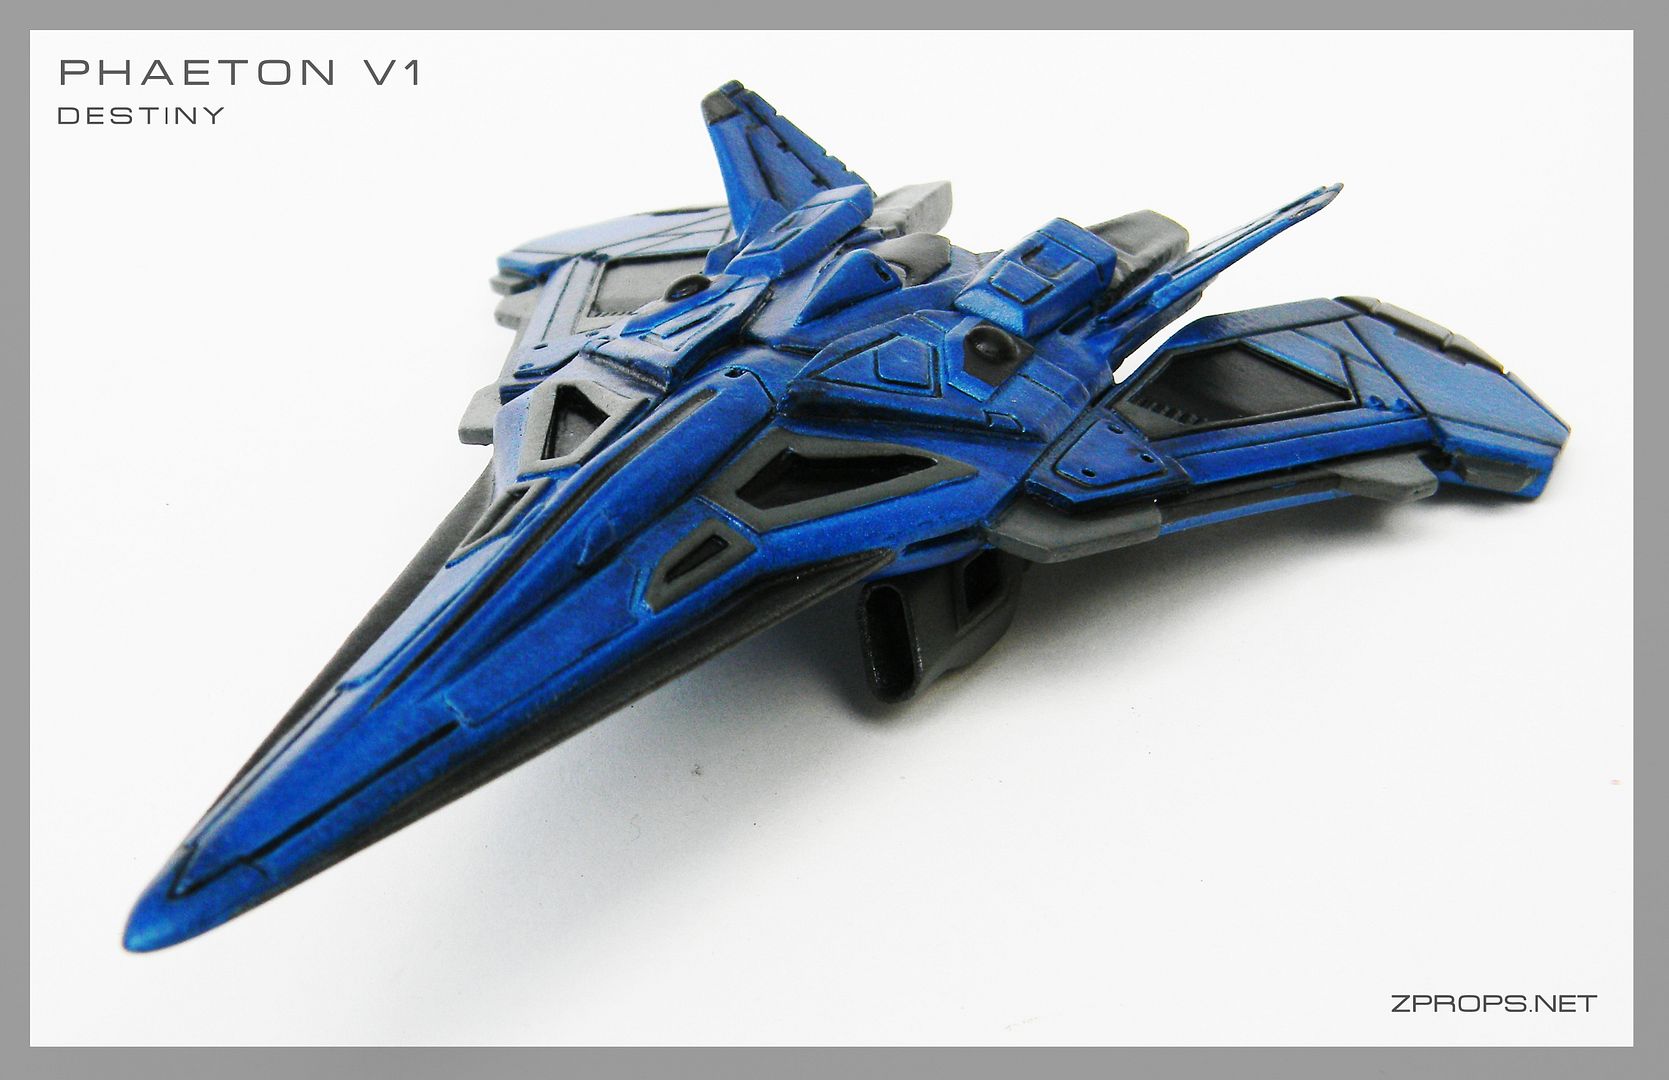
After Completing the V2 jumpship last year, it only made sense to make the winged version. This was a pretty popular design, and was one of the only designs released before the game came out. Also, It was mold/cast friendly so naturally it had to be done.
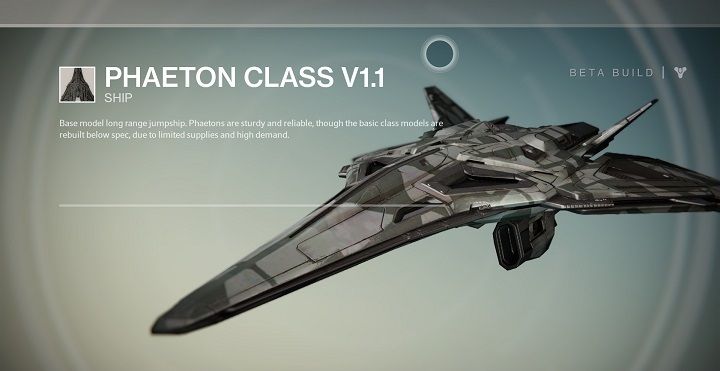


The build is mostly based off the previous sculpt, my first ever to utilize a 3d printed part. Read that one here. 

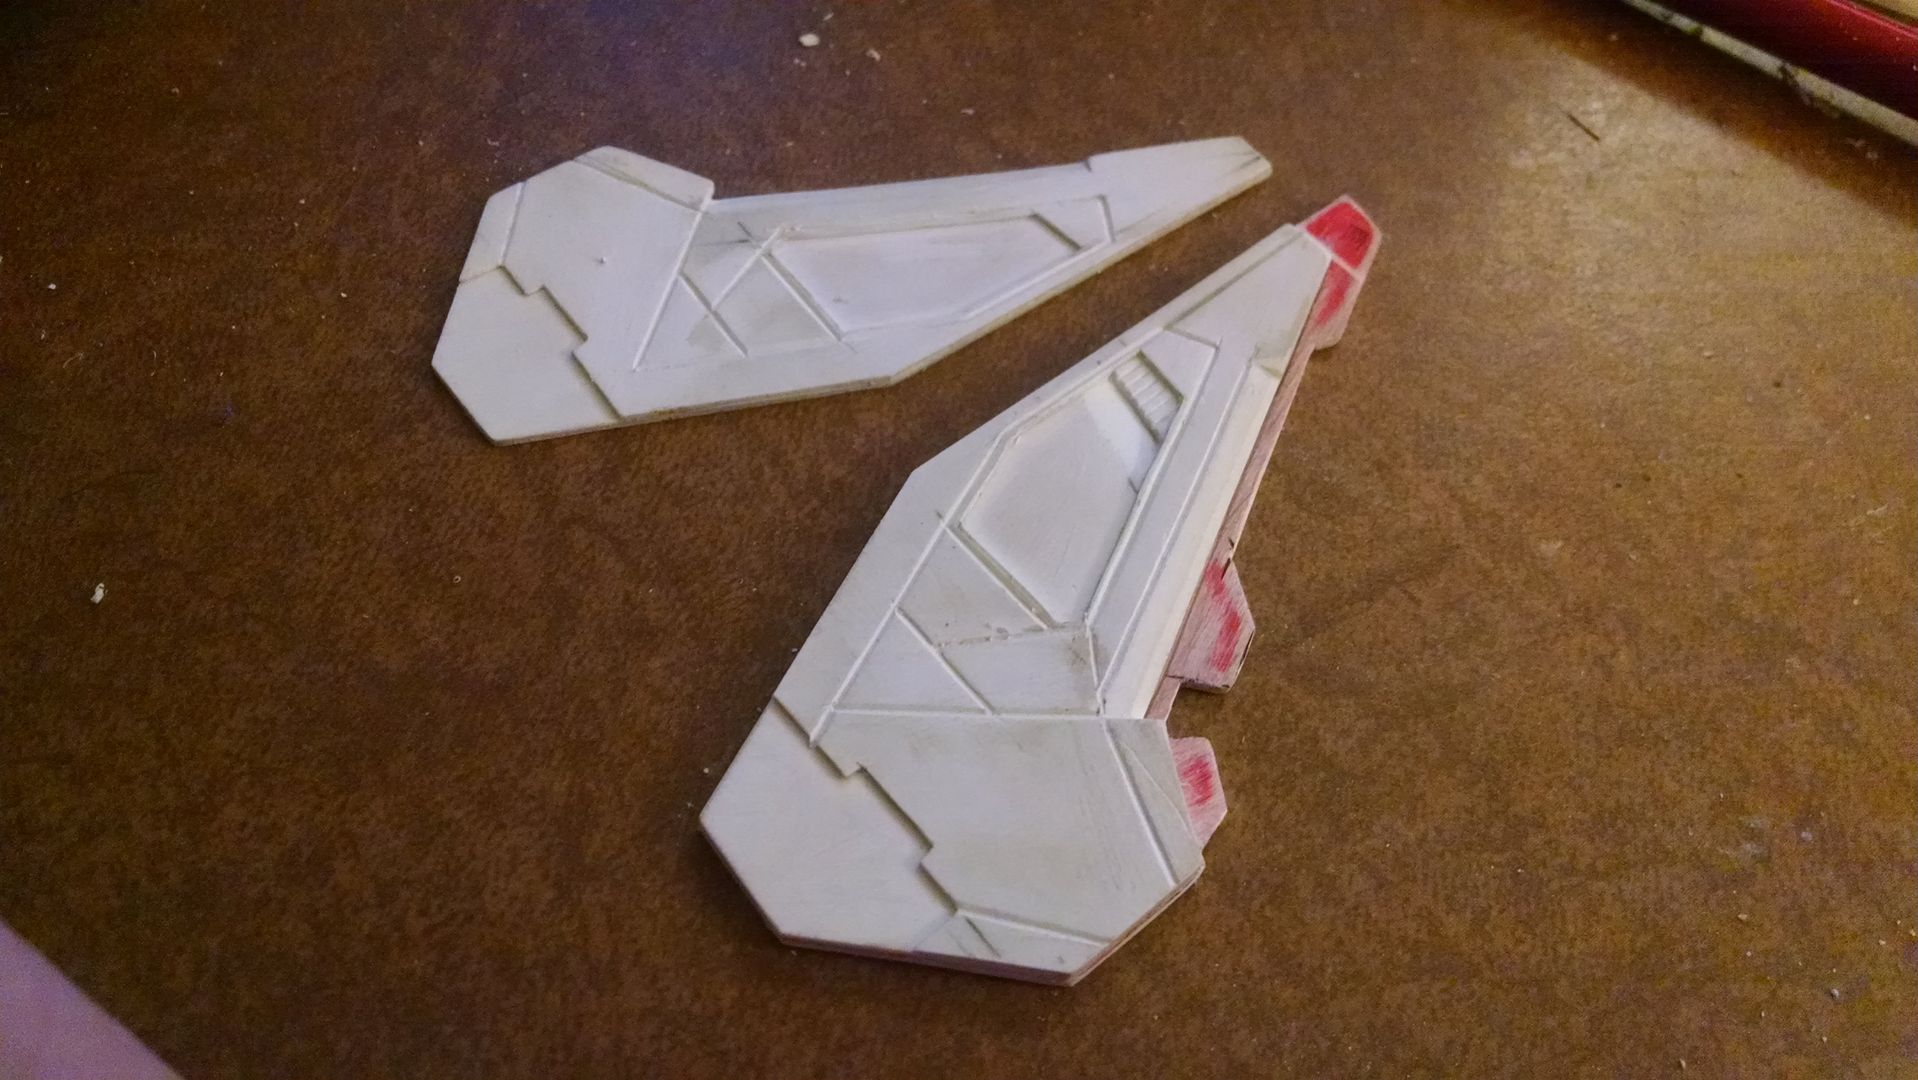
First thing, the wings. These screamed "styrene" so thats what I made them out of. Same old story, I cut them out with scissors, scribed panel lines with an exacto knife and saw, and laminated materials as needed.
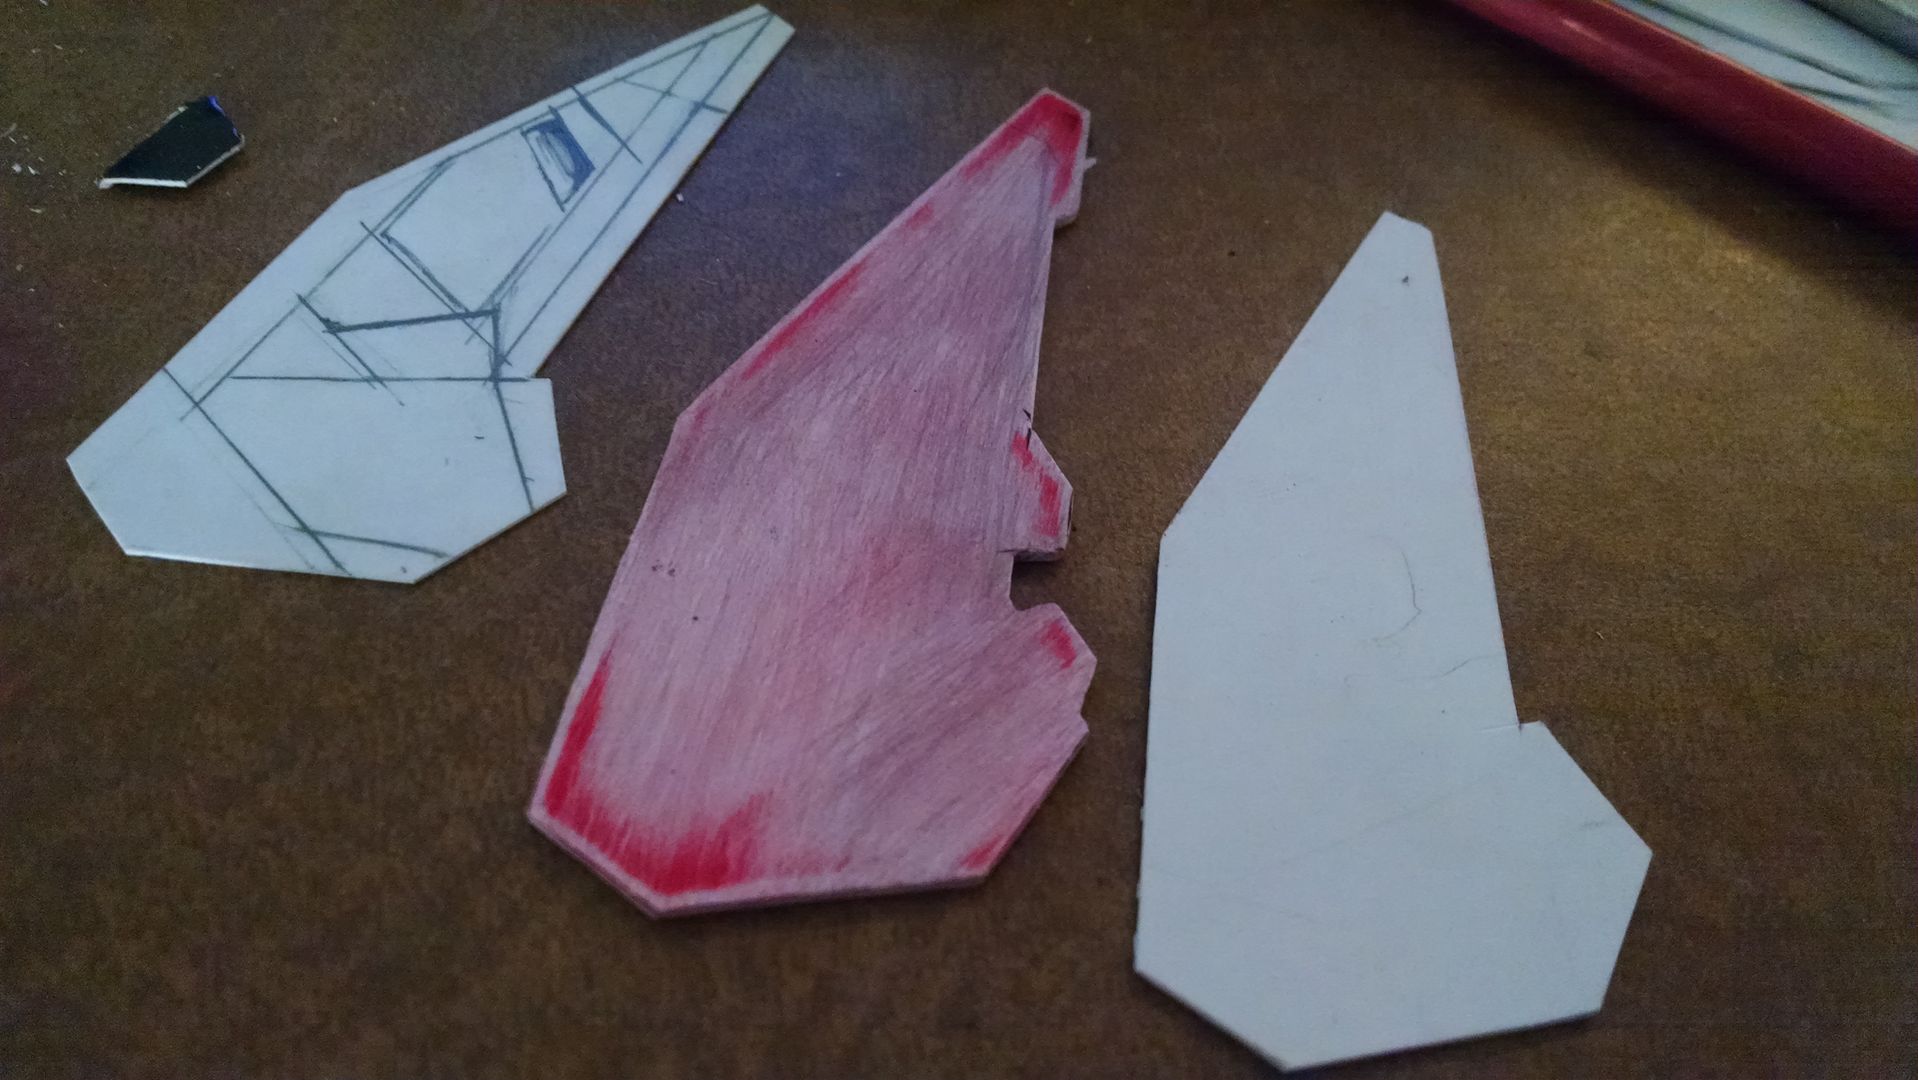
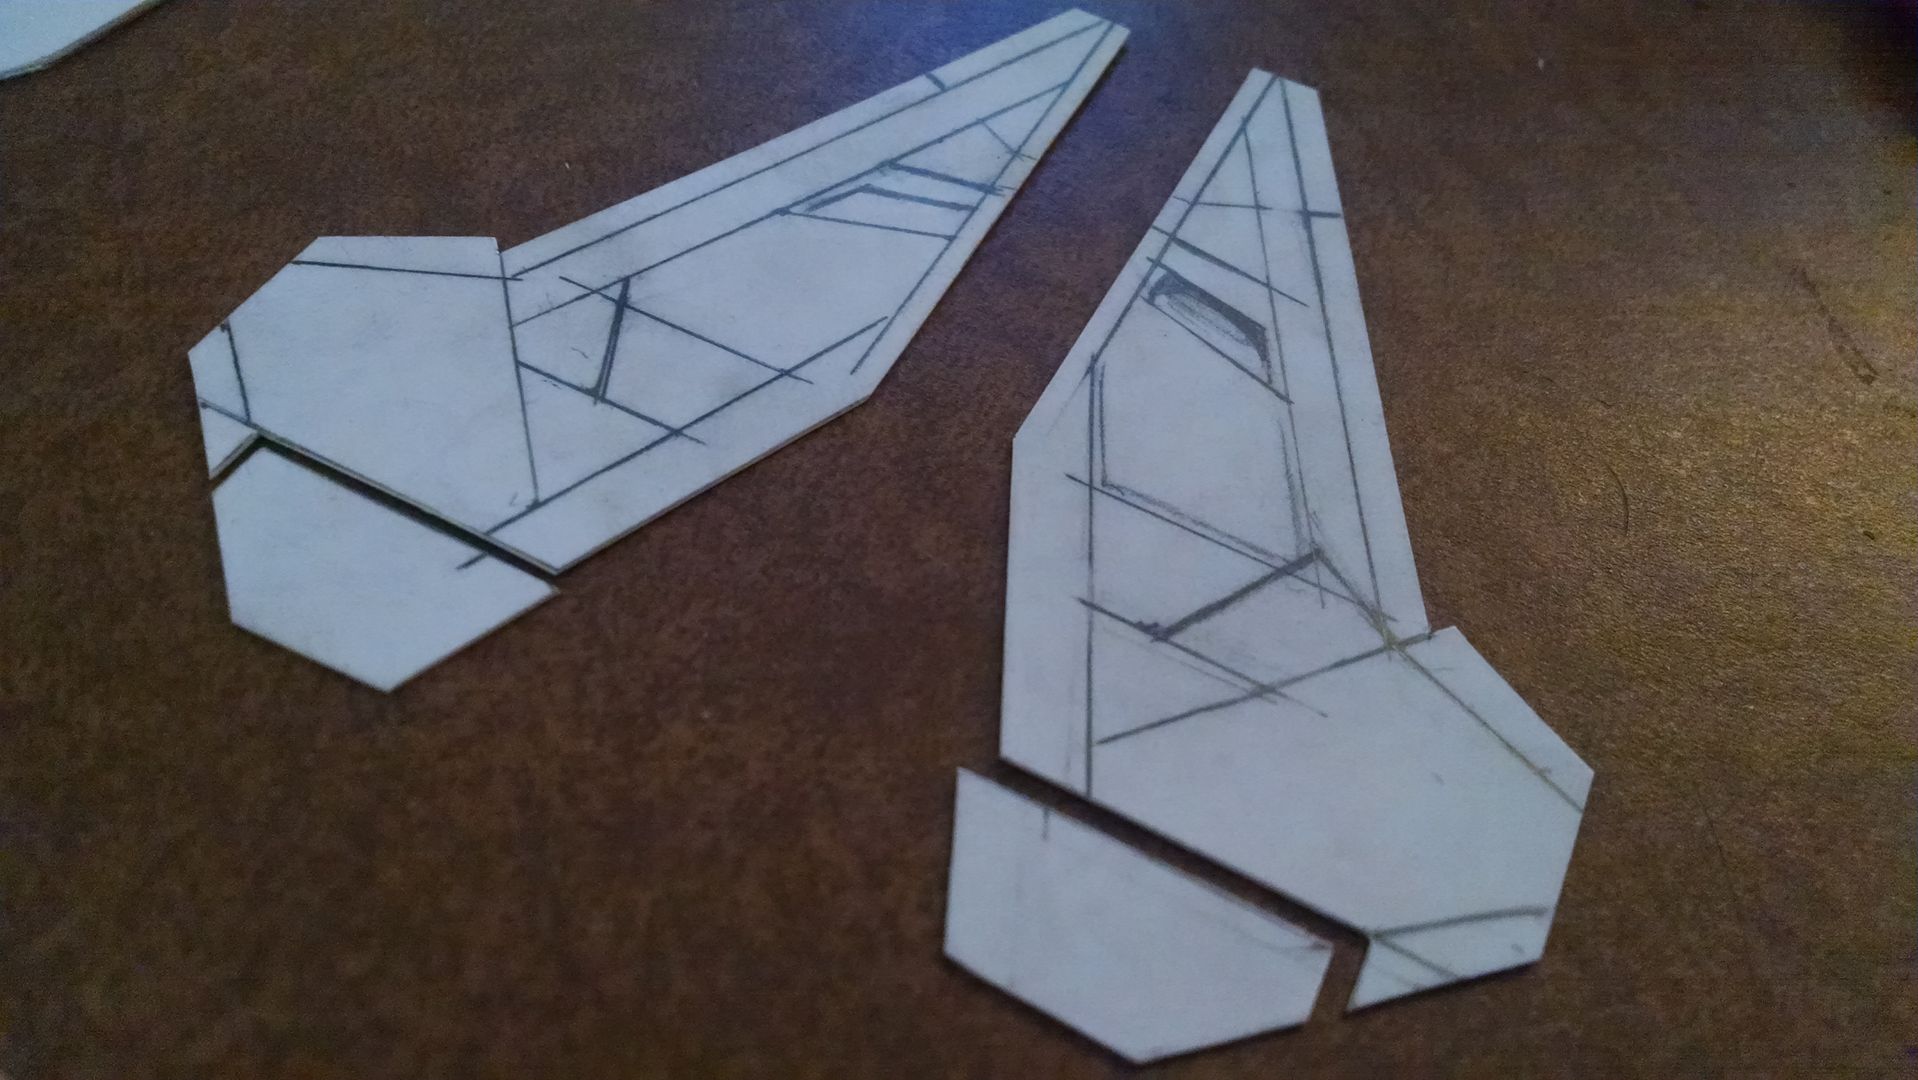


The most important part is cutting out sections and scribing before you glue them together. 
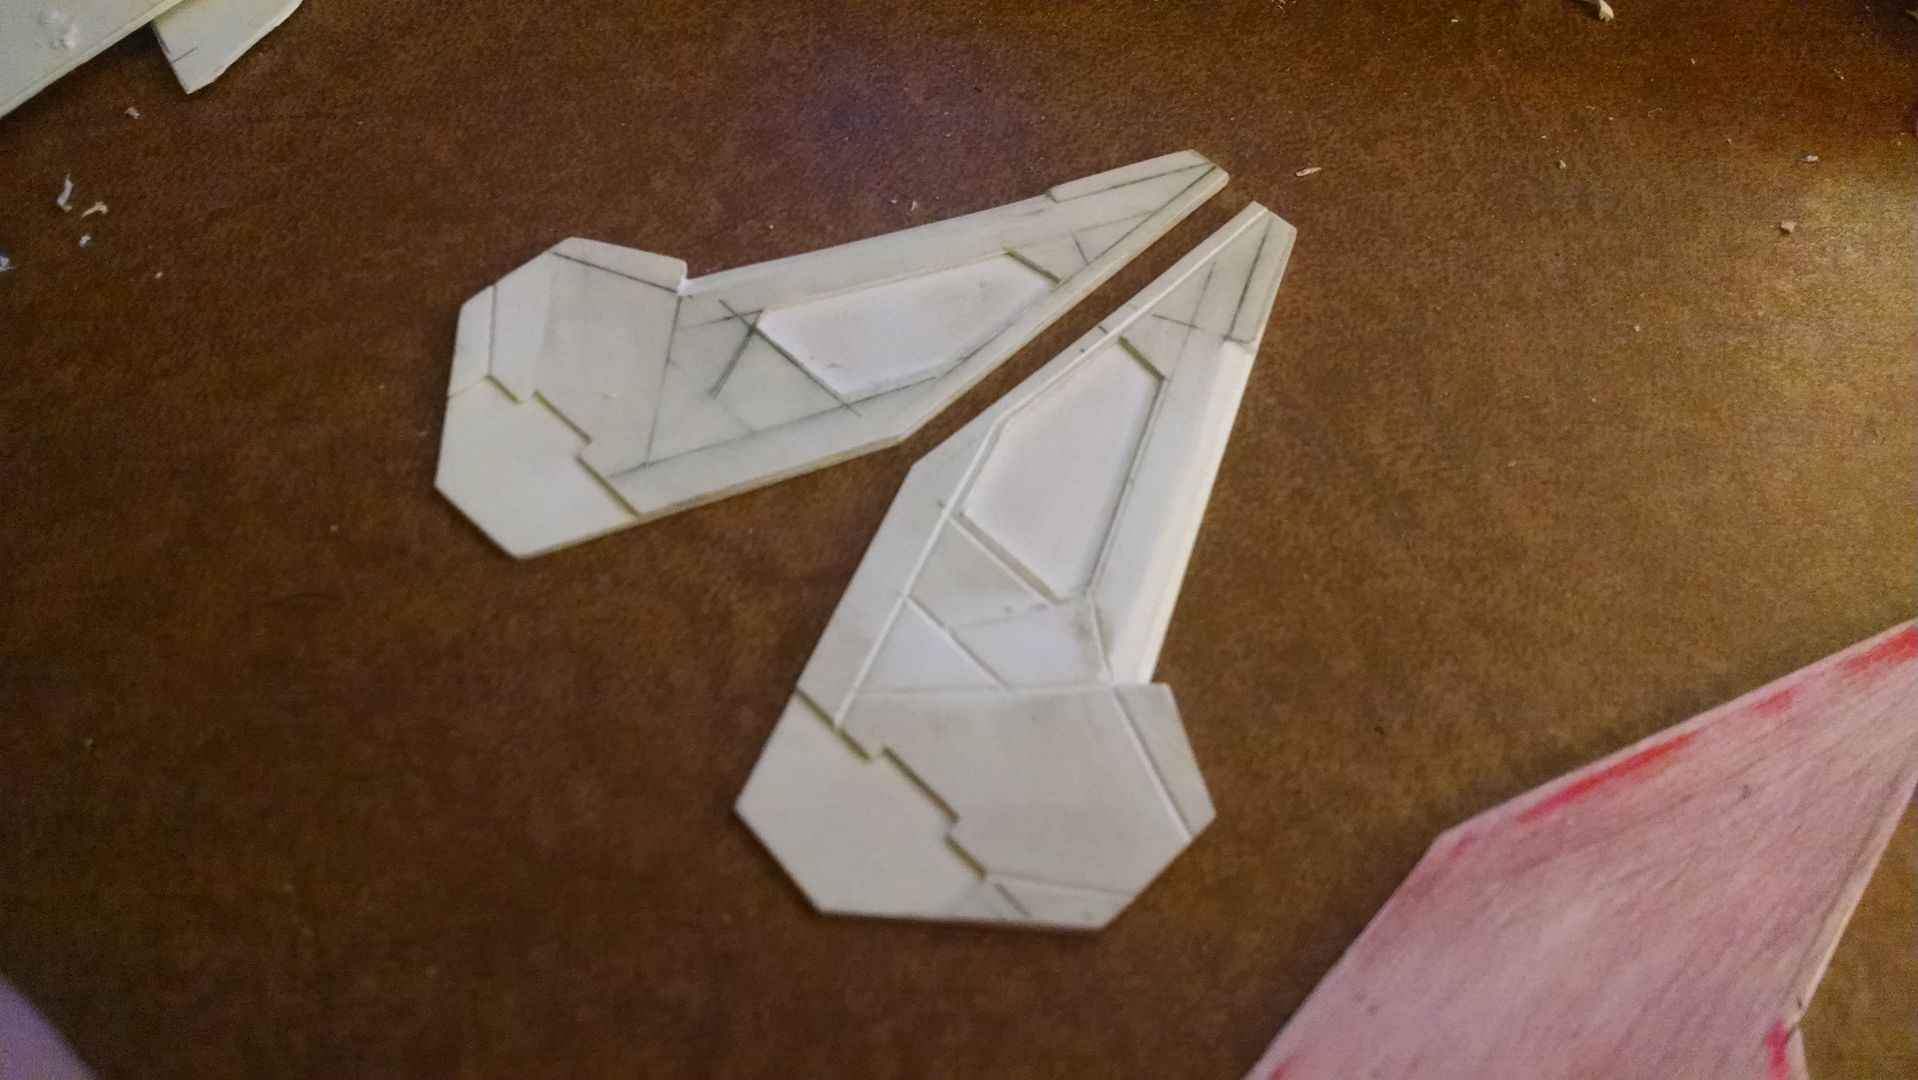


This was all for one wing, which was symmetrical at the time. 
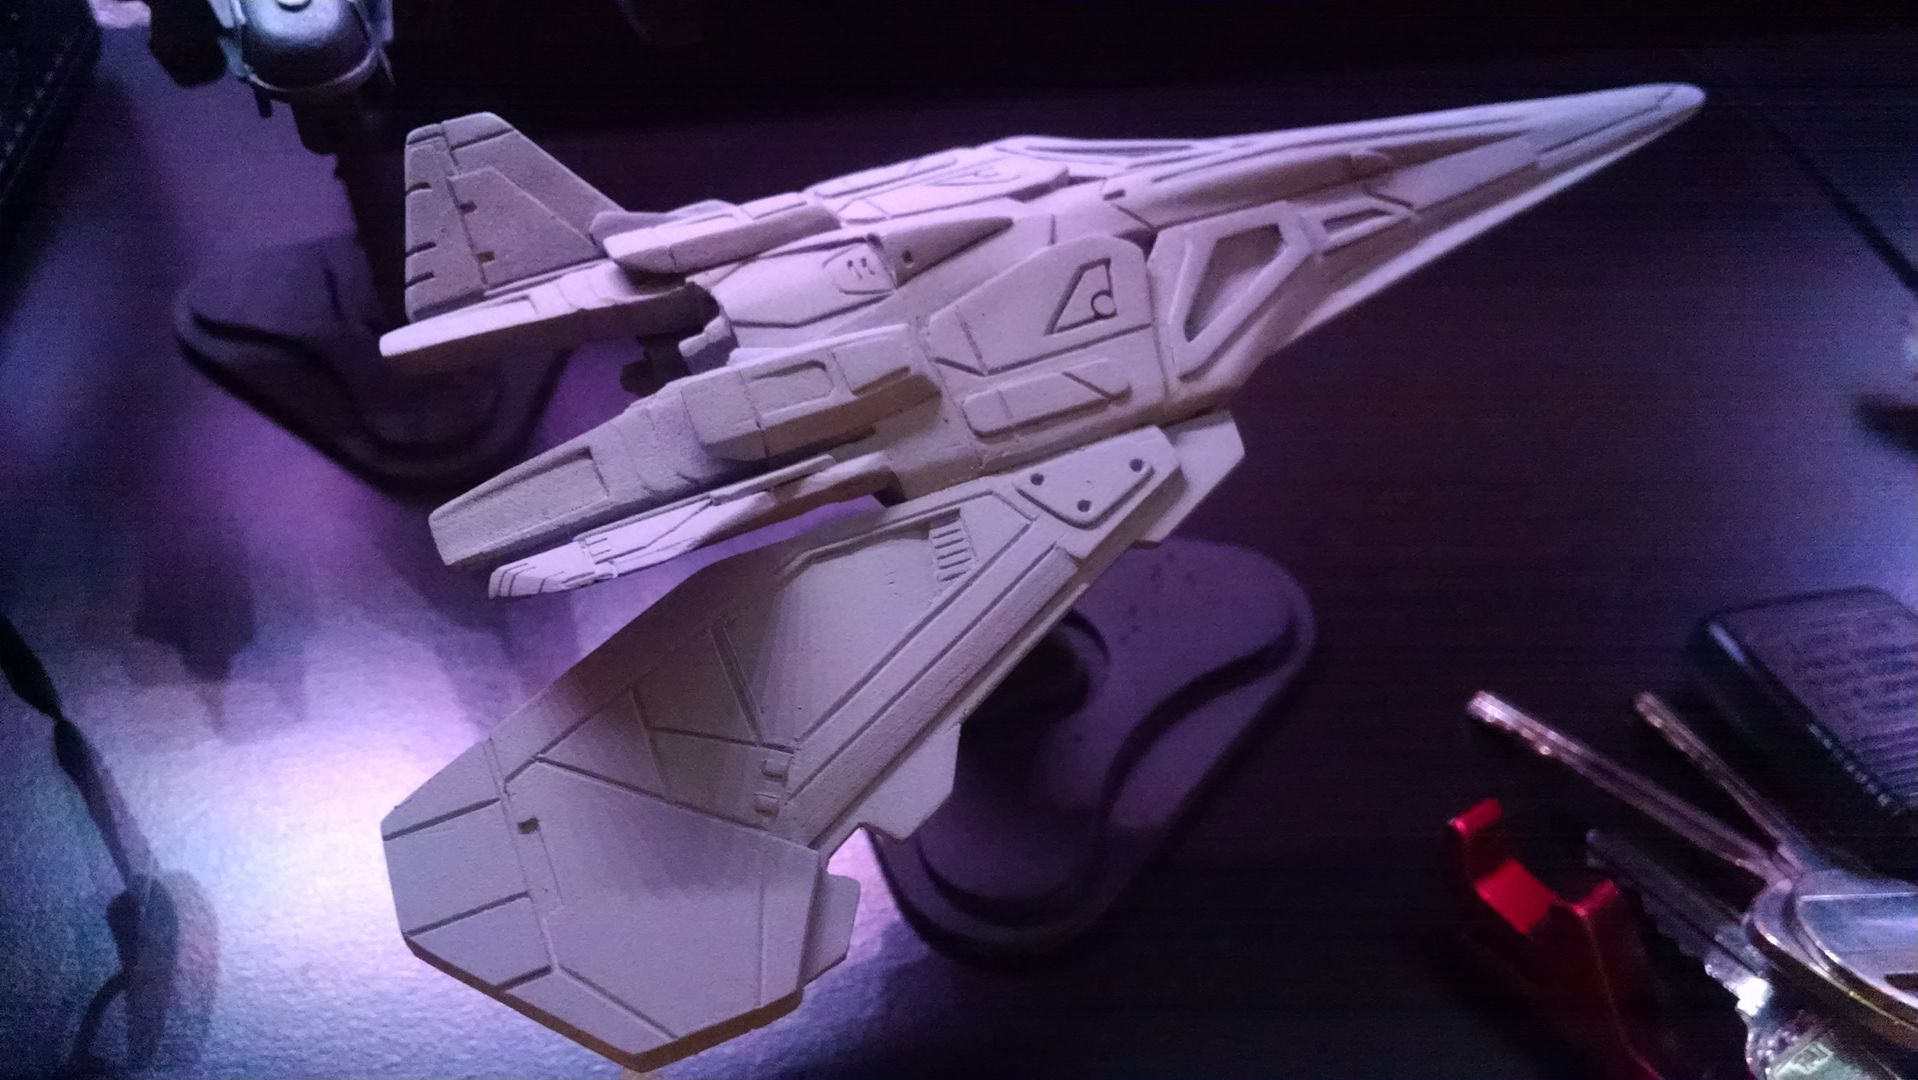


I then made a mold (not pictured) and cast out another one. Then I modified the bottom halves of each cast to more closely match the reference. I didn't want to scratch build both wings.

The fuselage isn't quite the same between the v1 and v2, so I had to sand a lot of detail off, and sand some harder angles on certain sections. I started with blank styrene. 
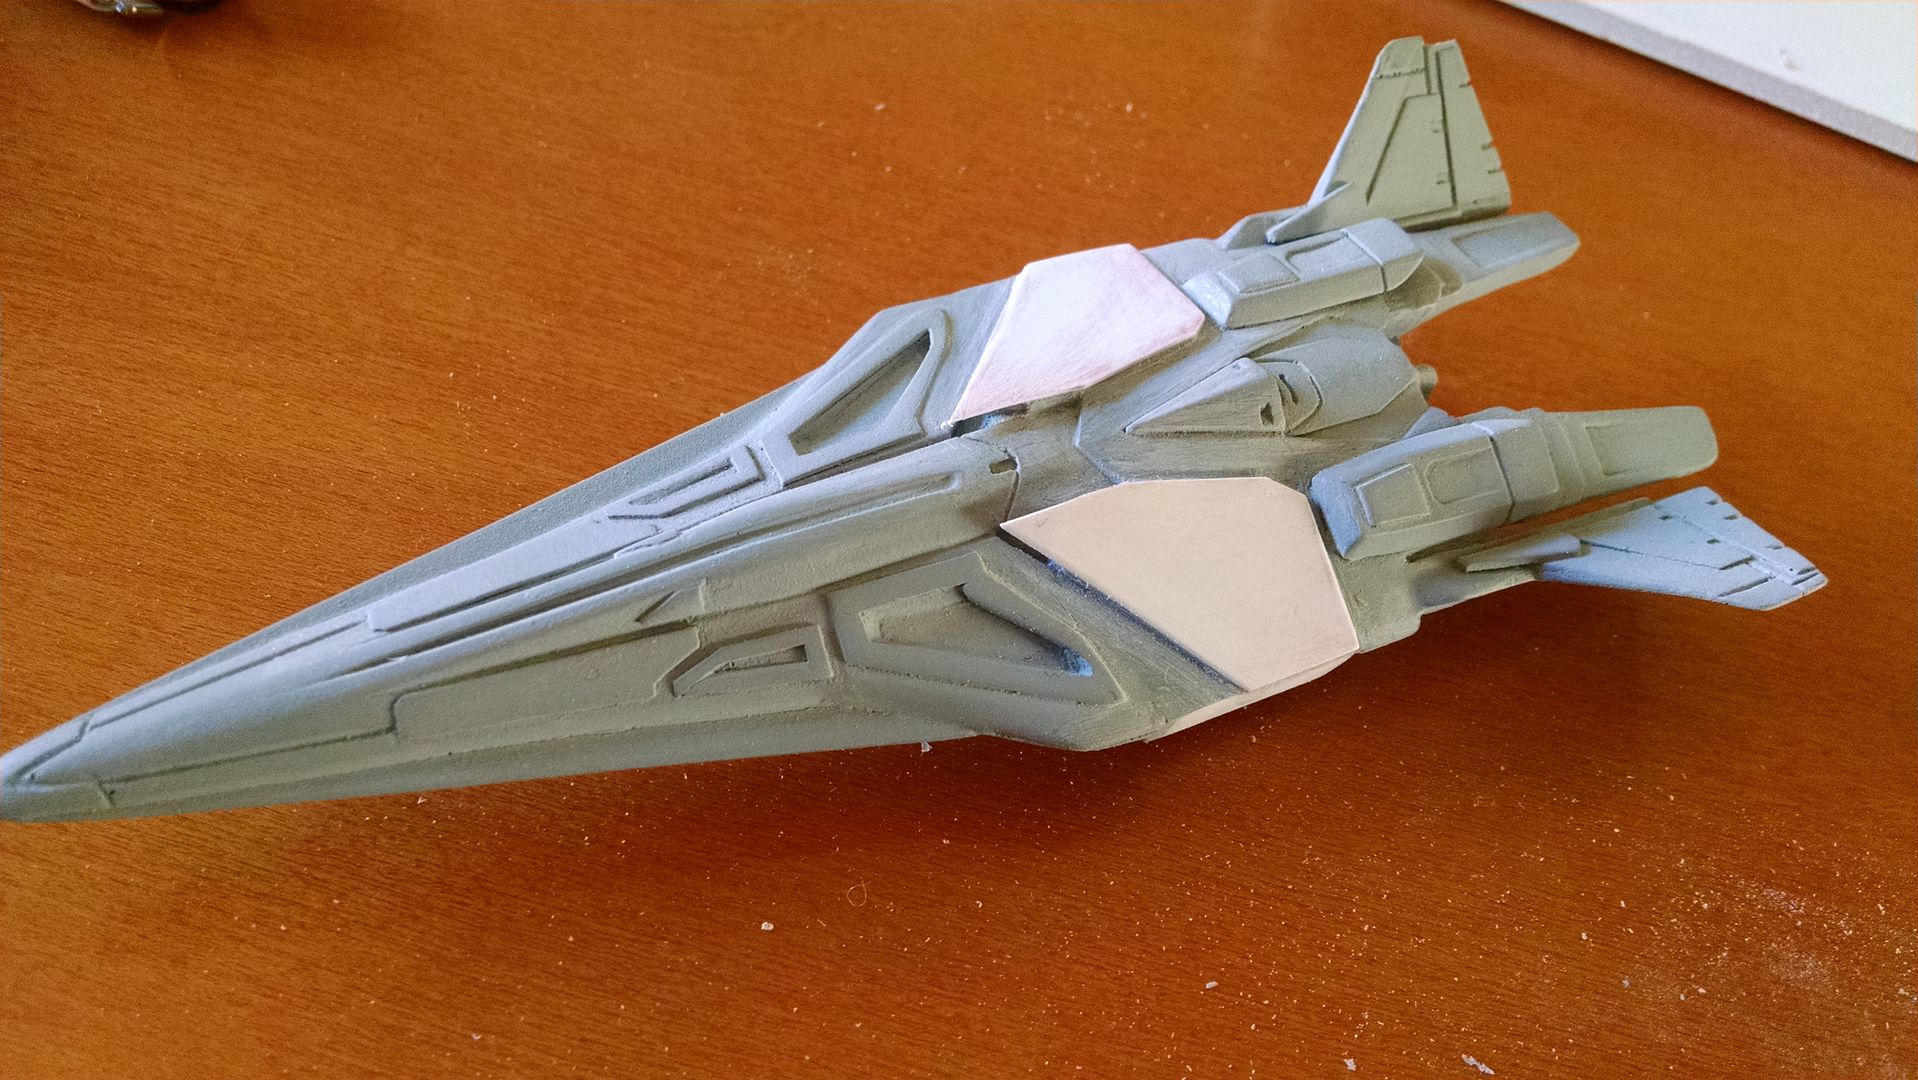


I carefully built up the detail. unfortunately, the modules on the original are so detailed and tiny that I had to simplify some bits in this area, which is saying something because its still fairly detailed as is. 
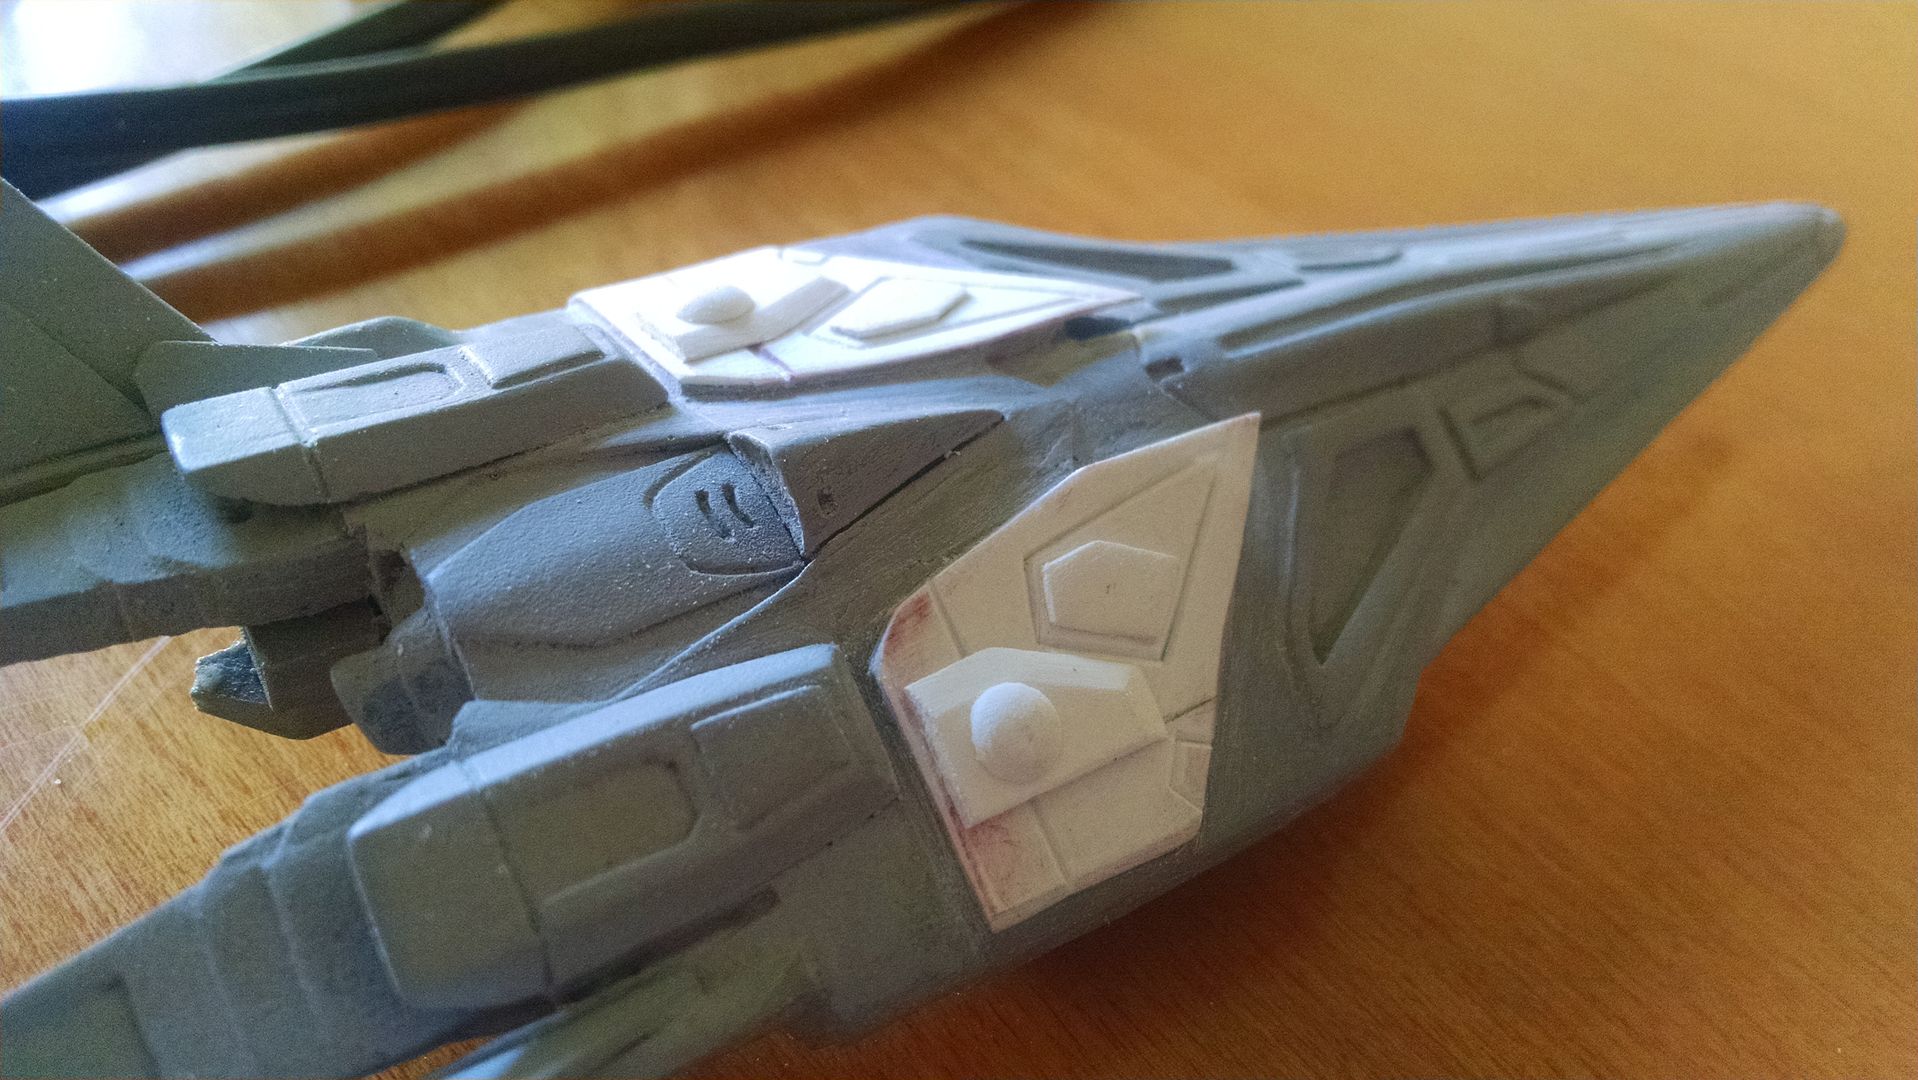


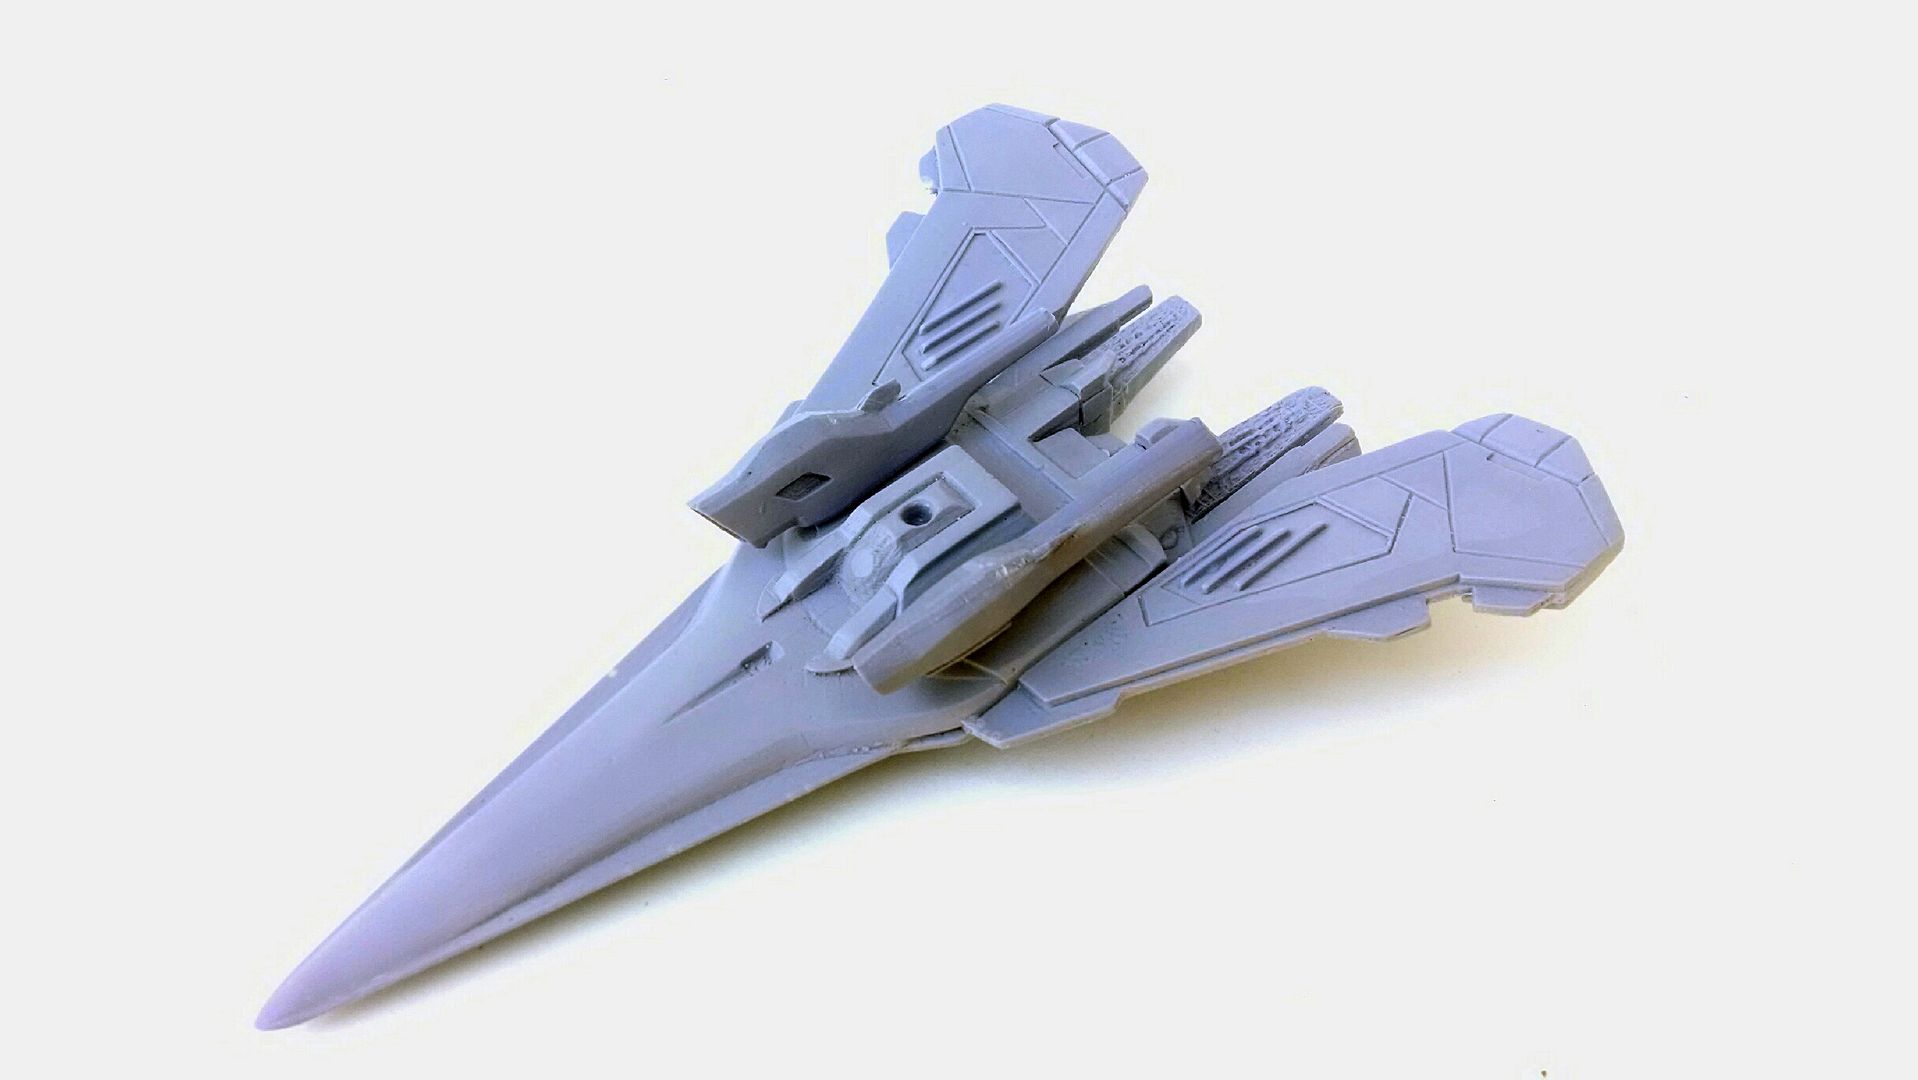
The wings sit at about 15 degrees, so after they were done I made a mold, cast them up, and glued them to the new body!
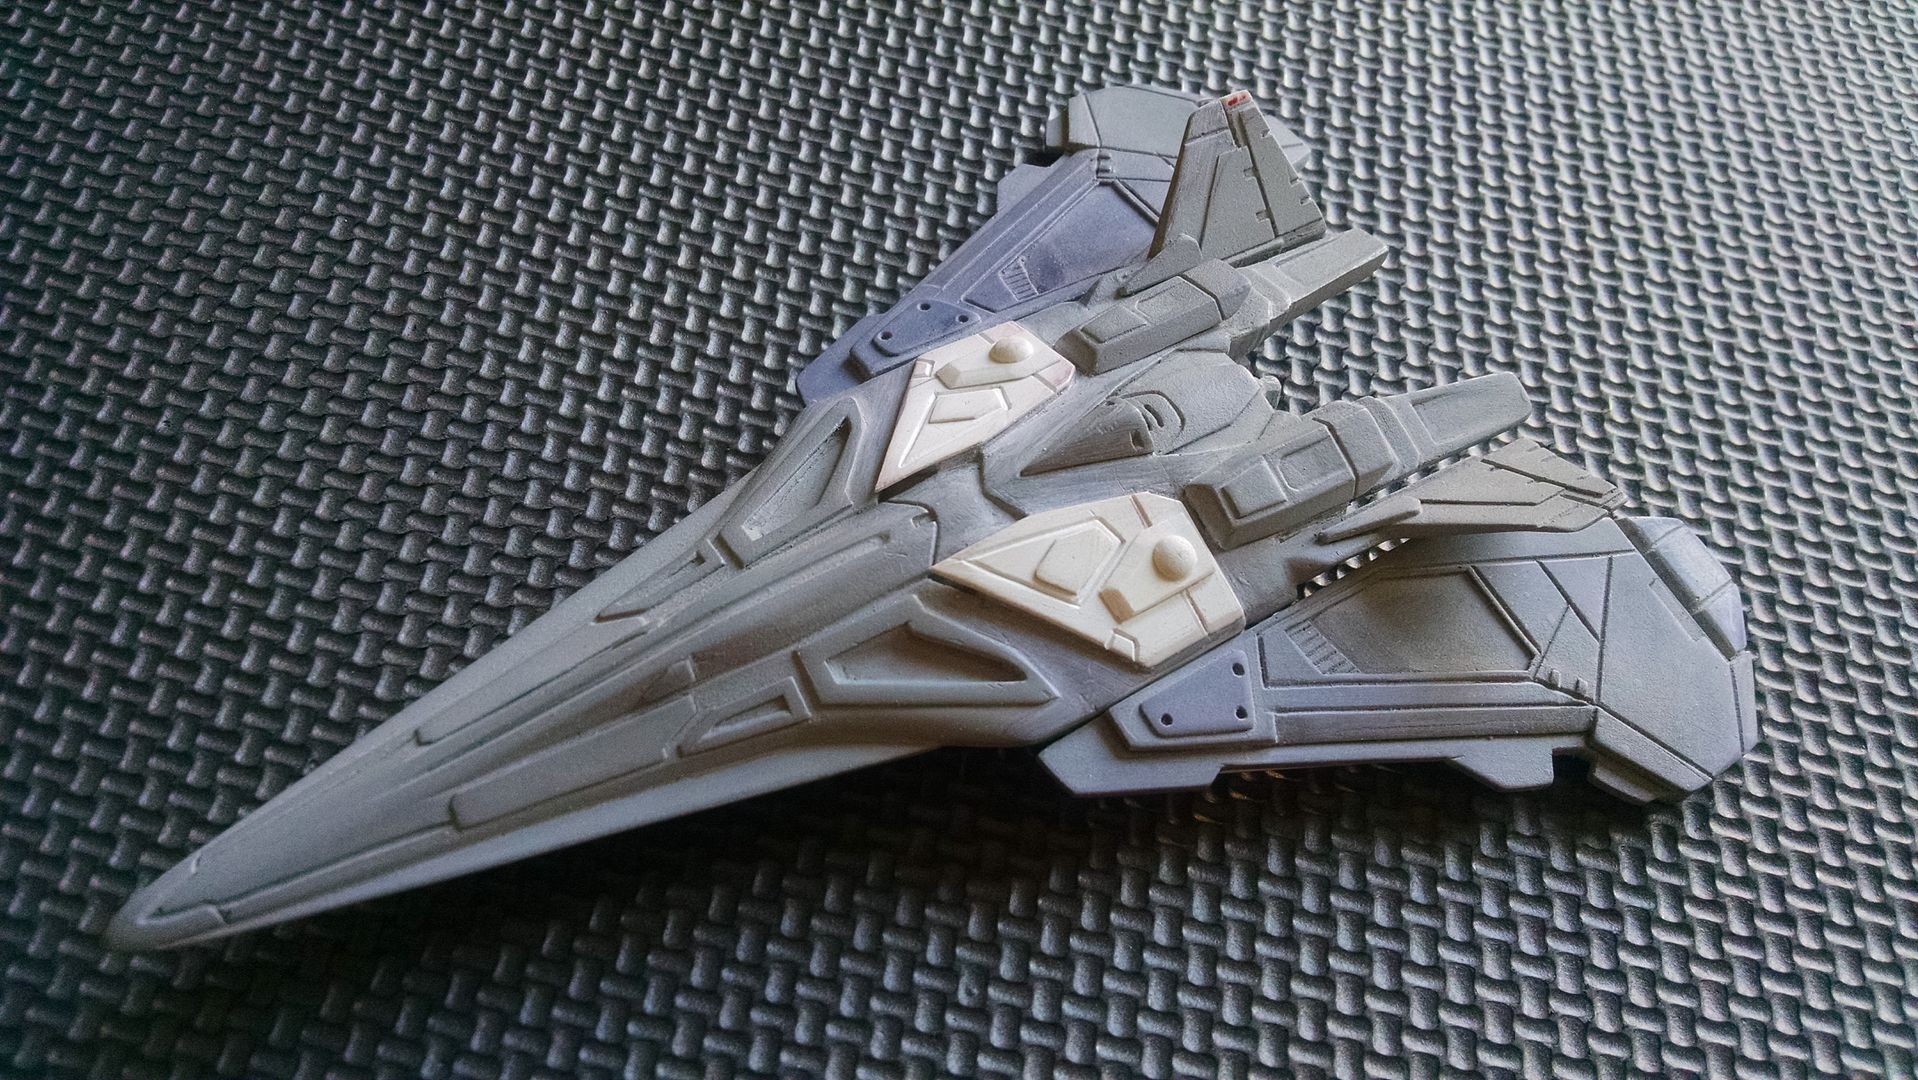


I made an MDF jig as usual, clayed it up, and got ready for goop!
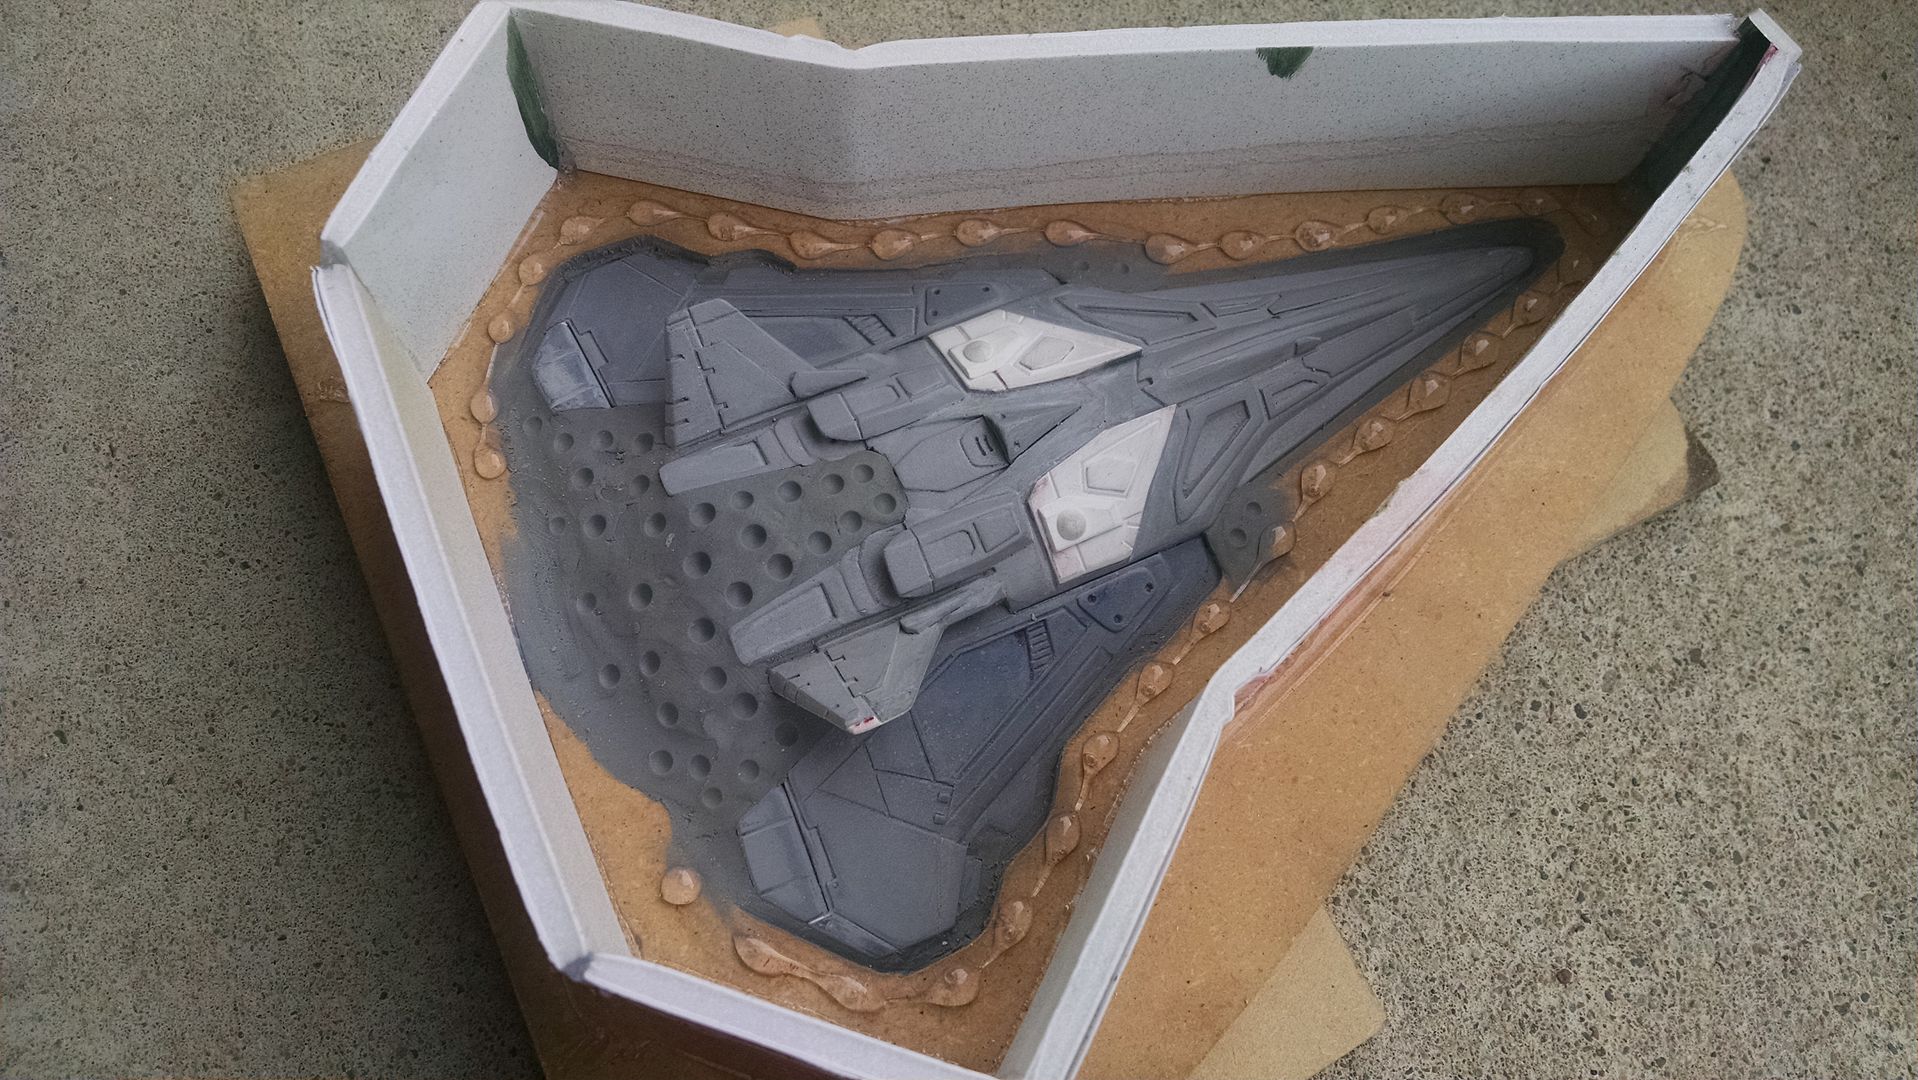


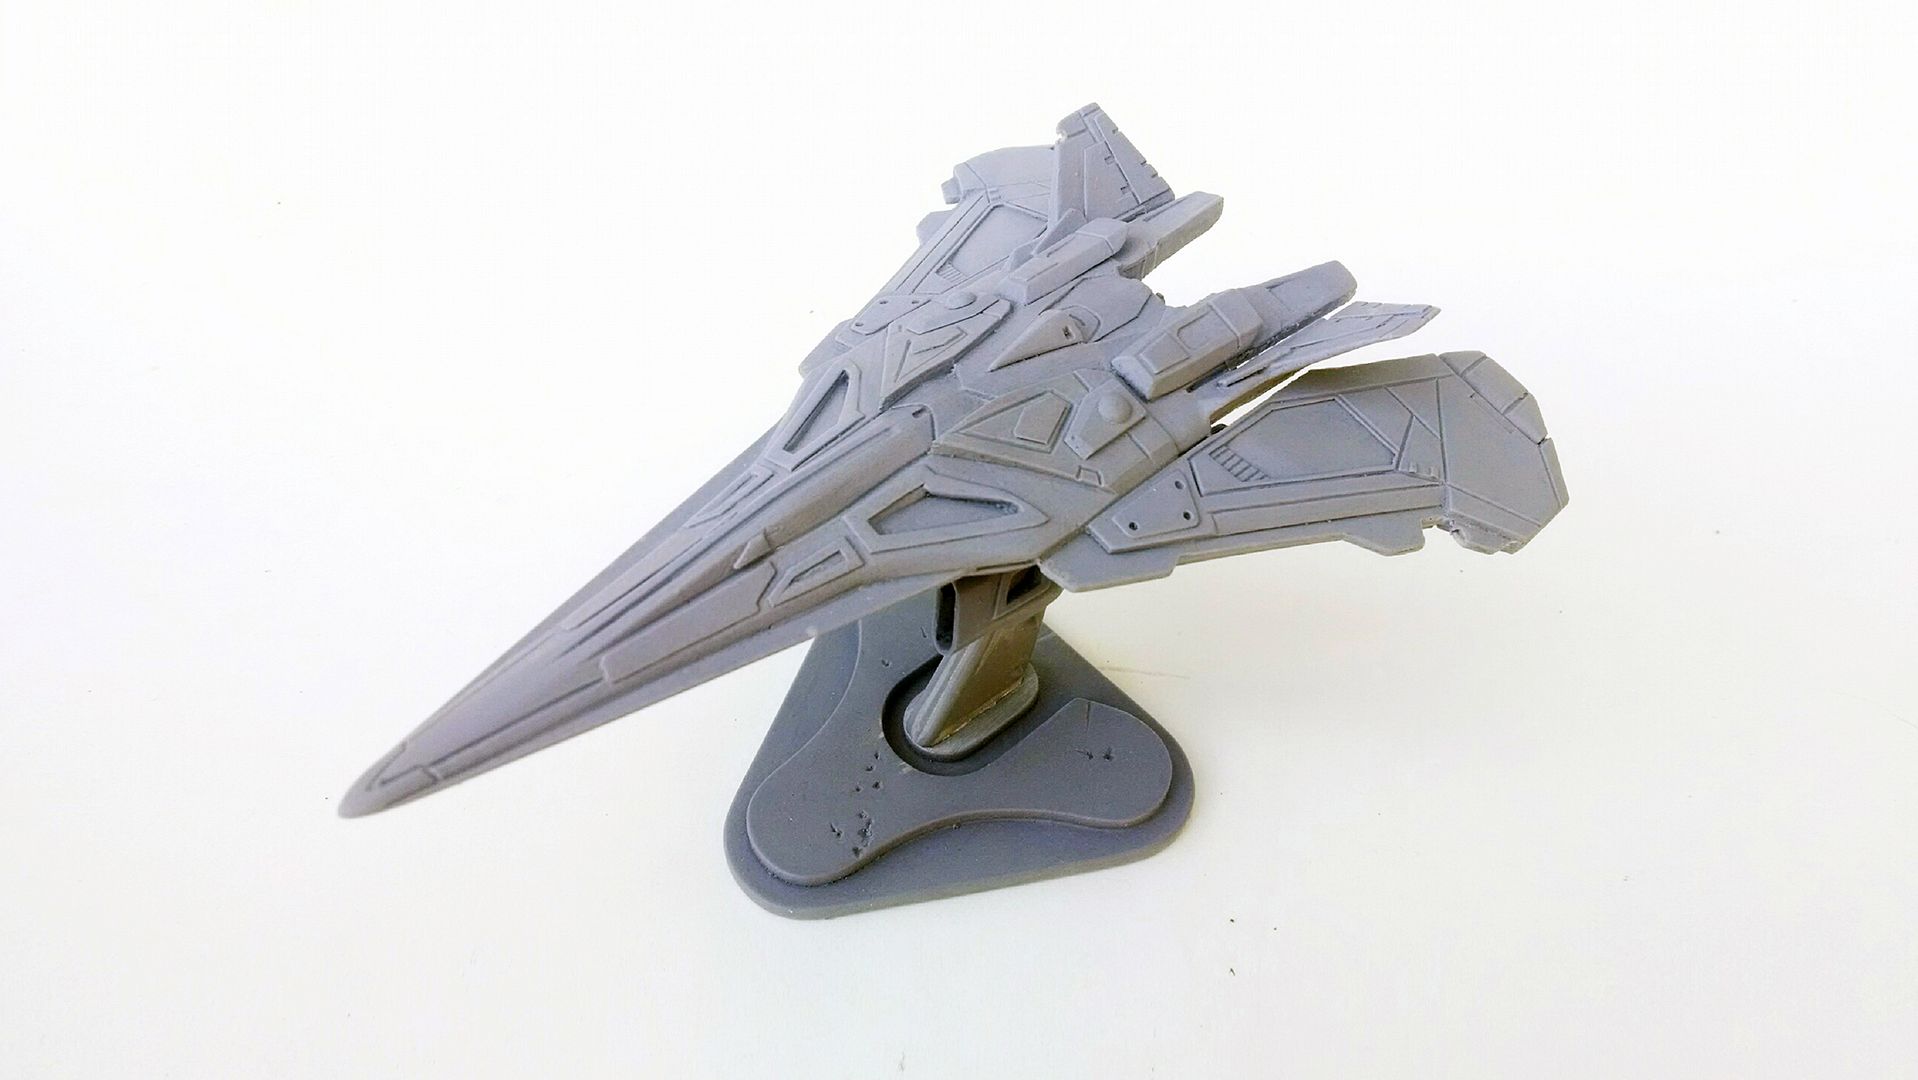
After pouring both sides of the mold, I had my first cast! The cast uses exactly 4oz of resin for the whole thing. Its the smallest/lightest kit I've made to date. Considering that these are not vacuum degassed/pressure cast, I am extremely proud of the results. 


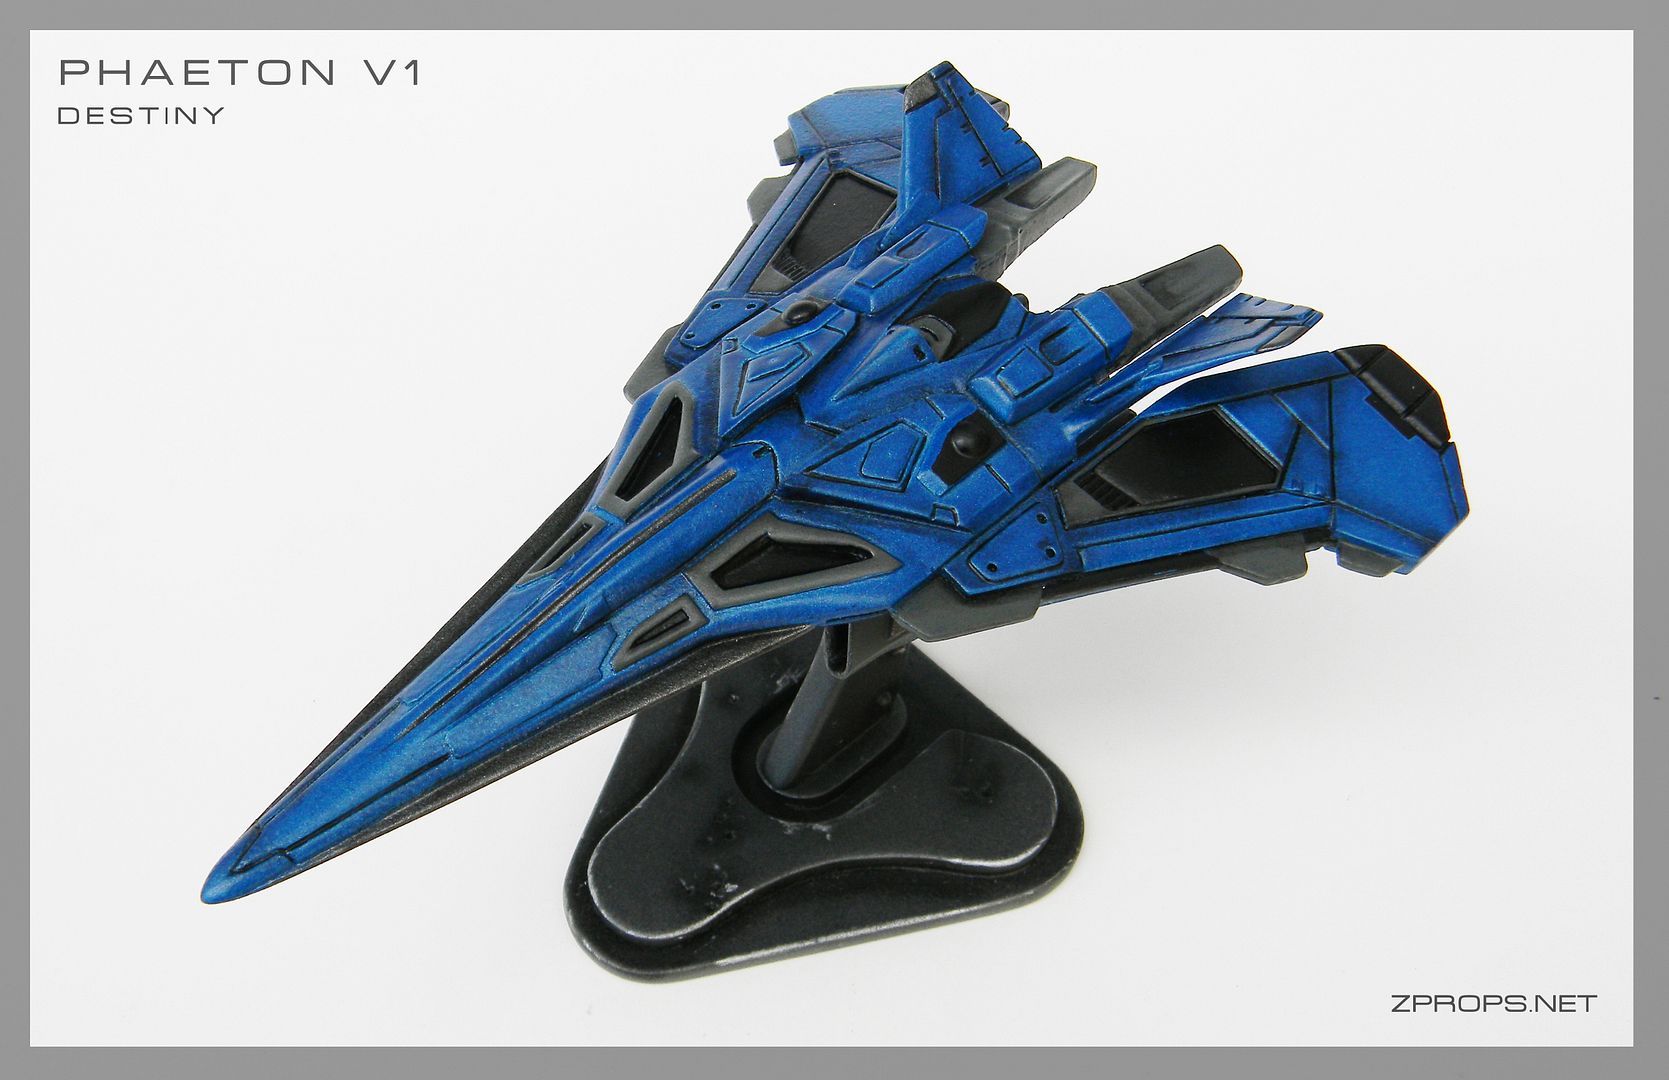
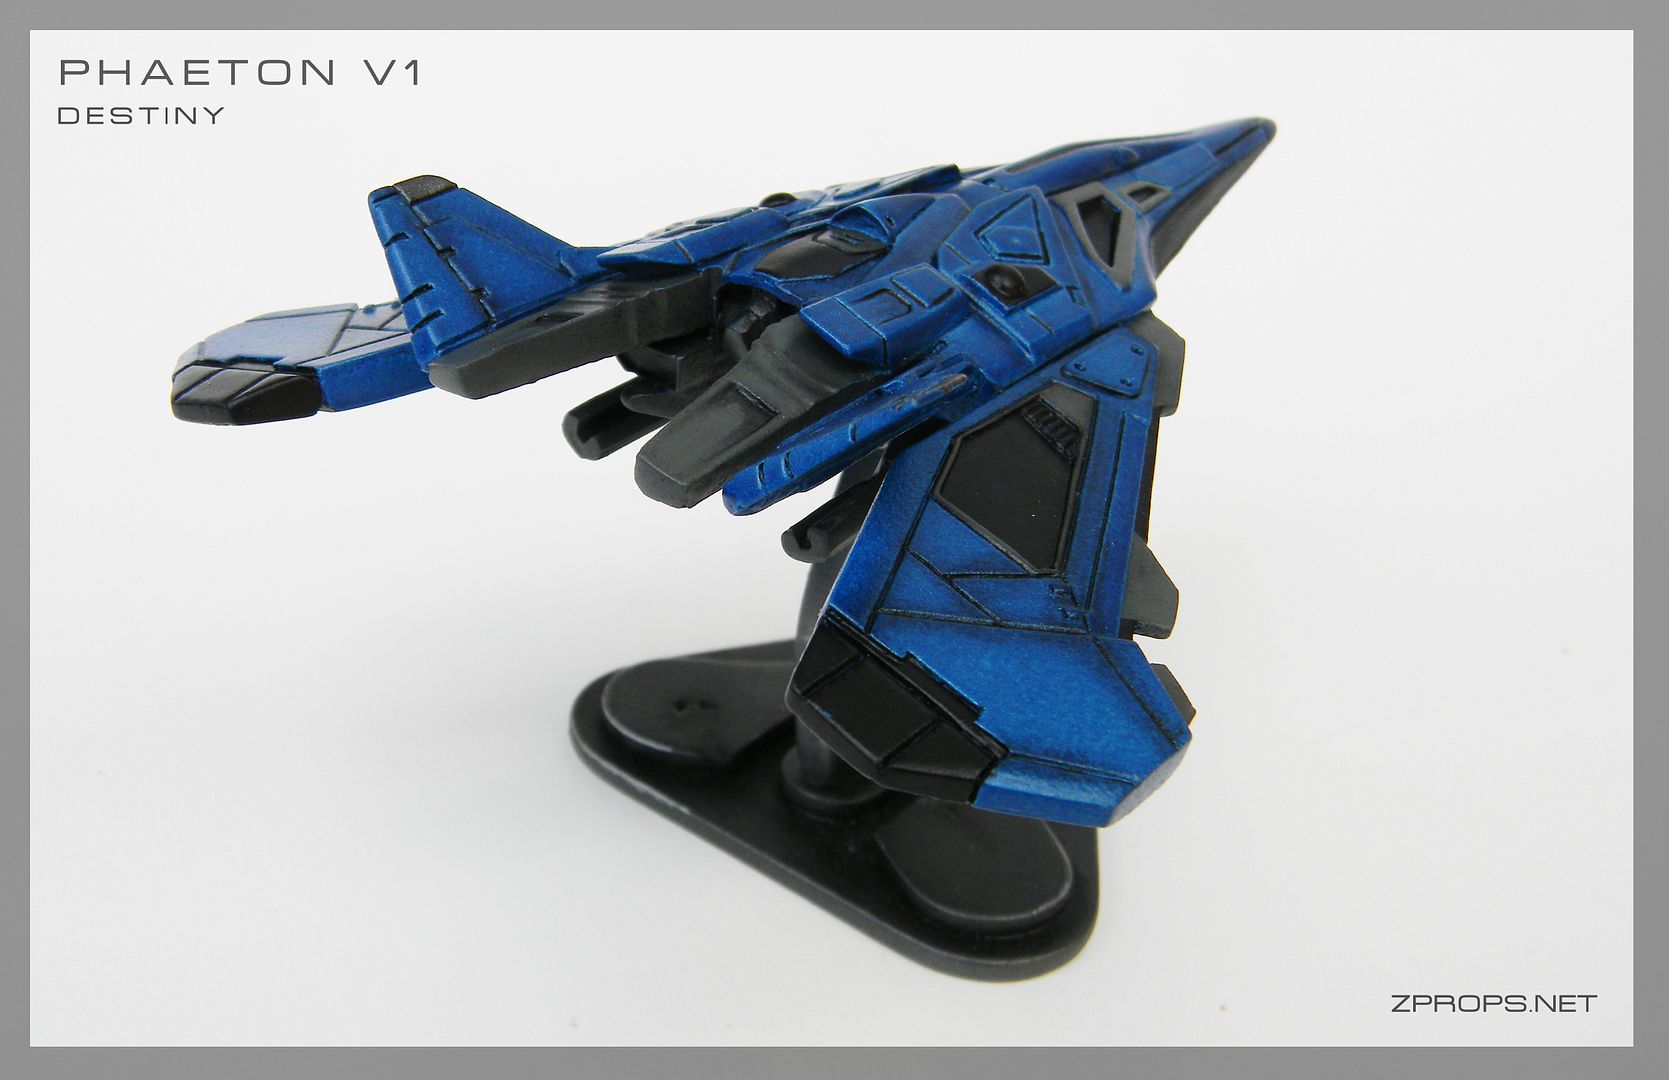
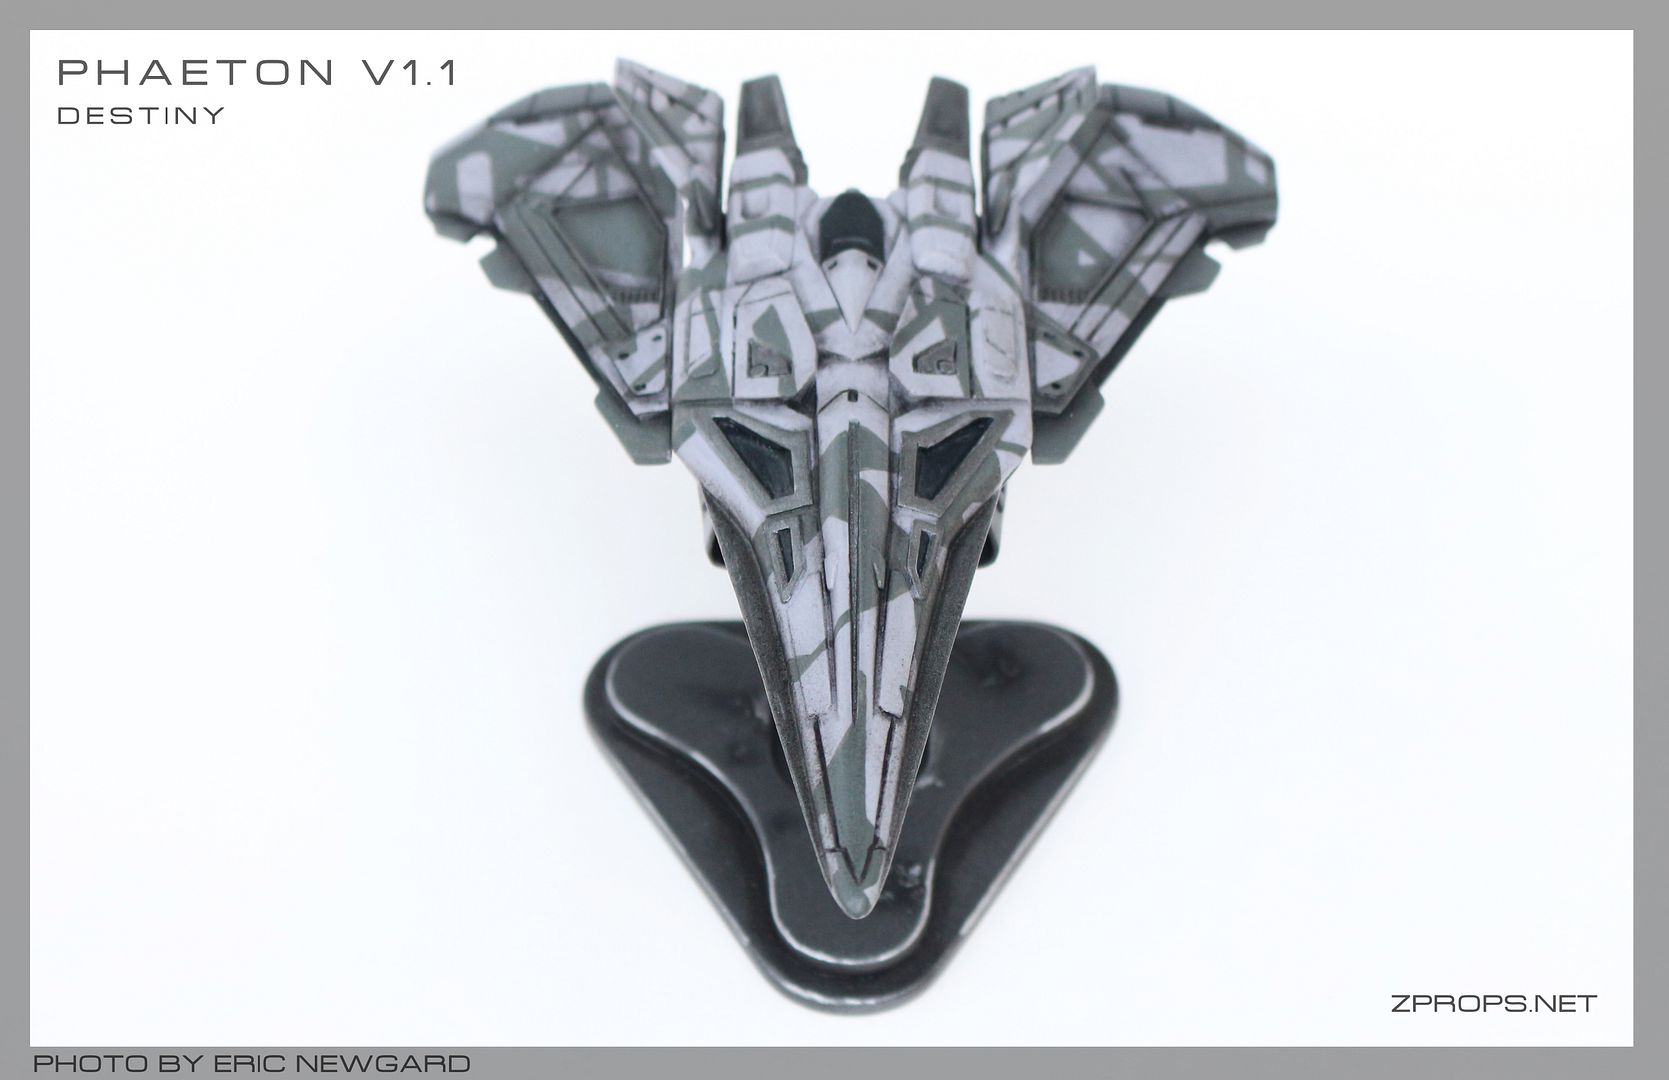
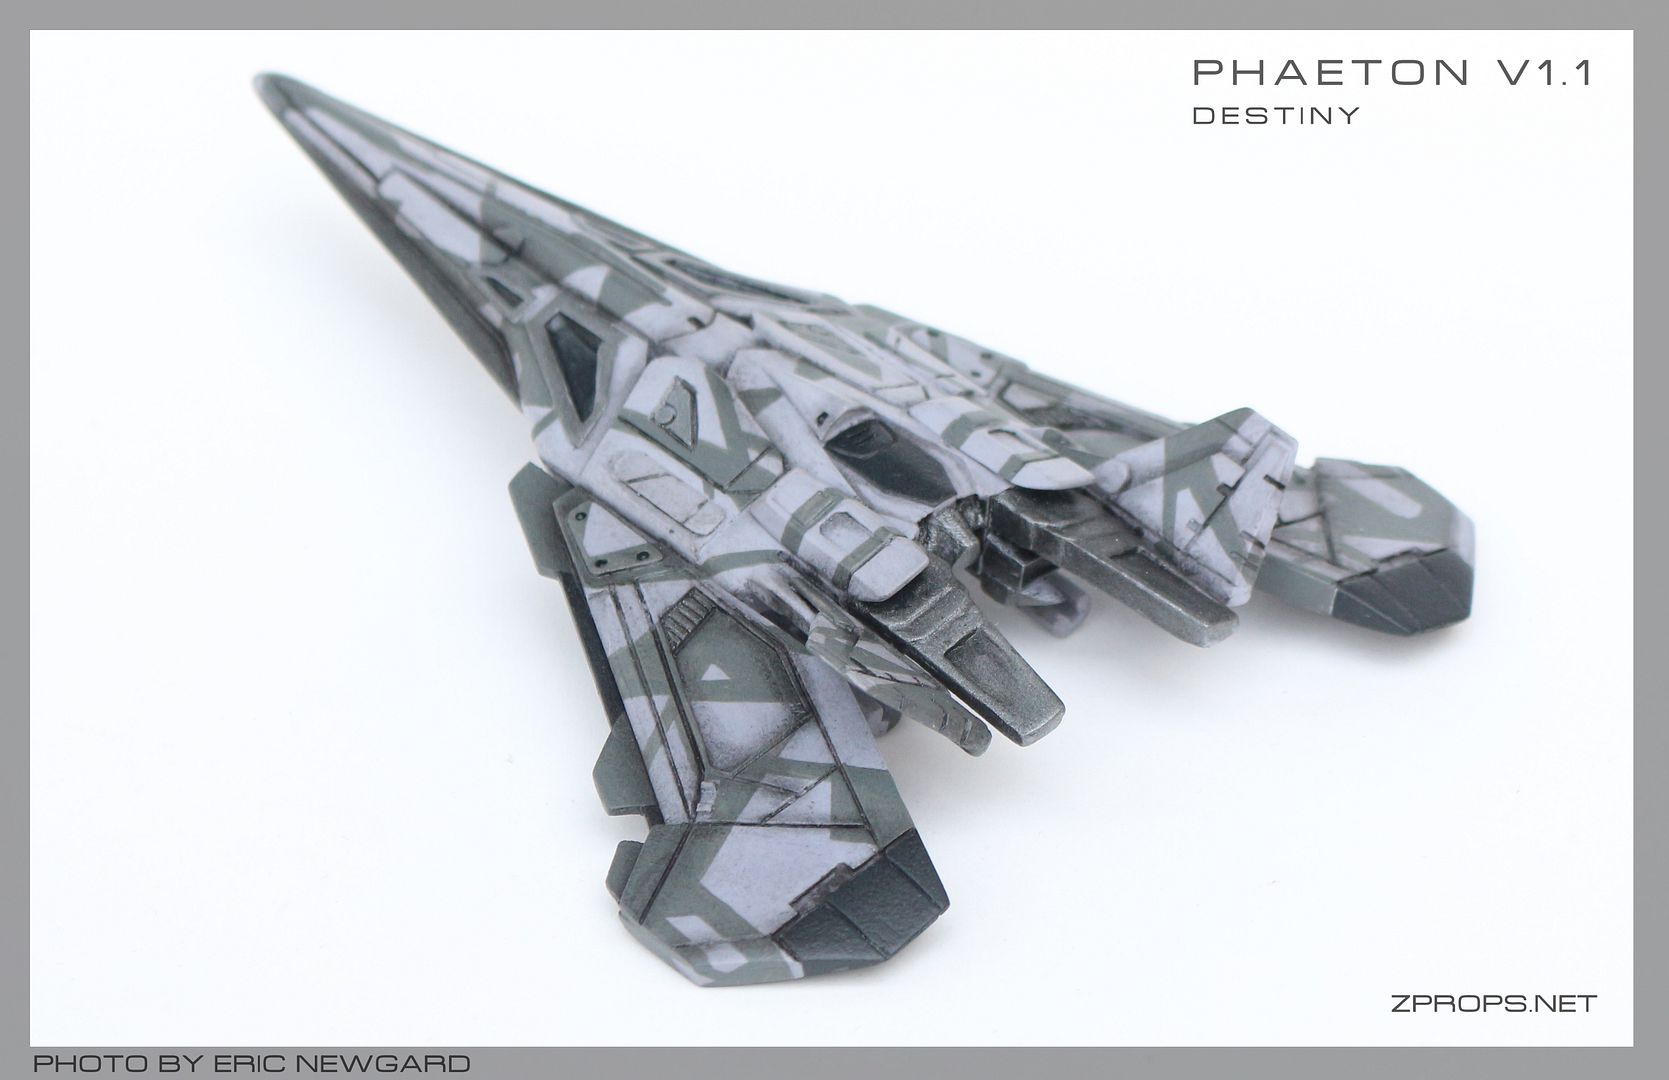
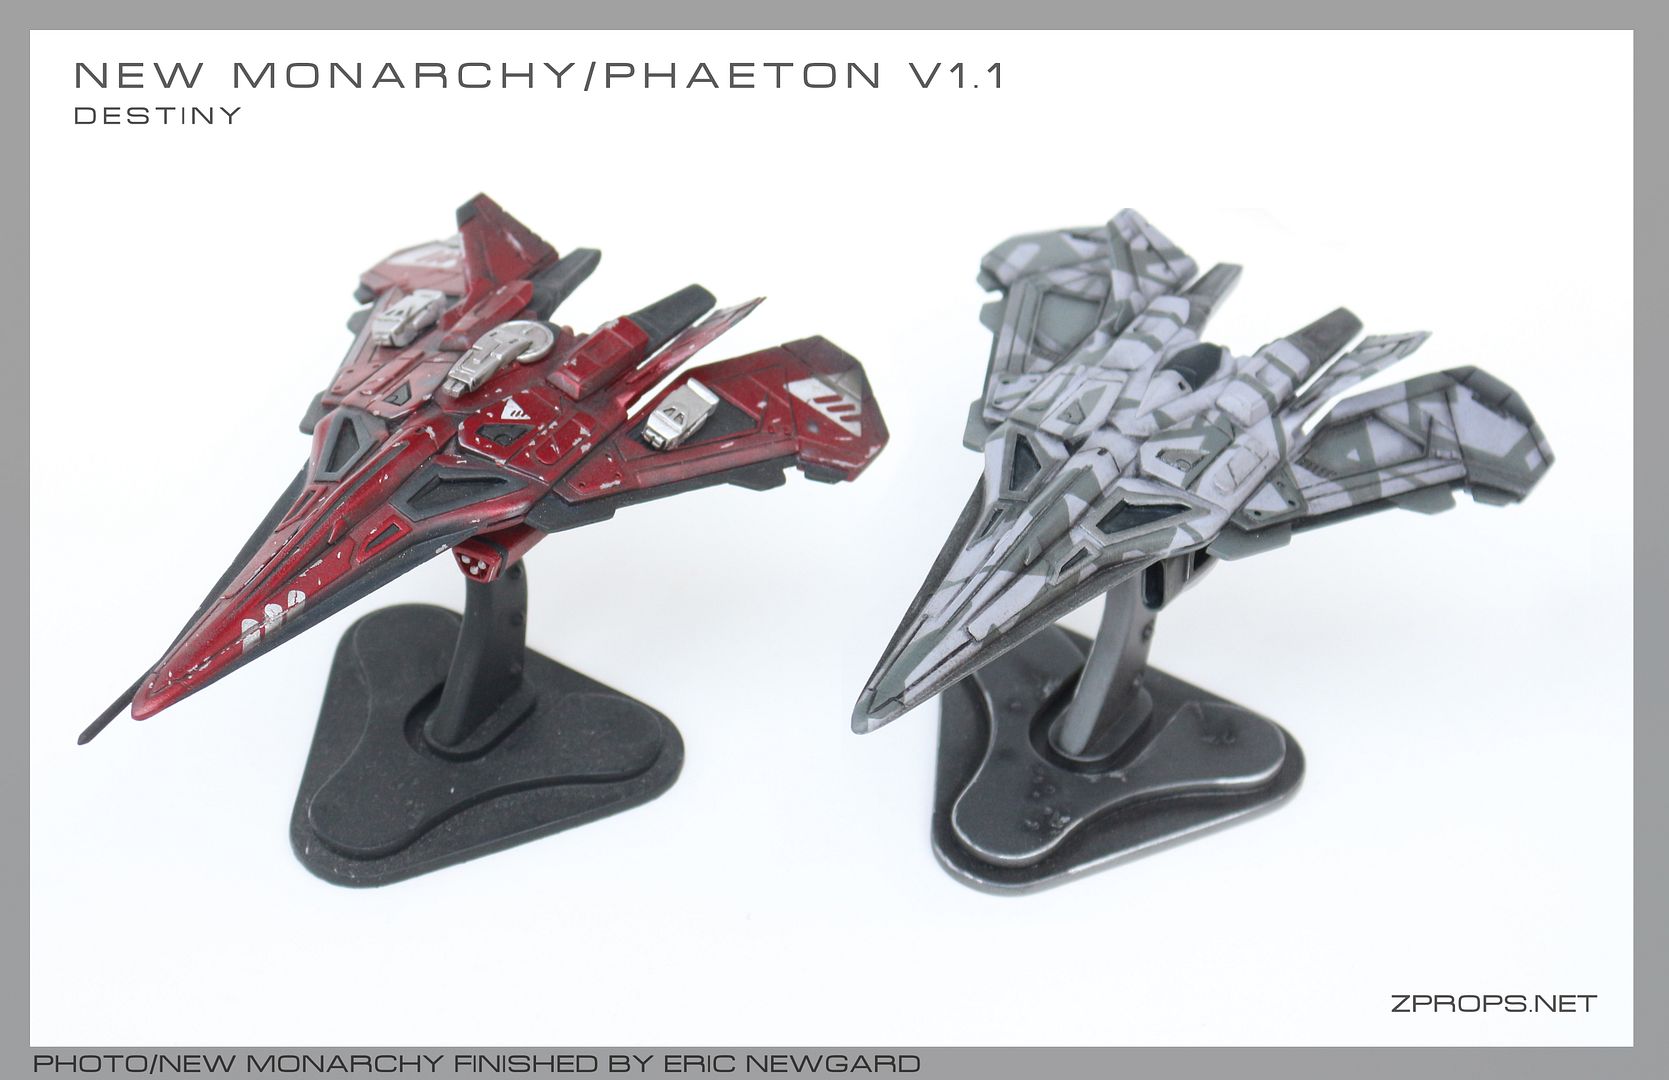
And some painted variations:
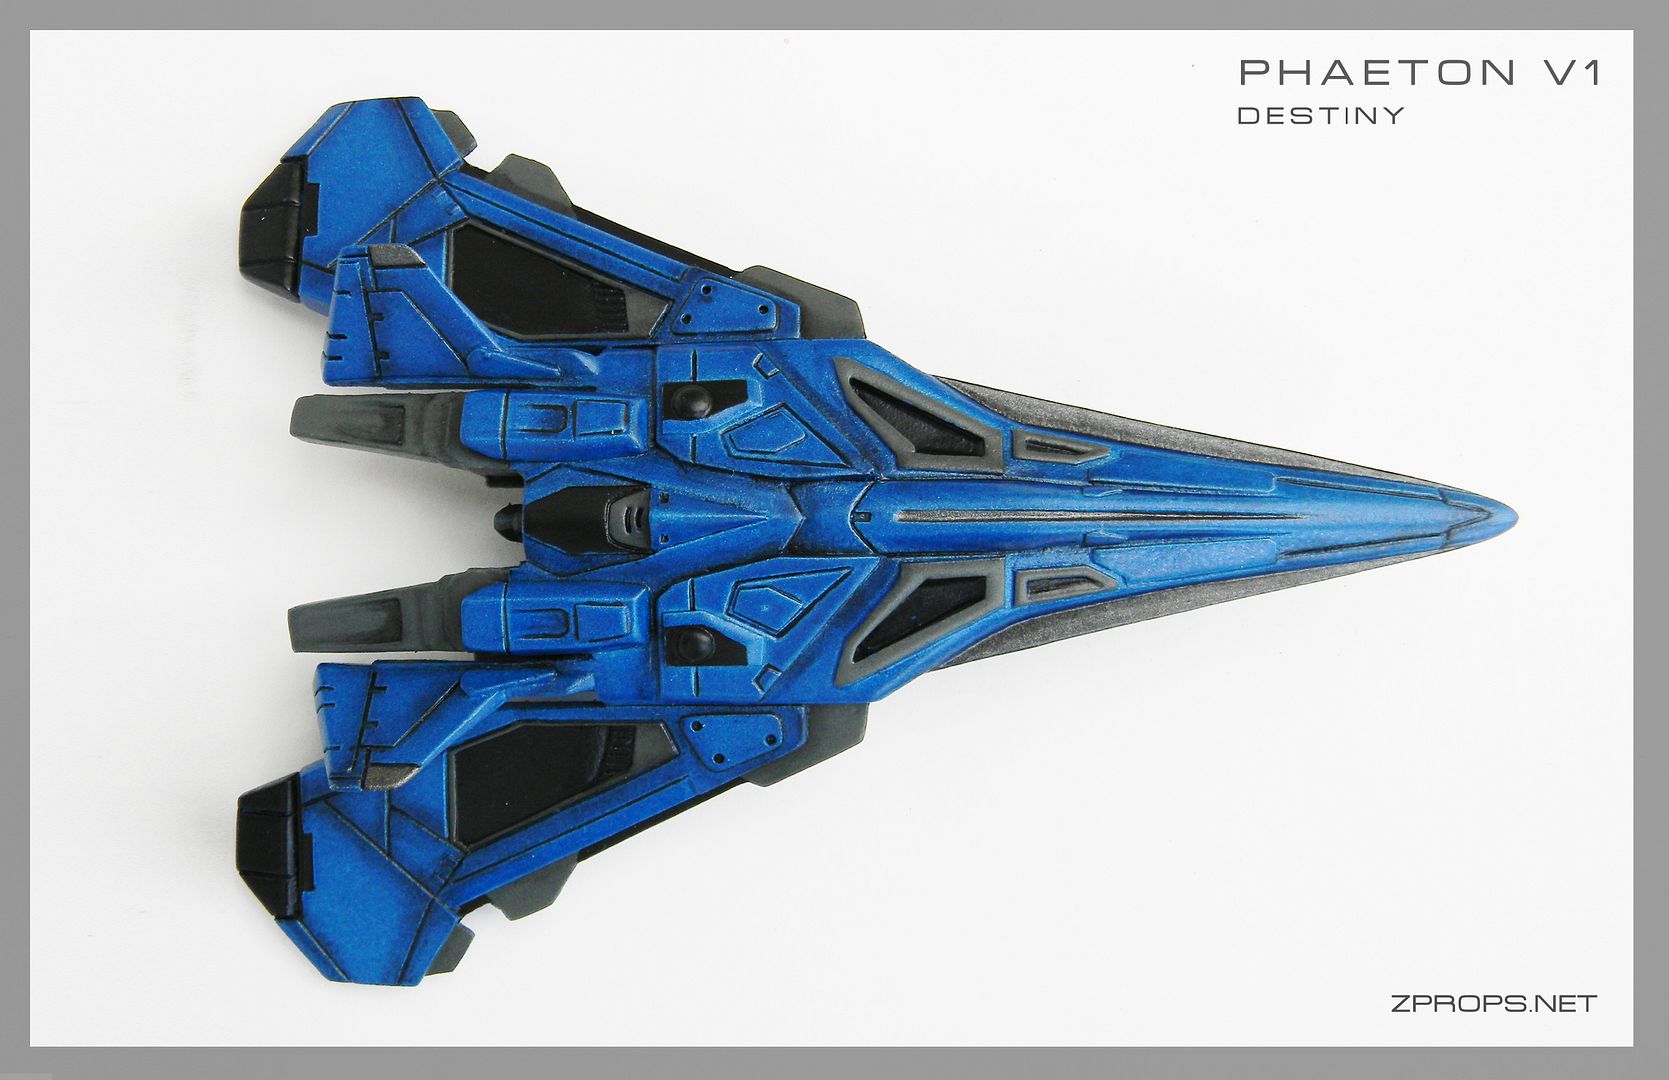


I made an early version outfitted with BKR guns for my friend Eric to paint. 


Build your own for purchase here. Thanks for following along!


Friday, June 5, 2015

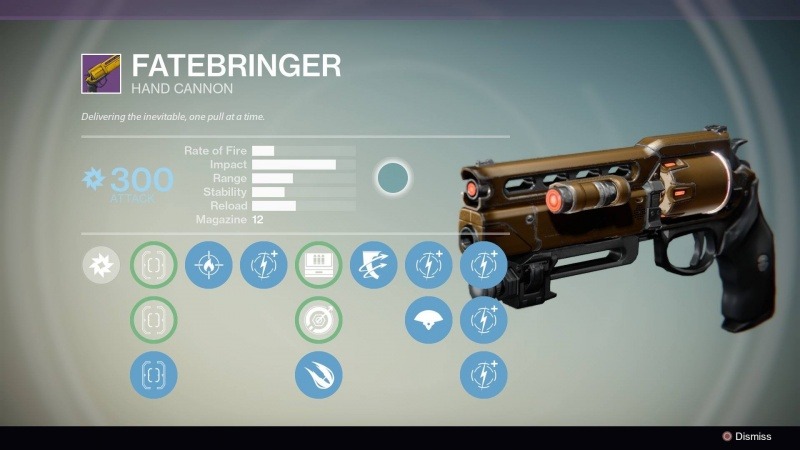
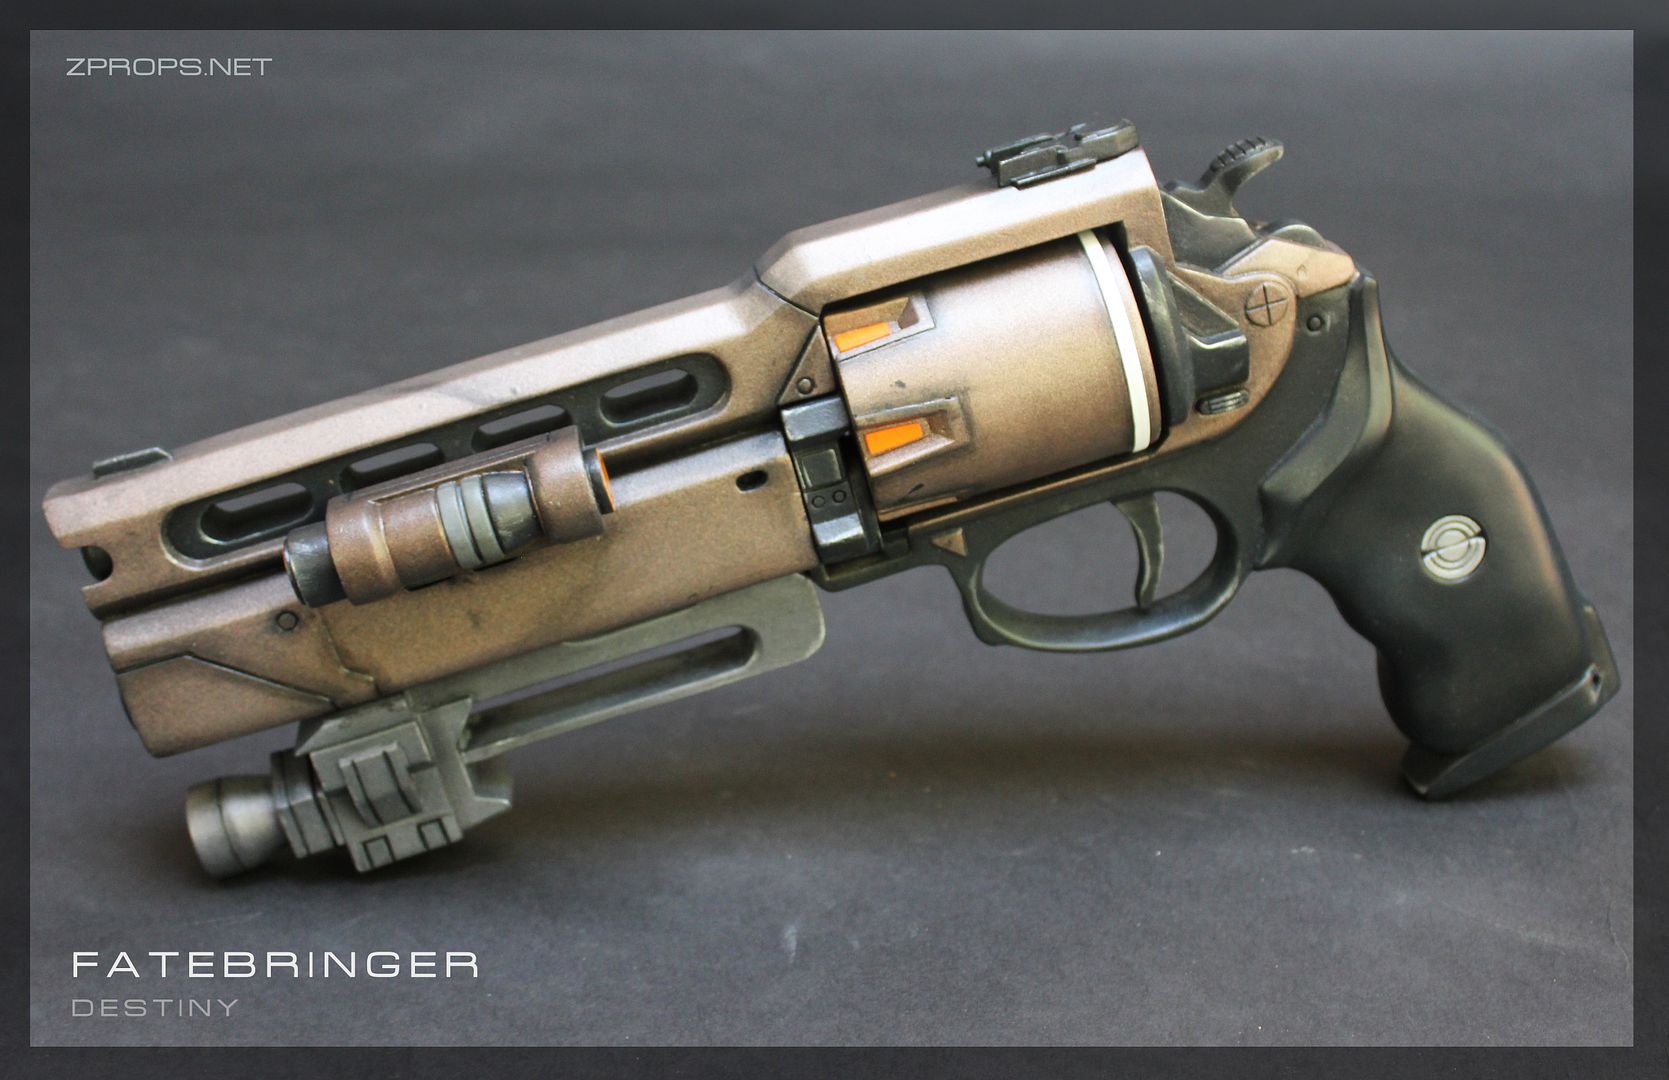
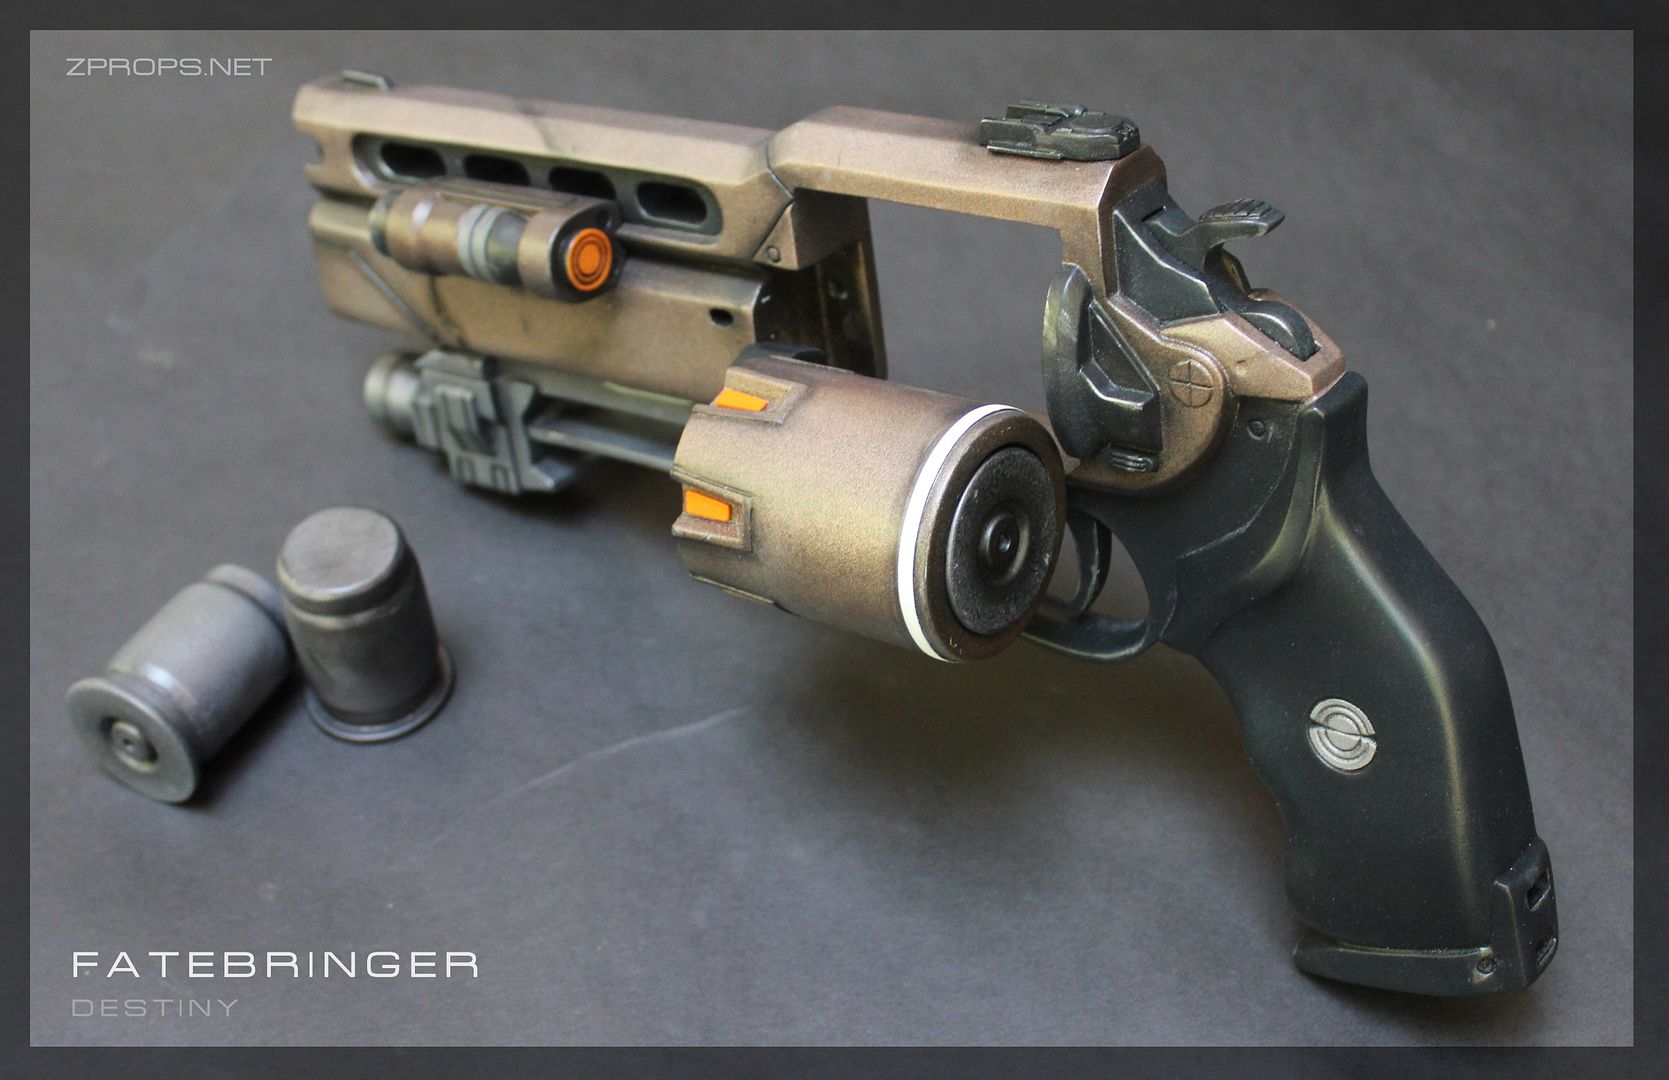
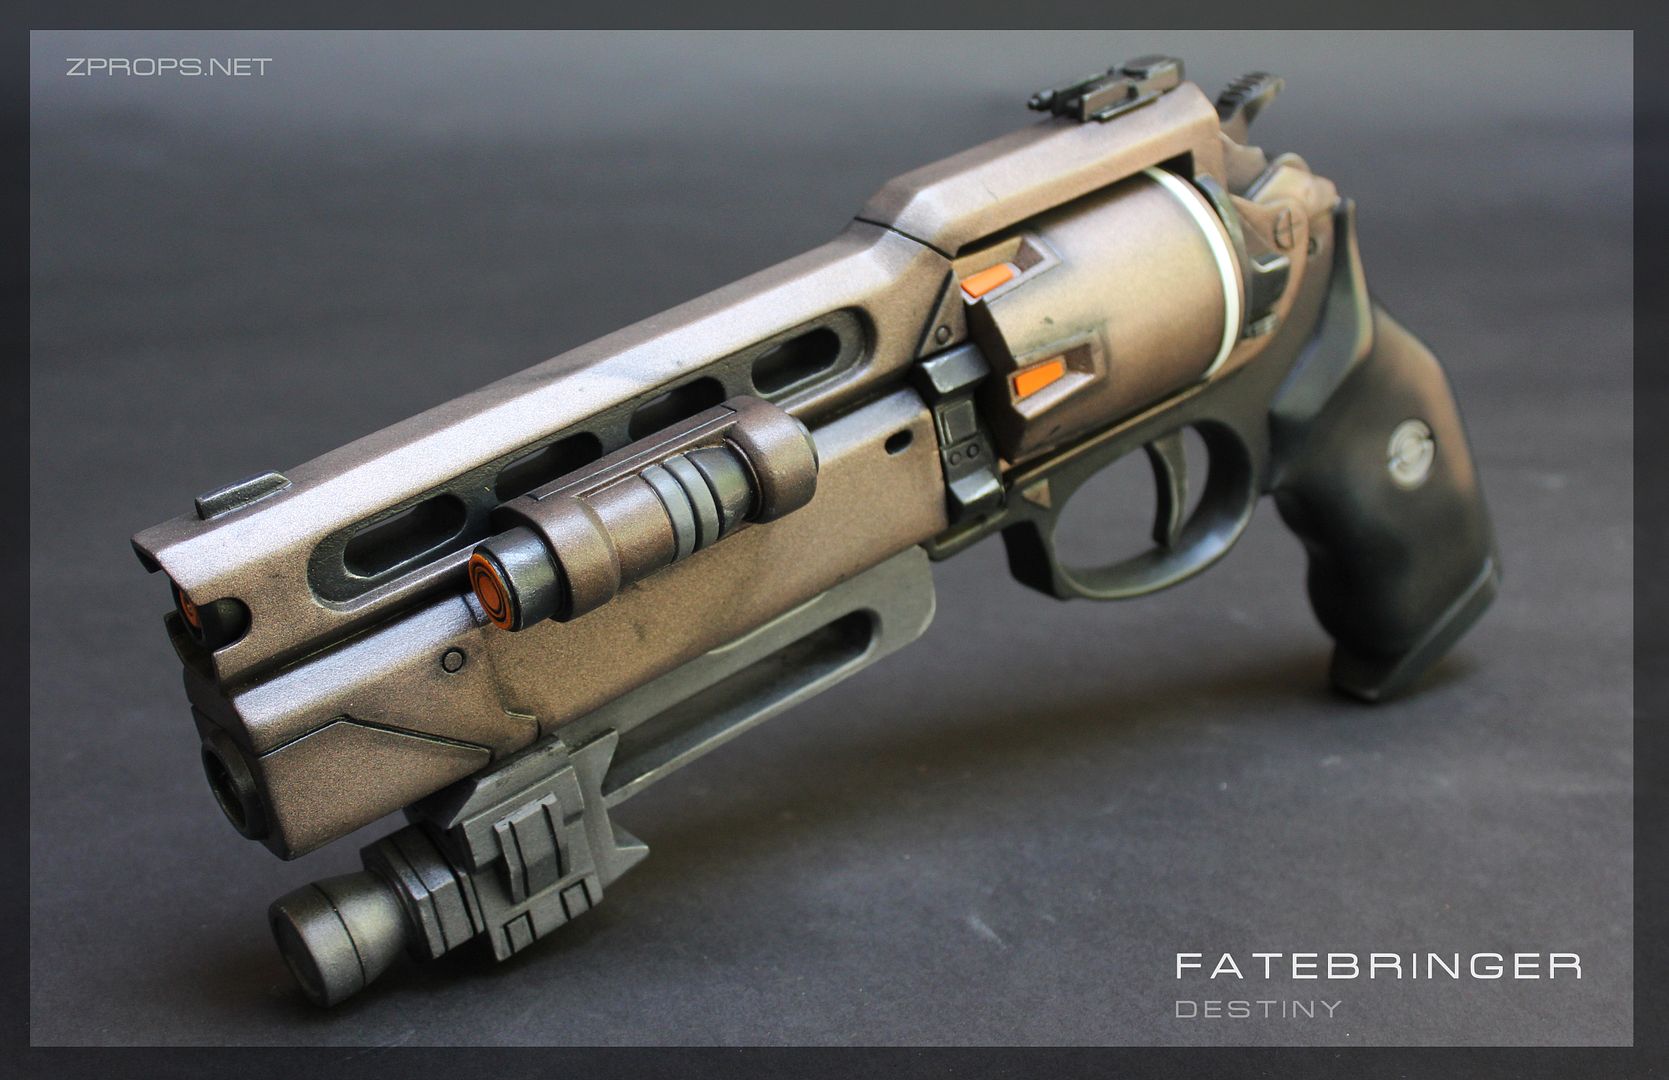
Destiny Fatebringer Legendary Hand Cannon

Delivering the inevitable. One photo at a time.

One of the main reasons I chose the standard hand cannon as my first destiny piece was so I could make this down the line:


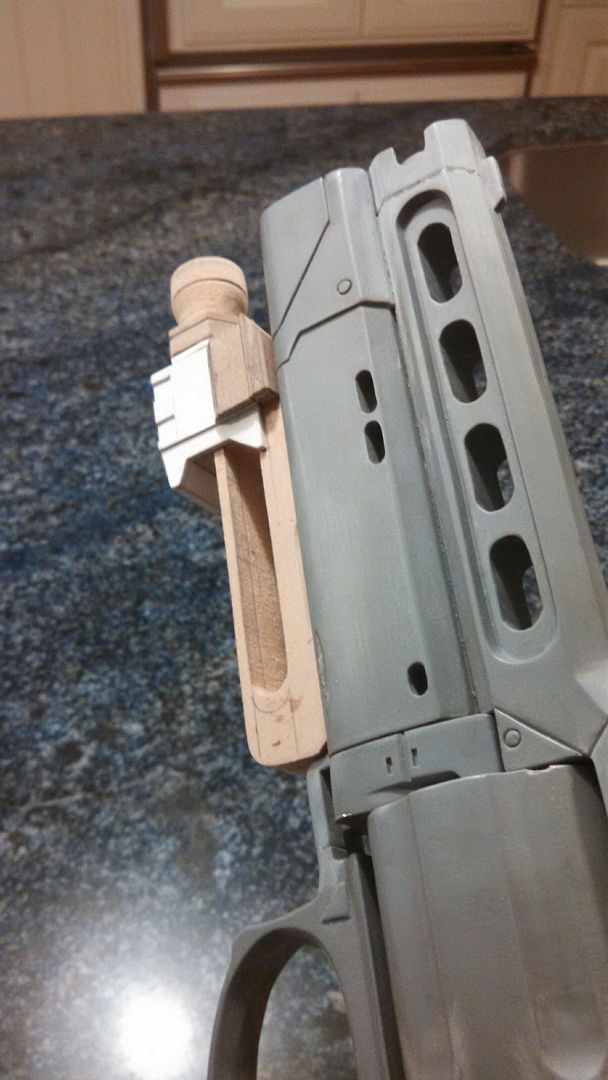
With most of the work done, all I had to do is make the accessories, the new sight, and alternate cylinder.  This went pretty quick and there's not much to show. The paint job took almost as long as making the parts. It still took some time, and its a good thing House of Wolves came out to refresh some of the specs of older legendarys like this one in game. 


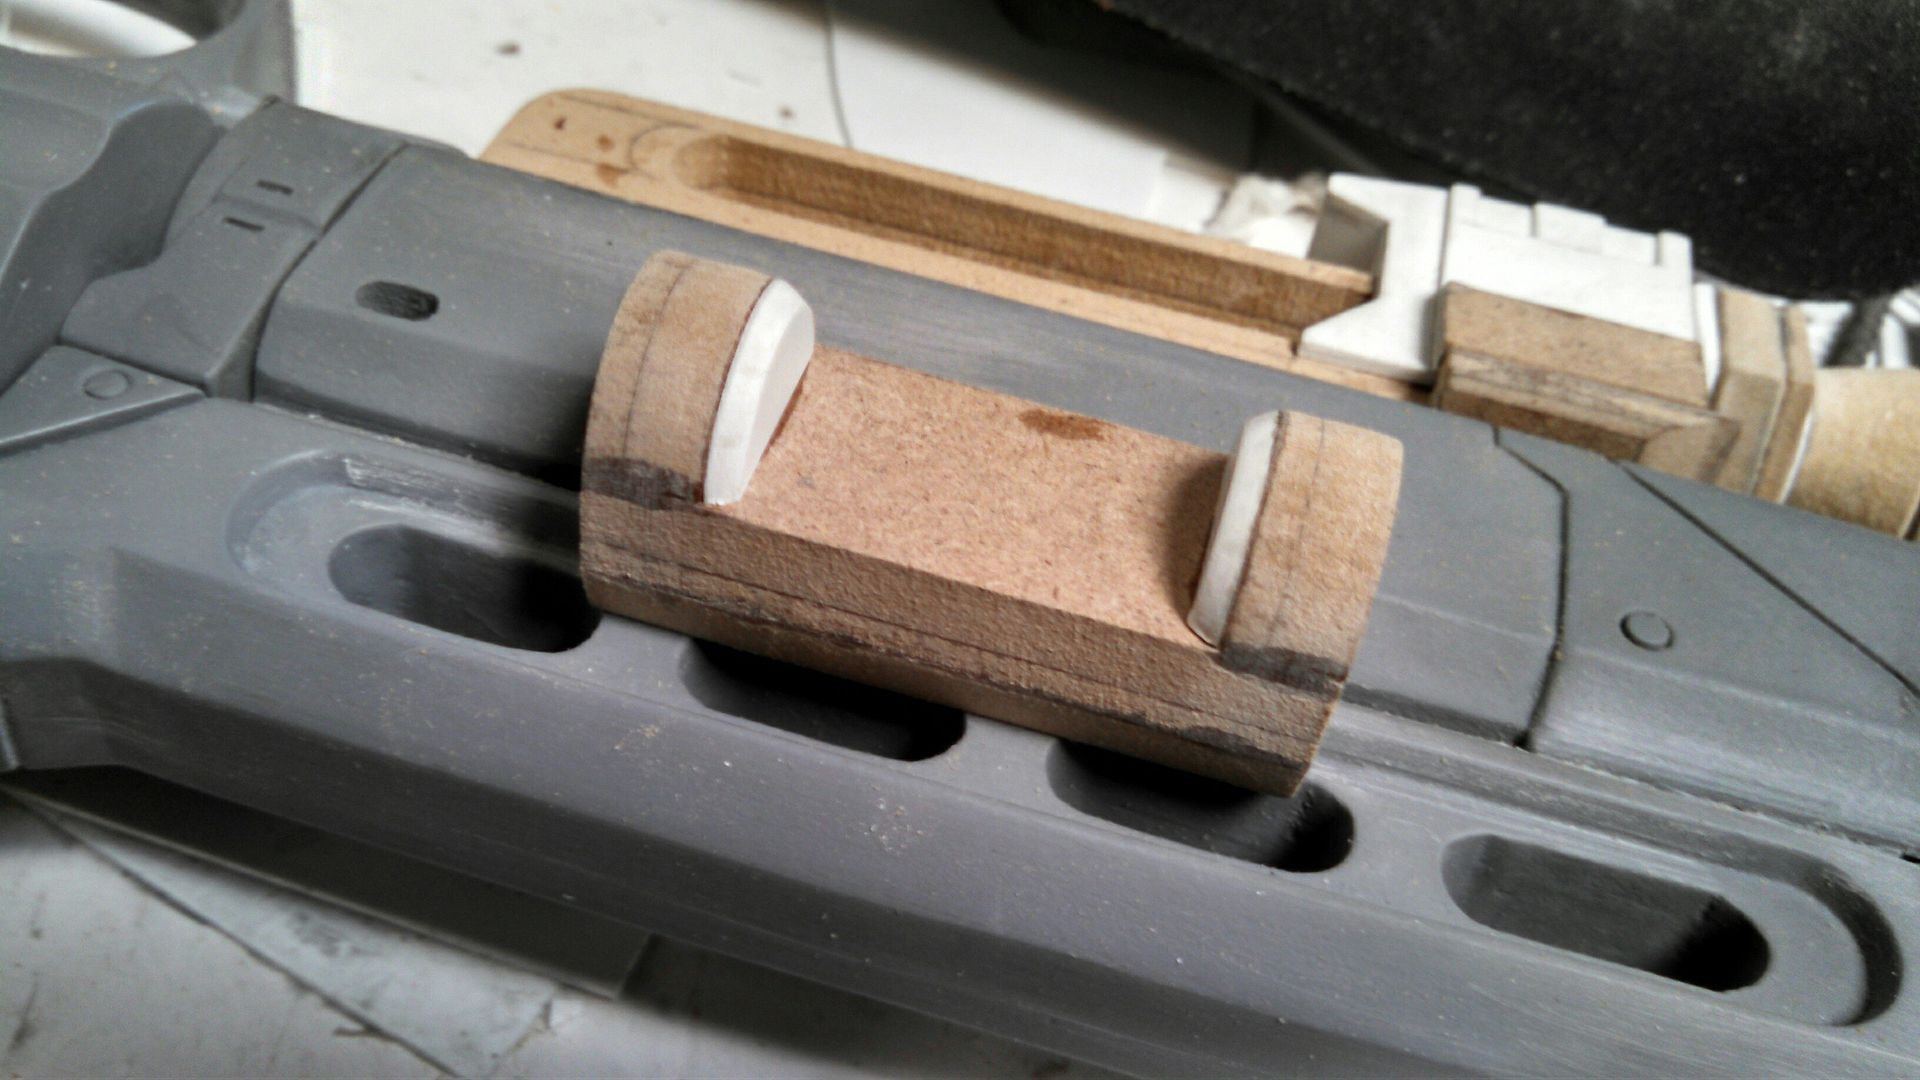
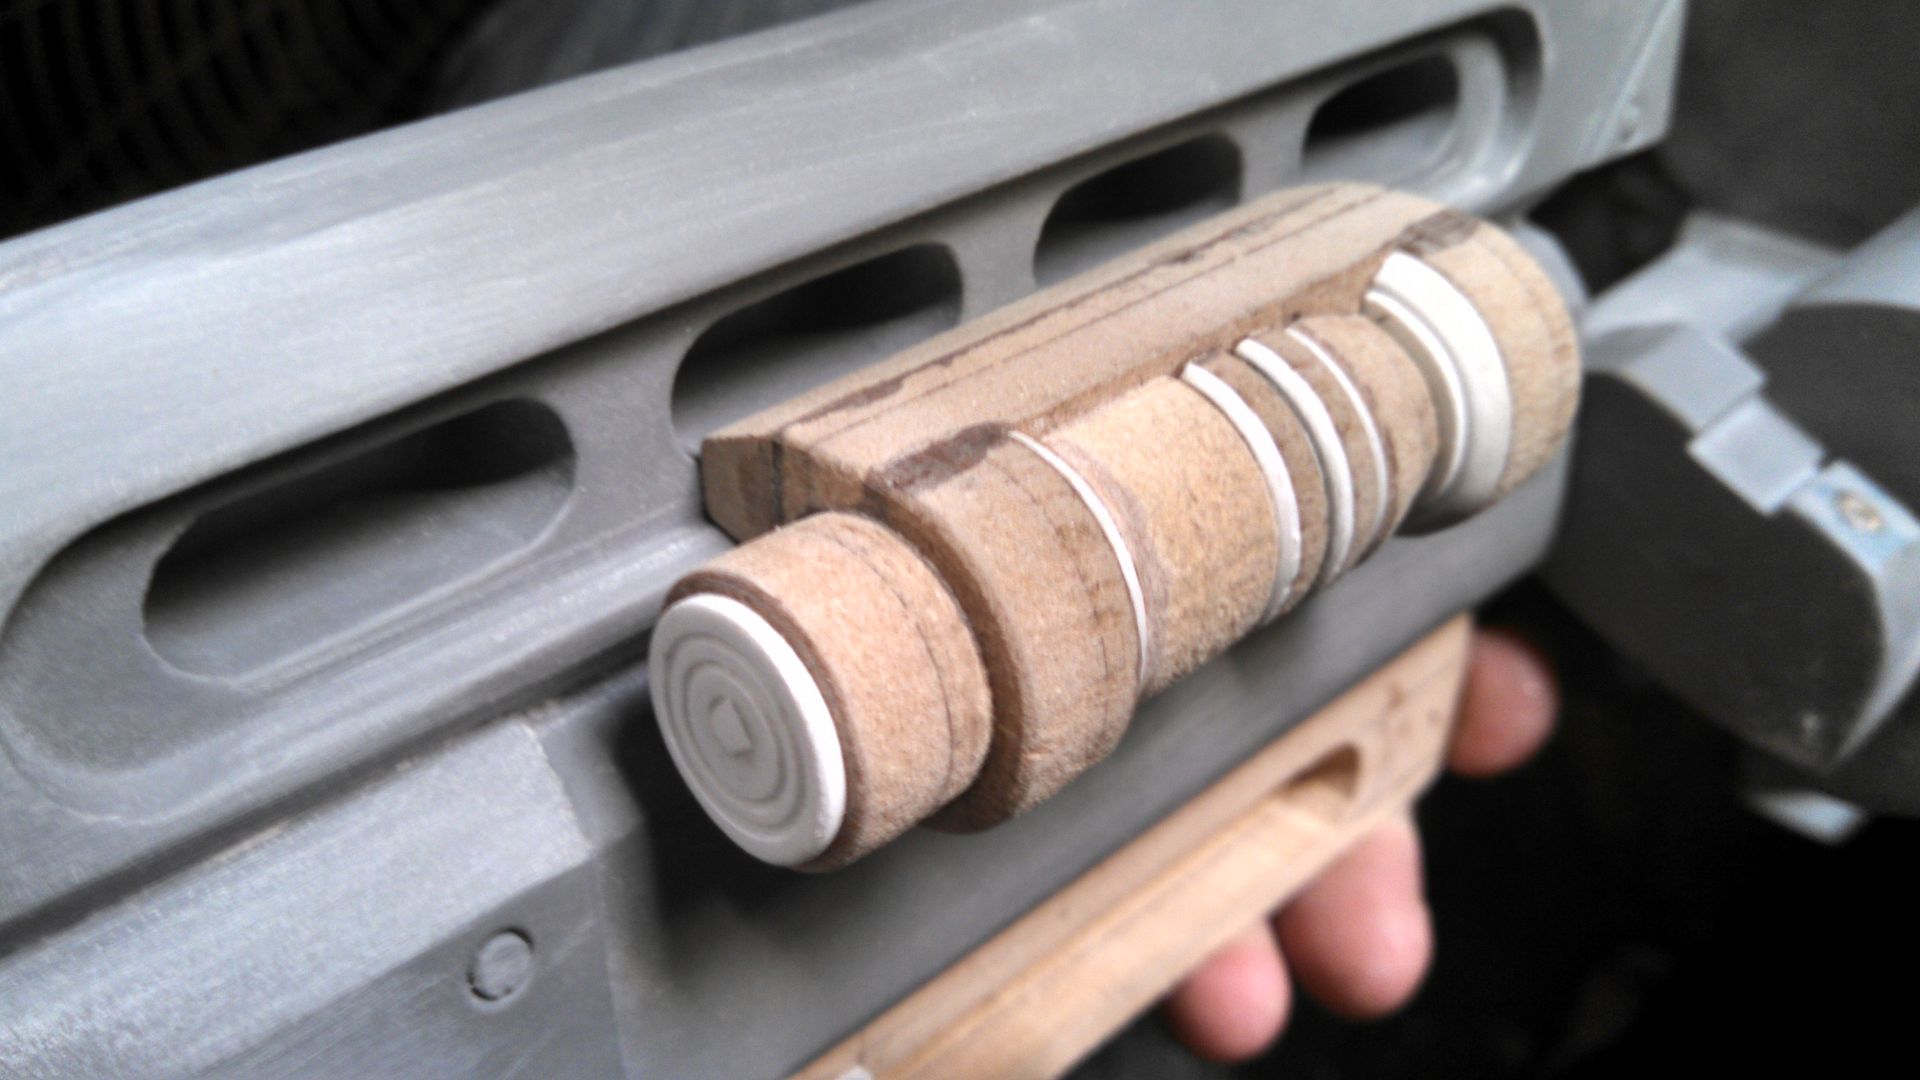
More MDF. I used styrene as a substitute for thinner pieces that couldn't be sourced in MDF. 


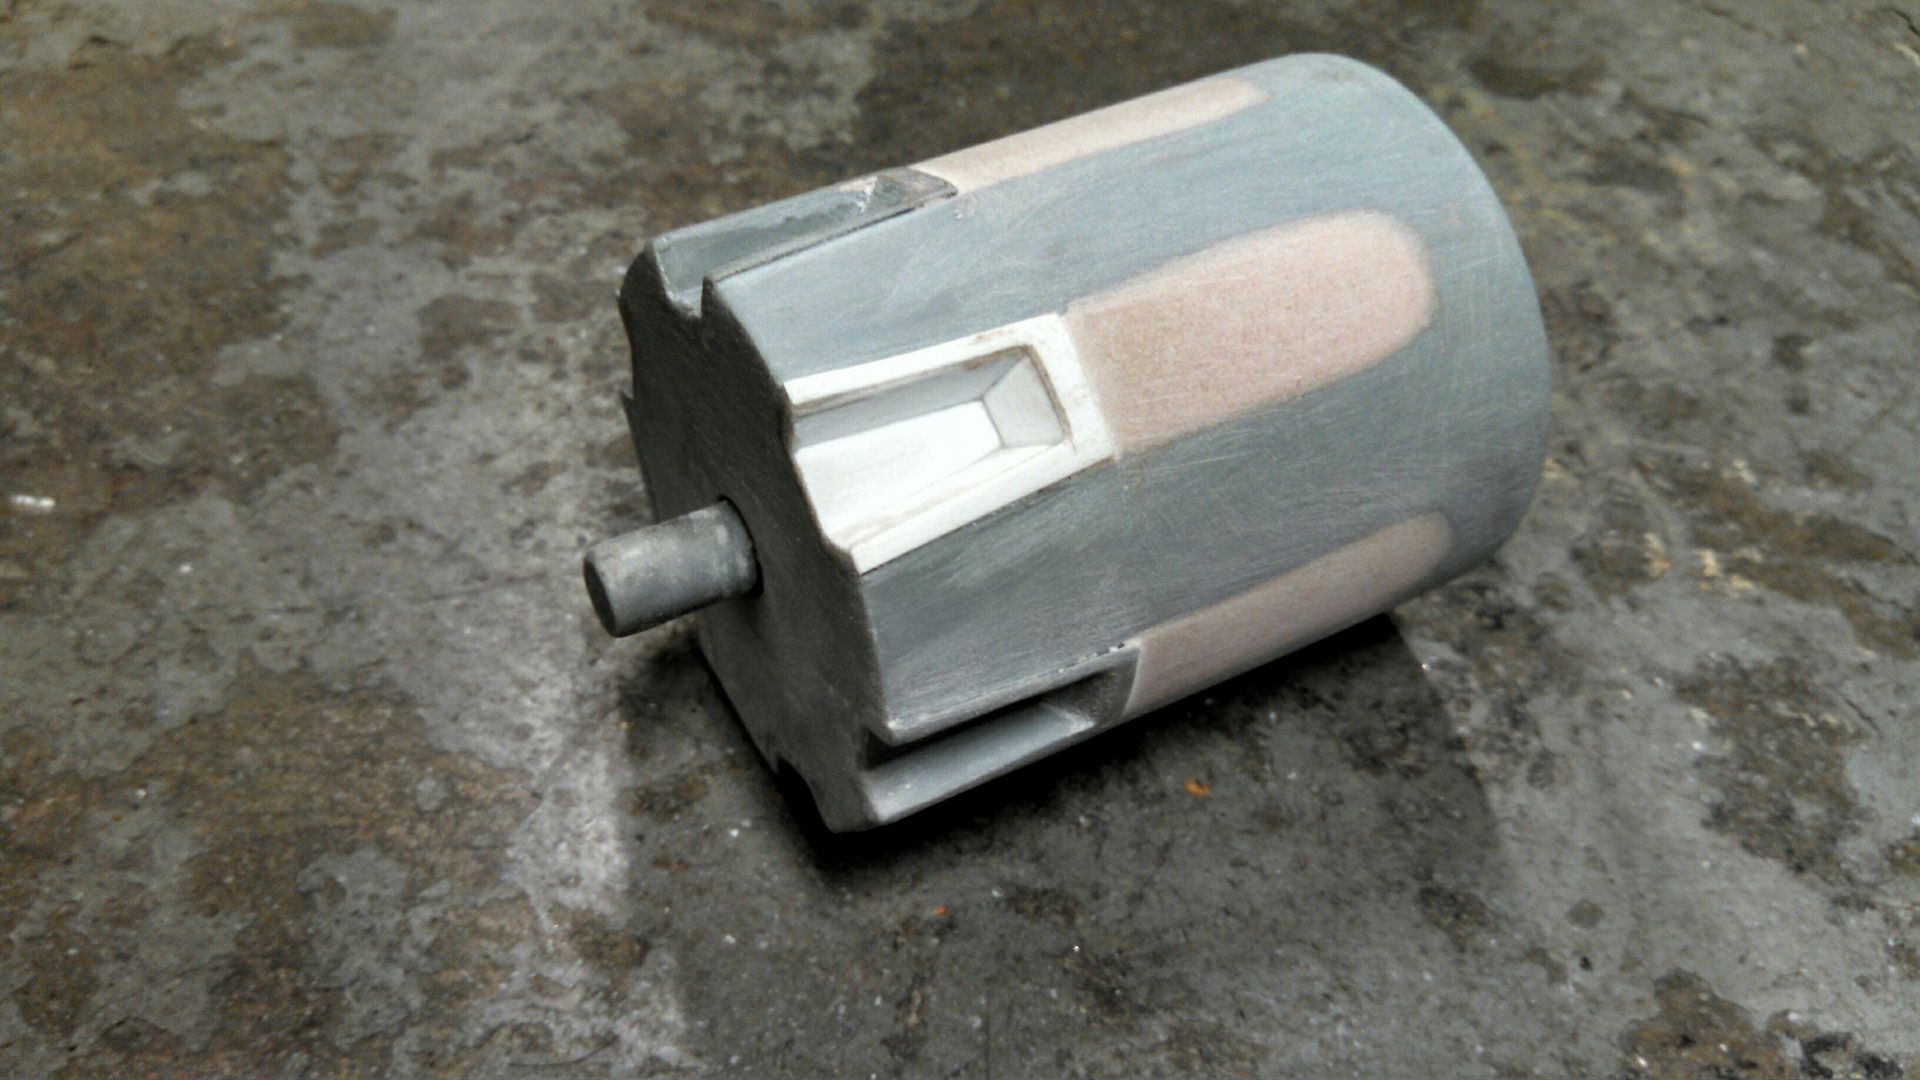
This piece was not turned, each semi-circle was cut out by hand on a scroll saw and glued in perpendicular to the base. 


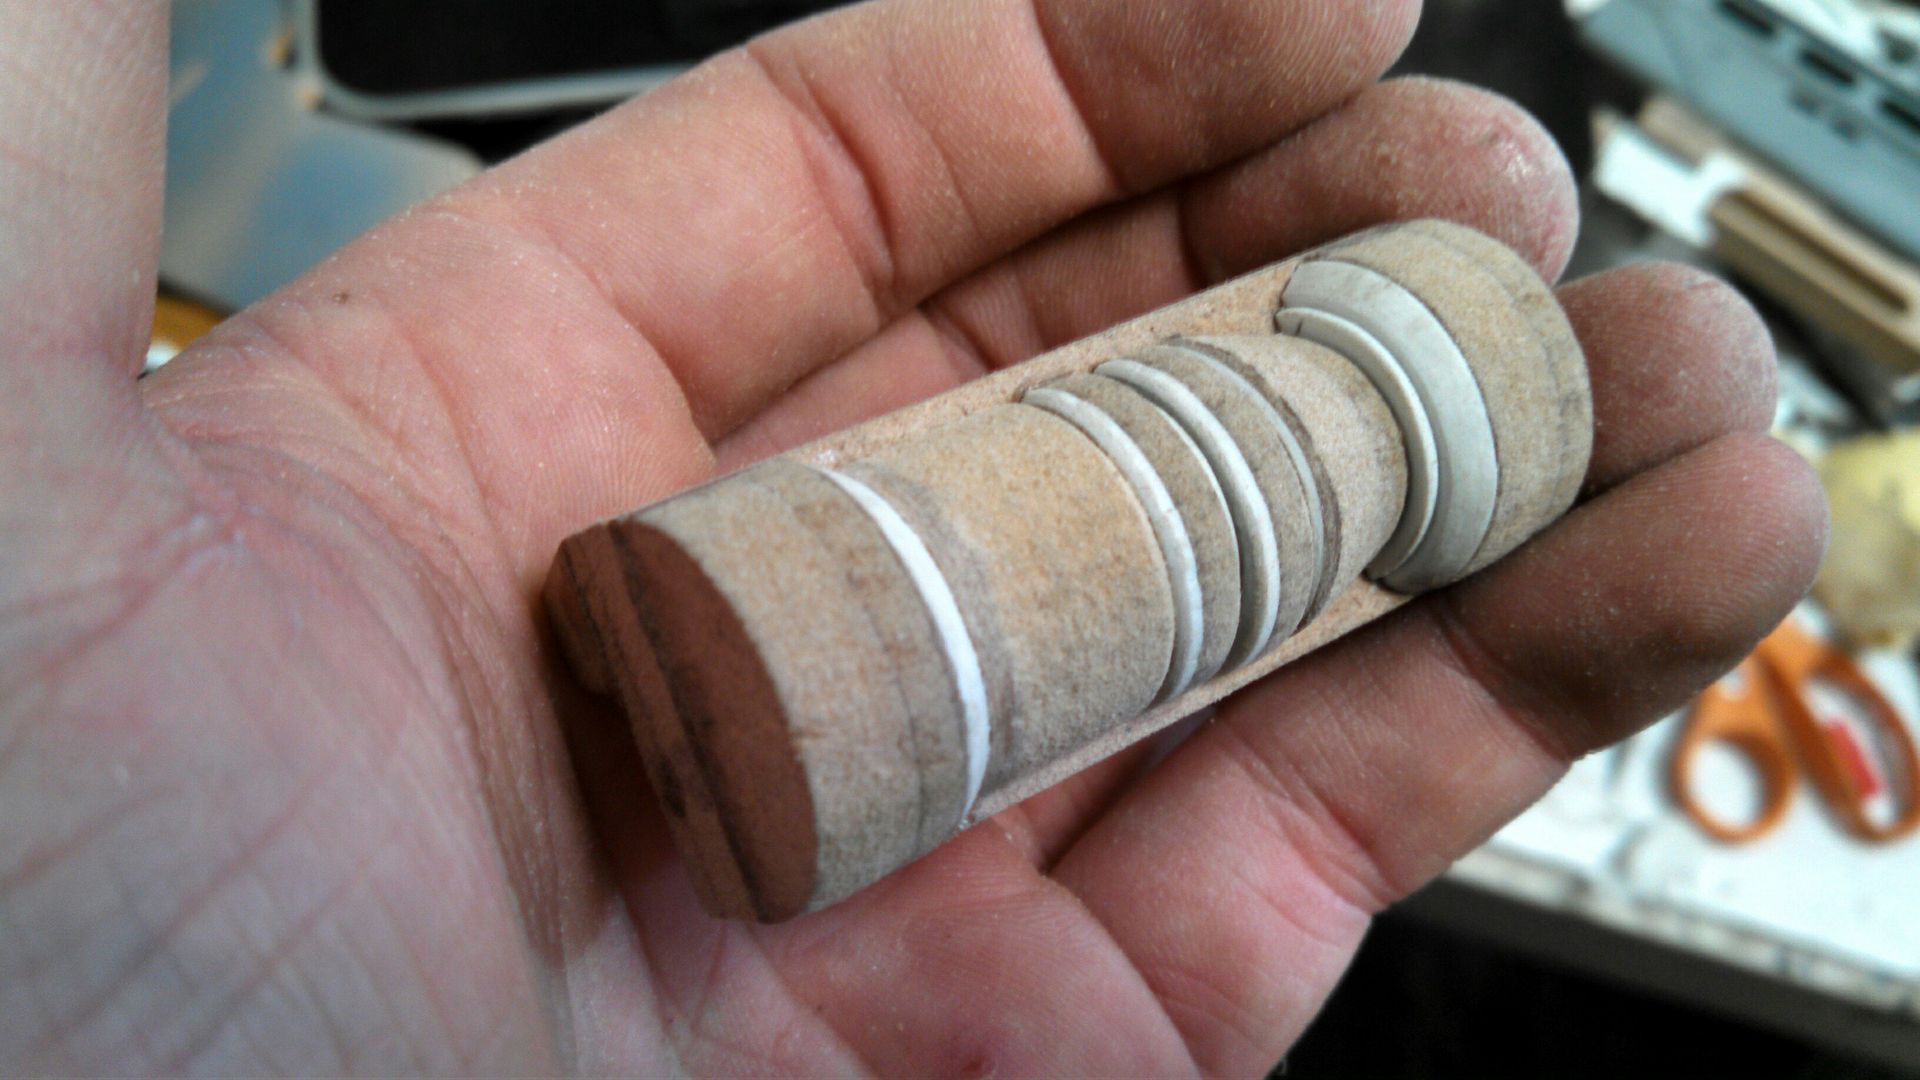
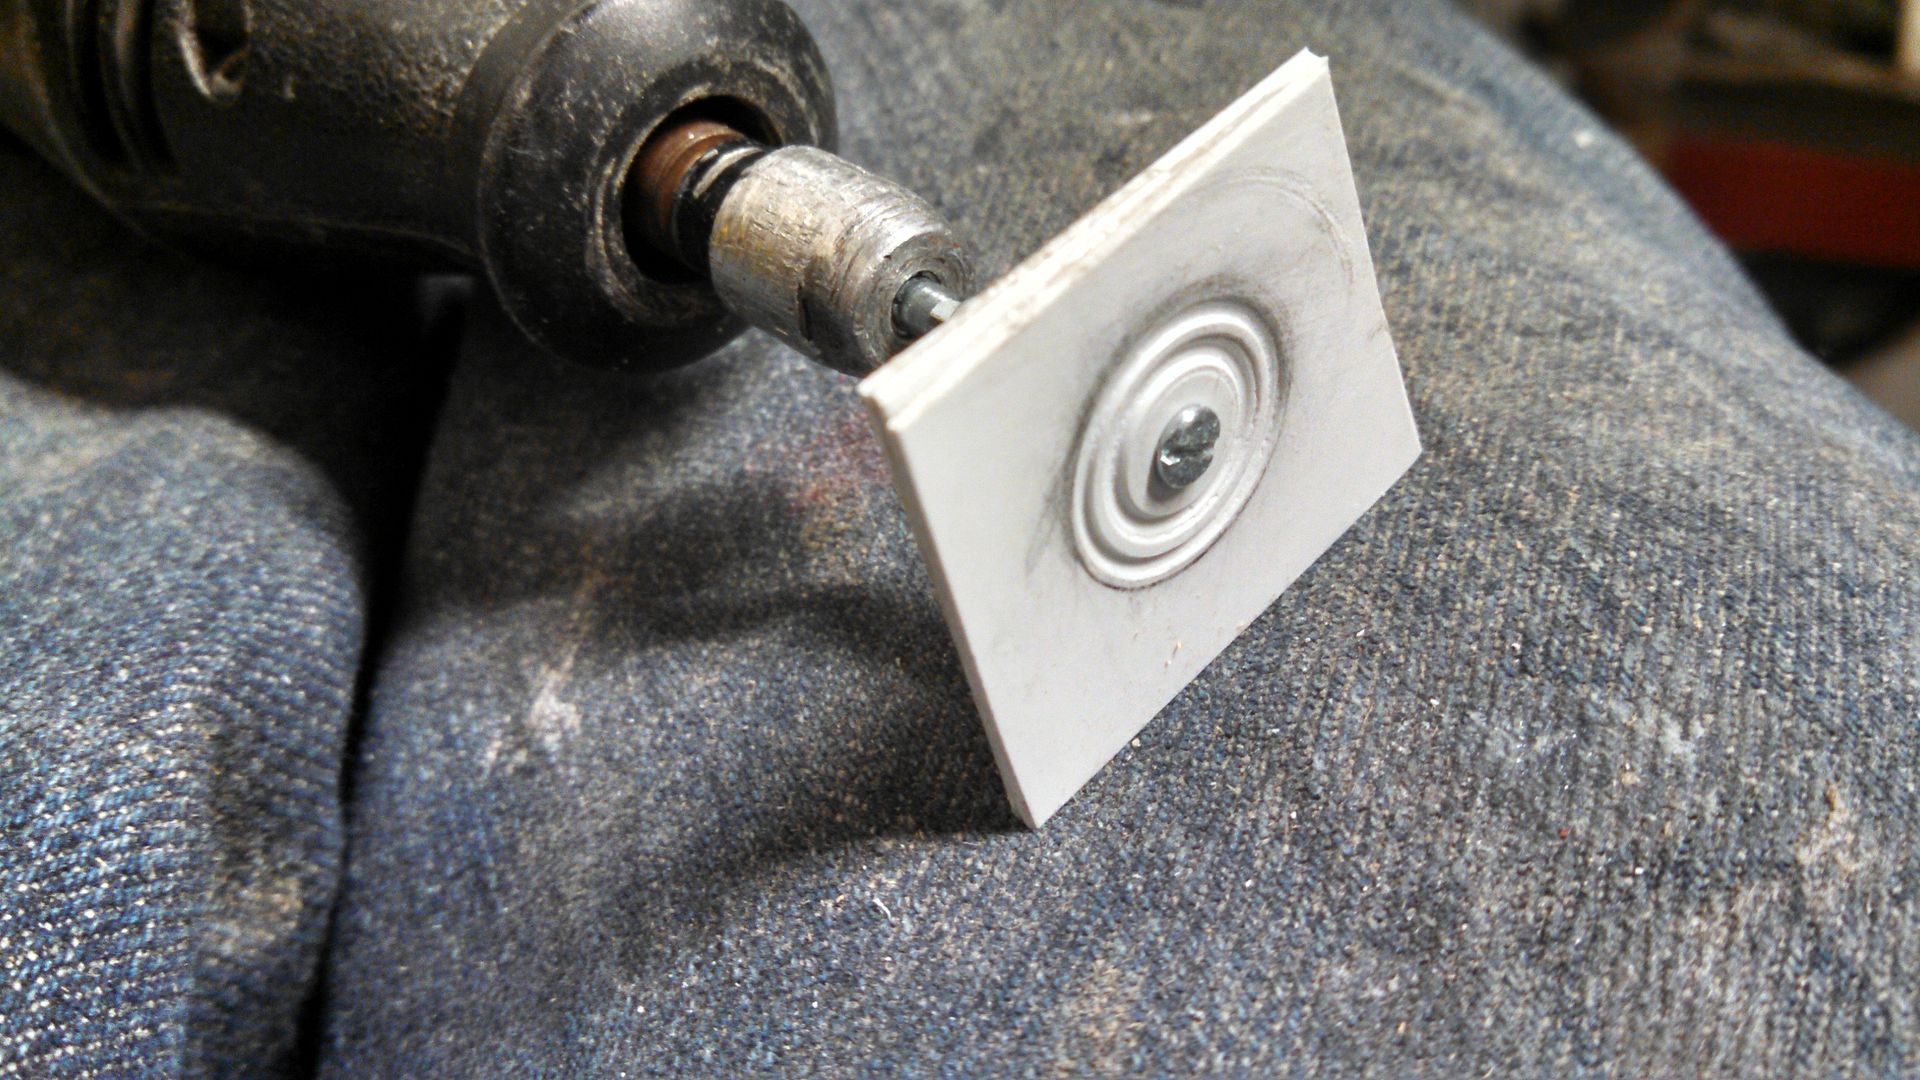
The grooves on the face were made my attaching some pieces of styrene to my dremel and shaping them with an exacto while it spun. 


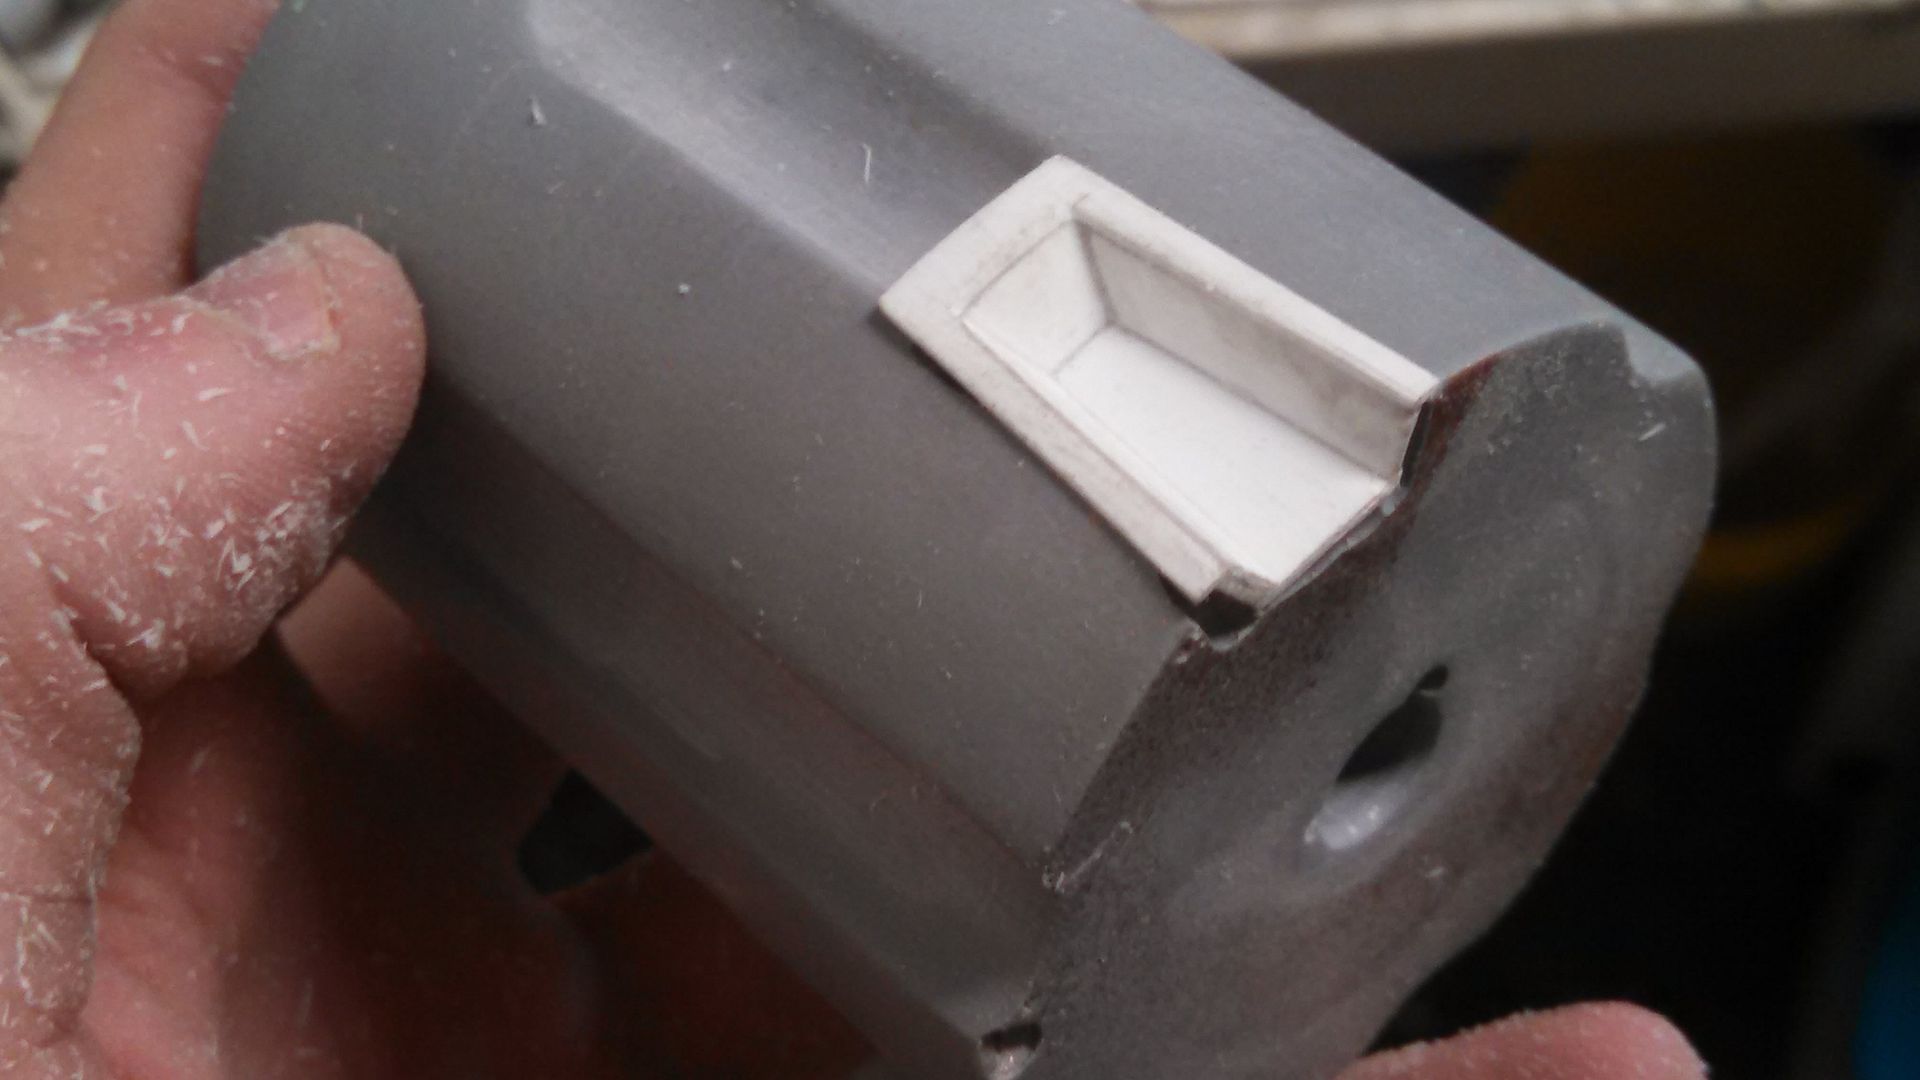
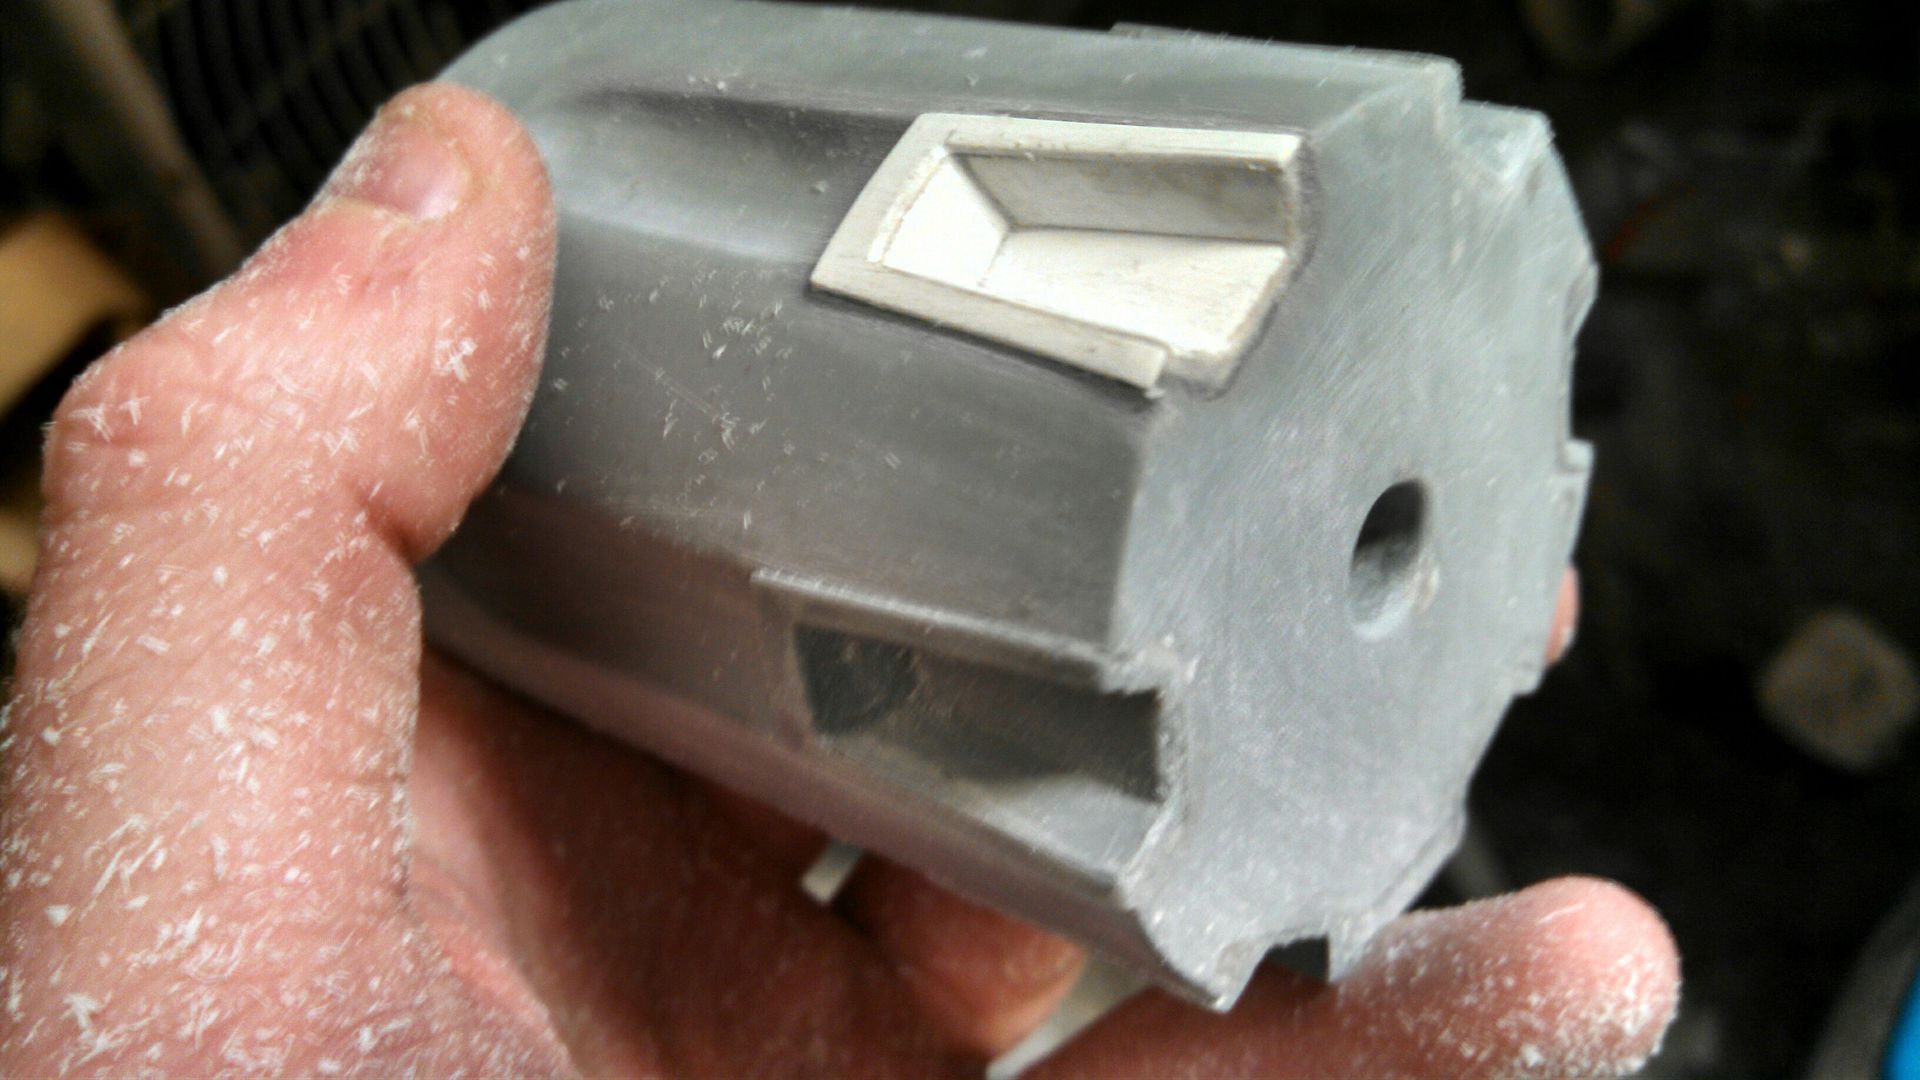
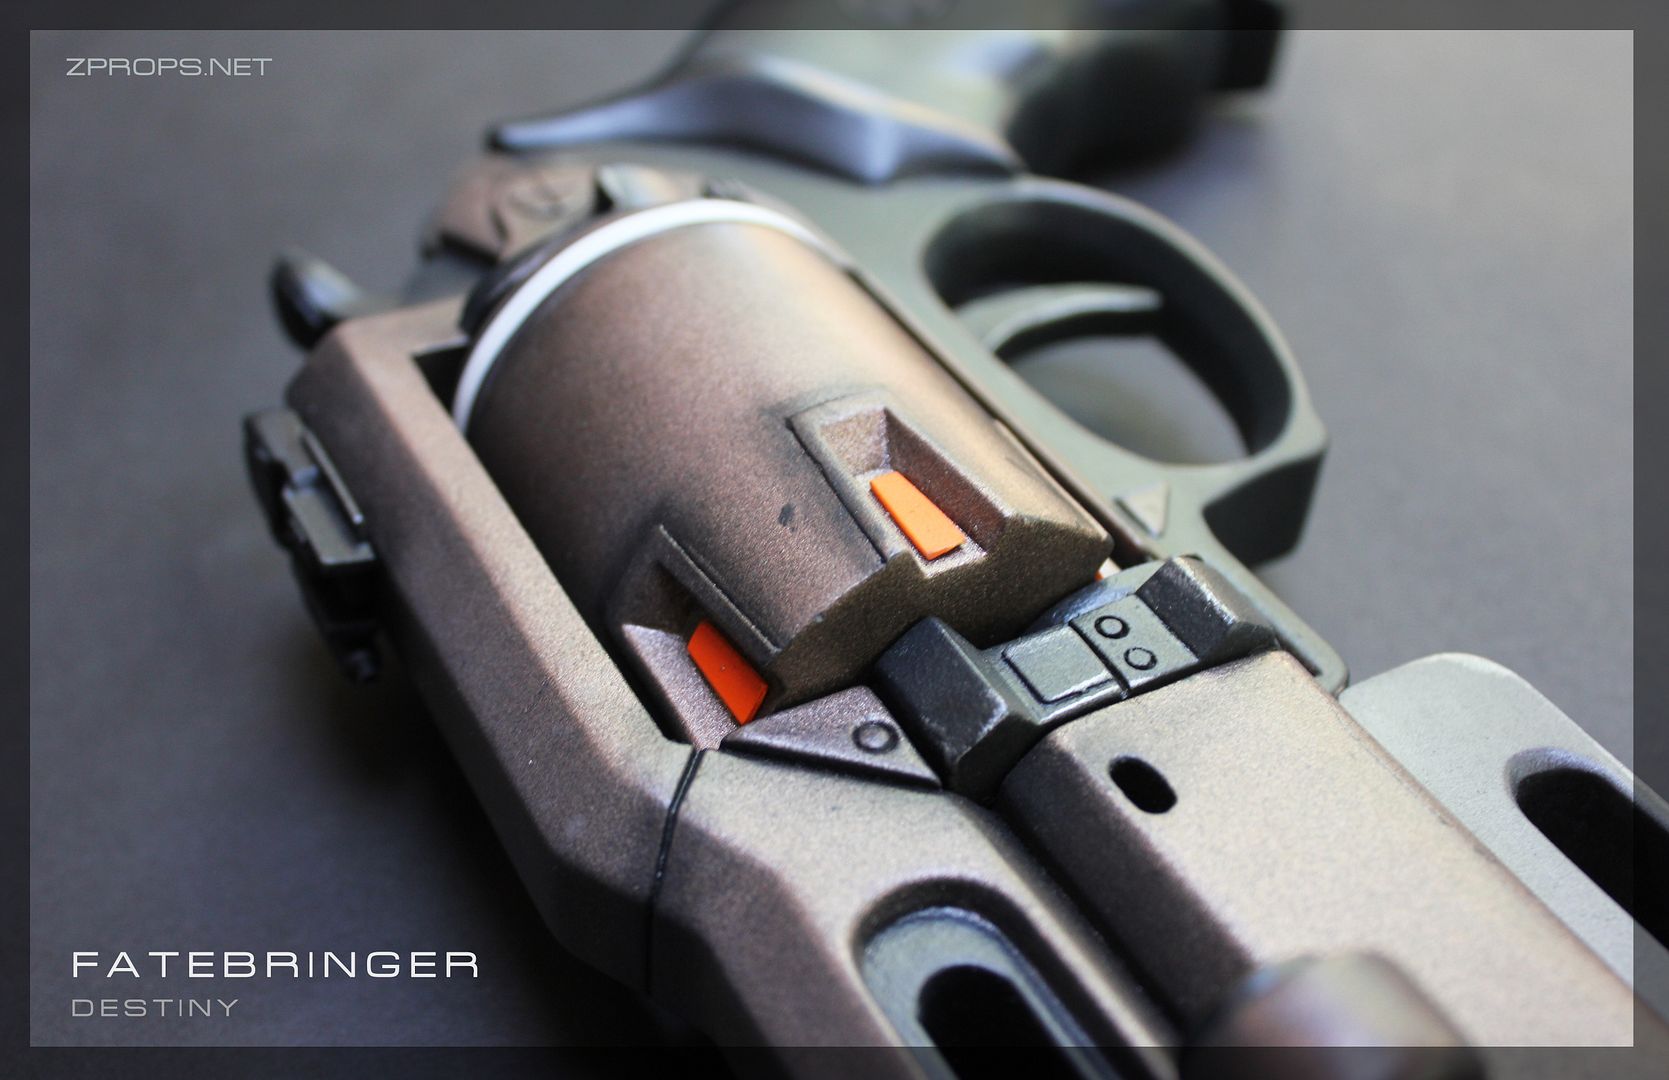
The beveled insert for the cylinder was scratch built out of really thin styrene. I gouged out a recess for it in one of the grooves and did a test fit. Happy with the look, I made a simple open faced mold and cast 5 copies. 


With the 5 casts and the master, I dremeled out the cylinder and installed all of them,


I filled the grooves with bondo and scraped off the excess with a piece of styrene that matched the inverted profile of the cylinder edge. 


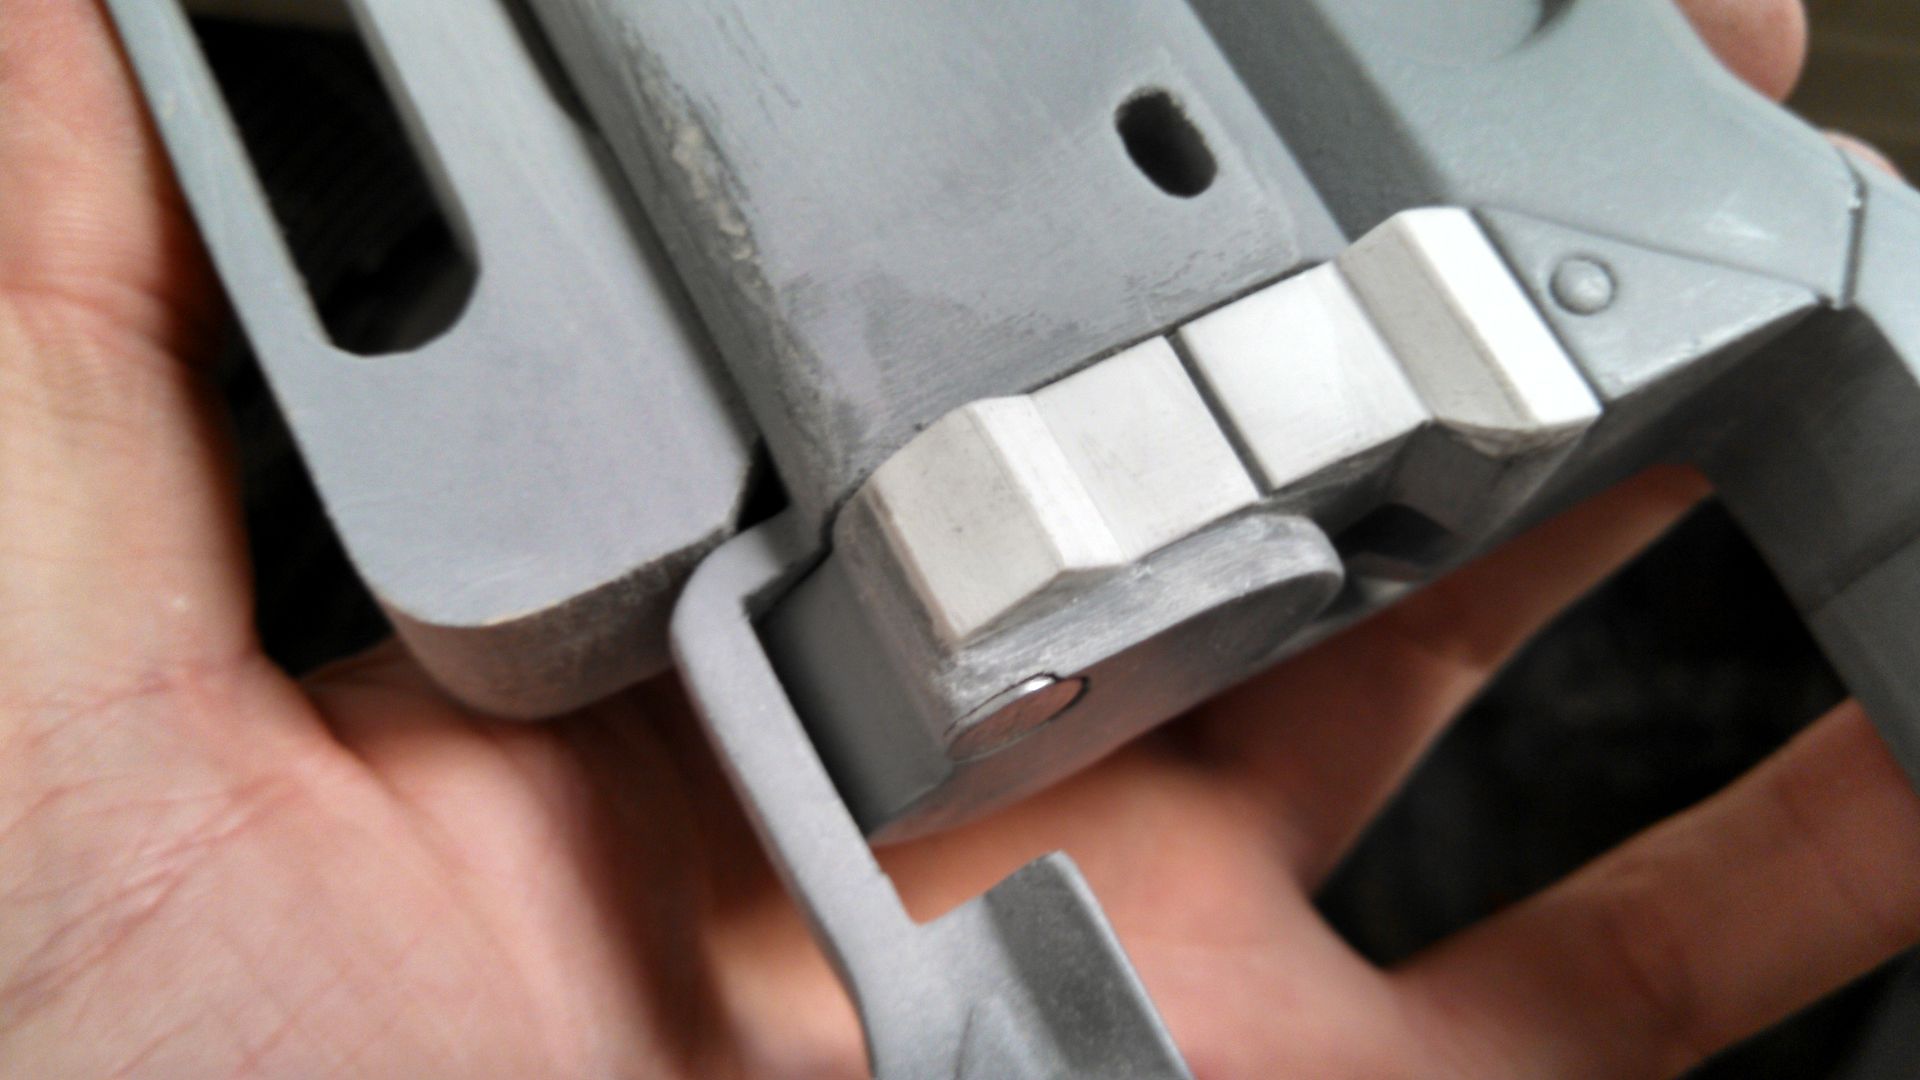
Since the swing arm was already installed on this cast, I had to go back with styrene to make the angular look on top of the old one. I went back and added/drilled out details later. 


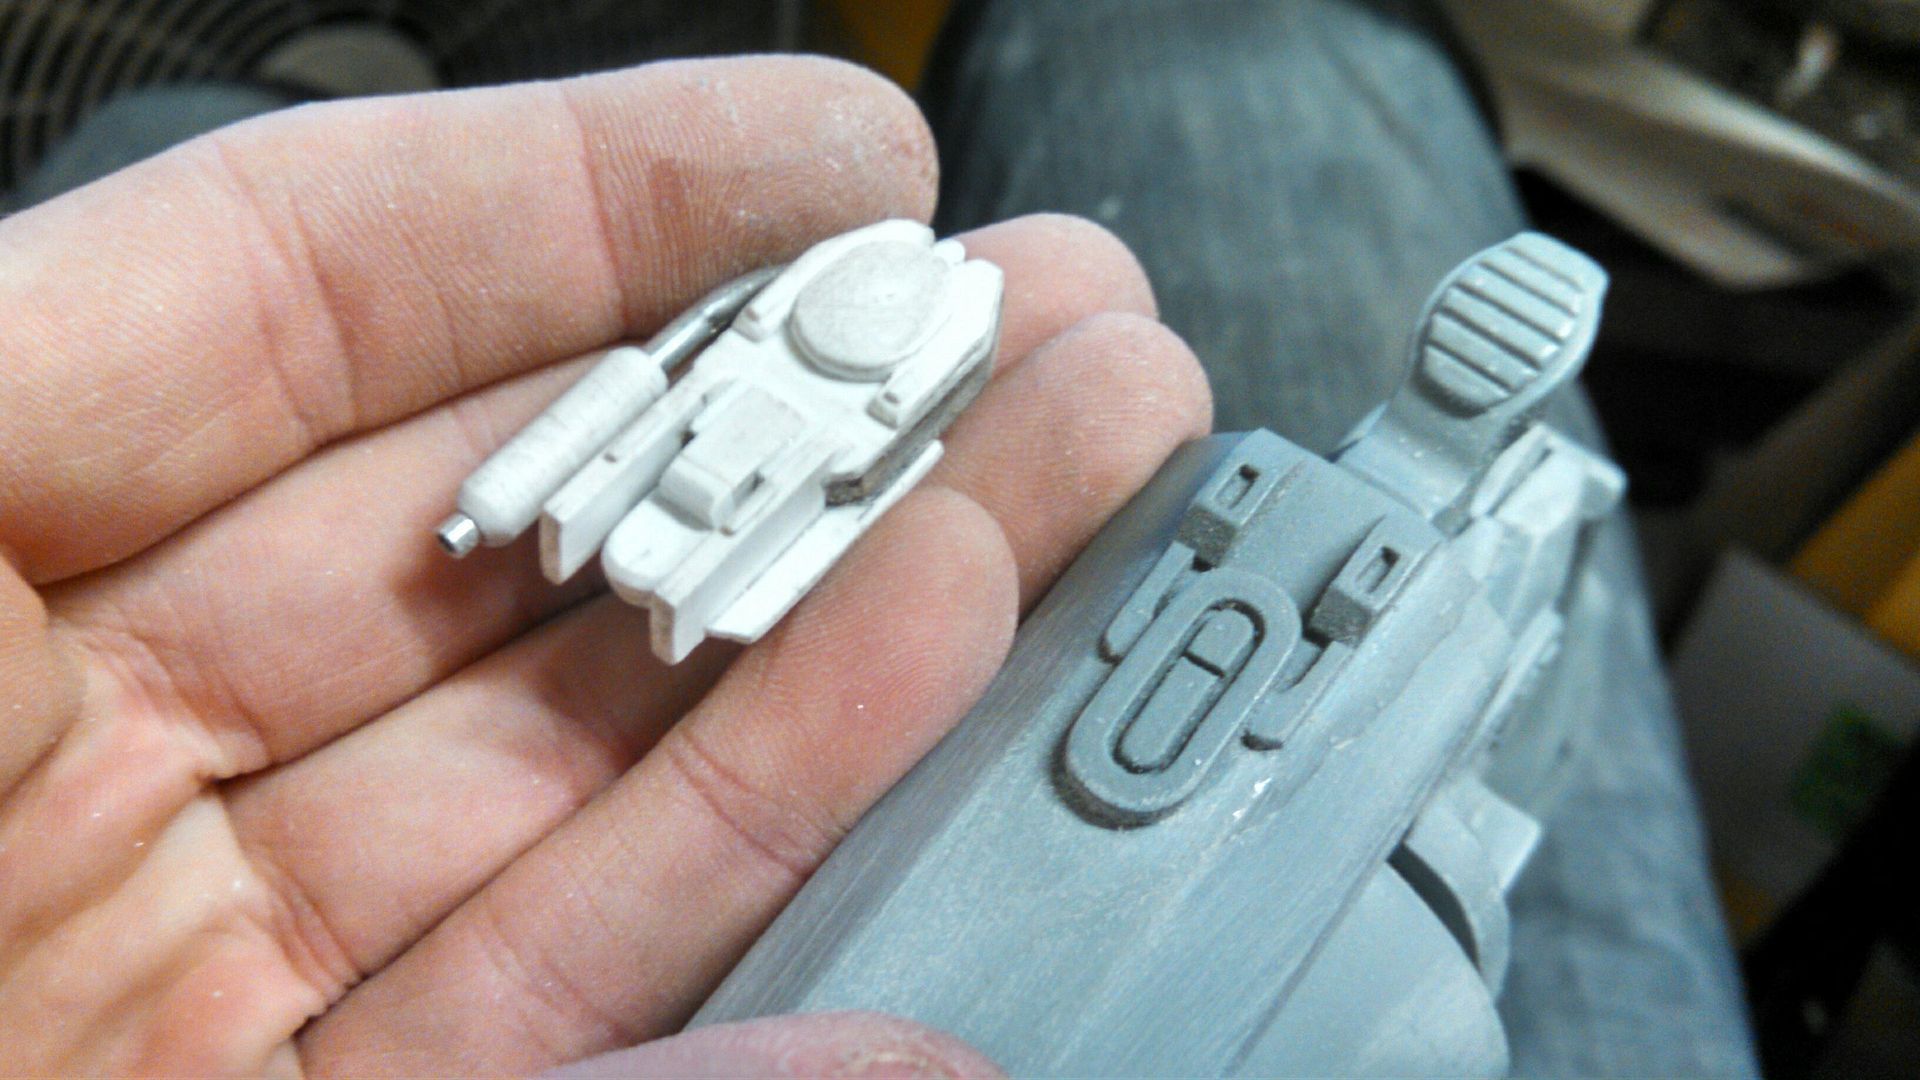
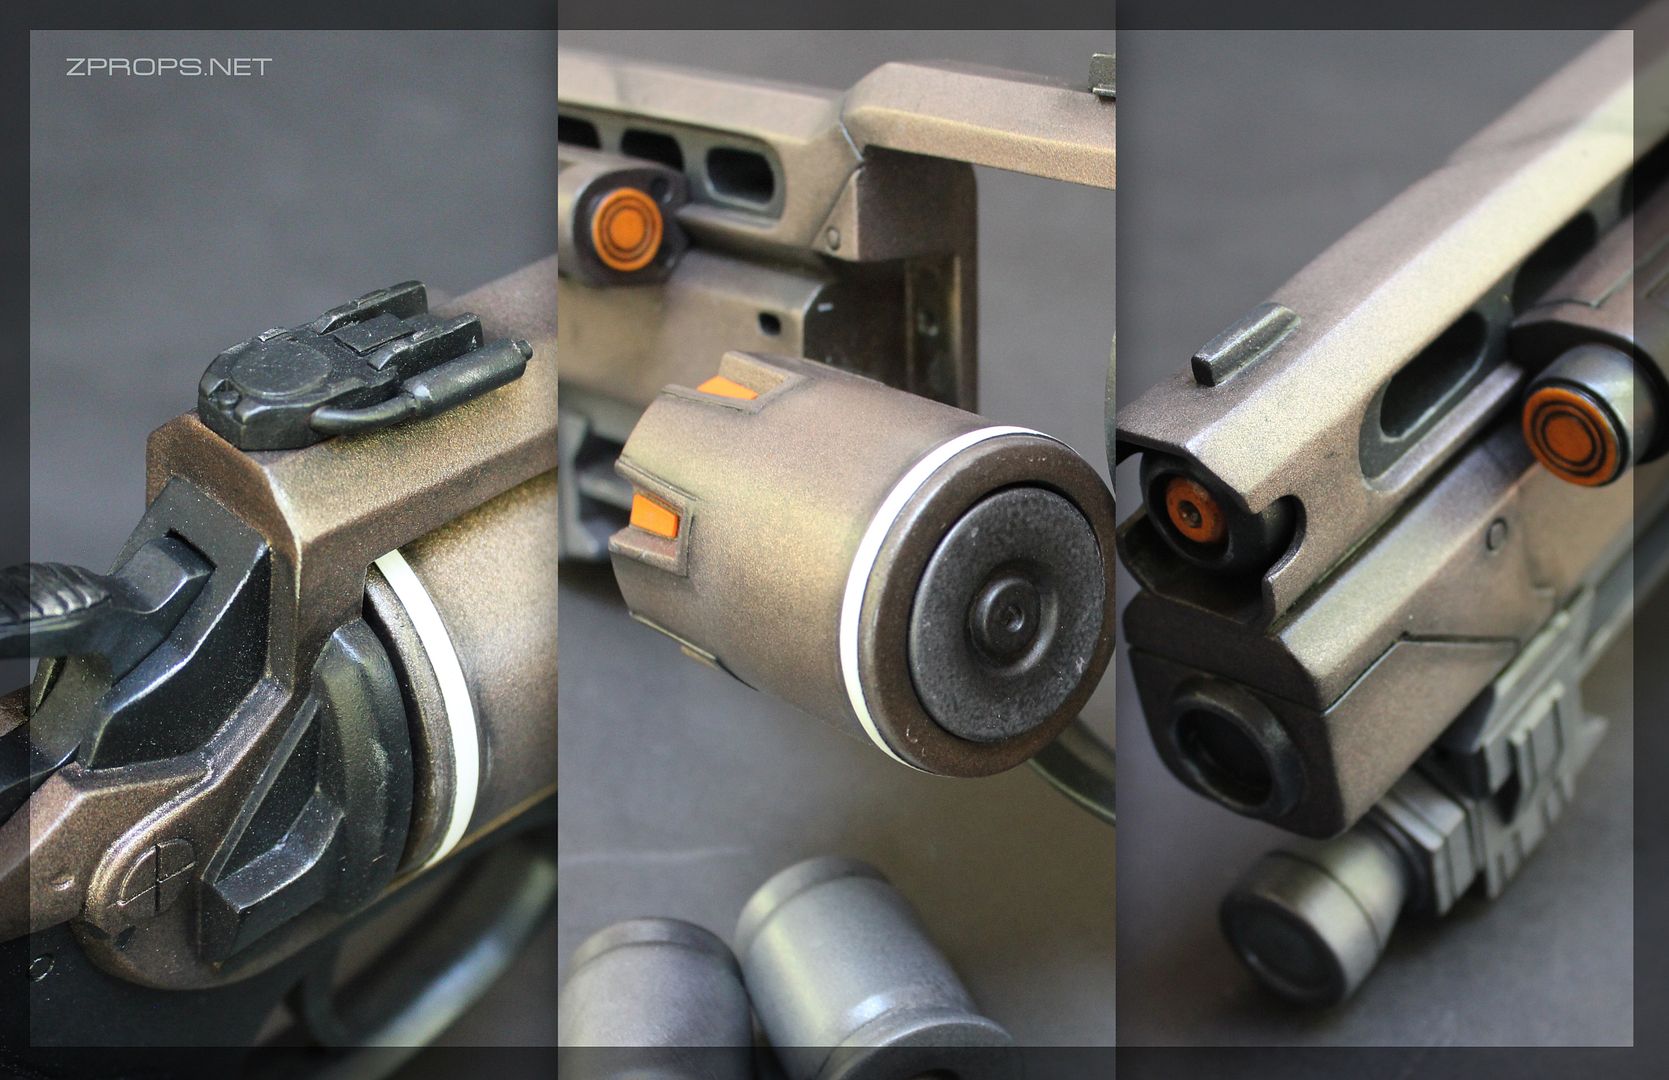
The rear sight was just...kinda...made.. I didn't really document this part that is about the size of a fingertip. The little tube on the left is aluminum that I bent and embedded in the body of the sight out of fear of it breaking off easily. The original grey sight on the right was completely dremeled off of the cast. 


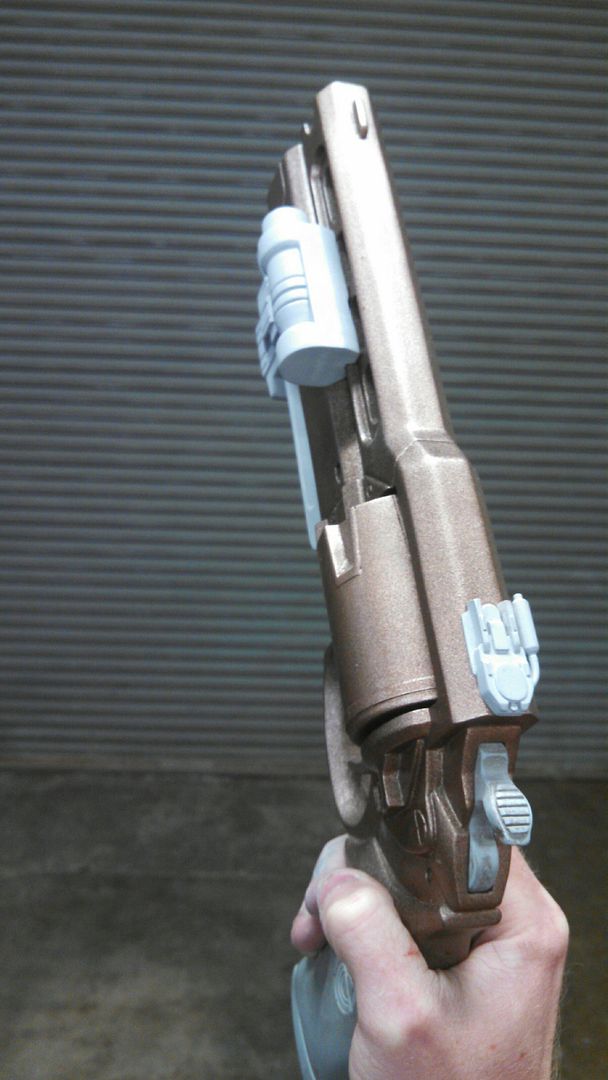
I did a test fit on the cast body which was painted by carefully dusting "aged copper" over a "metallic walnut (Or chestnut? I cant remember) base. 


And some careful painting/distressing ends up with this:


Boom. Headshot.

Interested in a resin kit of this prop? you can grab one here. 

Daily WIP photos on Facebook.