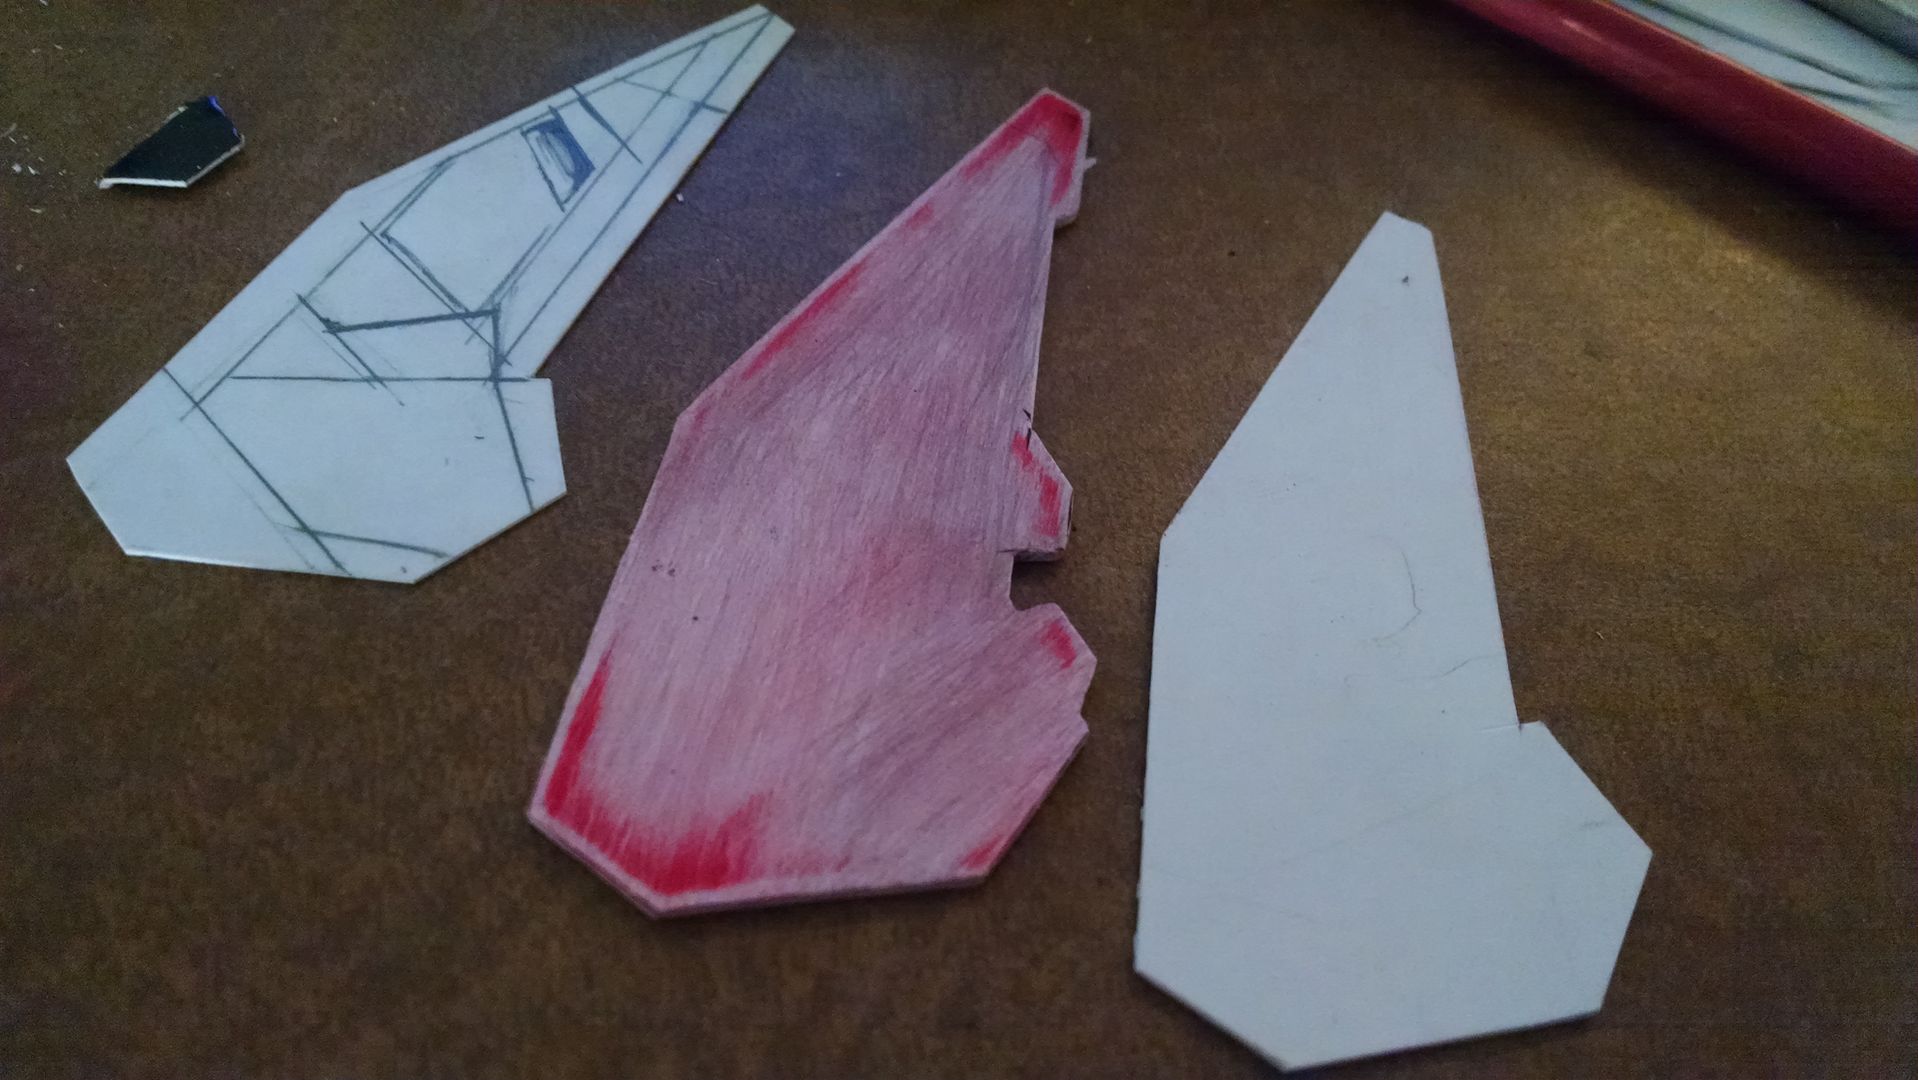
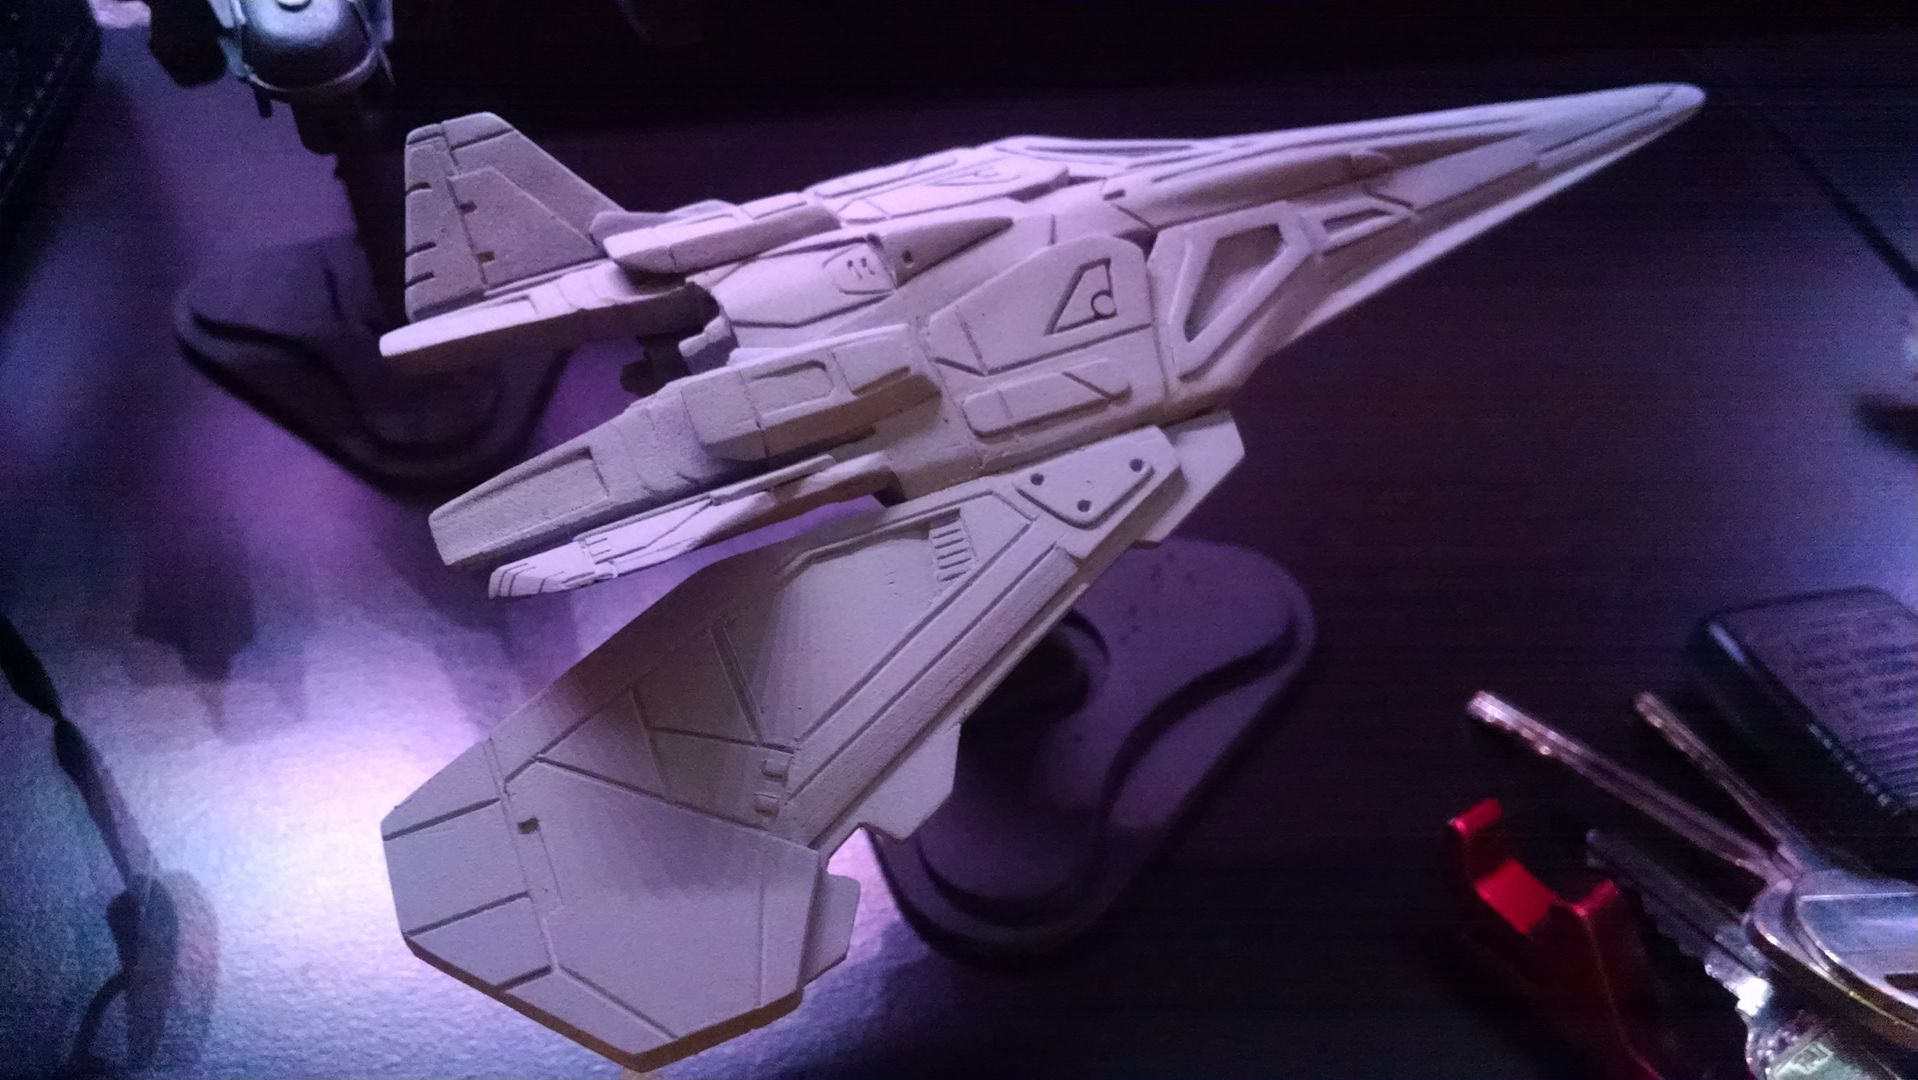
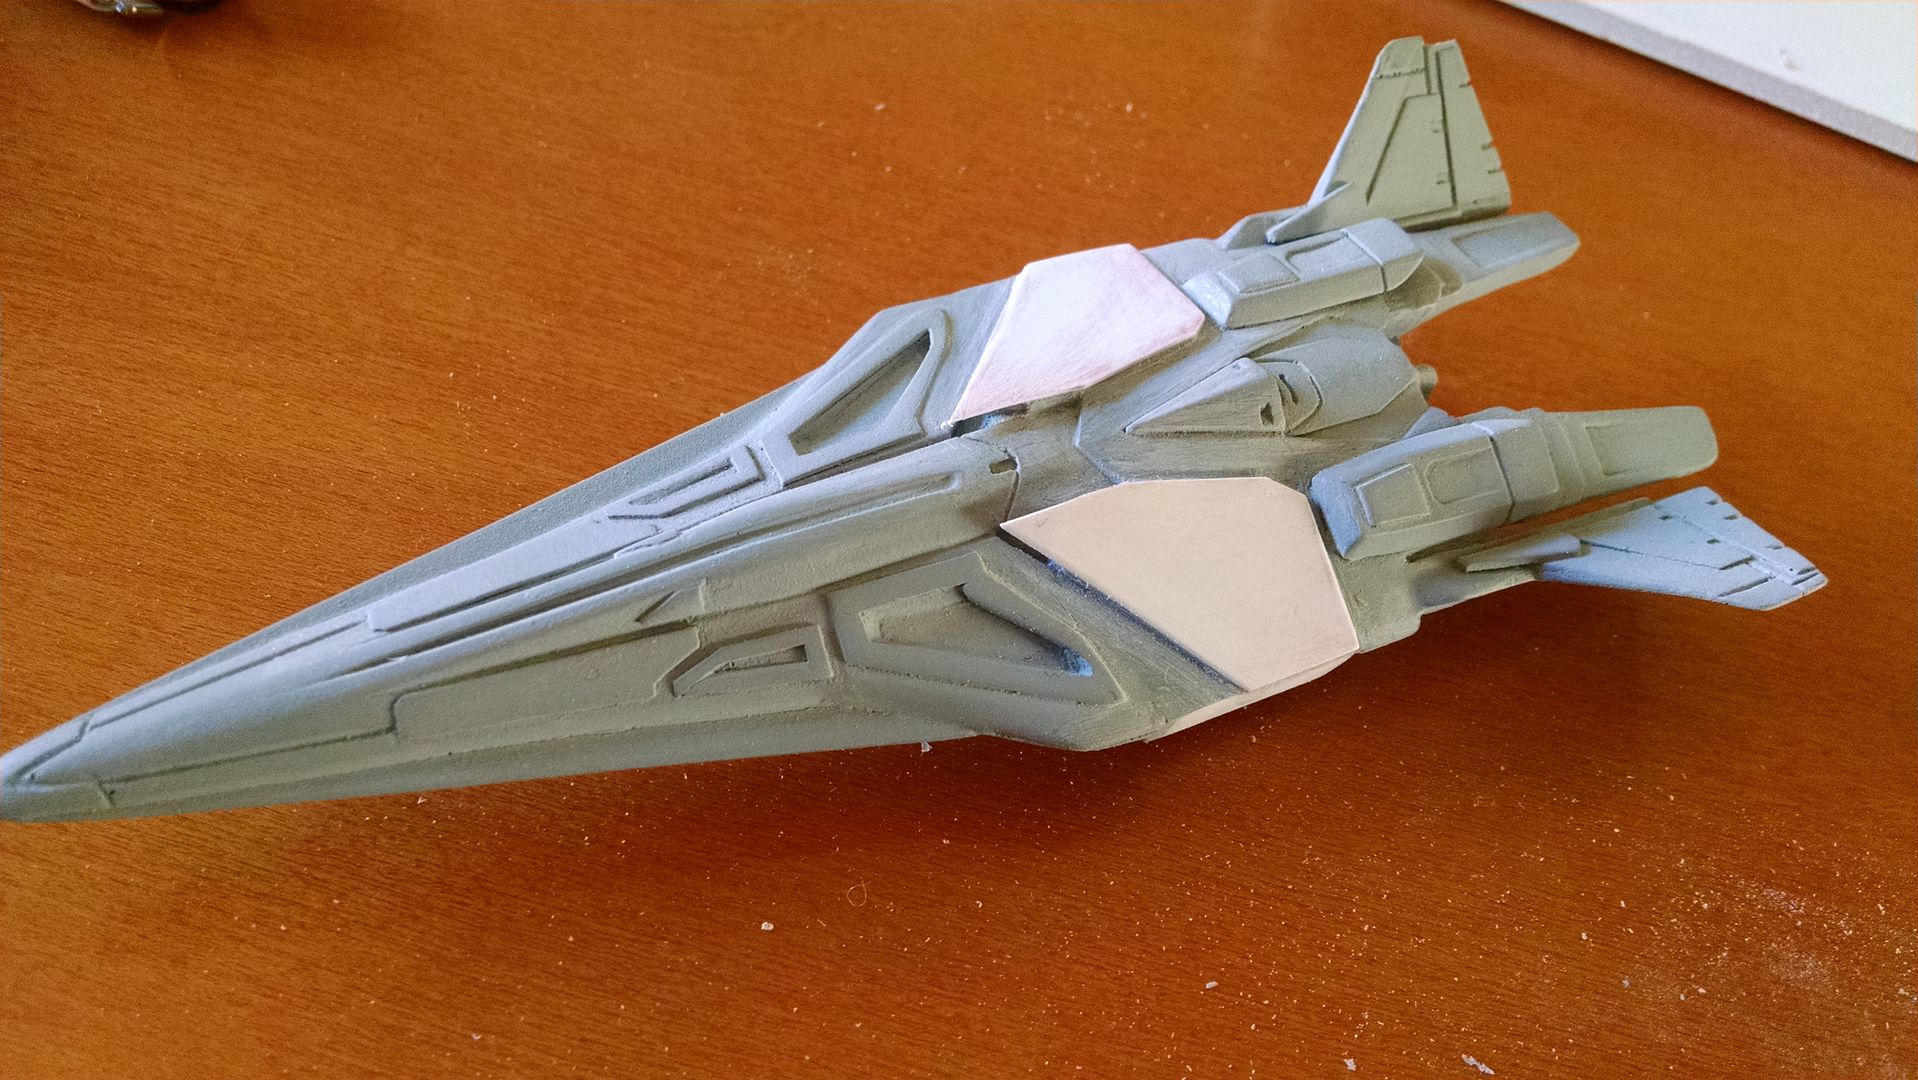
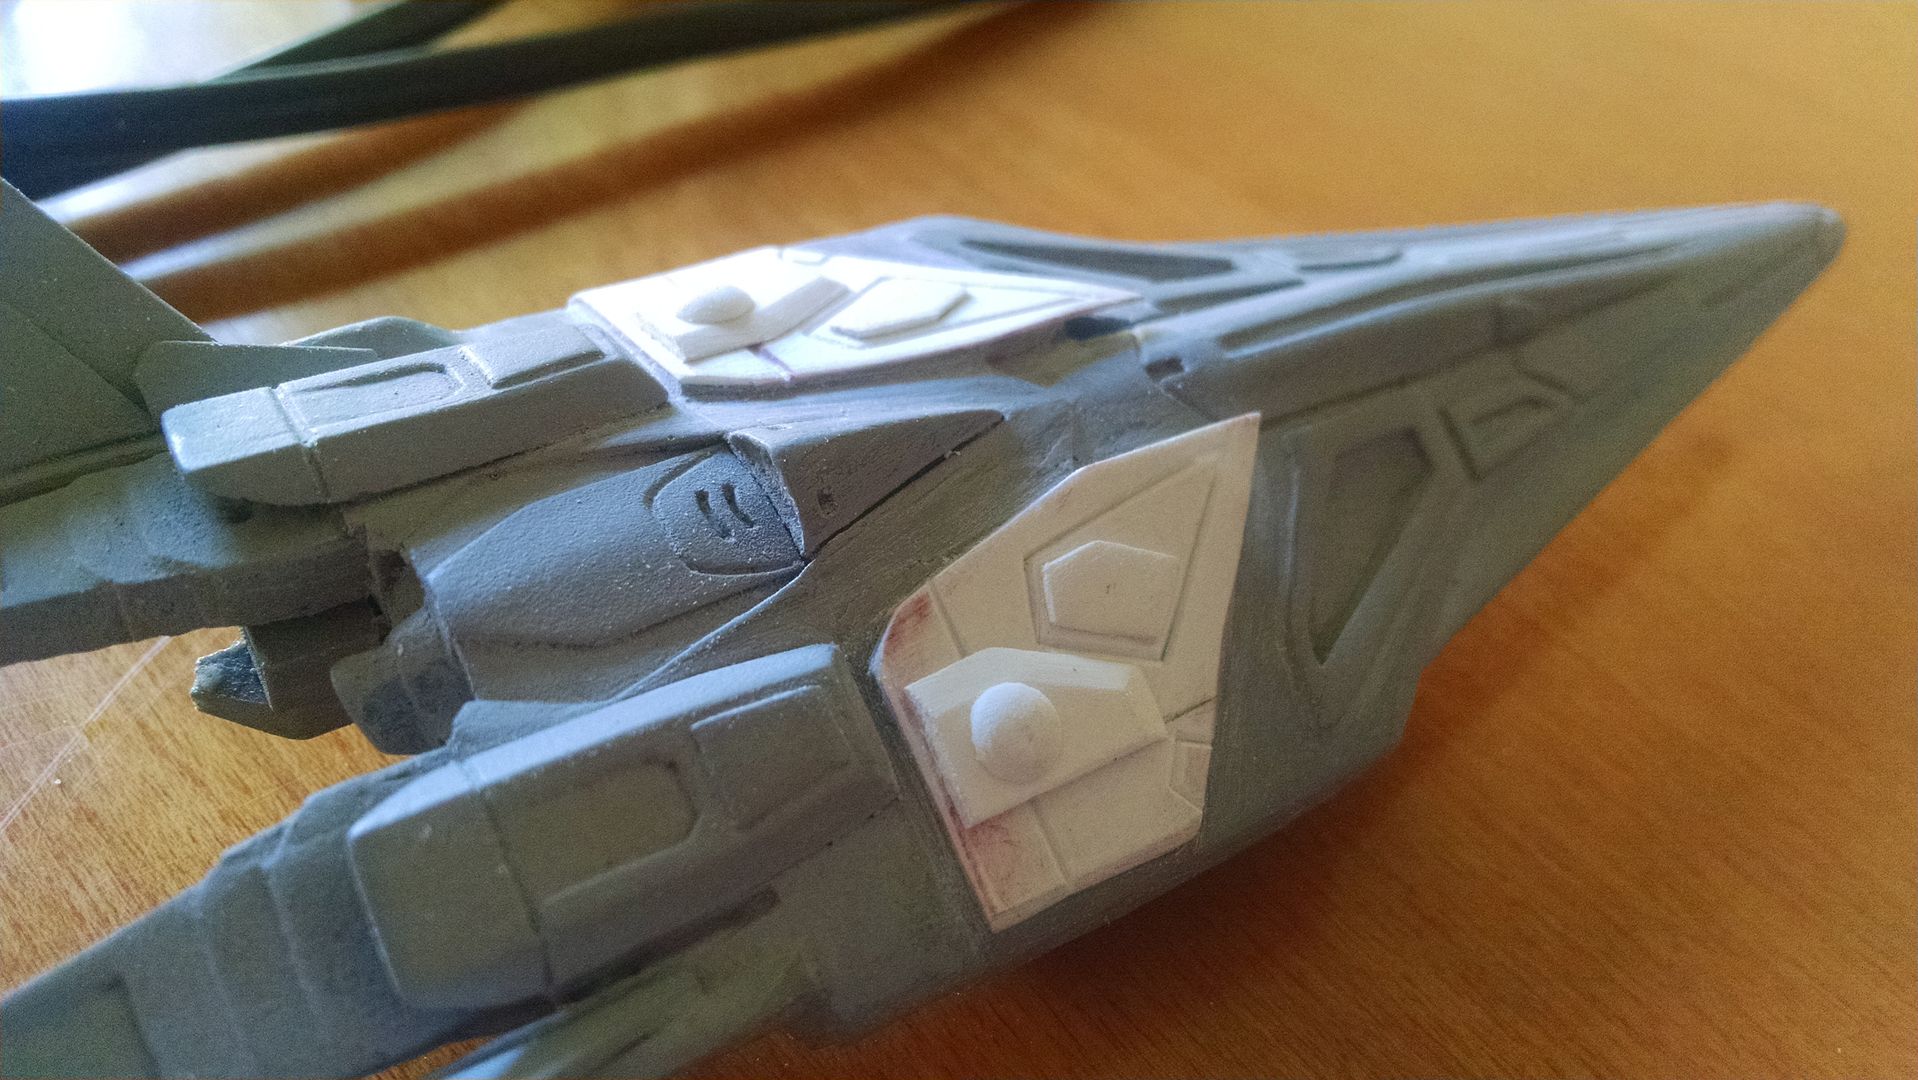
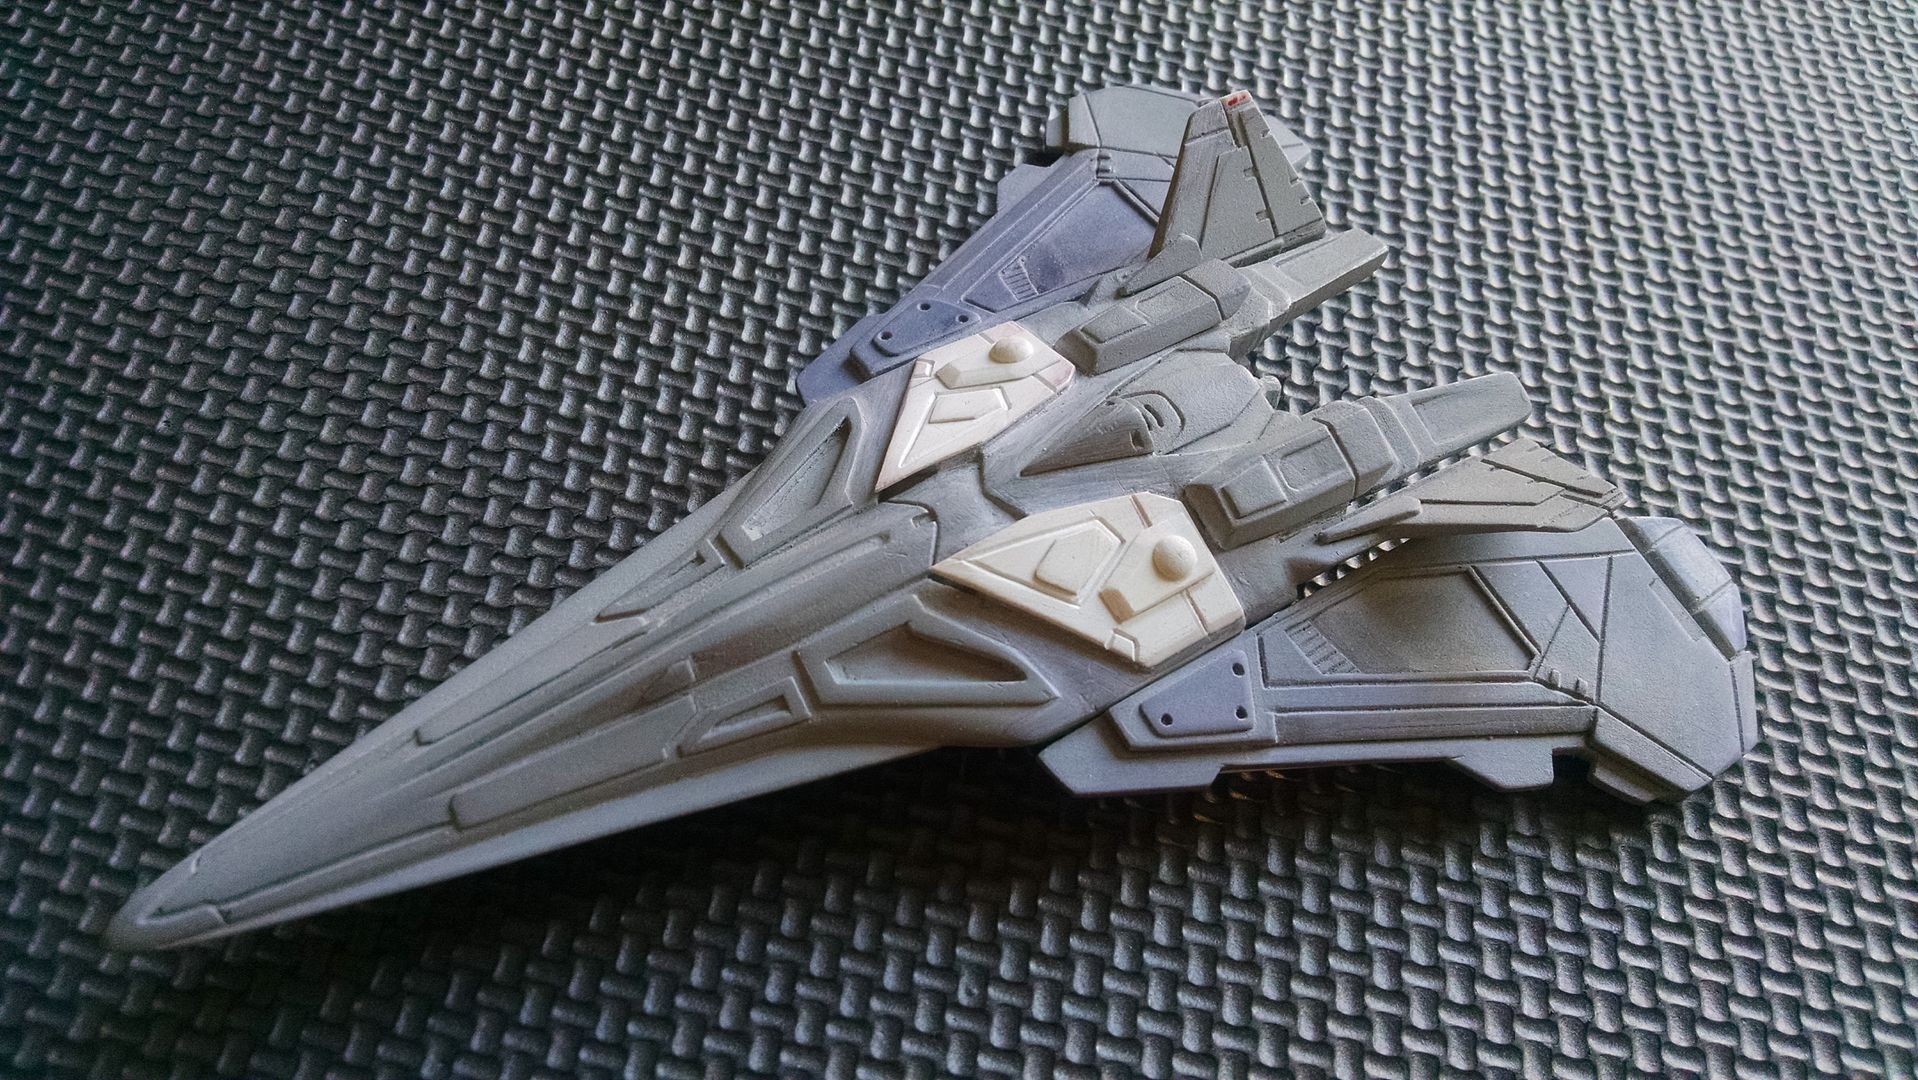
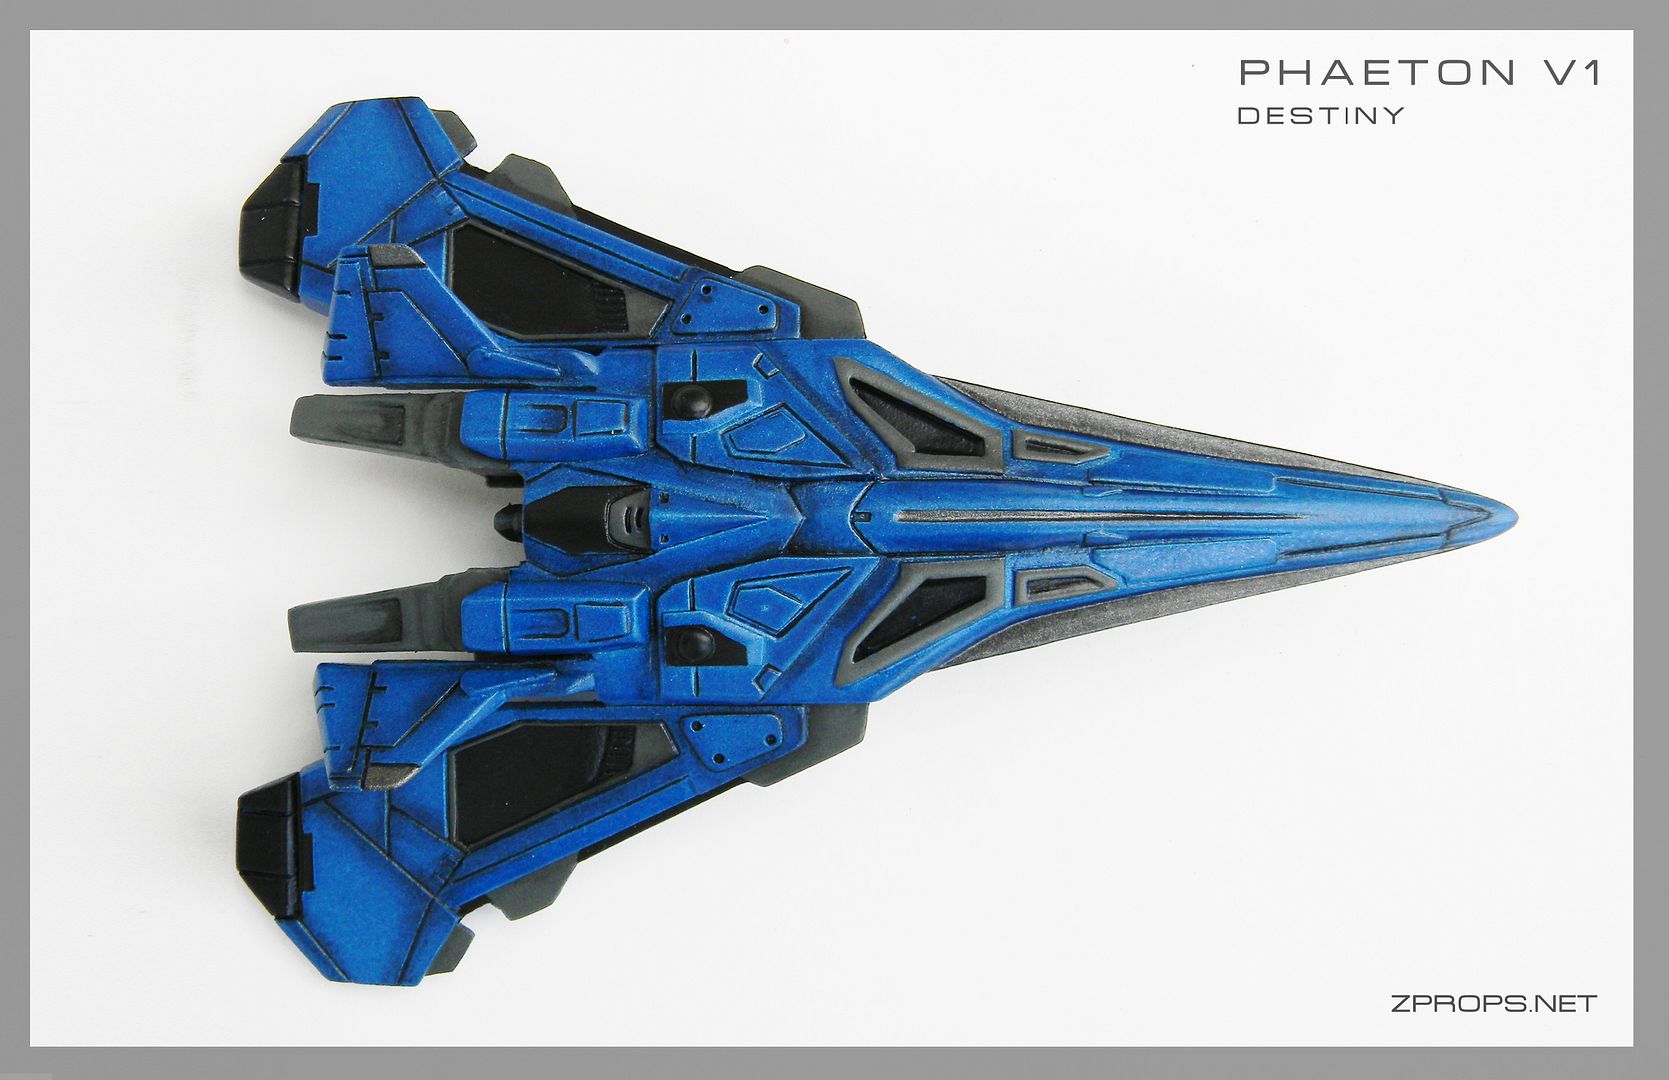
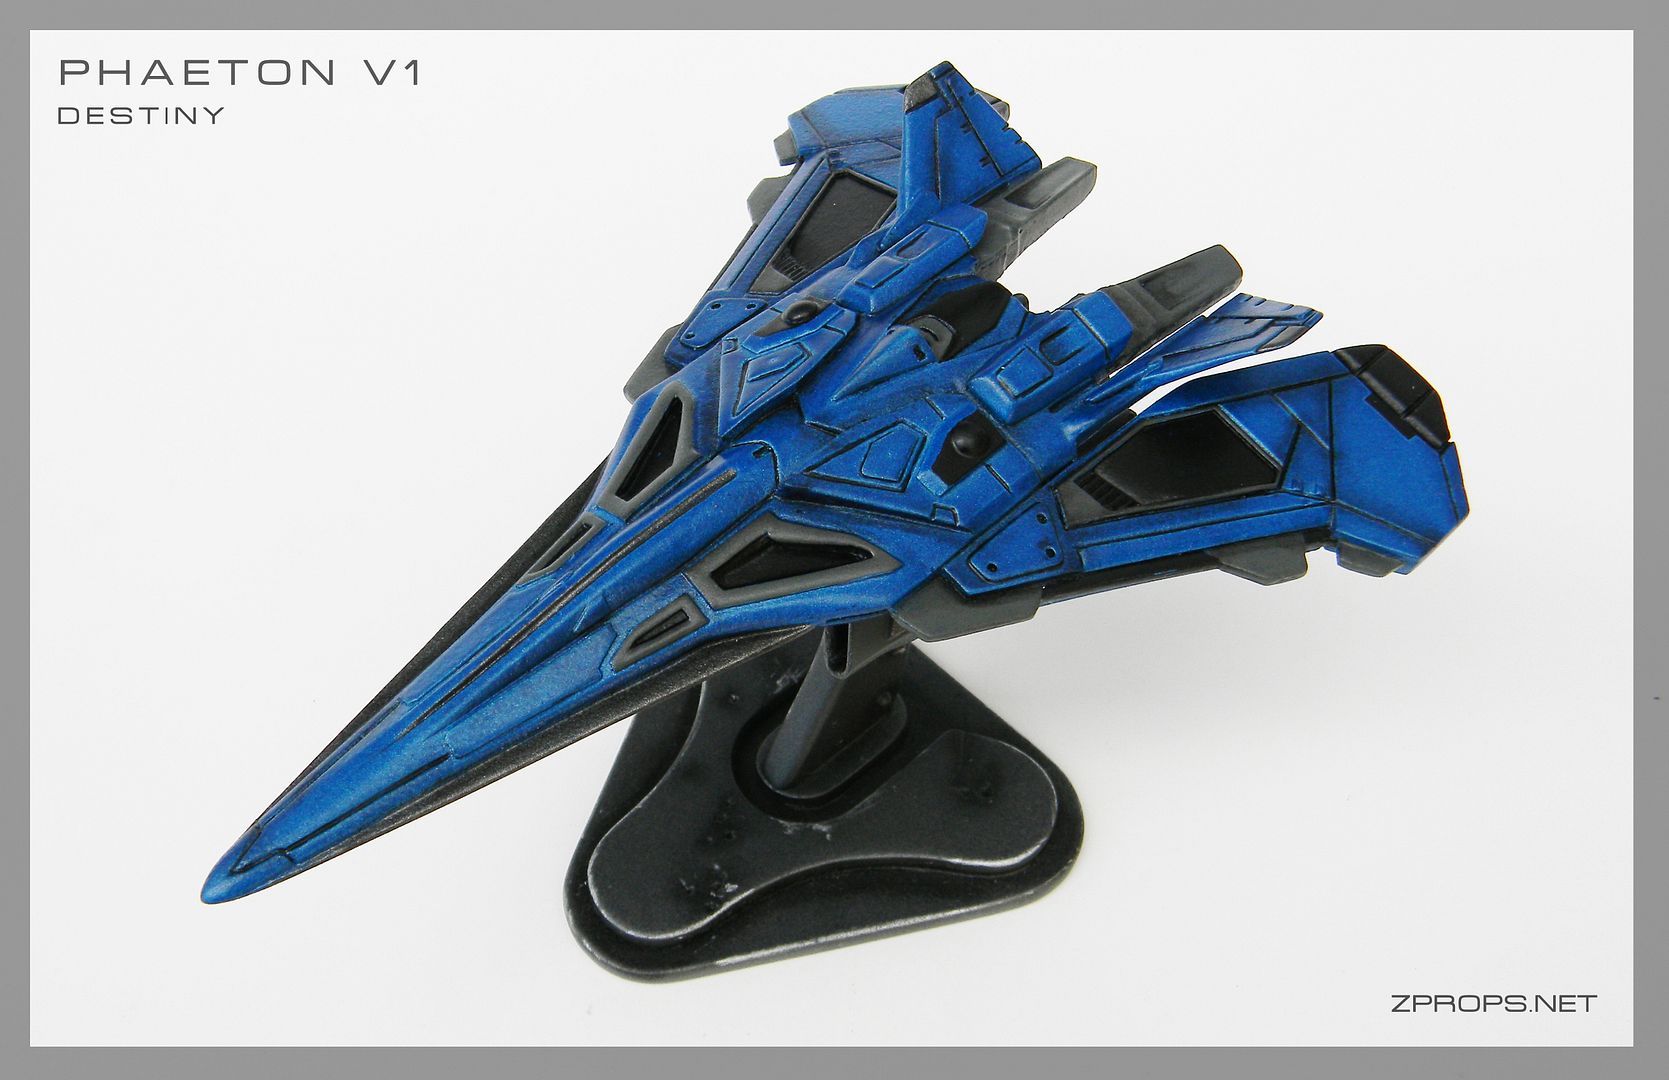
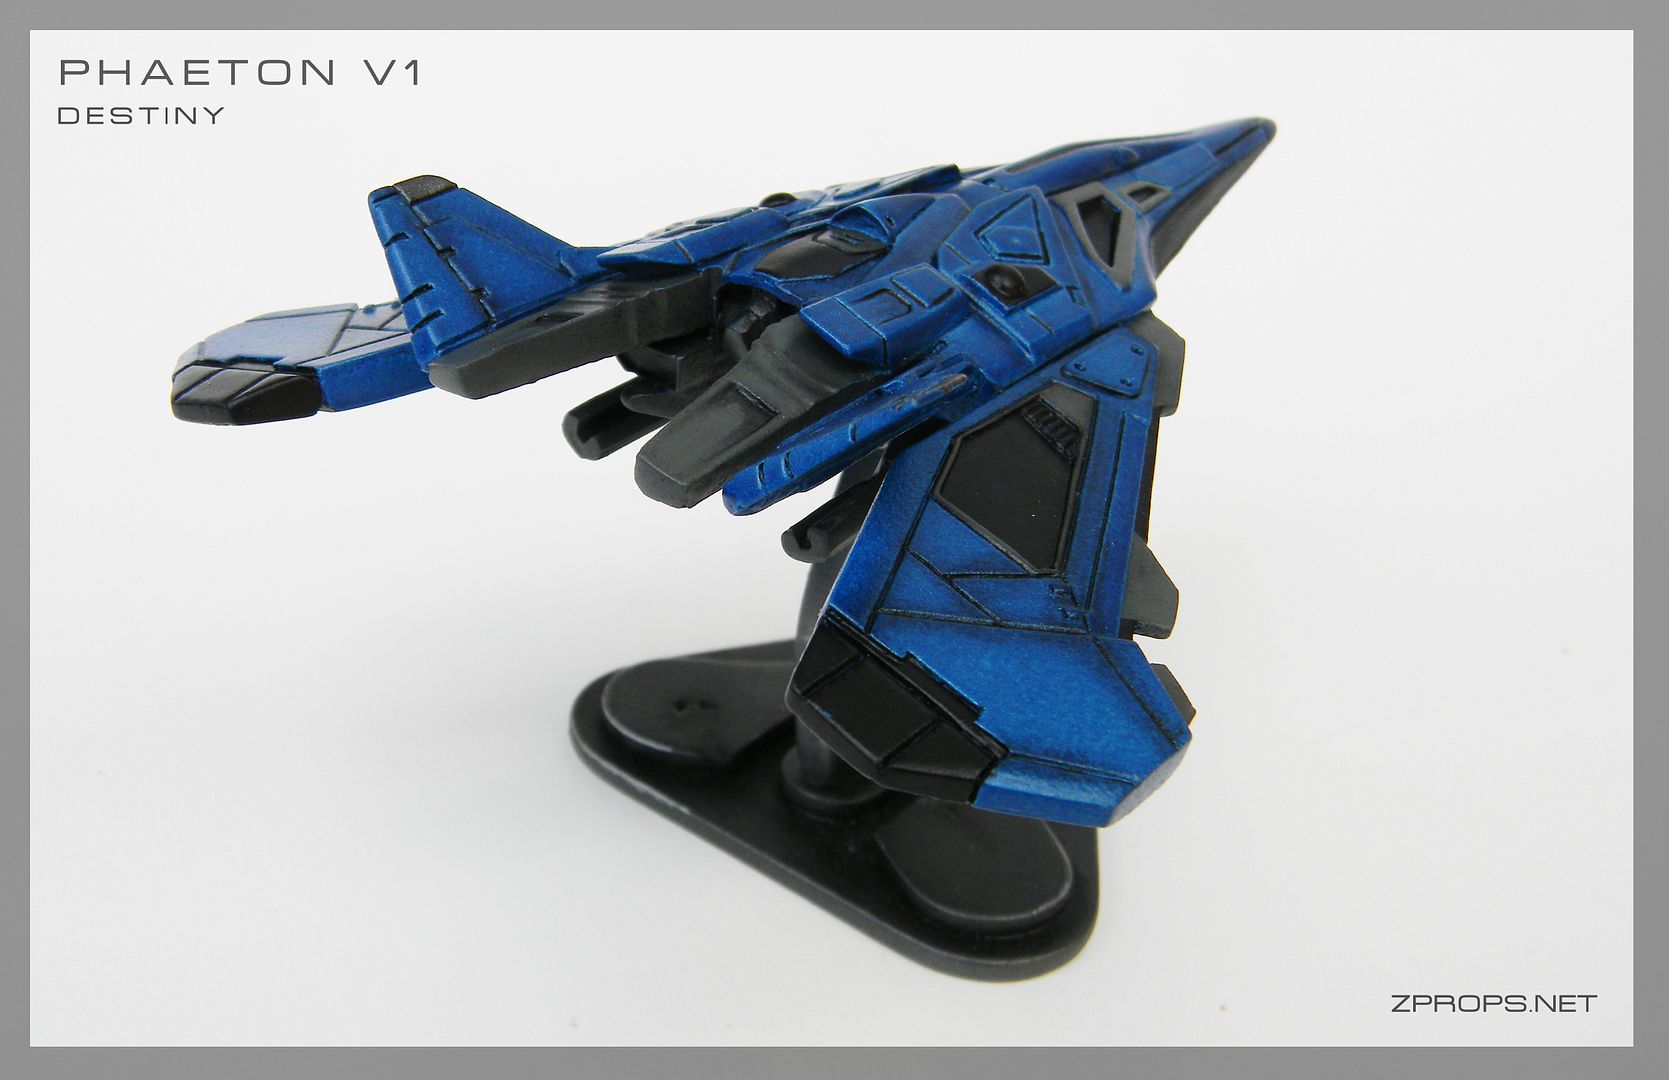
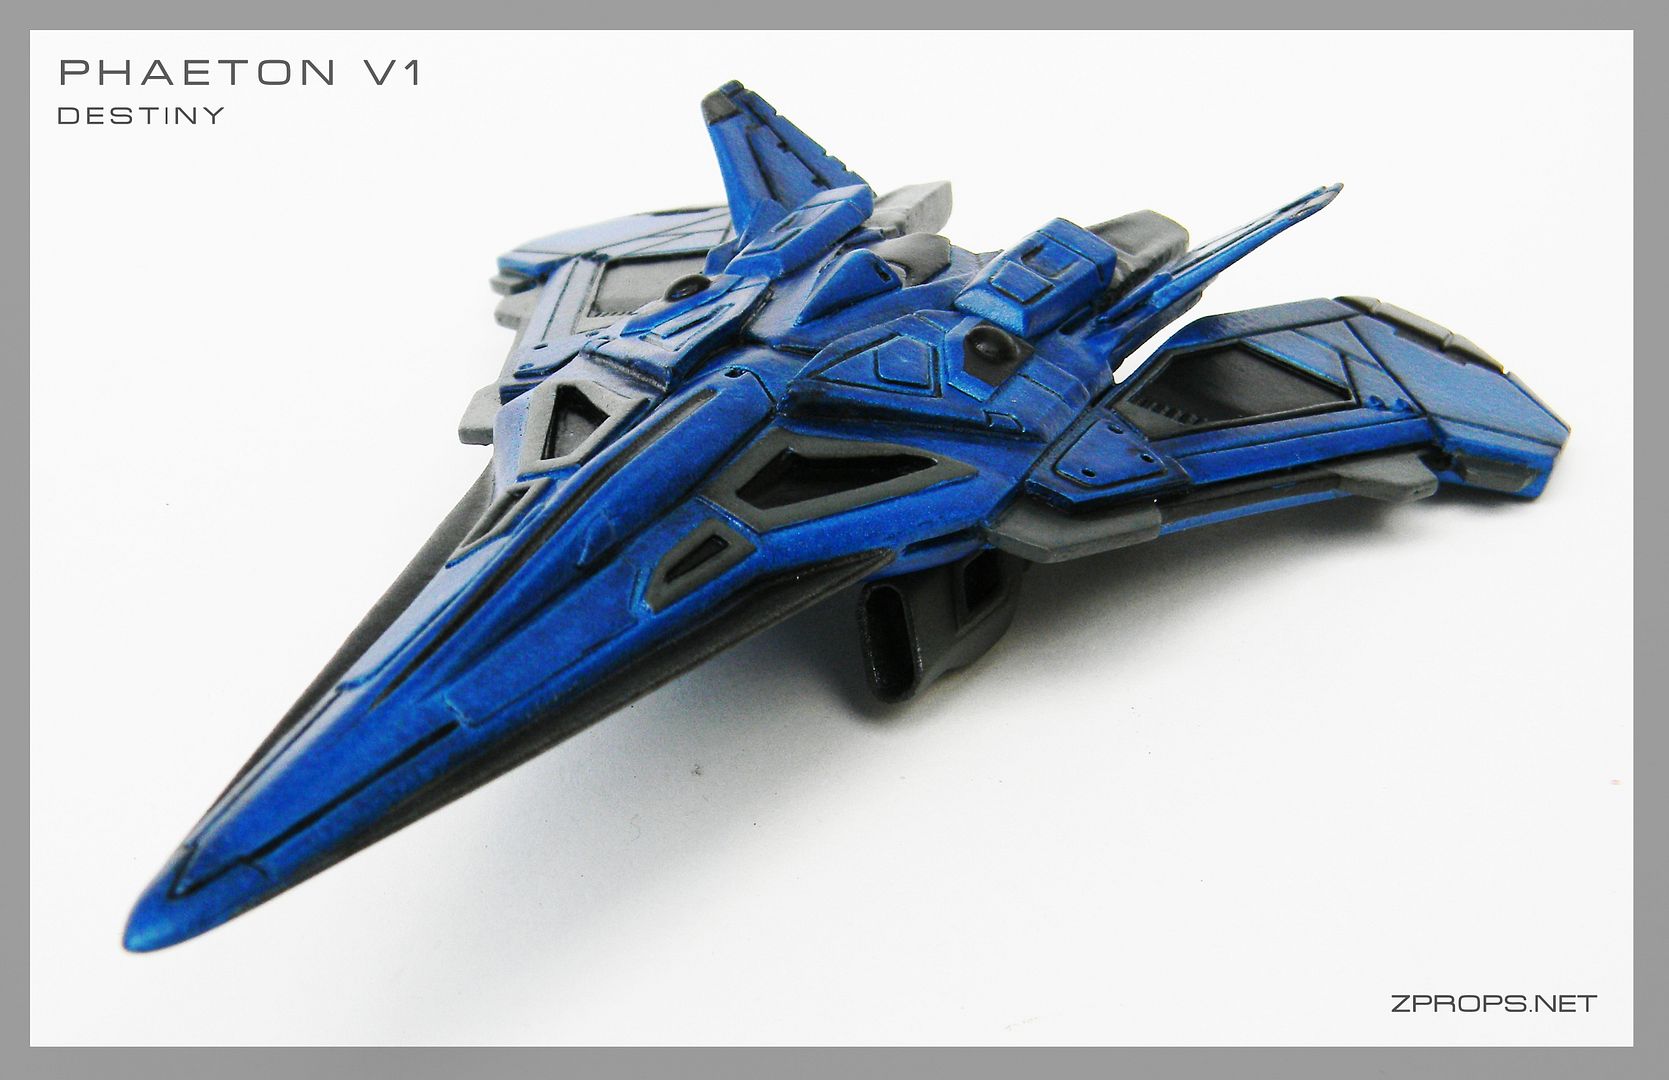
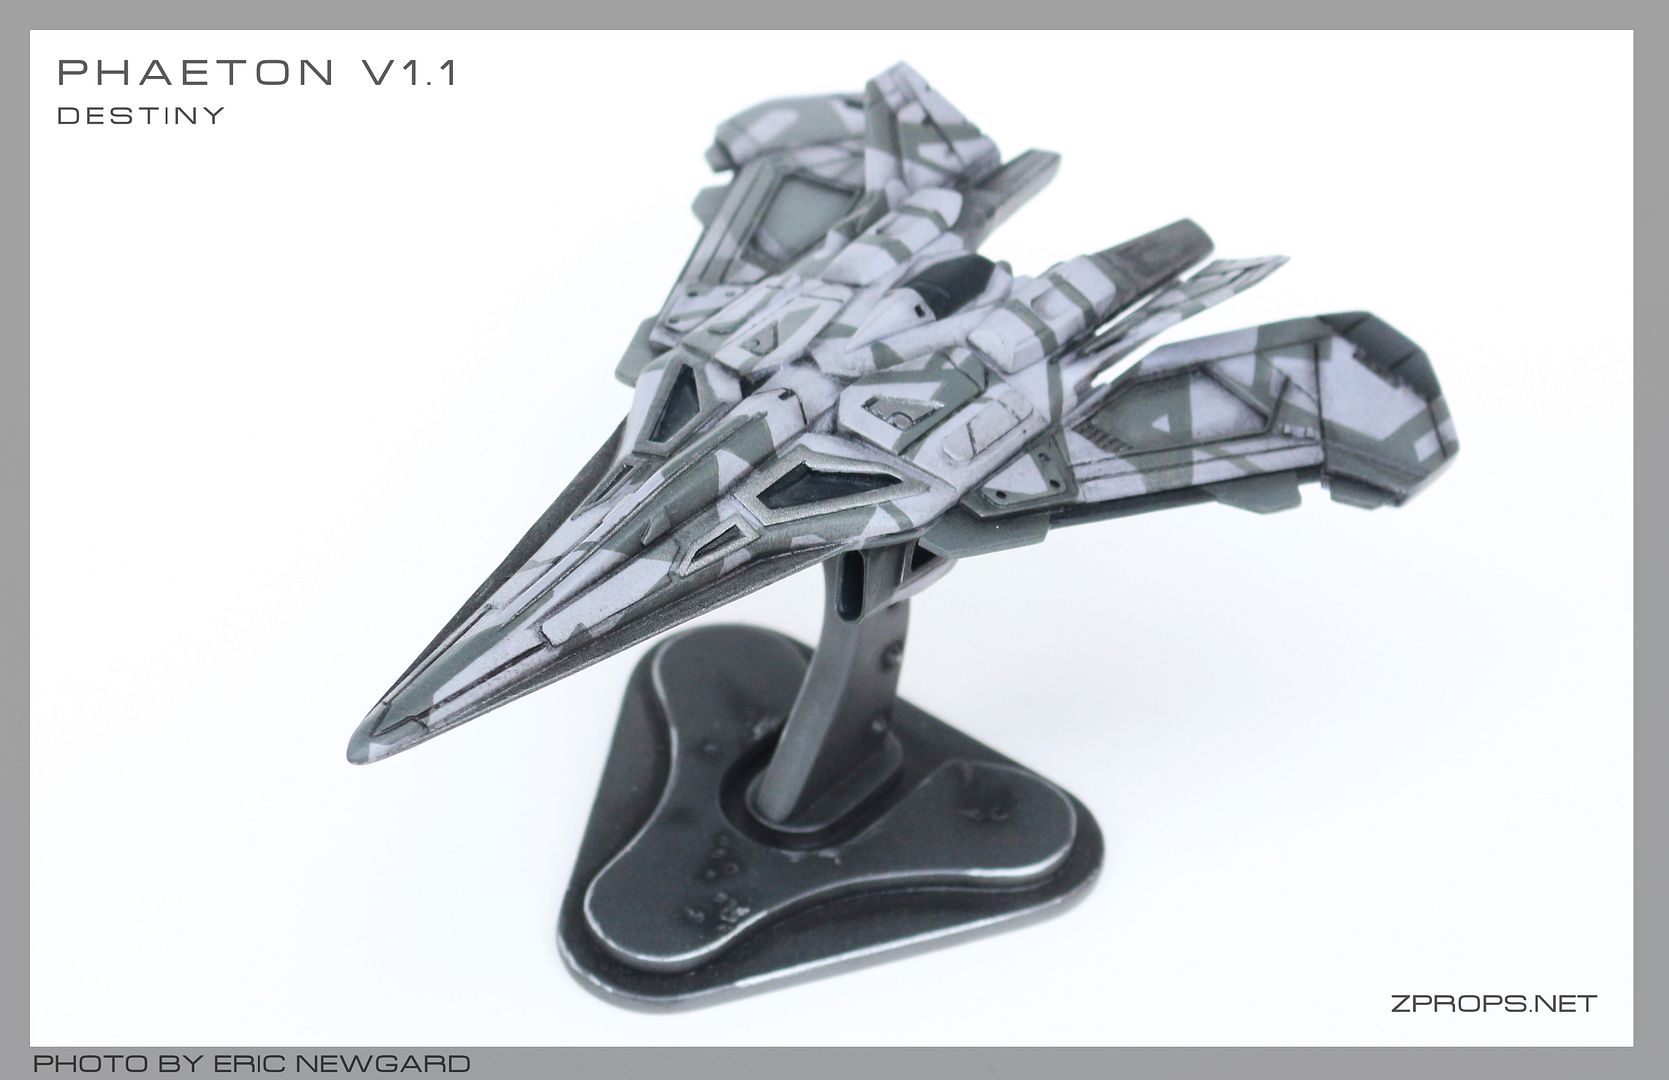
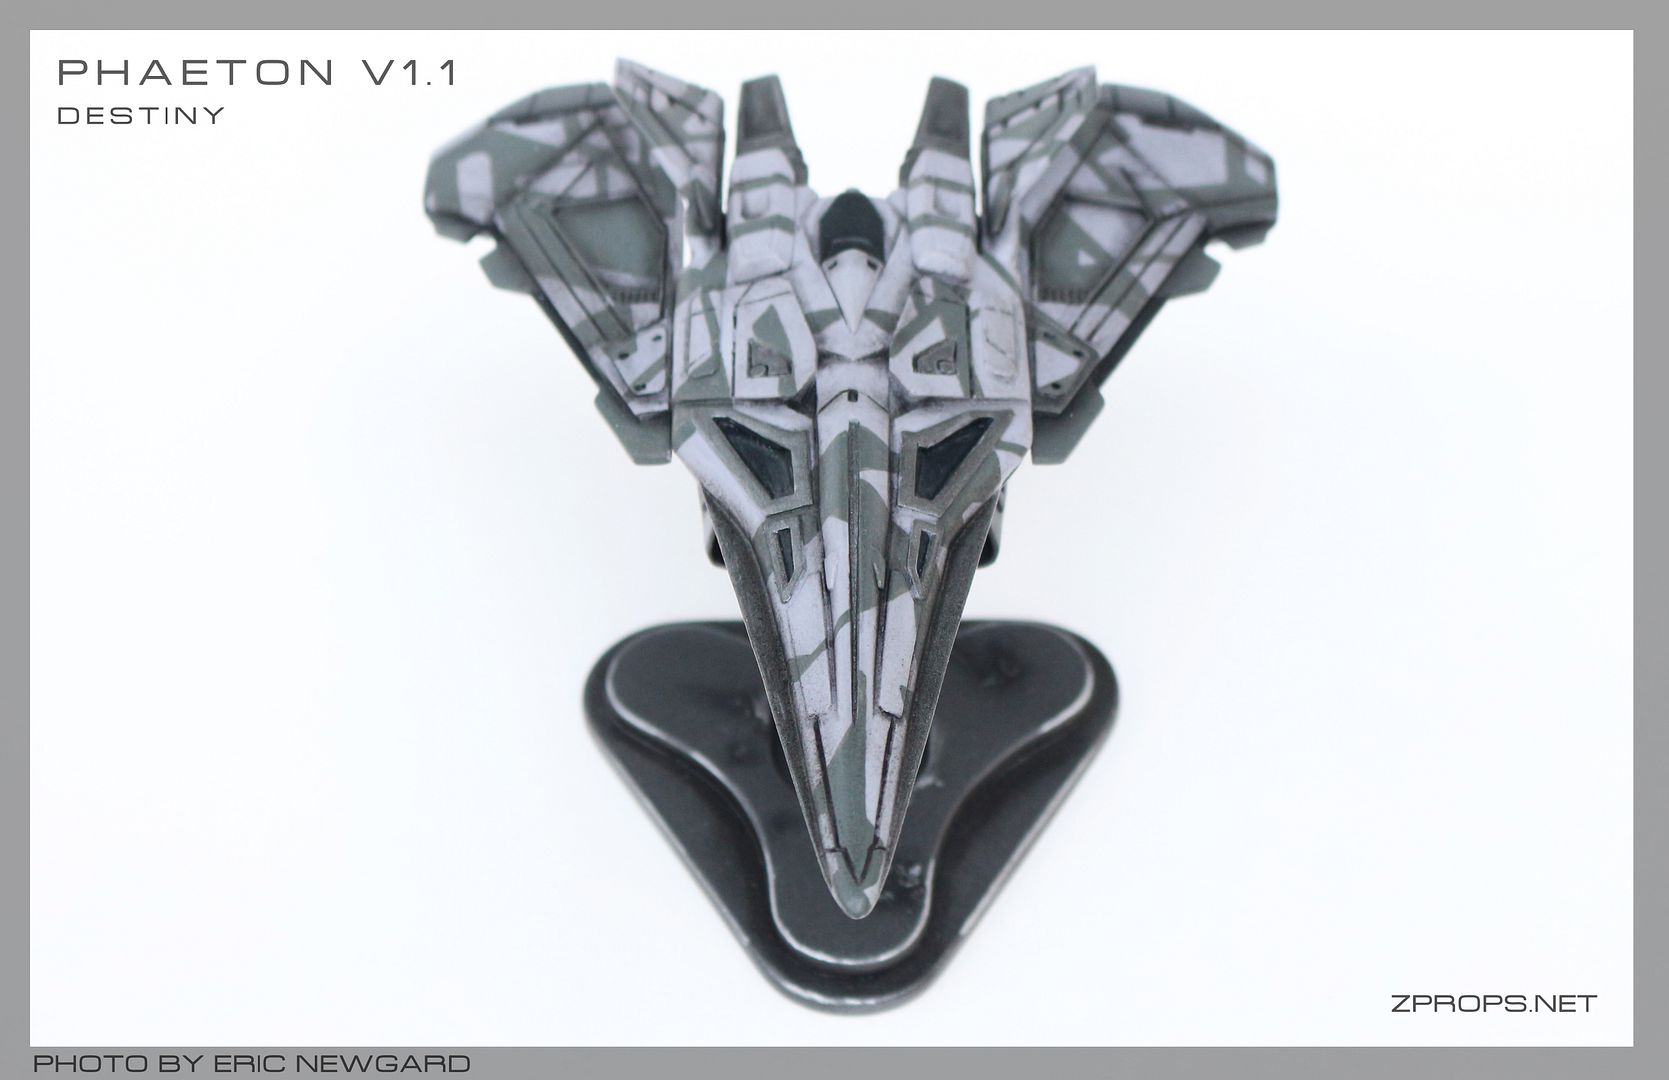
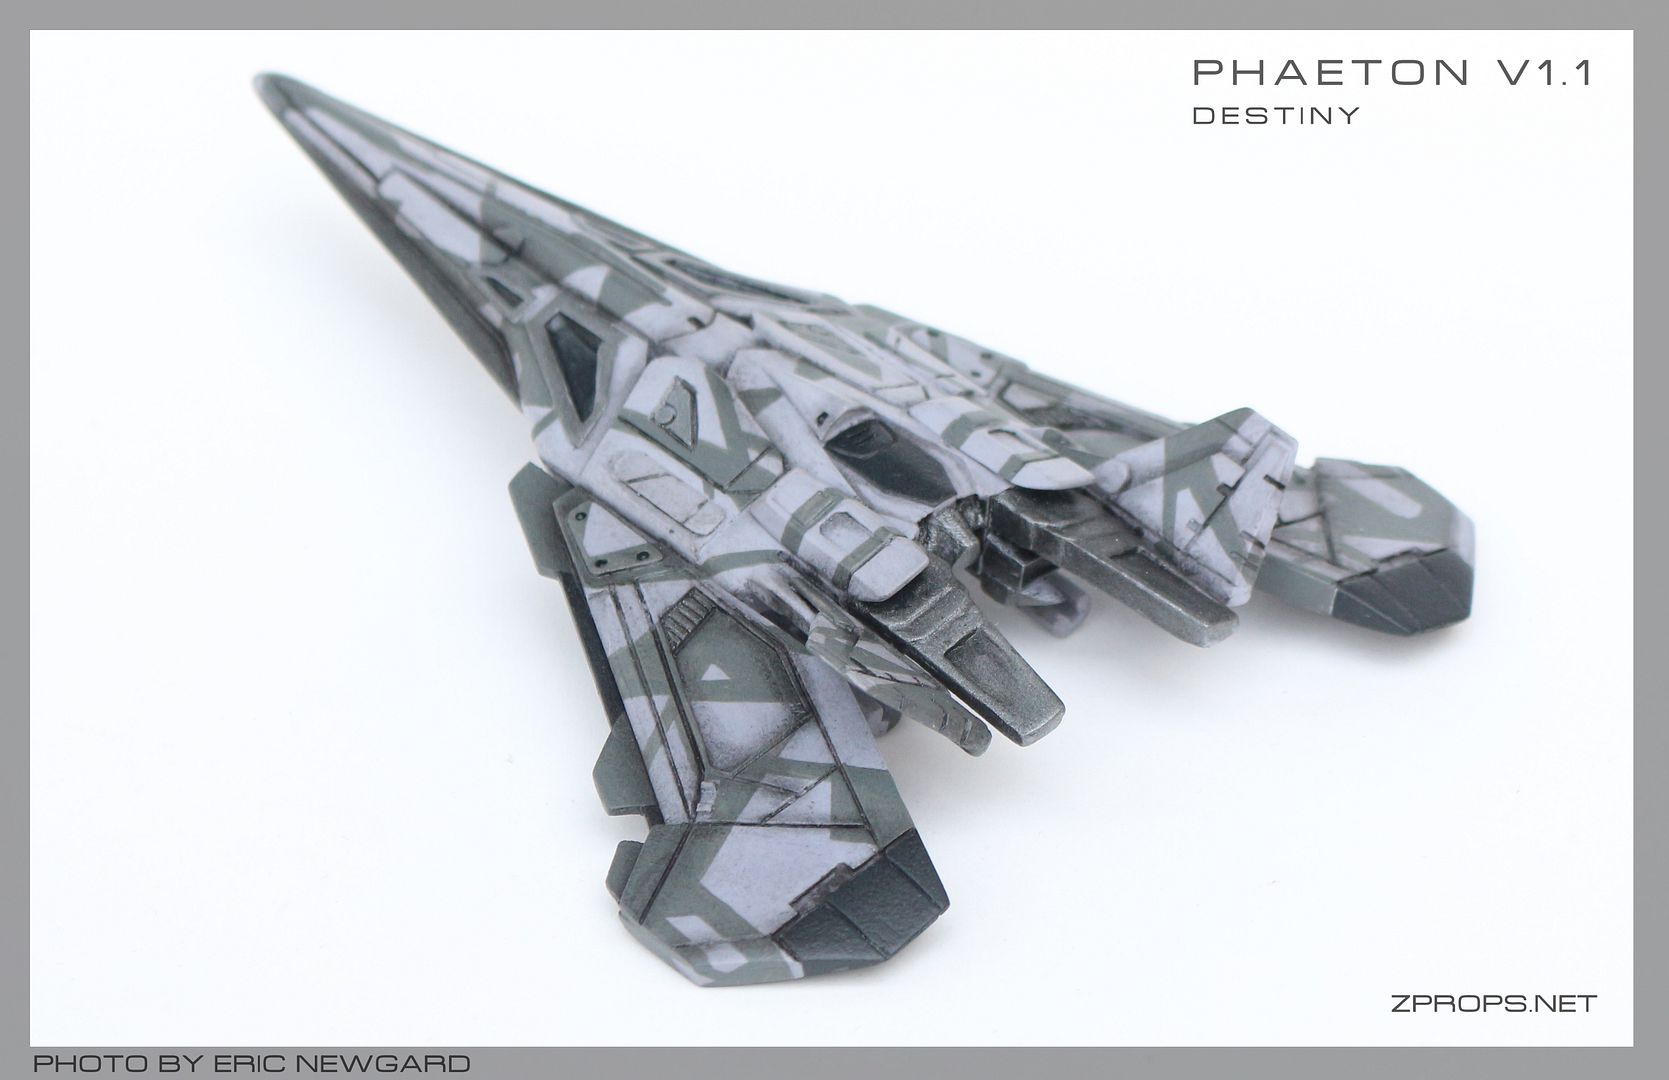
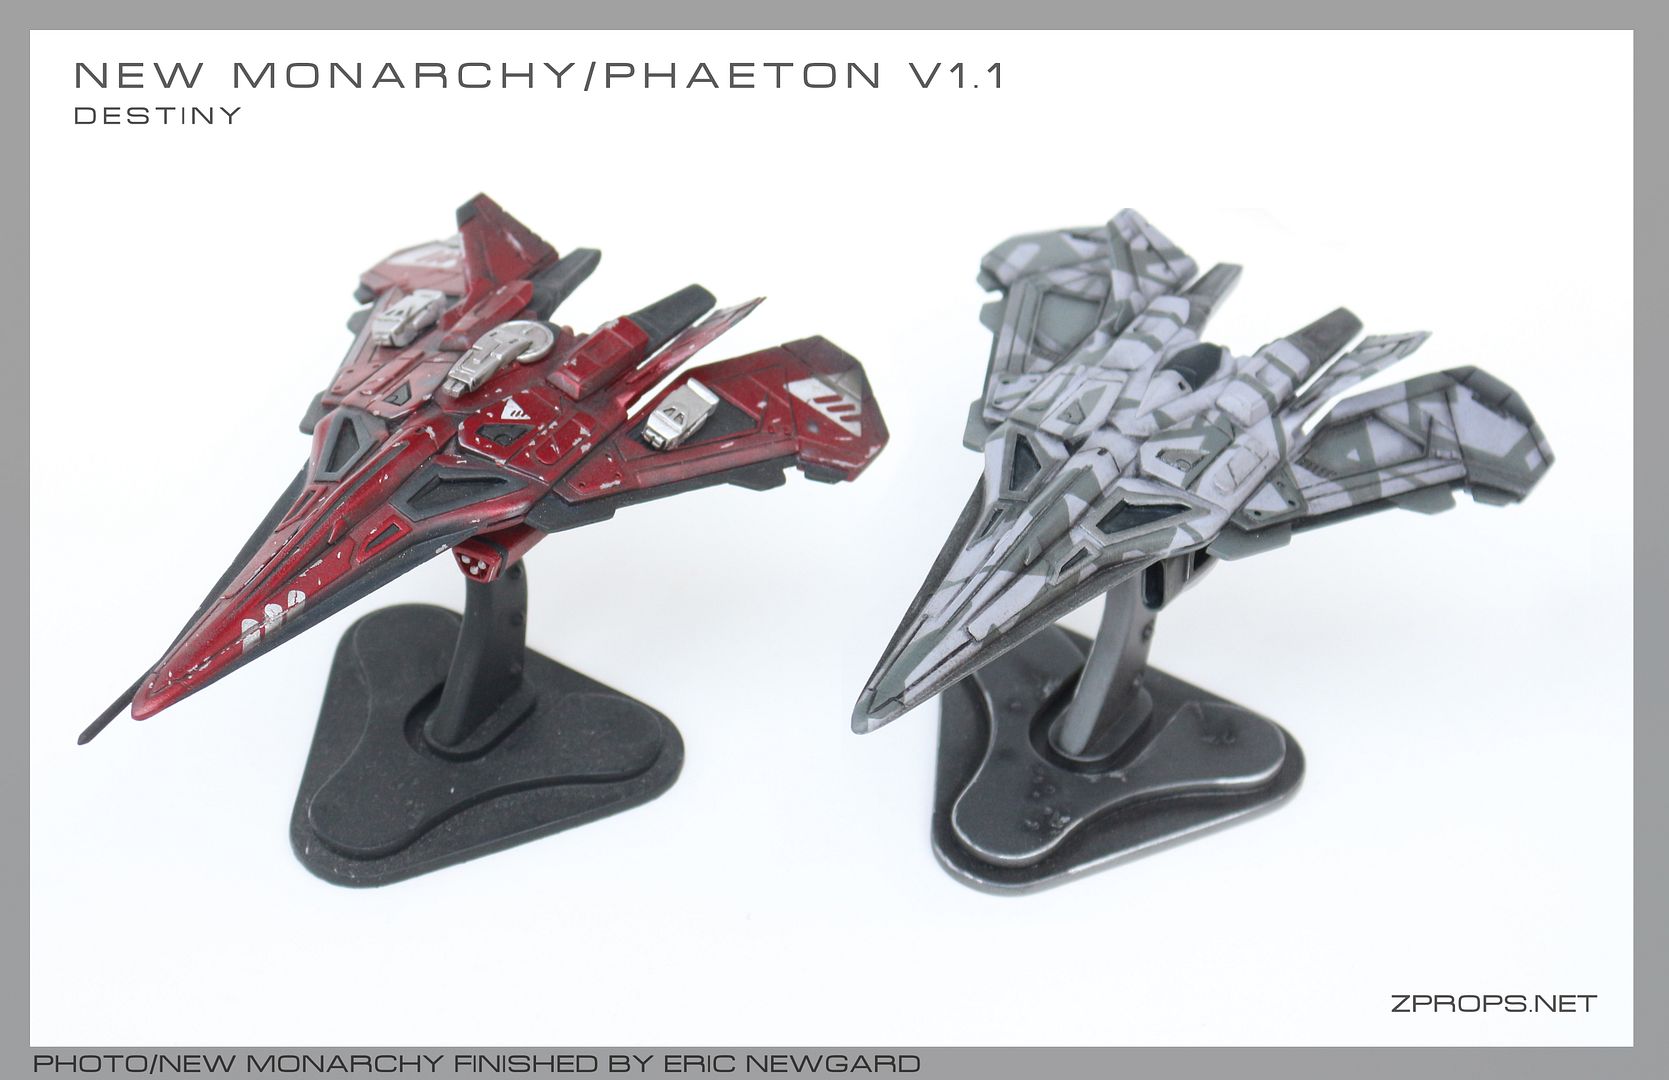
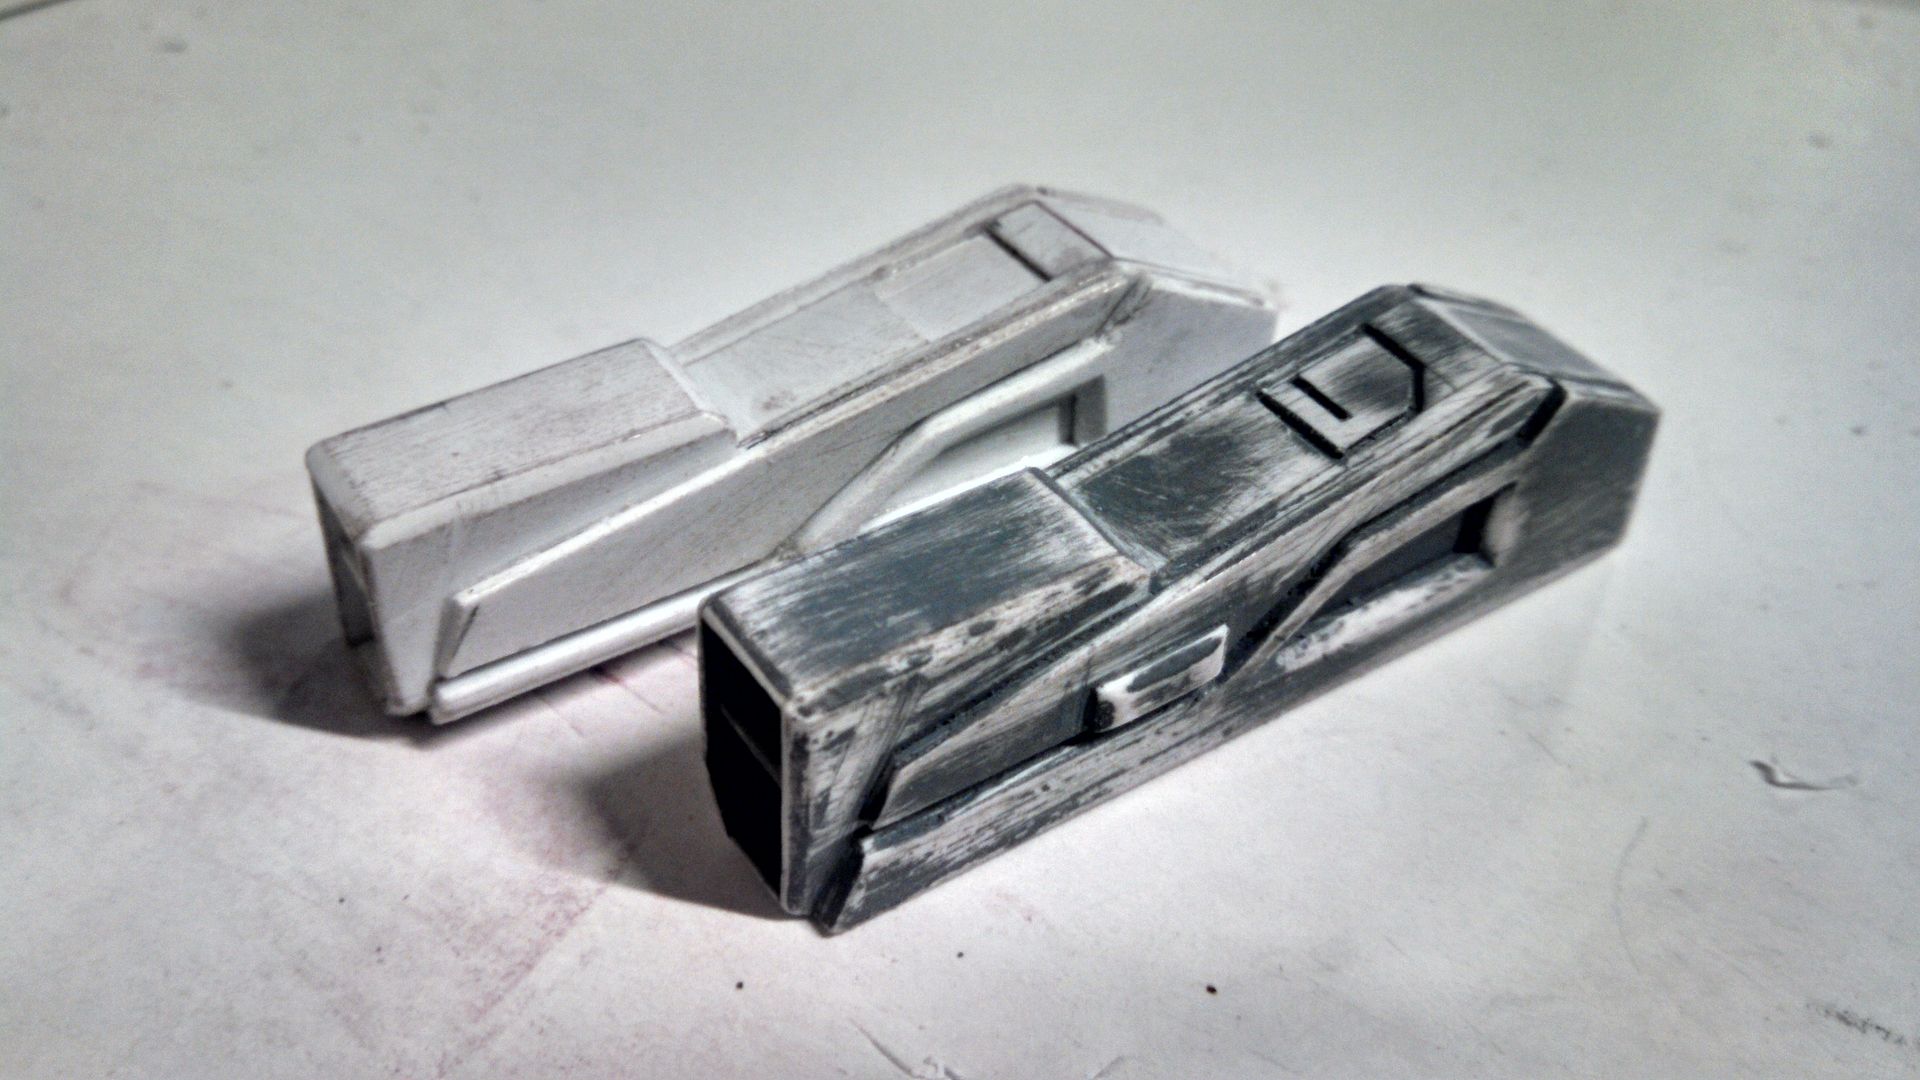
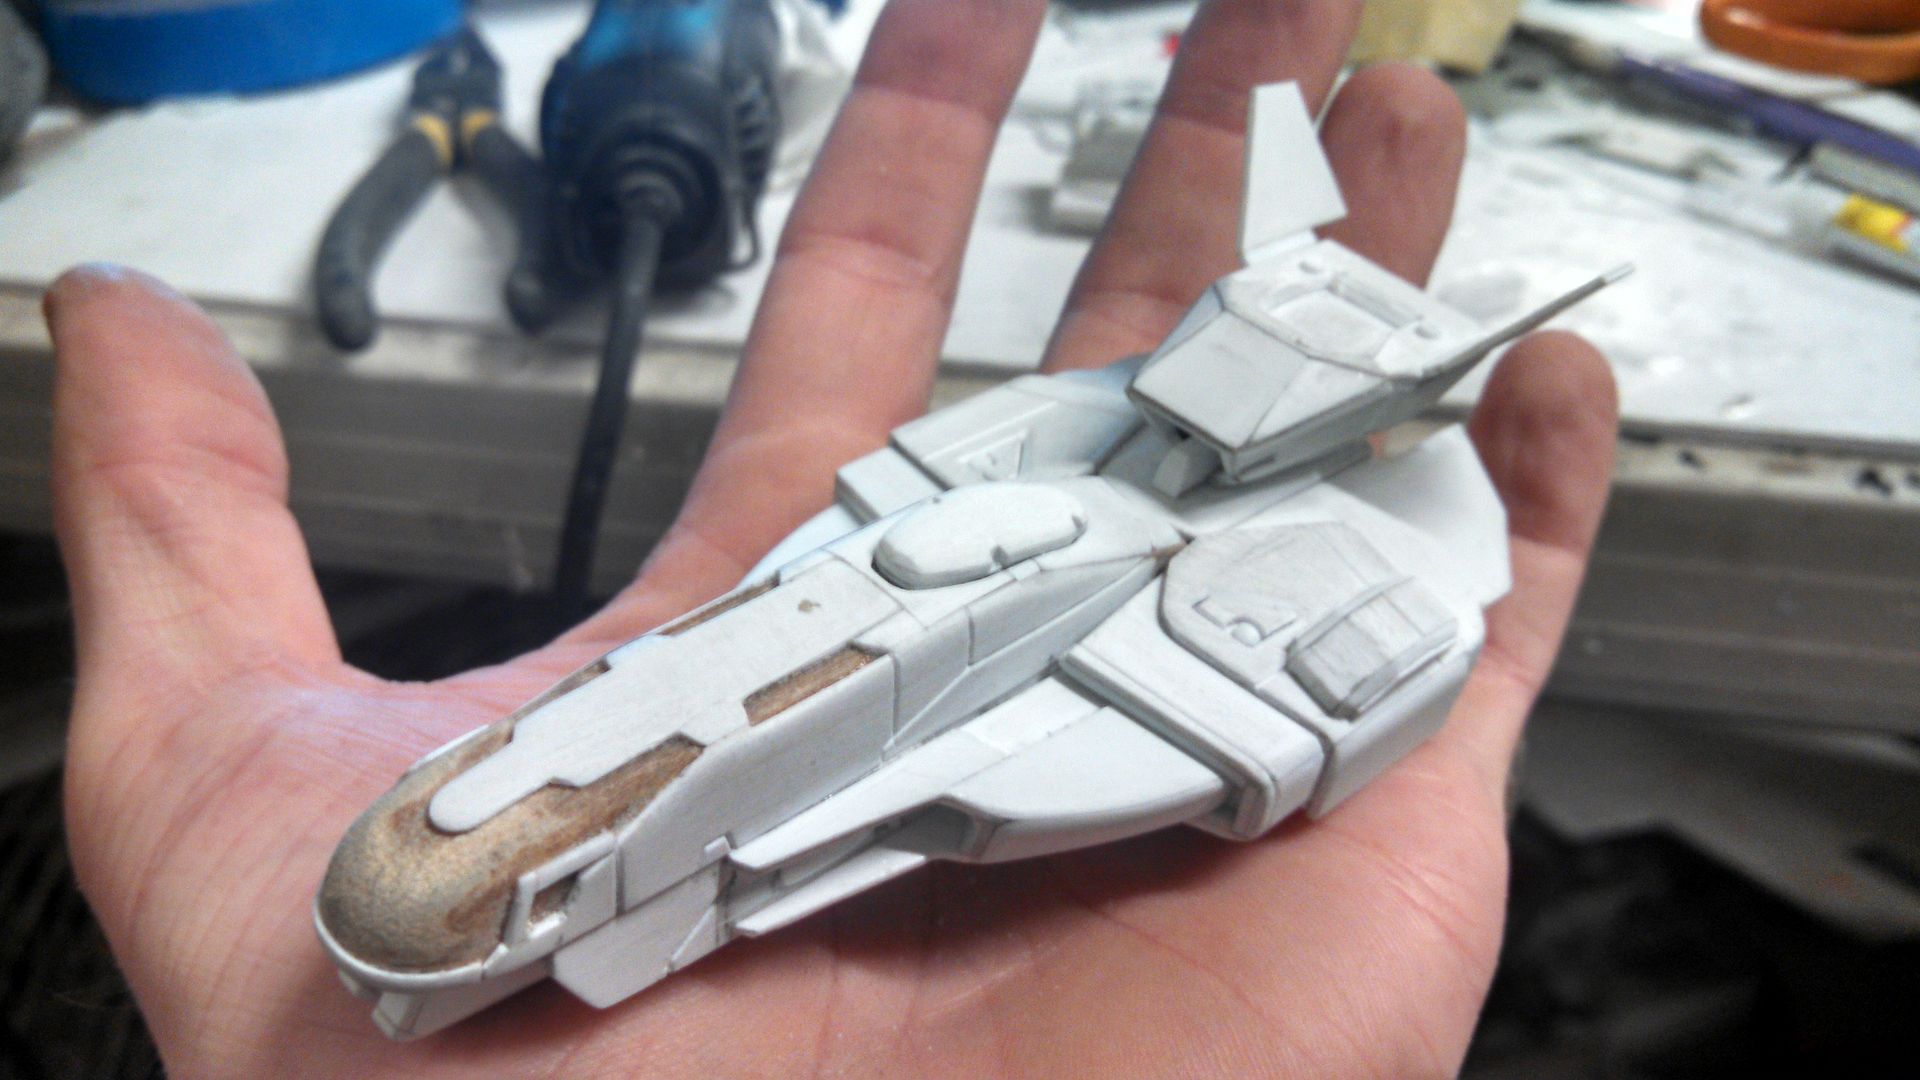
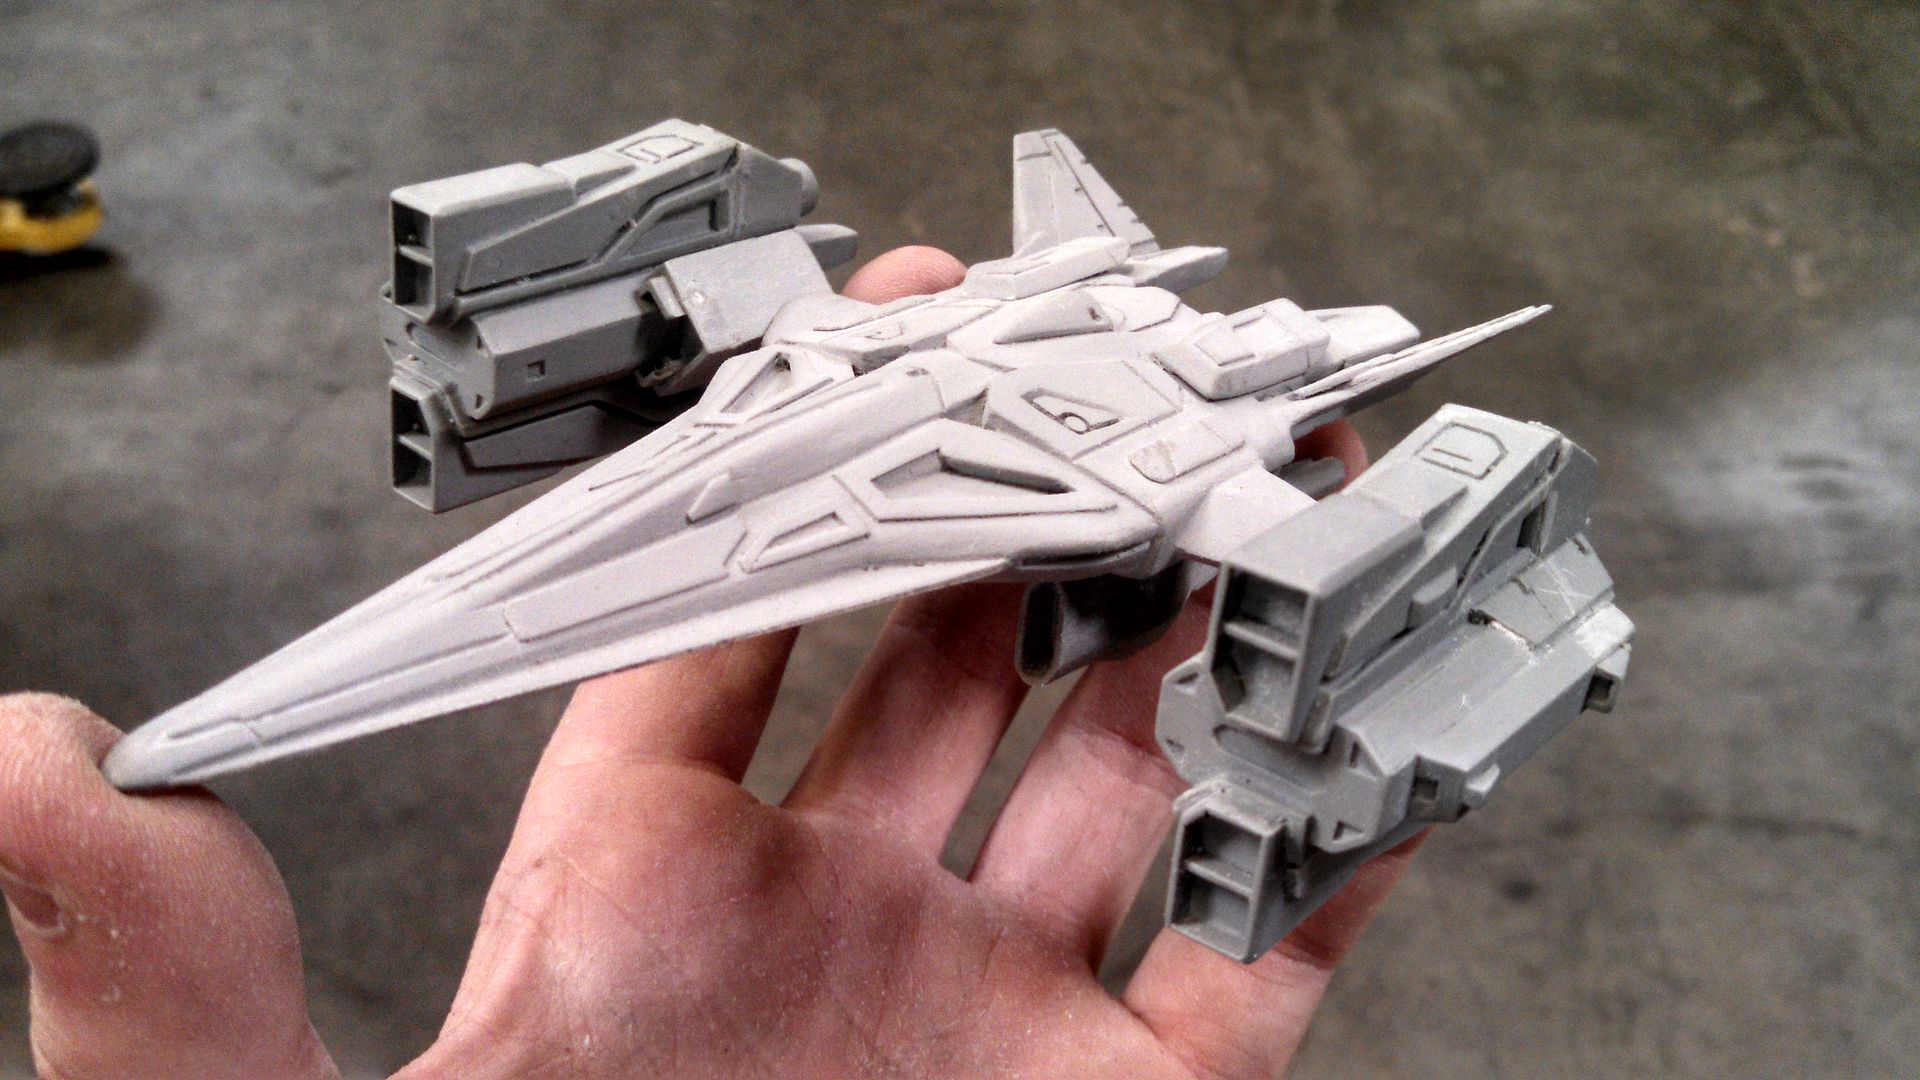
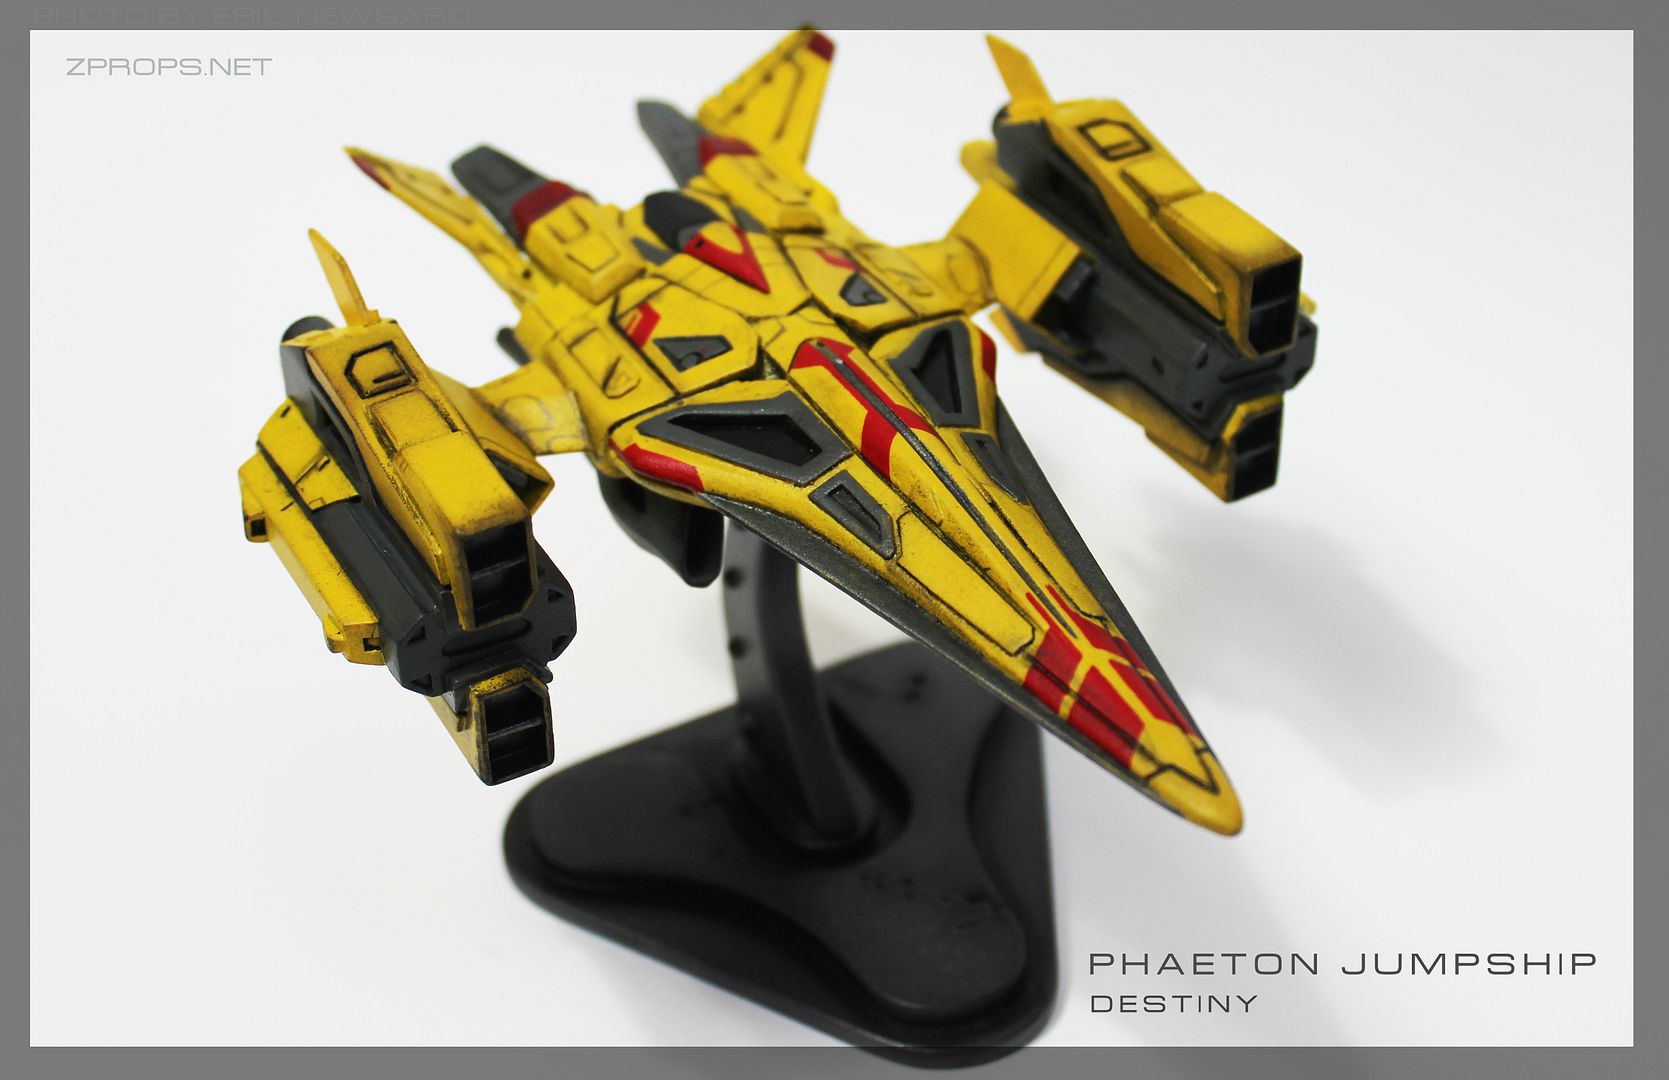
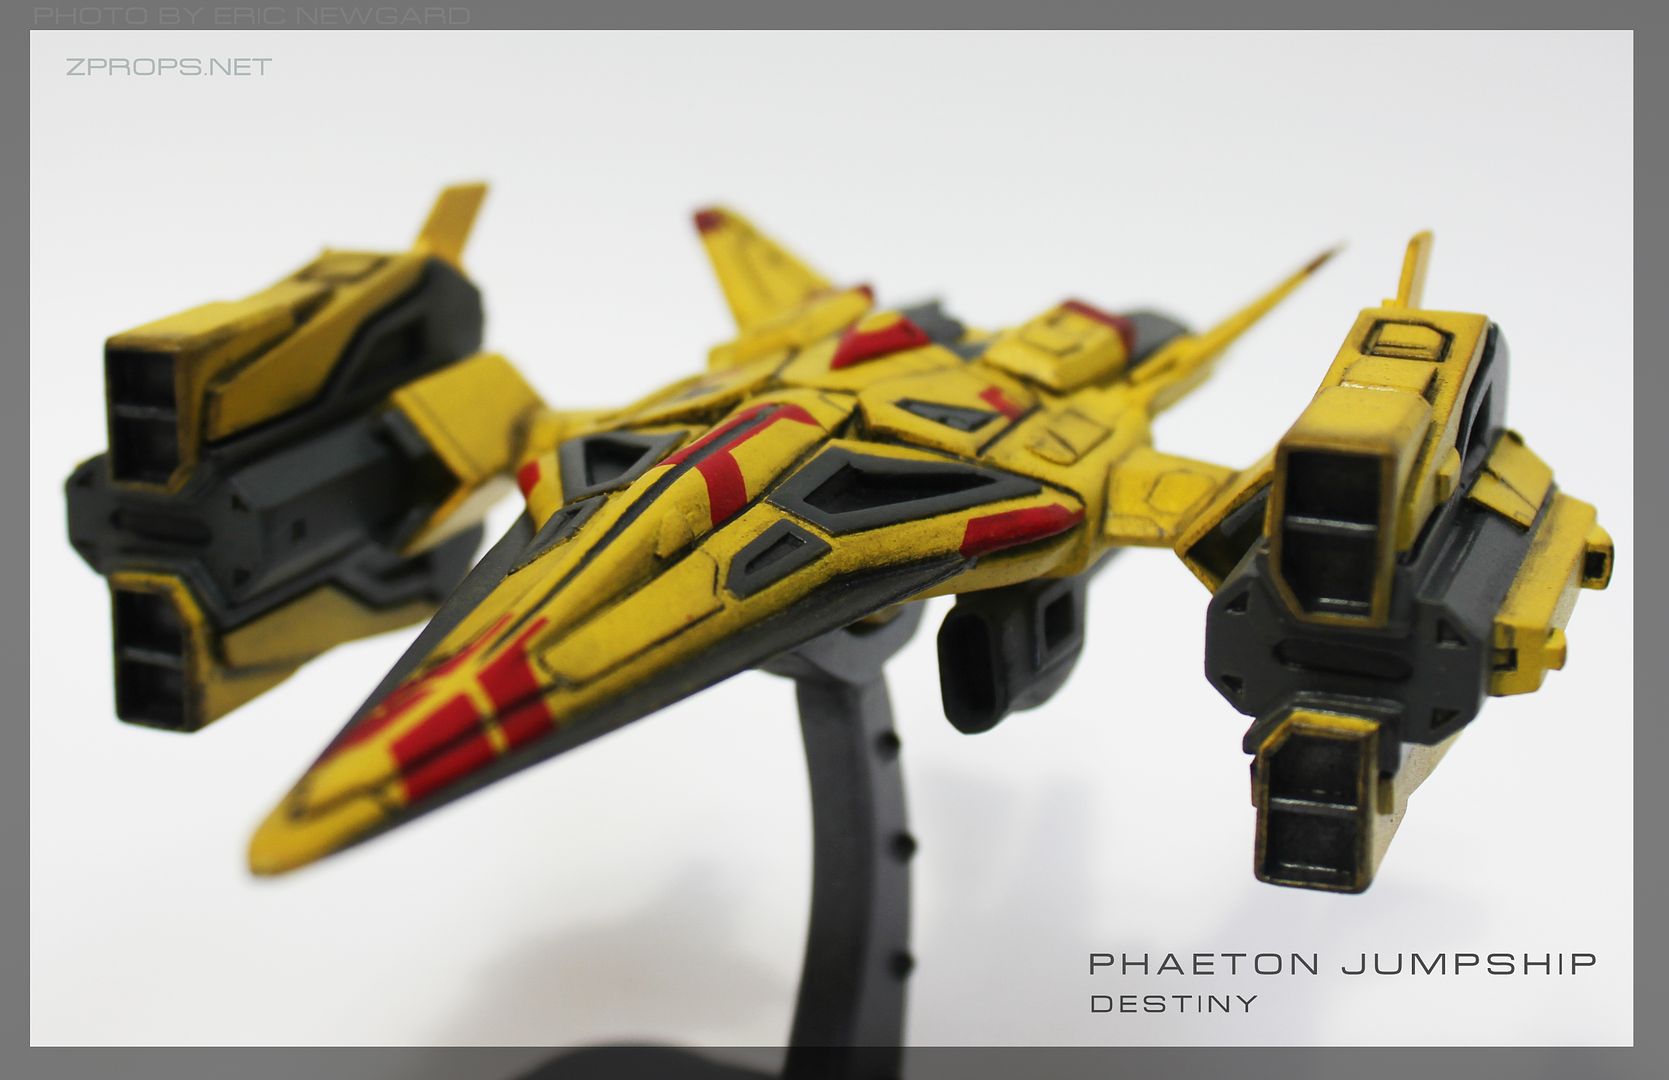
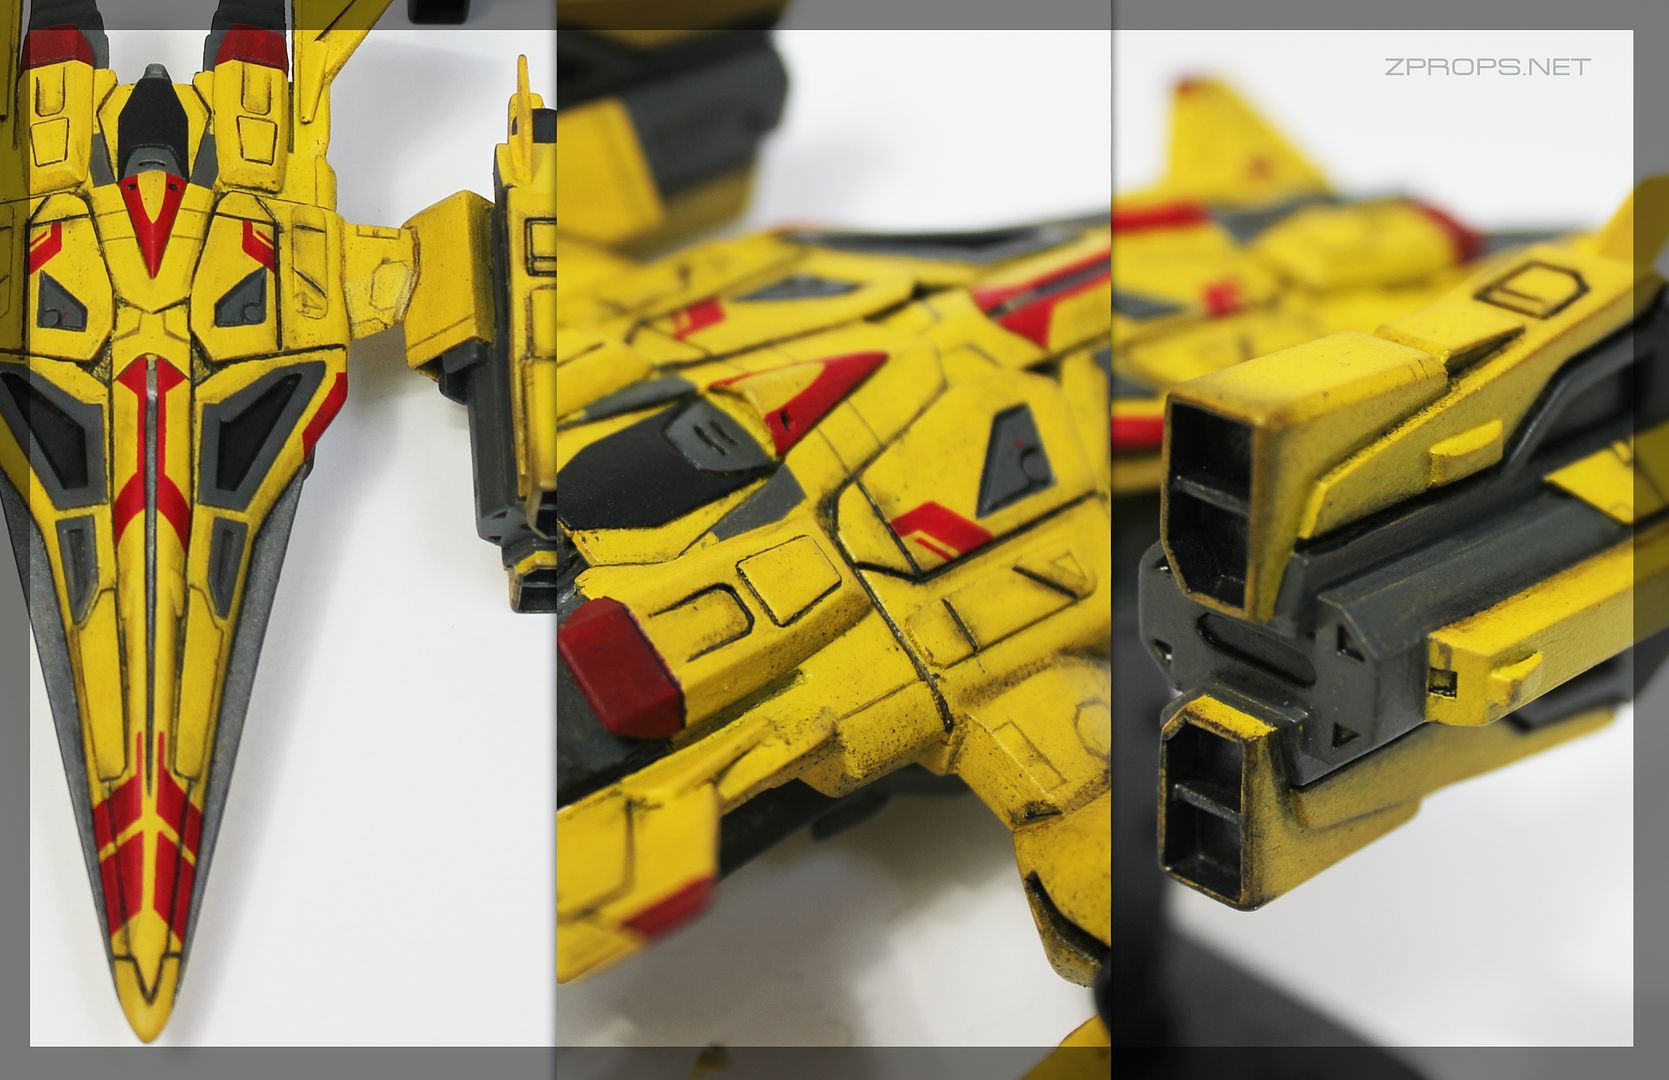
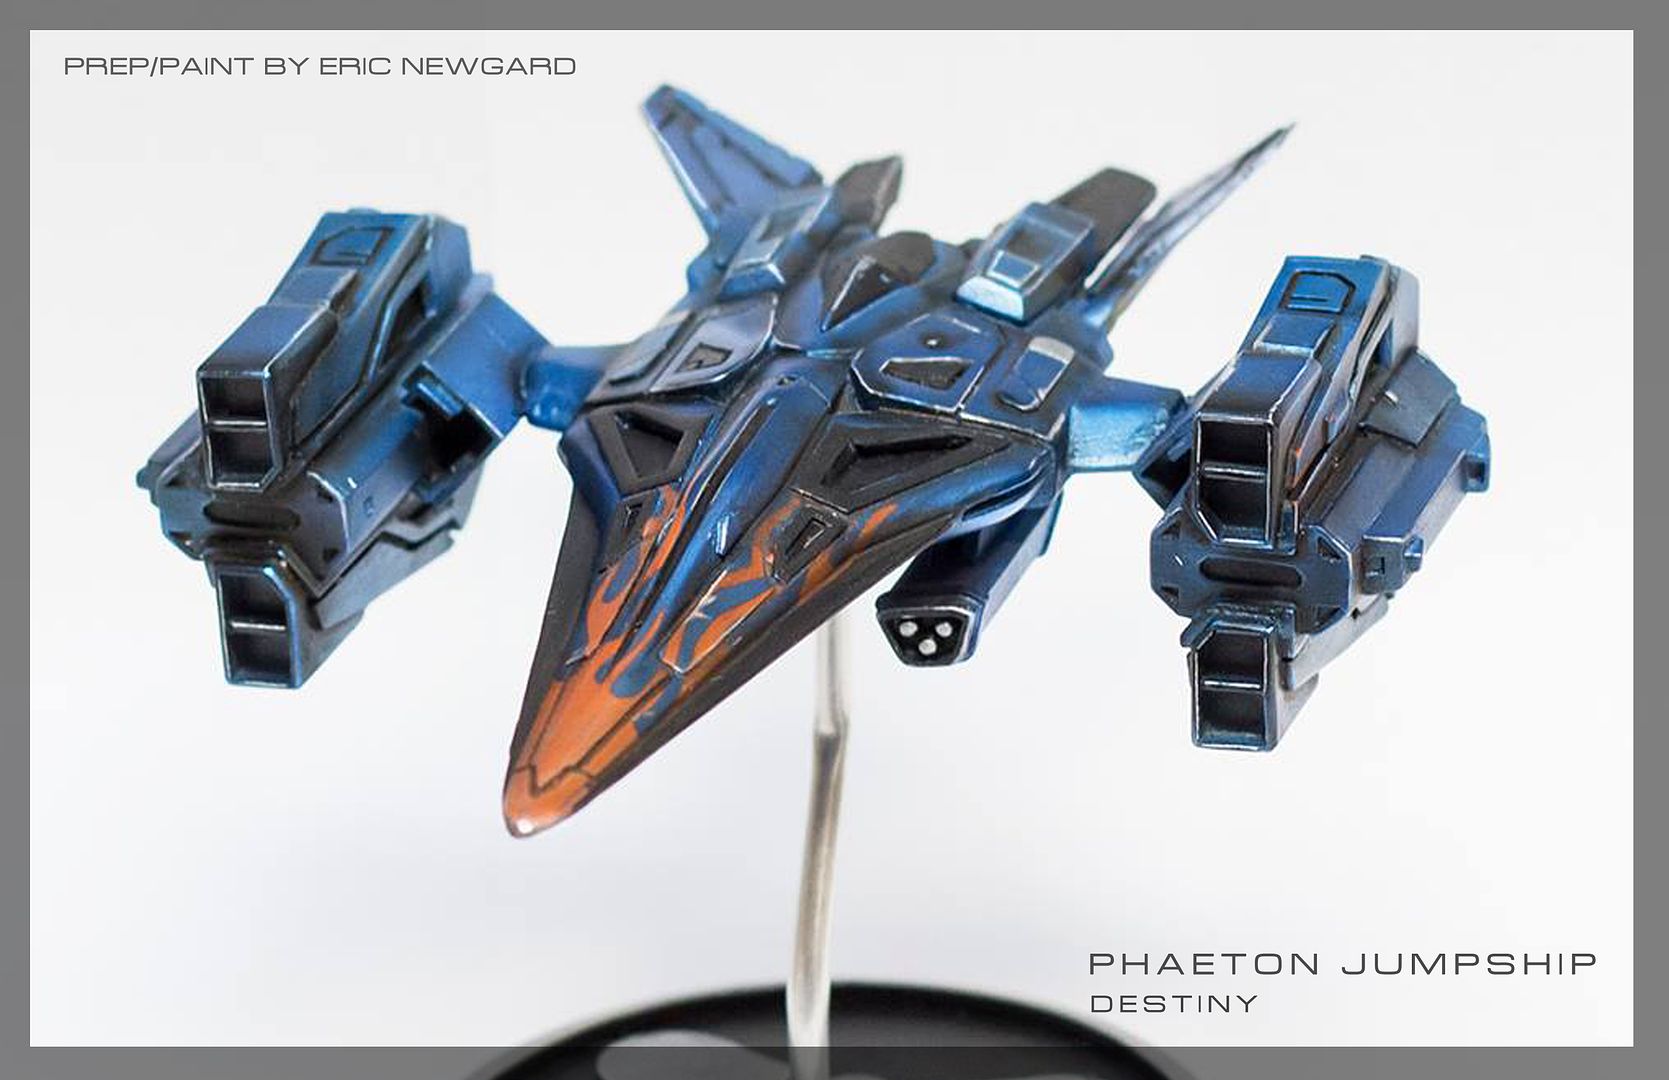
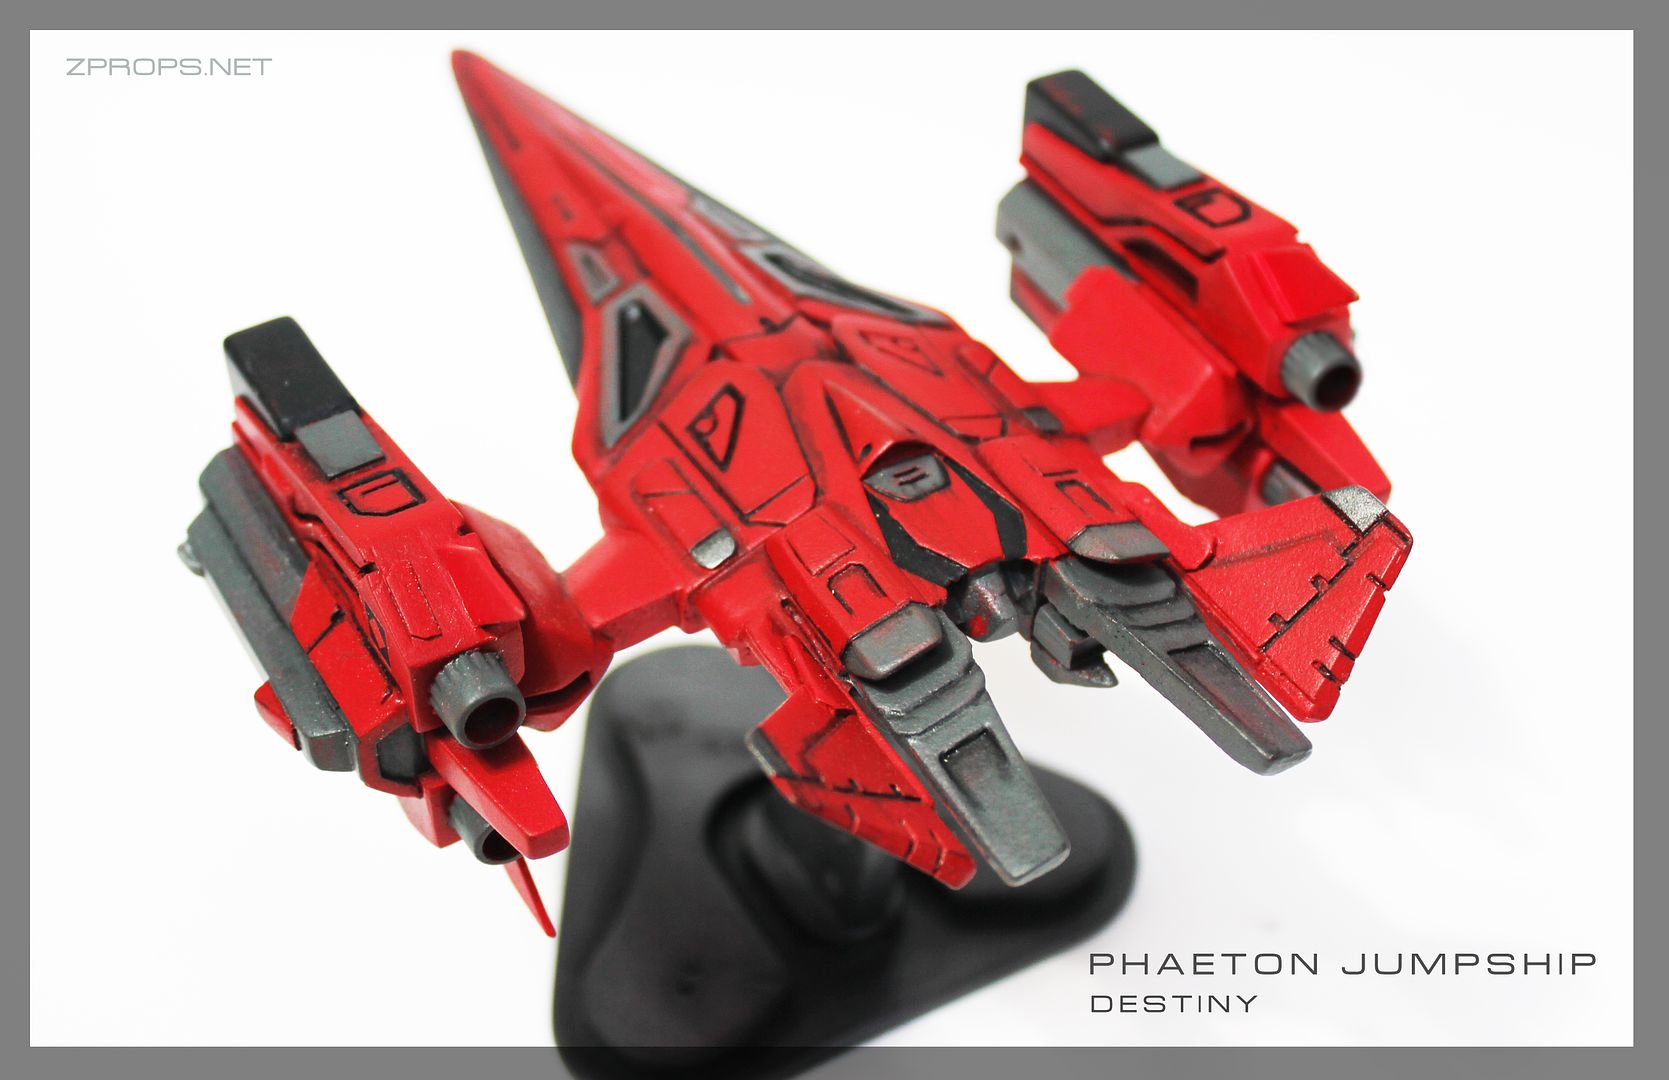
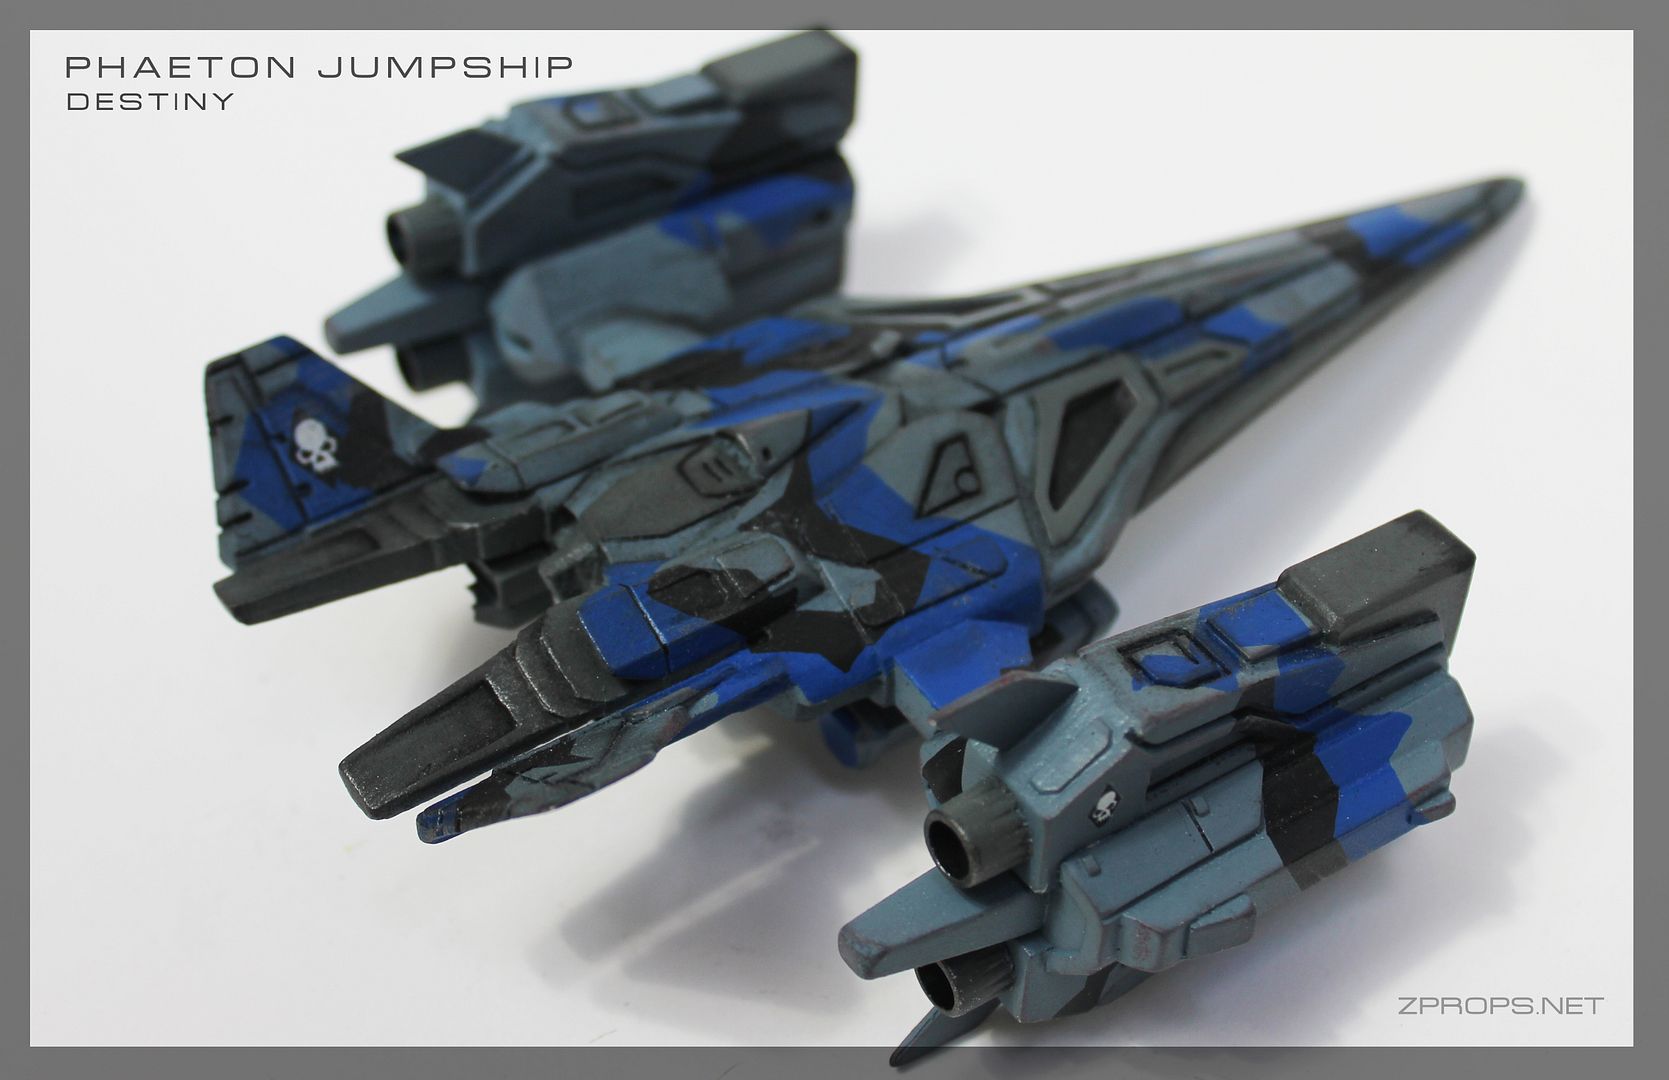
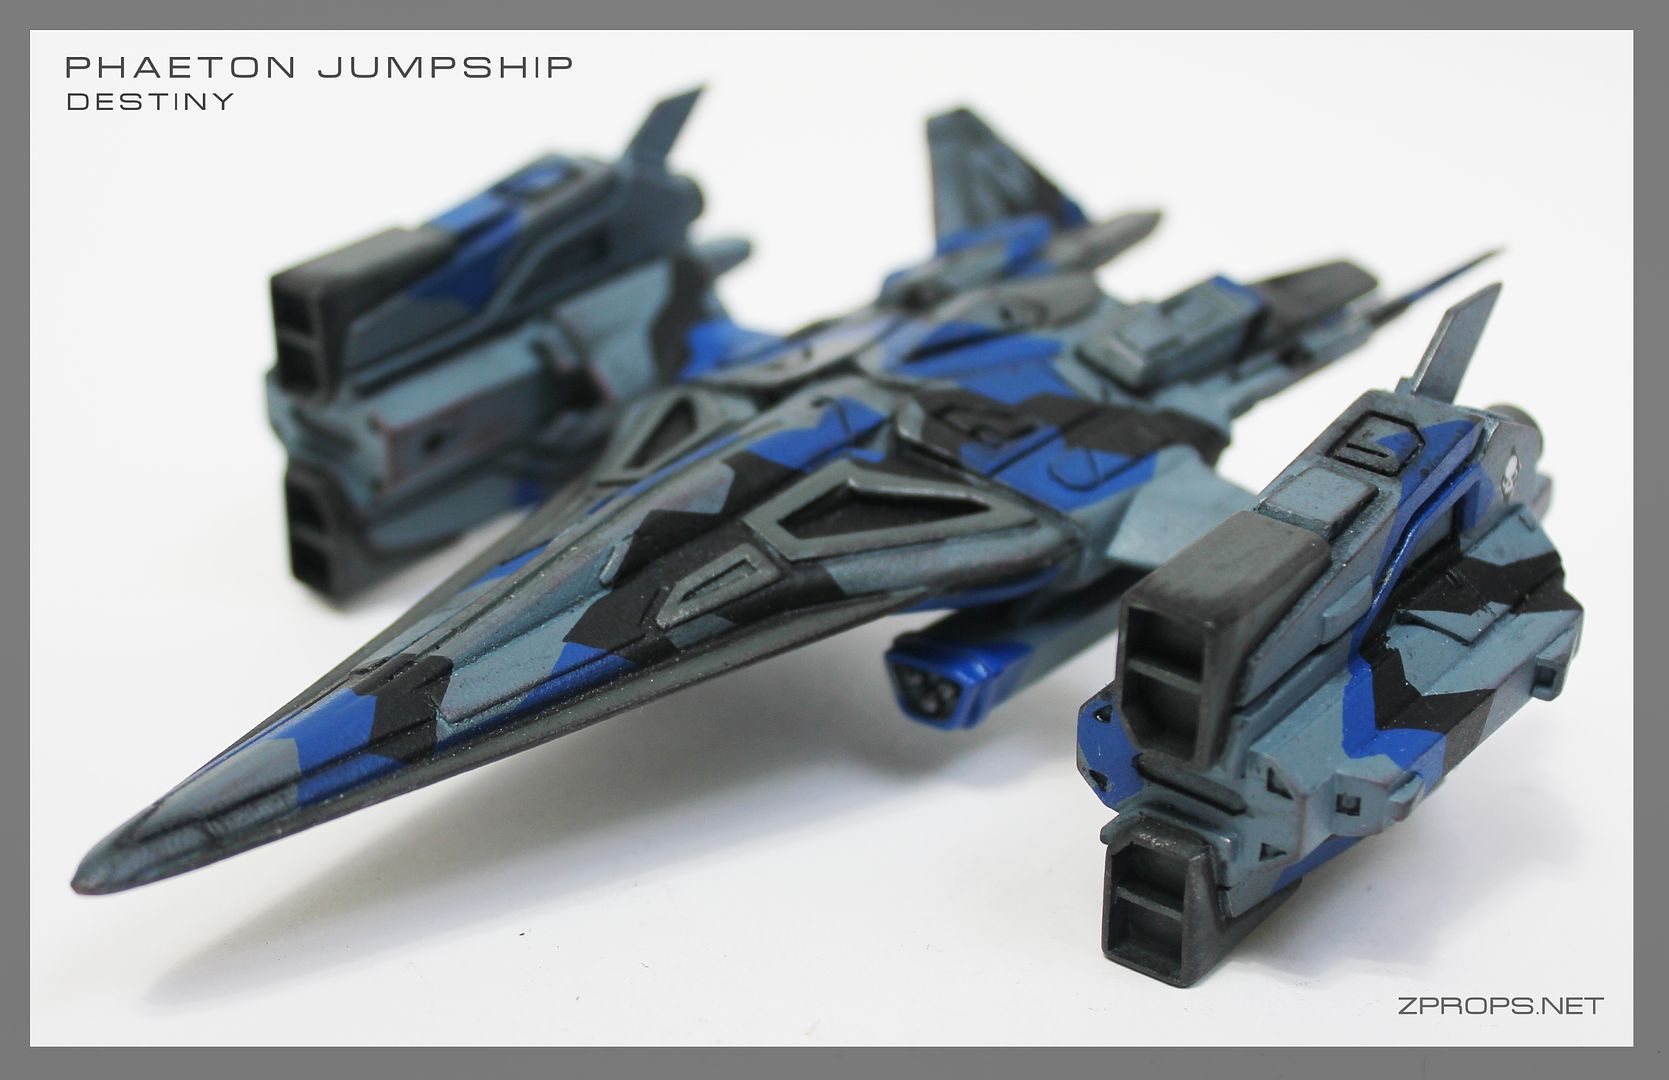
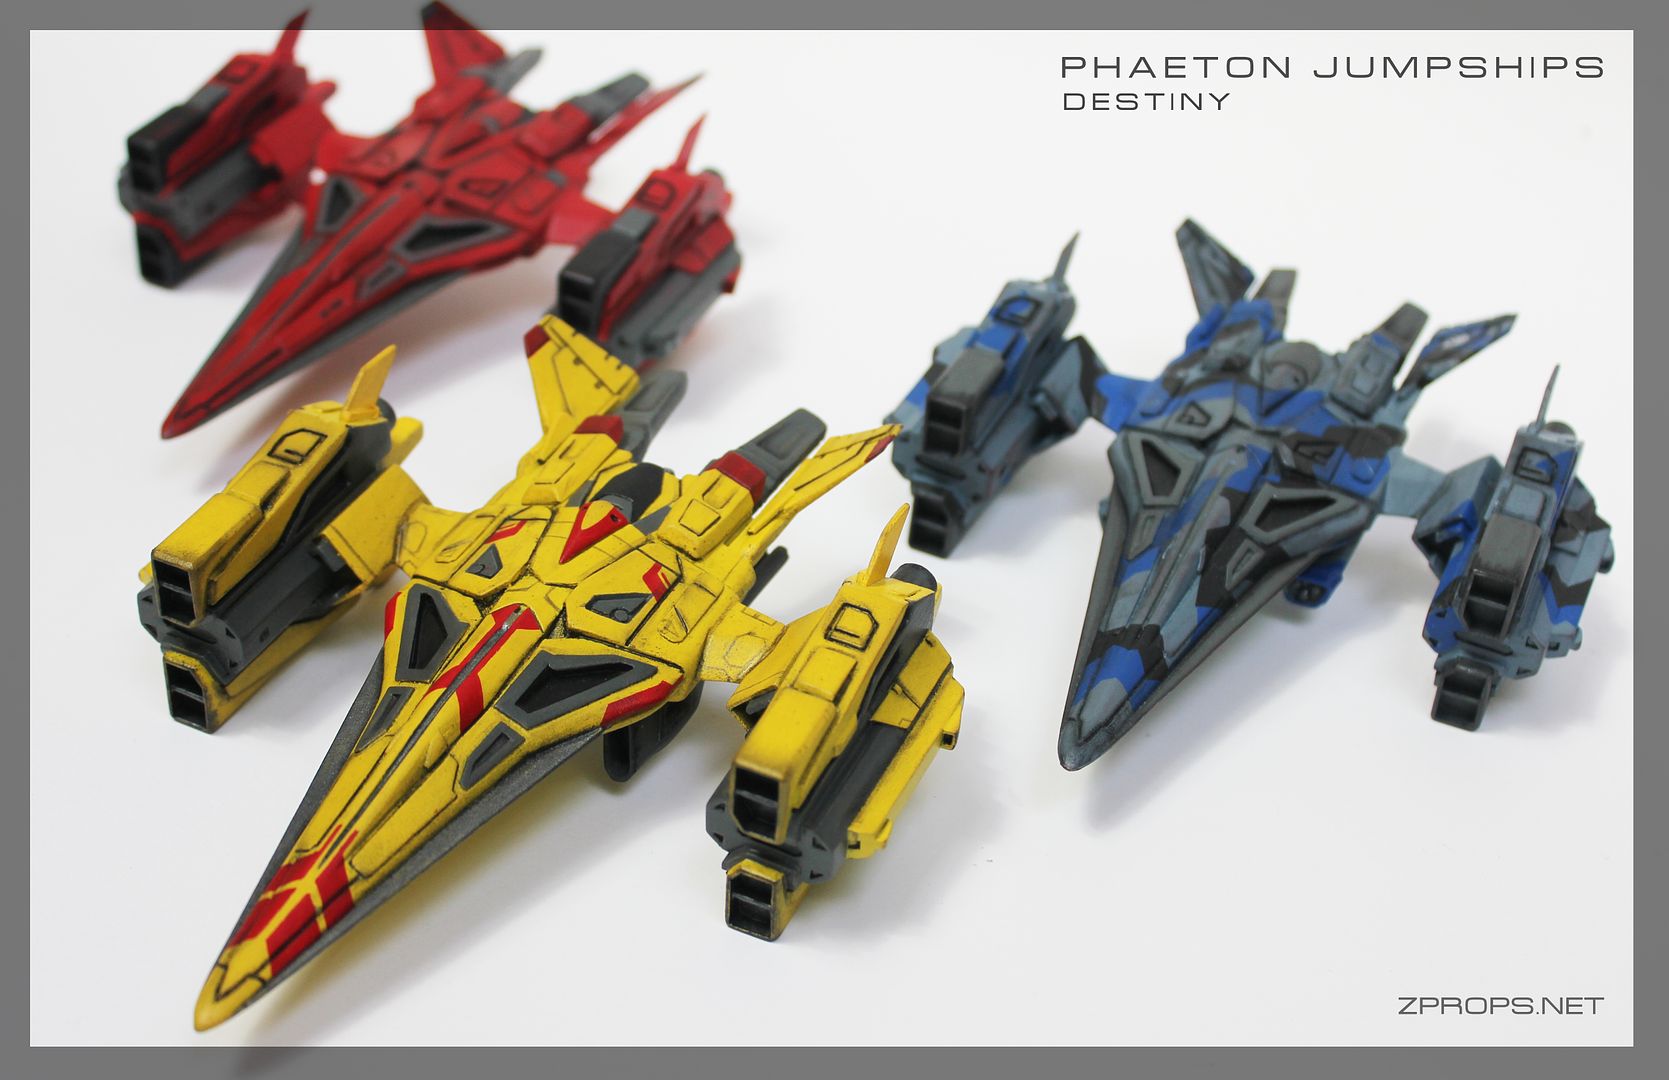
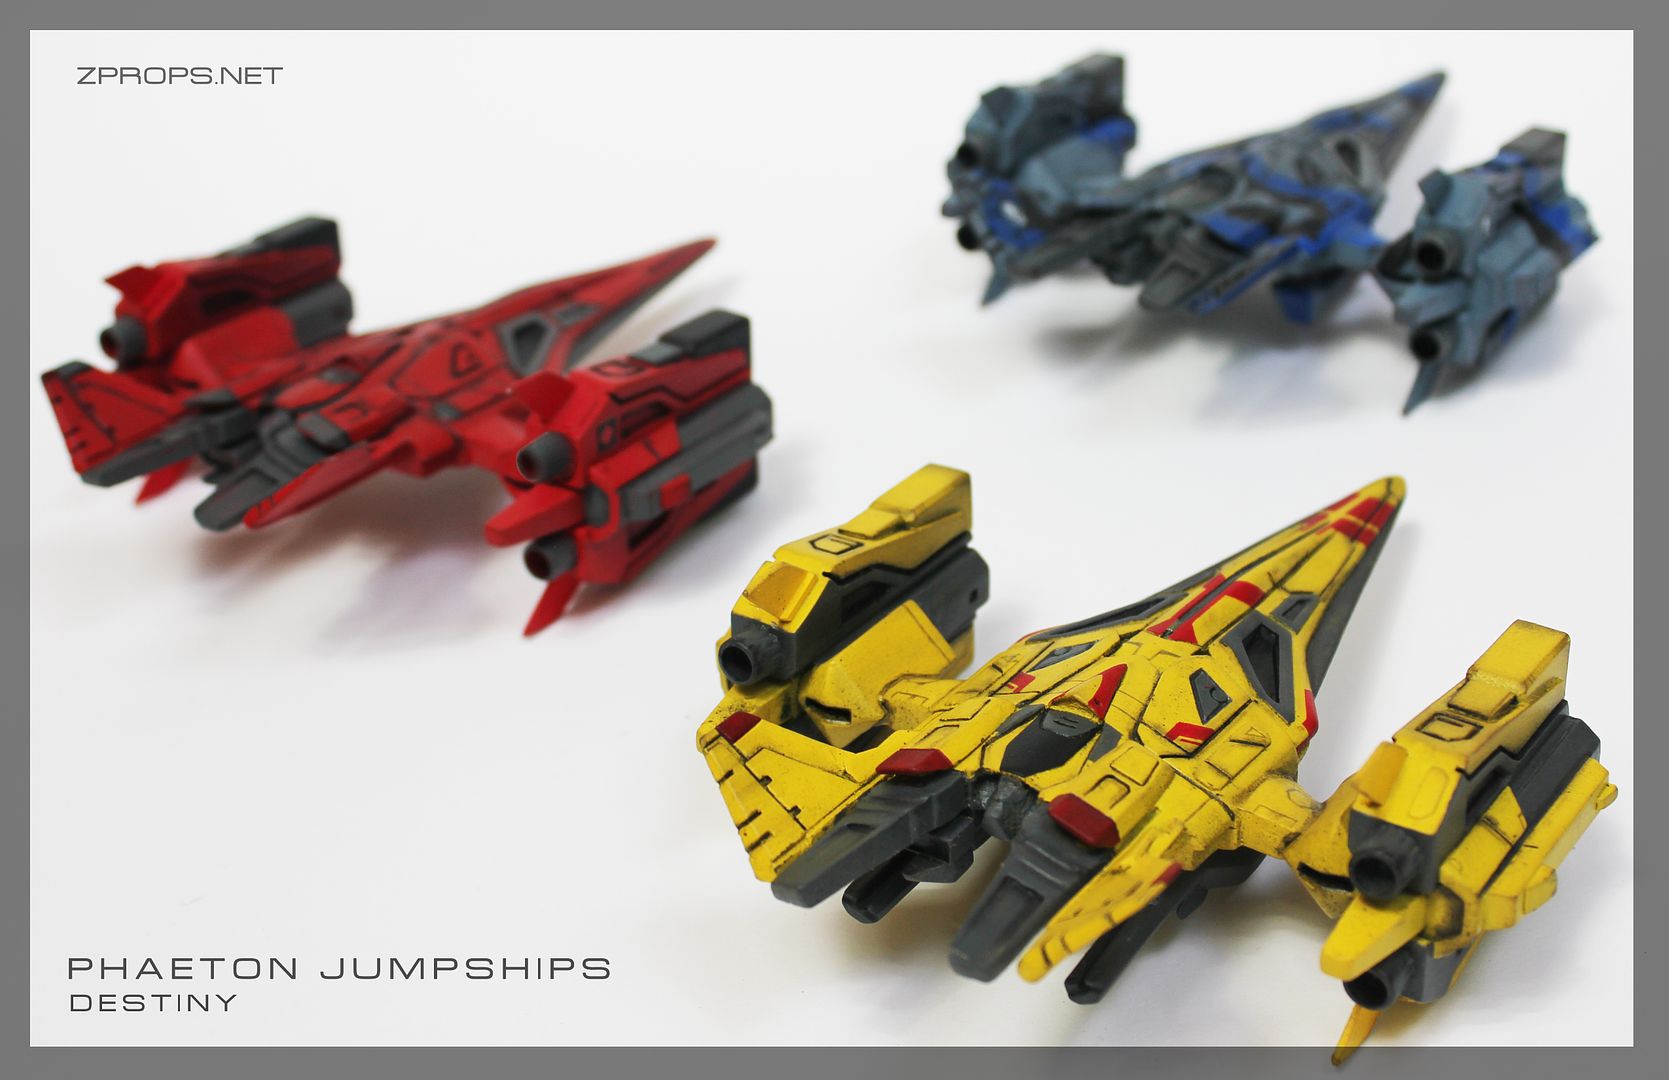
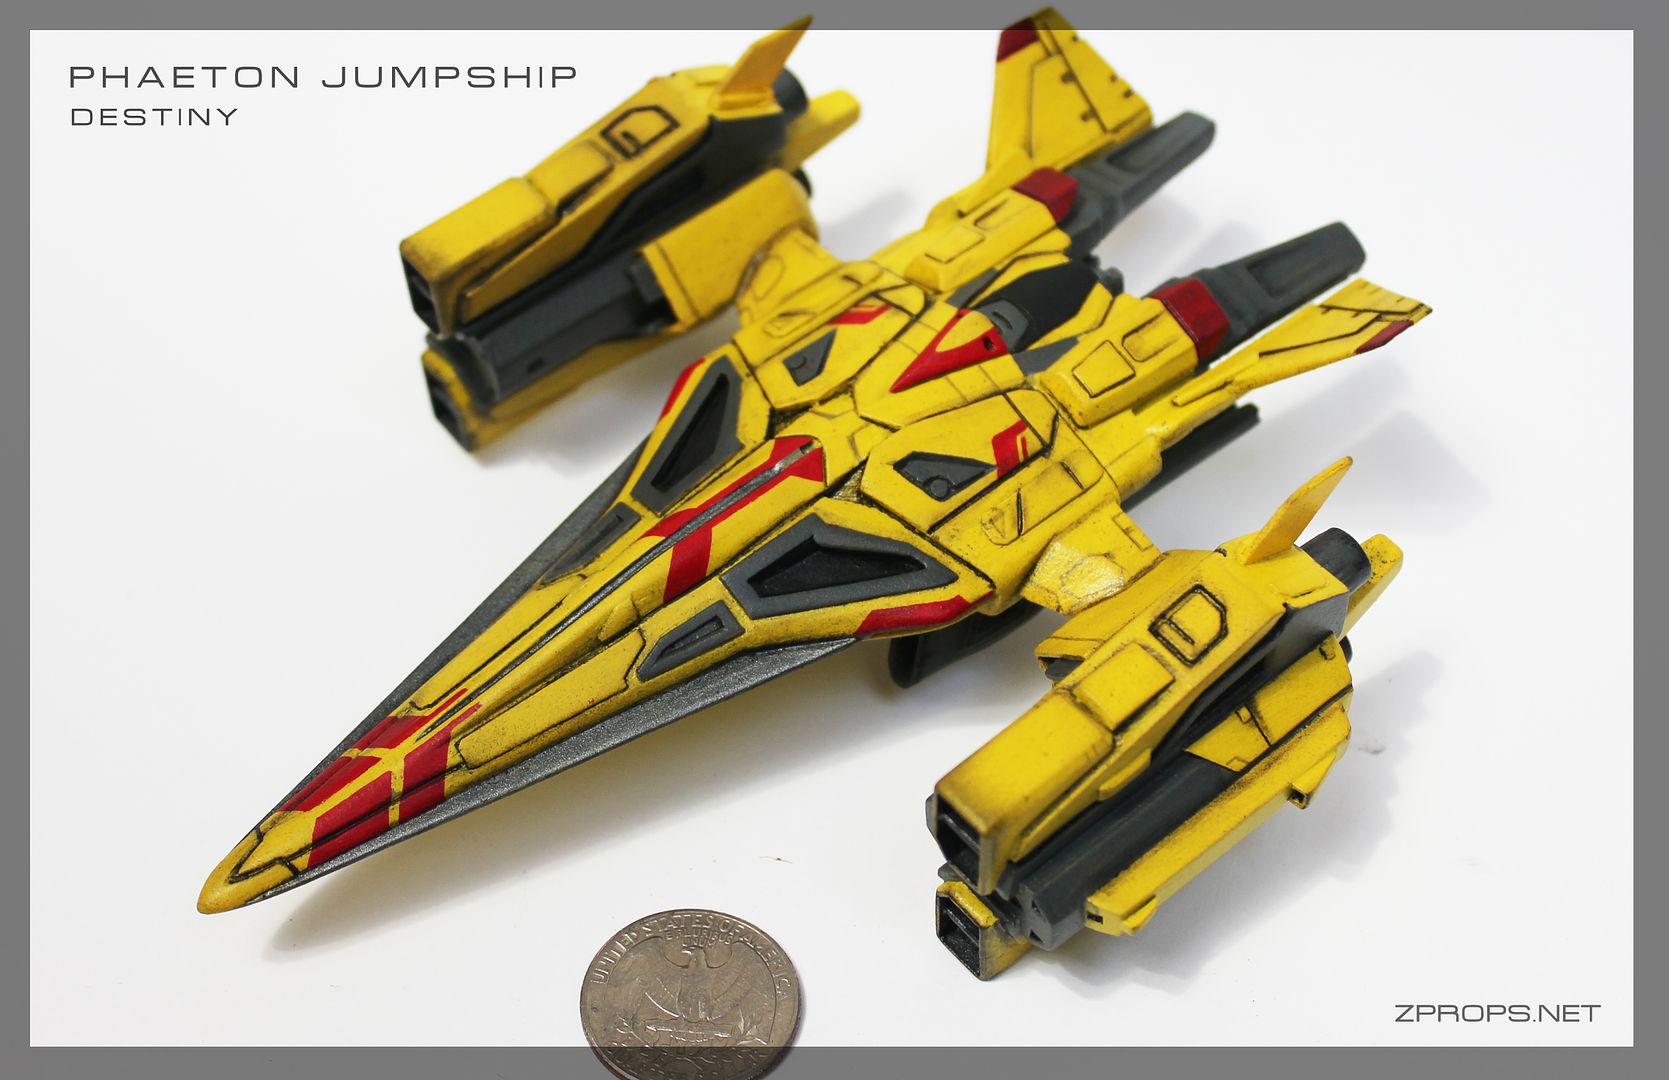
With the sheer amount of hand cannons I had been churning out since January, I decided I needed a change of pace. I decided to make a small set of jumpships from the Destiny universe, in a 5-6 inch scale much like the deluxe micro machine star wars vehicles from back in the day.
The ones that caught my attention were the aspect of glass, the kestrel class ships, and the phaeton class ships. With the kestrel class chassis being smaller and more complex, I started with the other two, which had similar engines anyways that I could share on both ship types. I began to make both ships, side by side, starting with engines from the "Aspect of Glass".
I got about 90% of the chassis done, but then decided I wanted to finish the phaeton class chassis first. The Phaeton engines would have been relatively easy to sculpt, but a complete pain to cast/replicate. The resulting ship is a hybrid of the two.

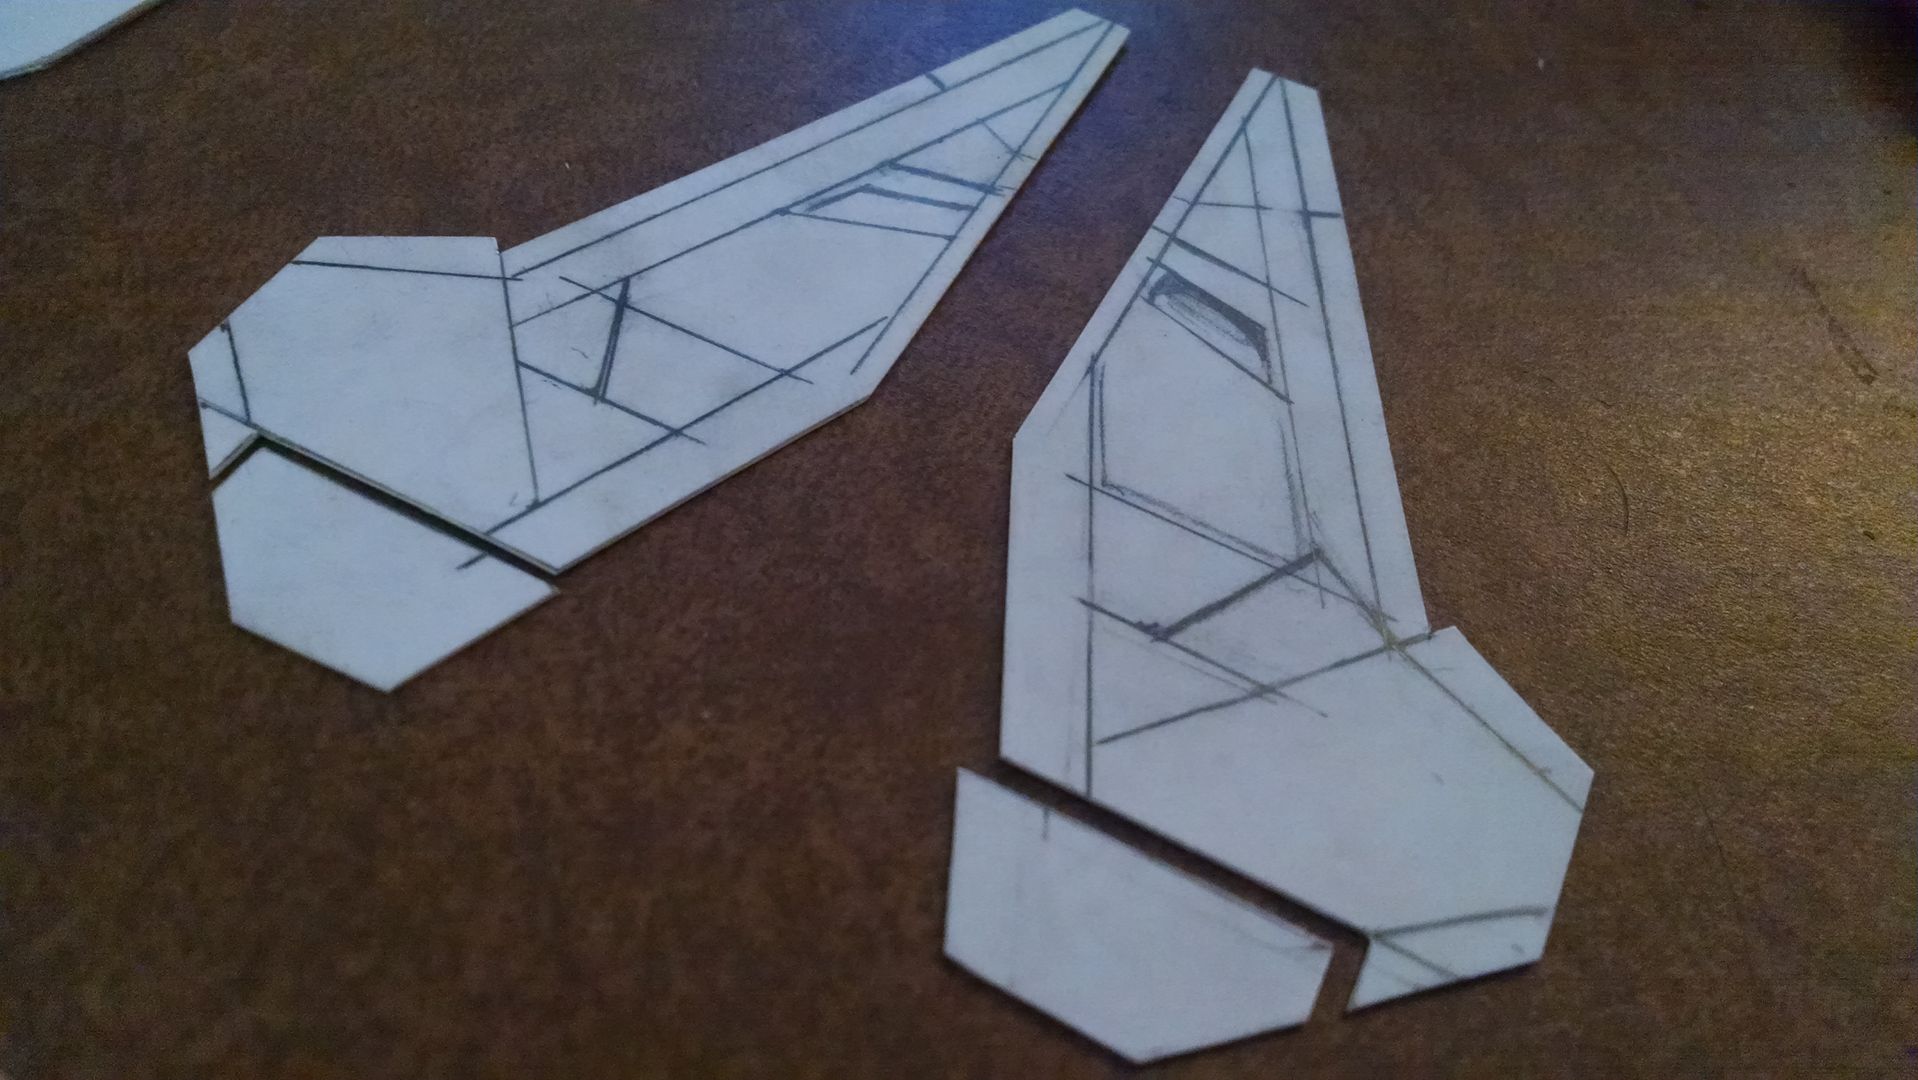
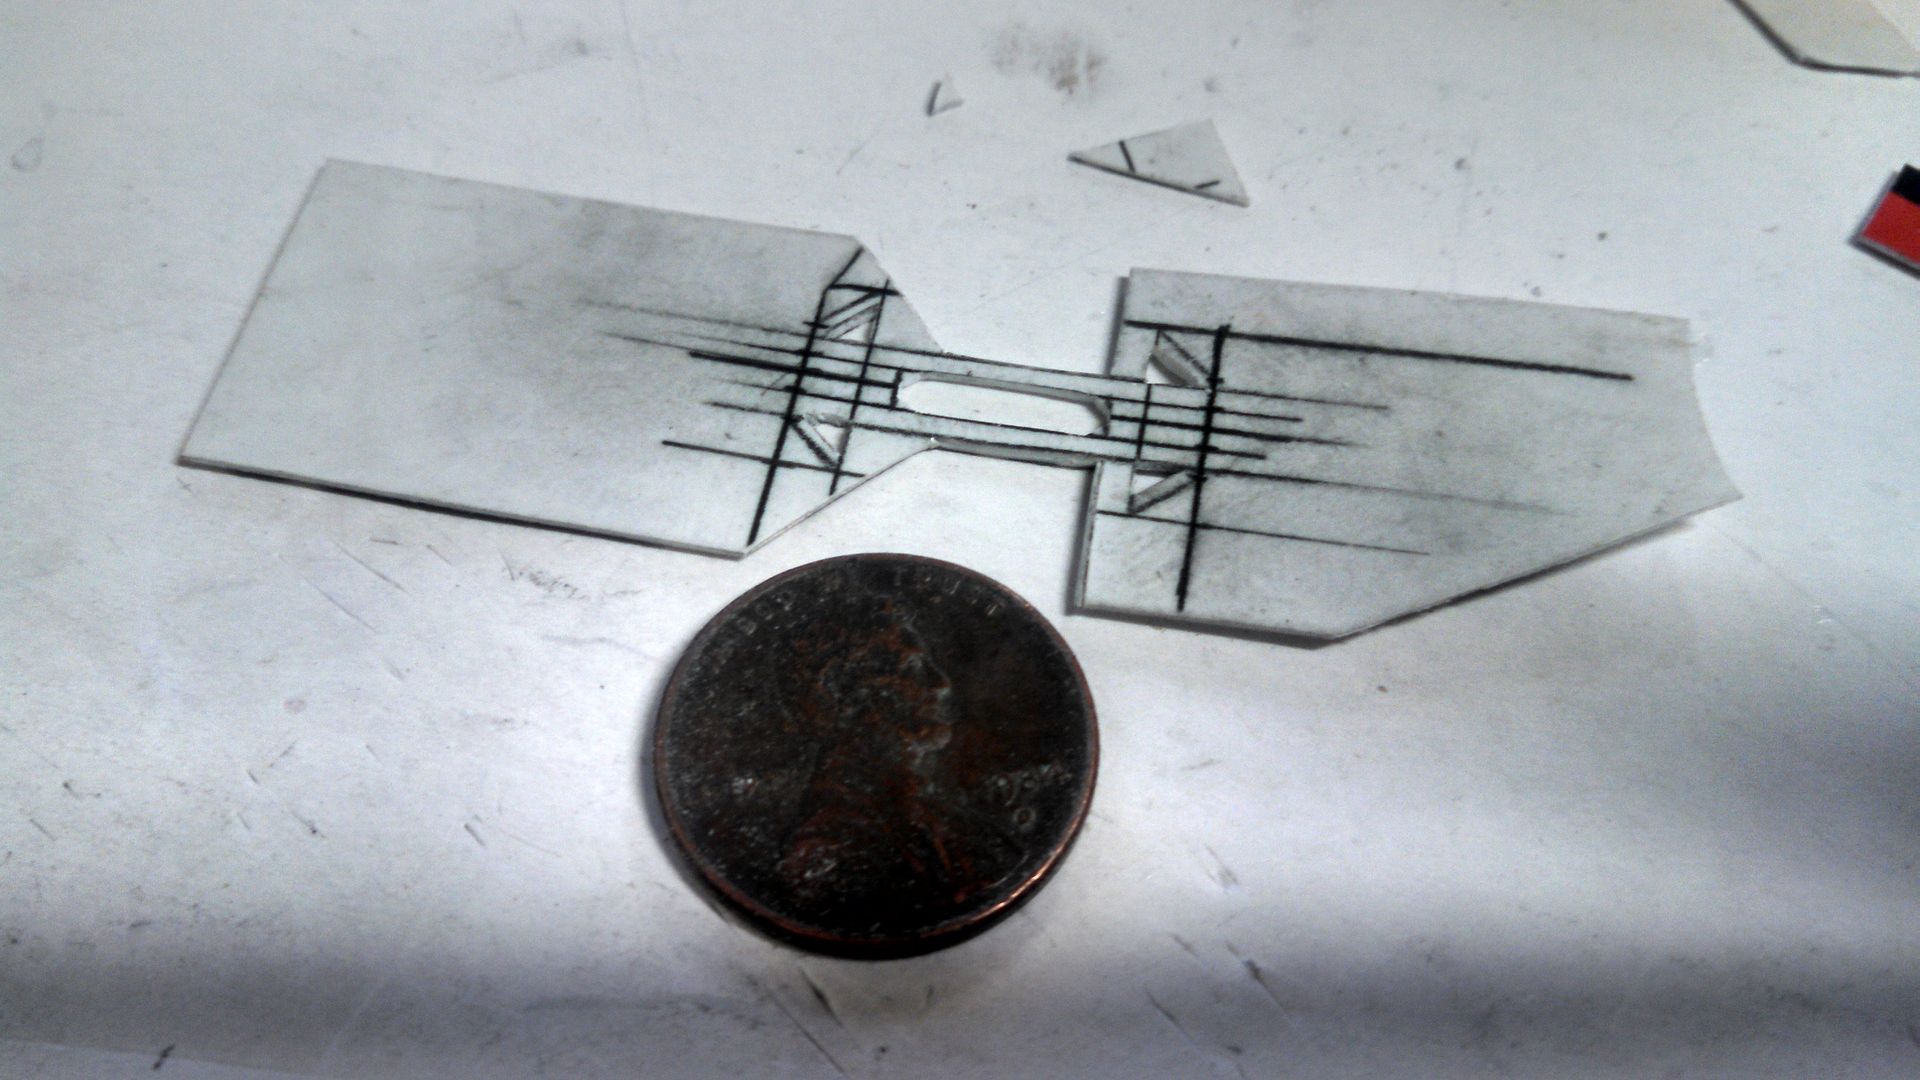
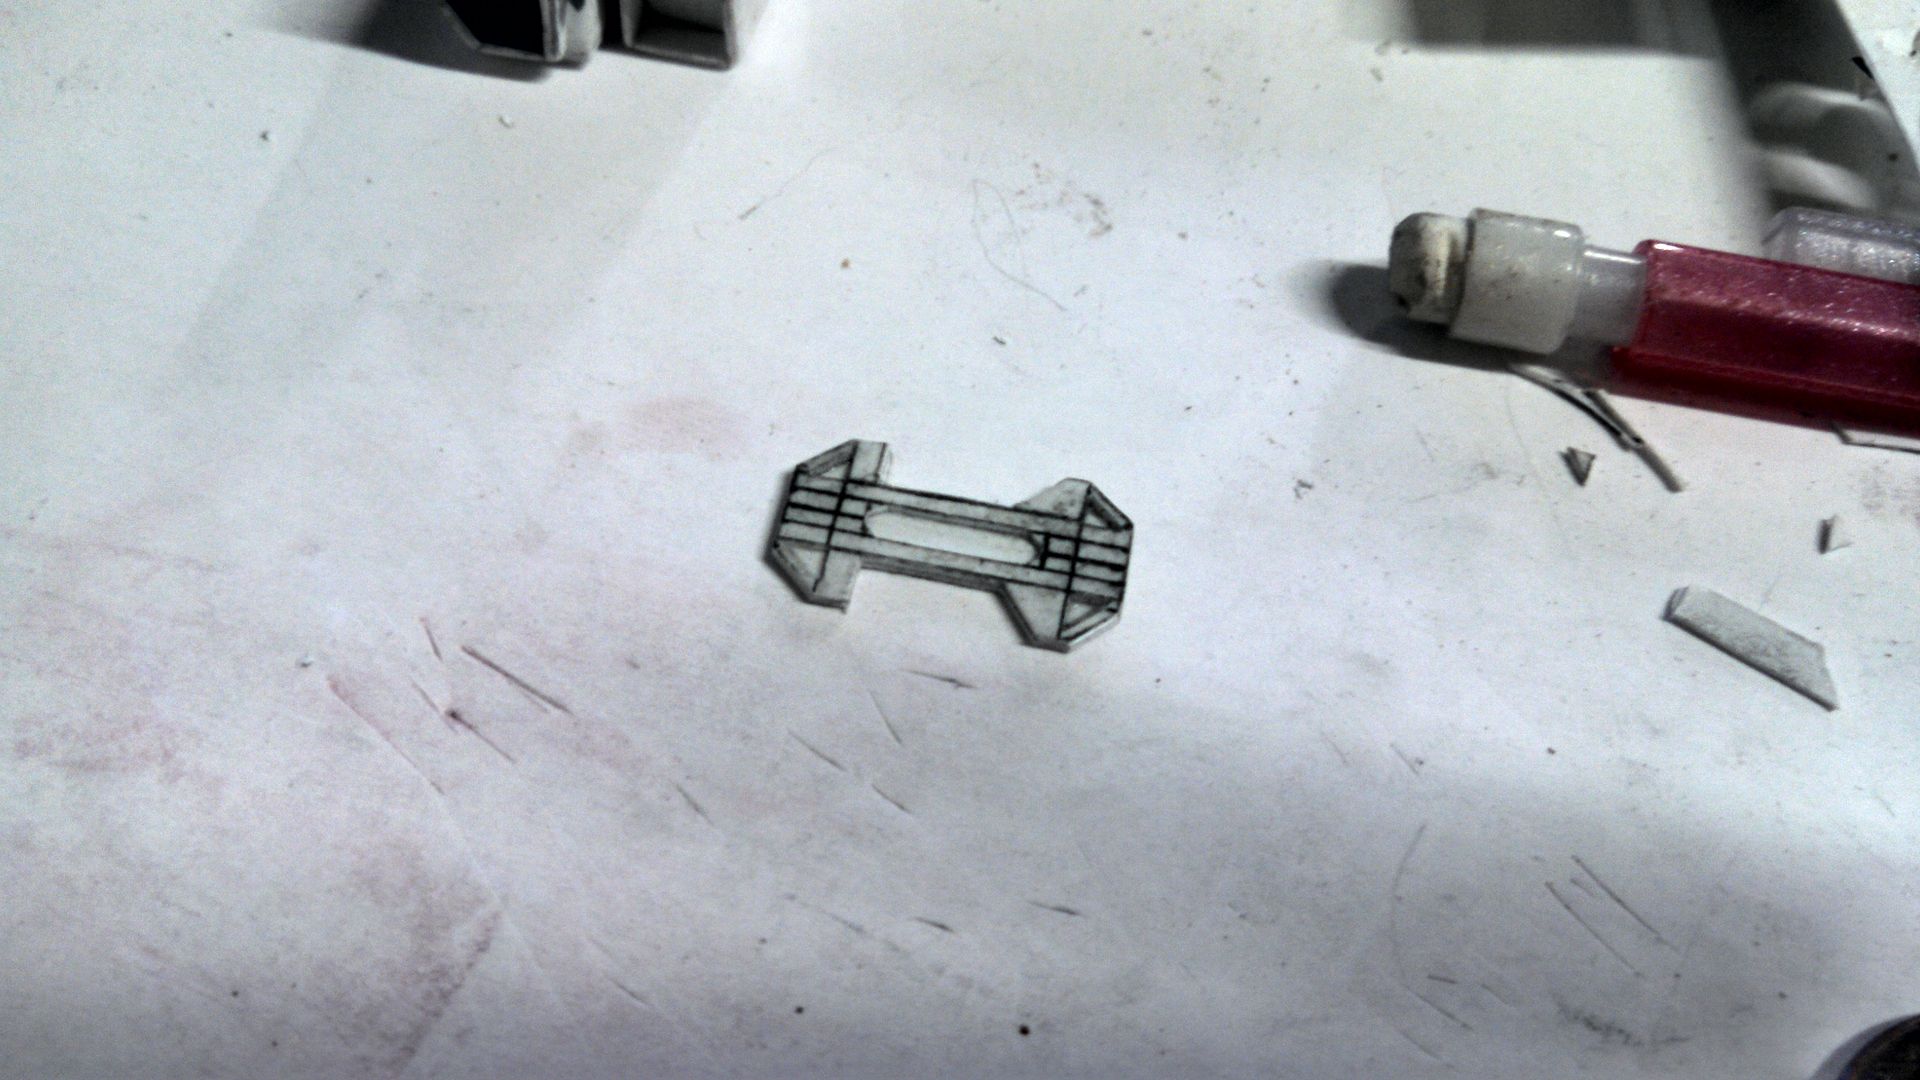
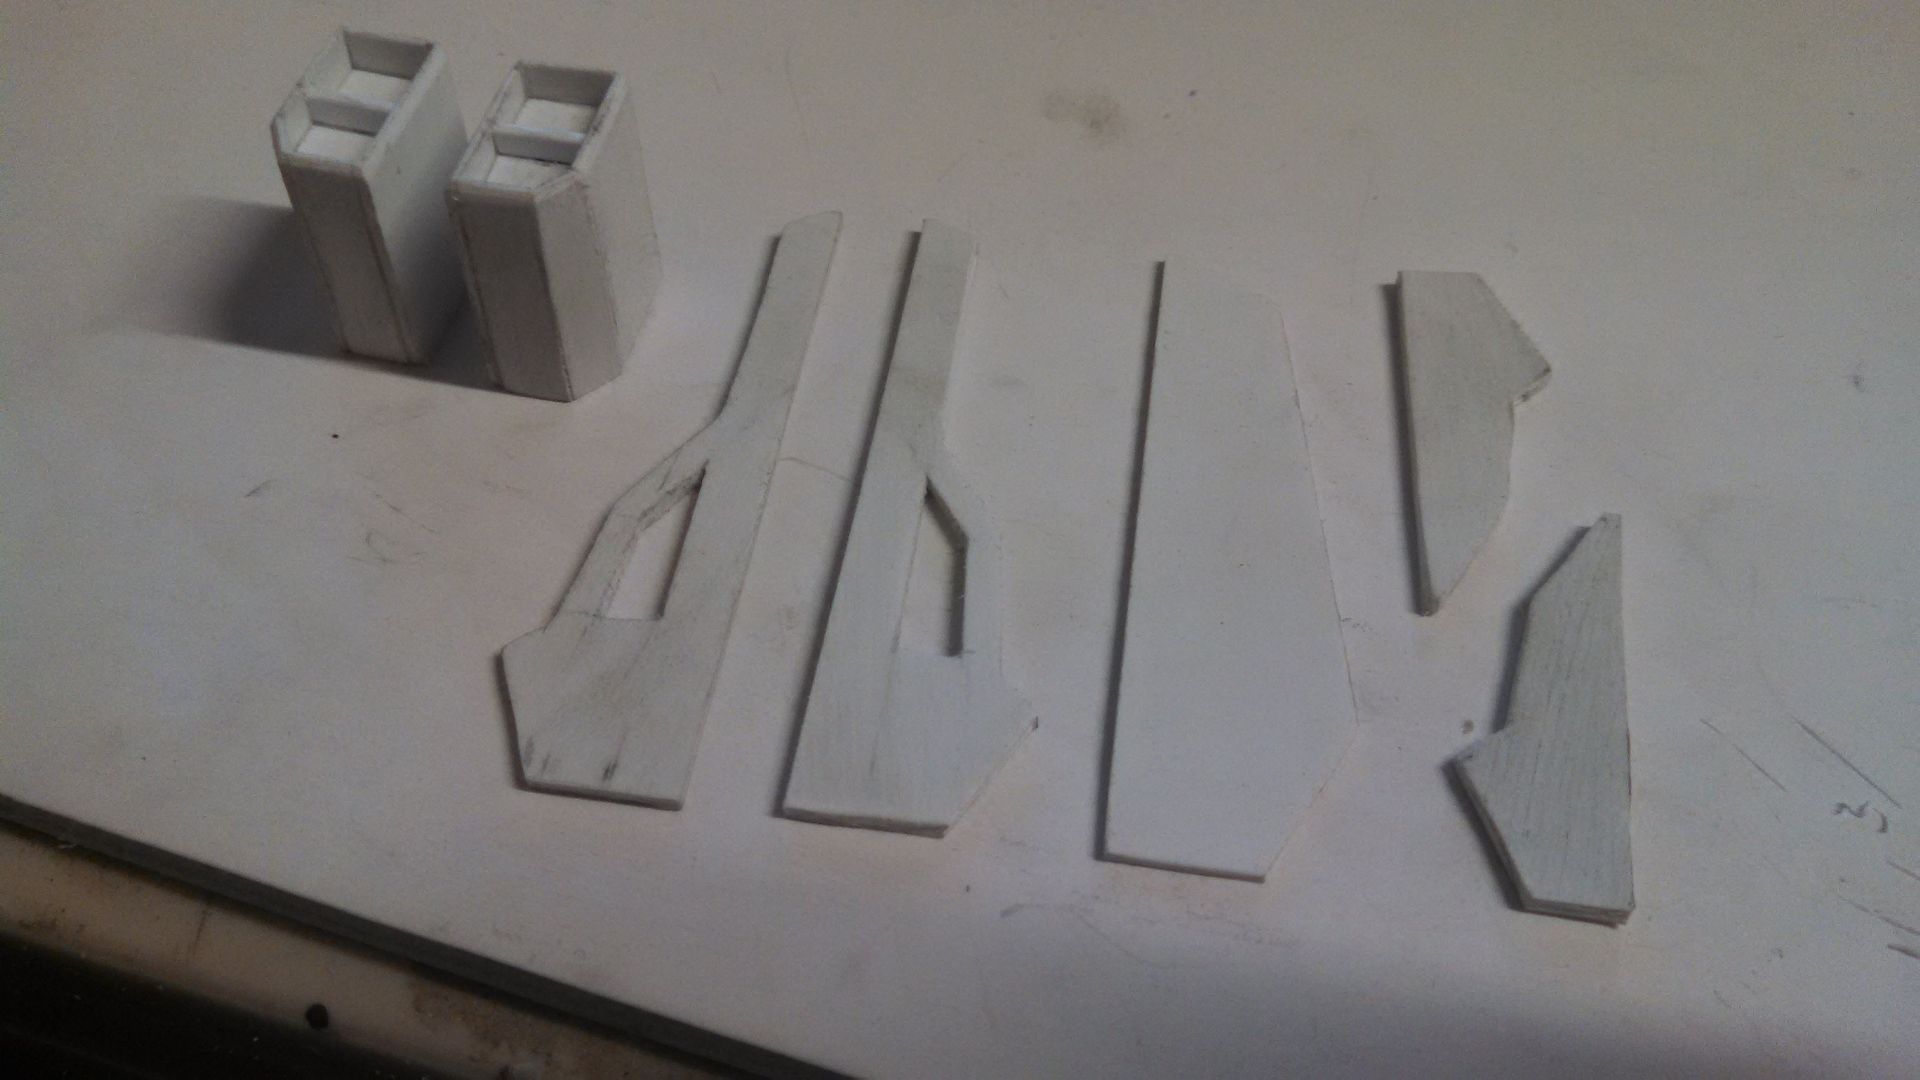
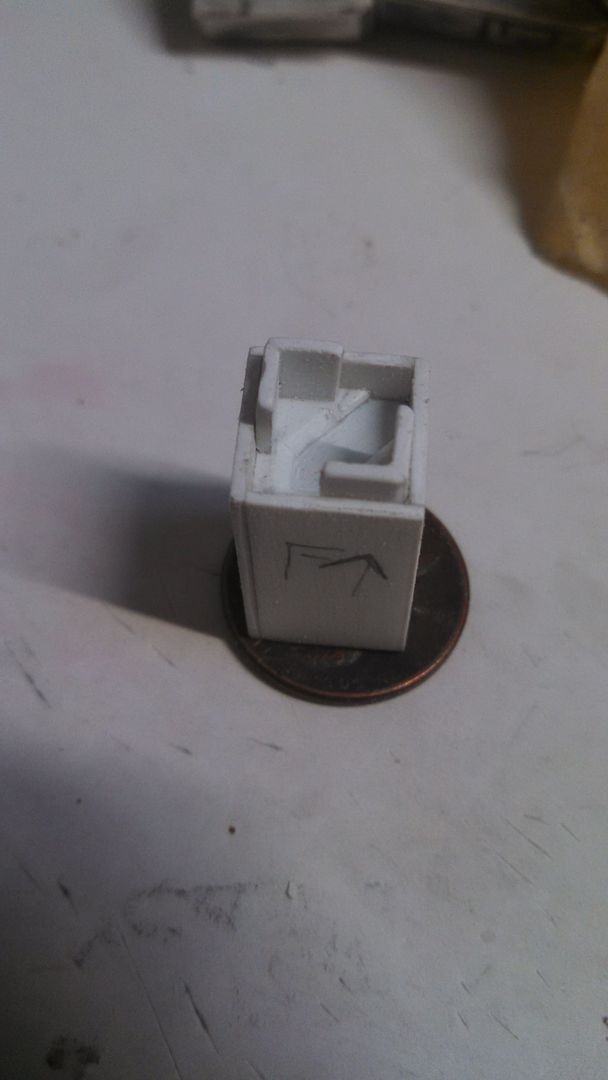
I started off cutting out the tiny styrene bits for the engines.

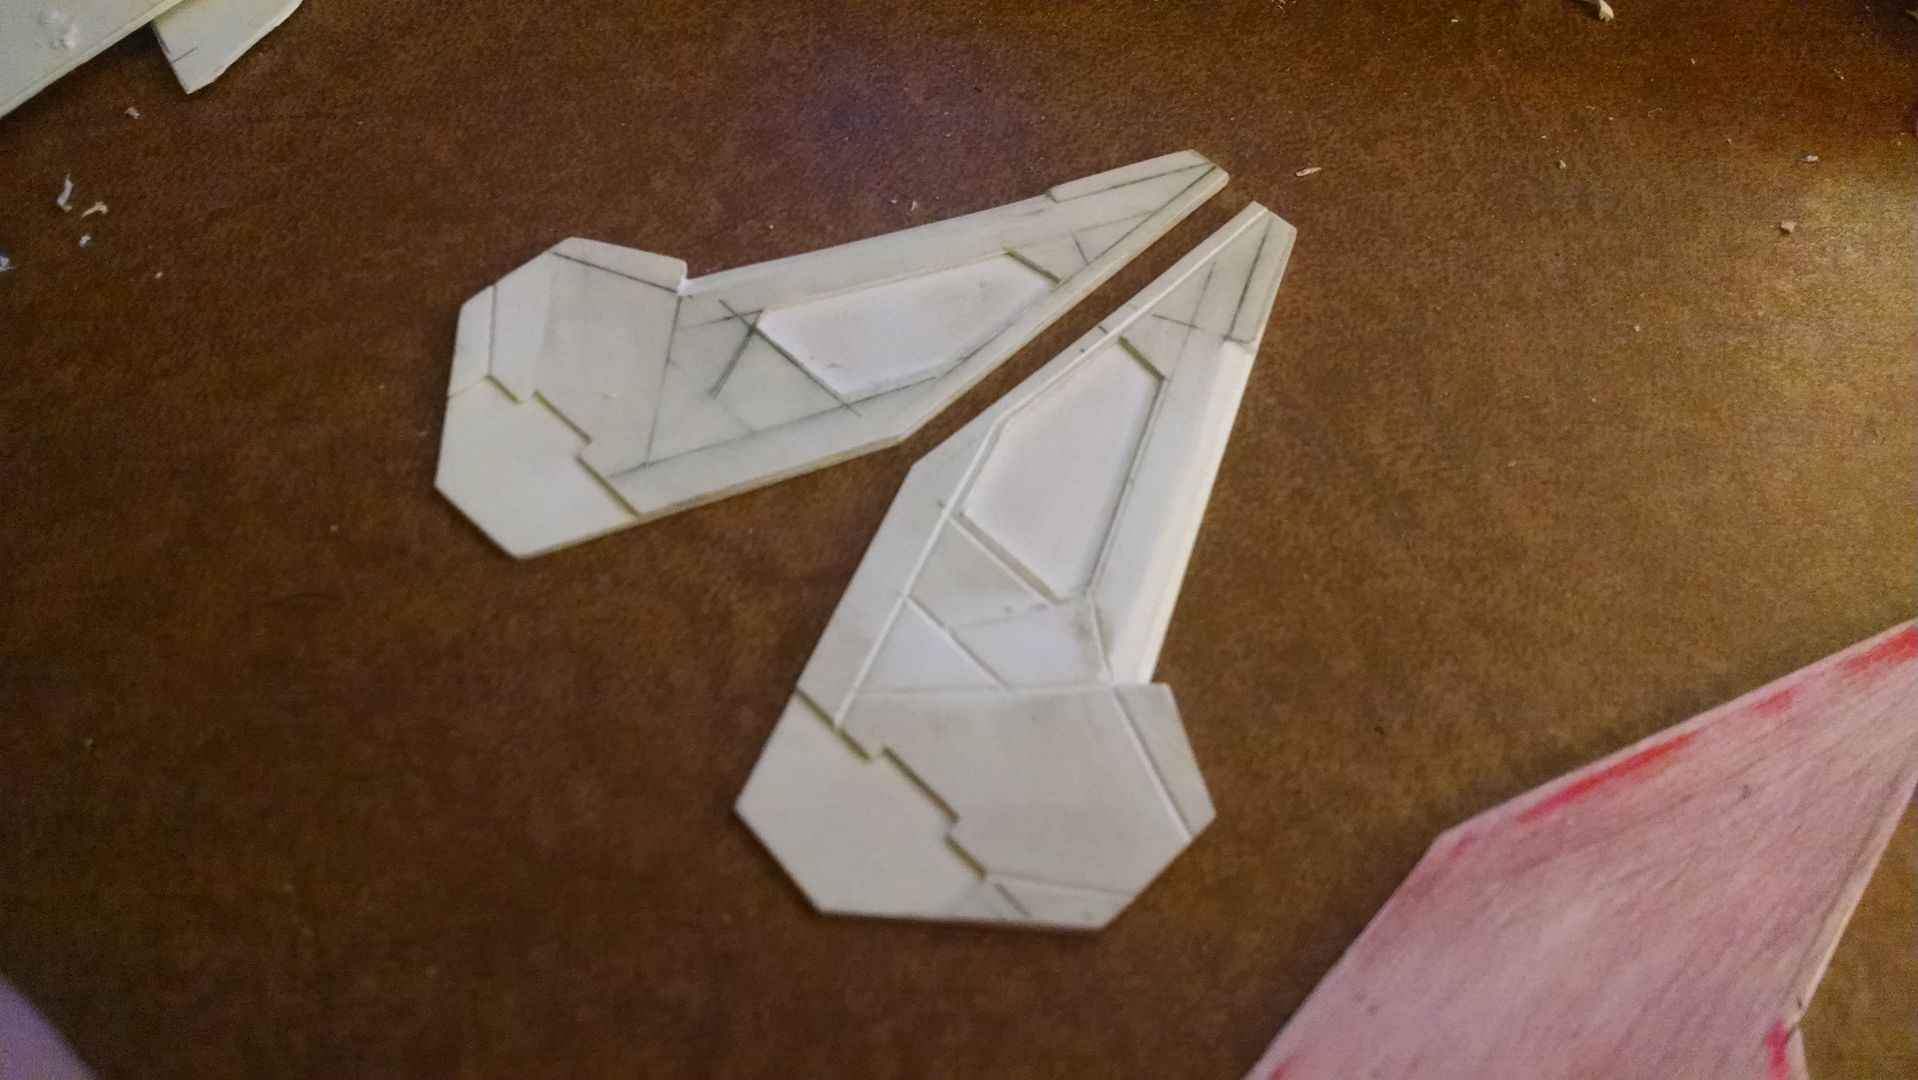
Some of these layers are fairly thick, so I had to laminate certain thicknesses together to get a "stepping" effect between panels.

When I had two sets, I carefully assembled them with super glue.
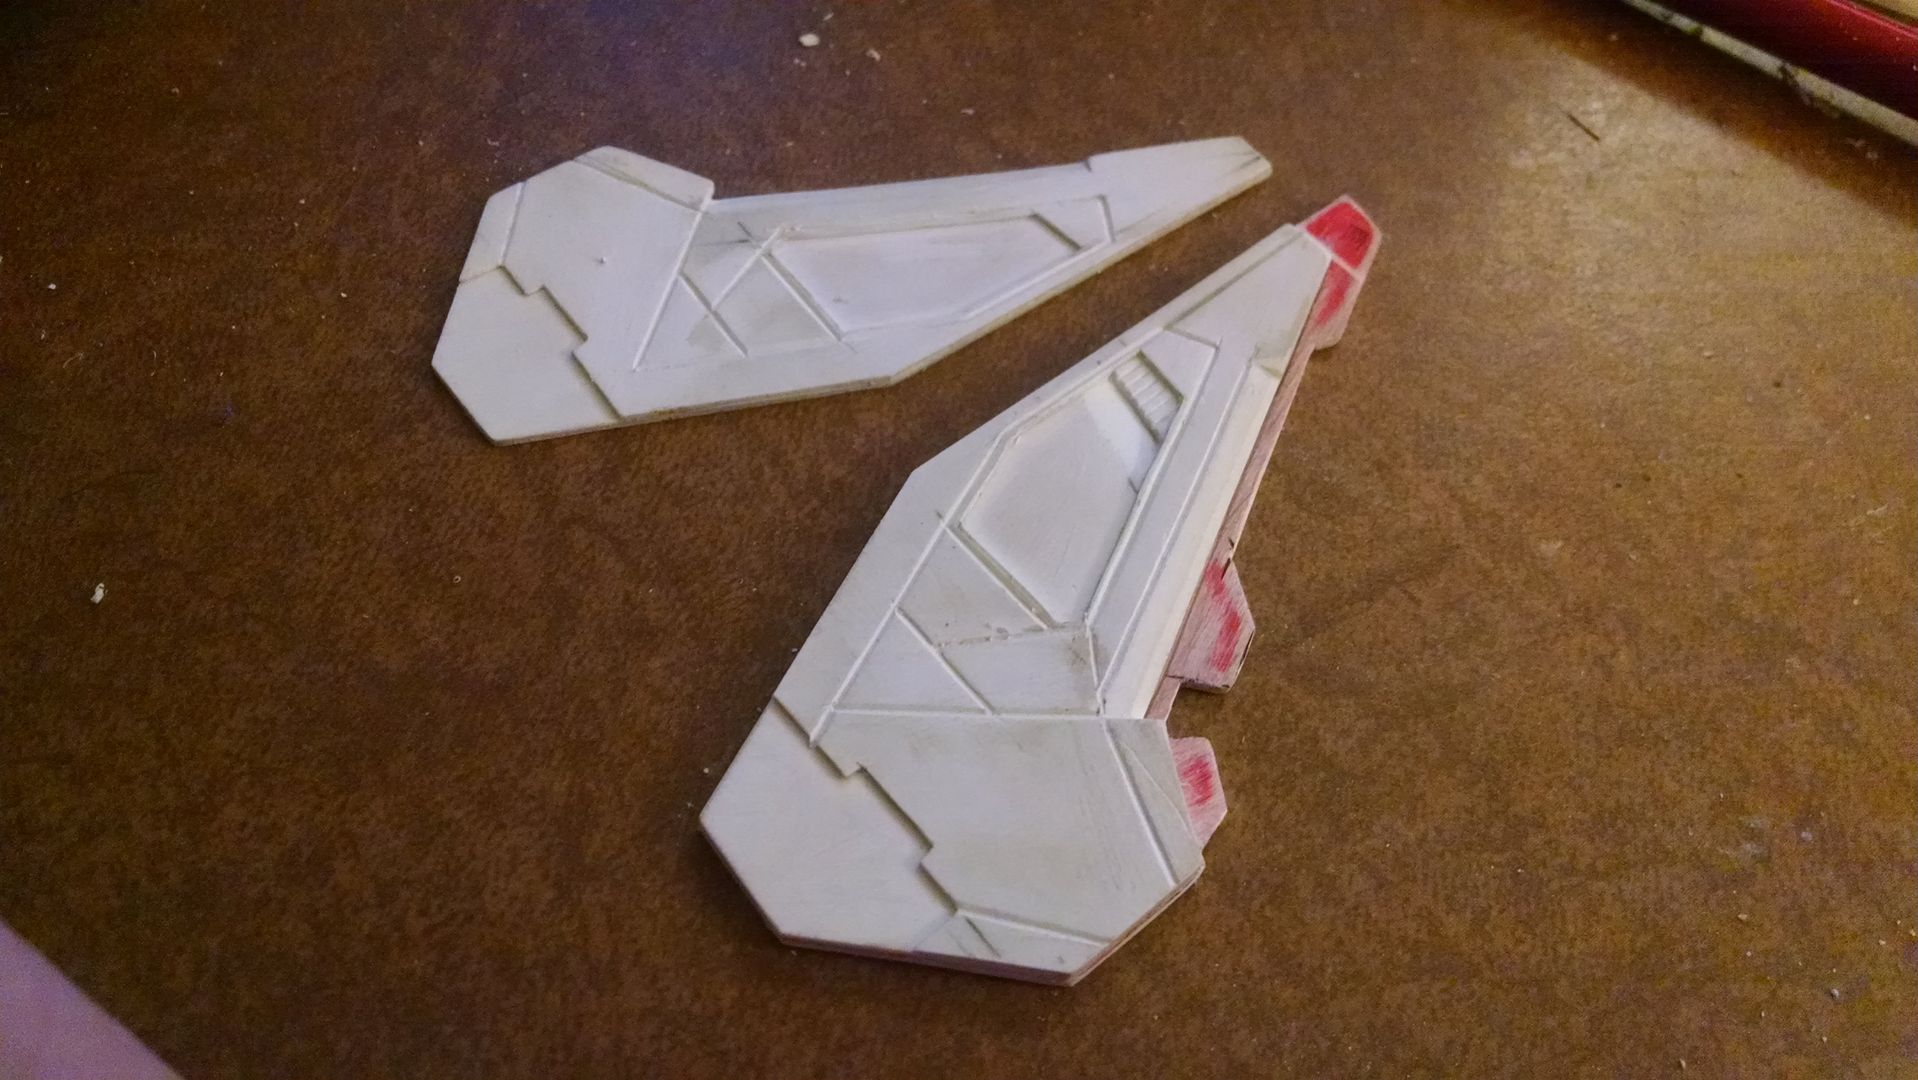
Details were added, and all beveling on the corners were done carefully with an Exacto knife.

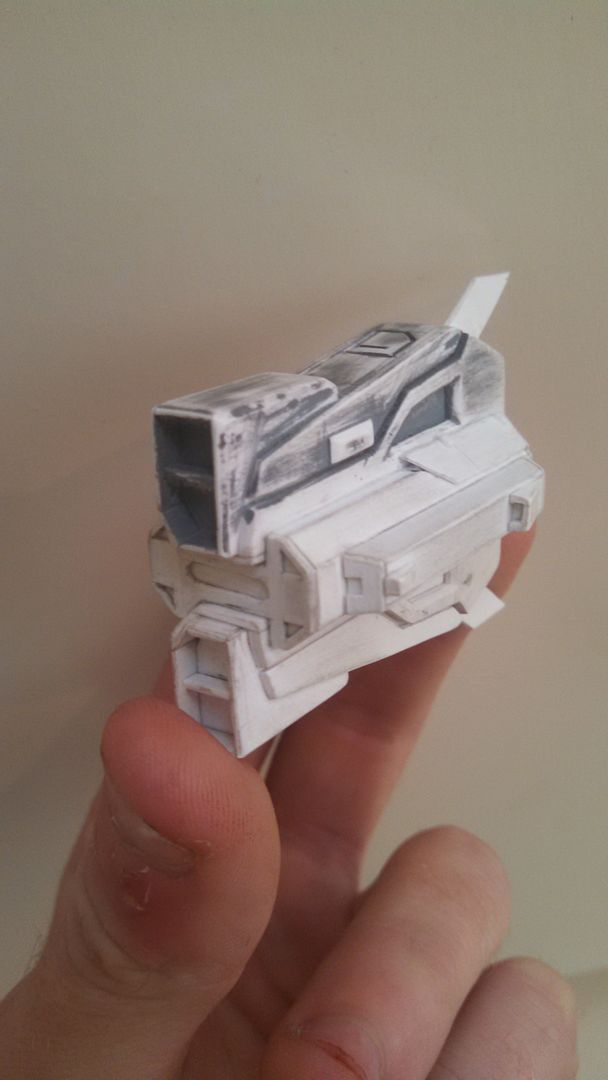
Unfortunately, the intakes and details weren't symmetrical so I didn't bother casting one engine any trying to modify one into the opposite side. I simply just built them both up.


It was a tedious but rewarding process.

This little intake scoop goes between the engine and the pylon, and I even beveled the tiny insert that sits deep inside.

For the final touch, I added the remaining panels and fins! Its so cute and tiny.

For the first time, I decided to try and build upon a 3D print. Well, I guess it technically isn't the first time since I did that for the
Hawkmoon, but that was built off someone else's work and I certainly hadn't planned it from the get-go. This one would be all me and have my name on it
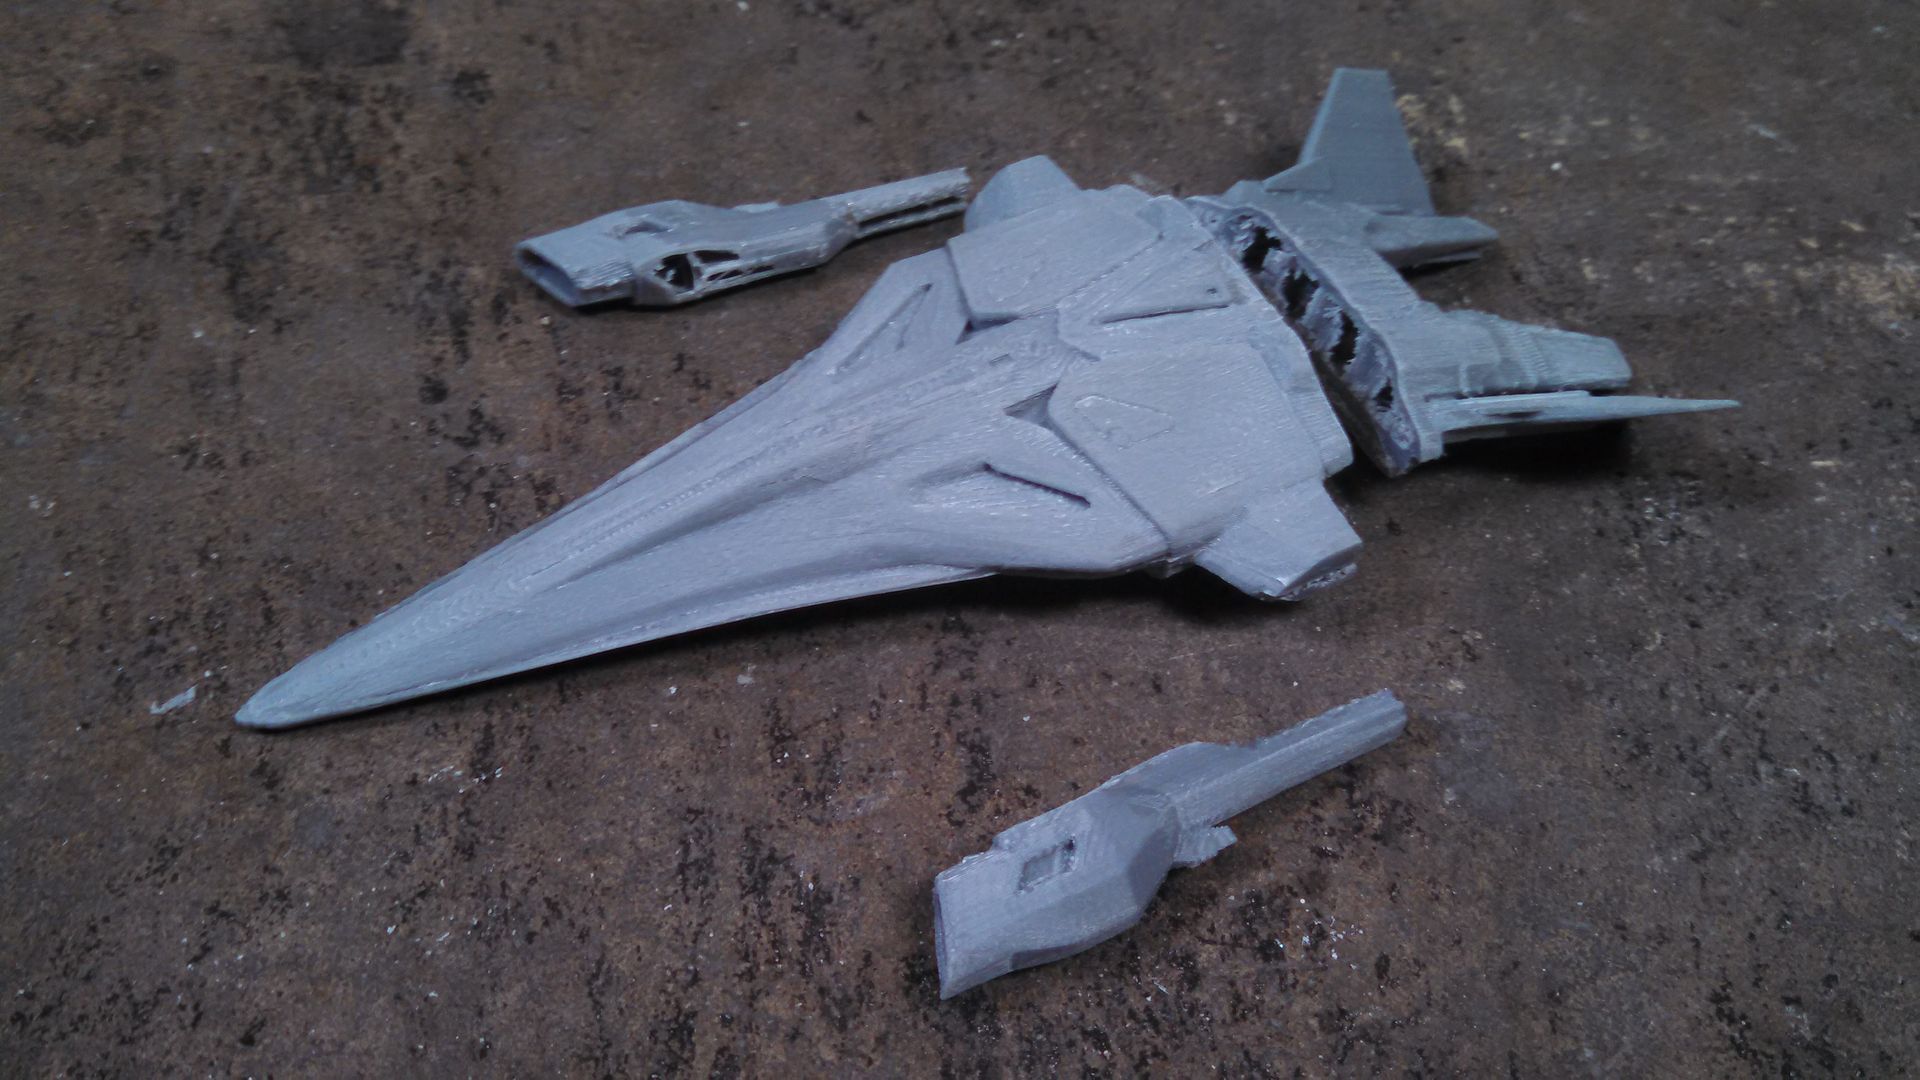
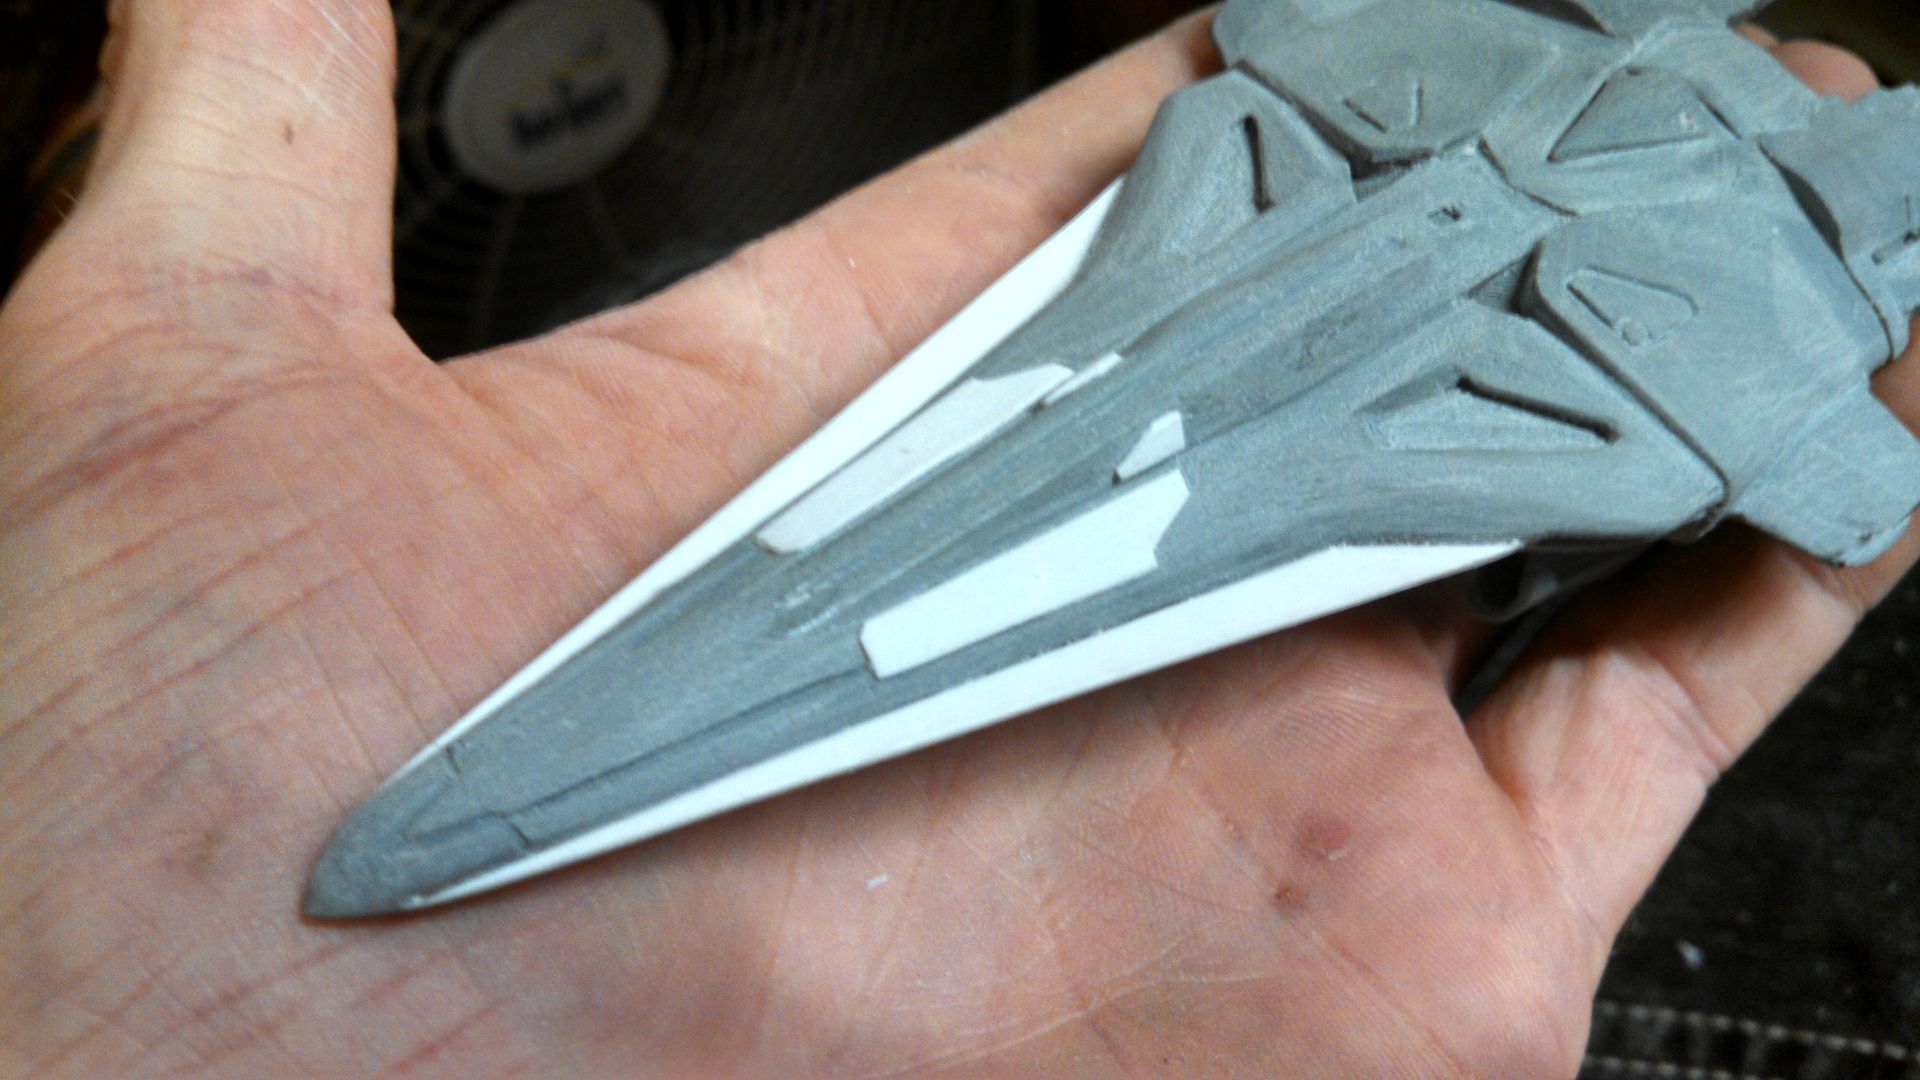
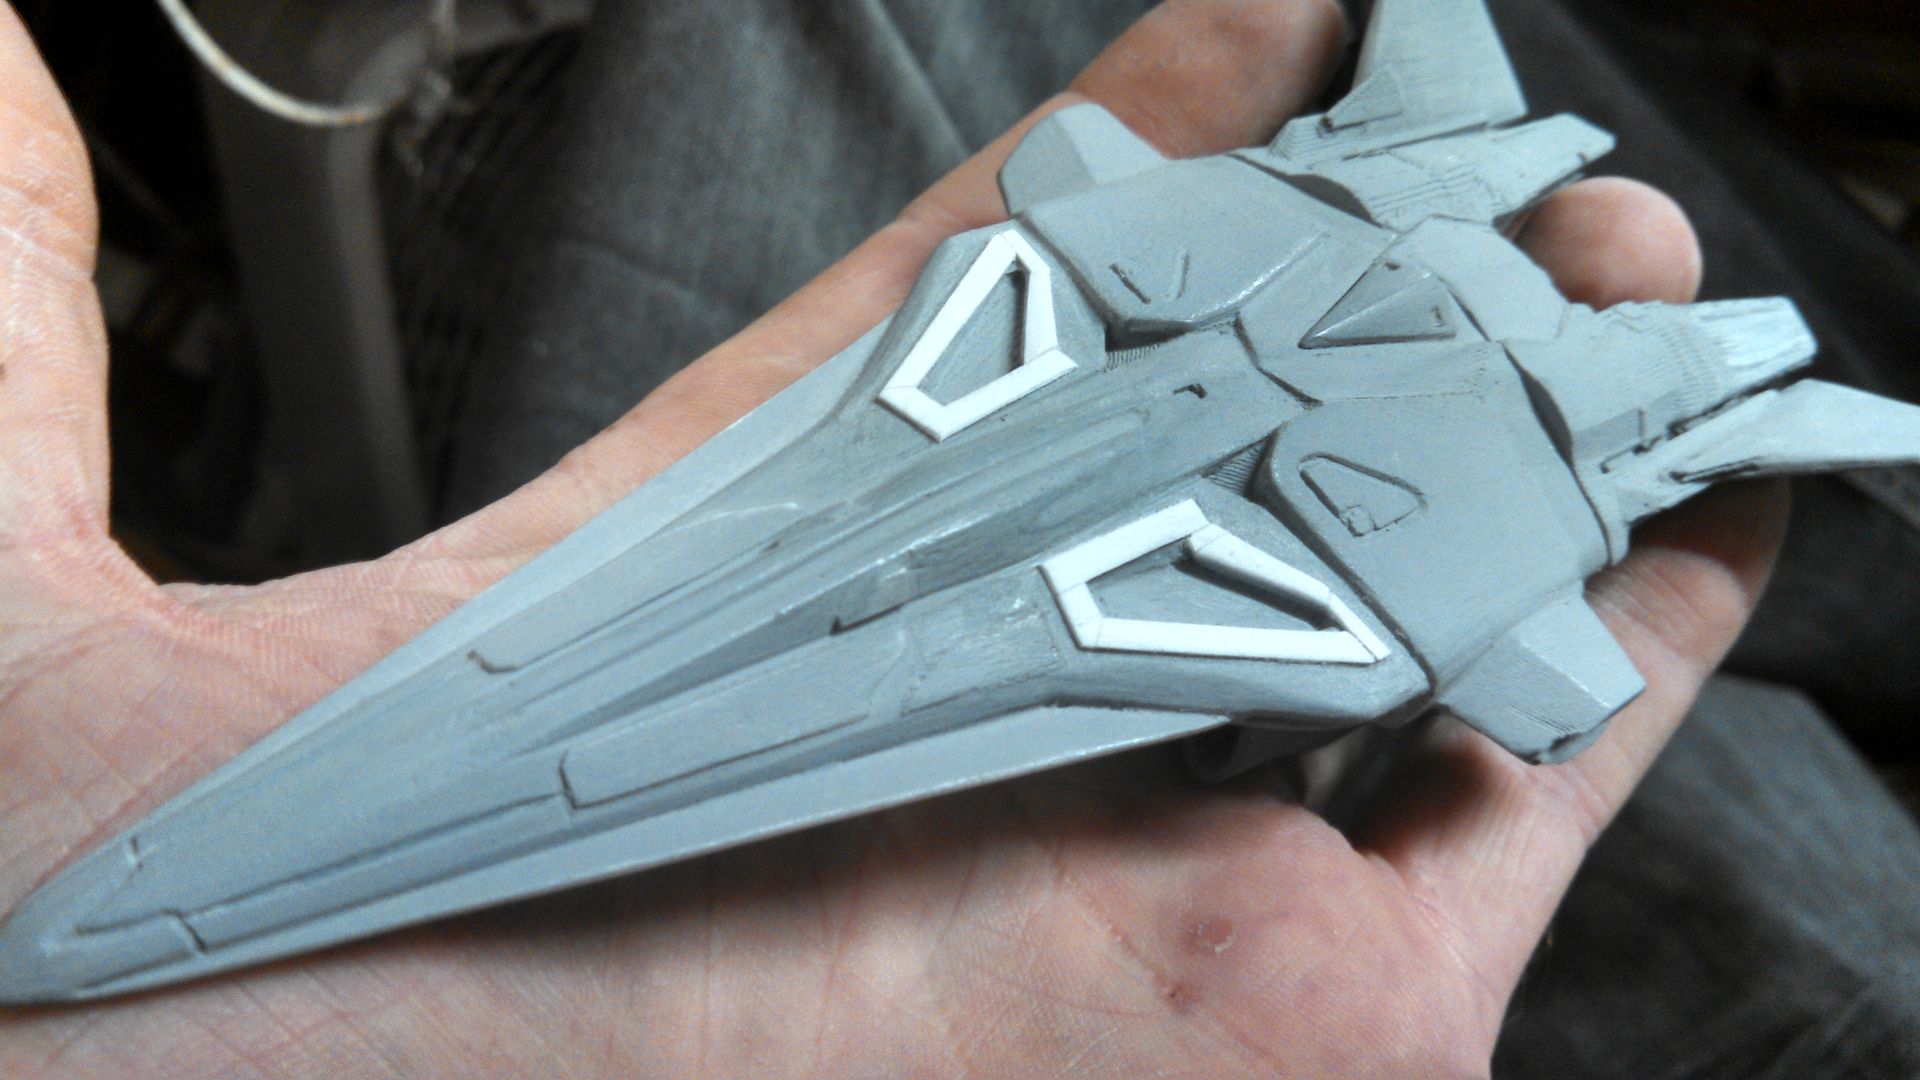
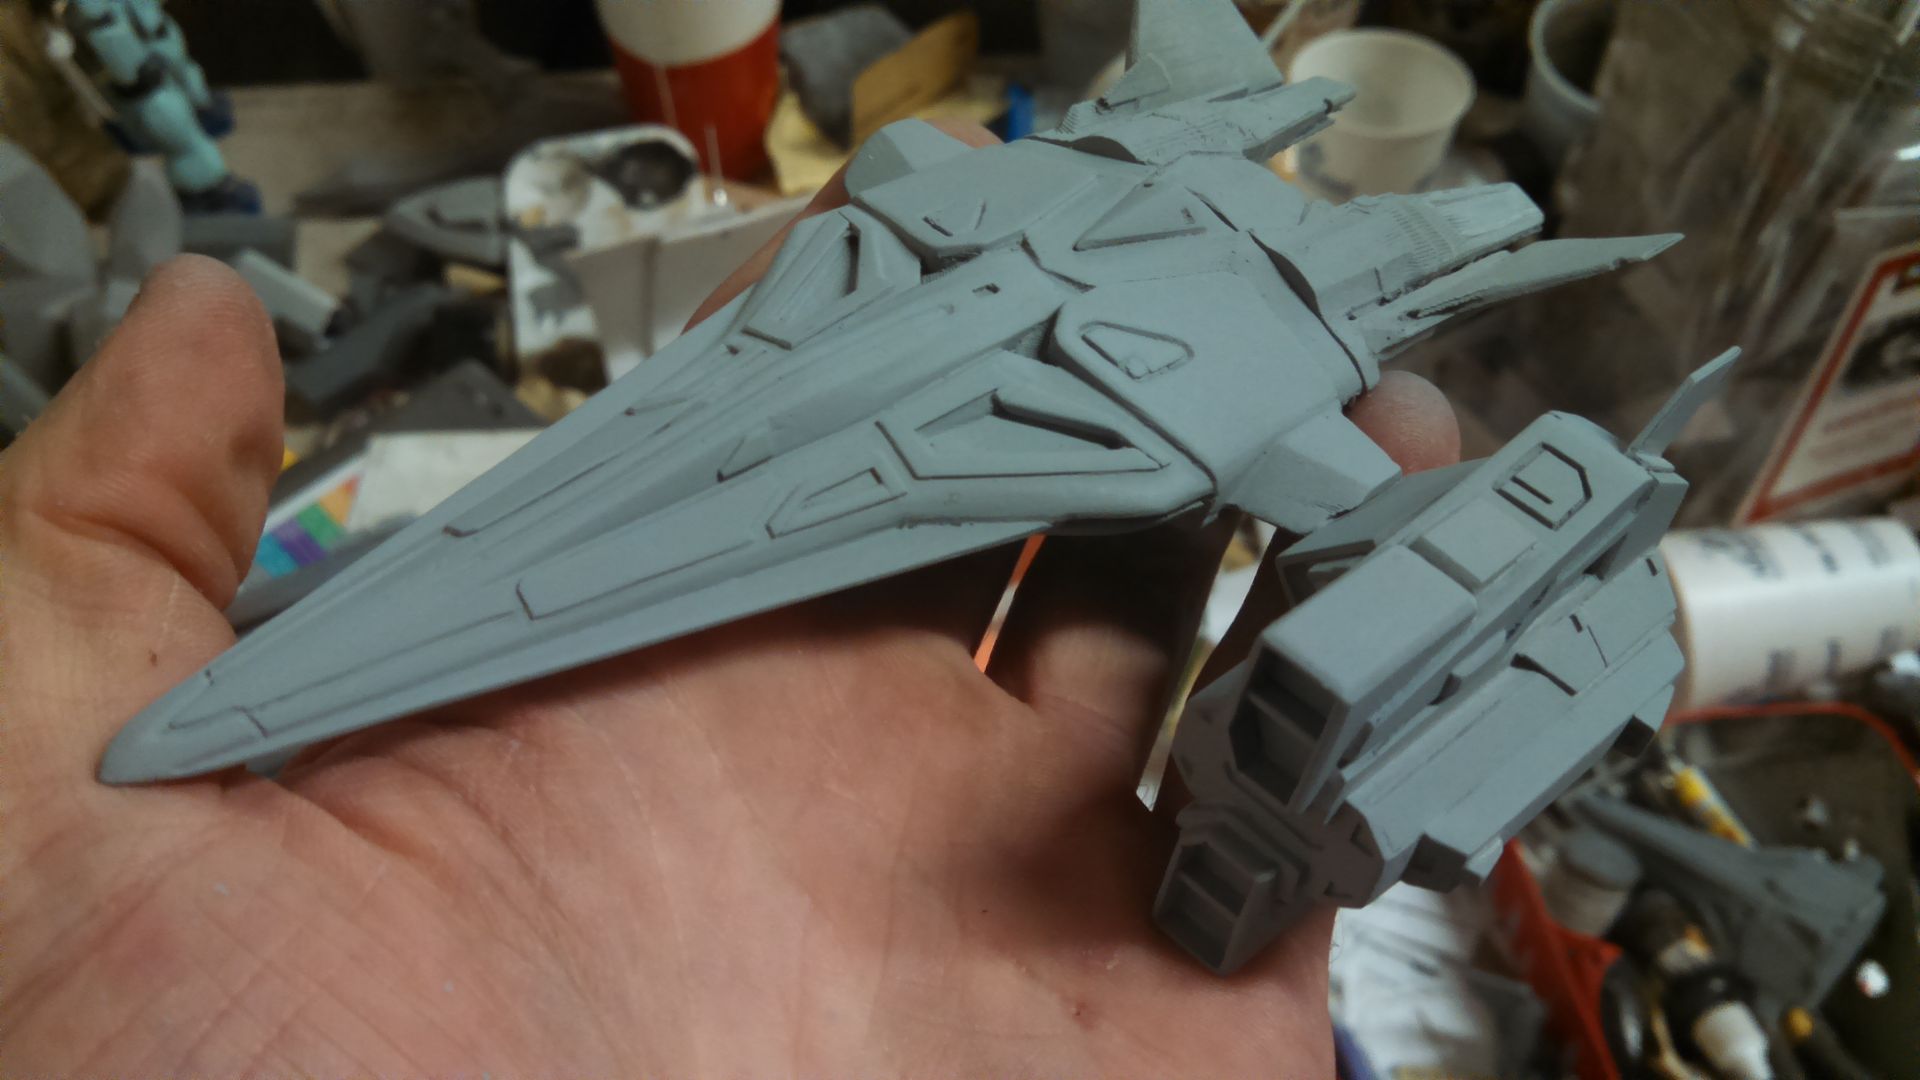
I purchased this 3D print off someone on Etsy, which is just a two part print from the low poly game file. I could have spent a year trying to sand it down to perfection, Or I could do the sensible thing and hack off the side engines, cut the chassis in two, hack off the bottom engines, and cast the thing in resin to get it out of PLA as fast as humanly possible.
 |
| Oops. |
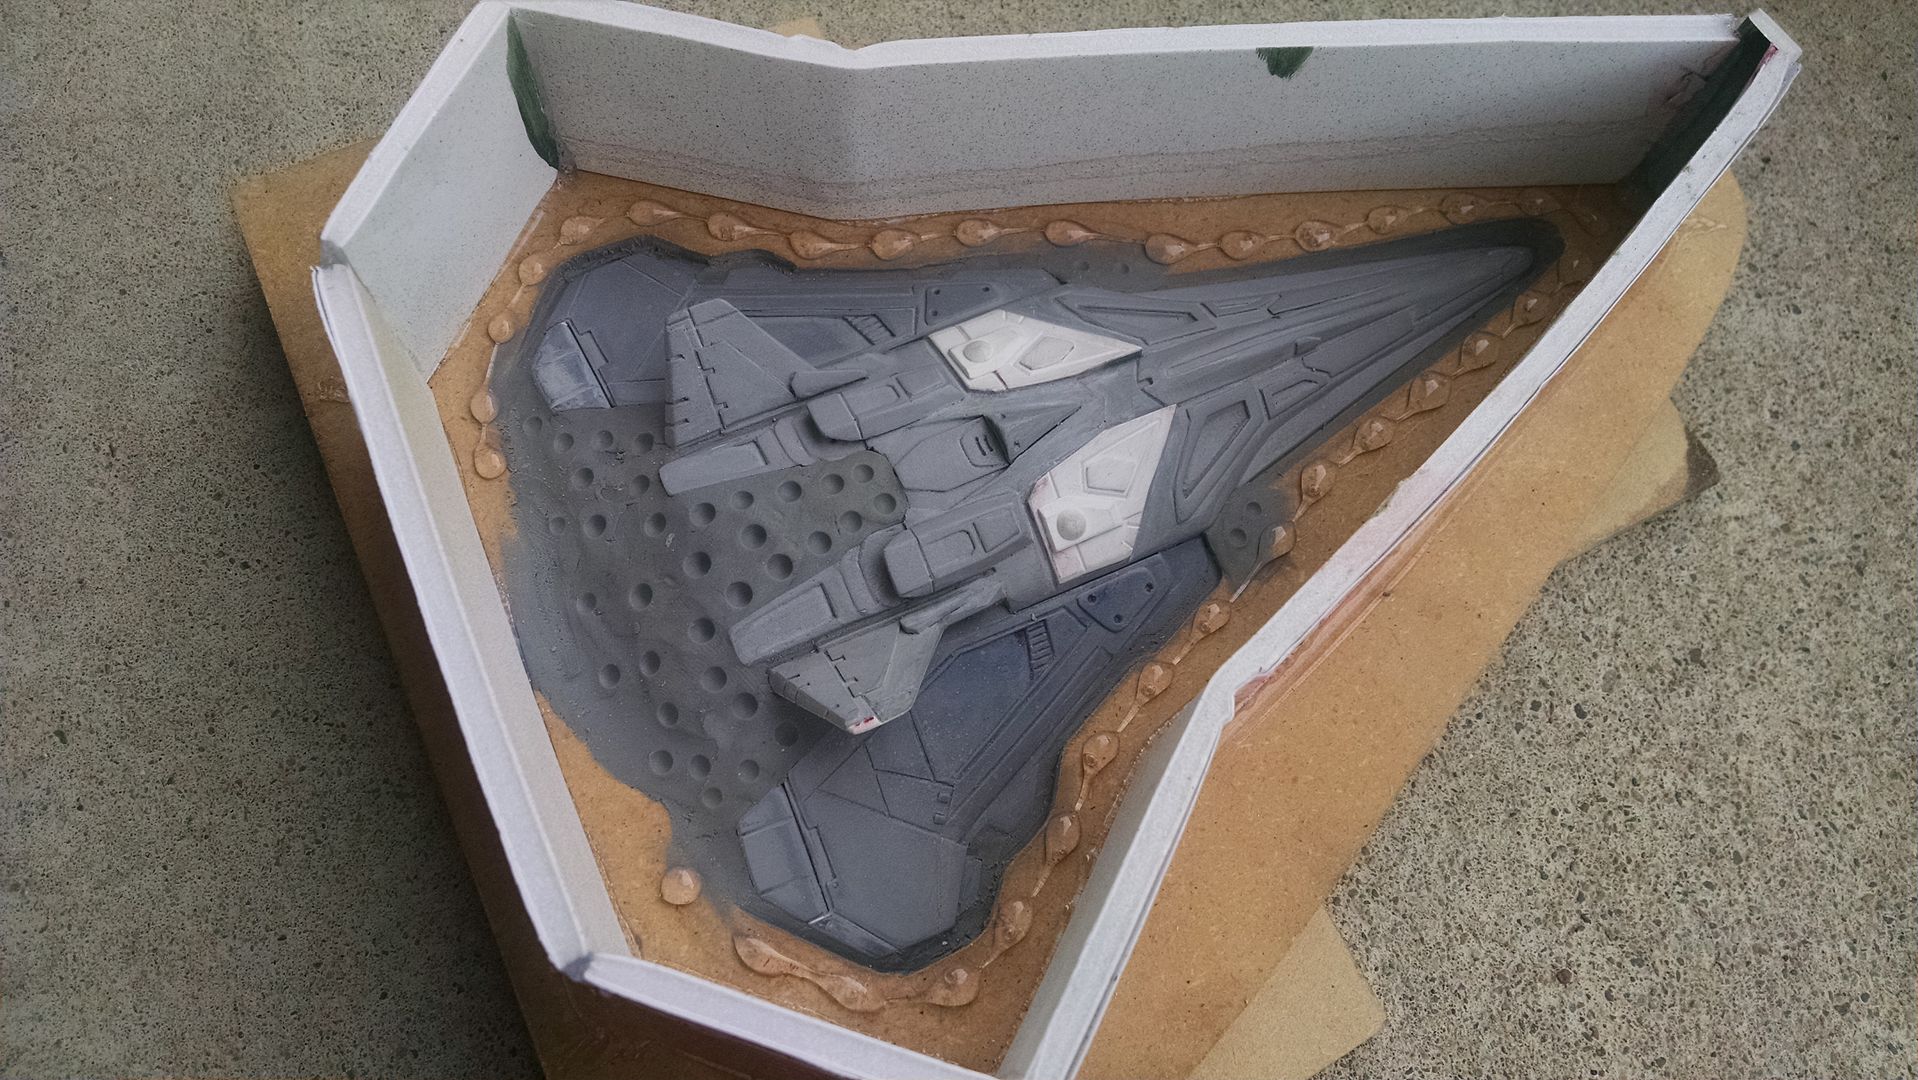
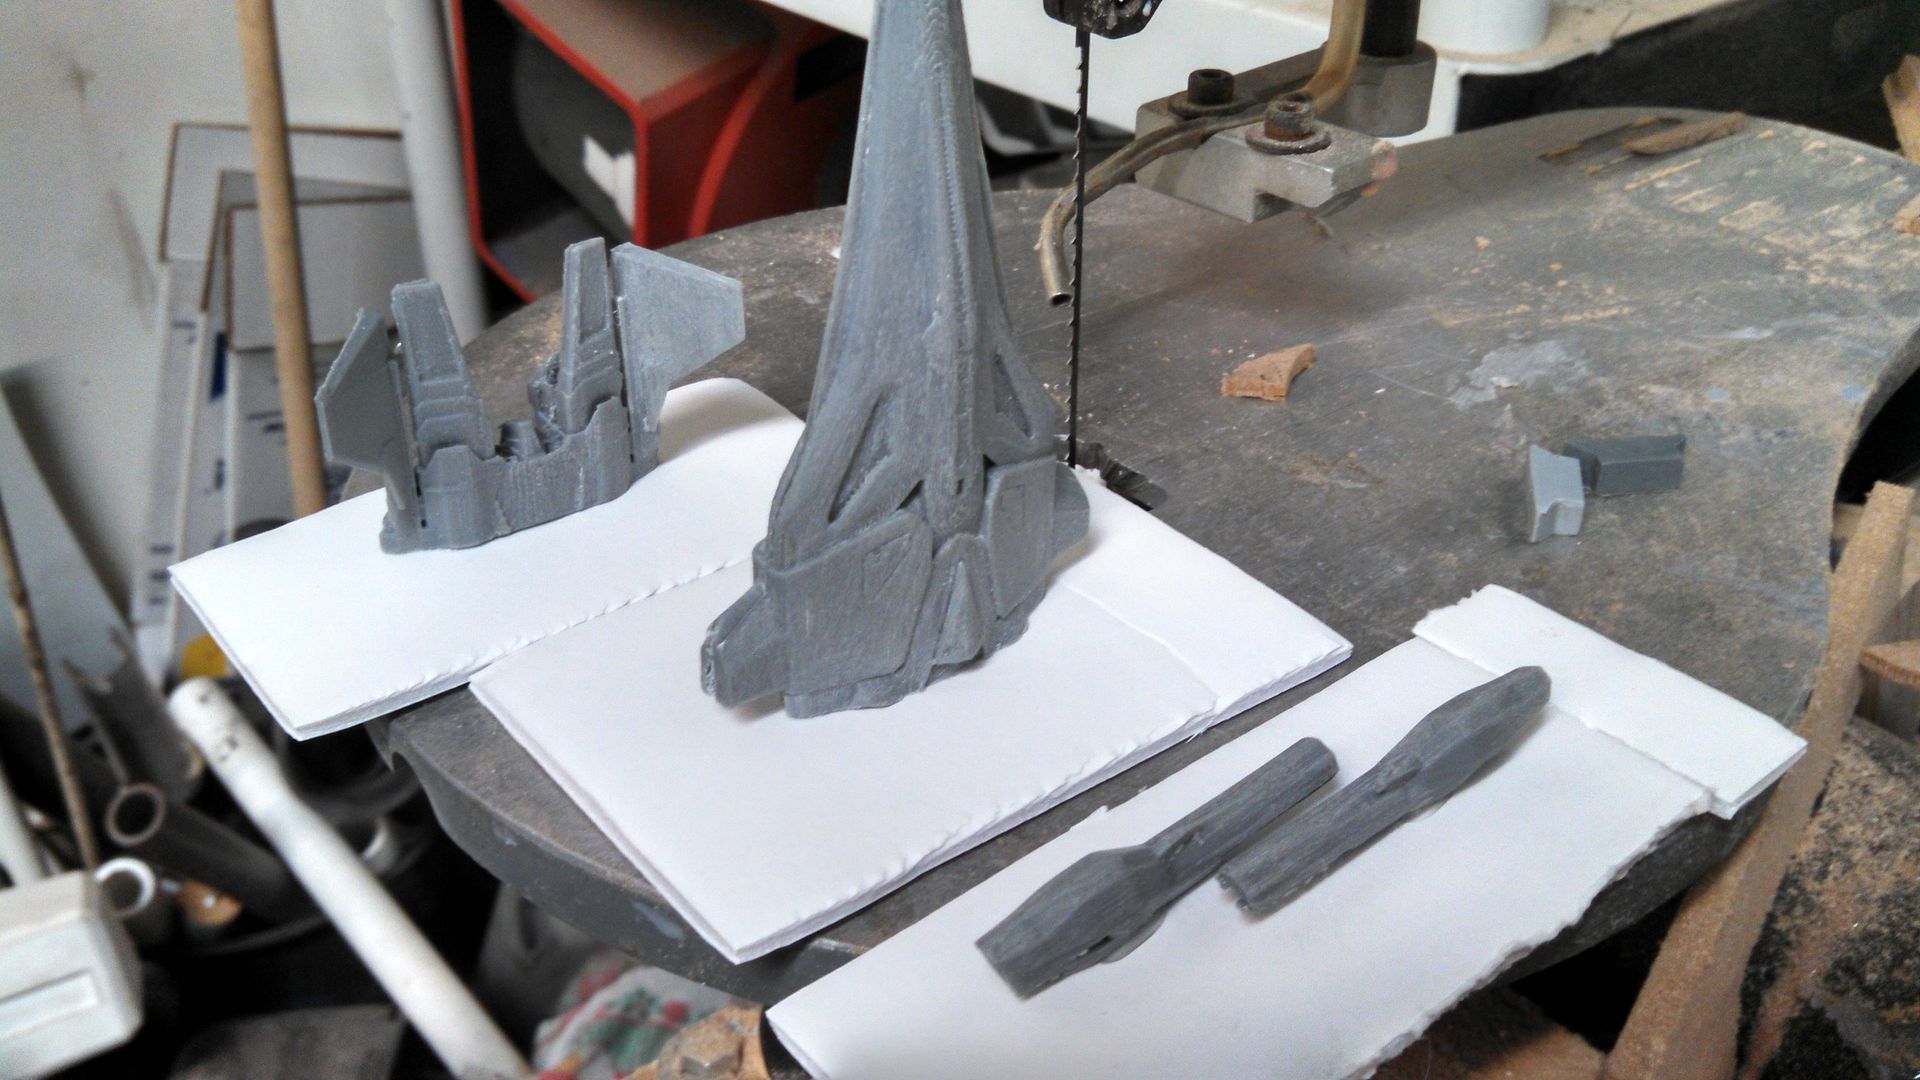
This is how I oriented the parts, then I poured silicone. I didn't take pictures, and you're not missing much, The molds were quick and terrible, meant only for 1 pour.

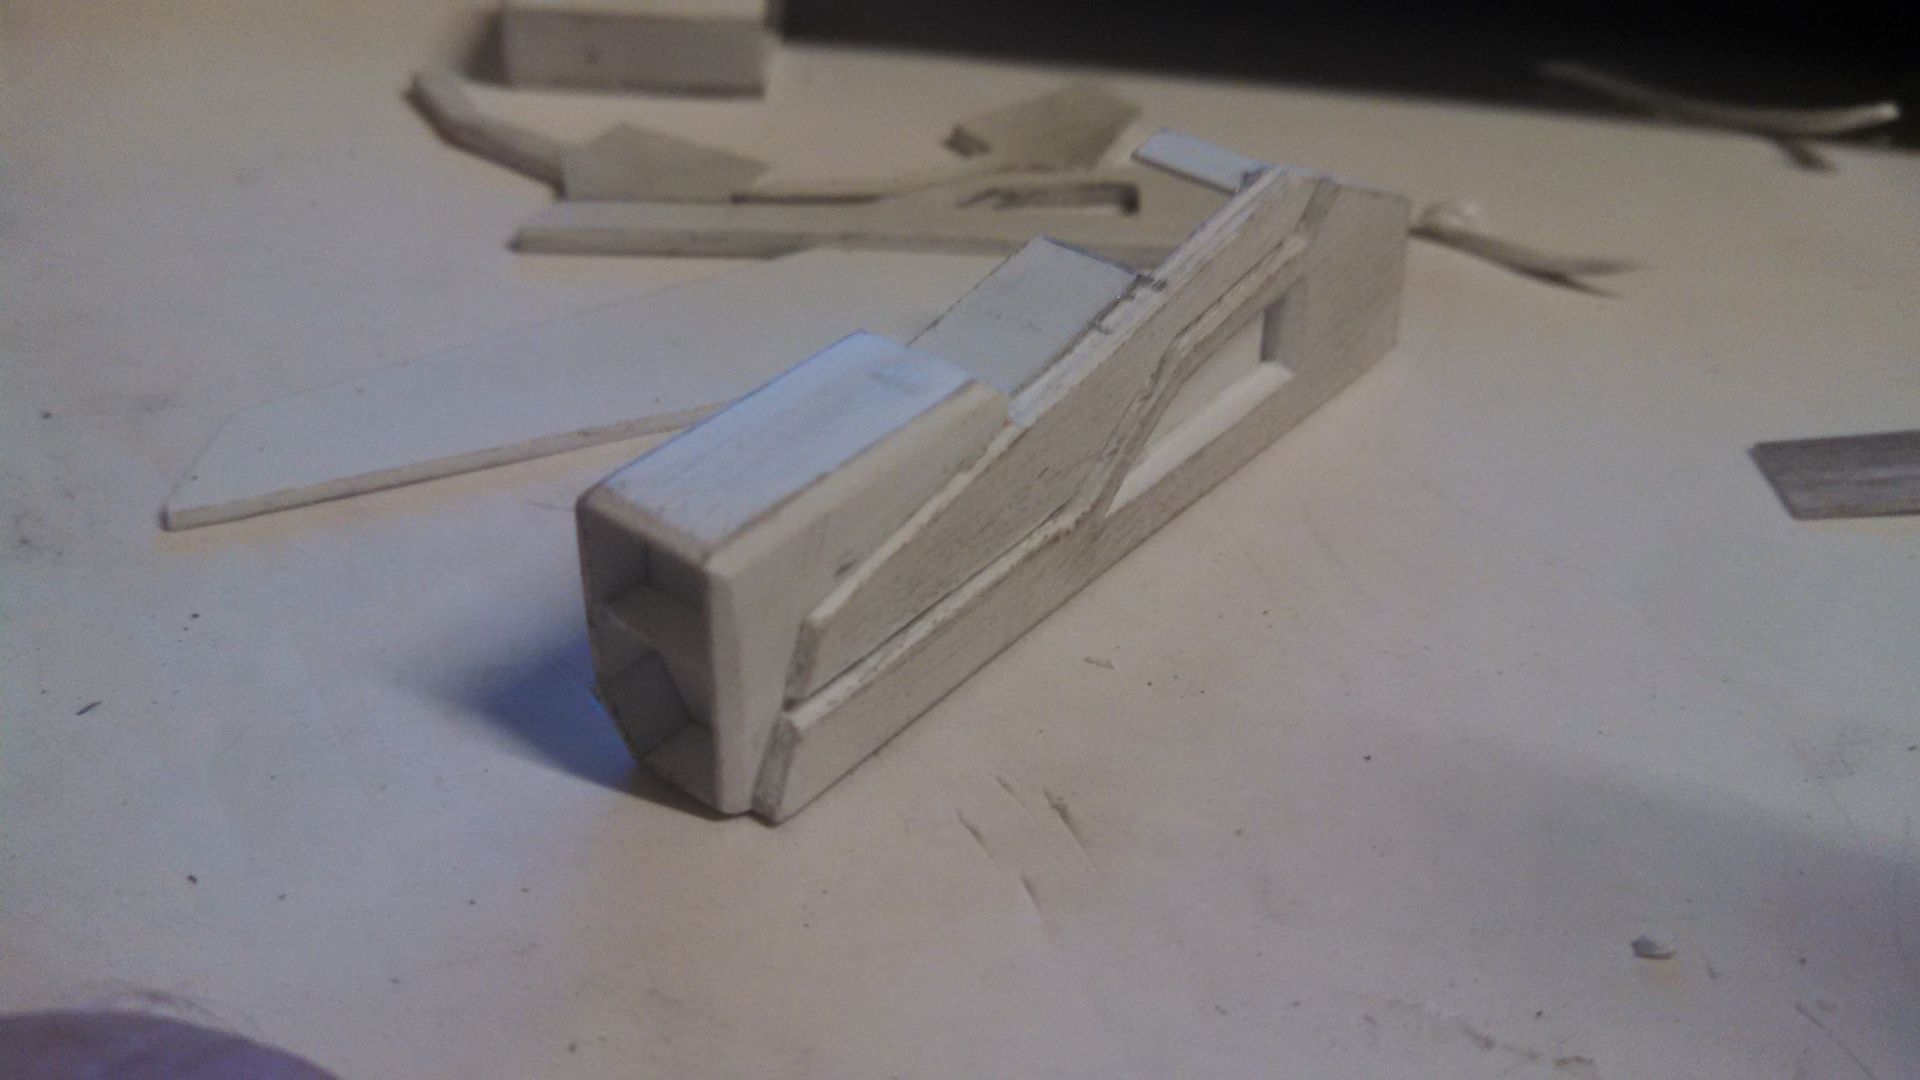
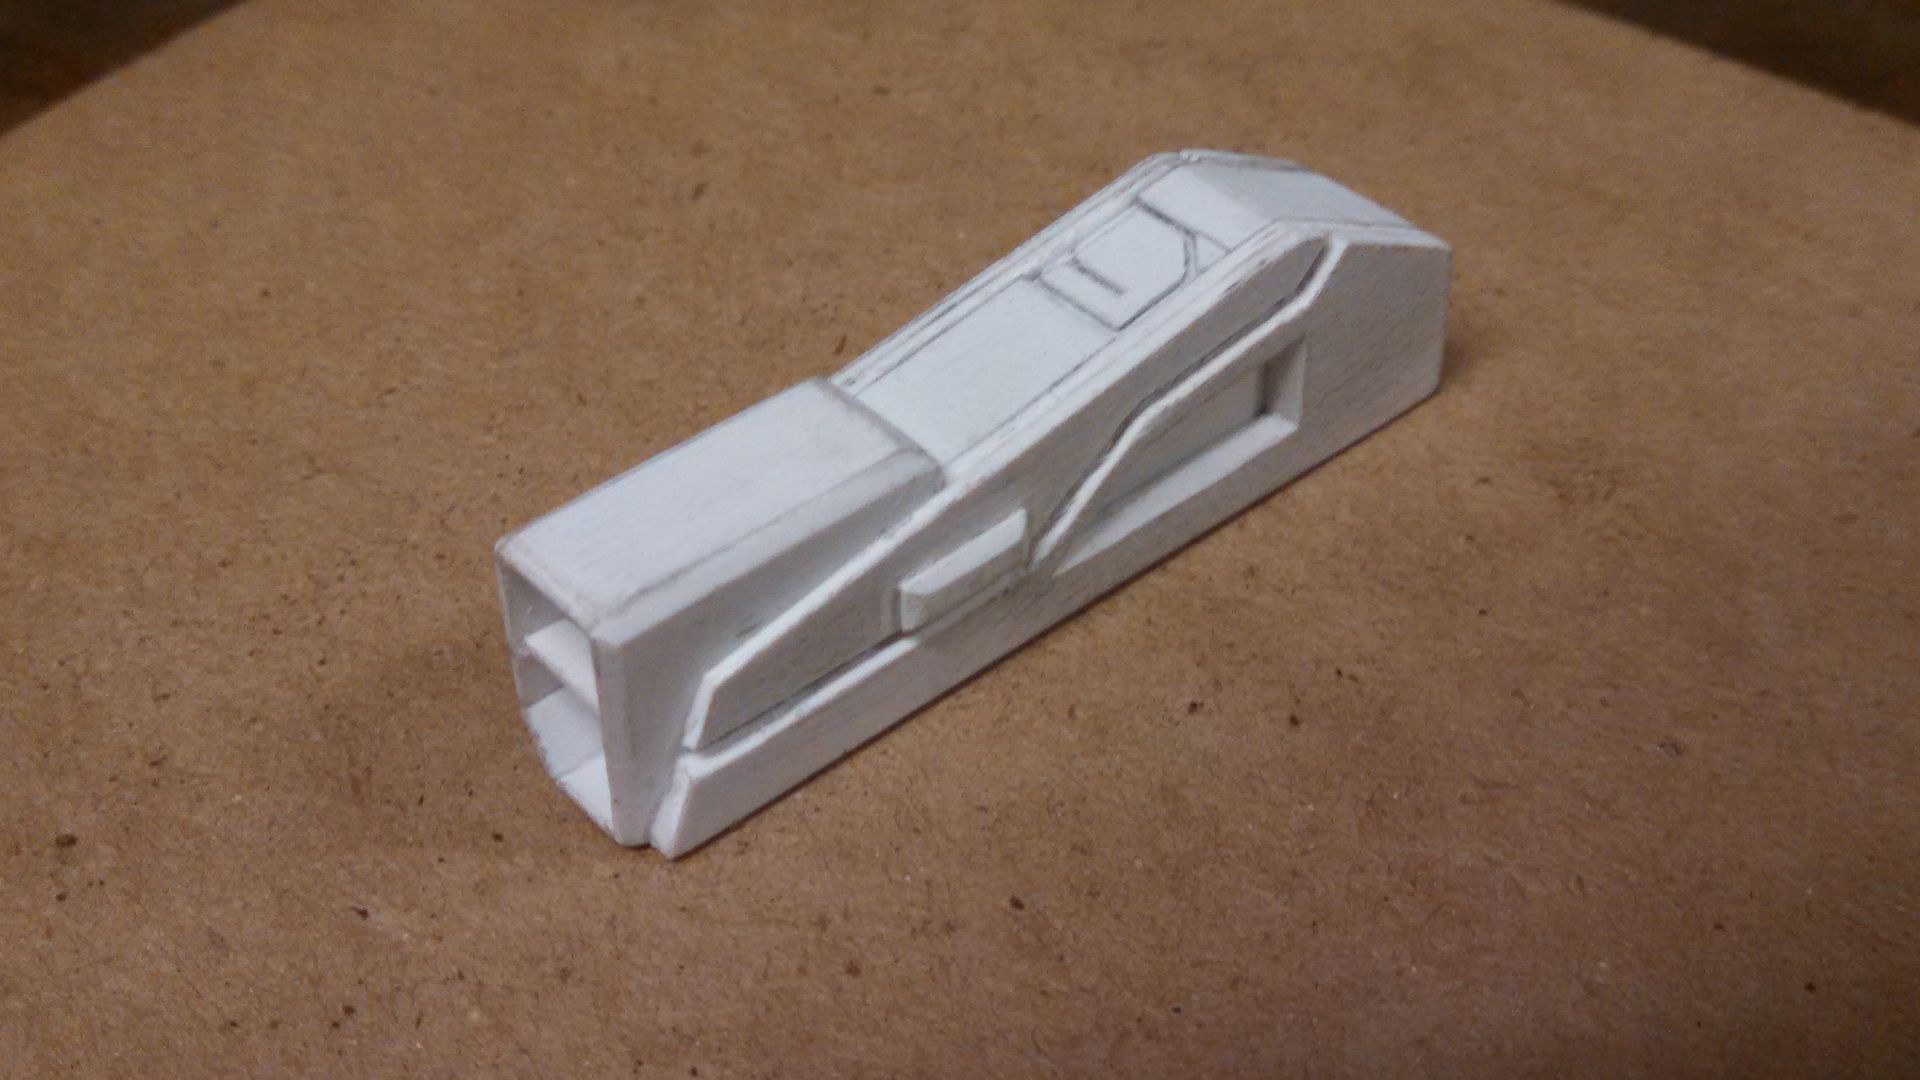
One of the side "gills" was deformed from printing so I re-make it in styrene, as well as the other nose panels and scribed some details.
I continued on, using different thicknesses of styrene.
I got excited and did a test fit with the engine, and primed it up.

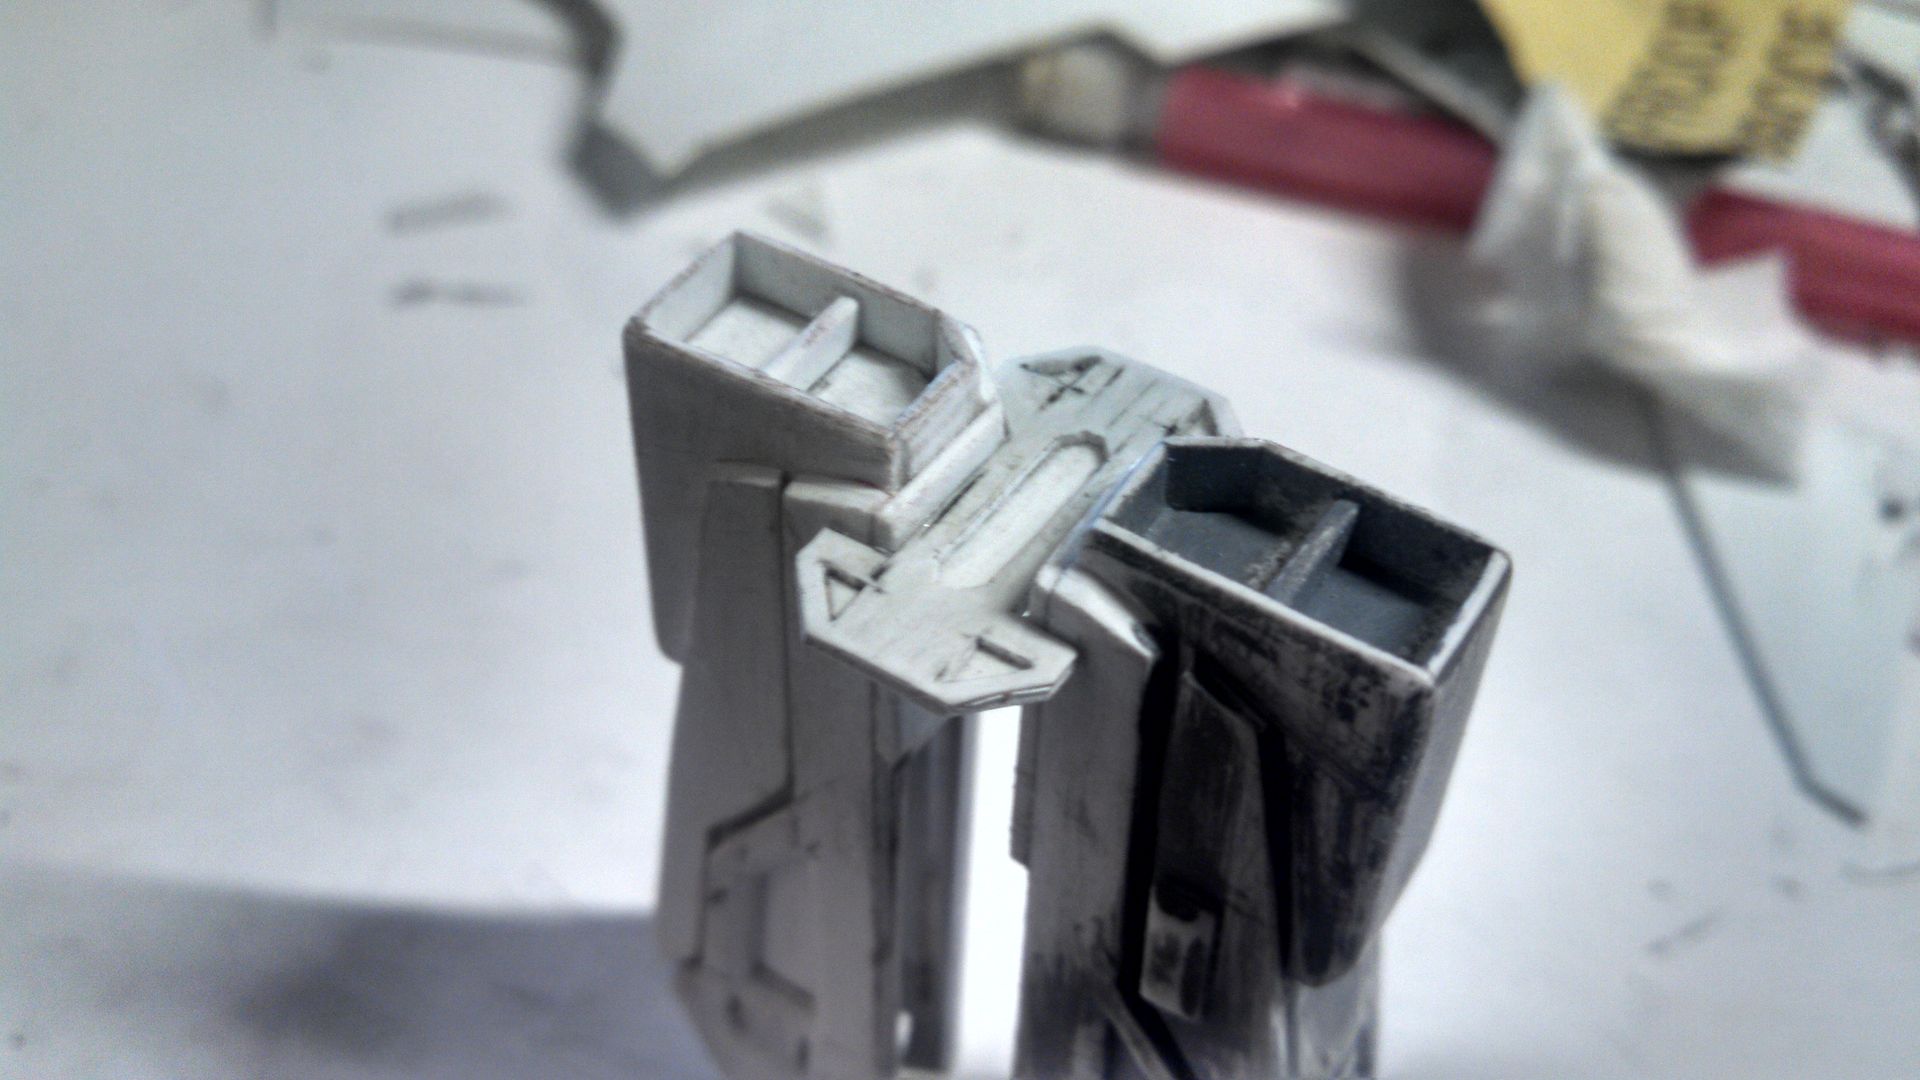
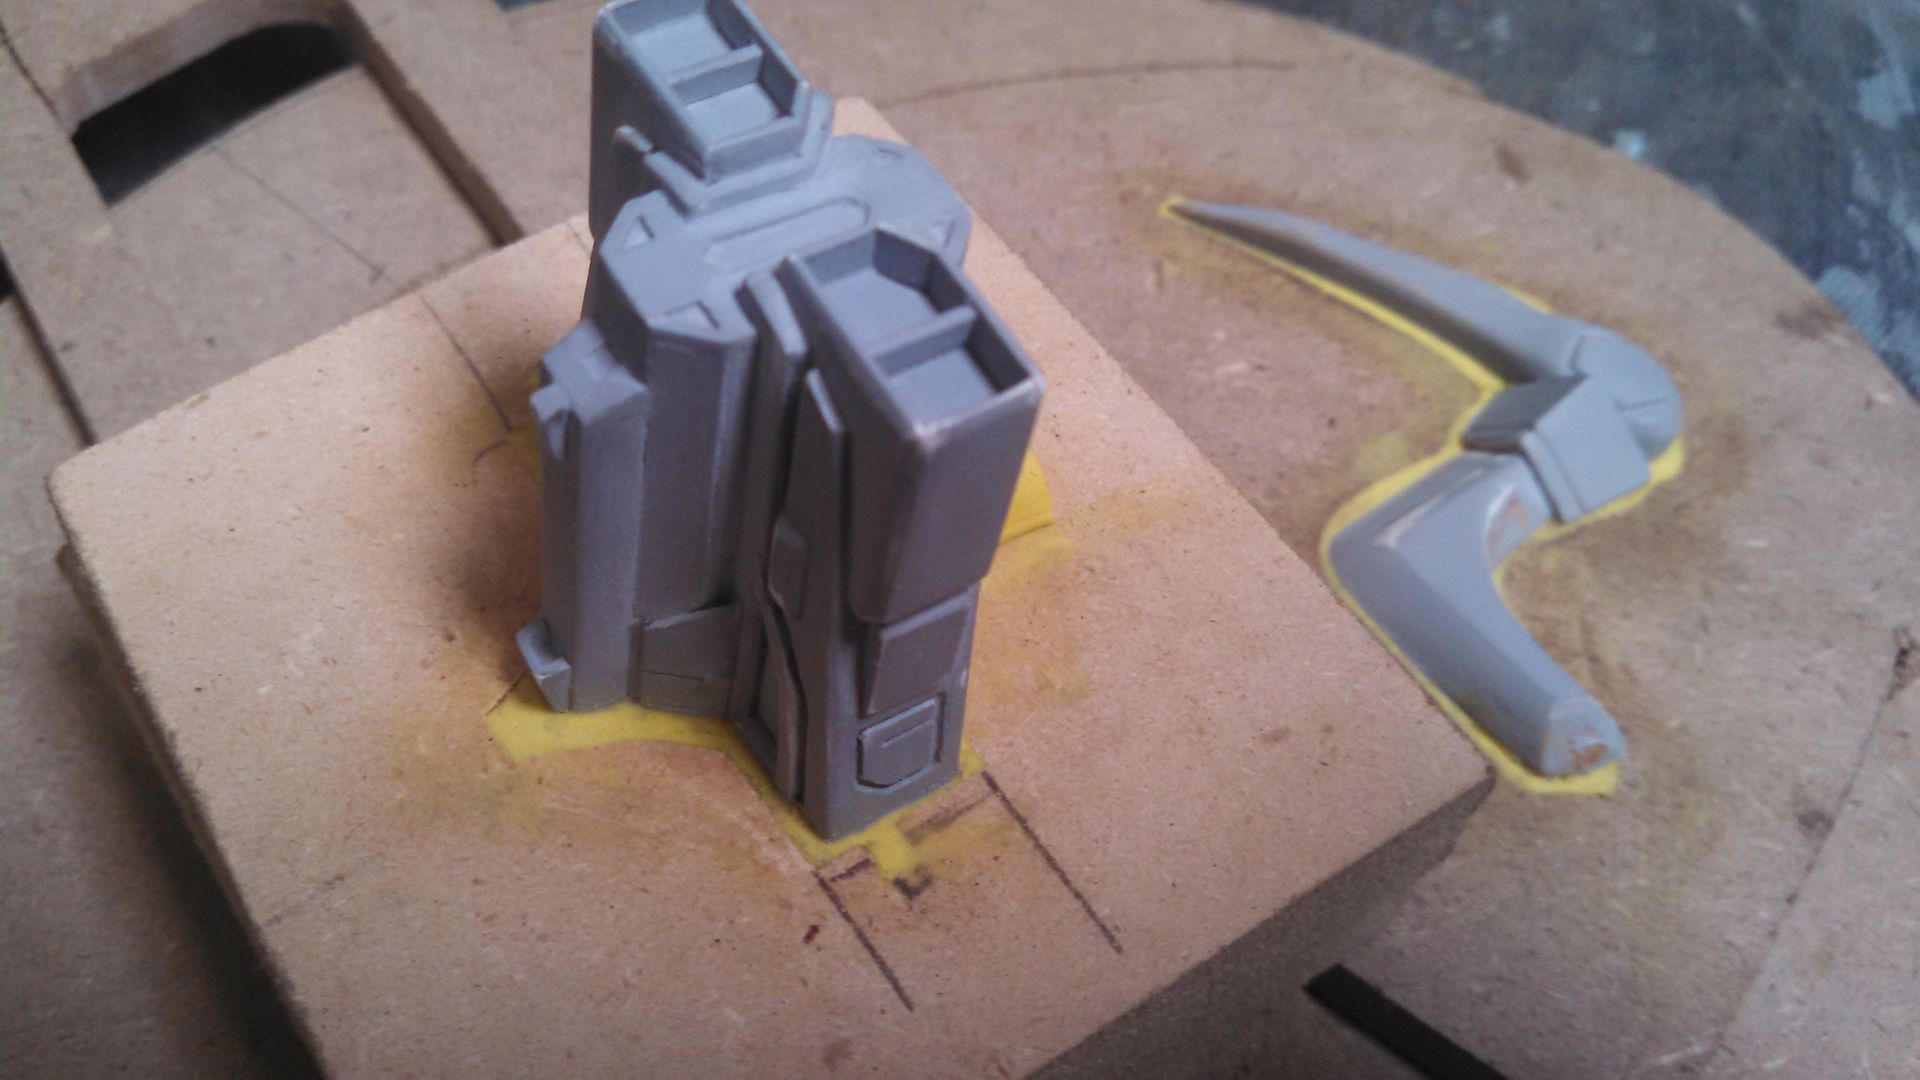
There are "Modules" that go in front of the rear tails, one is pictured here. It was scratch built in styrene, later to be mold/cast. The Tails were resurfaced with some crisp styrene detail. Molding it would ensure I wouldn't have to make the same piece twice (Everyone hates that..) as well as good symmetry.
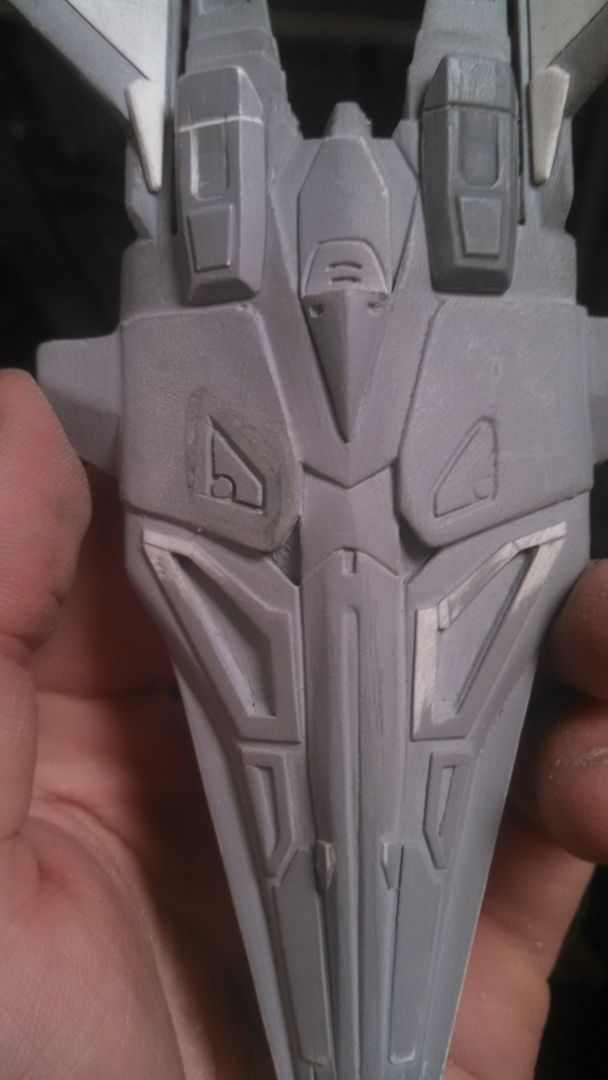
There are two inset triangular sections at the mid-section of the ship that I wanted to re-make. Thankfully the Aspect of Glass chassis I made earlier had these same details on them.

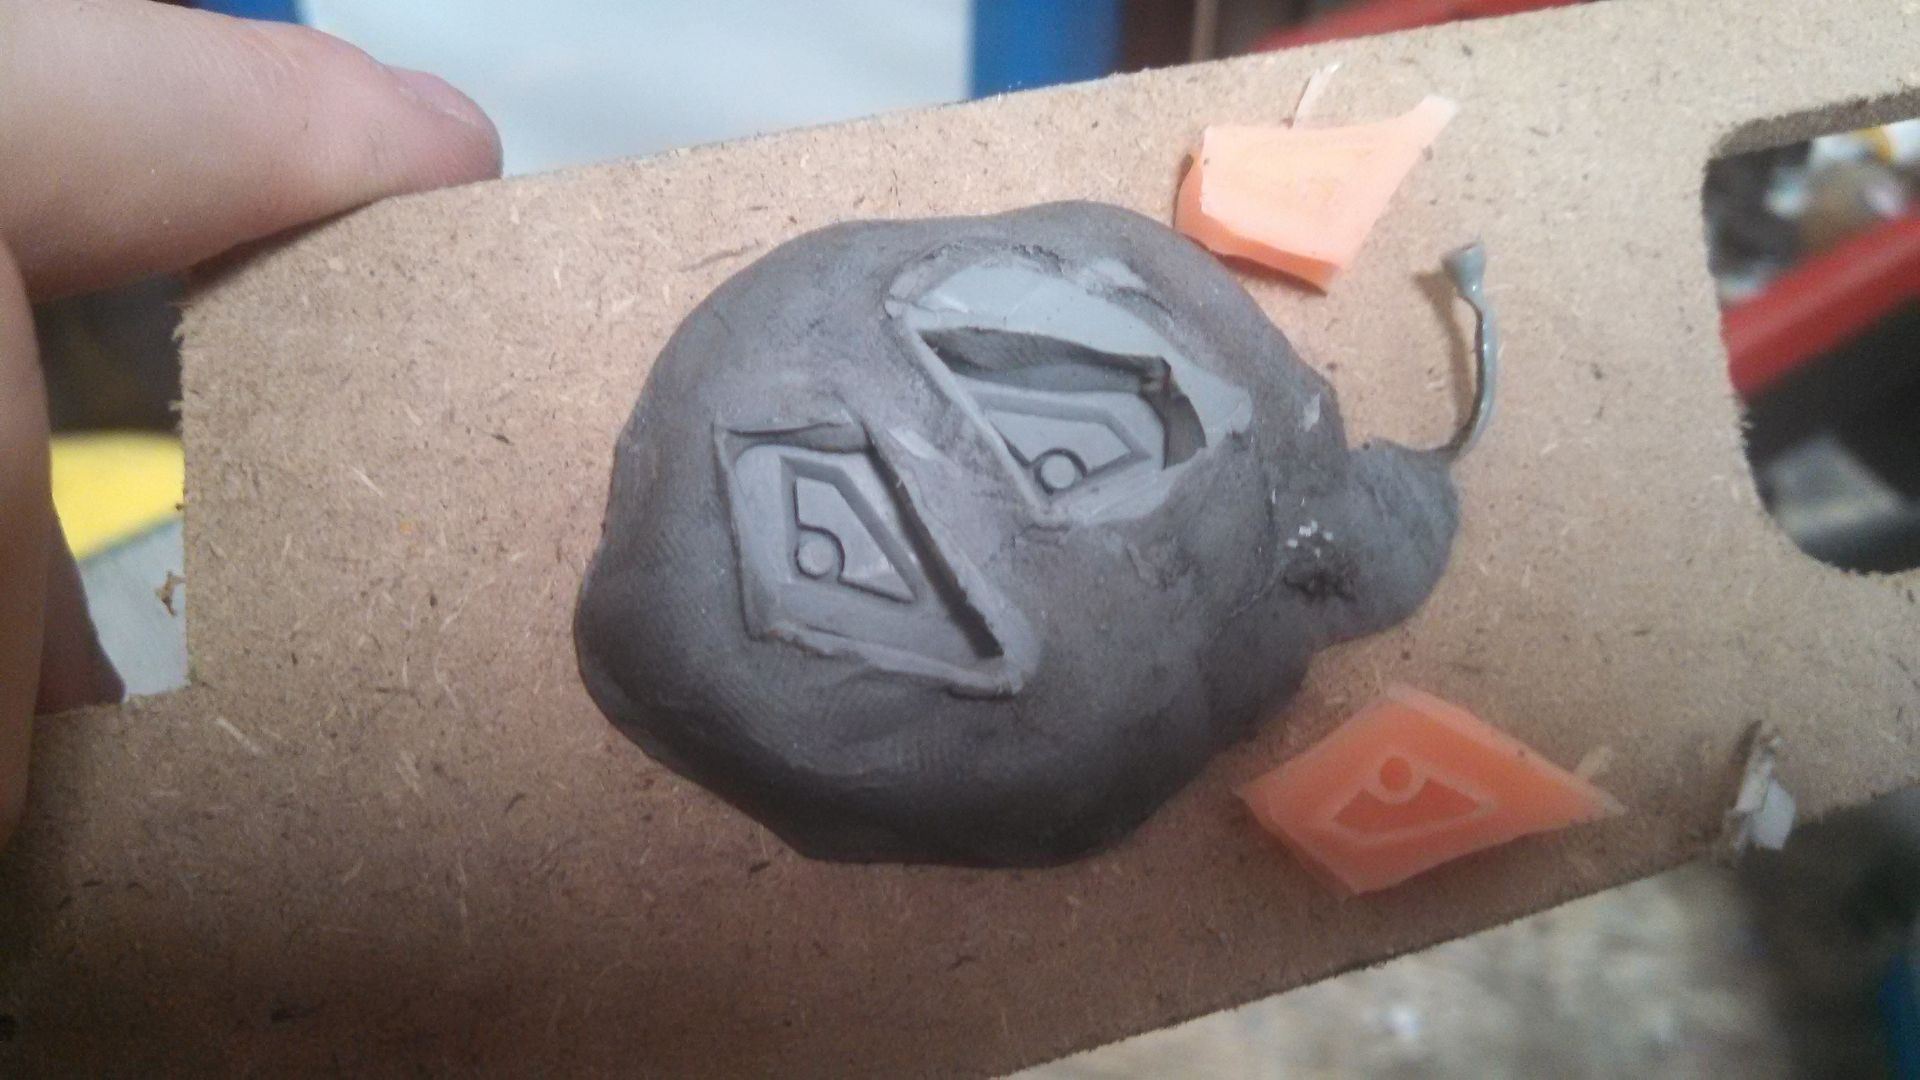
I used some clay and made a dam around the details, and made tiny silicone molds of the area.
When they cured, I flipped them over, made a dam around the mold bits, and poured some resin.

I continued with the styrene at the fins, and inset one of the cast details in place of the old one. The original one on the right was ok, but they left side had been nearly sanded out completely from getting rid of the 3D print texture.
Another important thing in this photo are the modules towards the top. The one on the left is the styrene made master, the darker one on the right was cast from a teeny tiny silicone mold.

I clayed up the engine for molding, and poured the silicone. Possibly the smallest two part mold I've made to date!

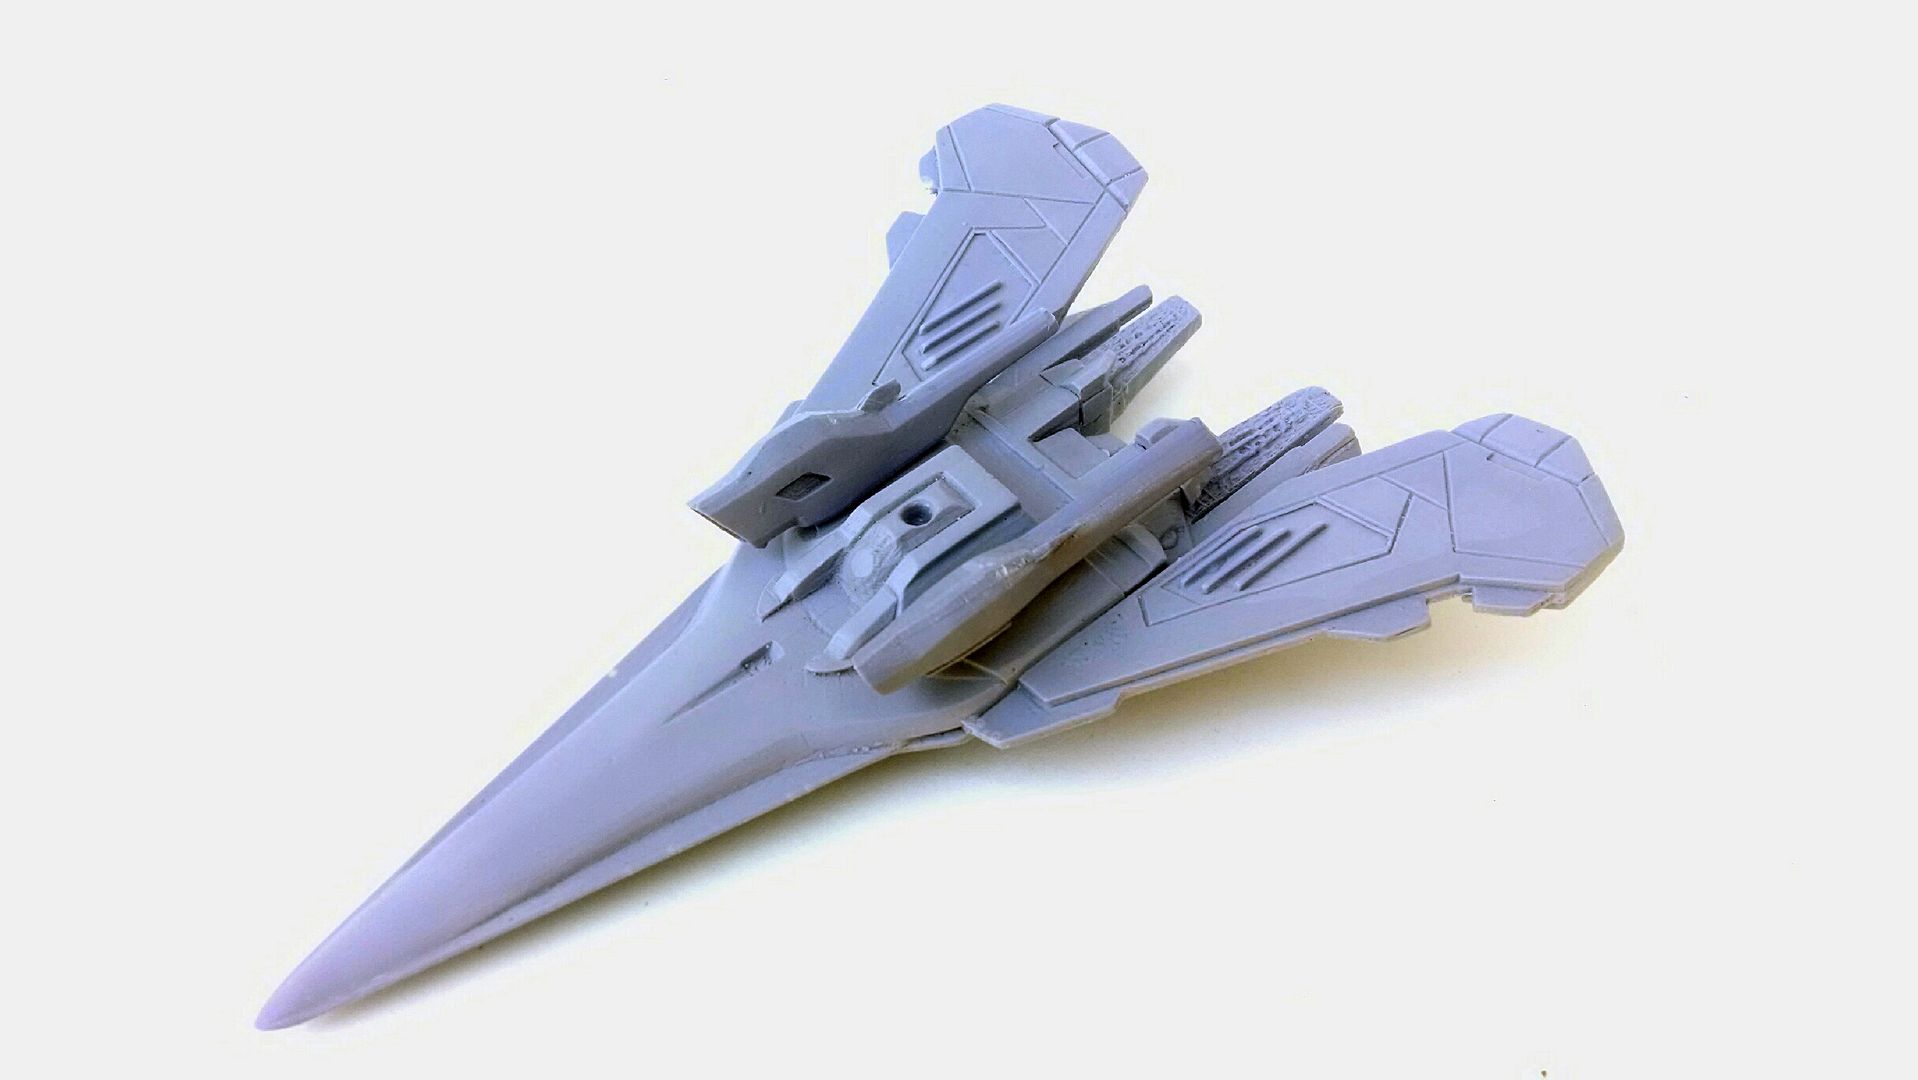
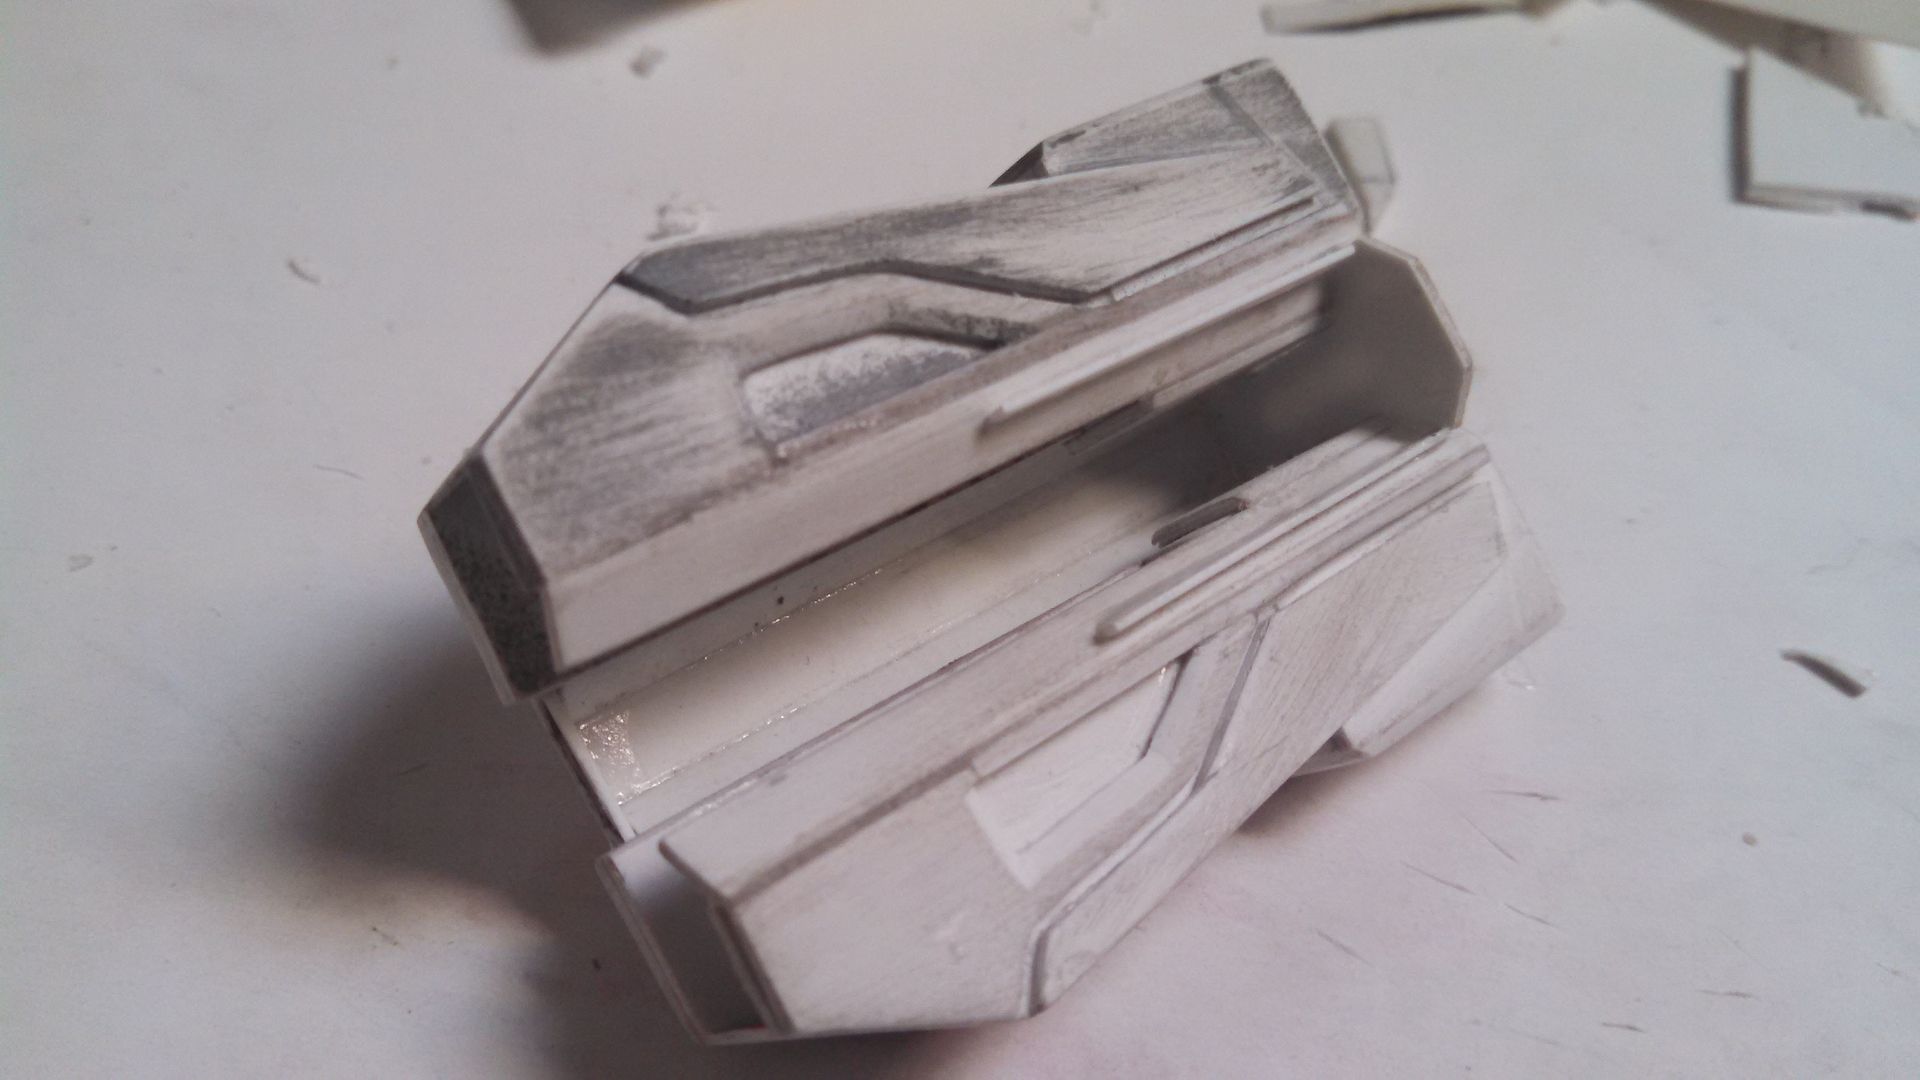
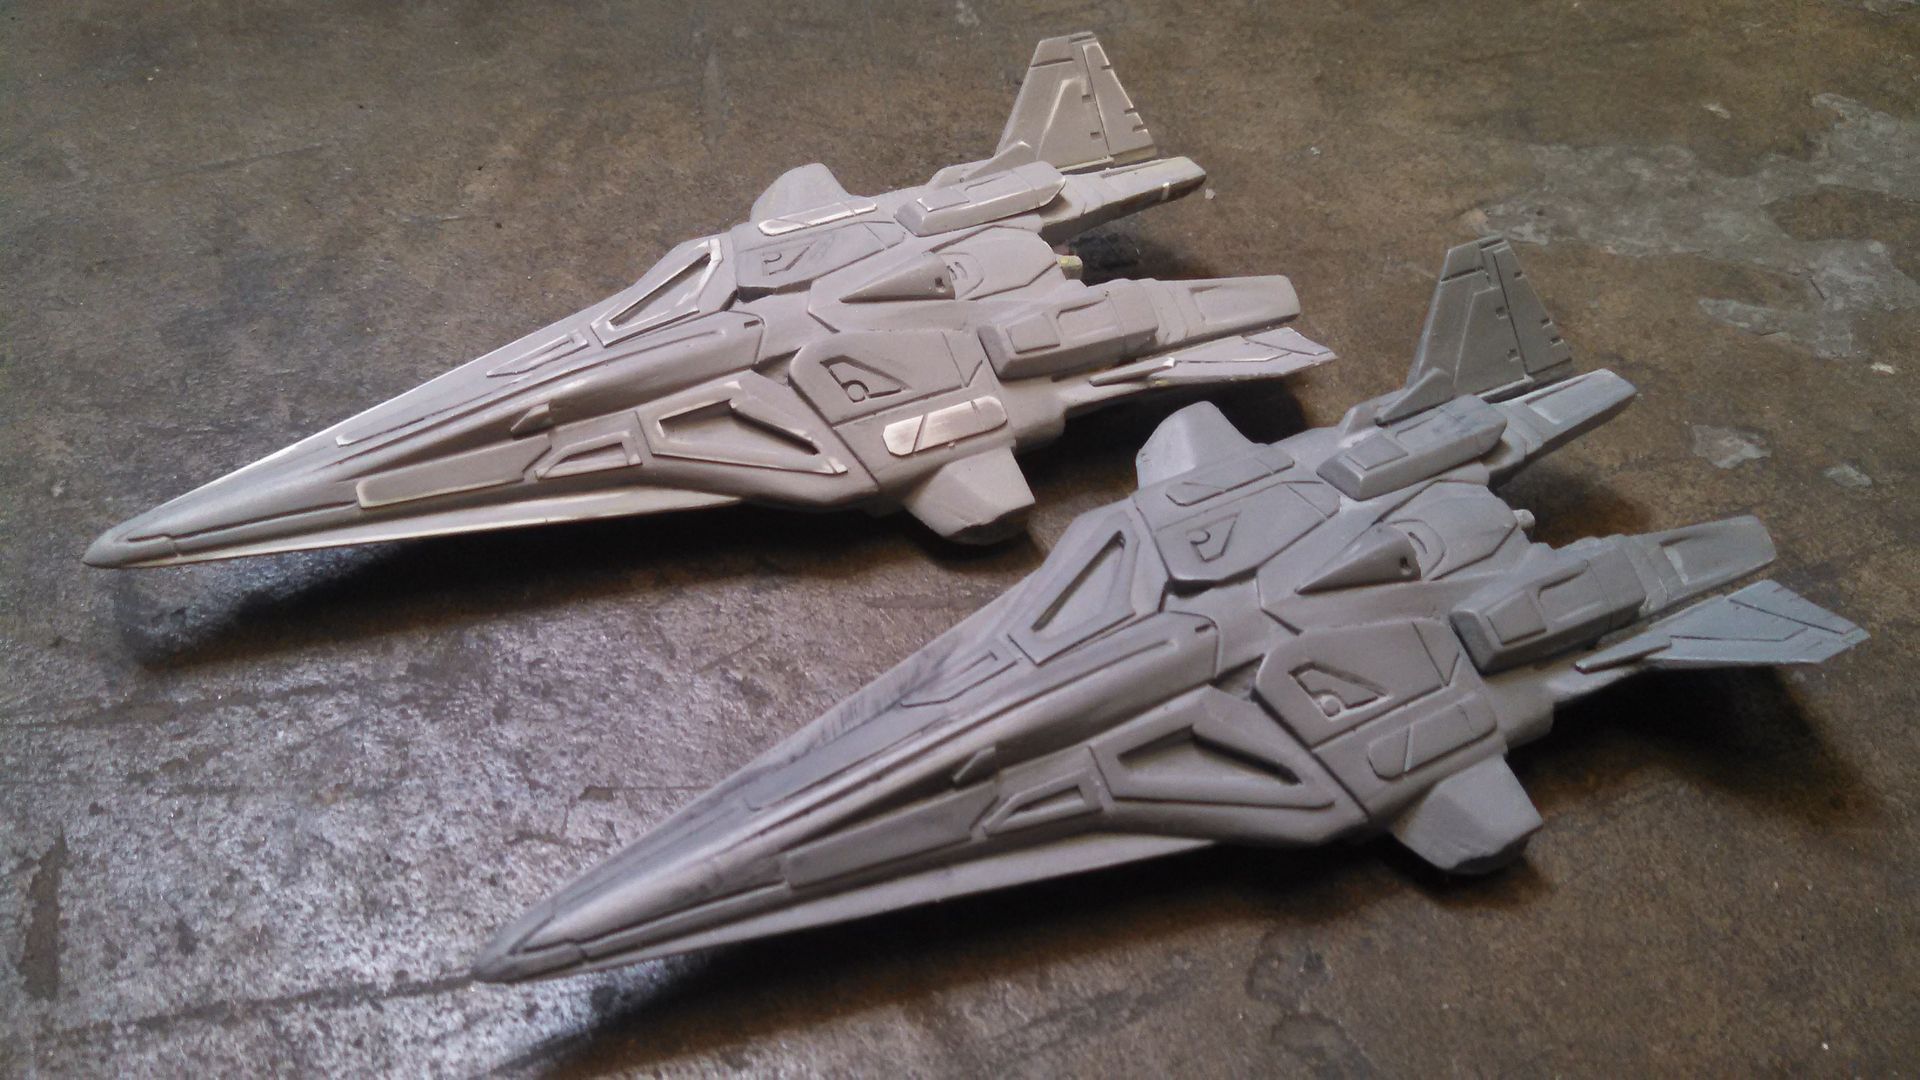
The chassis got the same treatment, but first I had to re-make the engines on the underside, add panel lines and plating everywhere, and clean up the entire bottom half. I didn't take pictures, but the master is on the left, and the first cast is on the right.

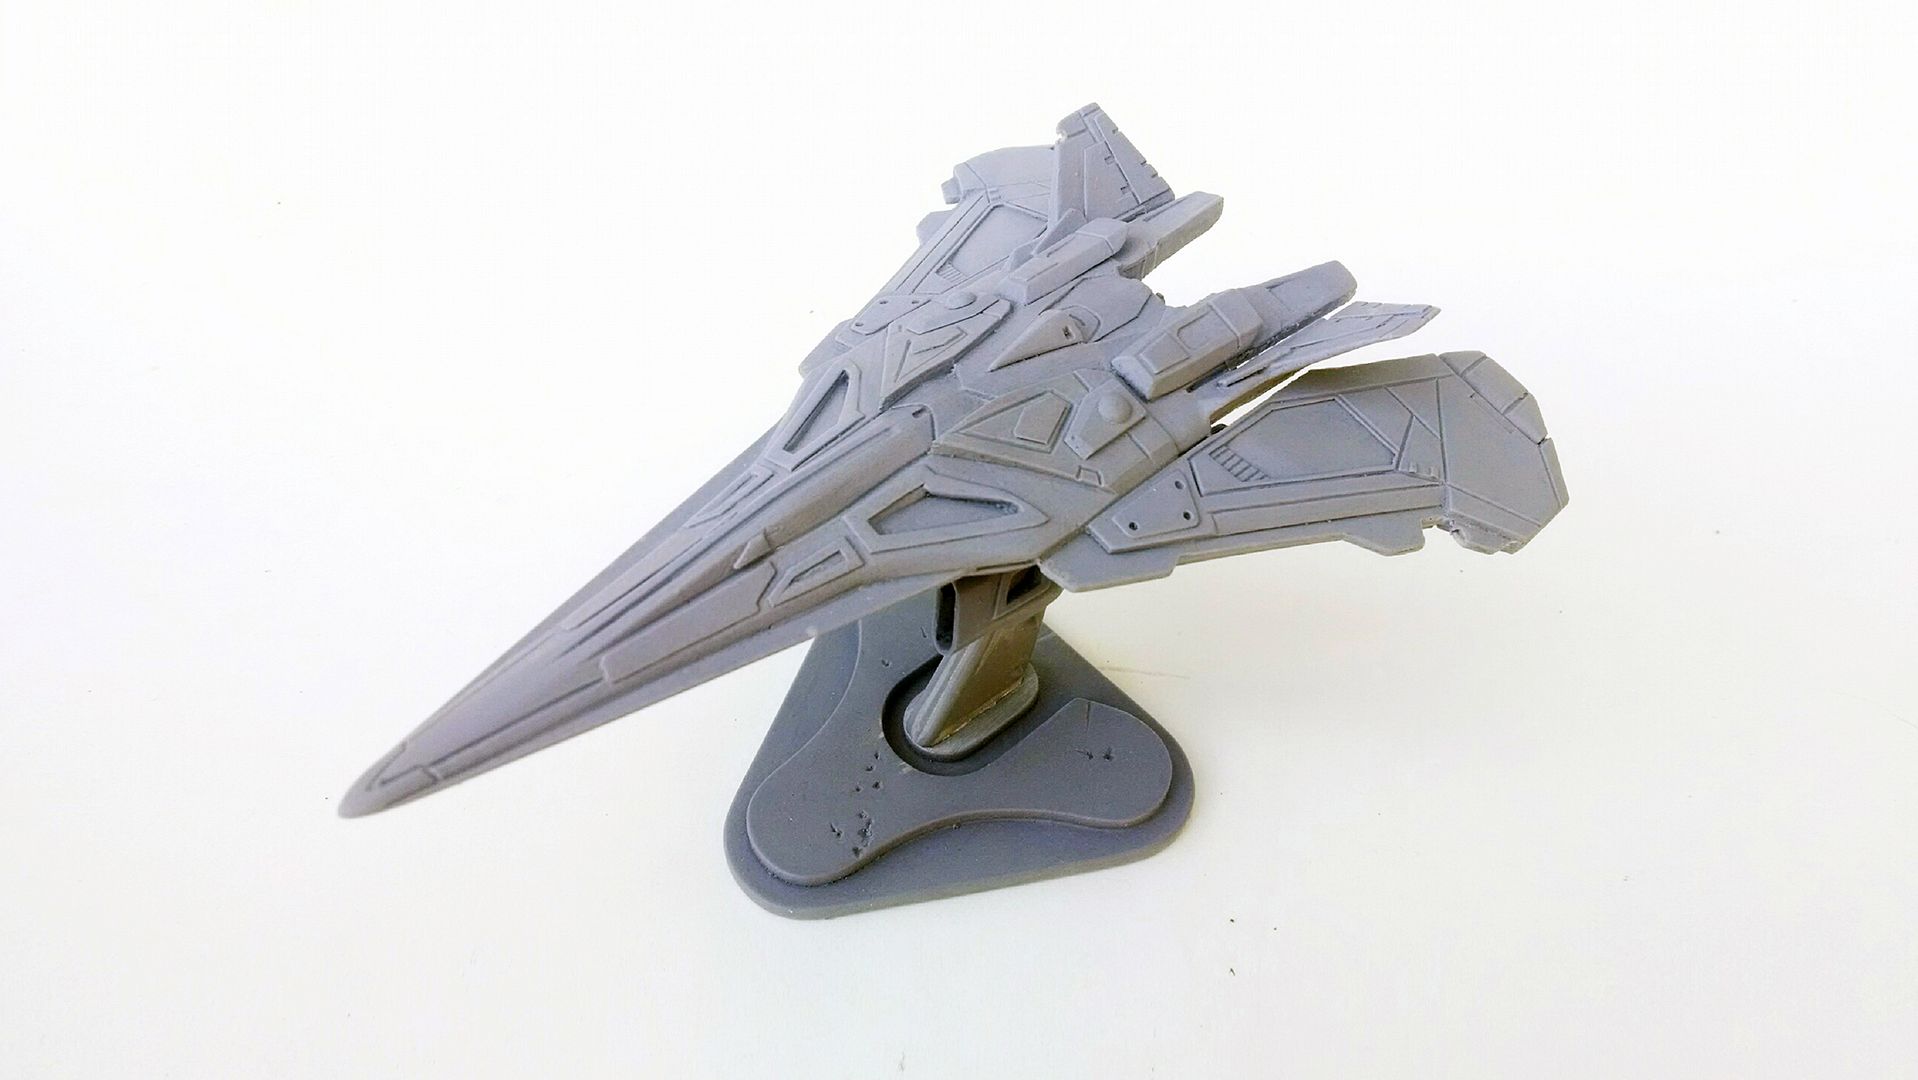
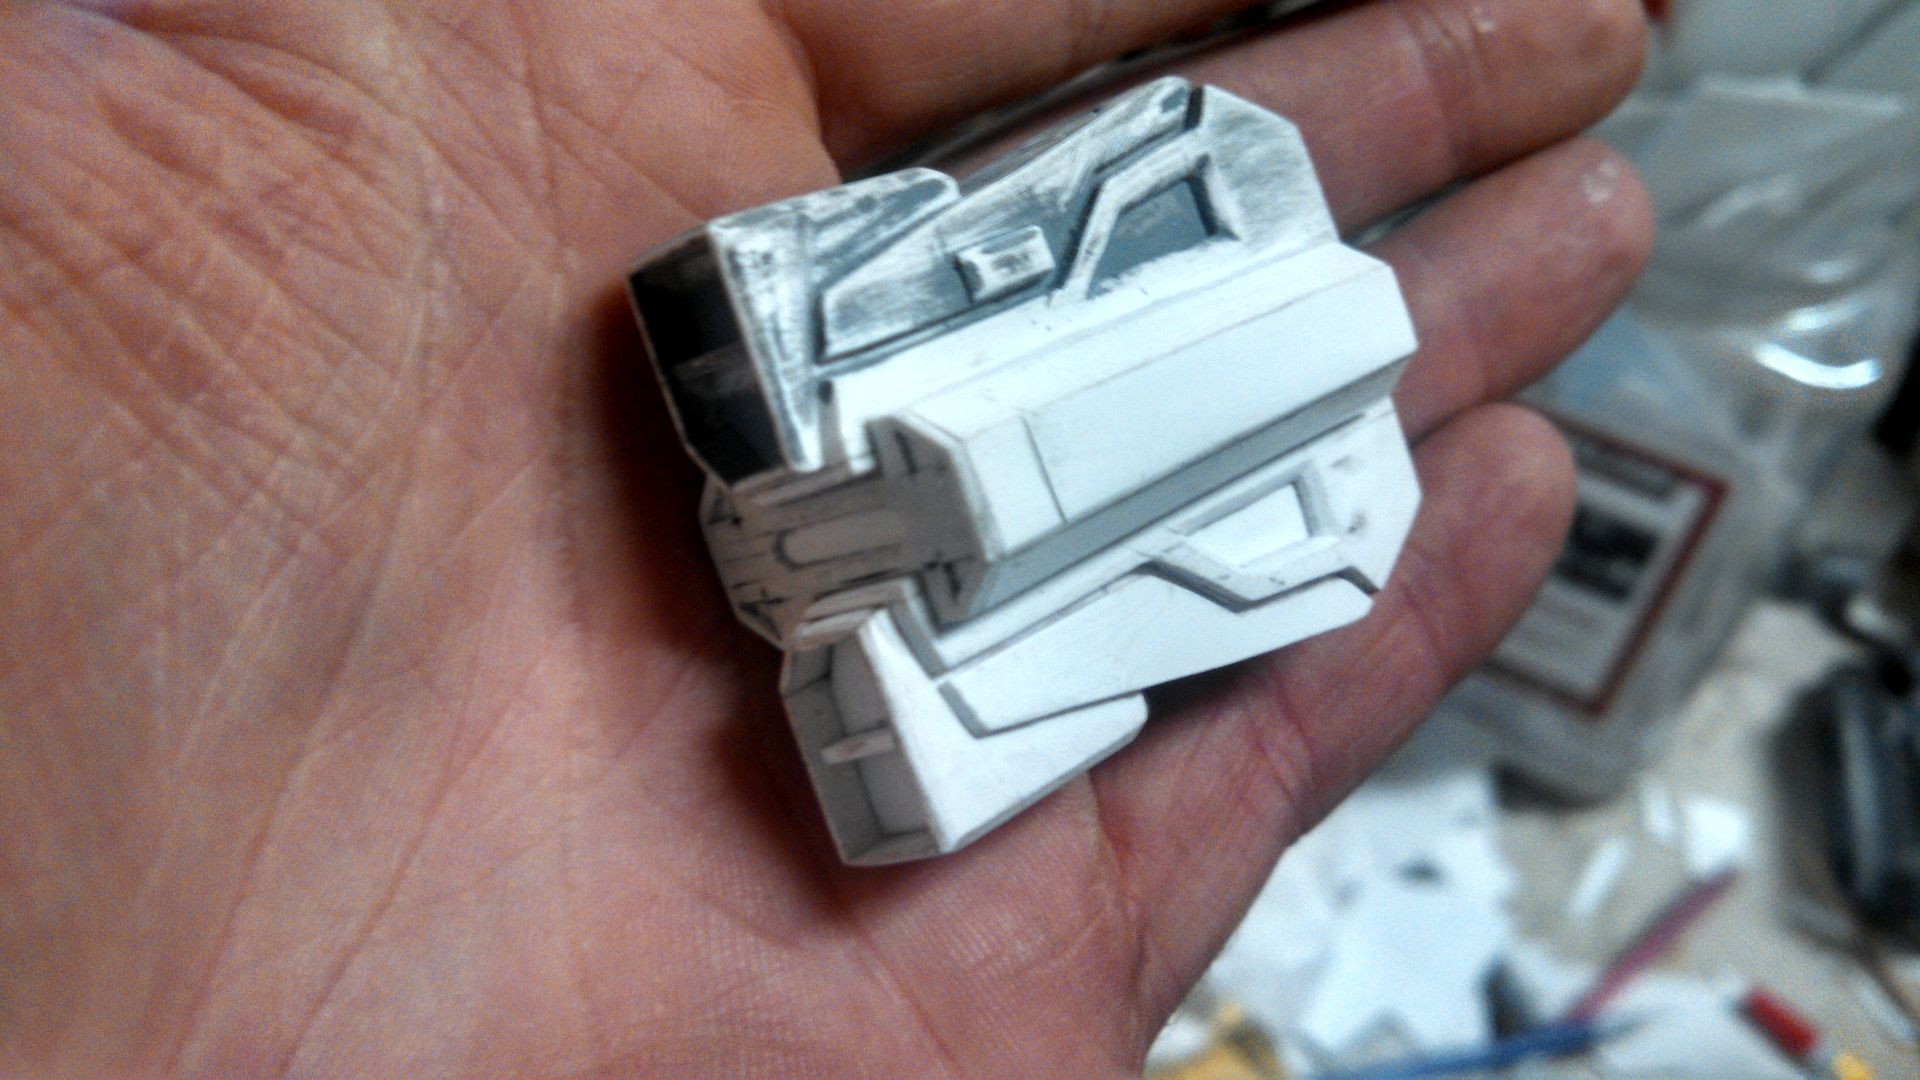
First test assembly:

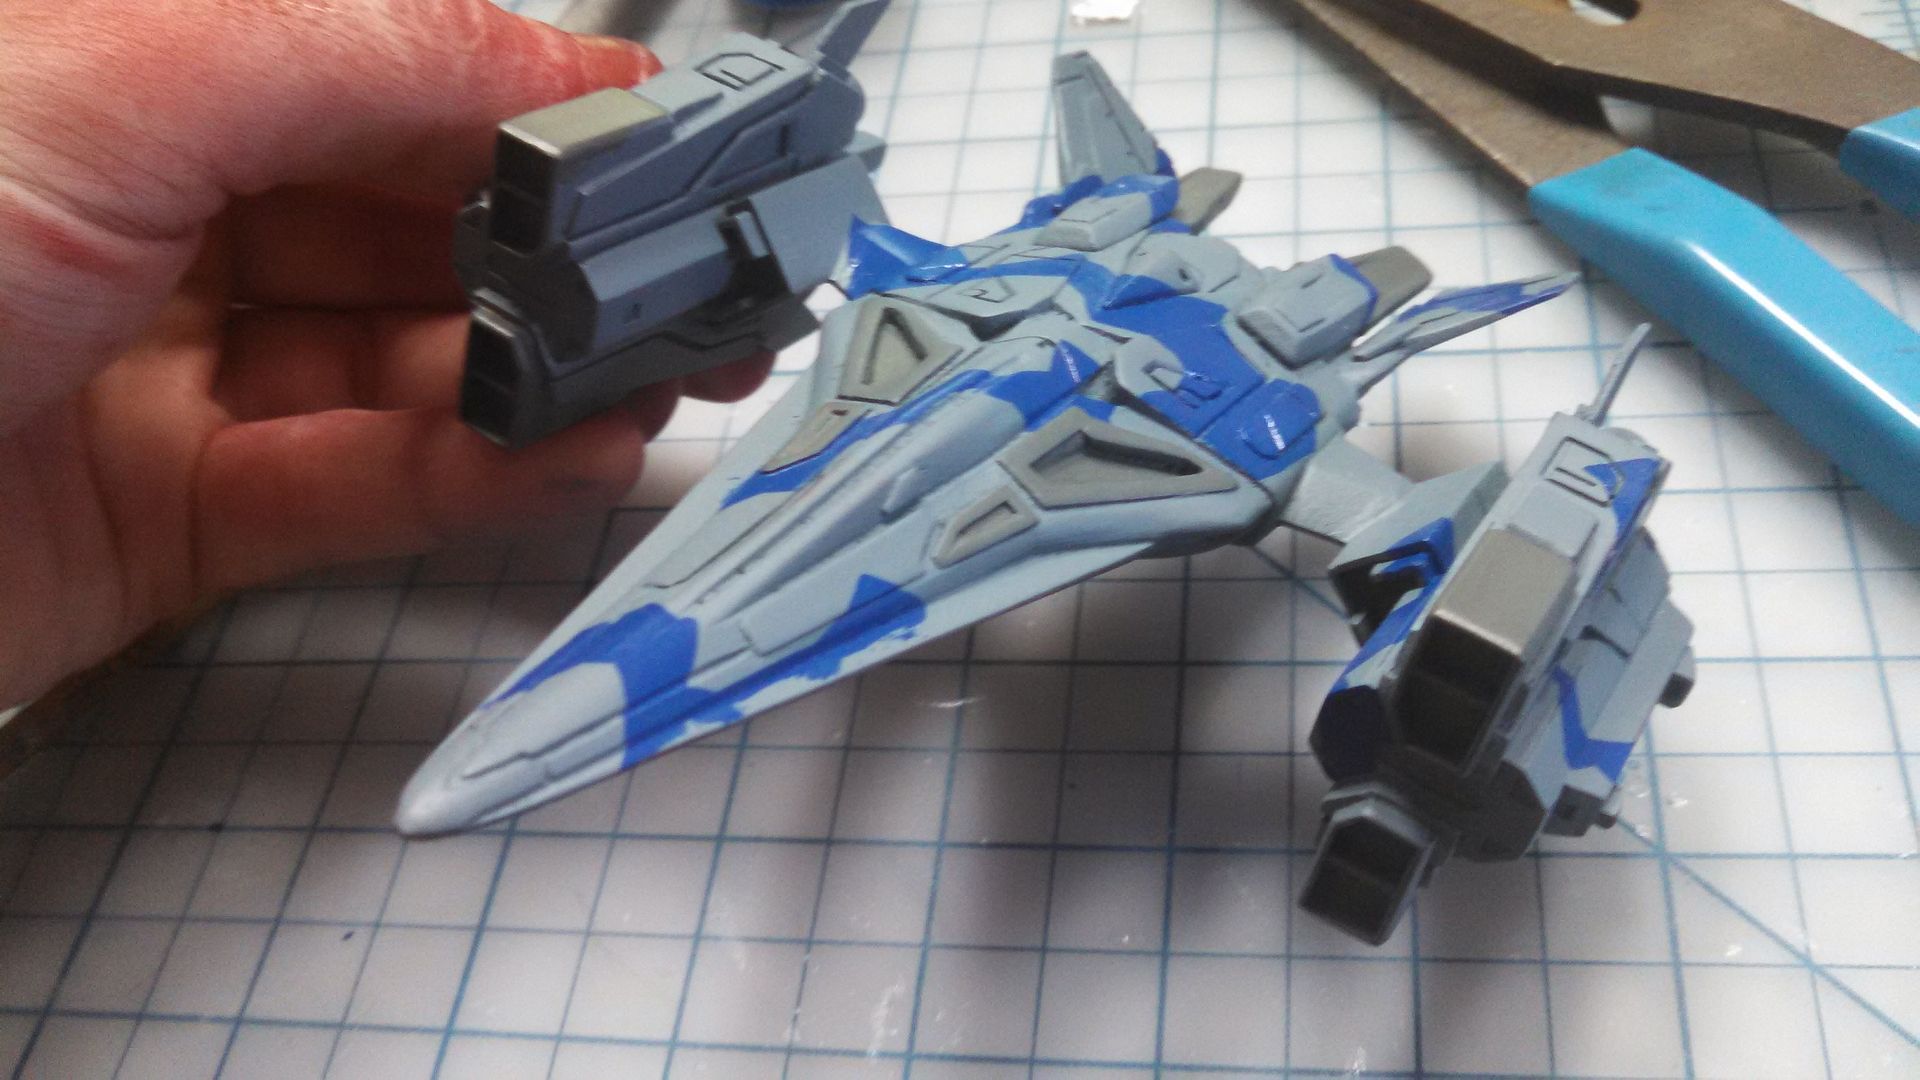
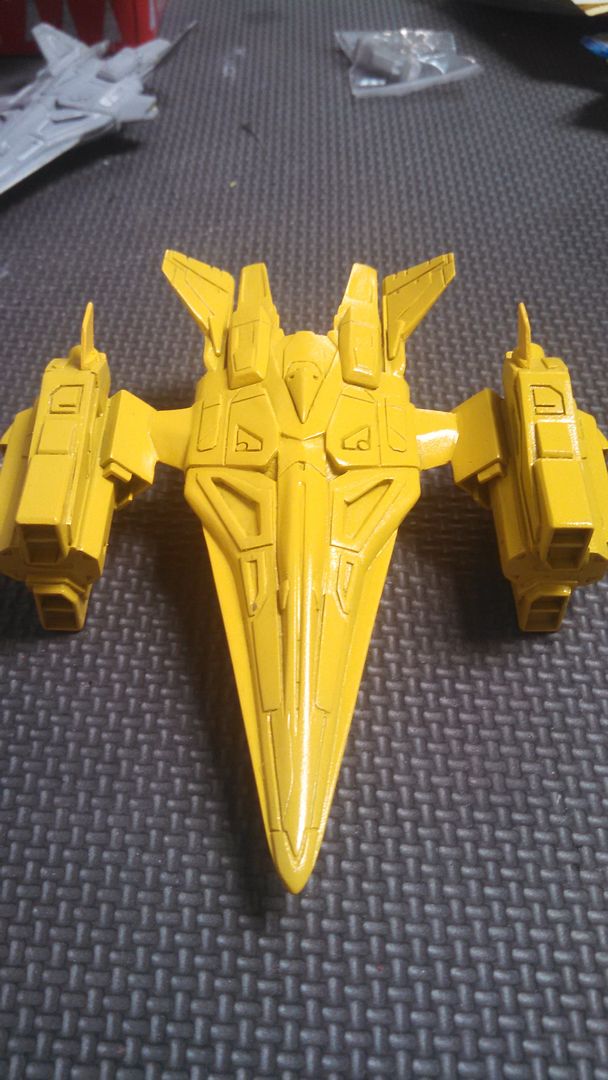
I prepped up a few ships for painting and put down the base colors.

A few days later I had a fleet!
I made the stand fairly quickly out of MDF, I'll end up molding that shortly too.


Thanks for reading!
Want a jumpship of your own? I'll have resin kits in the
store soon.
Still not sure how big/little these guys are? Scale insert
here.