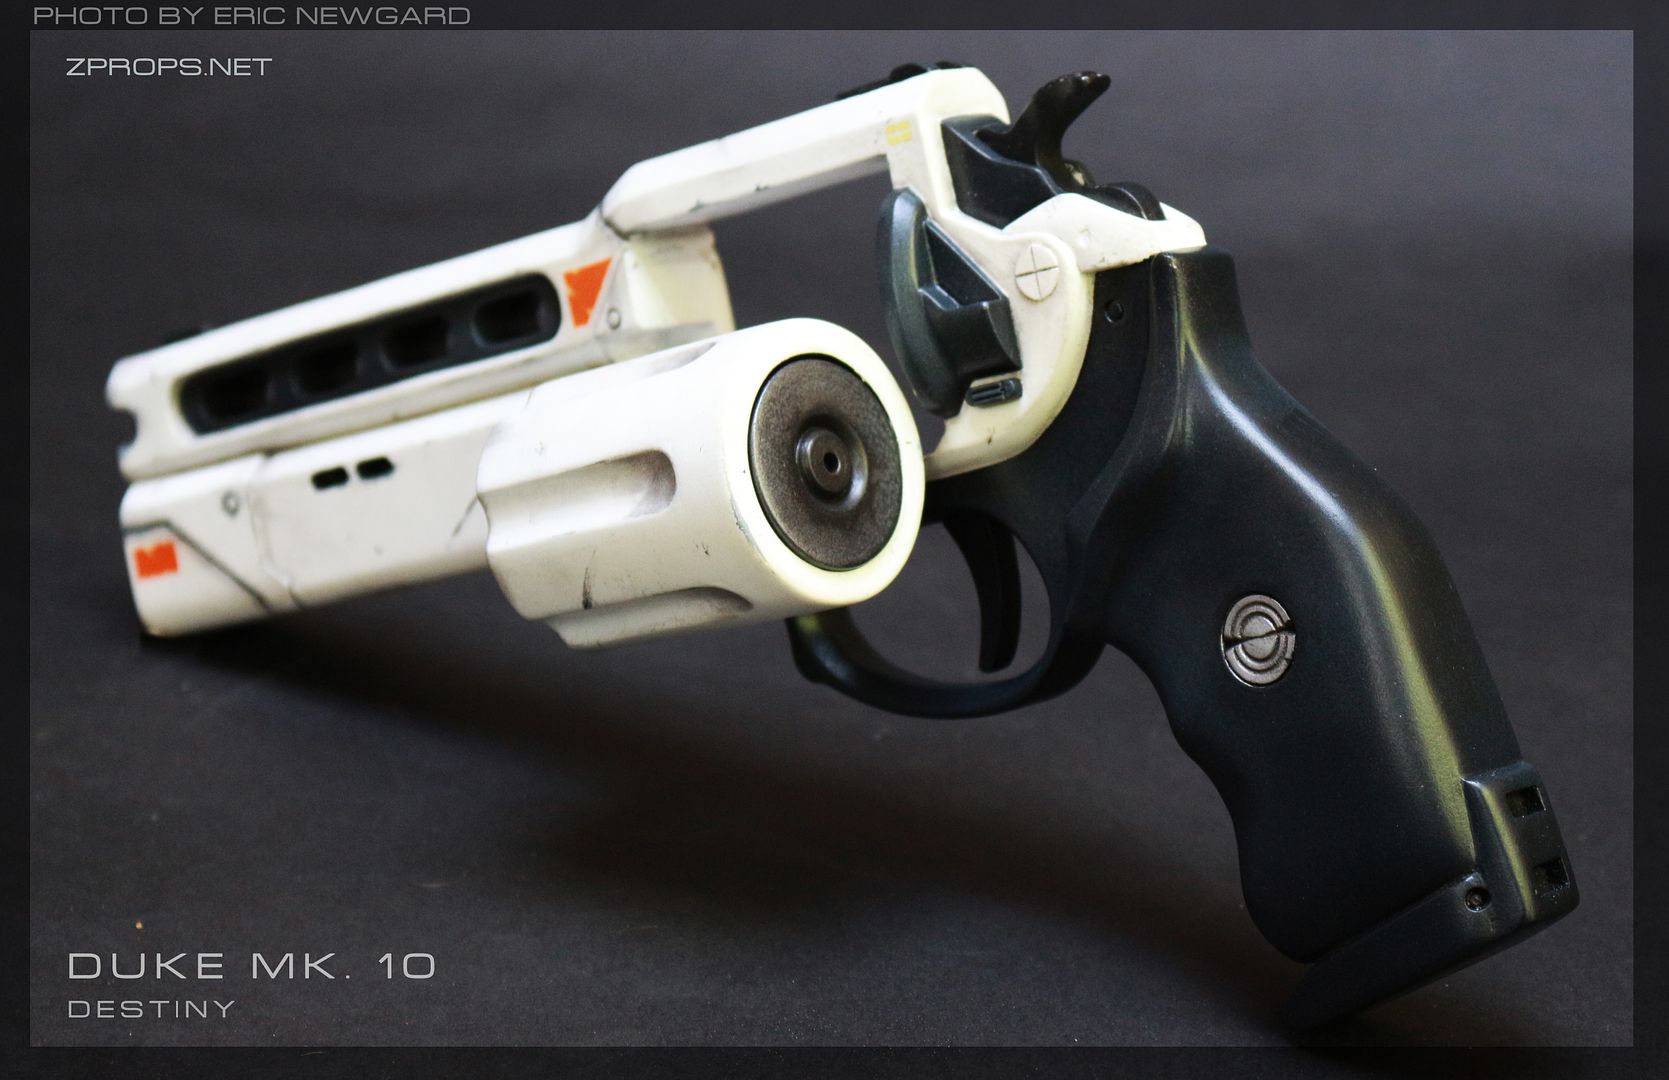
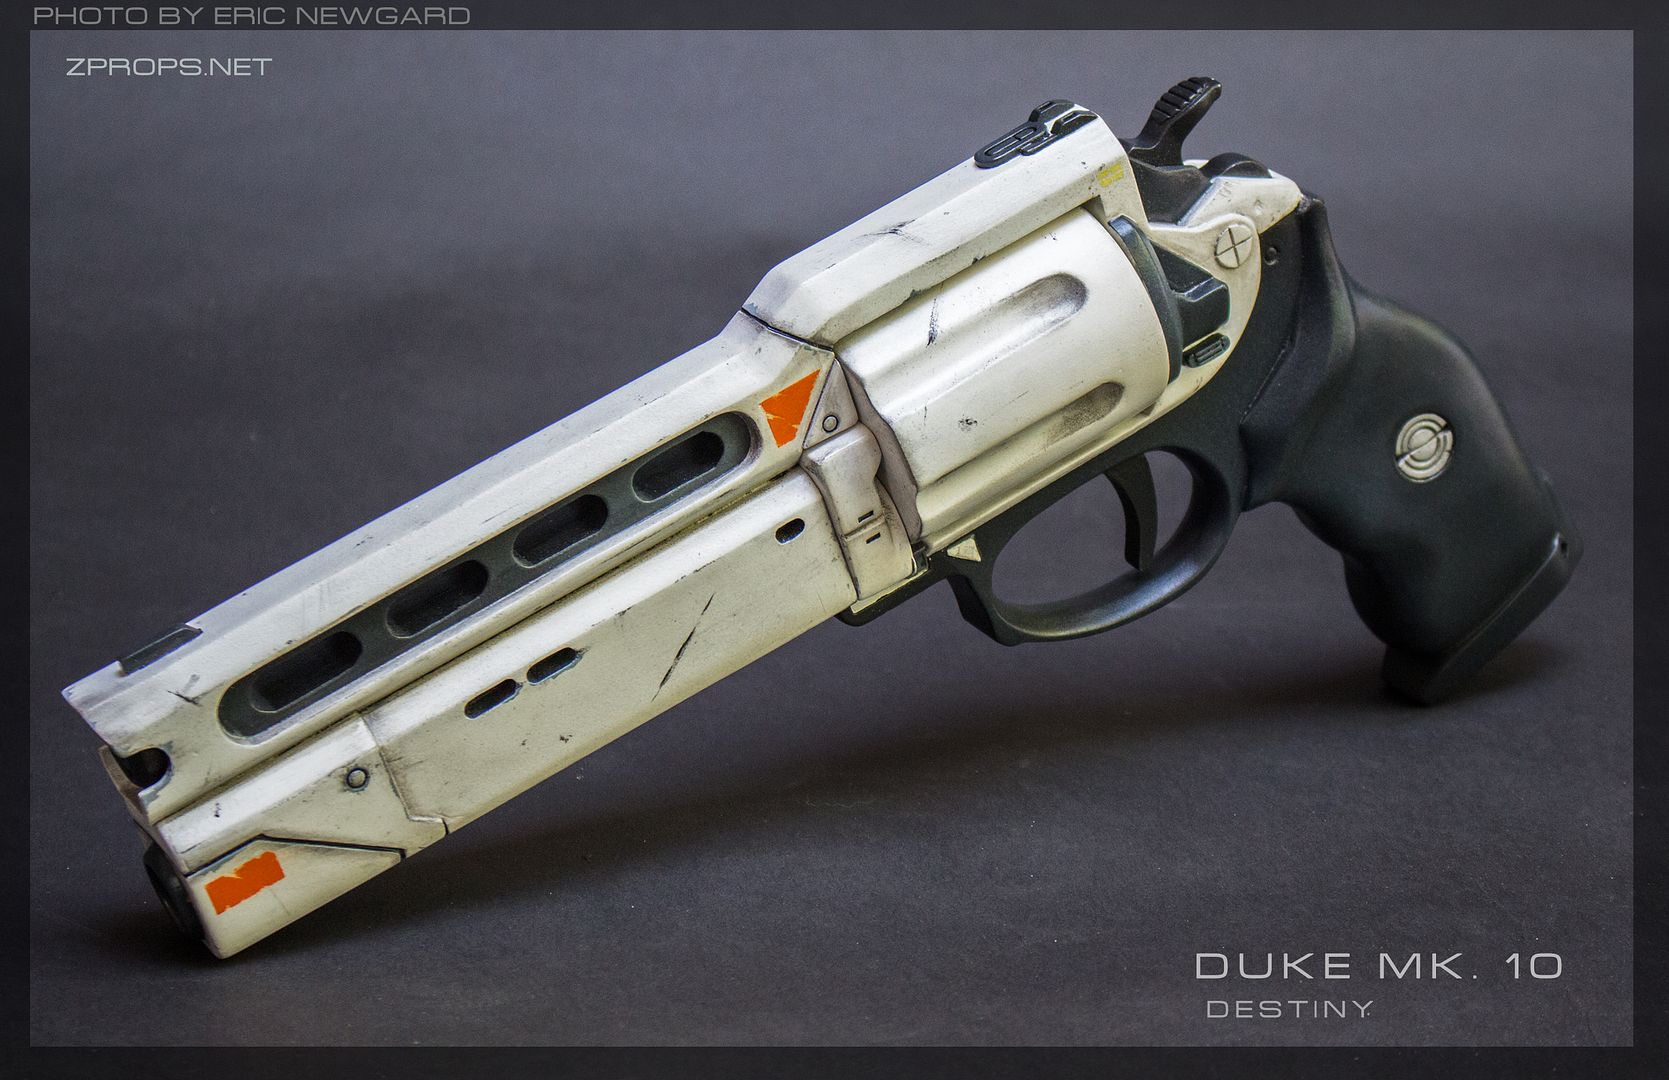
In every sci-fi game or anime, there's there's always the more basic/generic militarized version of weapons and vehicles, and then there's always the flashy rare rendition of things. This holds true for nearly everything. (Gundams VS GM's, tie fighter vs tie advanced, UNSC spartans vs marines, you get the idea)
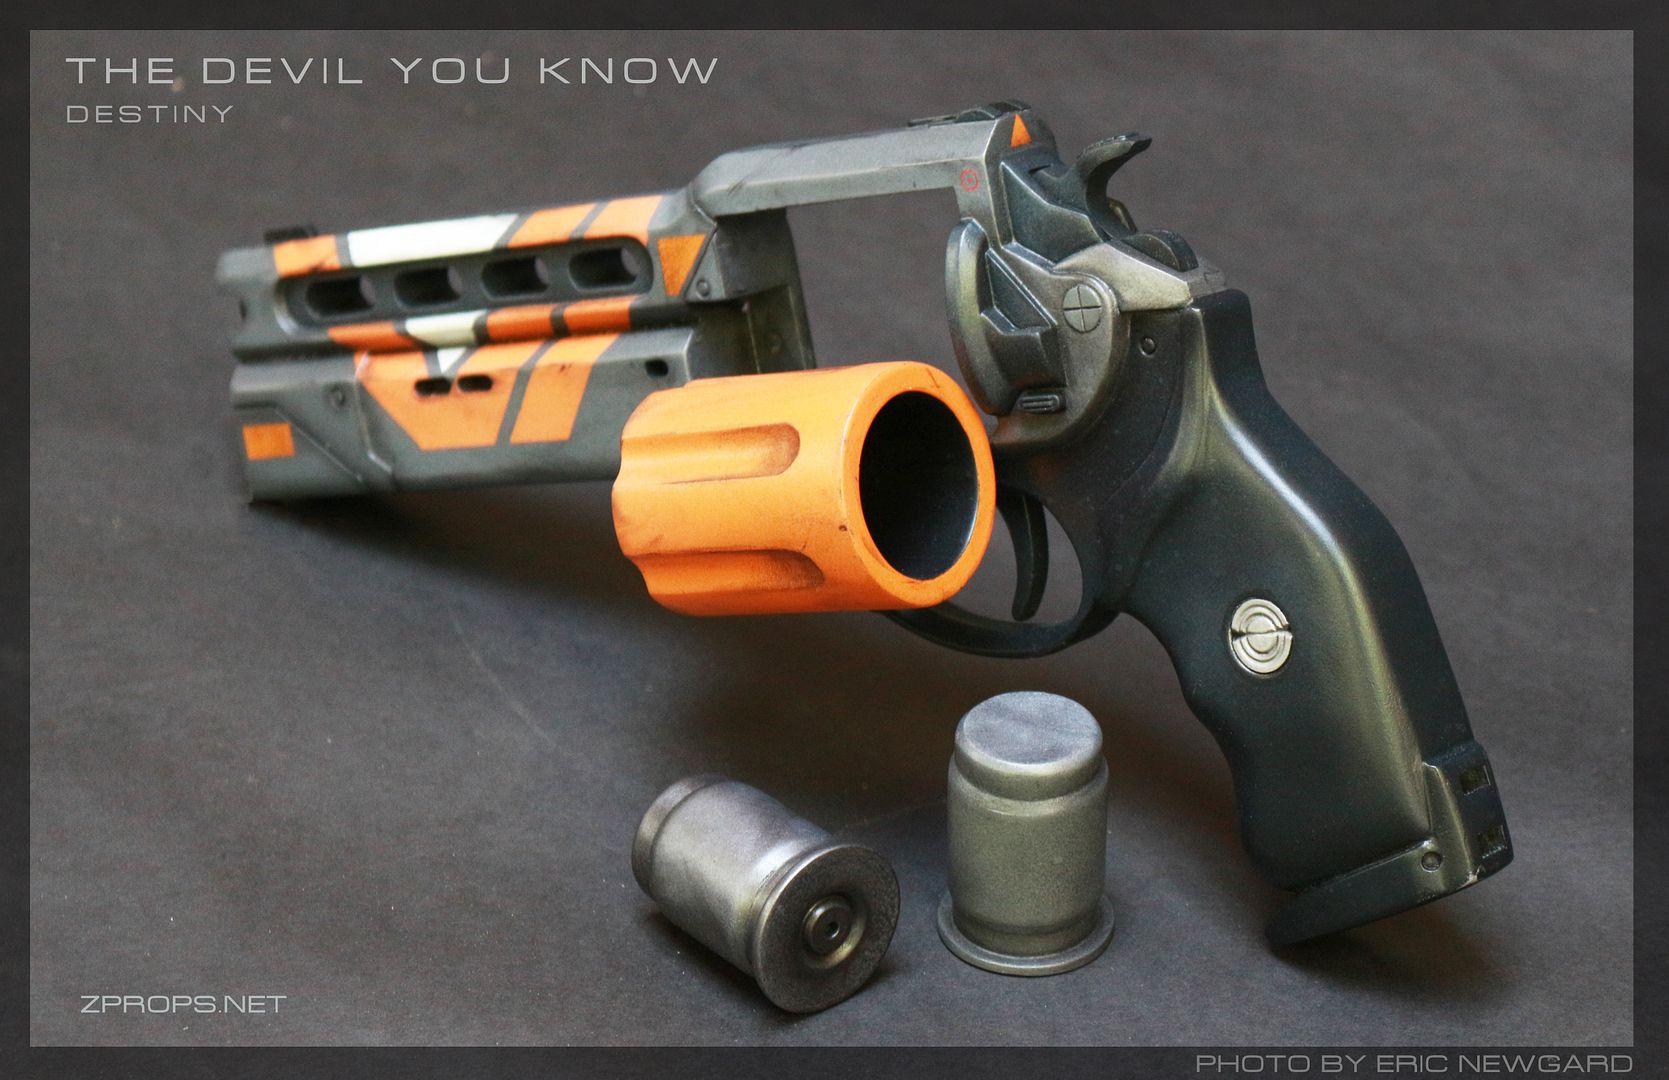
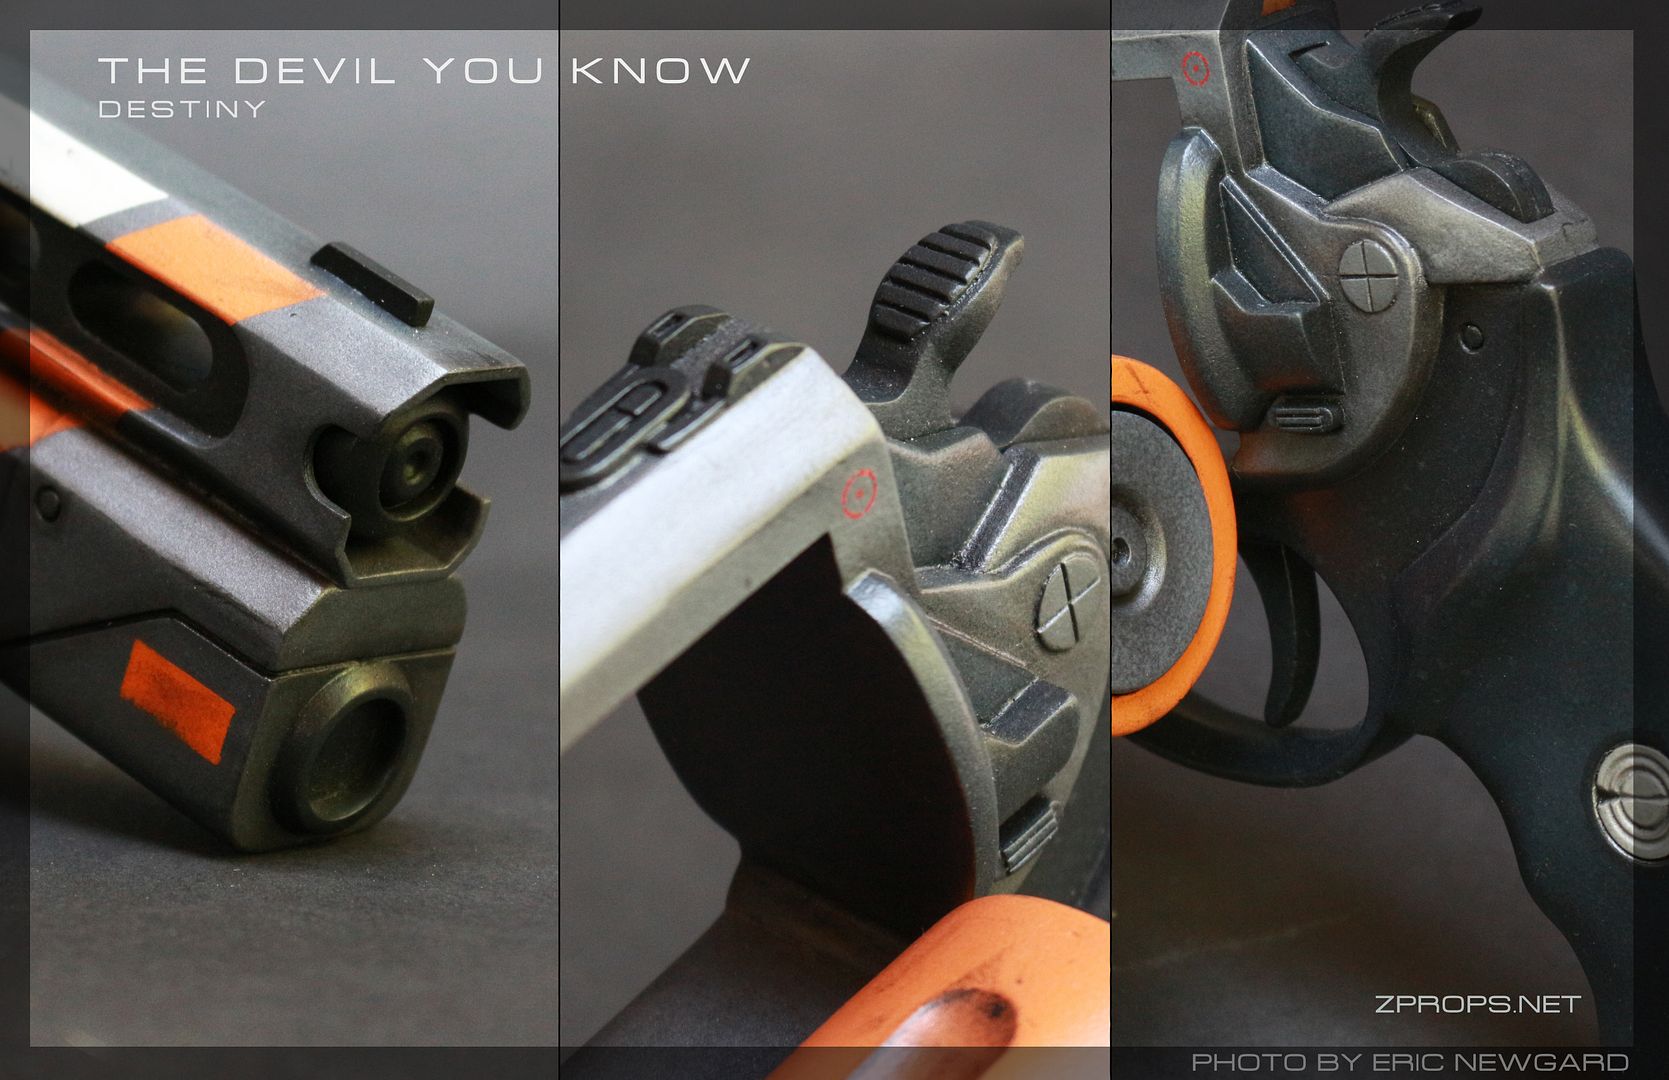
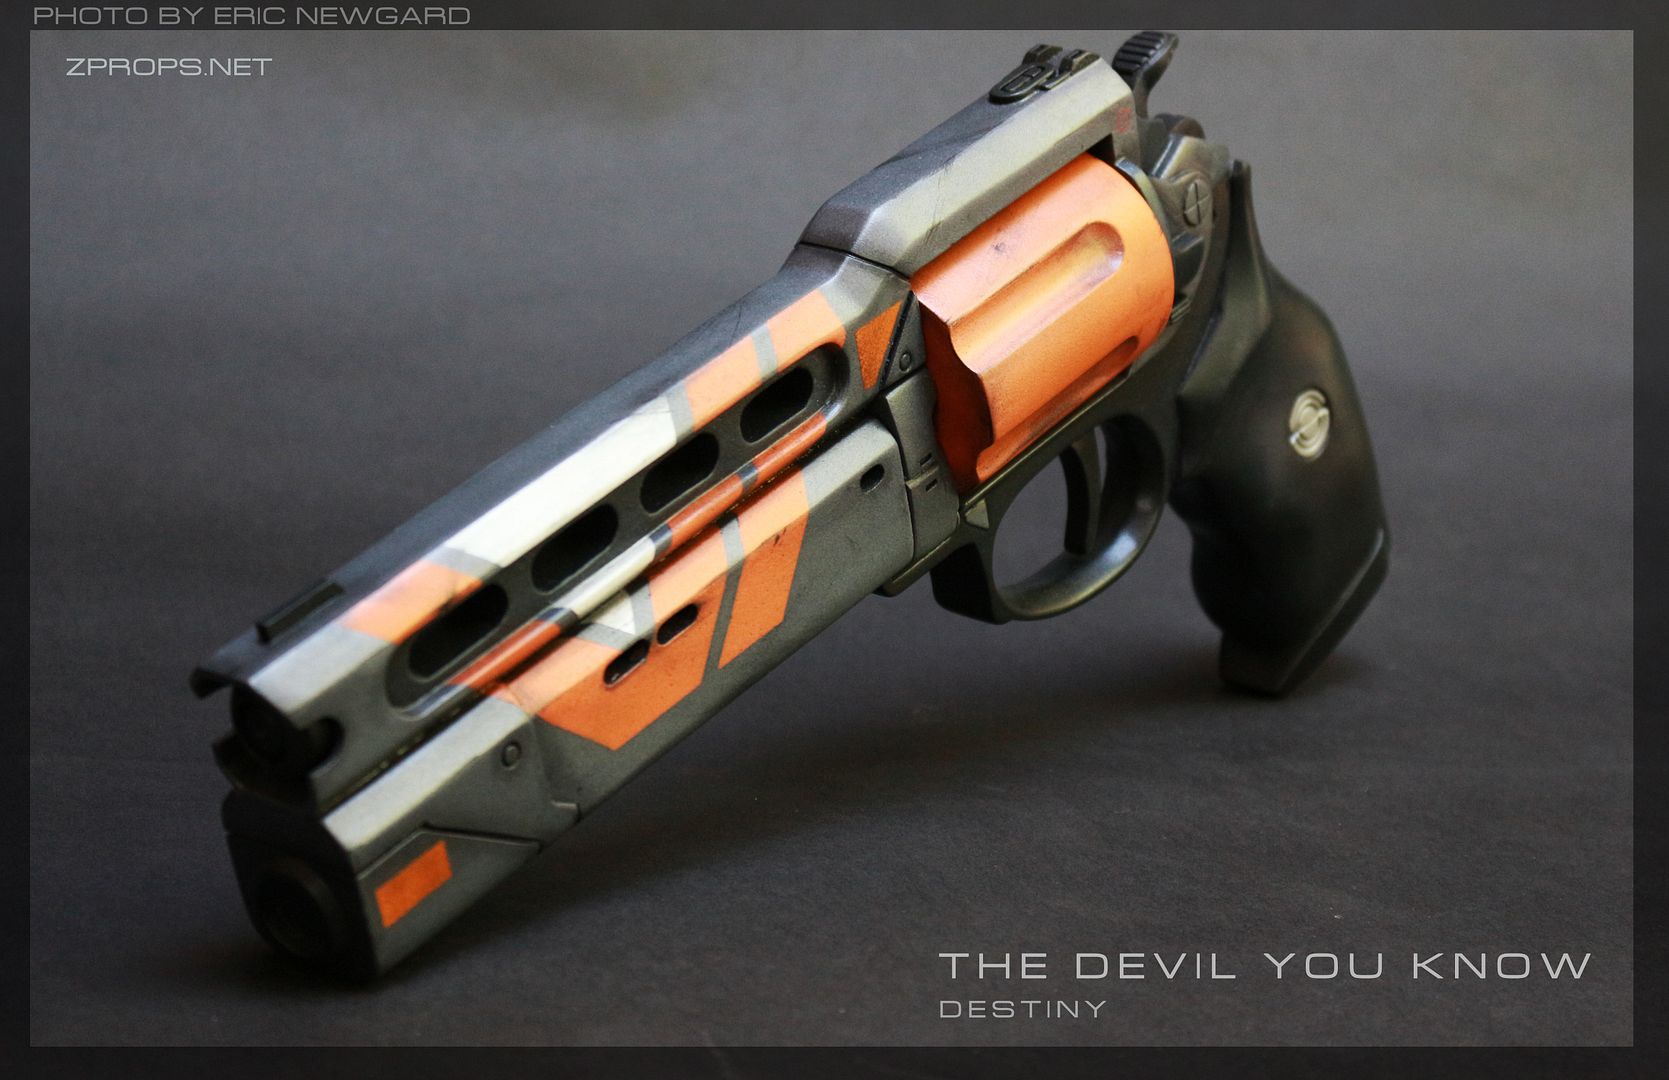
I typically enjoy the more "mass produced" looking stuff more than the flashy stuff, and this destiny hand cannon was a perfect example of something designed to be plain and basic (Comparatively) that can still be made to look beautiful. So here it goes!
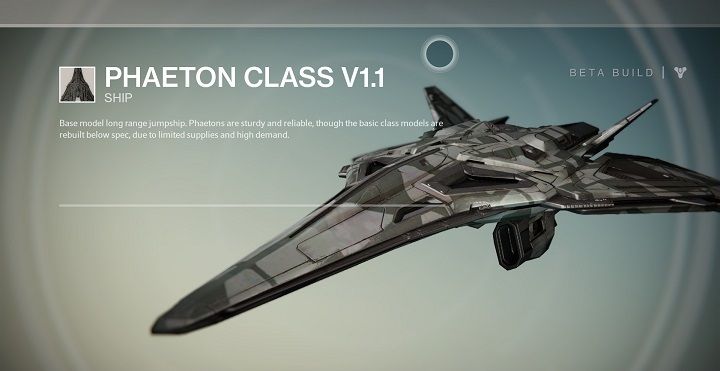
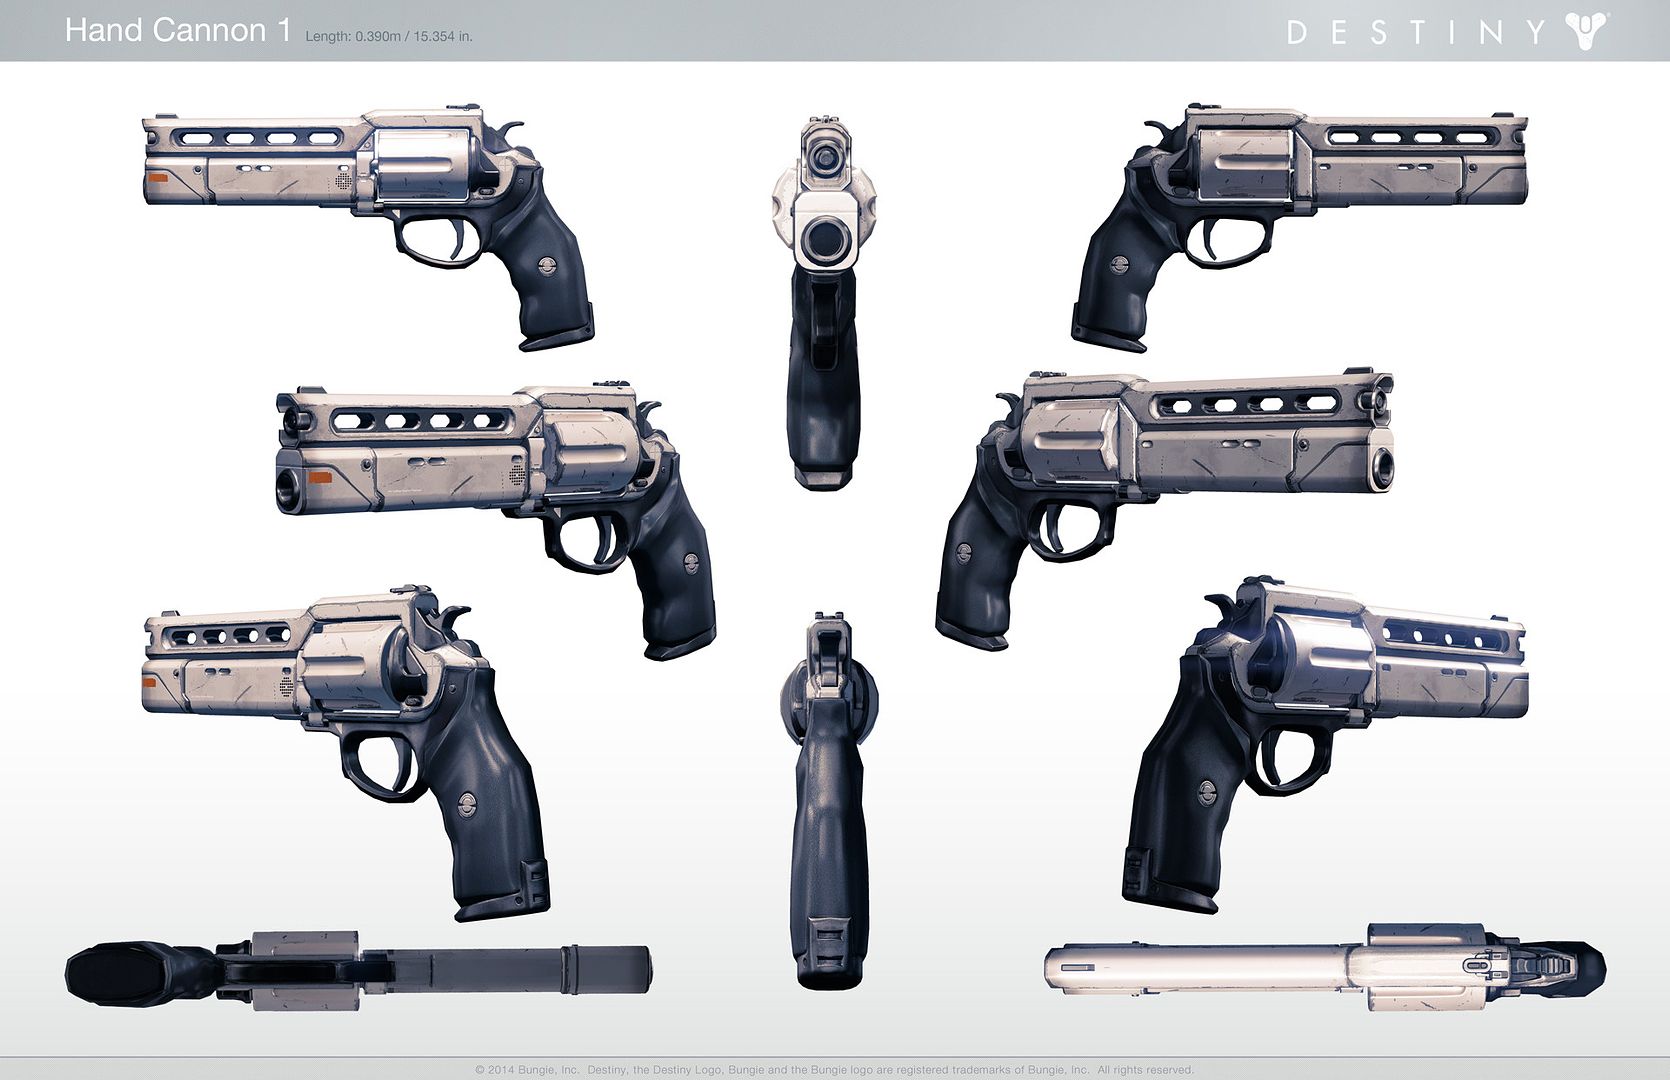
Destiny released this official reference before the game came out. If you've been reading through my other posts, I'm also a big fan on concept work over the in game models because in game models are typically less detailed and are "neutered" versions of the artists original vision. In this case the basic hand cannon was almost perfect, so all they did was change the little ridge under the cylinder a bit in the final version. Win!
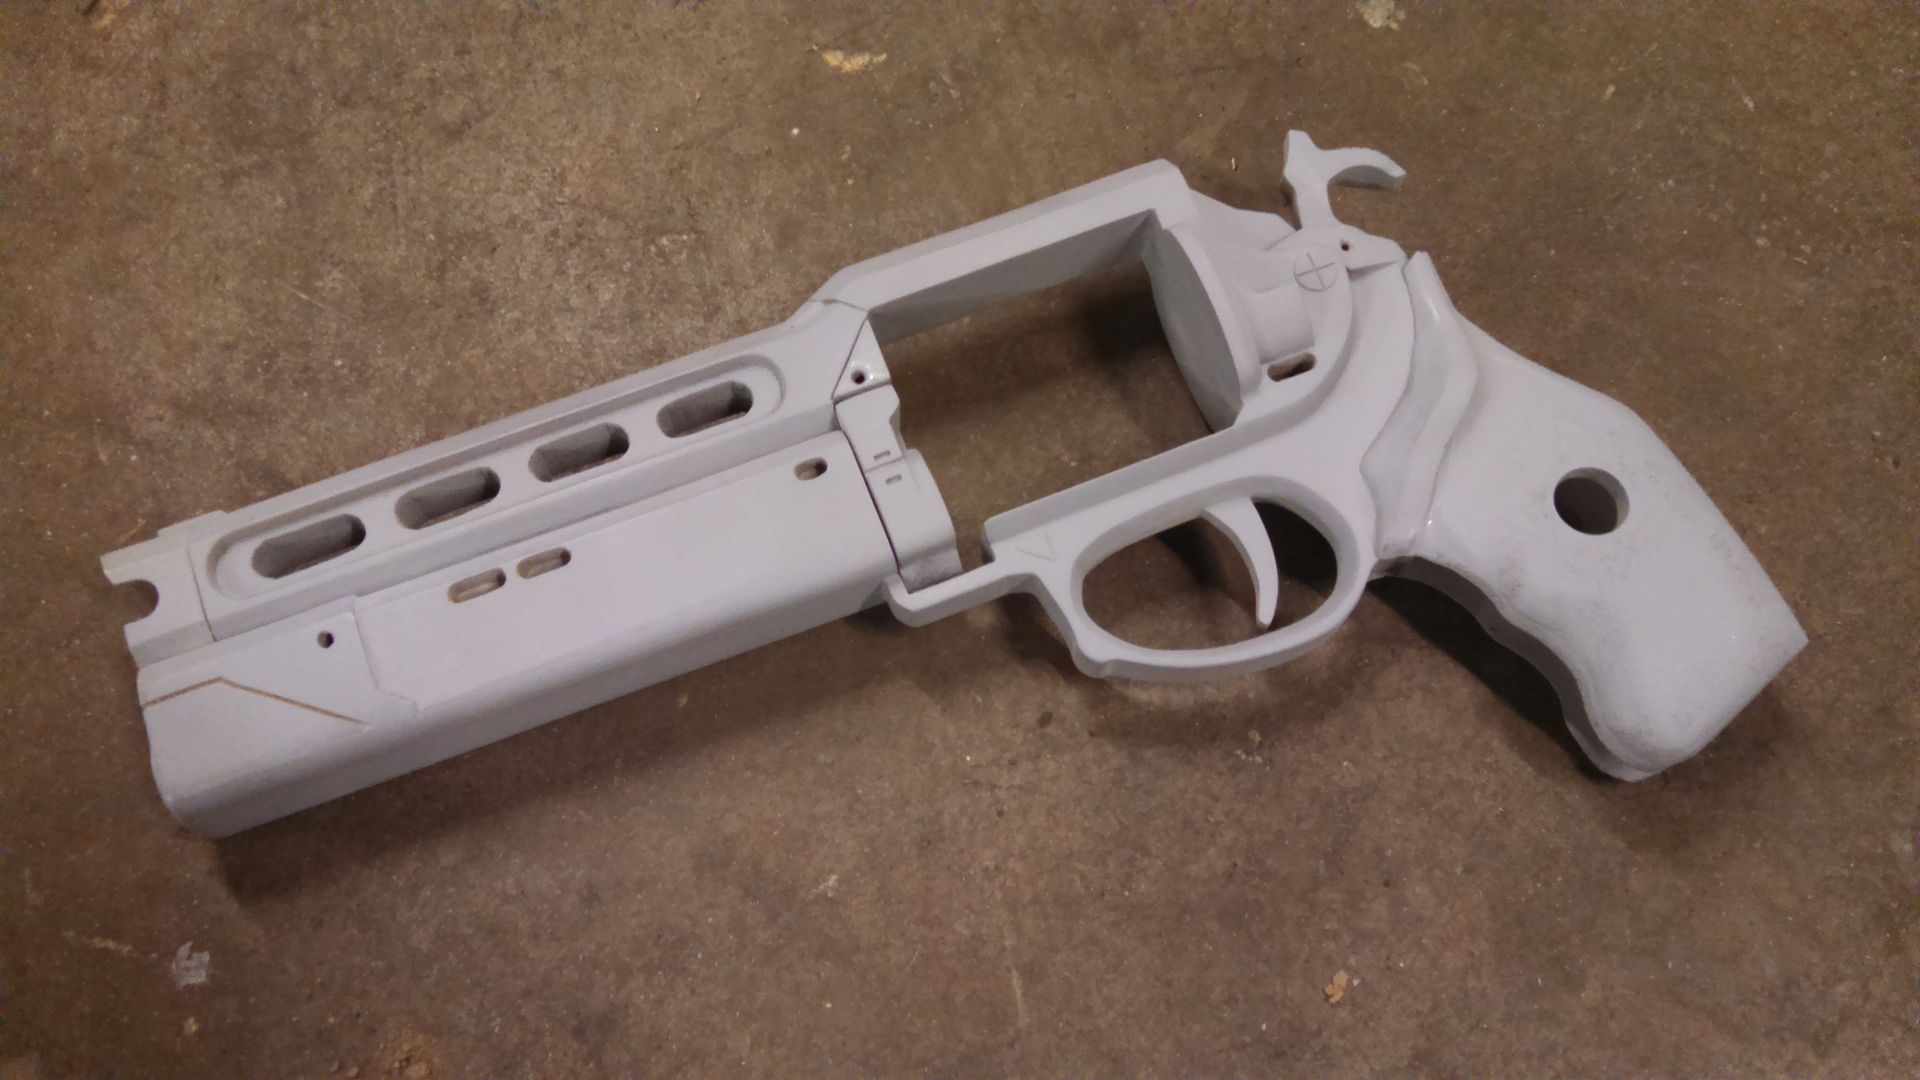
In game this thing is 15.35 inches long... I printed it out and decided to scale it down to 14"..Not happy with how far away the hammer was (Since I wanted a moving hammer that I could cock with my thumb) I scaled it down to the final number of 13.5 inches long, which puts the barrel at .55 caliber or so. These are all I used to build the thing. Please don't ask me for blueprints.

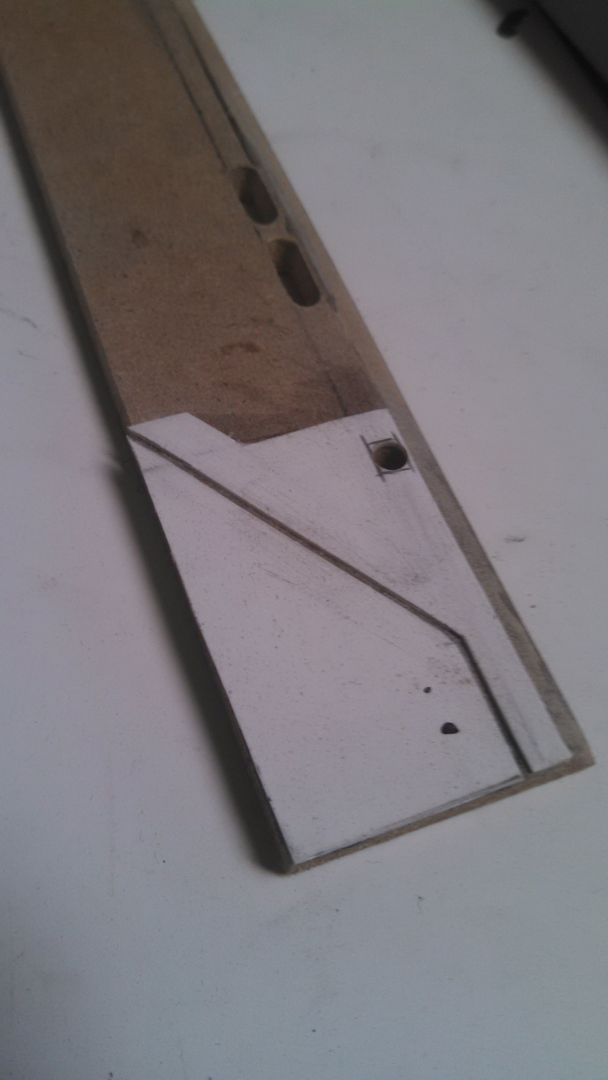
I started off with the front vents, which probably wasn't the best idea because they are hard to clean up later. Since I cut these on a scroll saw when it was freezing, my cuts weren't as nice as usual and it shows here and a few other places up front. It got warmer though as I went on and my cuts got better again.
This is probably one of the hardest parts to interpret. Most people think the front hole is larger, and the rest are small. The reality is they get progressively larger as you move towards the front, so I did my best to measure/show that.

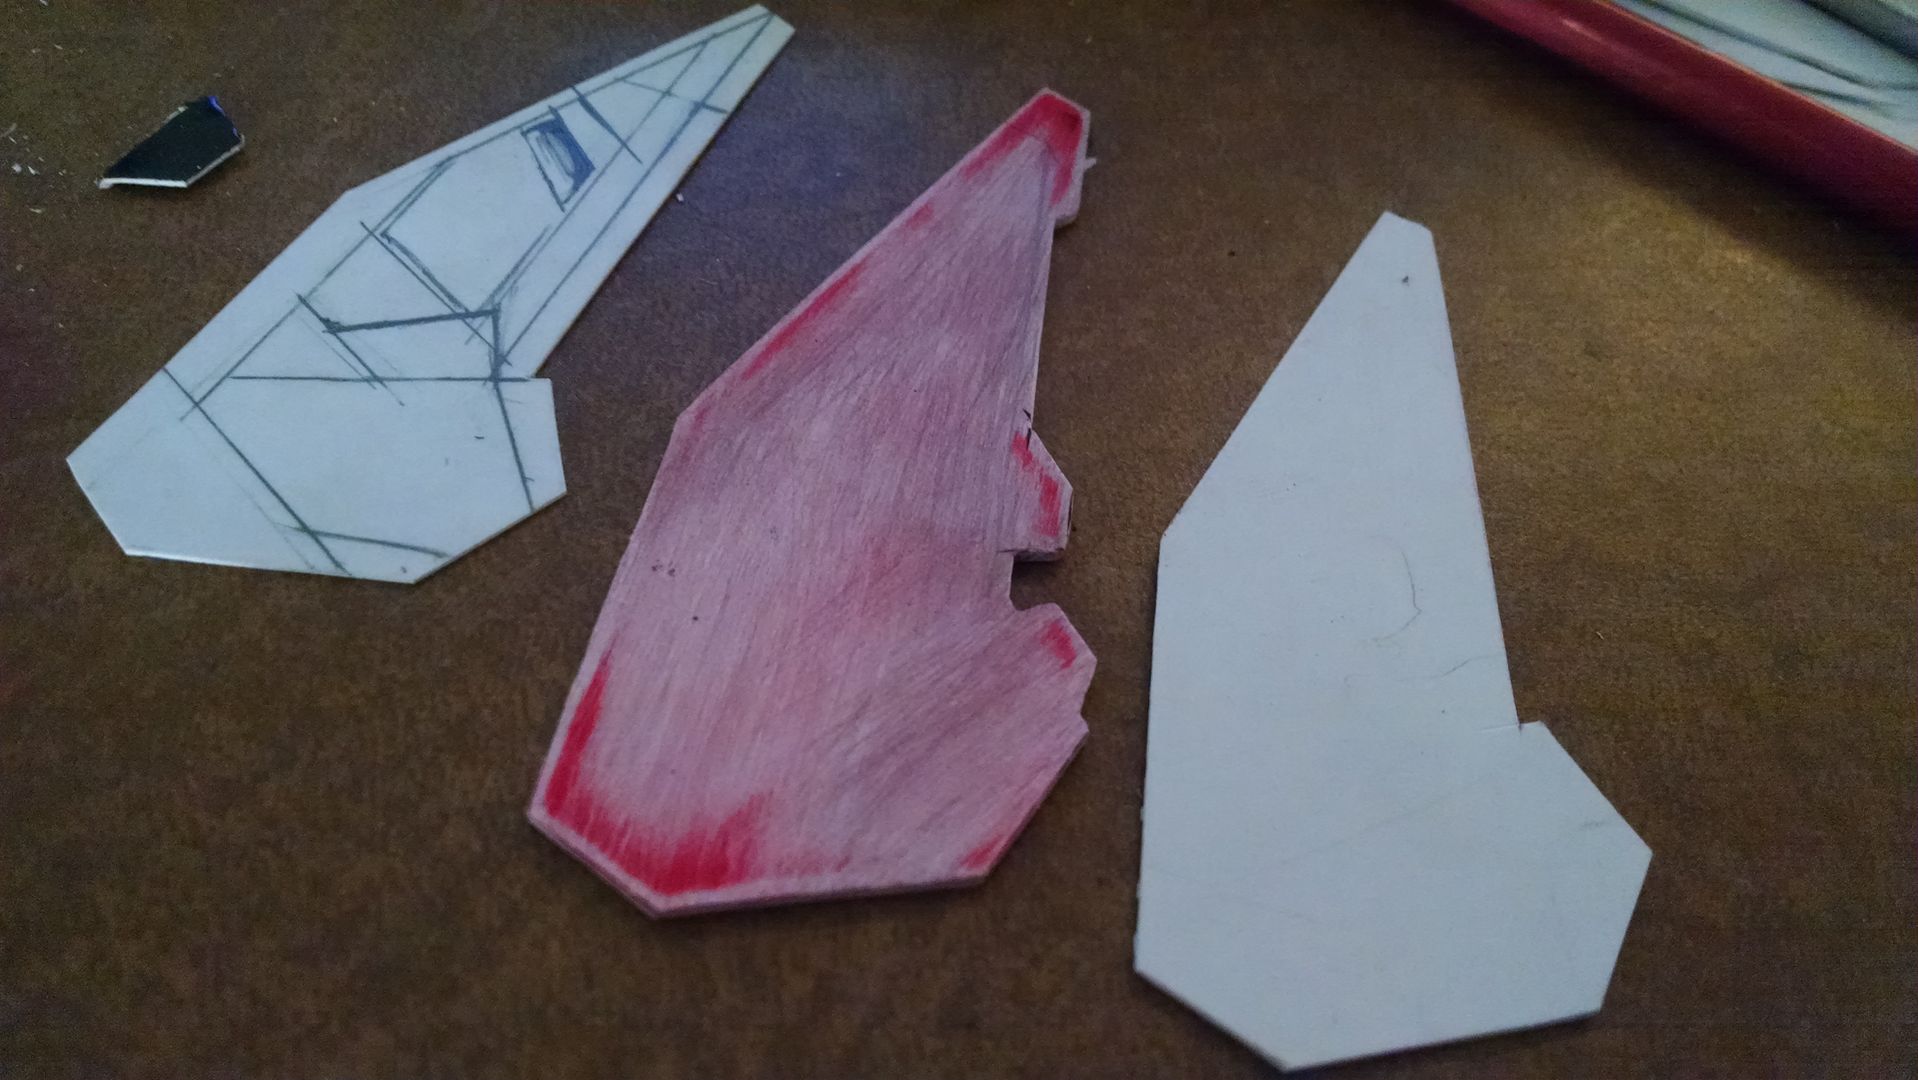
I did both sides of the lower shroud after, by simply layering up some styrene before gluing everything together.

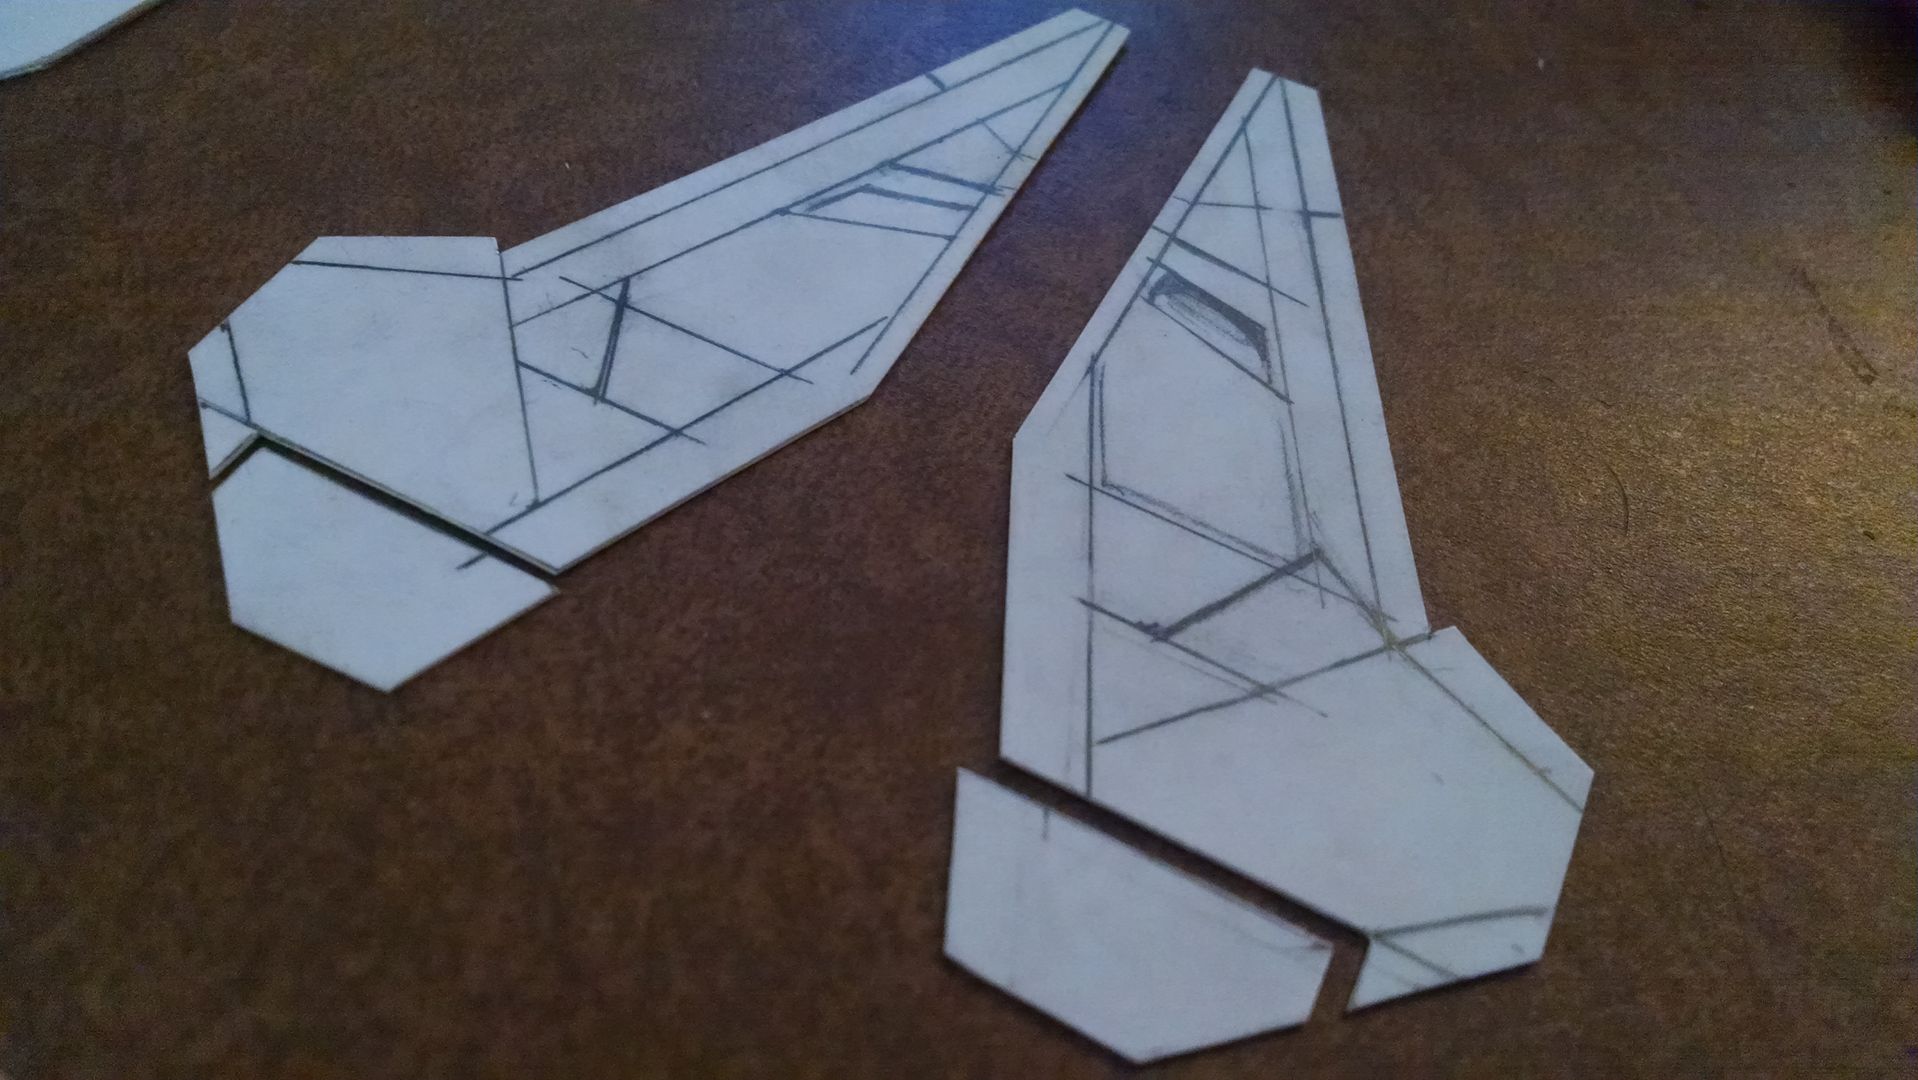
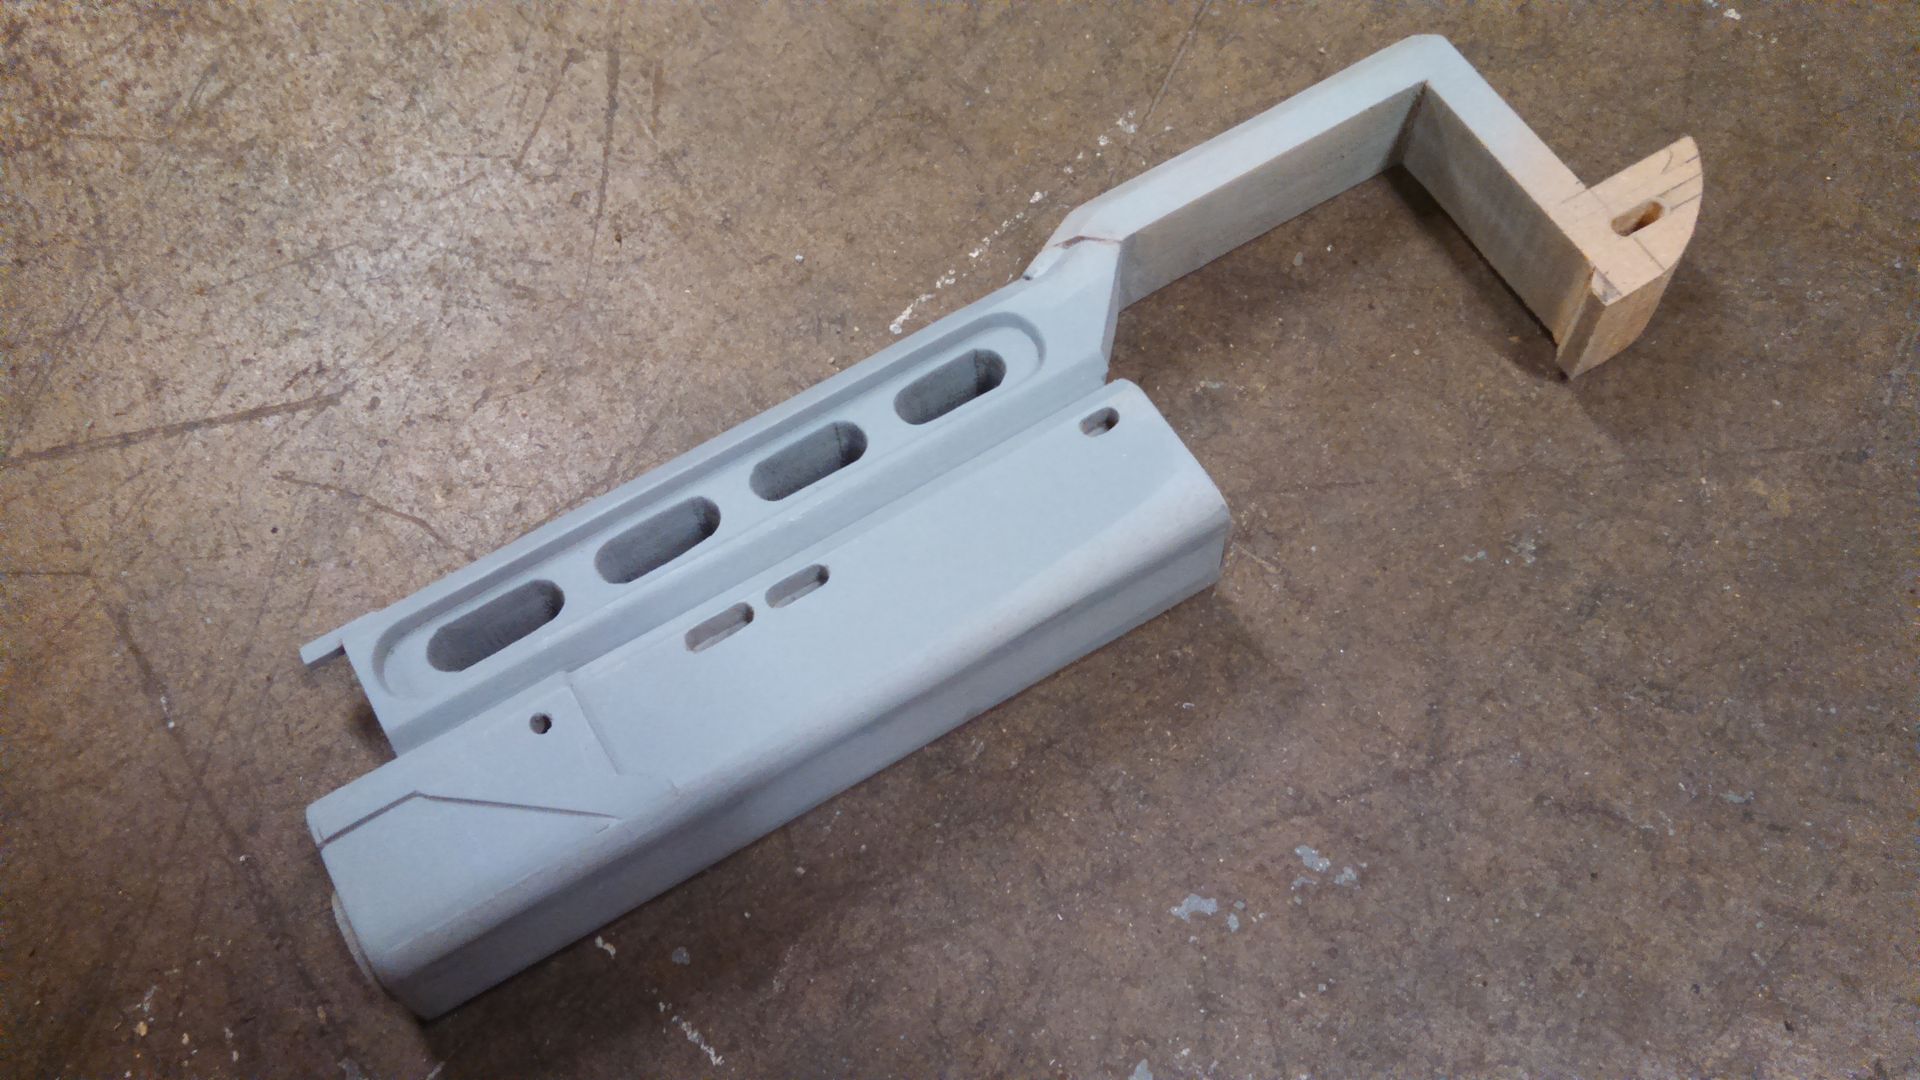
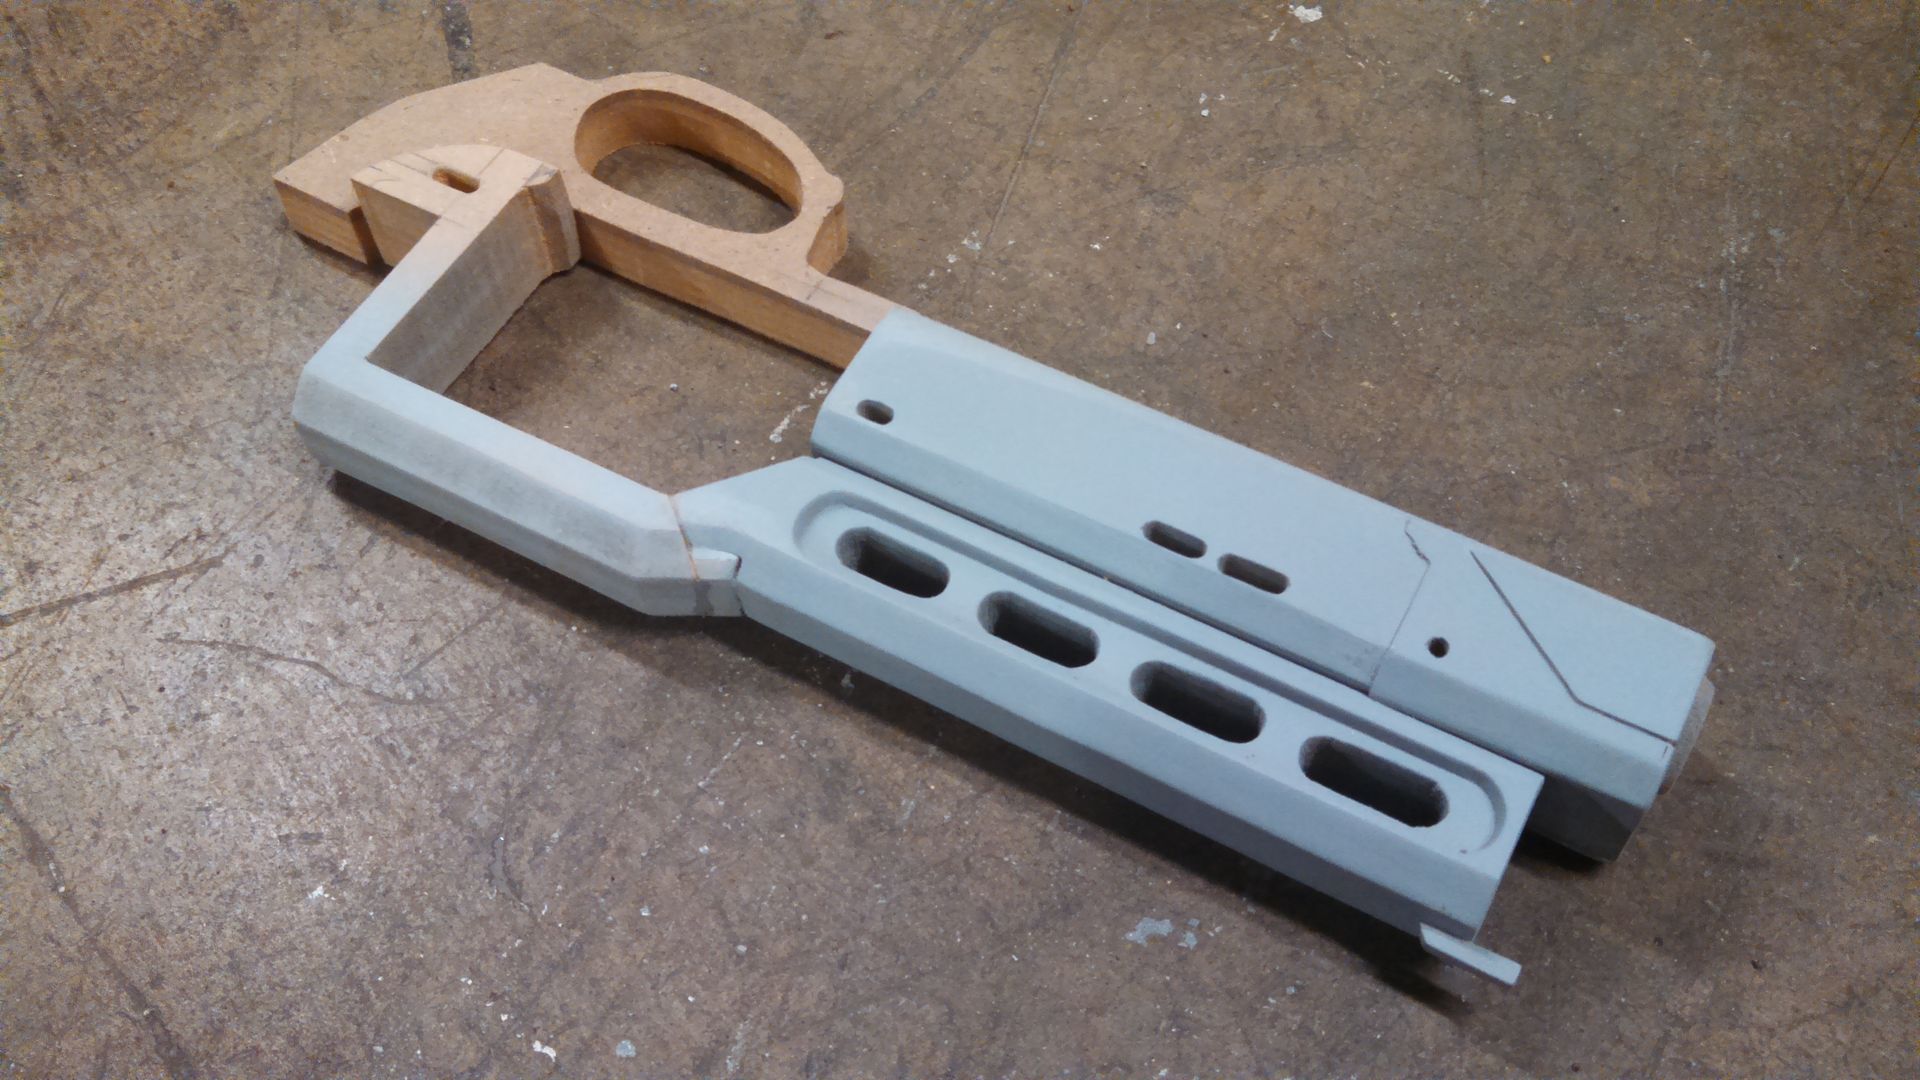
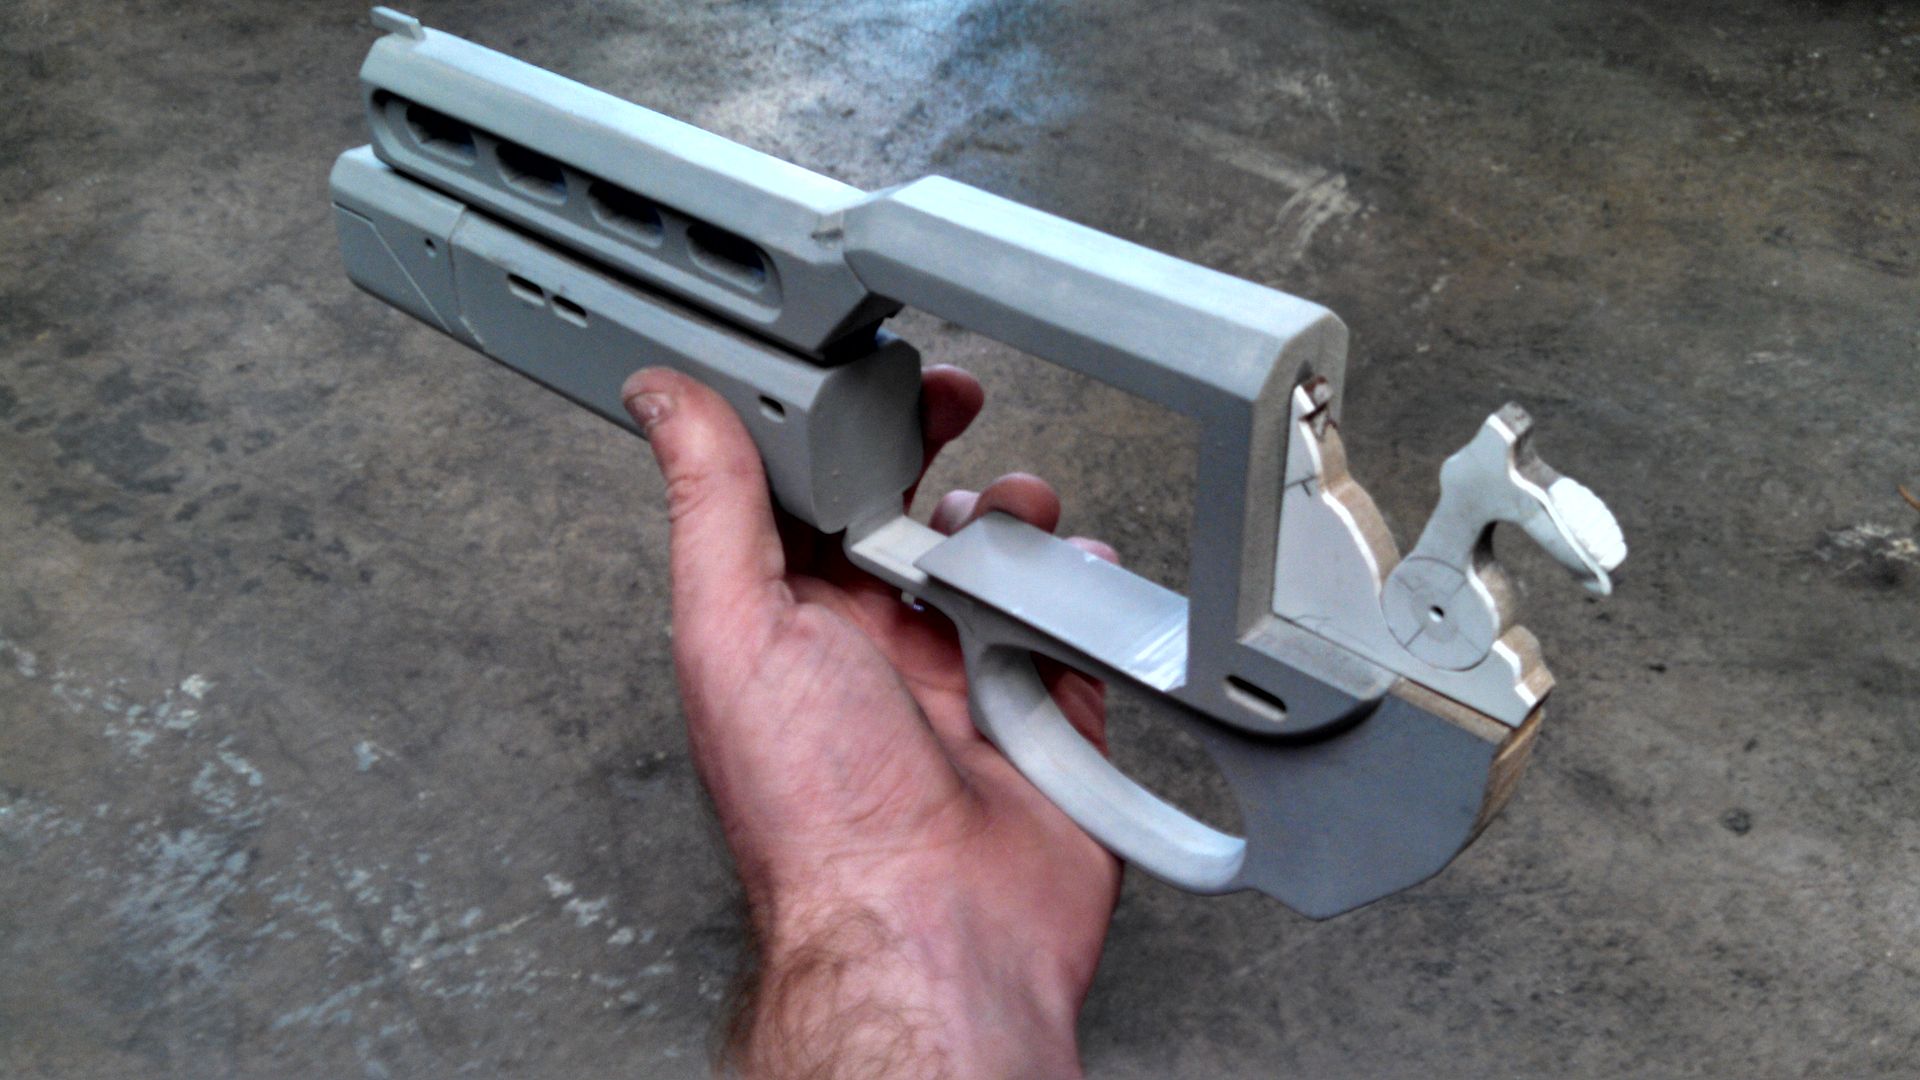
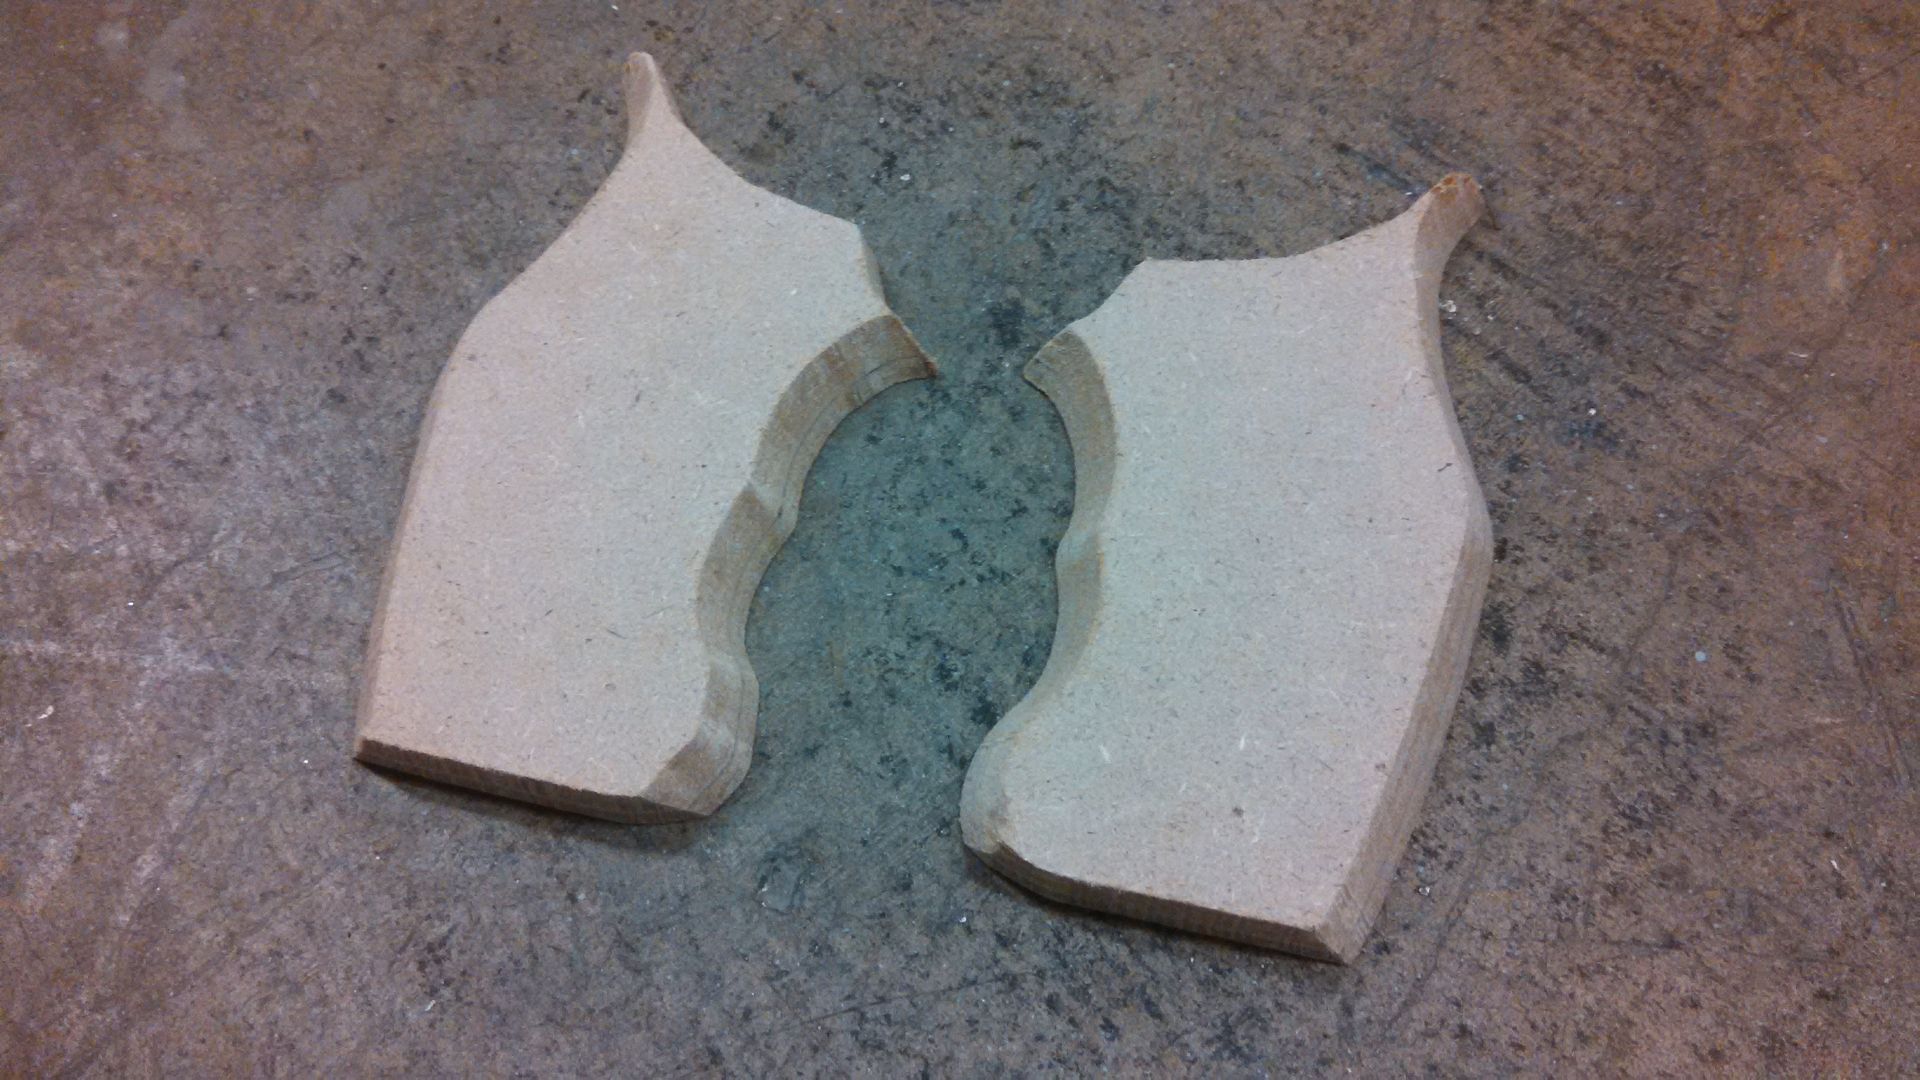
I framed the gun in two separate sections and then glued them together. I cant remember why I did that, but there was a good reason at the time.

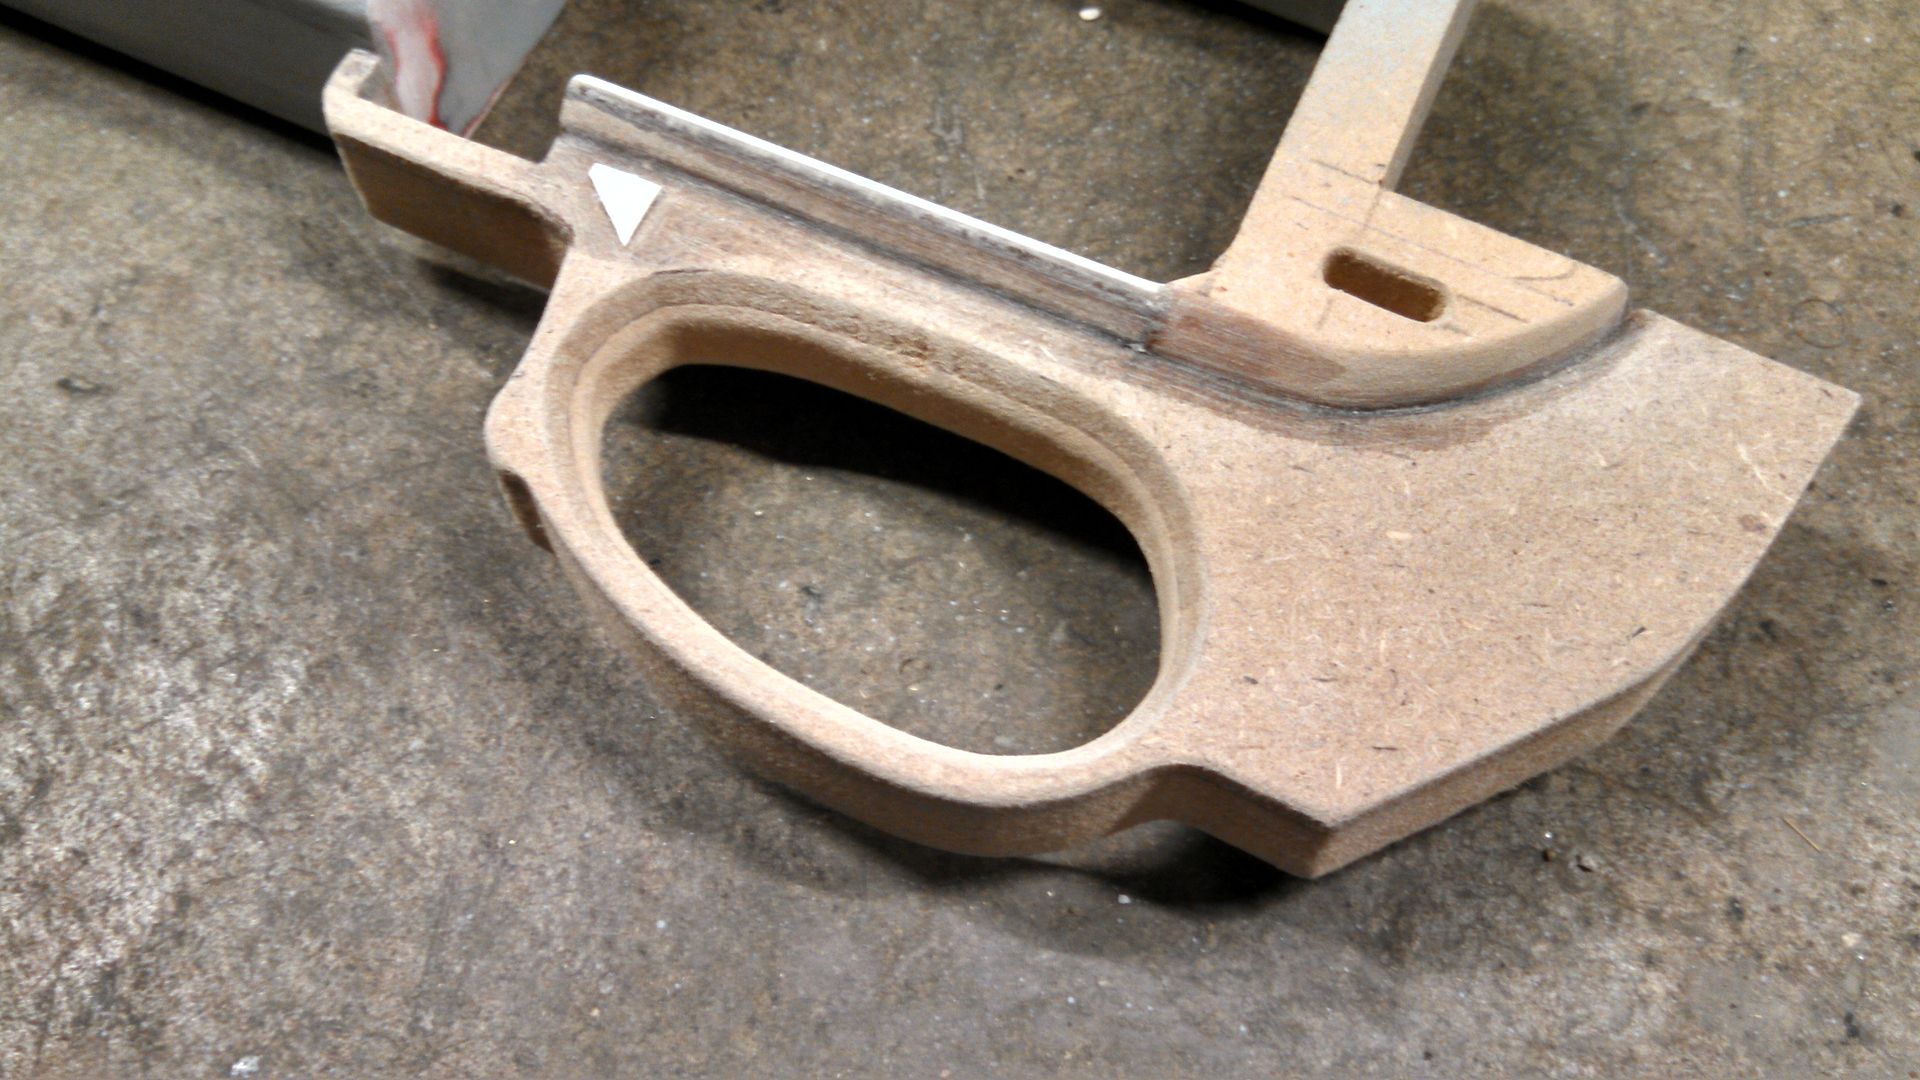
Since the trigger guard section was a different thickness, it had to be made as a separate part.

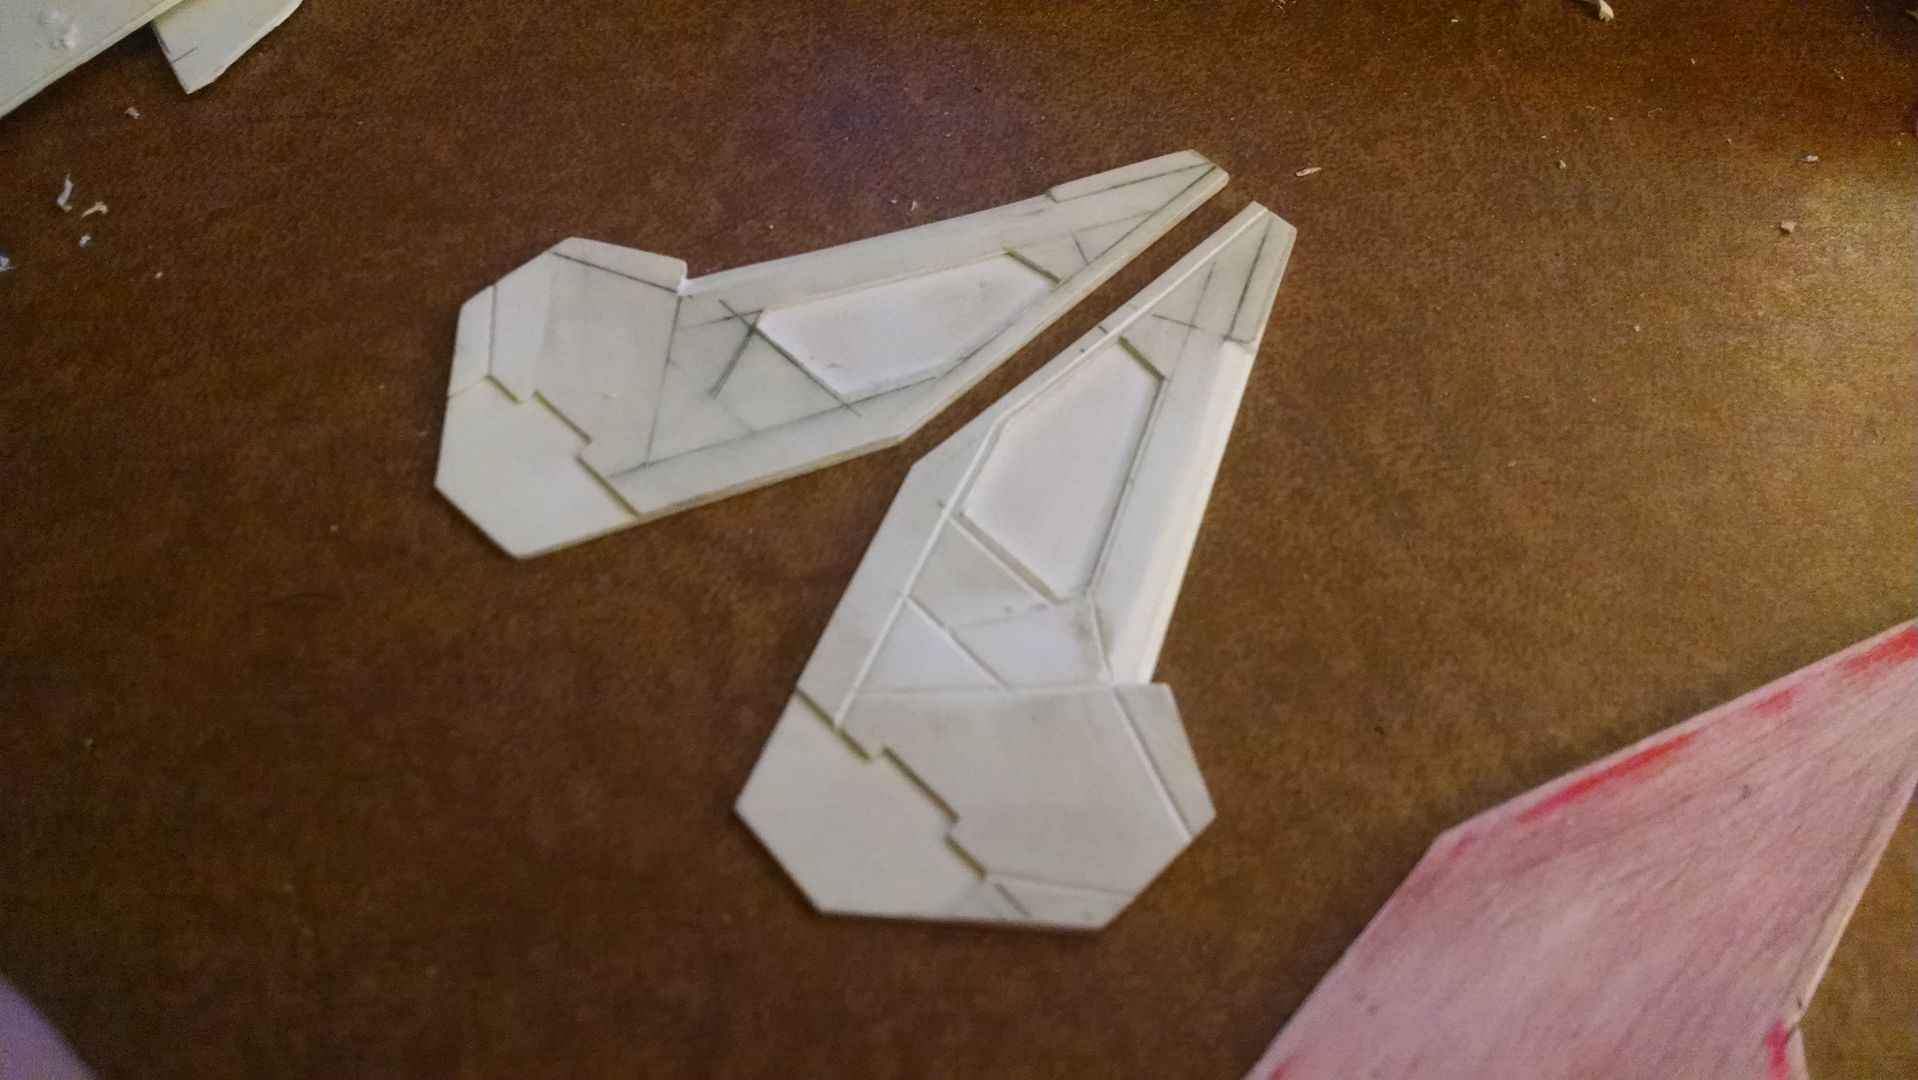
I cleaned up the trigger guard some and added detail. I also added the "lip" that goes under the cylinder here. Simply leaving it off would have saved me a TON of trouble designing the reload mechanism, but since I'm a sucker for accuracy I left it in there. In game the cylinder magically floats right through that lip when it pops out. A real life solution had to be made down the road.

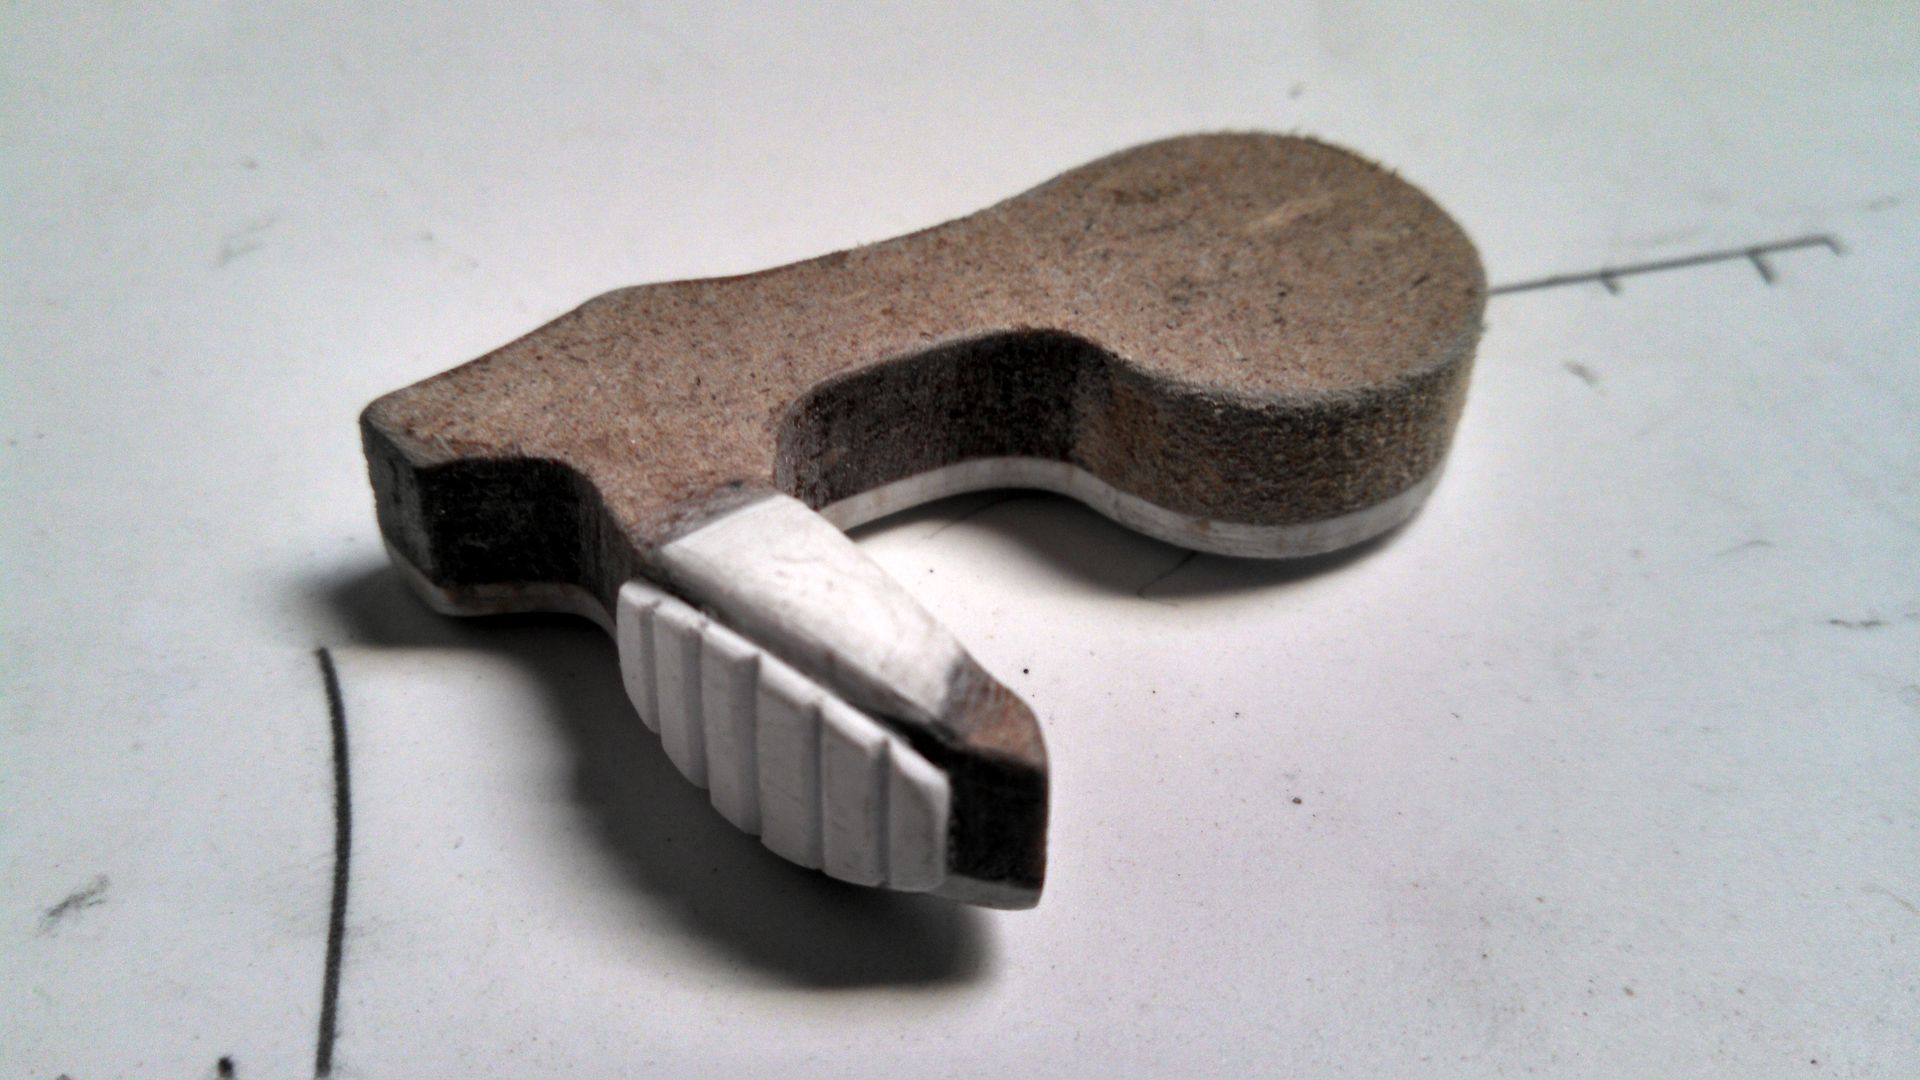
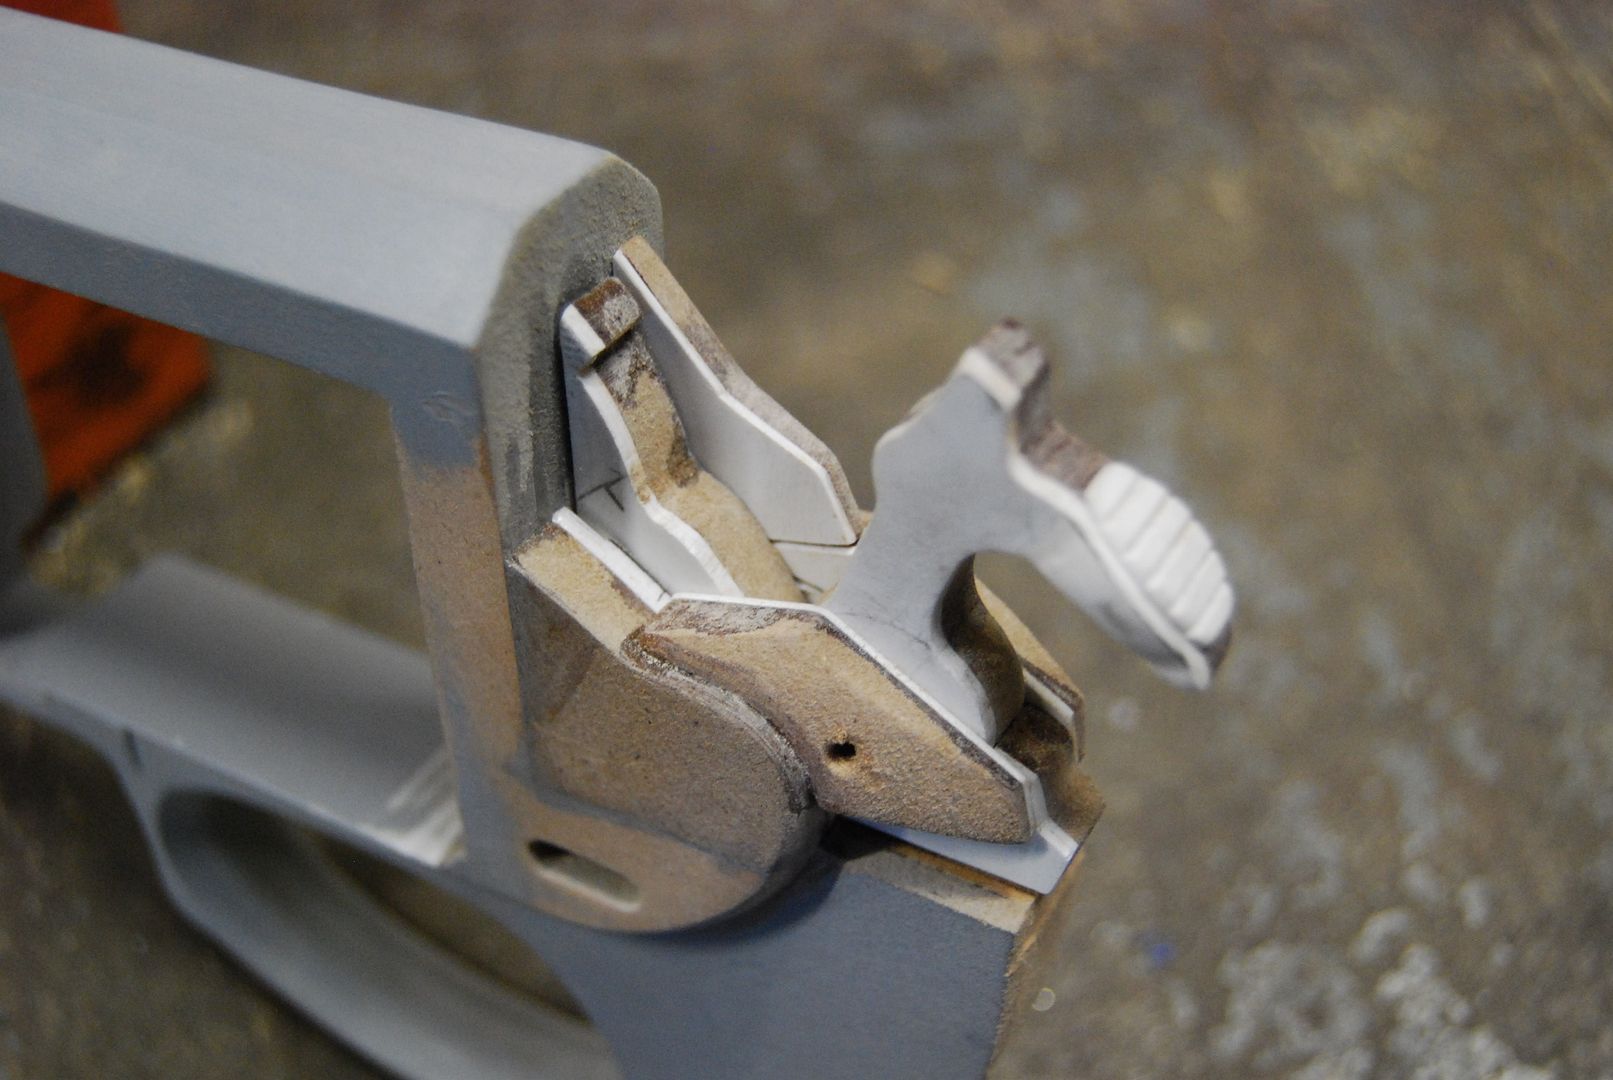
1/4" MDF wasn't quite as thick as I'd liked for the hammer, so I beefed it up some. I added details with styrene and careful scribing/sanding.

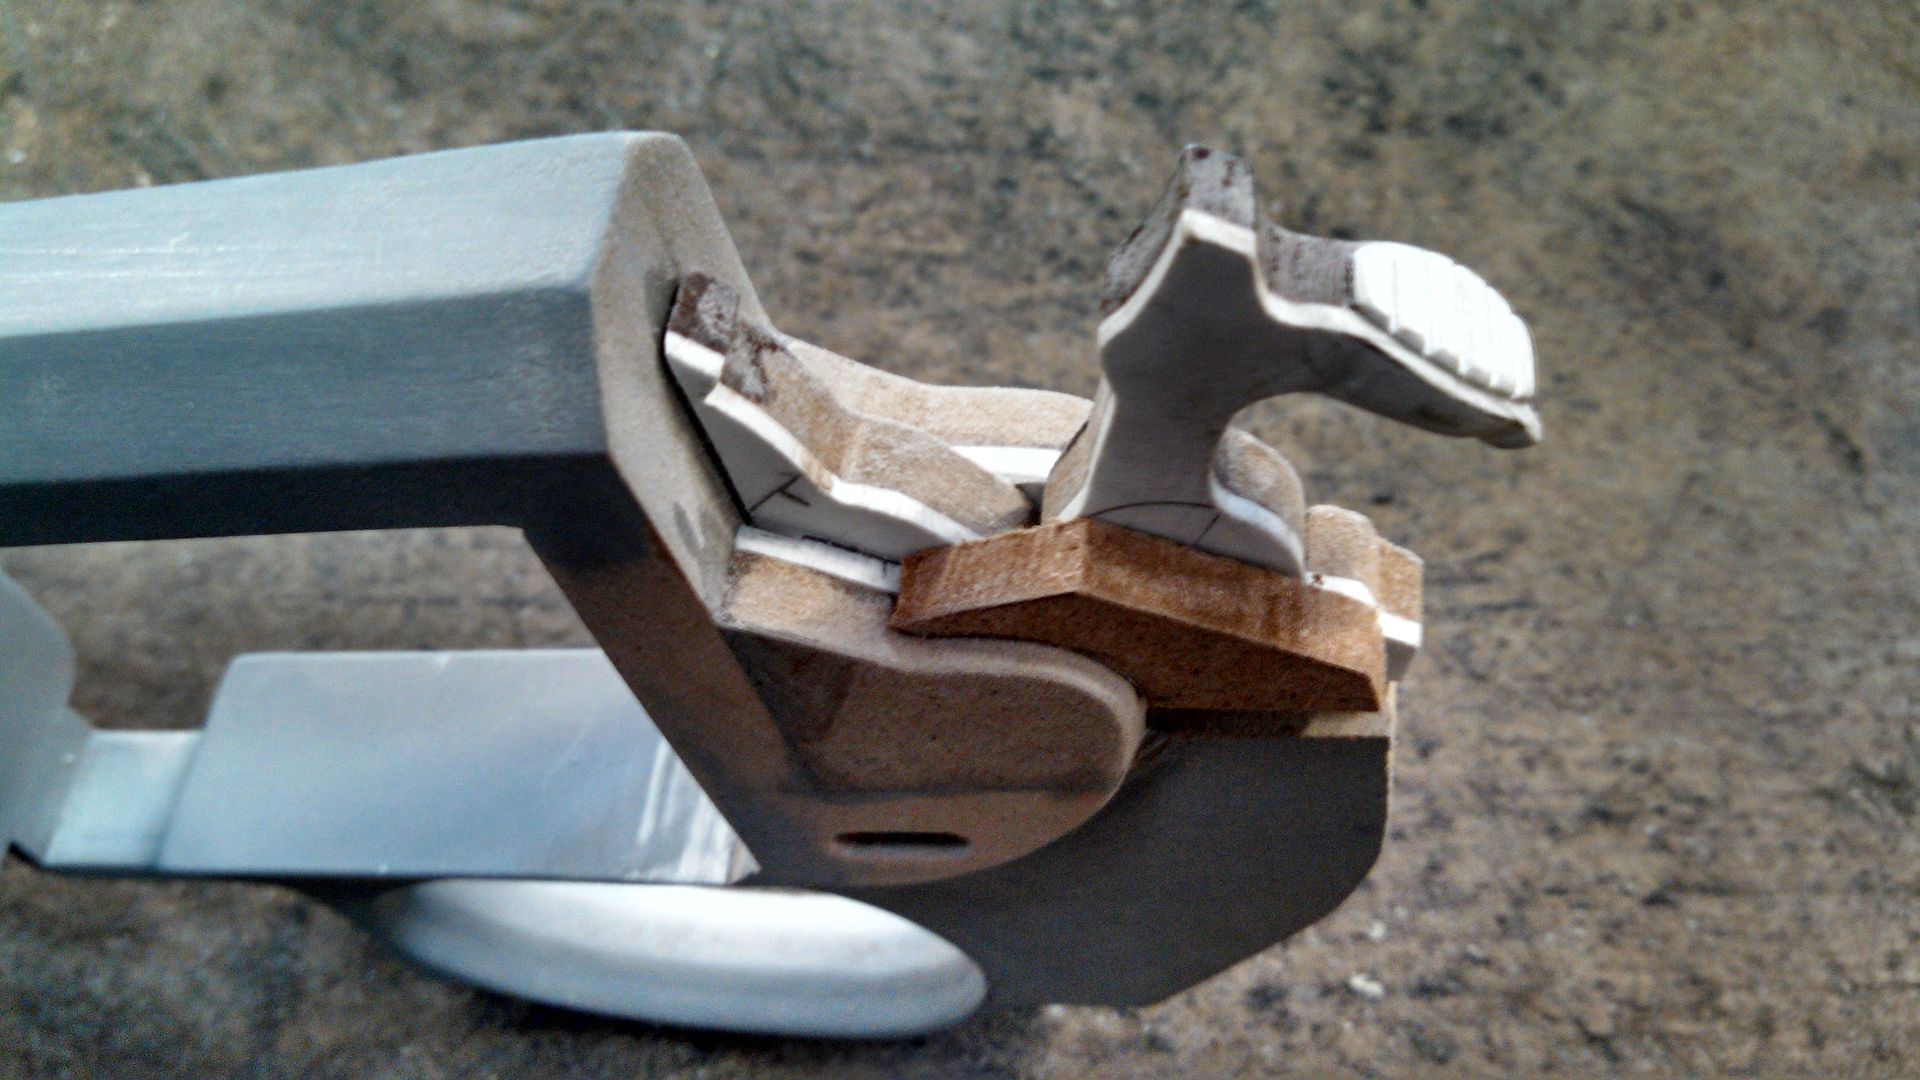
I made the "cradle" for the hammer and went forward on the priming.

I shaped the parts that cradle the sides, but didn't glue them on so I could pop them out when needed and sanded them to shape.

It just gets more and more tedious.

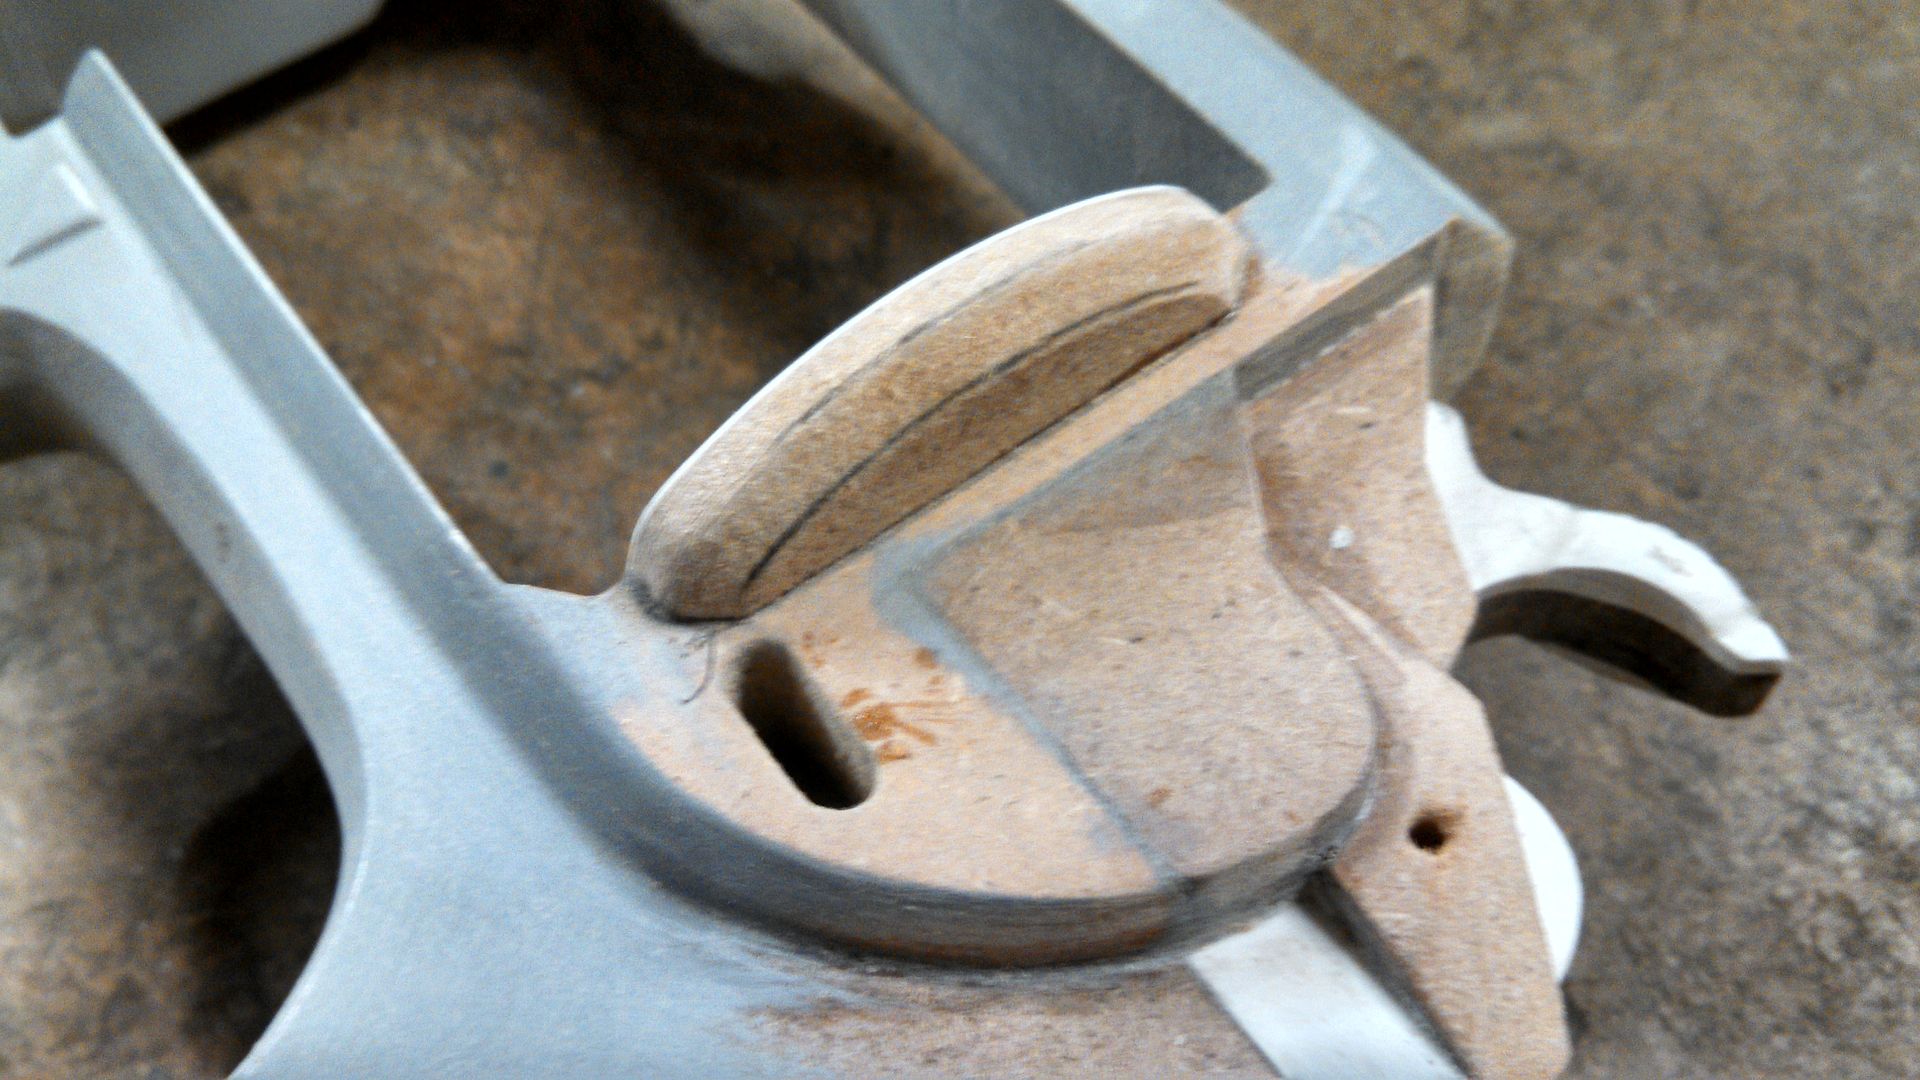
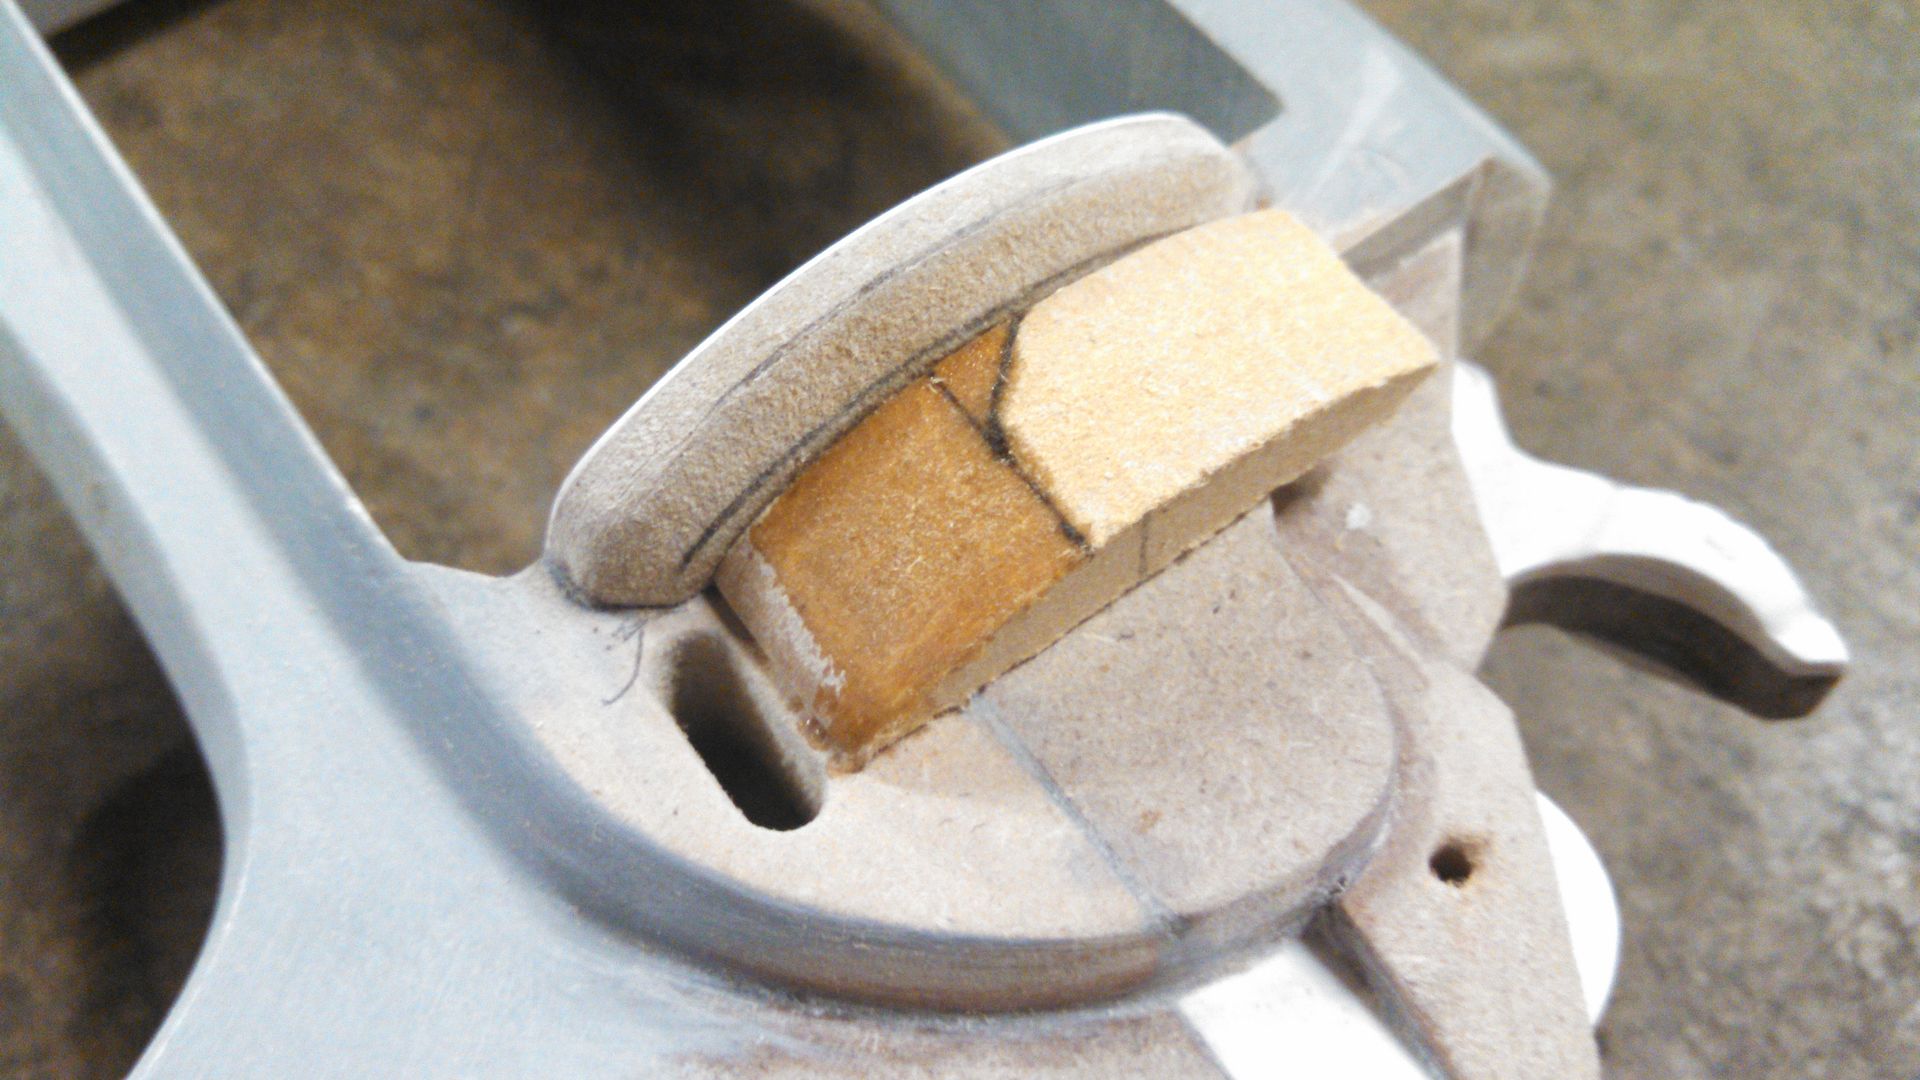
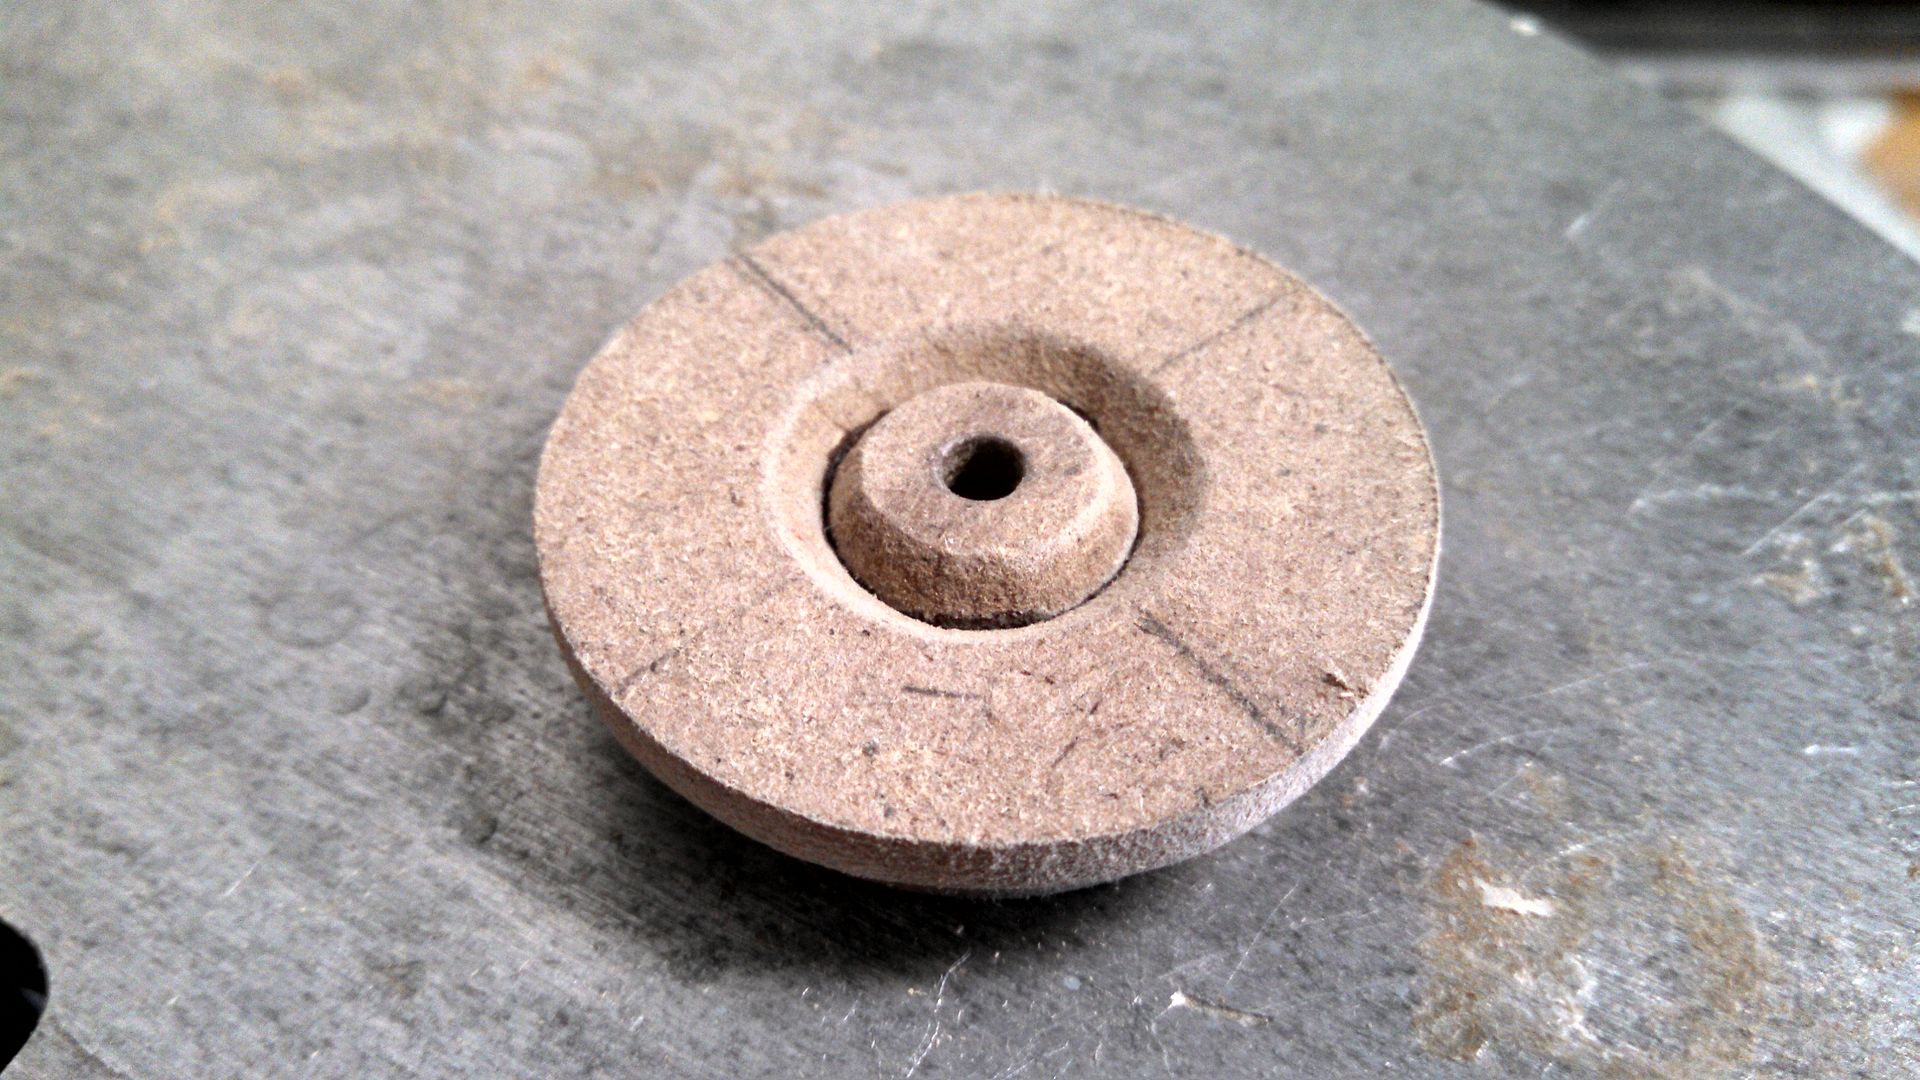
The half domes on the rear were carefully made with 2 layers of 1/8" MDF.

Followed by some 1/2" MDF, which was cut to shape.

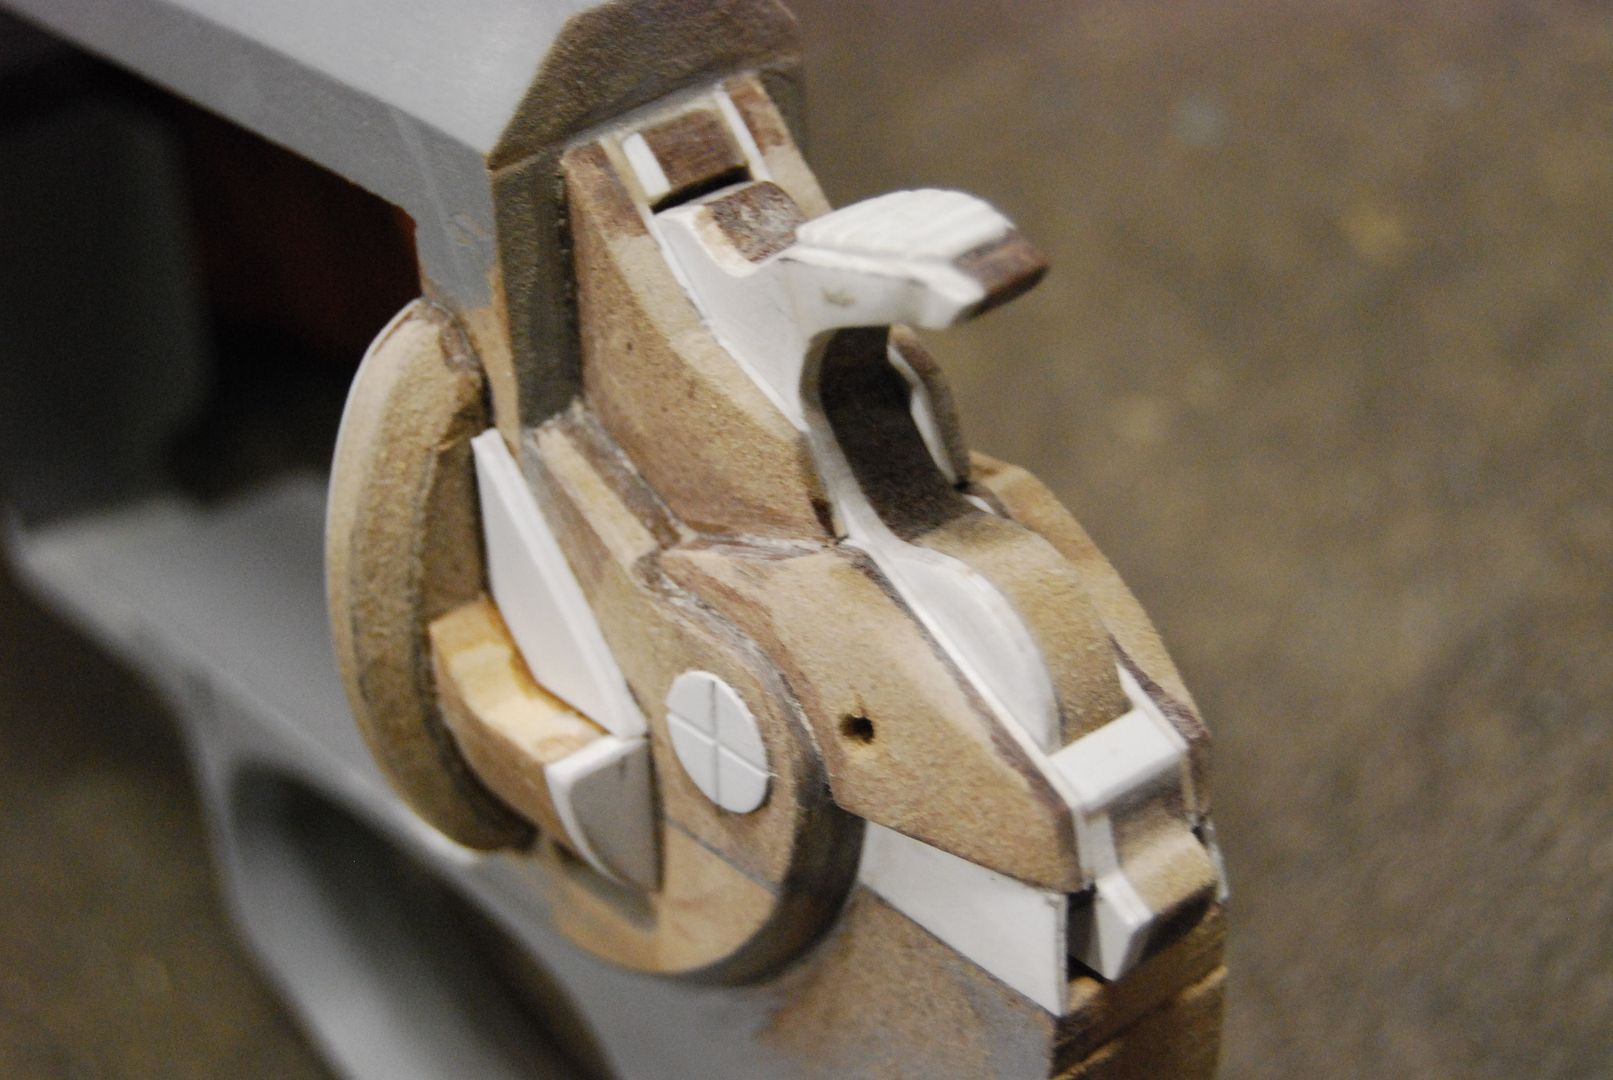
Clean up and final little details.

While the back soaked in primer, I started in the front. This part had to be cast as a separate part later on, so getting it to line up with the shroud/front sight was important. At this point, I made the barrel opening out of 1/8" MDF.

Coming together.

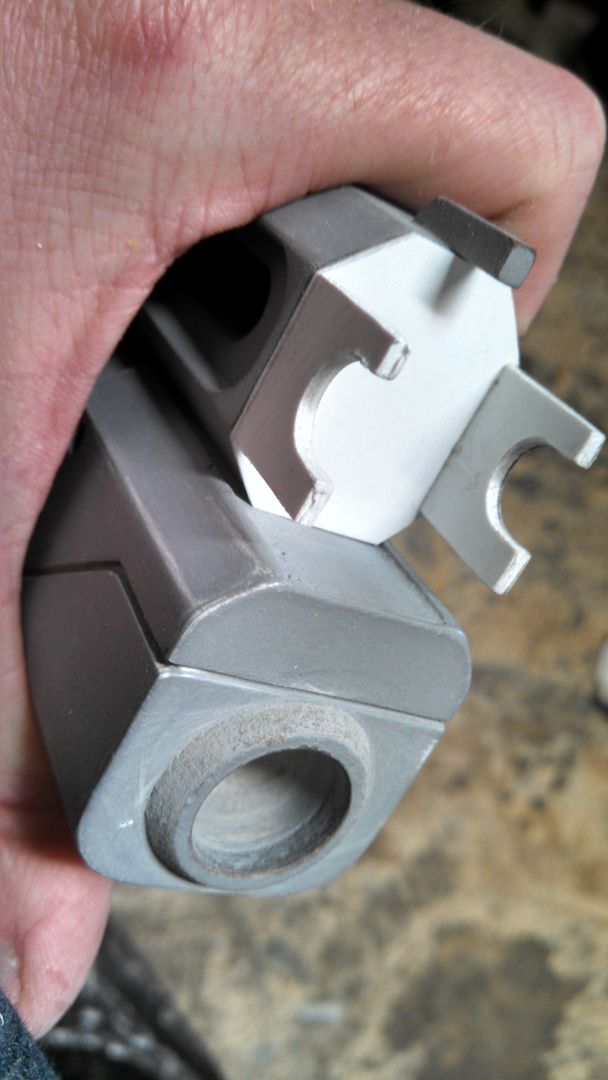
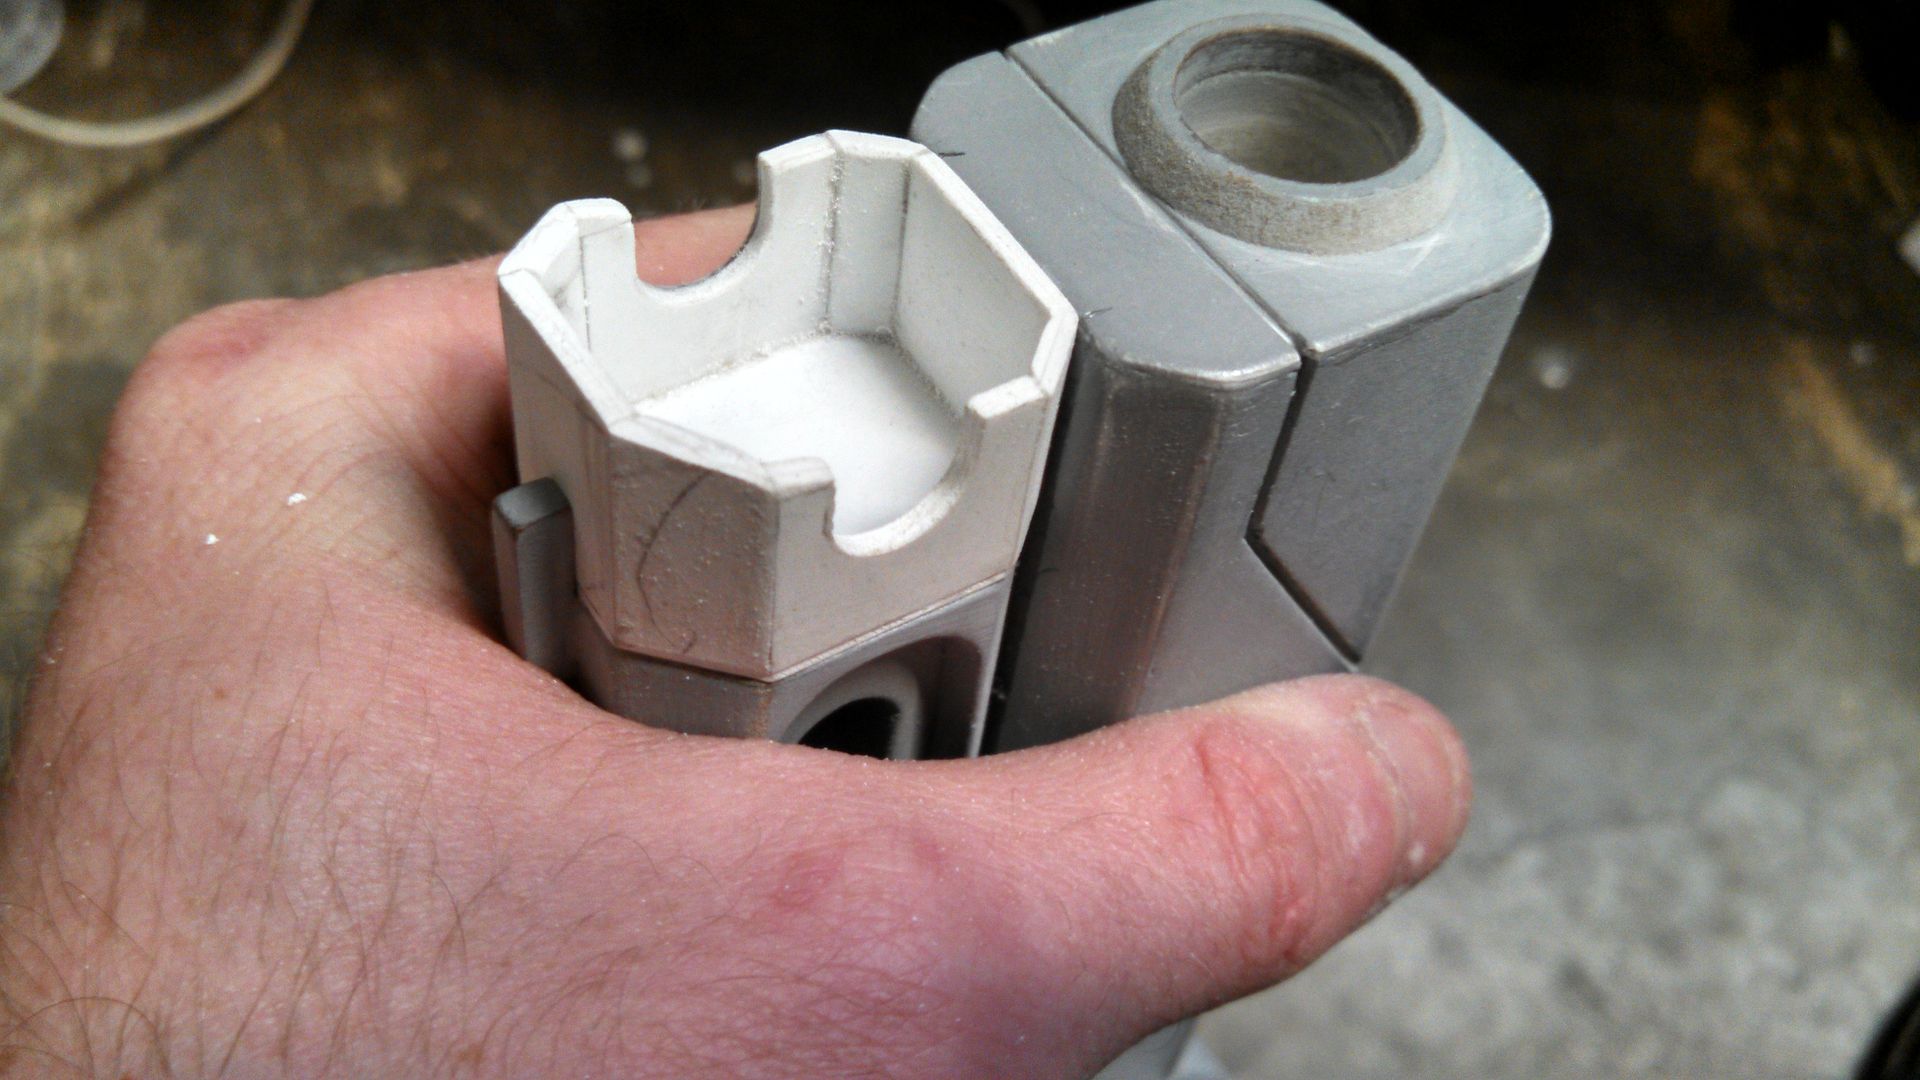
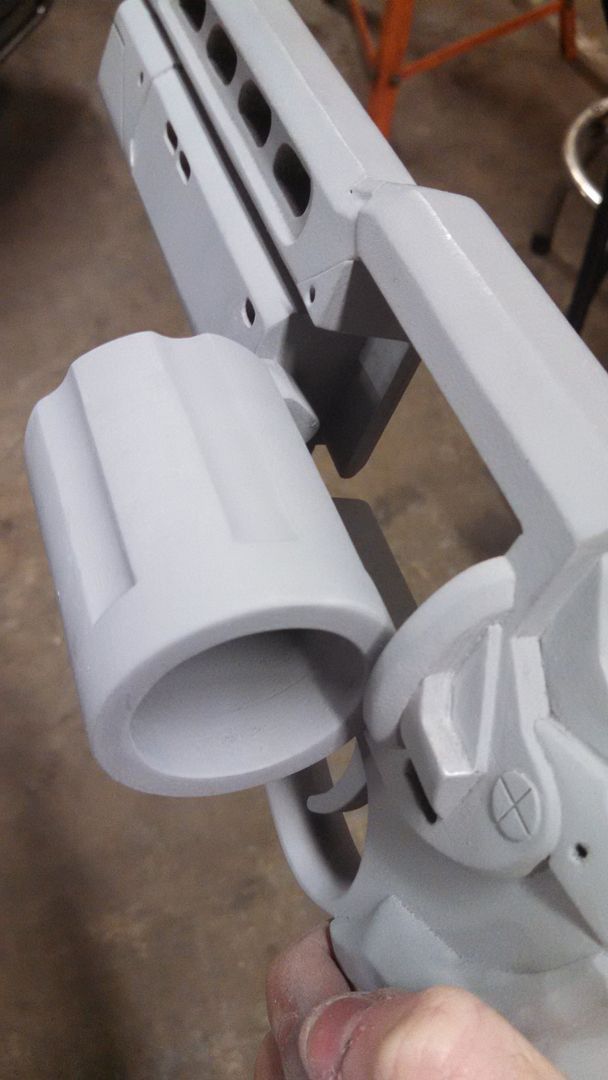
This is where the tricky mechanical challenge started. The gun isn't symmetrical, and has this little nook for the swingarm to sit in. This is great because I don't need to make a stop for it, and I can easily install magnets to hold the swingarm all of the way closed.

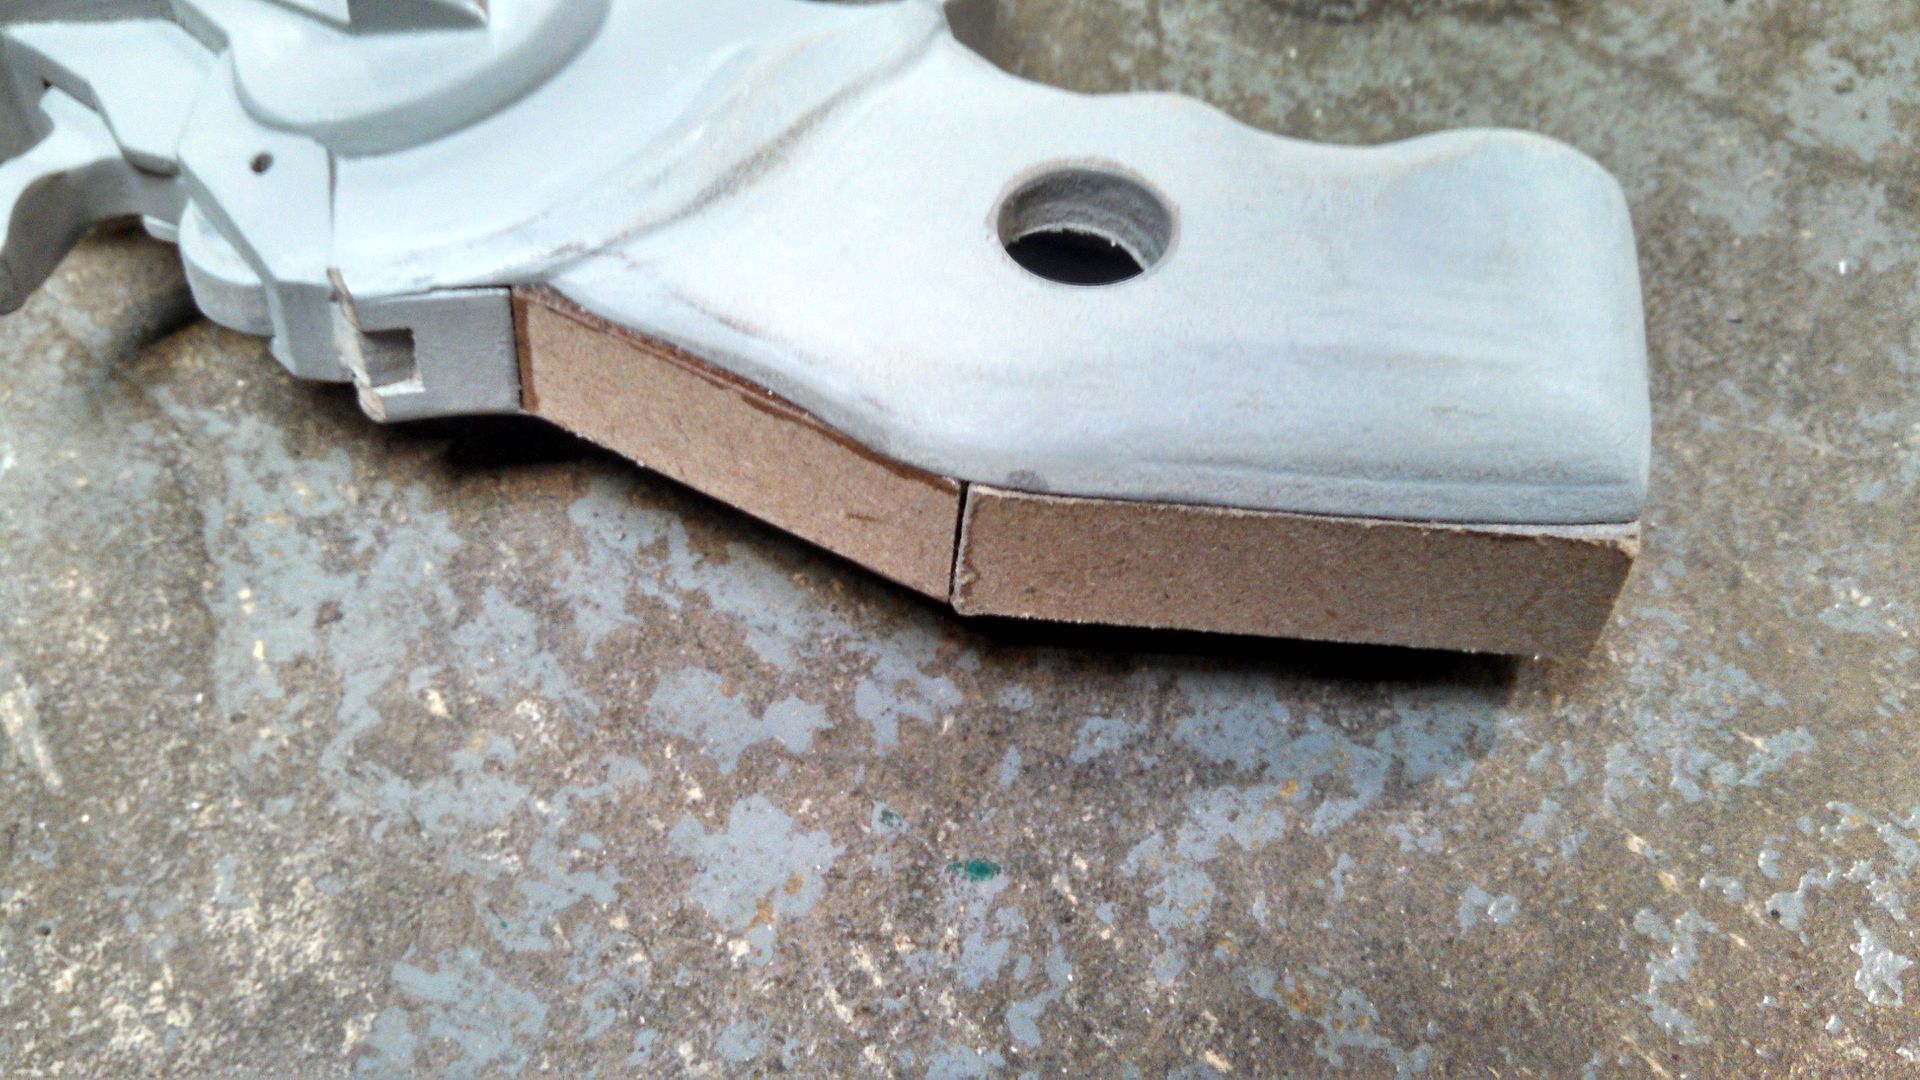
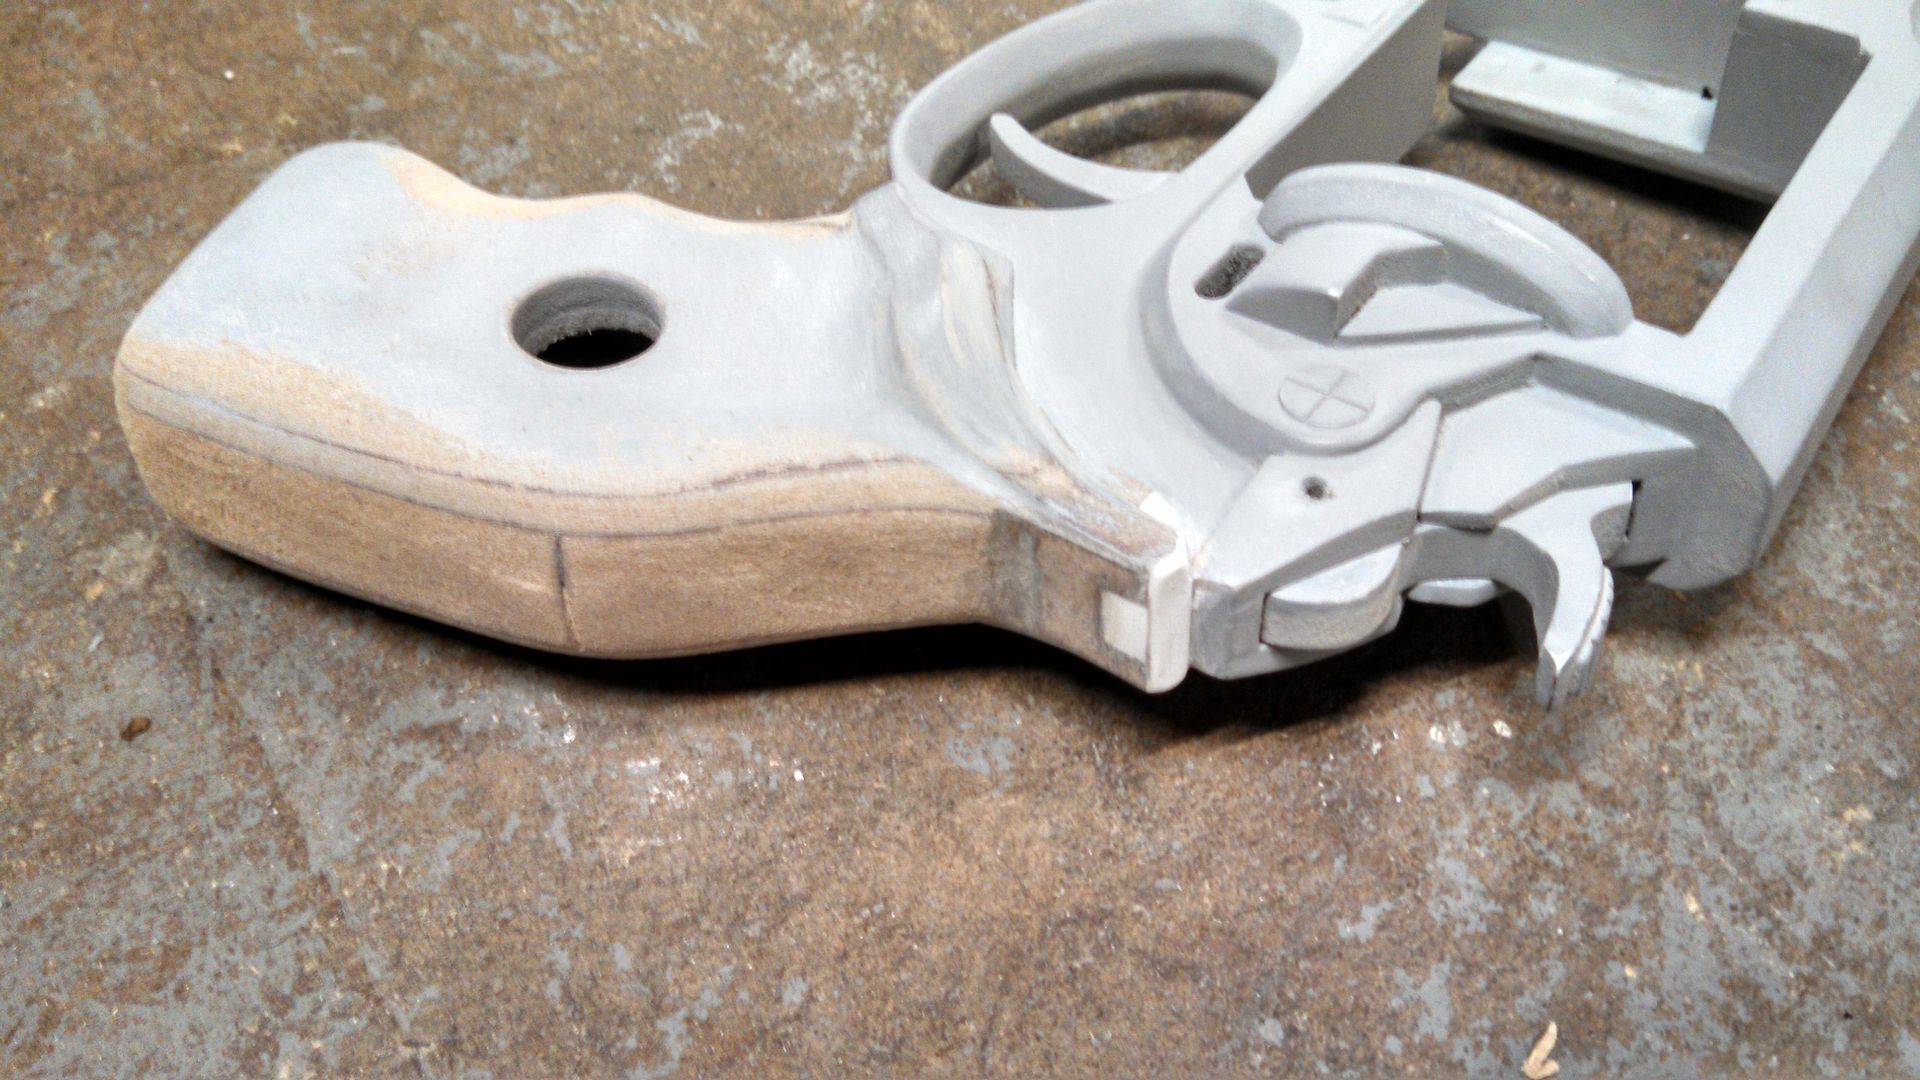
I don't have pictures of the swingarm being made, so we'll jump forward to the grips. They always start like this, and its always a ton o work to shape them and make them look like... well...not MDF.

Somehow I managed by drawing the contours with a pencil, sanding, re-drawing, etc. until I checked the shape against the reference image and got something almost perfect. Then I drilled the hole for the emblems, and glued them in place.

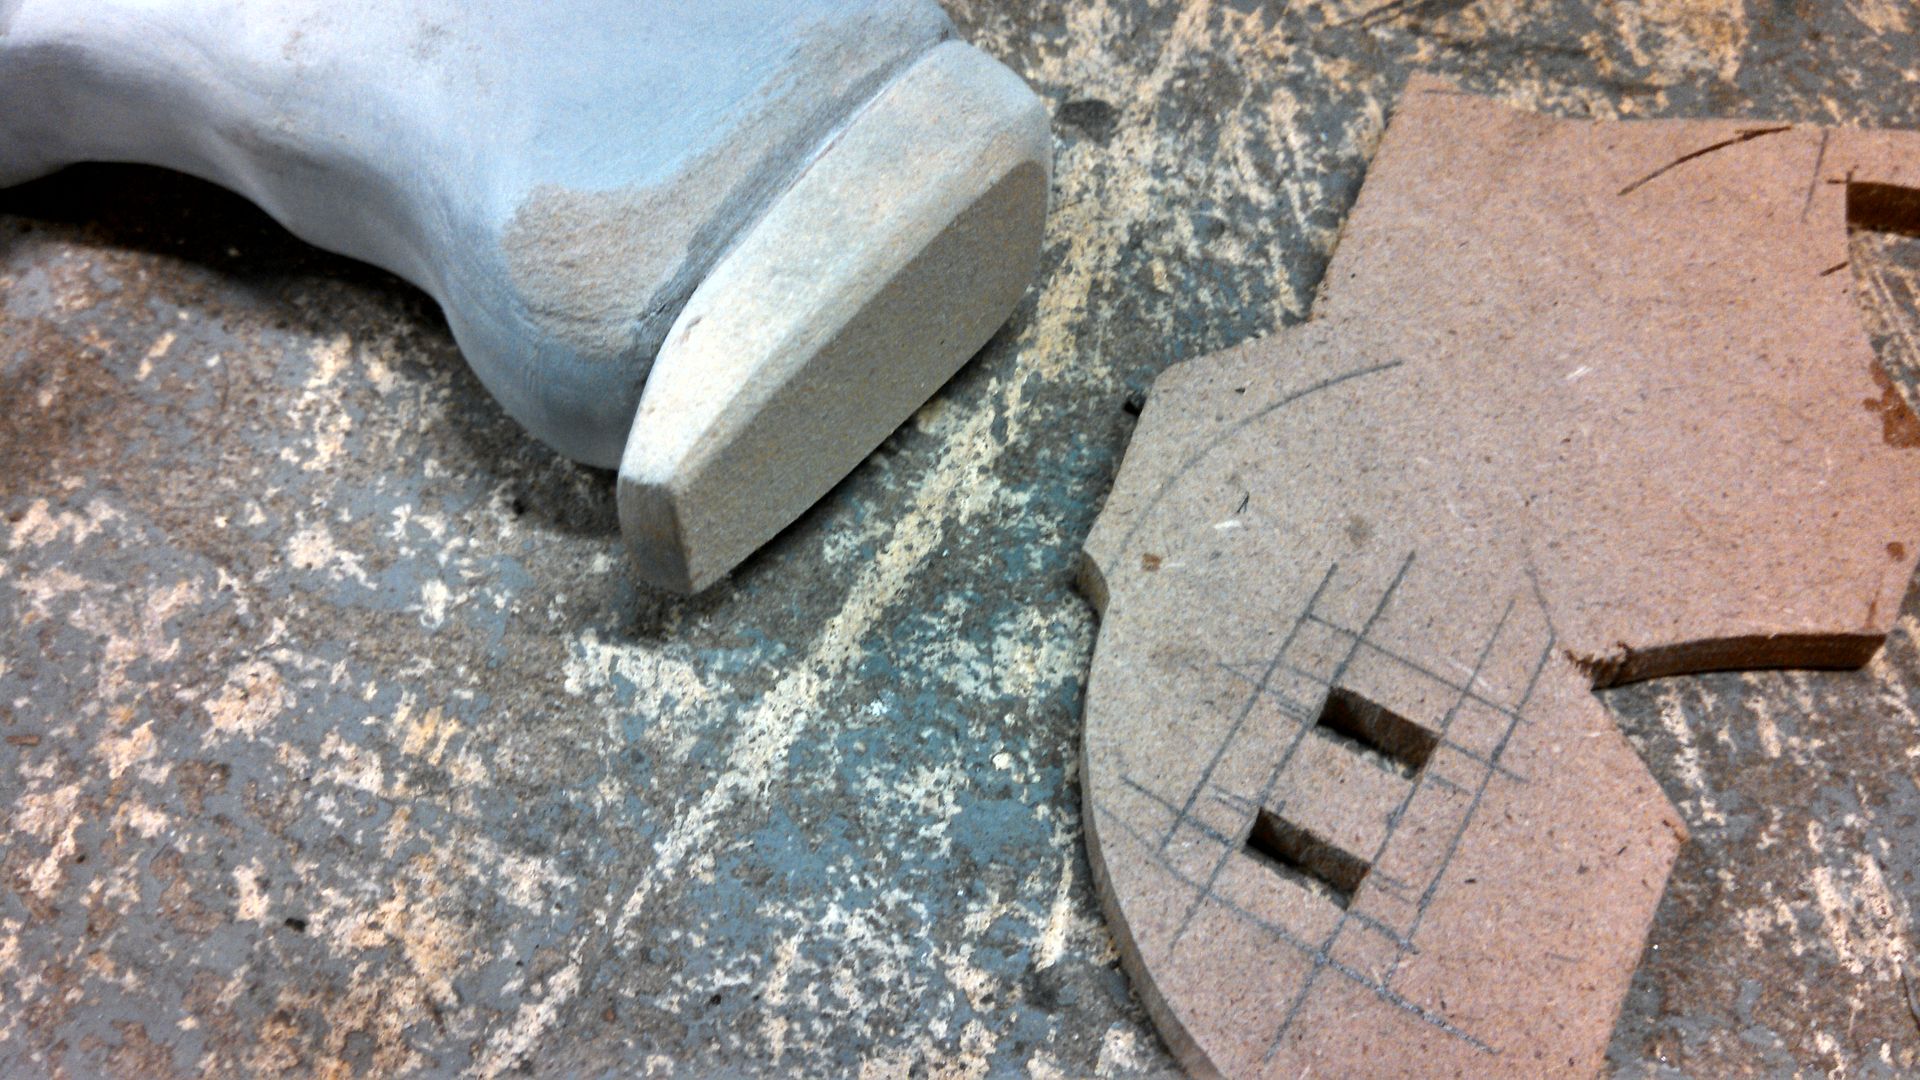
I wanted the grips hollow so I could get a tool through the bottom and push the emblems back up if I pressed them in too far later on. So, I just made some thin MDF walls and sanded them to shape.

I'd say it worked pretty well! I hate filler, so I filled the little nooks with carefully cut pieces of styrene.

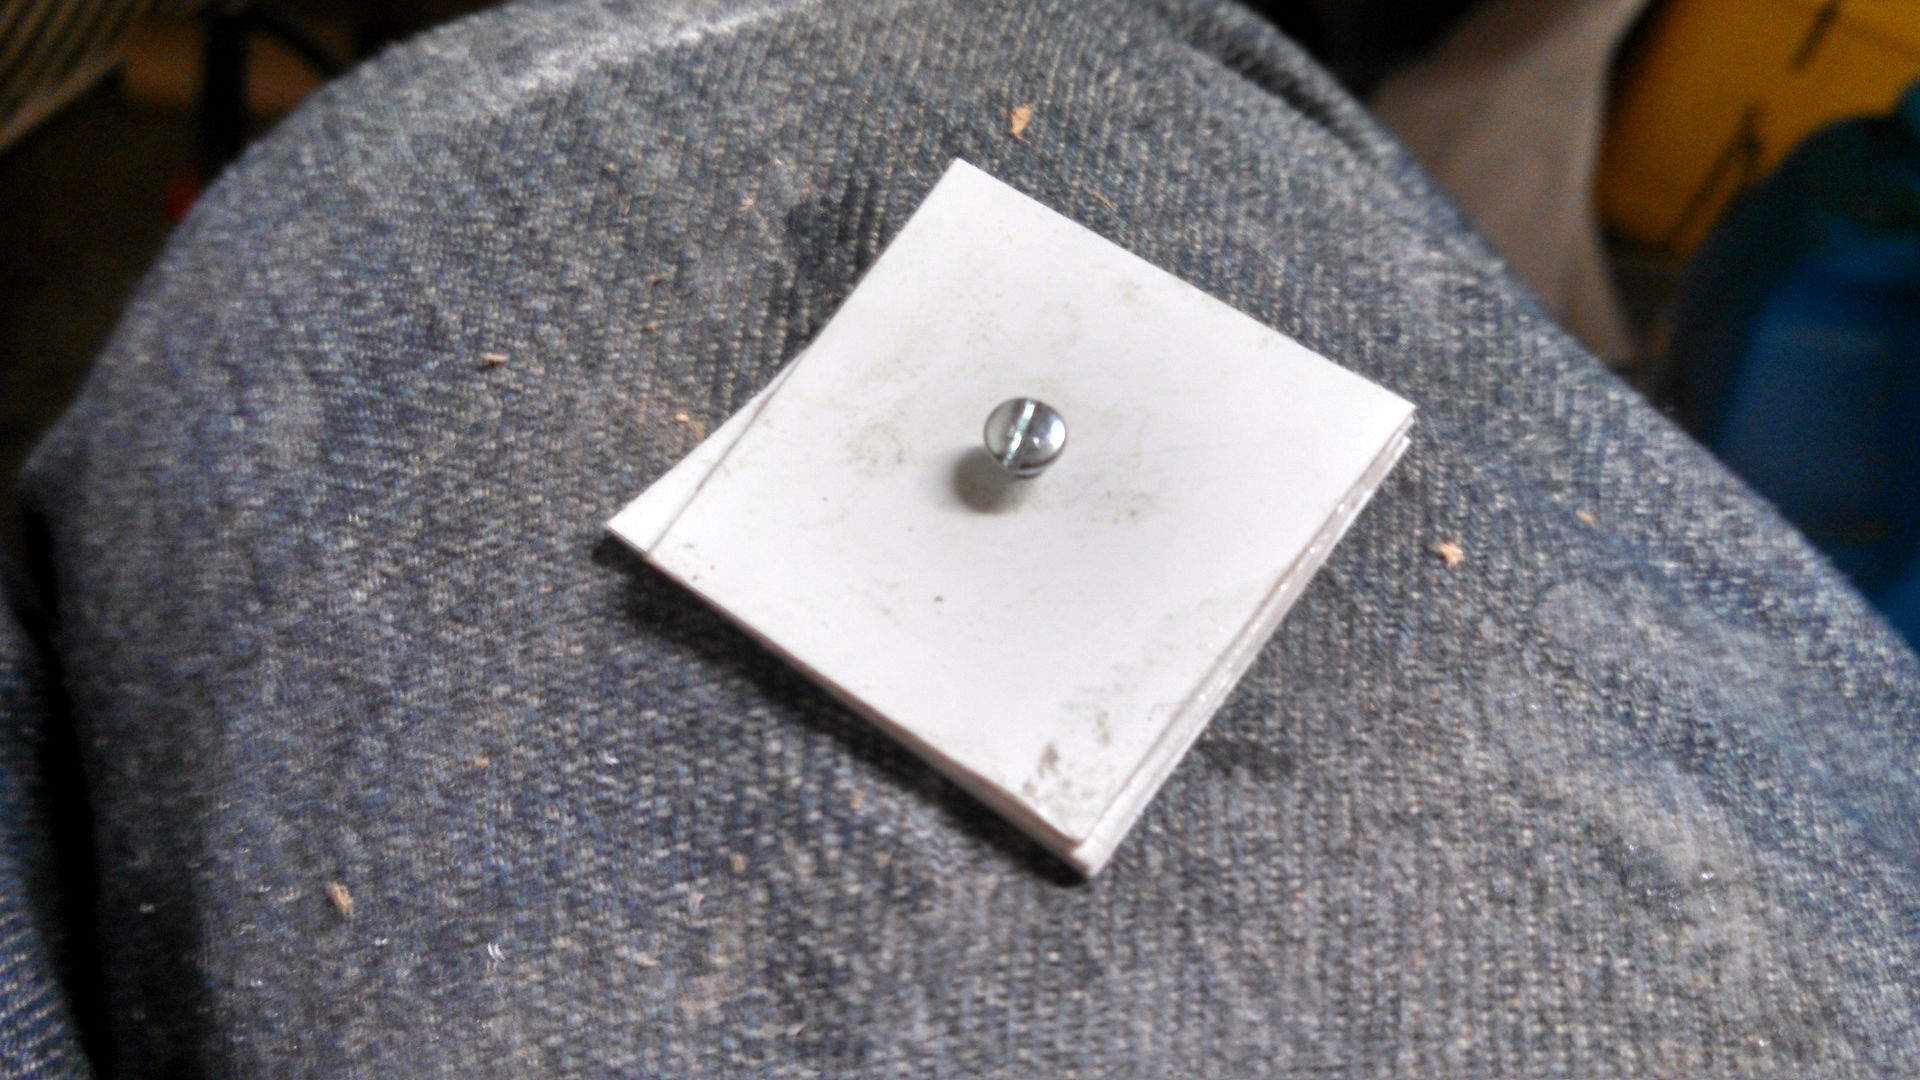
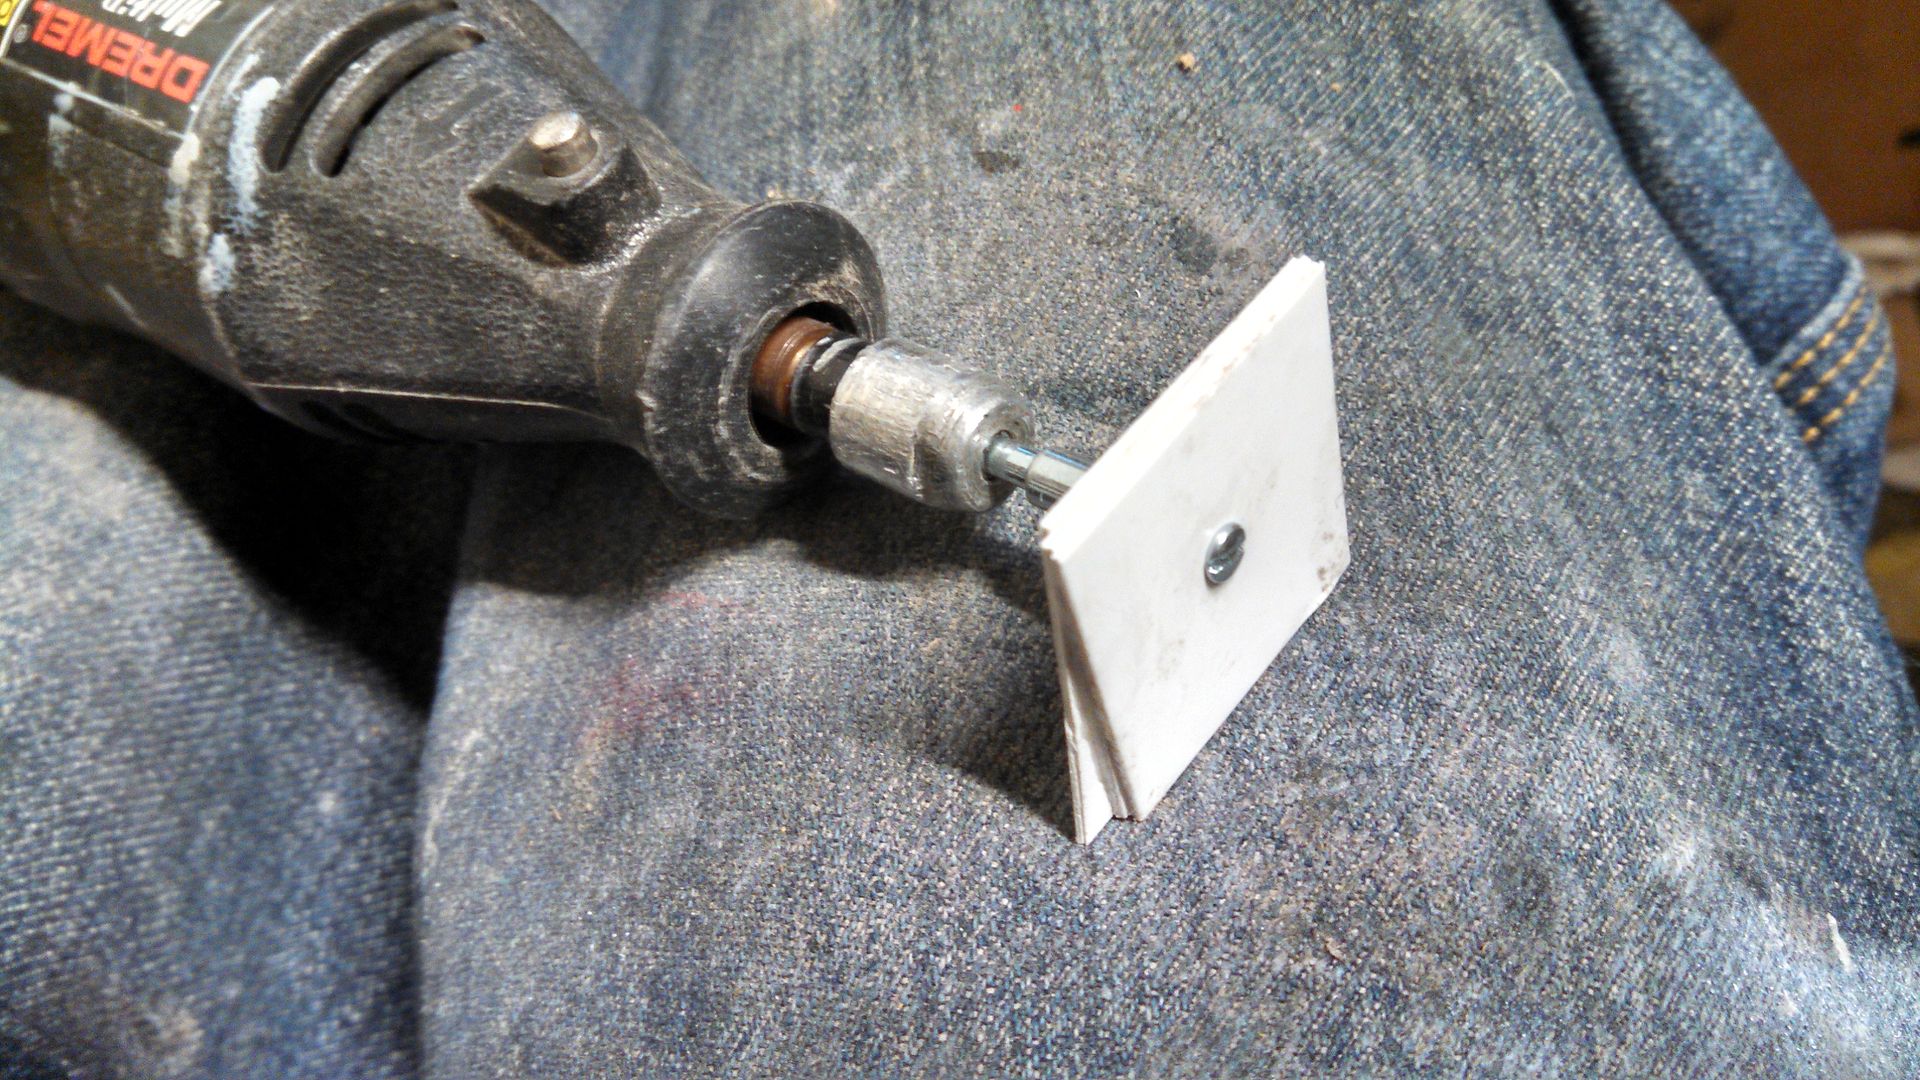
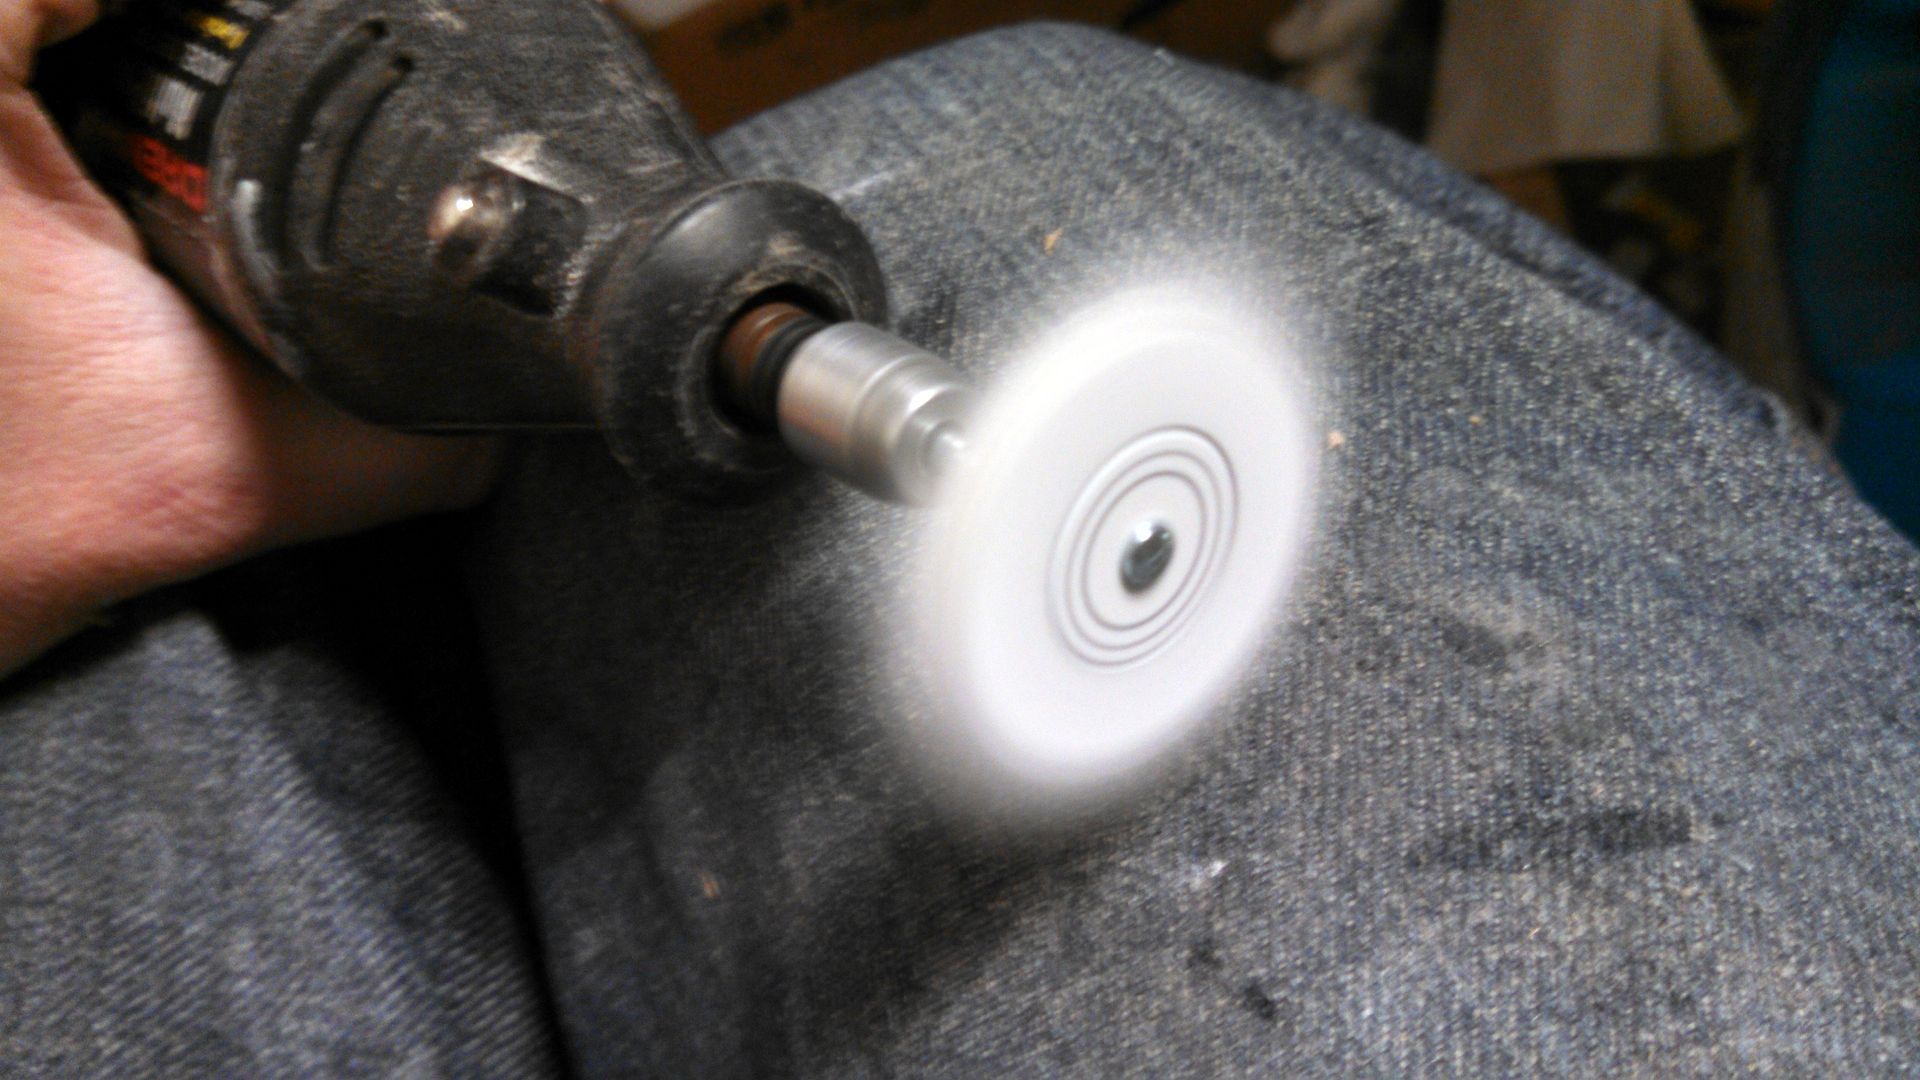
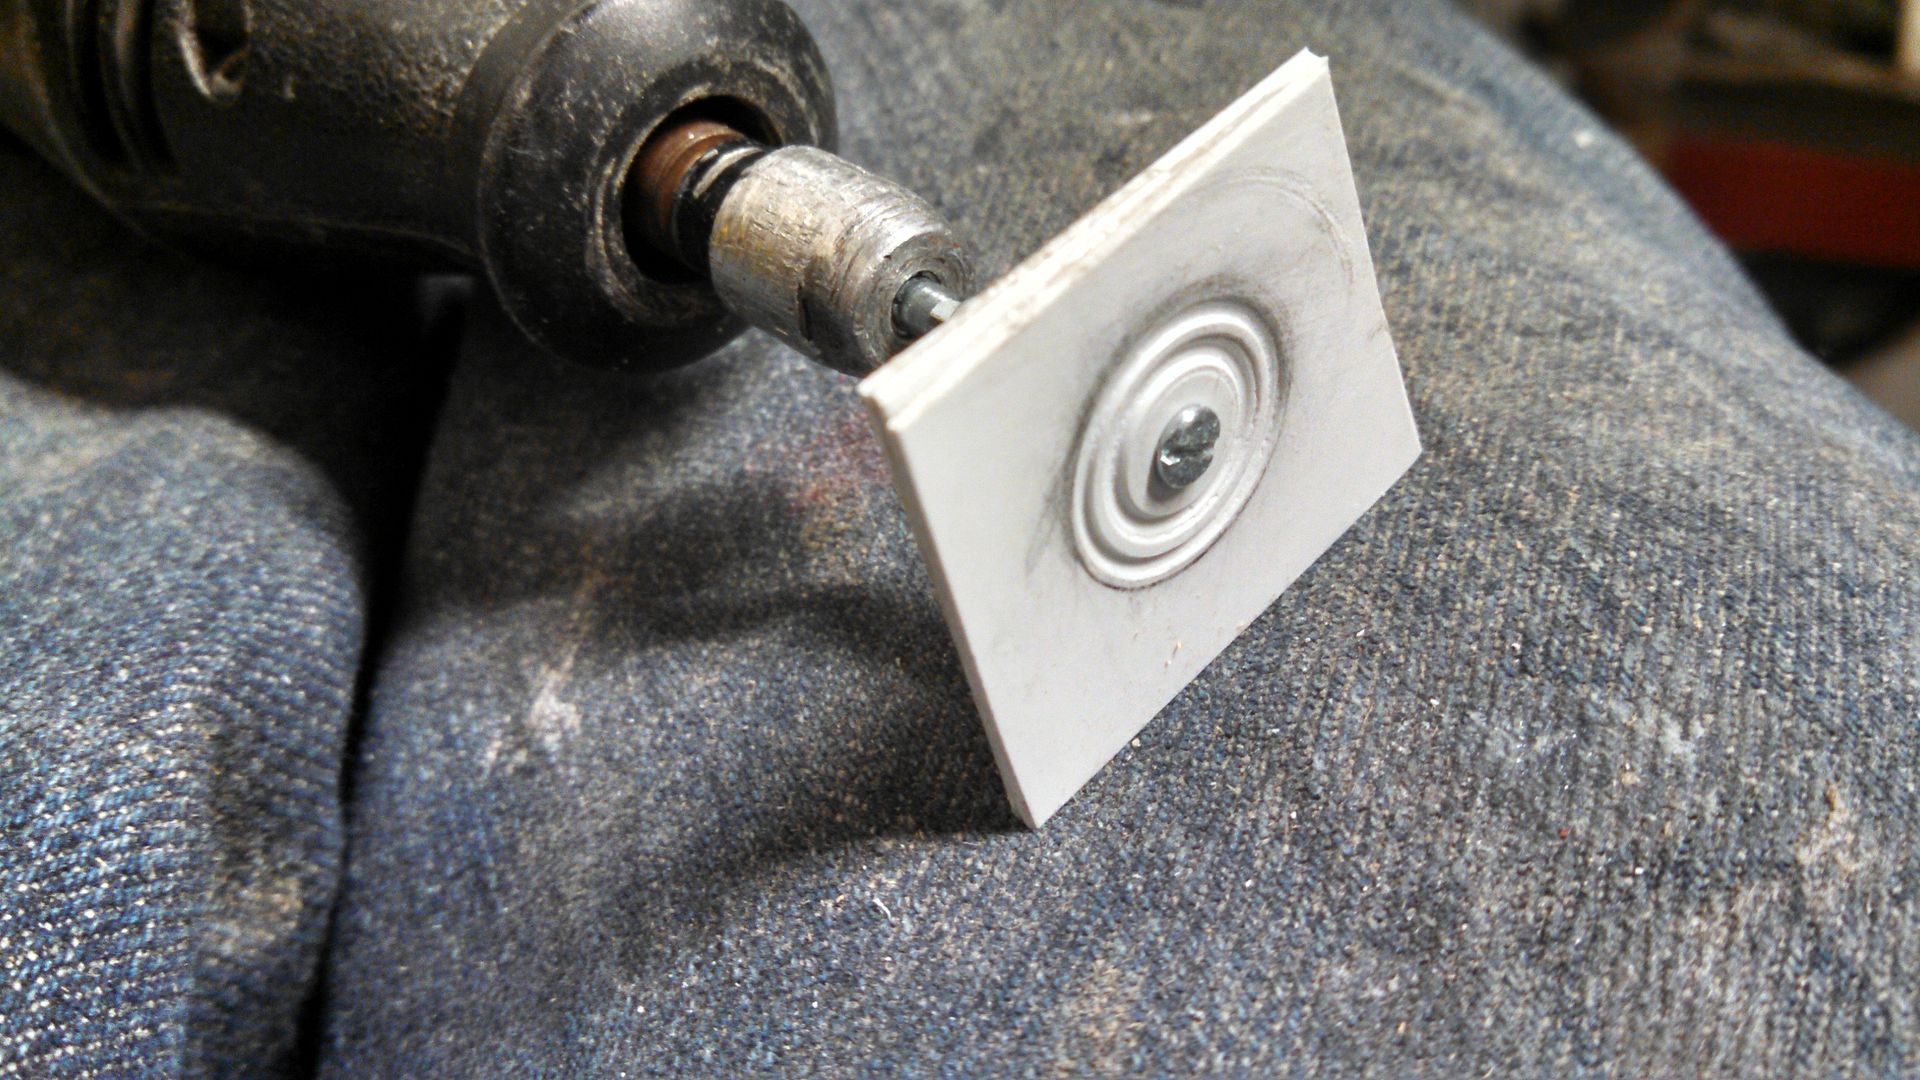
For the emblems, I used my ghetto lathe. Its pretty easy to follow.

Then, I cut the angled horizontal slit with an exacto and filled the hole in the center. Into place they go!

I think I made this bottom lip part 2 or 3 times. Its a tricky shape to get just right. I started drafting the rectangular but that goes behind it.

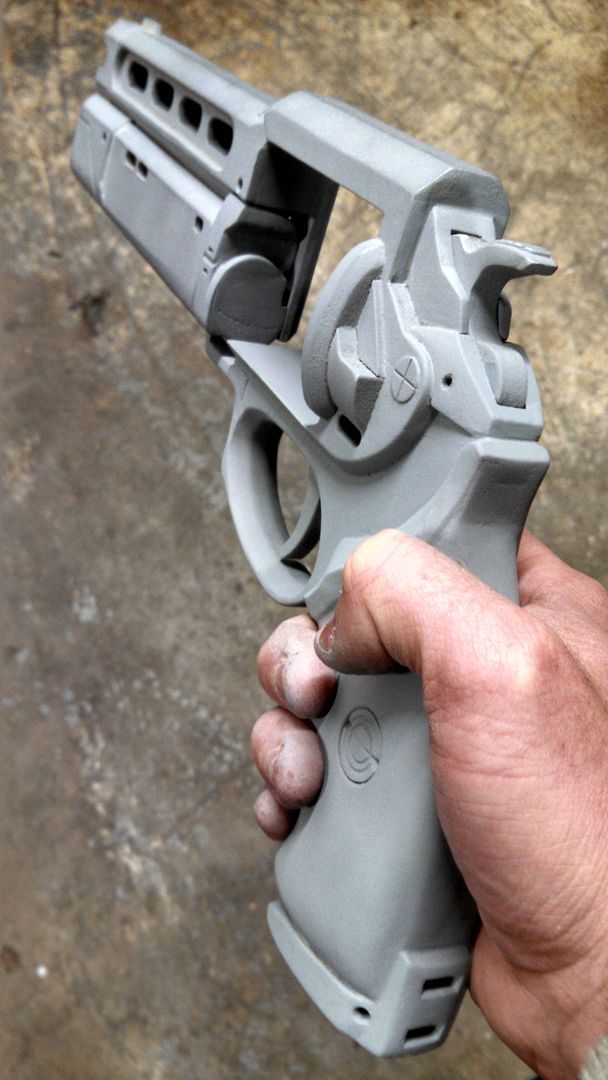
Glued in place behind the grip, and grafted to the handle. A few holes for detail, and a test fit of the swingarm. Getting that almost finished vibe at this point.

This is just loosely glued in place, but here I was testing the geometry of the newly completed cylinder. I don't have photos, but its very similar to how
this guy was about to do his. (Although the flutes were eventually dremeled and a hole saw was used for the overall cut. The inside cut had to be done by hand.)

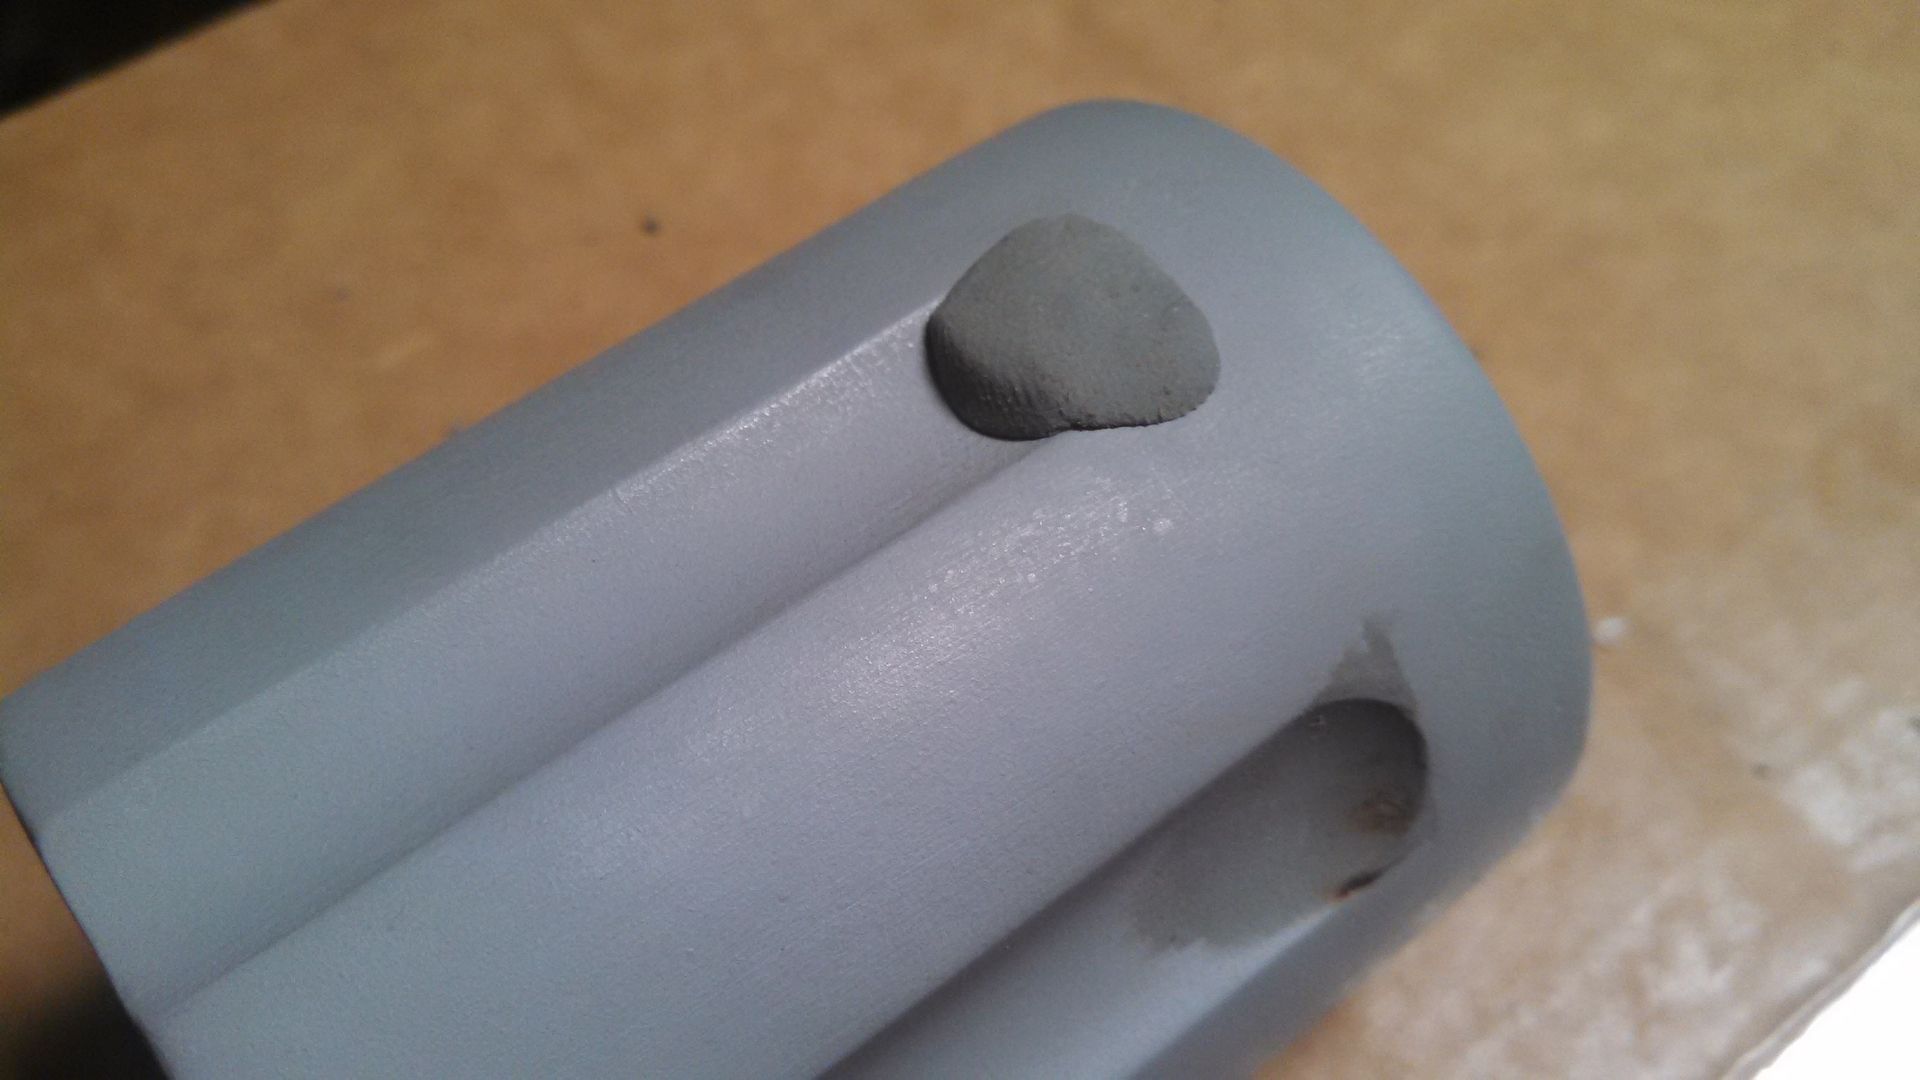
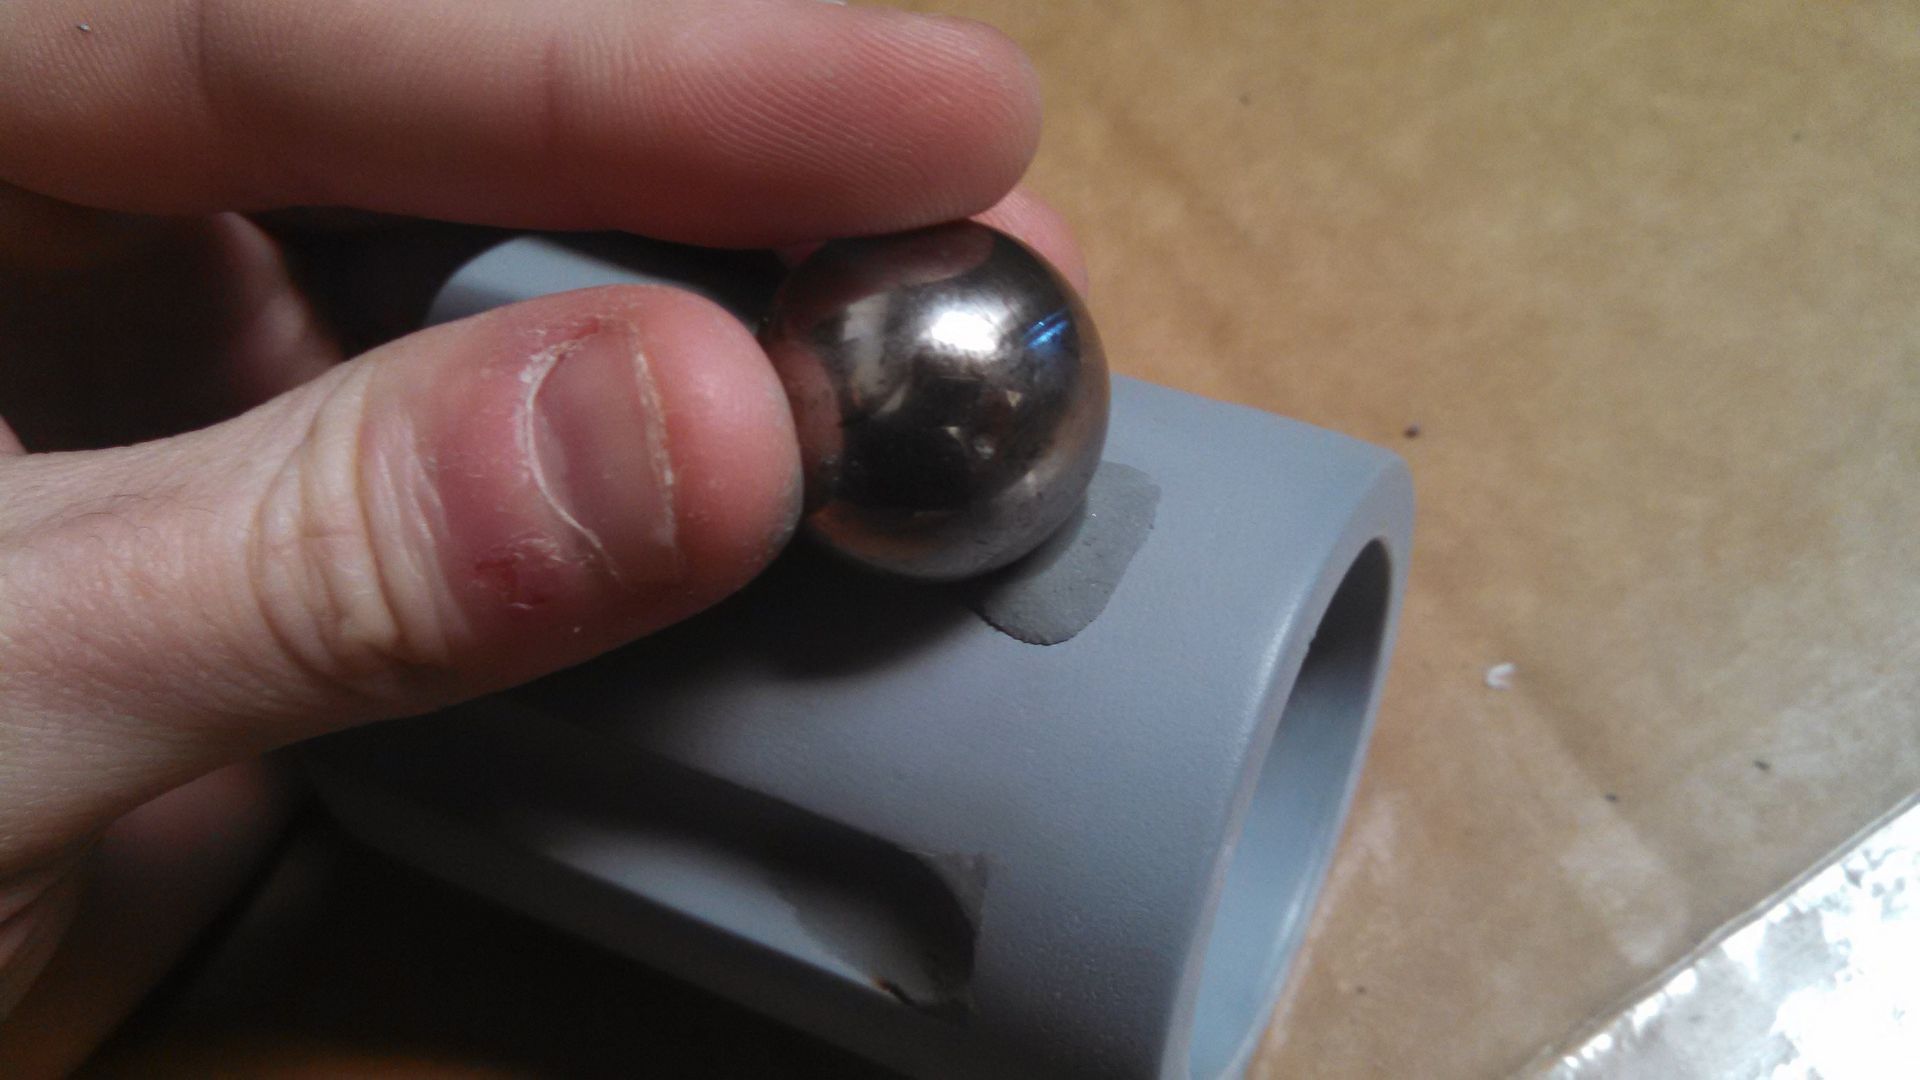
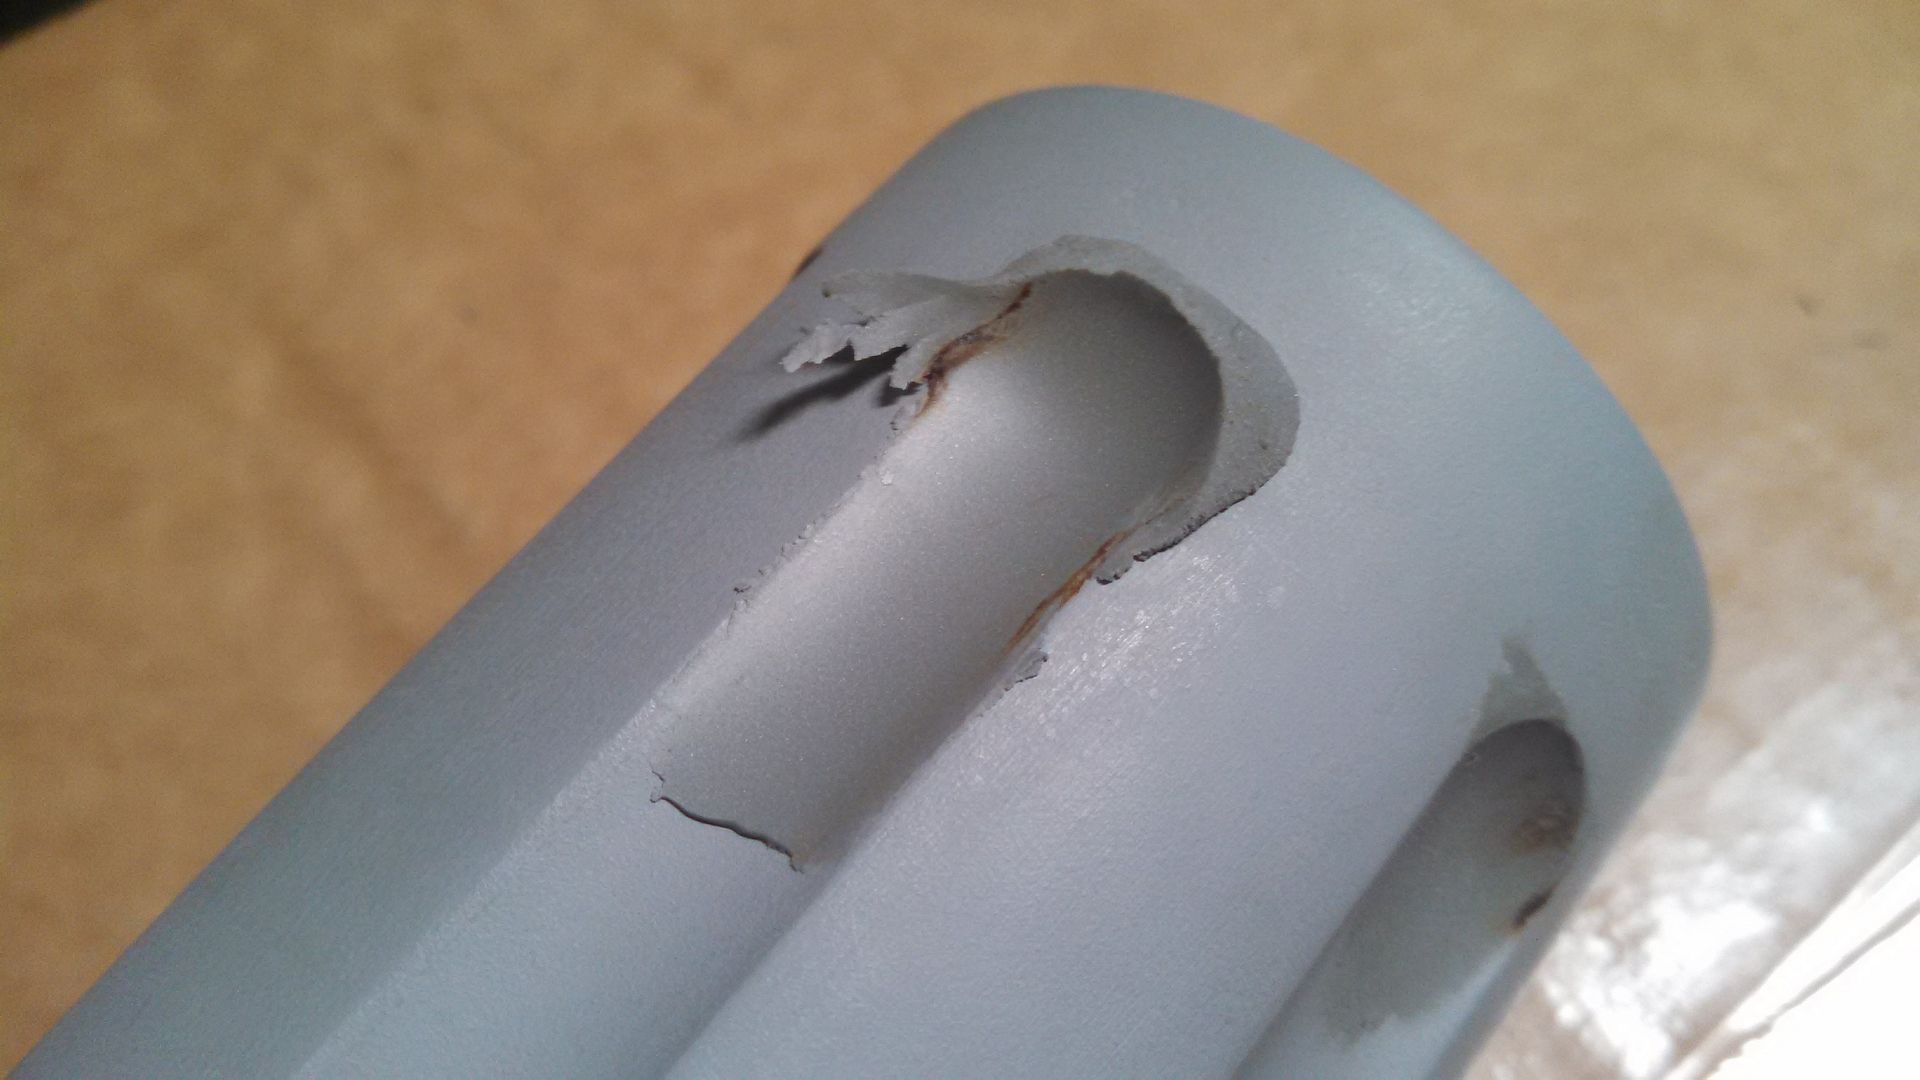
Not wanting to deal with epoxy sculpy, bondo, or machining these things on a mill, I used some plastalina clay and a ball bearing to blend the flutes.

I simply trimmed the excess clay with an exacto and was careful not to smudge it until it was ready for molding.

I needed something to pop into the cylinder so I took a screen grab in game of the power cell dropping out. It seems to be rather simple so I made it as such. I started with the back end which needed to fit the cylinder perfectly. (There should be some text engraved that I cant read, but I don't have a laser so whatevs!)

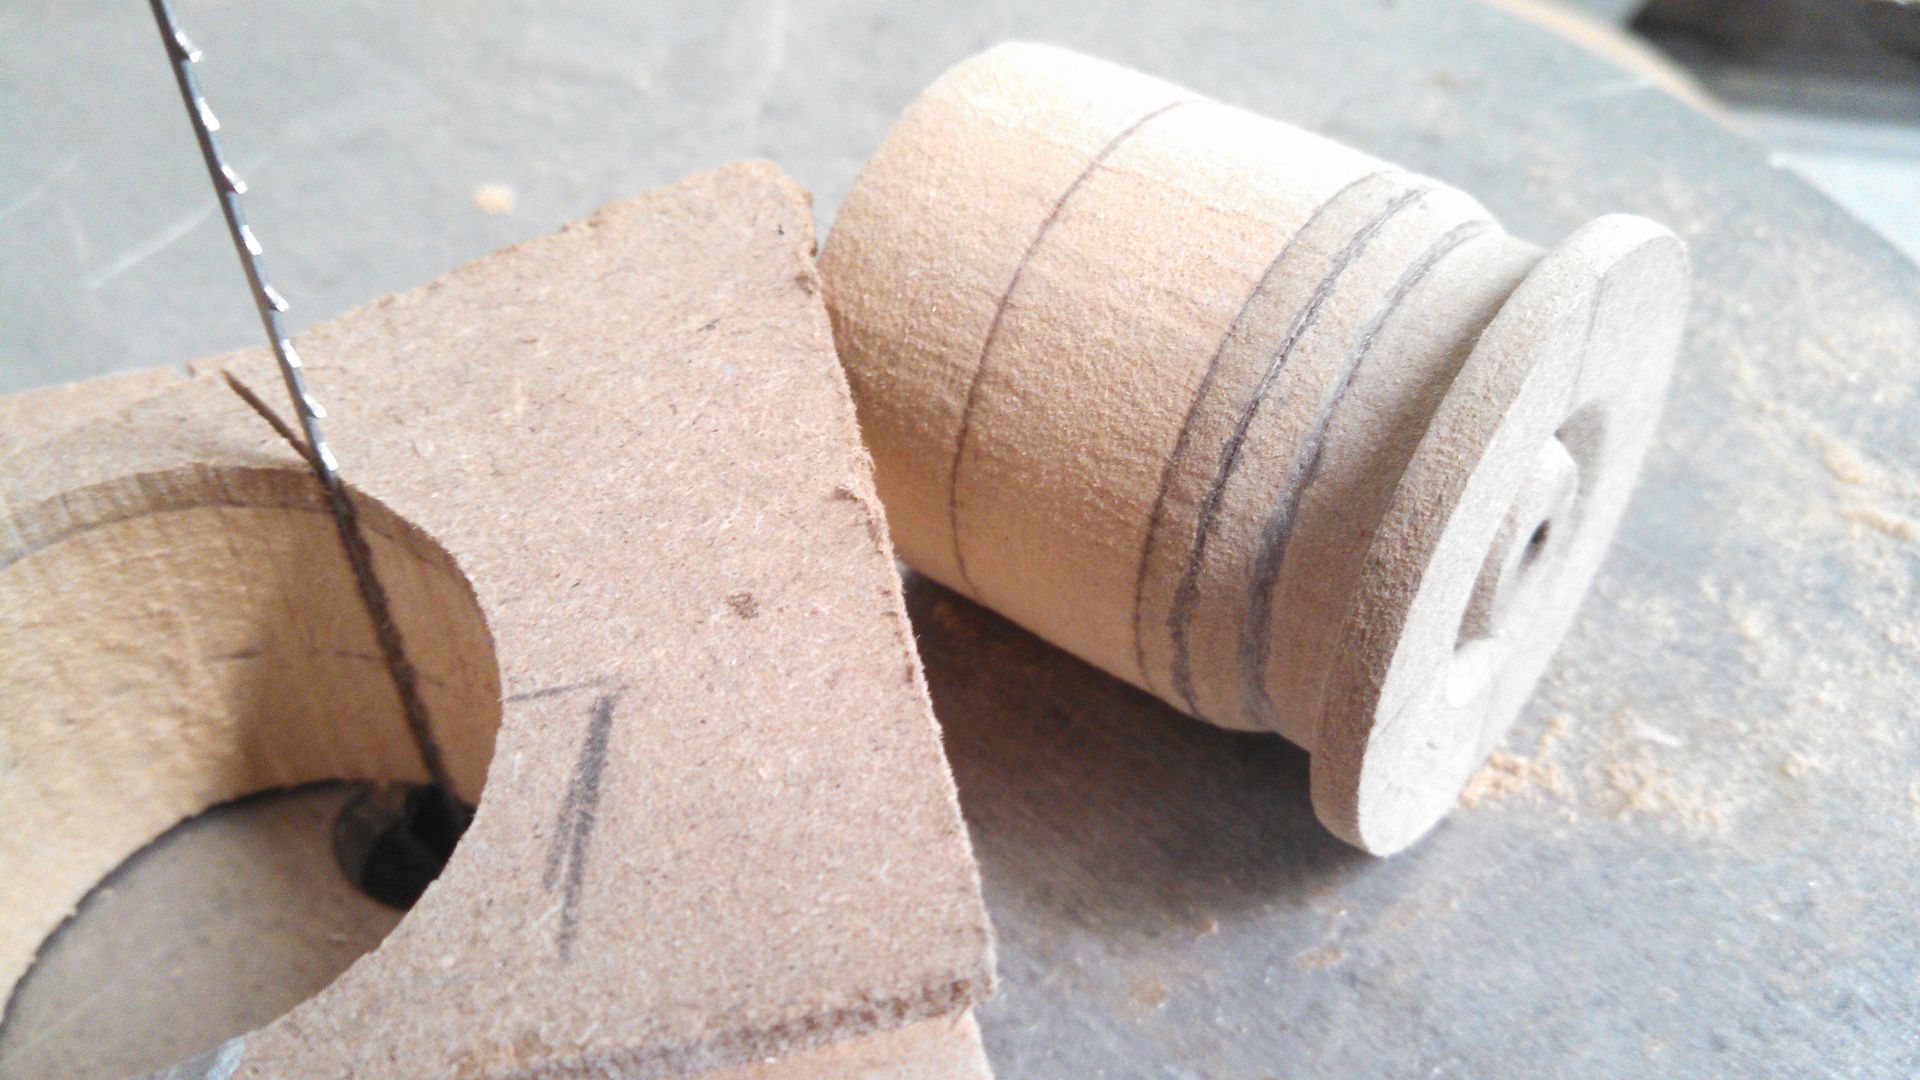
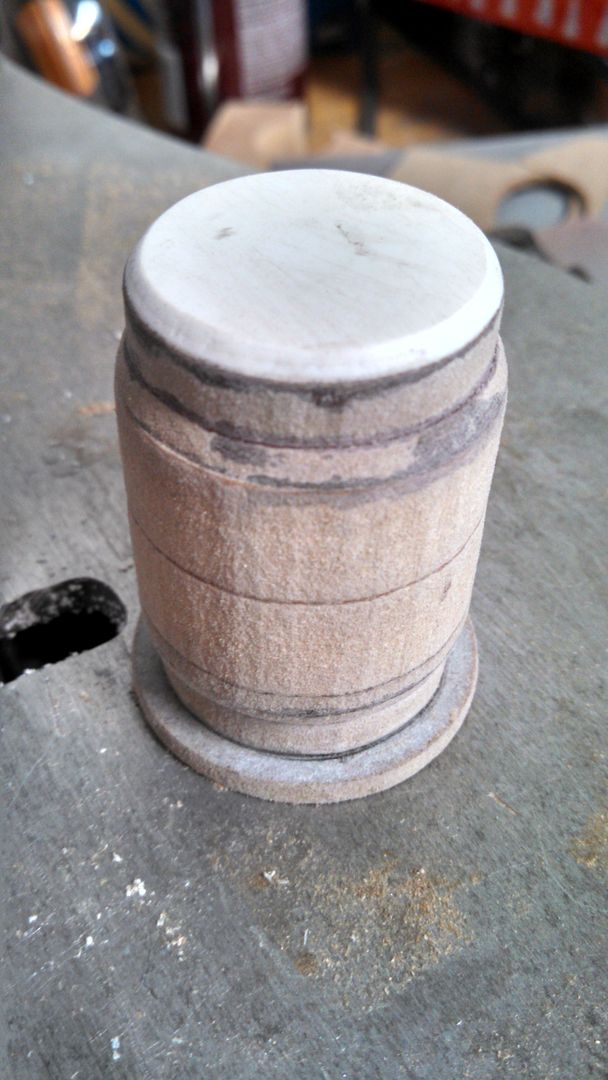
Since I don't have/use a lathe, I layered up bits and then cut them out. Some beveled, some not.

The last layer was made in styrene. This thing is huge. (Like a shortened 40mm grenade.)

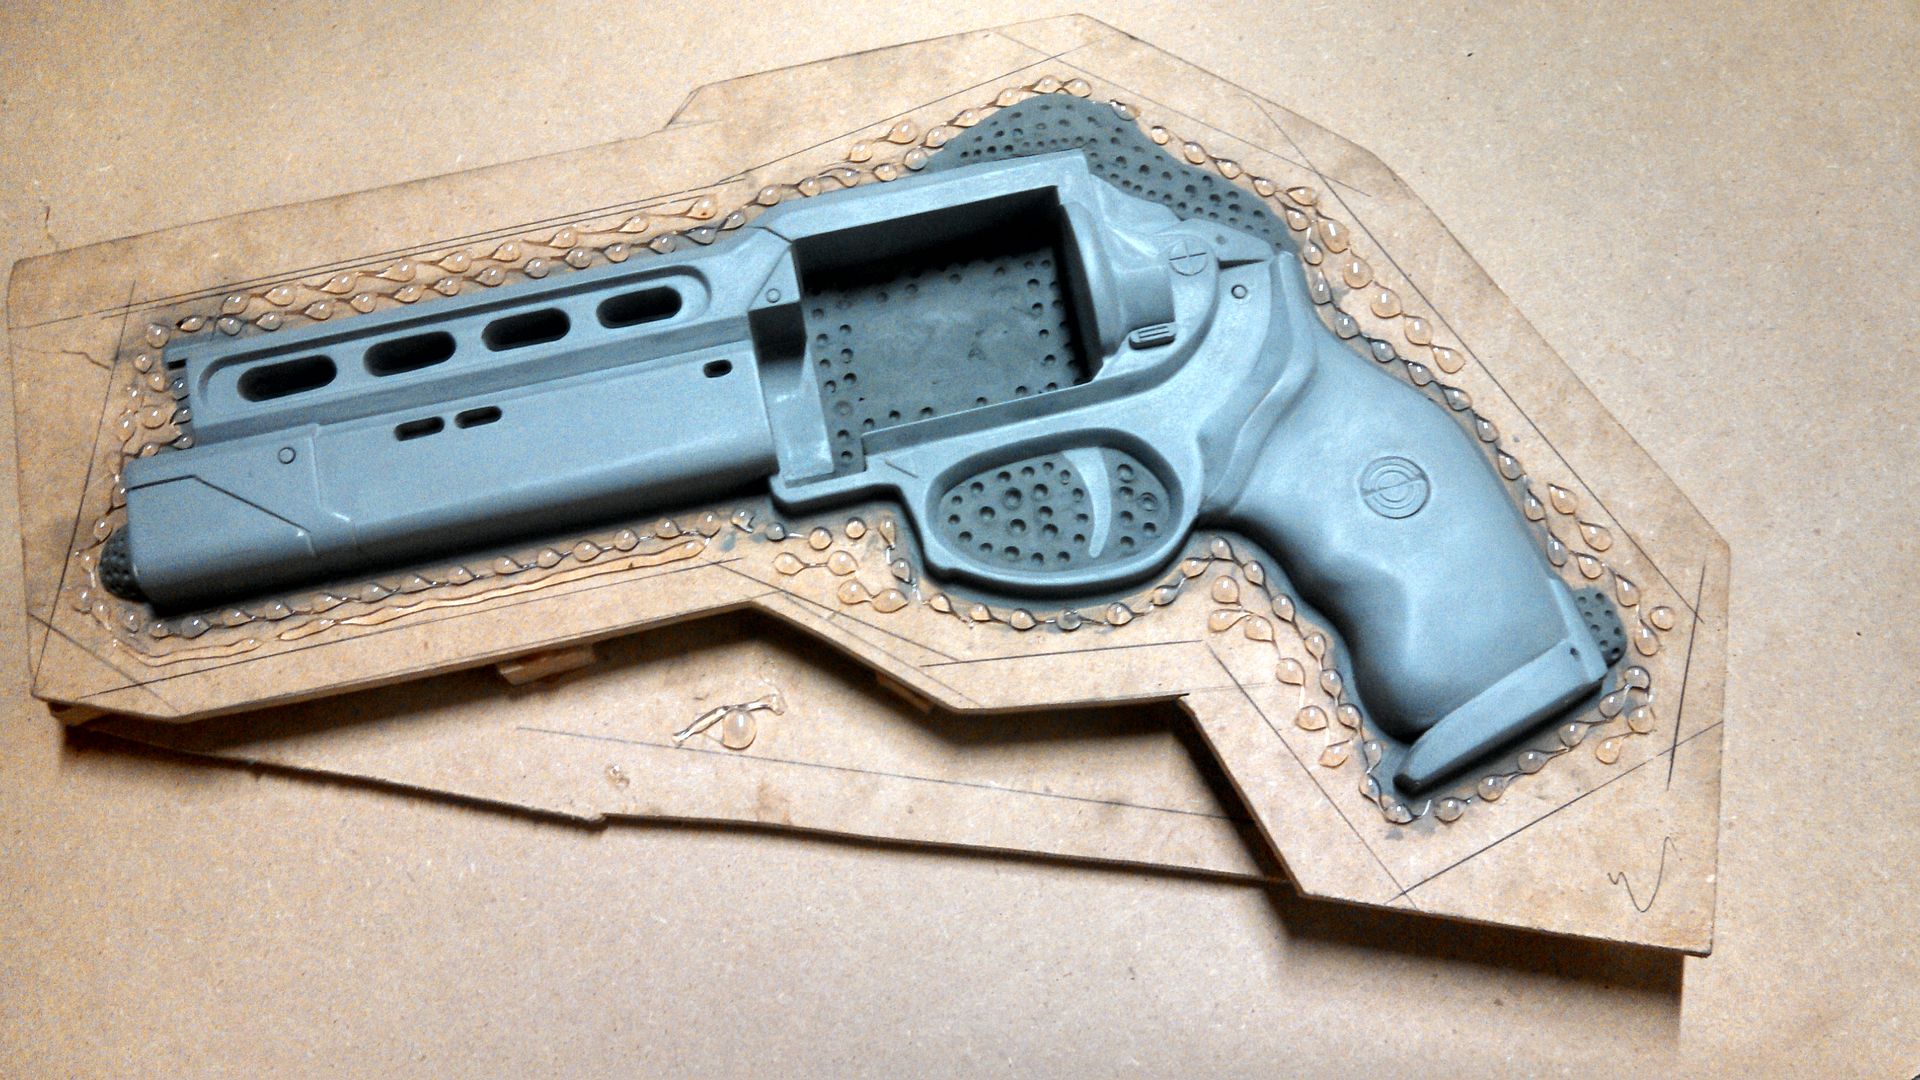
I wanted a bunch of these. As always, an MDF jig was used for molding.

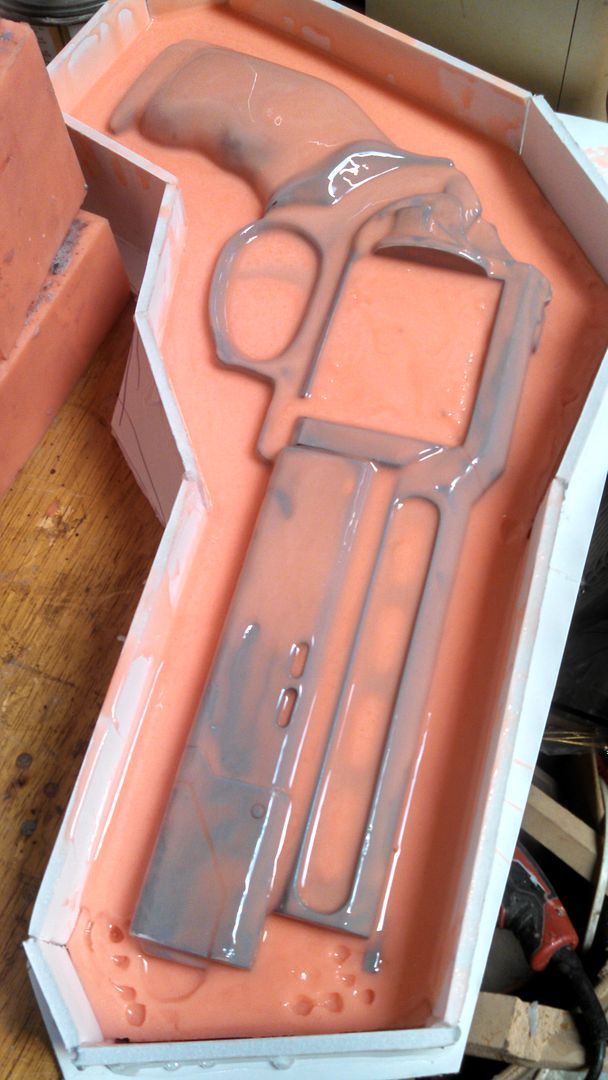
First couple of coats.

Cured, flipped over, repeat.

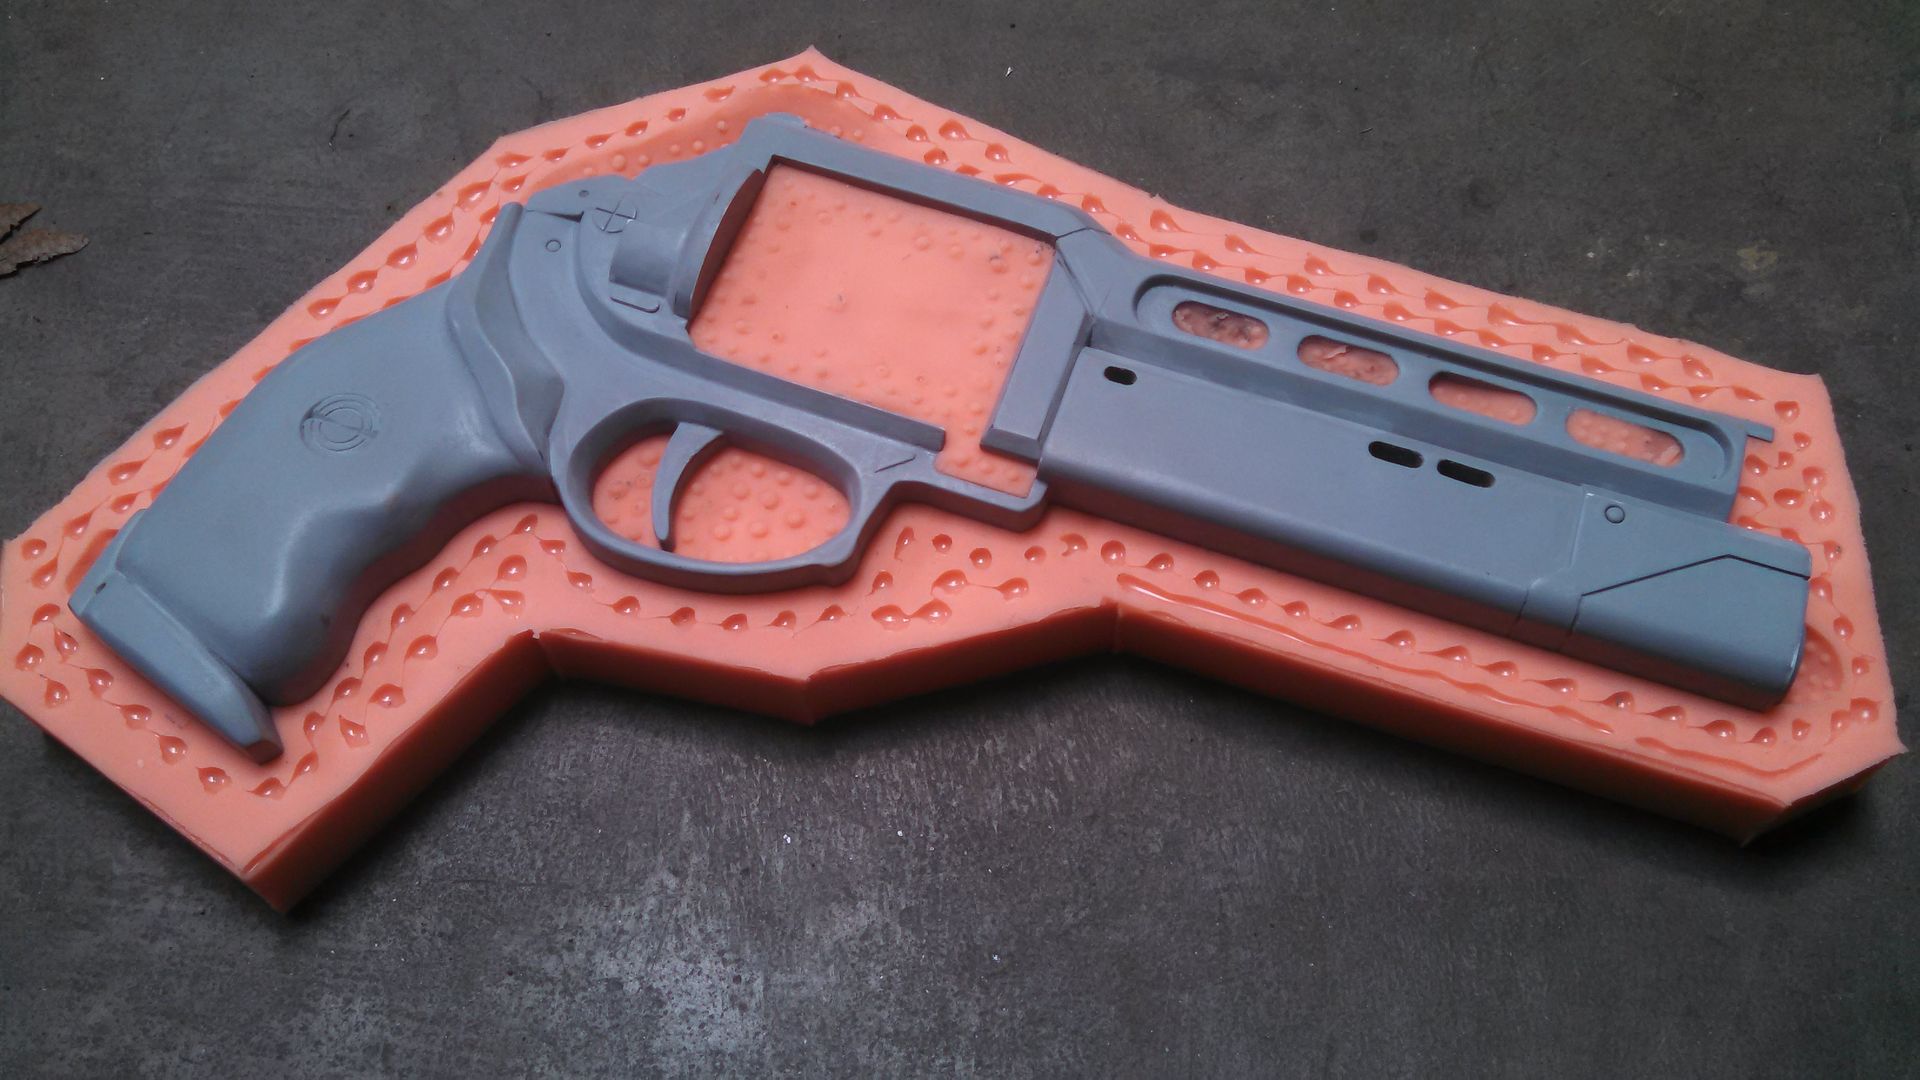
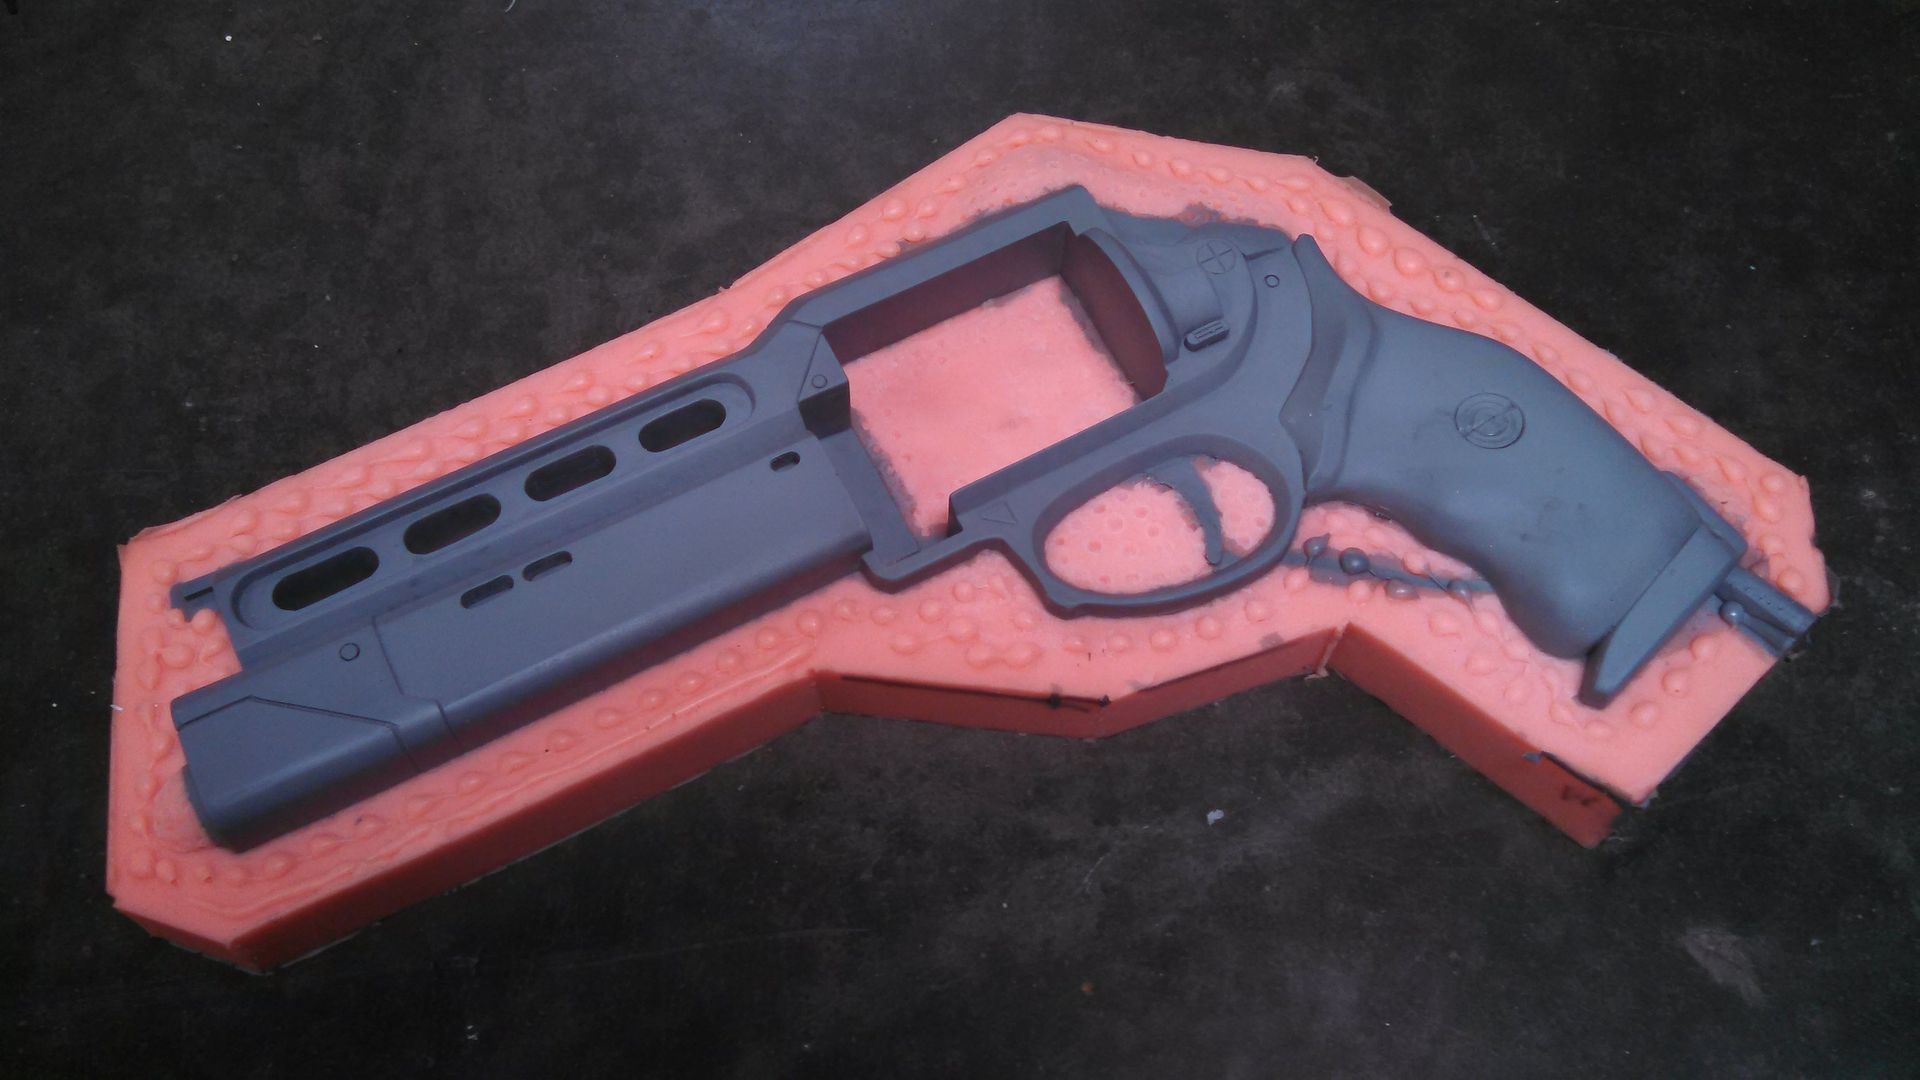
I had to cut a few vents, but the casts come out great. This is the first pull. I didn't take progress pictures of the other molds, sadly.

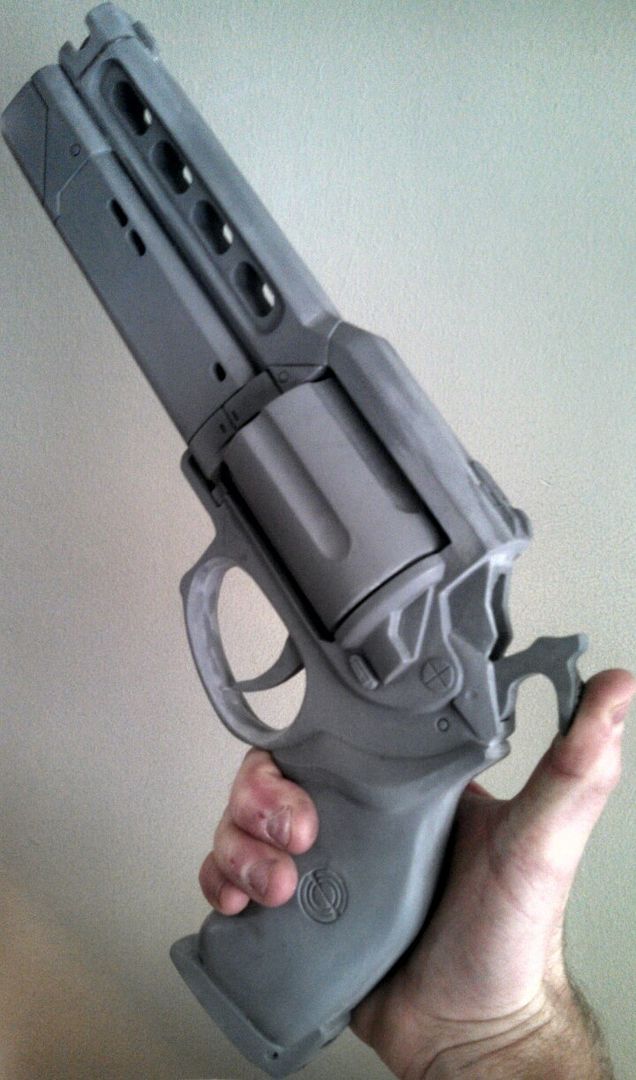
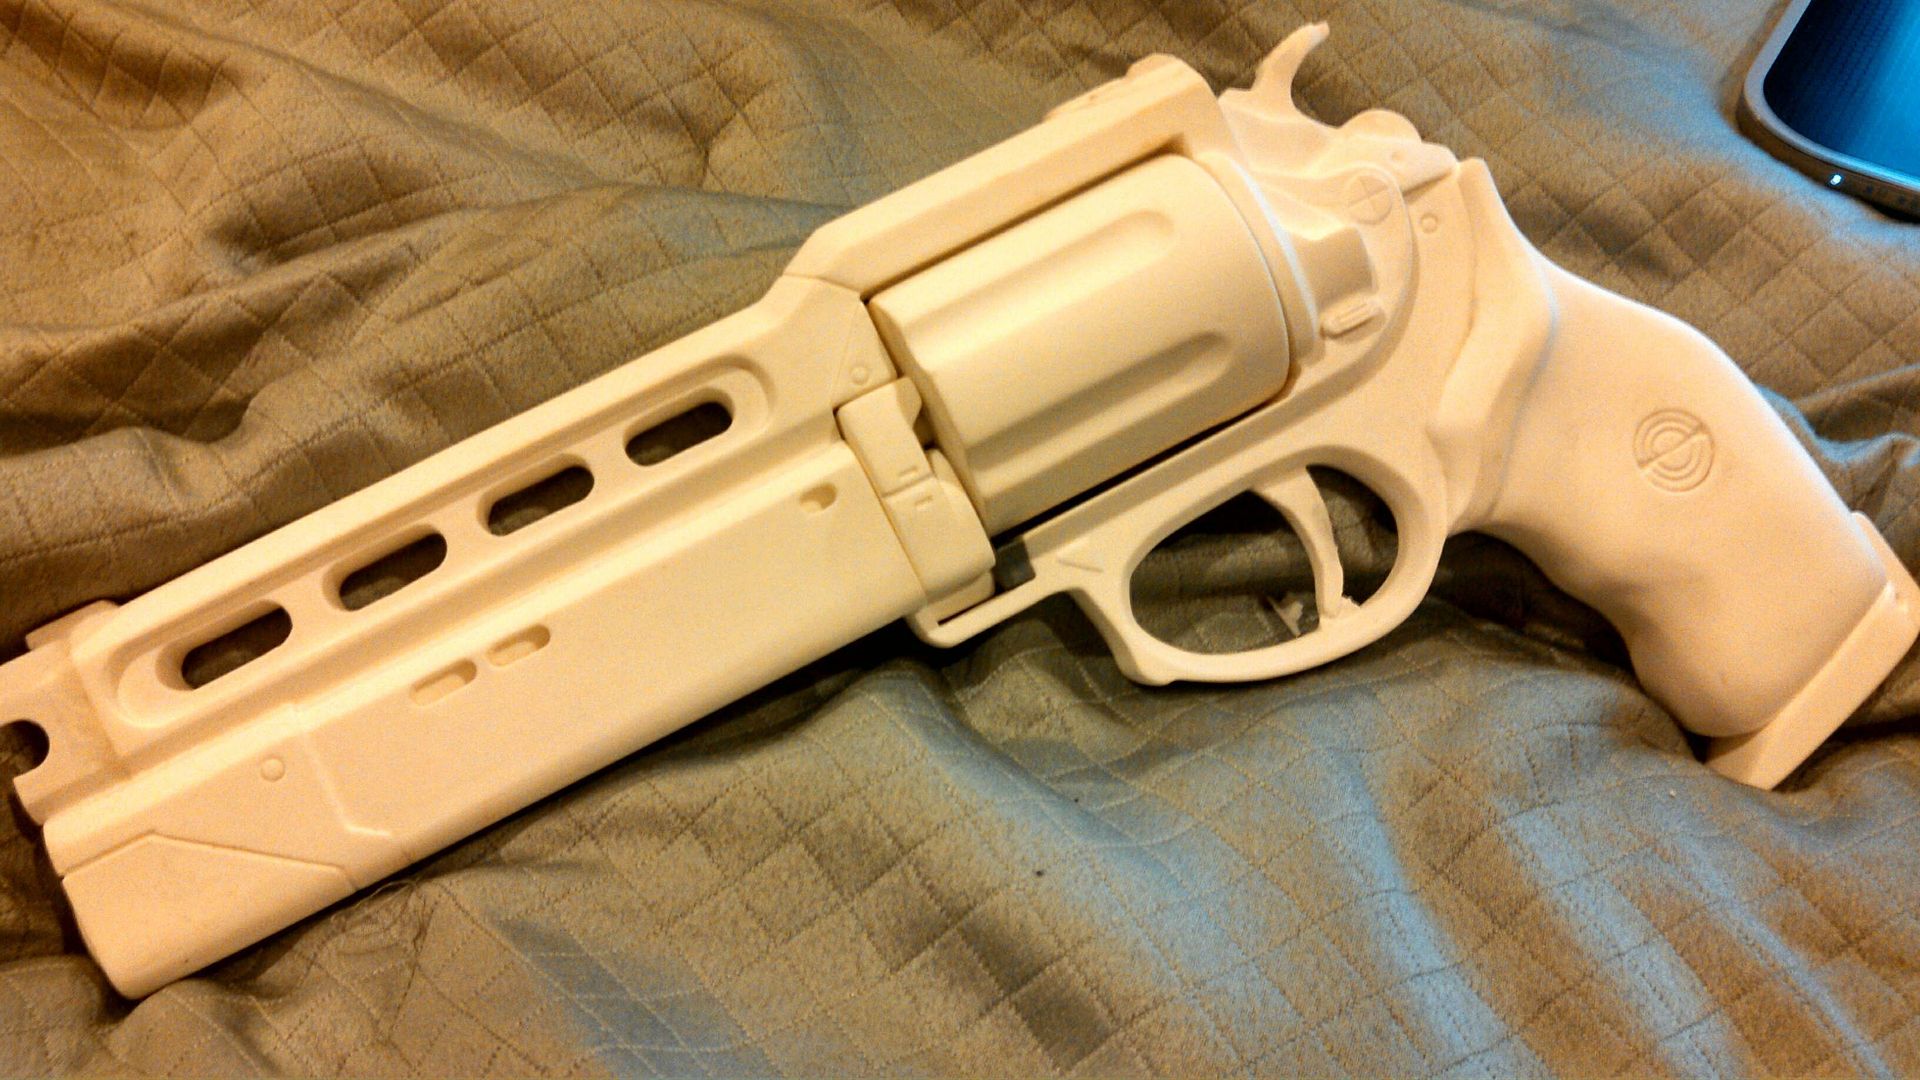
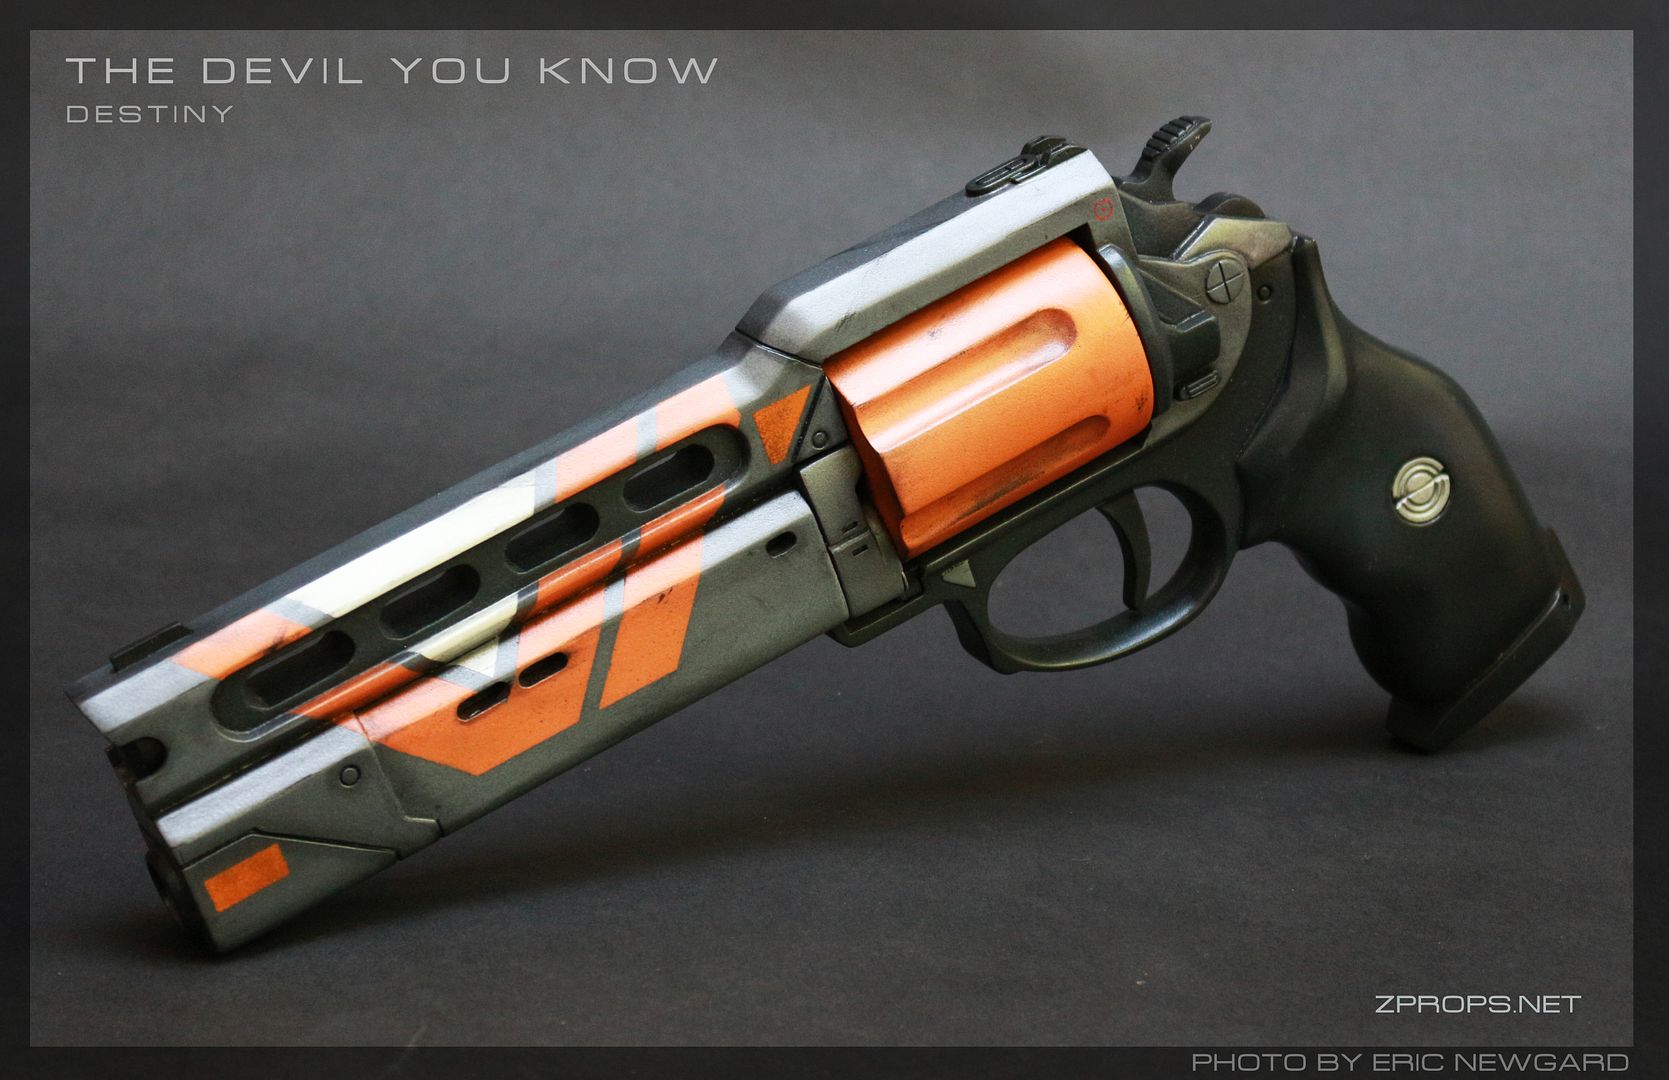
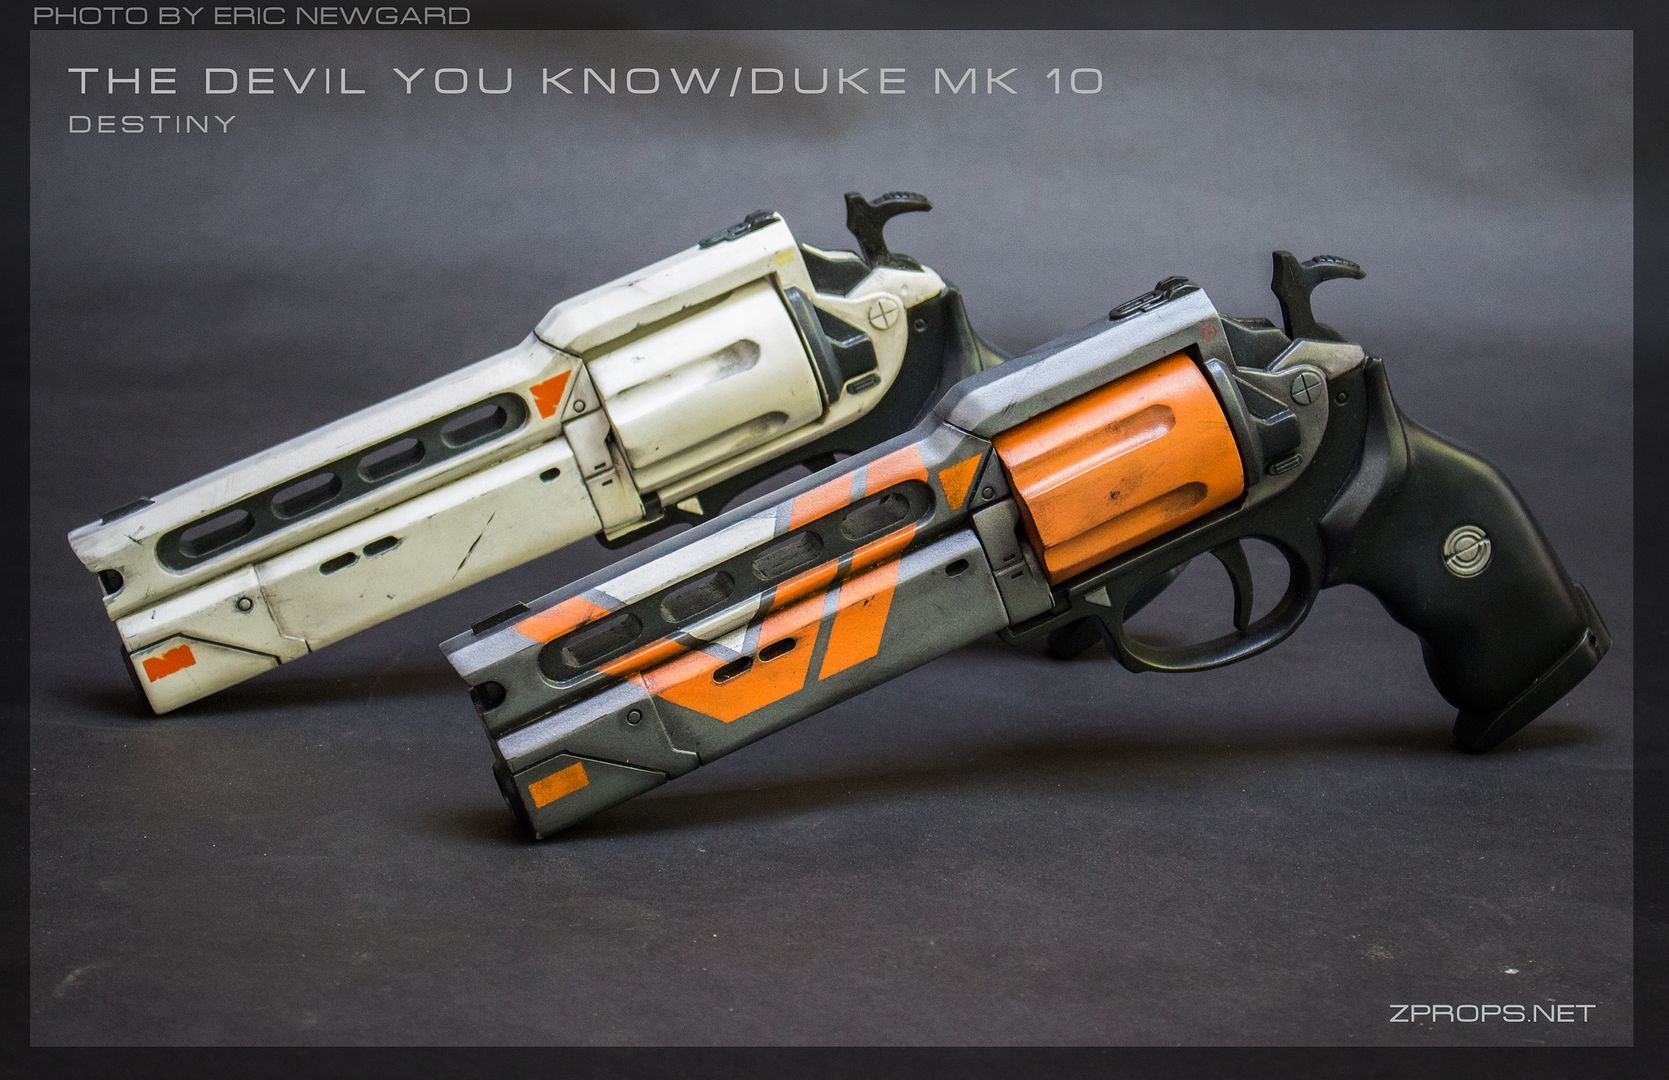
I started playing with....errr...cleaning up the first cast molded in grey. The first two I wanted to make were the duke MK 10, and the Devil you know. I did them at the same time.

Then I made a cast in bright white.

After prep, I did the full reload conversion on both. You can see how it was done here.
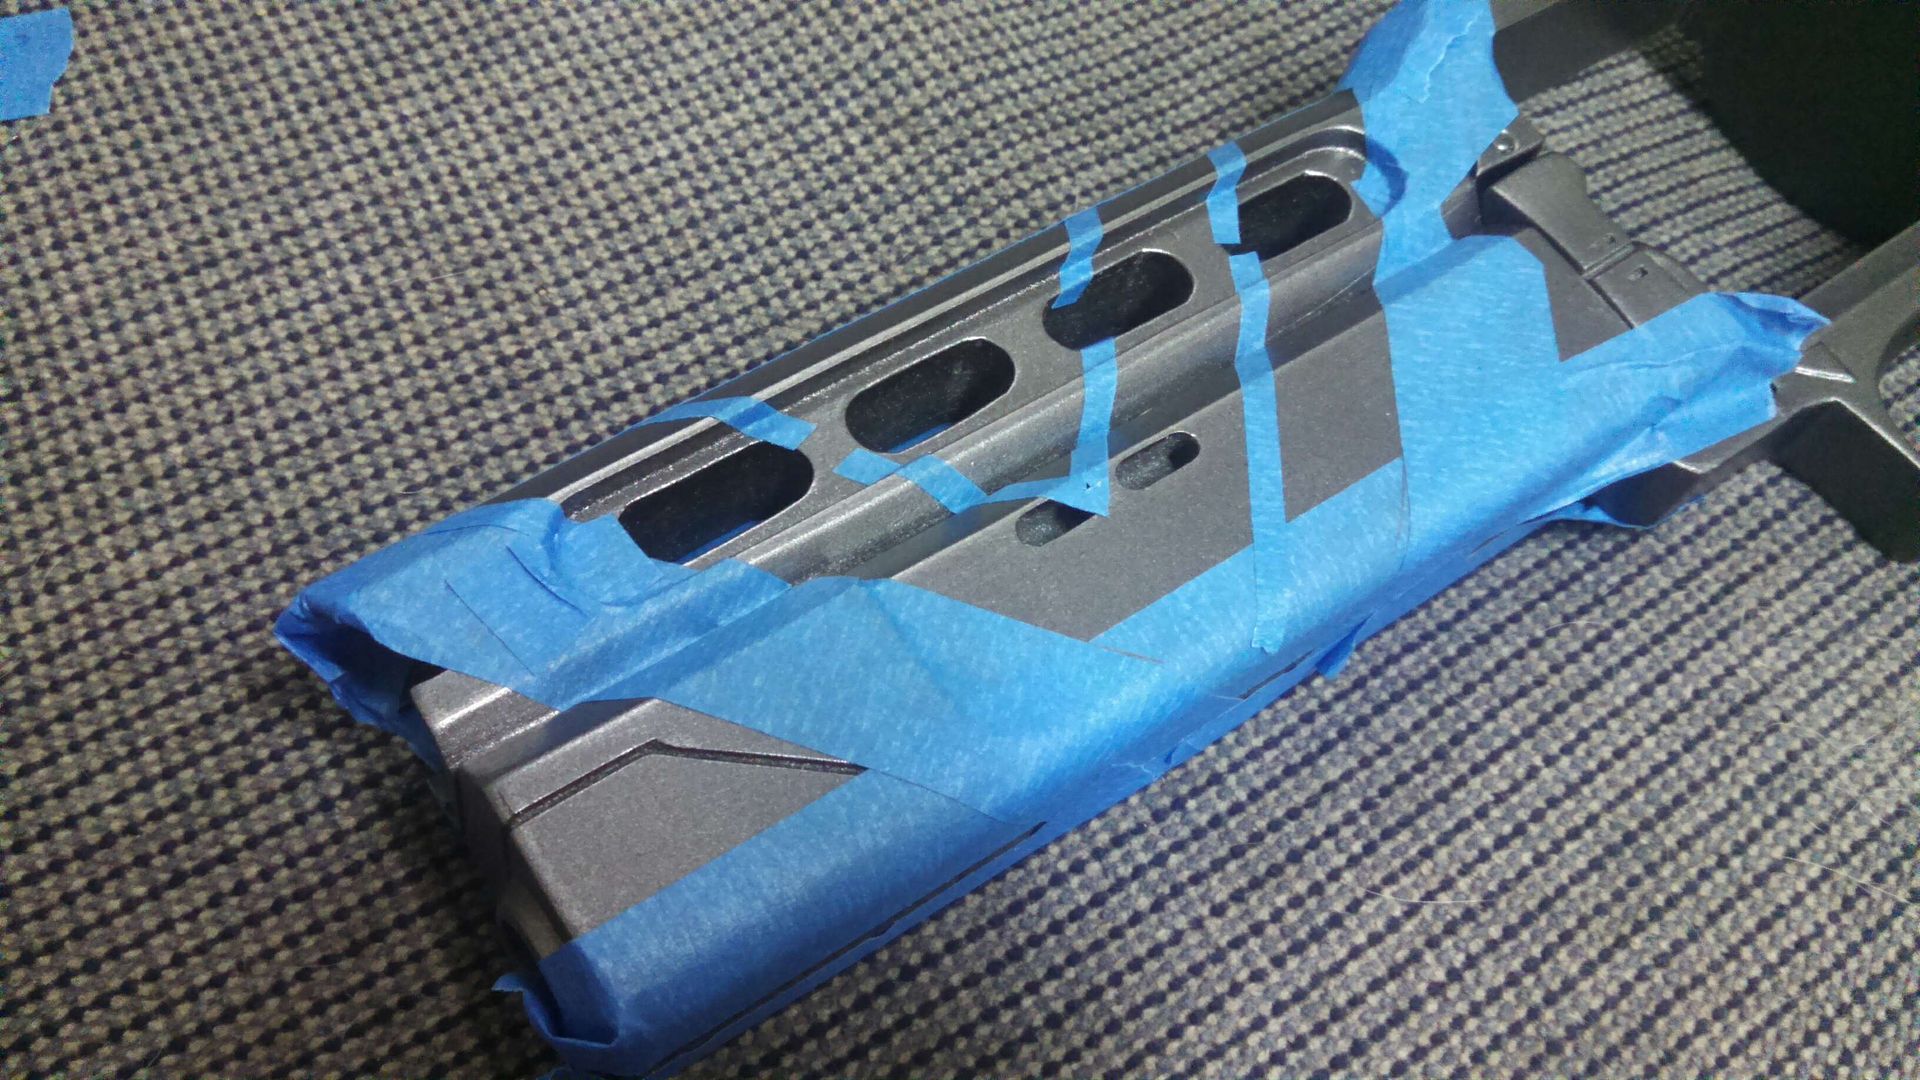
Onto some tedious masking...

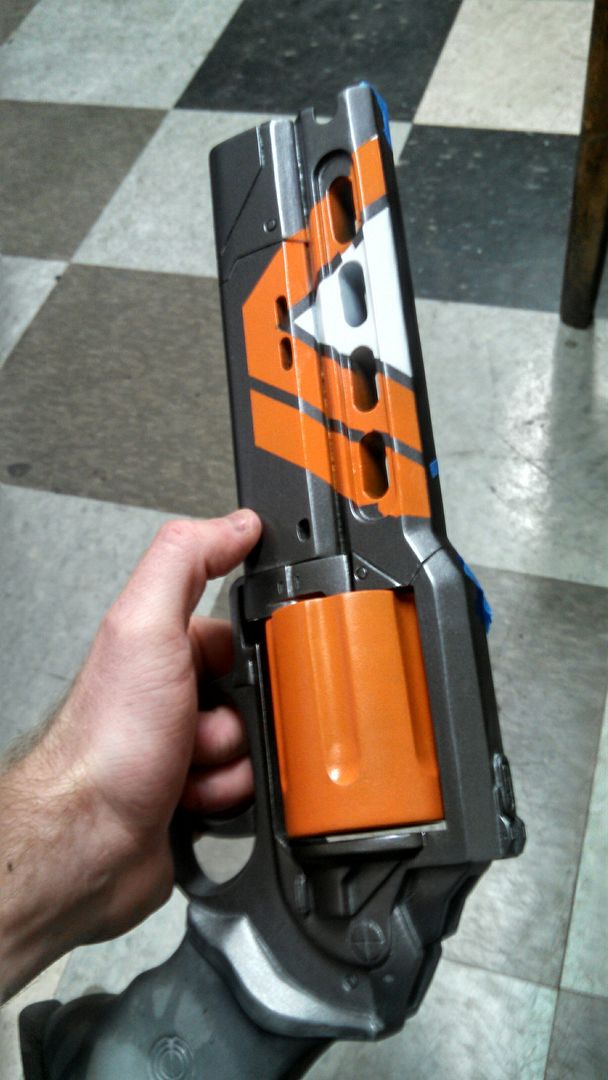
Shiny!

I chose the Duke MK 10 as tribute to the concept artist, but also because I love weathering white.

Special thanks to Eric at Impact Props for the photos!


Thanks for reading!
If you're interested in a resin cast, you can
grab one here.
You can find daily updates or message me on the
Facebook page.