About four months ago, I was contacted to make a medipack. At the time I was working a 12 hour day job. I might have missed a photo here and there.
Here's the best reference I could find on the web. I would credit it, but honestly I didn't write down the source and it got lost in a black hole. Whoever you are, thanks!
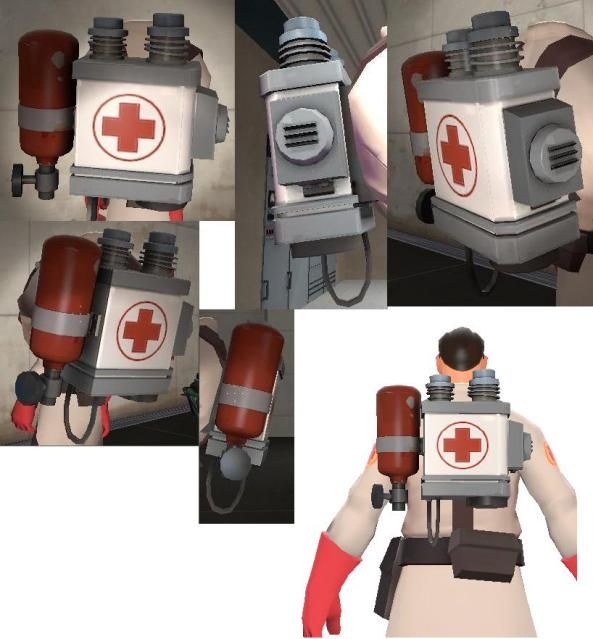
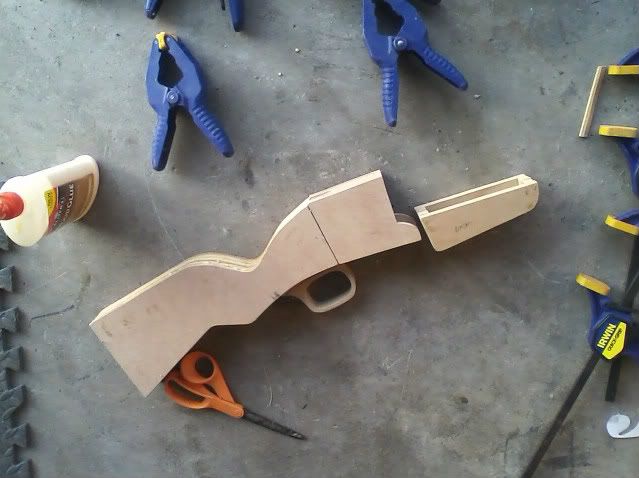
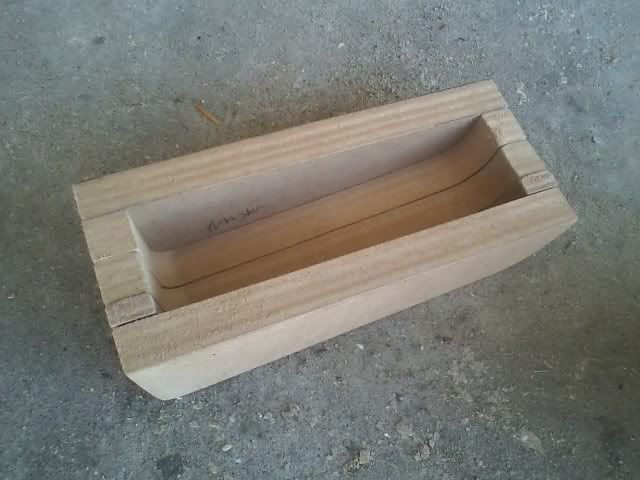
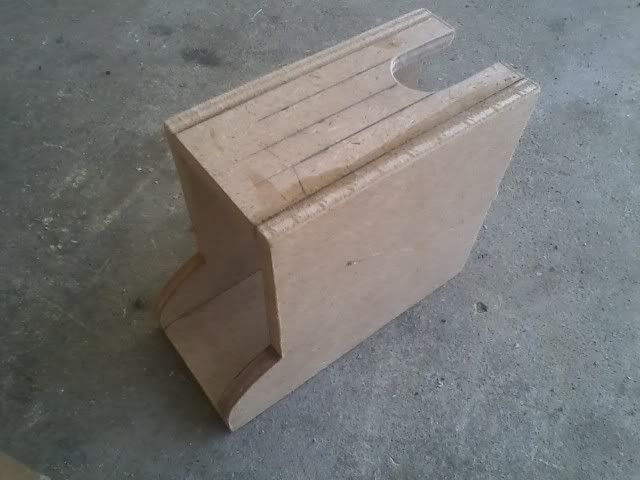
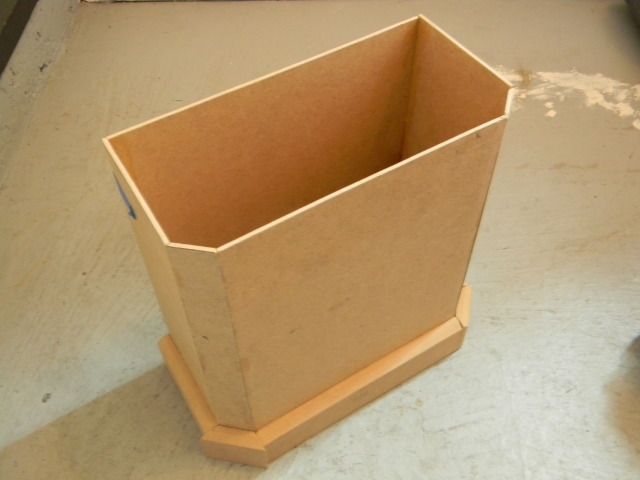
Annnnyhowzile. MDF, of course. Mostly 1/8th inch to keep the weight down. The Trim is half inch.
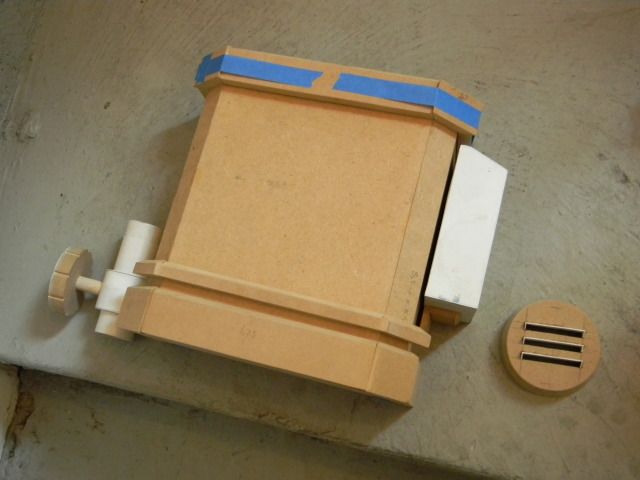
Then these knob thingies. The collar around the PVC pipe section is styrene. The knob is MDF laminated in styrene. The notches were cut with a scroll saw.

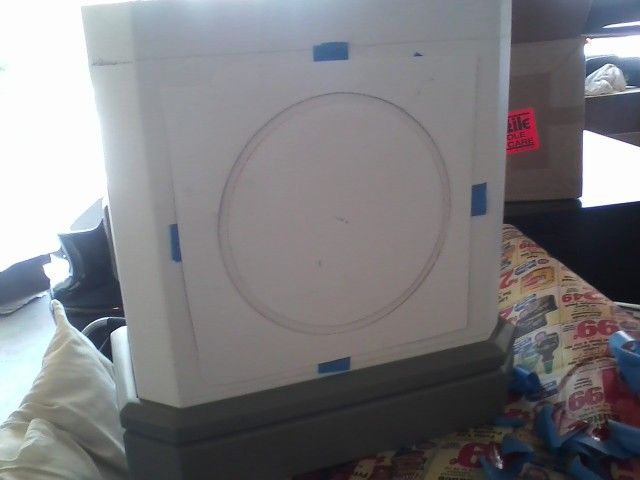
Getting that lid (pictured with the painters tape) was a pain to get fitted properly. It had to be removable yet still stay on with significant friction. Jah, zhe friction es goodenflaugen!
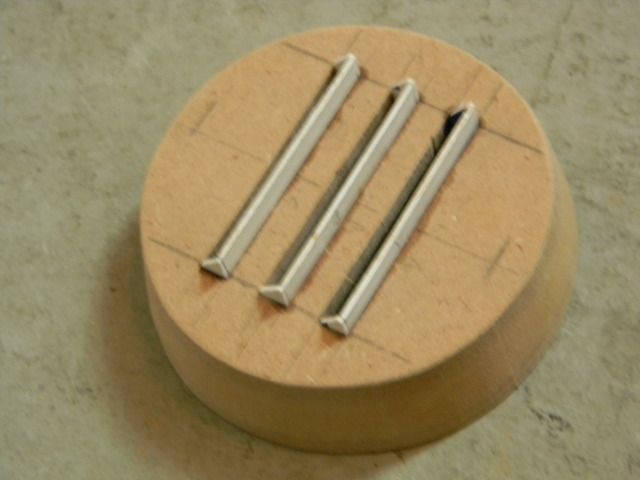
This circle thingie is about 3 layers of mdf laminated together to save weight. The first two layers had inner circles cut out to save weight. The vents themselves are, you guessed it, styrene.
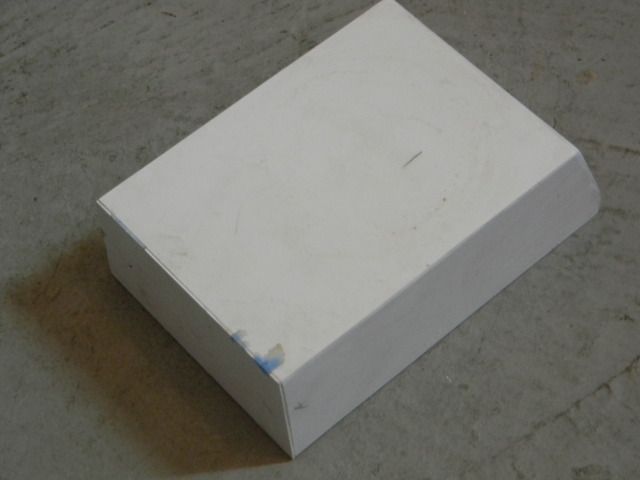
Styrene box is styrene. (There's actually a very slight drat angle on each side, and a sharp one on the top side.)
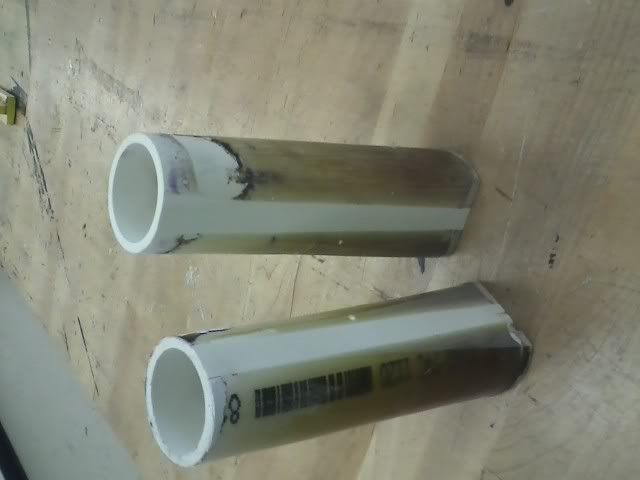
Because Commercial piping doesn't come in all sizes, I had to scratch build piping. ( I dont have a lathe.) I make two circles cut on the scroll saw, and bend the styrene around it. The seam is filled later. This keeps the diameter perfectly accurate to the drawing, and I find myself doing this on rifle scopes a lot.
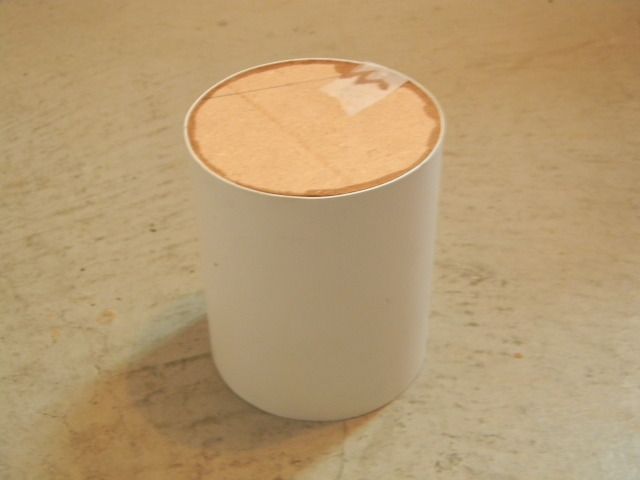
Similar concept as above, except the top and bottom are styrene. I drilled a hole in the top, fed the scroll saw blade through it as you would with wood, and used the saw on a slightly lower RPM. works great!
This is the cuff that goes around the air tank, which is not pictured, but is made out of a large section of ABS which has MDF caps that were cut at a beveled angle and then hand sanded into curved shapes. Annoying, but it works.
This is the cuff that goes around the air tank, which is not pictured, but is made out of a large section of ABS which has MDF caps that were cut at a beveled angle and then hand sanded into curved shapes. Annoying, but it works.
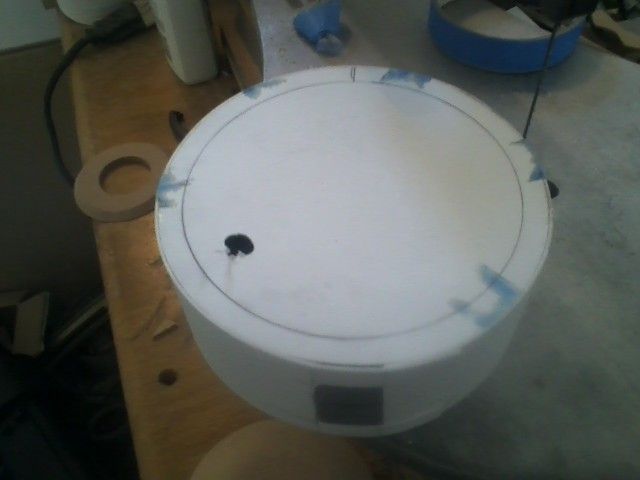
Coming together. This is for those of you curious about material usage.
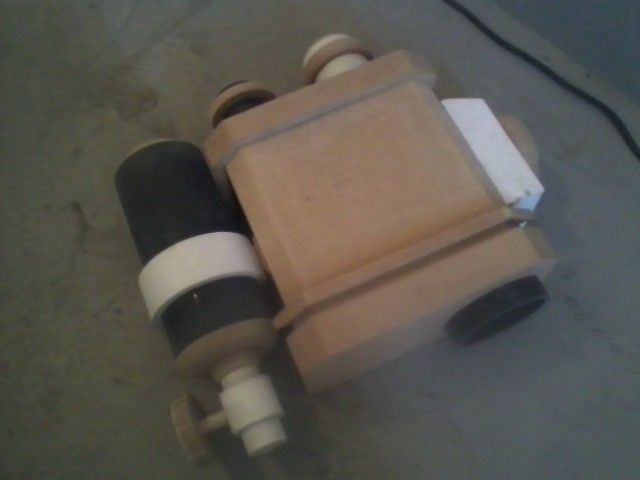
Sealed + basecoat
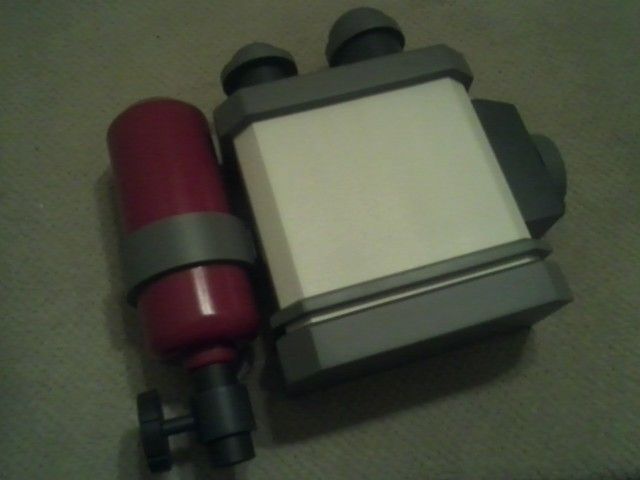
I make my stencils out of thin styrene, and clean up the fuzzy edges with 400 grit sandpaper.
The cord was from a dead laptop adapter. Keep your thick power cords, they're awesome for props.
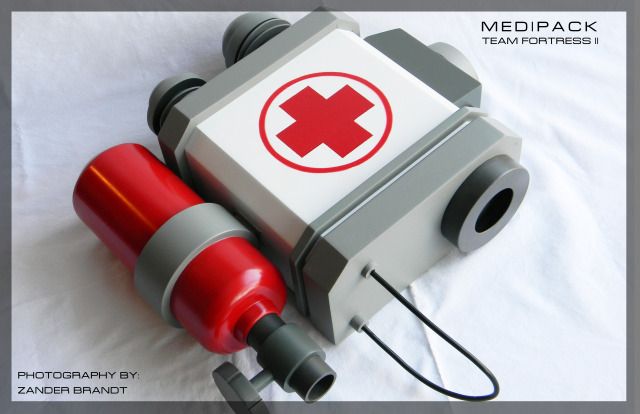

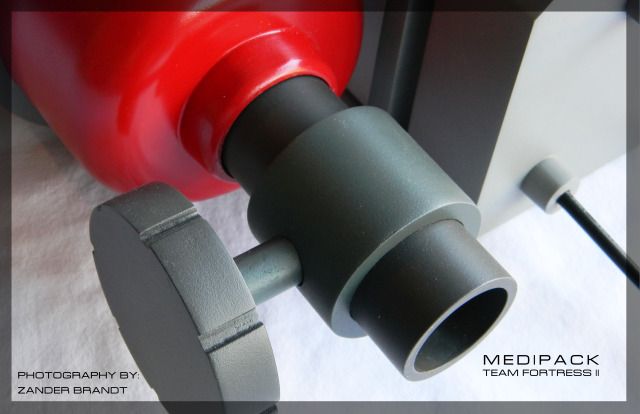
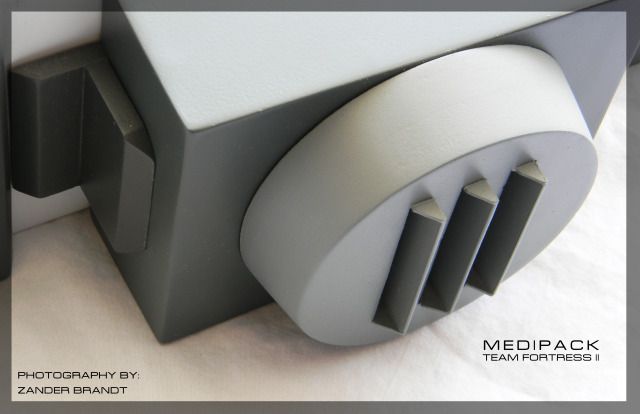
Finally, something that isn't a gun! even more ironic, in game this thing is used to heal. But still, its attached to a gun in game. So there. Gun nut reputation preserved.
See updates before I blog them (which can take forever...) on my facebook
See updates before I blog them (which can take forever...) on my facebook
Jah!