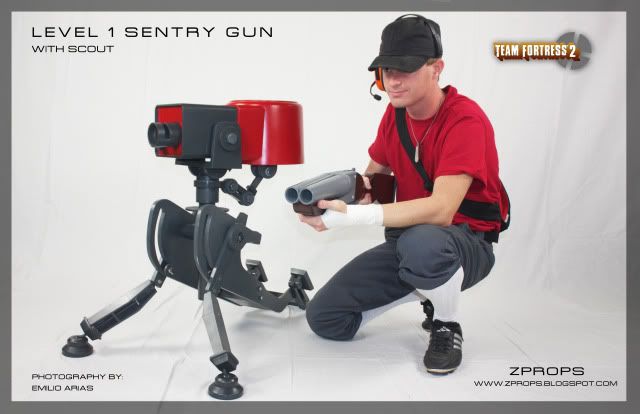
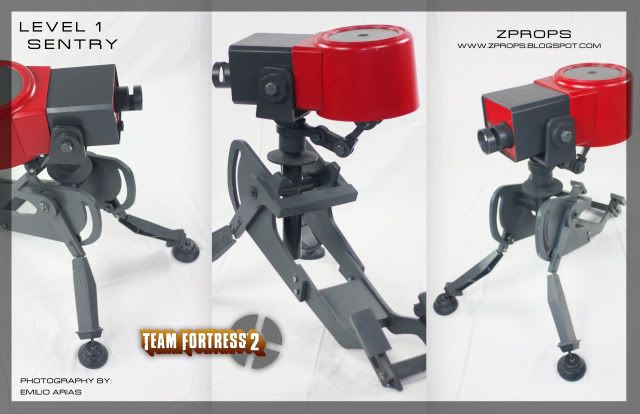
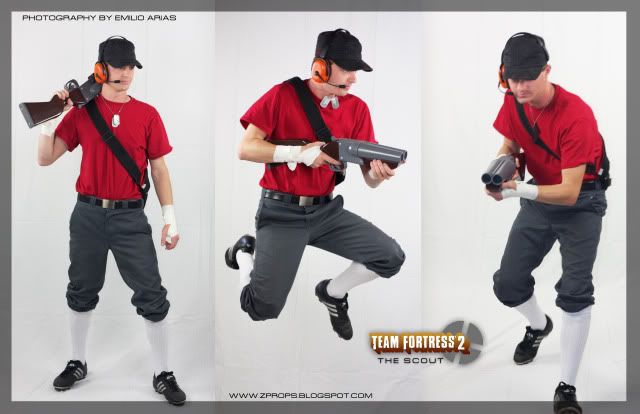
I've been working as a designer full time lately, so I haven't been able to expand on my props much. These are some photos that cross over between my FAN, level 1 sentry, and scout costume. I went back and added them into their respective postings, but feel like a new post would give them the light they deserve. (thanks to my awesome photographer, of course) A lot is "old" and some is new.
I've been at starbucks for hours editing photos for my portfolio as well as my photographers. (I went back and added some final M29 photos, and M96 photos. you should check the out!)
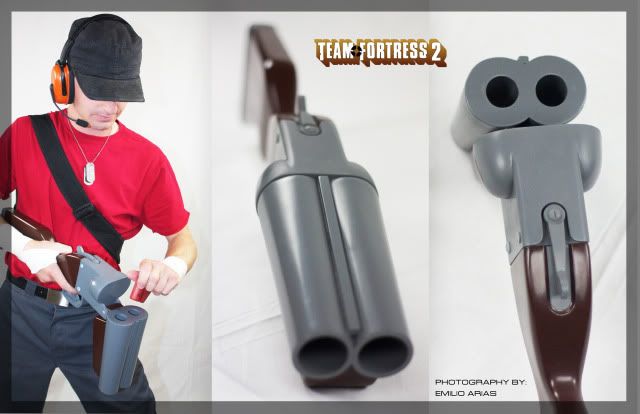
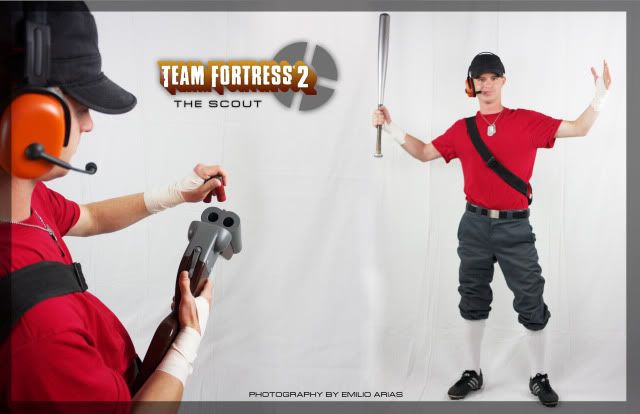
Anyways, In case you didn't know, This cosplay is based off of the TF2 scout. And yes, the headpiece is scratch built as well. (MDF, of course.)
here he is in his original glory : (followed by me being a geek)
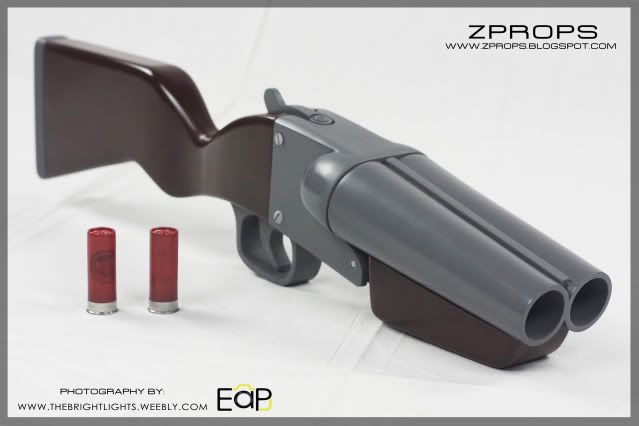
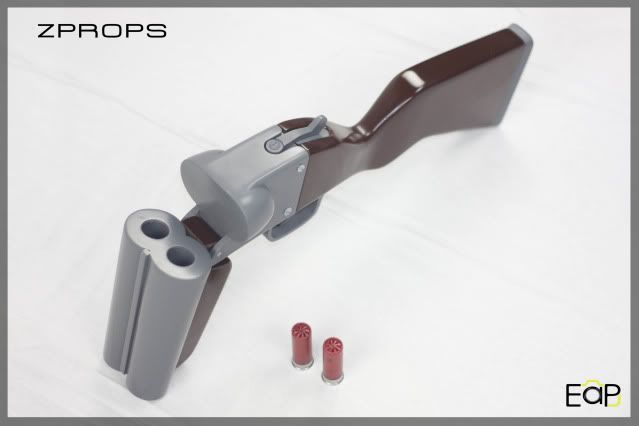
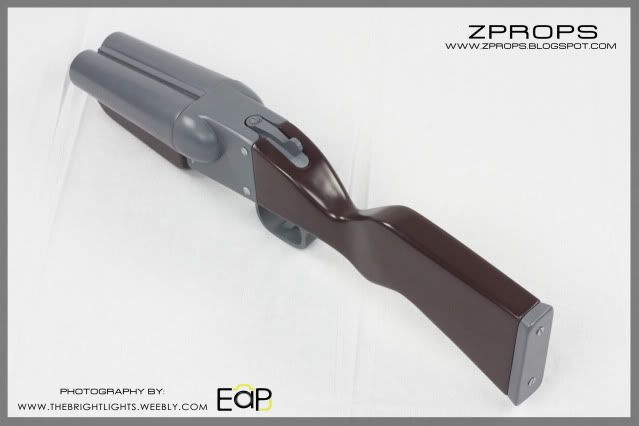
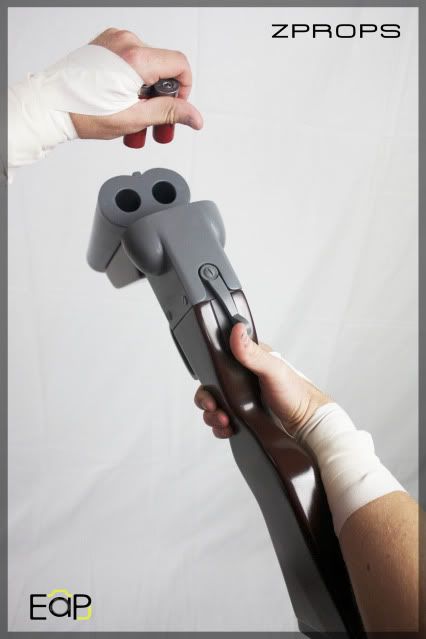
I meant to put this and something else up in November, but my photo editing skills apparently aren't as quick as my building skills. In any case, I needed to make a FAN by late October. Volpin's build was helpful in saving me some time by using it as a guide, although I made many changes of my own.
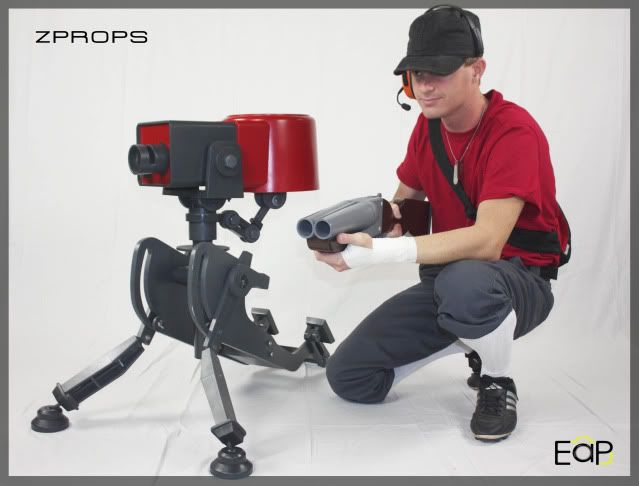
I'd like to Thank my college buddy Emilio Arias for the huge help by taking pictures. He's just starting out doing photography gigs, so if you're in Orange County, I highly suggest sending him a message for your senior pictures, gigs, etc. (@ www.thebrightlights.weebly.com ) . As you can see, he does top notch stuff (final pictures)
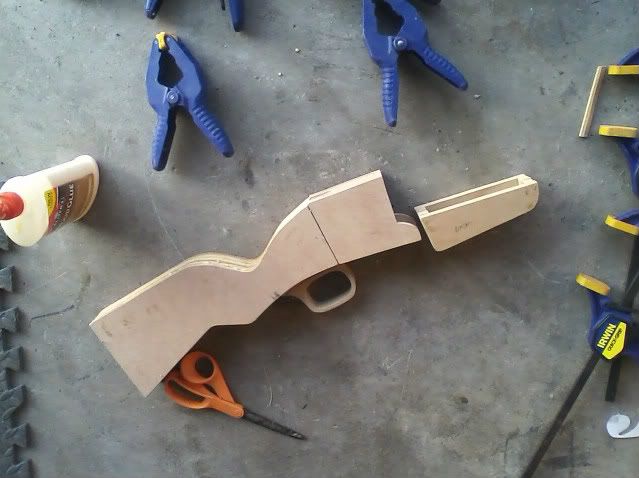
I didn't take a whole lot of progress pictures this time, and the first half of the build would just look like Volpin's blog anyways. (laminating MDF.)
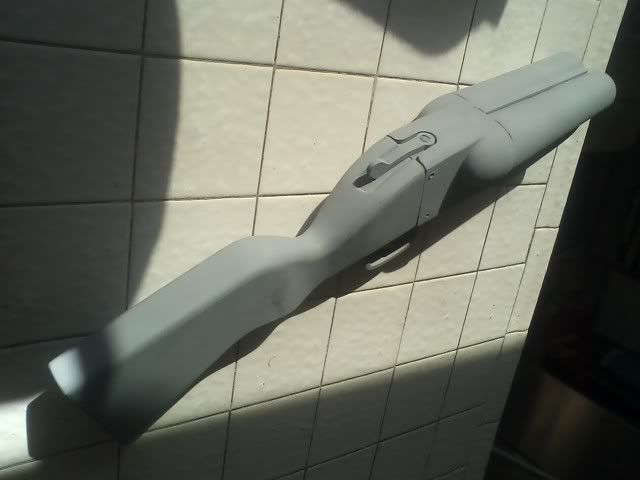
I started with the stock. Luckily, I have outside access to a 6" wide industrial belt sander that was able to quickly give me that hour glass/competition stock shape. I also narrowed the grip of the stock about 1/4 inch, as this was being made for a girl.
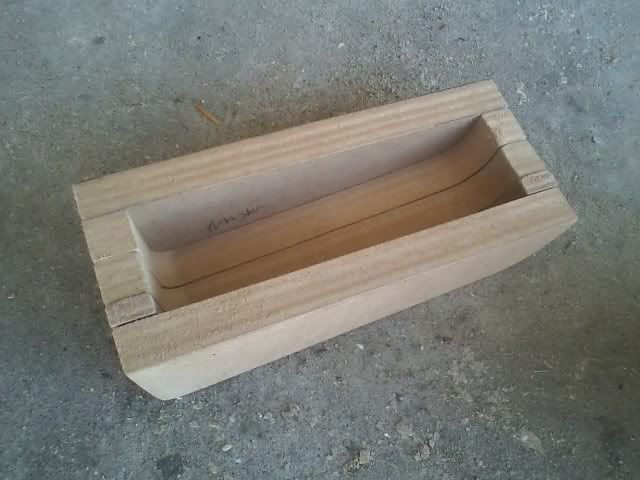
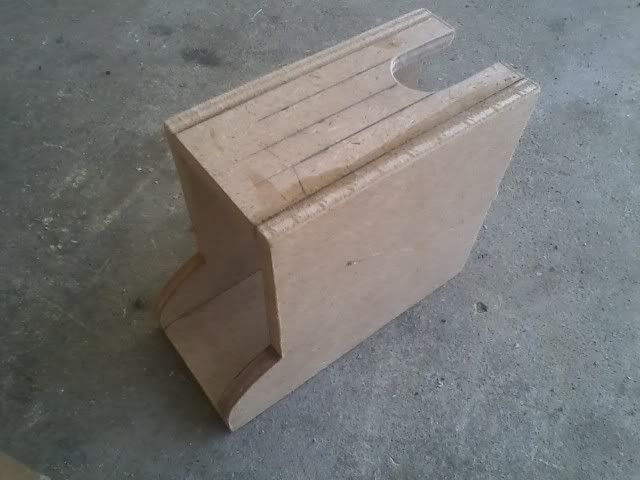
The grip , receiver, and half domes are all MDF.
After the easy stuff was out of the way, It was time for the creative part. I wanted to make sure my barrel openings were exactly the right size, as well as the degree of taper down the barrels. All of this without sanding for hours and hours. I wont get into the process of what I did, but maybe some of you can figure it out.
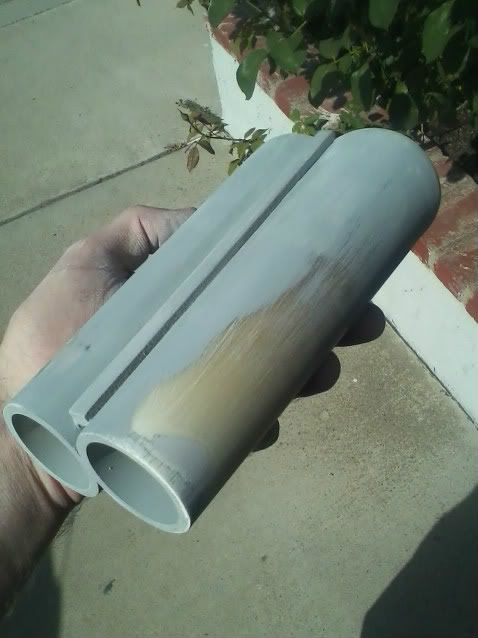
Another use of the belt sander, some super glue, and primer.
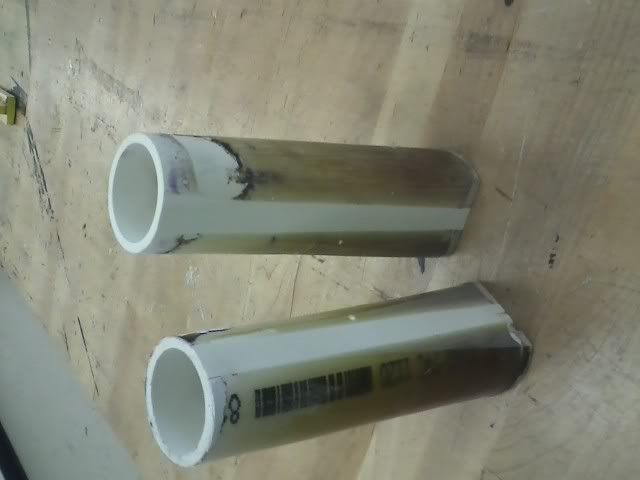
Gotta love fiberglass barrels. I flicked this assembly across the room at least 3 times with no damage. (I couldn't resist playing with the break-action and forgot I didn't glue this to the front grip at the time)
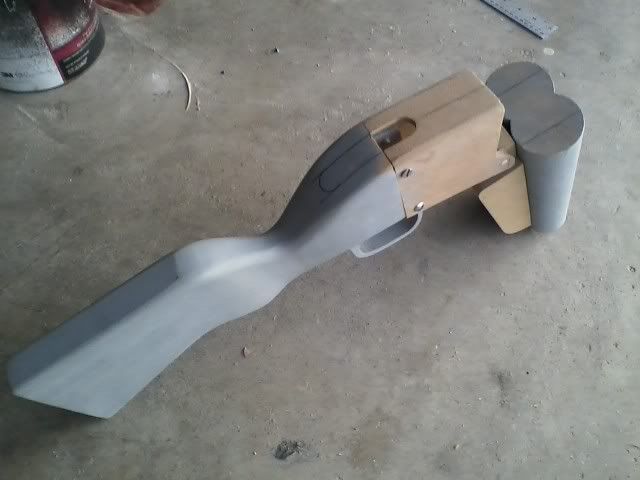
coming together:
Yup. More MDF. Everything but the barrels and screws, literally.
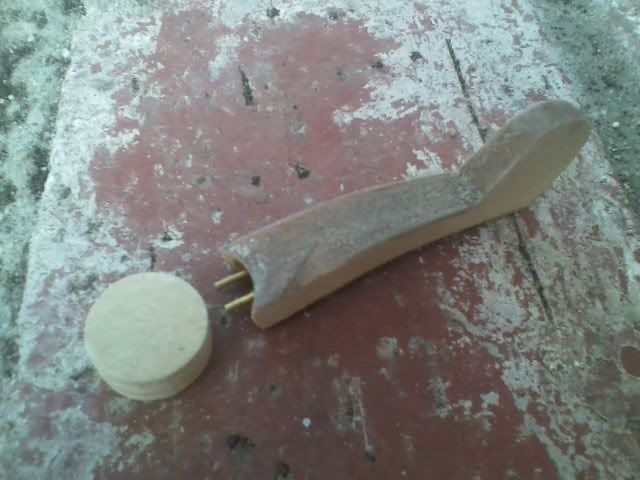
The breech lever moves and is spring loaded. I infused it with super glue and pins to give it extra strength.
As one of my most recognized past projects, I decided to kick-start my props blog with this project.
This was not a commission, I just woke up one morning and decided that I had to make this thing.
heres a video for you more visual people:
I have added the red LED since these photos, but it does not show up in daylight photos anyways.
before paint:
here's the build:
Step 1: the base. The base/frame of the sentry is the most complicated part. Not only is it annoying trying to take a million in game screen shots for reference and trying to translate it into a mechanical drawing, but its also very difficult to get the "modular" function I want. My sentry is fully adjustable, can disassemble completely with basic tools, and its fully upgradeable. (yes, there is a soon to be level III) I started making a template for the frame which contains the tracks for the legs.
I used a drawing compass at a fixed point to get the swivel tracks for the legs done correctly. the rest of the measurements and proportions are eyeballed from reference. I did the rear half of the frame next. After the templates were done, I traced them out on 1/2" MDF (medium density fiberboard) and cut them out on a scroll saw.
Step 2: the legs. The sentry legs in TF2 magically extend when upgraded. I wanted a real version of this instead of having to switch out legs every time I upgrade mine. I had a bipod from an airsoft gun lying around that I wasn't using. its made by UTG for those who wanted to know. I disassembled it so I could use the legs individually, and I needed to make some changes.
here is a picture from back then, "test" fitting the frame with the bipod legs.
Then I realized the whole thing was about 30% too small and started over at a larger scale.
I remade the templates, and cut out the parts again. after that, I cut out the rear feet assembly, and the incomplete front leg assemblies. The fold down rear feet use wingnuts so I can quickly adjust them. the front legs are angled out by bending some 90 degree L brackets from home depot. (literally 100% of the materials of this project are from home depot, except for paint.) The bipod legs were temporarily secured with one bolt through the L brackets on each side. They sort of flopped around because I wanted to move on to other parts of the sentry and would re-visit them later. A 1/2"X 10" carriage bolt was used to secure the frame and the front leg mounts. some small 1/4" bolts are used on the feet, and the mid section of the frame where it bends and can be adjusted for level 3 positioning.
progress at that stage:
Step 3: center post linkage
This part was made completely of plumbing and electrical parts. I think the PVC is 1 1/2 inch. It had to be the exact width of the frame, because when I tighten the carriage bolt, the post is supposed to stay at the angle it was tightened at. It holds the whole weight of the top assembly, where most of the weight is. I had to make inserts for the T square so that the carriage bolt would stay centered, and give it enough friction to stay in place.
carriage bolt fit test
A larger coupling and a disk I cout out was added for accurate detailing (I did the disk over because it ended up being too small)
I used a pot metal electrical flange to secure the PVC with the perpendicular MDF pintle mount.
Step 4: the pintle mount
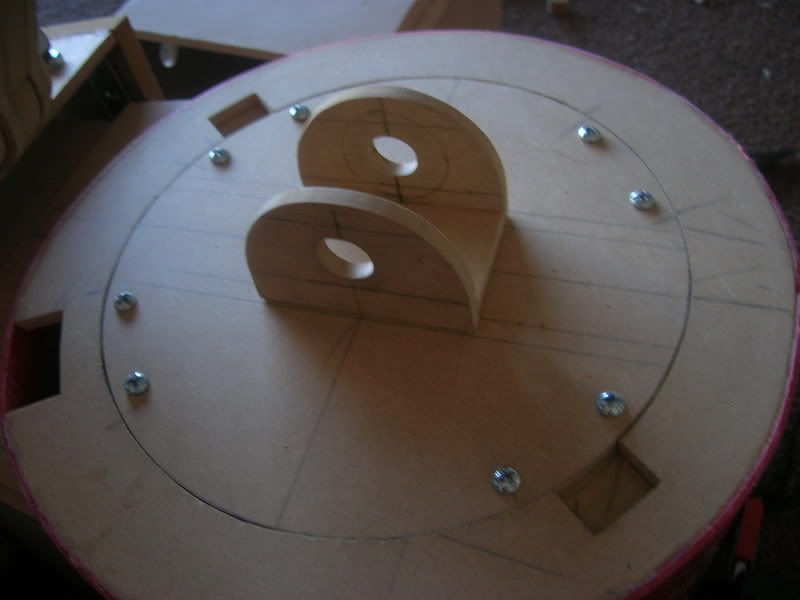
The thread on the electrical flange was not long enough to go through a half inch of MDF for the pintle mount, so I used a 1/4 inch sheet and then reinforced it and cut out a section on the top layer to leave room for some metal L brackets for reinforcement.
I did a test fit with the vertical parts and the L brackets
A large clamp with scrap wood as spacers was used to glue them together firmly (holes were drilled in the mounts before gluing them)
The holes are for 2 big 5/8ths inch bolts and a huge MDF washer on each side.
this is where the project really got exciting!
Step 5: the barrel housing
I had to do the housing twice since the first version was too big. (well, actually it was the right size but it was too big for the ammunition housing that I found)
heres the front face being glued to the bottom plate. I used PVC to support it during drying time. the hole is obviously for the PVC barrel
The edges were cut at 45 degrees for added detail.
I made the sides and drilled the holes for the mount.
Heres a picture of the rear frame being cut. I left room on the corners to run bolts through to the ammunition cannister frame.
(my precious Ryobi scroll saw pictured here)
progress at that point:
rear frame installed:
I made the last top section removeable.
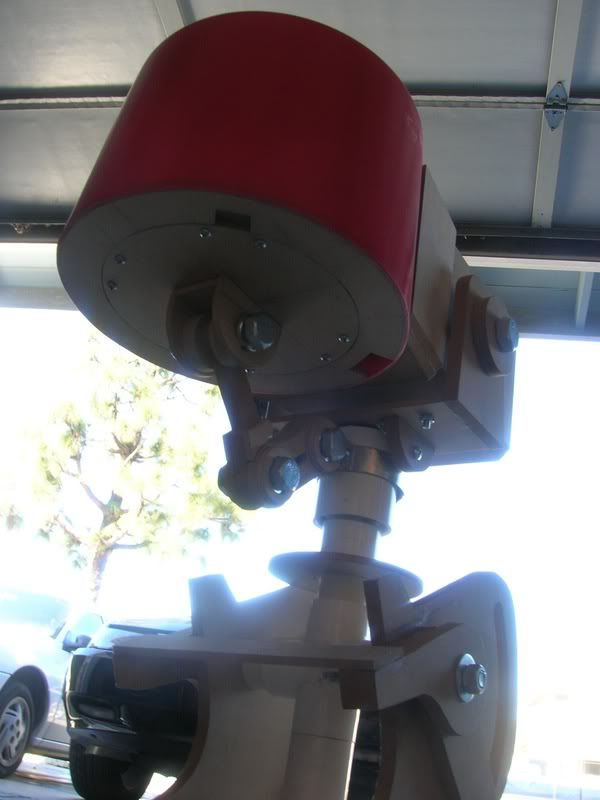
step 6: the ammo canister
this was the hardest part to find. basically, I was looking for a bucket with the perfect diameter at the bottom, and the perfect angle for the sides. I settled on a red rubbermaid bucket from home depot (a bit pricey, 11$ for a small bucket?) there were some paint buckets and plastic plant pots that came close, but had too much texture, holes, whatever. and they just werent the right size. I marked off the section I wanted to cut and sawed away.
I matched the frame off the barrel housing.
The curved parts that connected the frame to the ammunition housing were a pain to do. they were both curved, and angled, and it was hard to measure the curve off the bucket for cutting out the parts.
I ended up re-doing that part since the bucket was too tall and sat too high.
I made nut holders for the frame so I could easily connect/disconnect the barrel housing section.
progress at that point
Step 7: revisiting the feet
The sentry's front feet have a ball and socket joint. I took the rubber end caps off the bipod and glued some modified wooden doll head ball thingies to them.
They already had holes drilled in them, all i had to do was dremel grooves for the cross member going through the bipod legs.
Installed:
The feet themselves were 4 layers
The top layer was beveled inside
and out
so that the ball would stay inside the foot.
The notch on the outside is to allow the foot to position at more extreme angles (level 1 especially)
progress:
Step 8: ammo canister linkage and acess panel
Because I originally had planned for this thing to be servo controlled and have a paintball/airsoft gun installed, I needed a quick way to get into the thing without completely tearing it apart. I decided to make a cover on the bottom of the ammo housing that could be easily unscrewed. the cut outs are for ease of removal, as well as making it easy to rig an external controller/power supply.
With that done, I could start the final bit: the linkage.
I needed this section to be industrial looking, convincing, yet low enough on friction to not fight the servos, yet have enough friction to help keep the back end up. It basically consists of several MDF parts that were carefully drafted out and sandwiched between some carriage bolts.
that just about concludes the build. the entire thing was sealed in filler primer, sanded to about 400, and sprayed with Montana gold "slate" and "steel" colors. the red is Duplicolor vinyl red.