Showing posts with label scout. Show all posts

Thursday, January 1, 2015

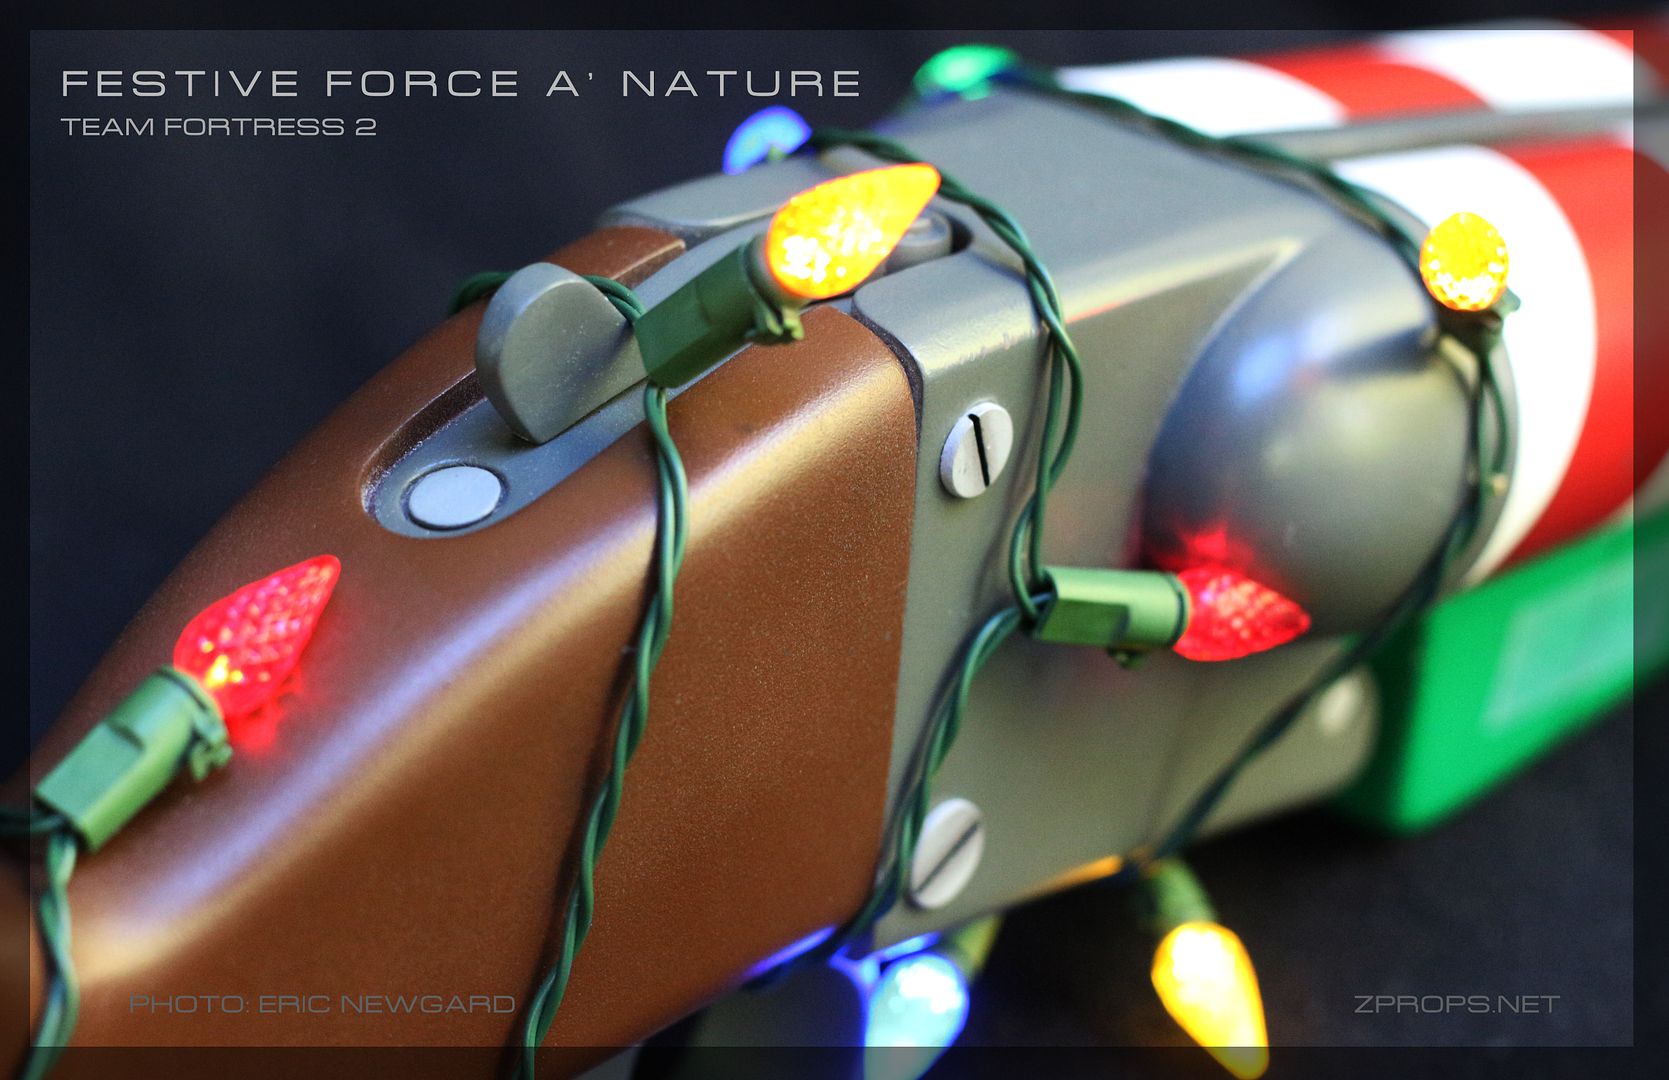
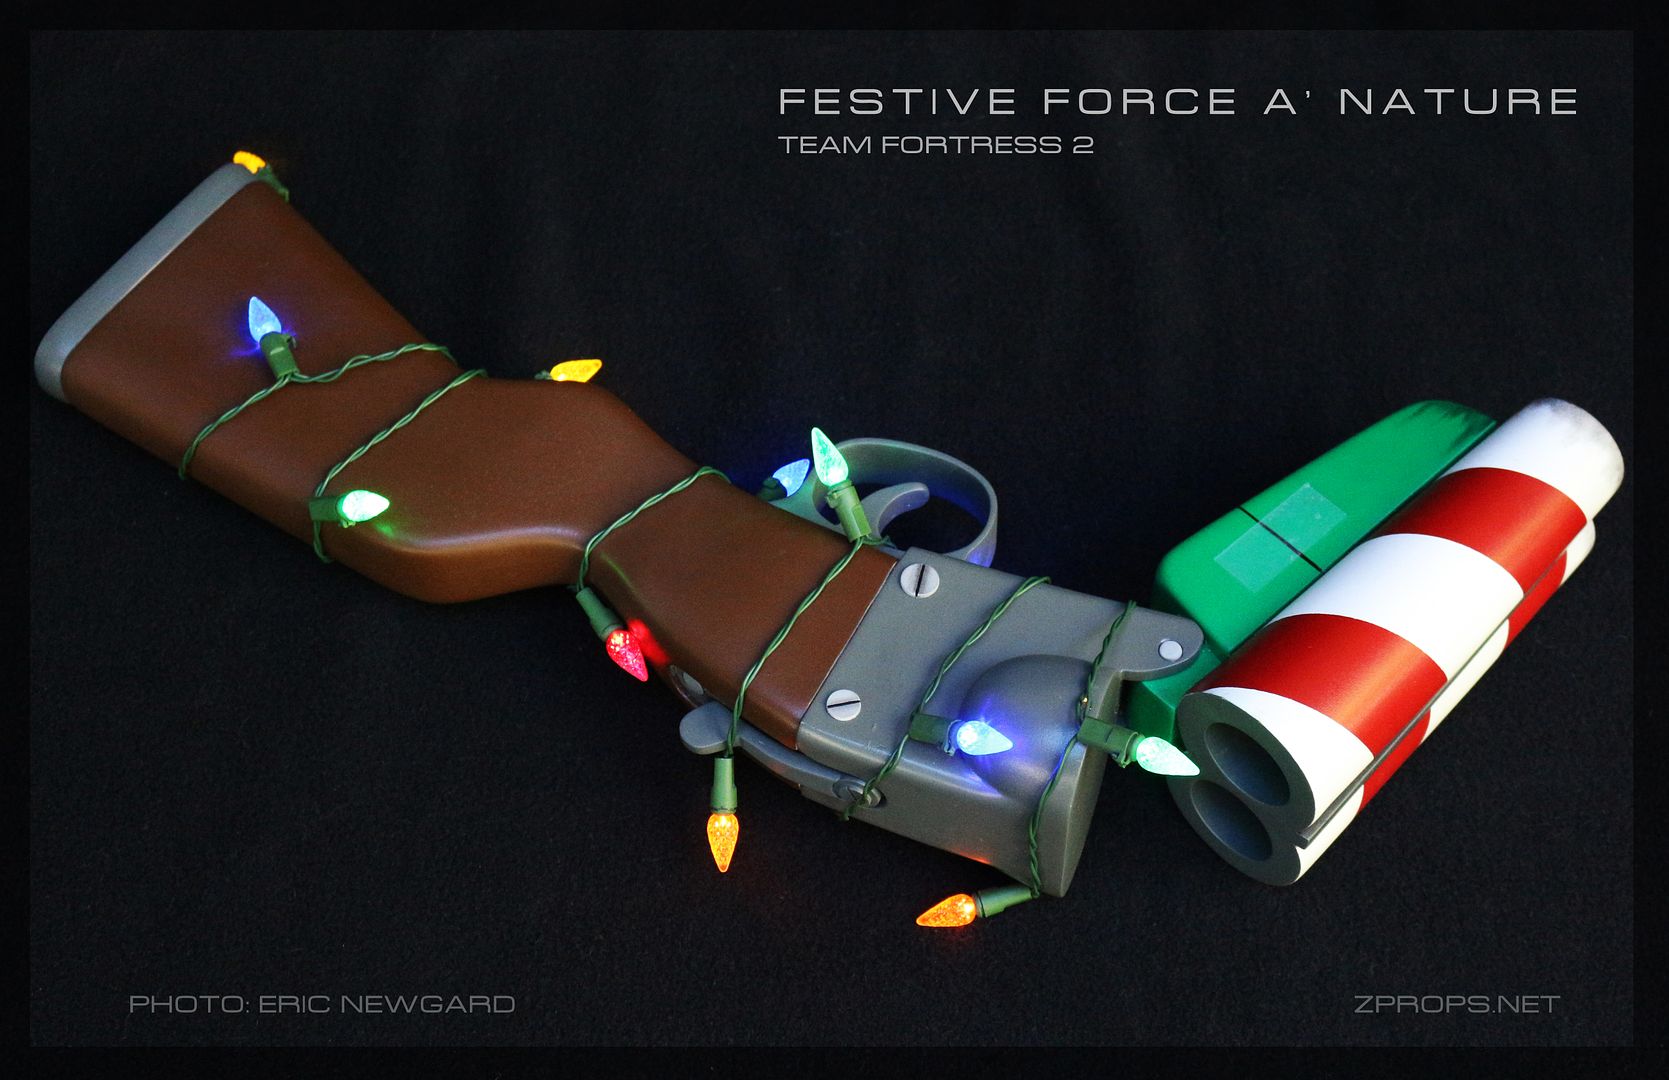
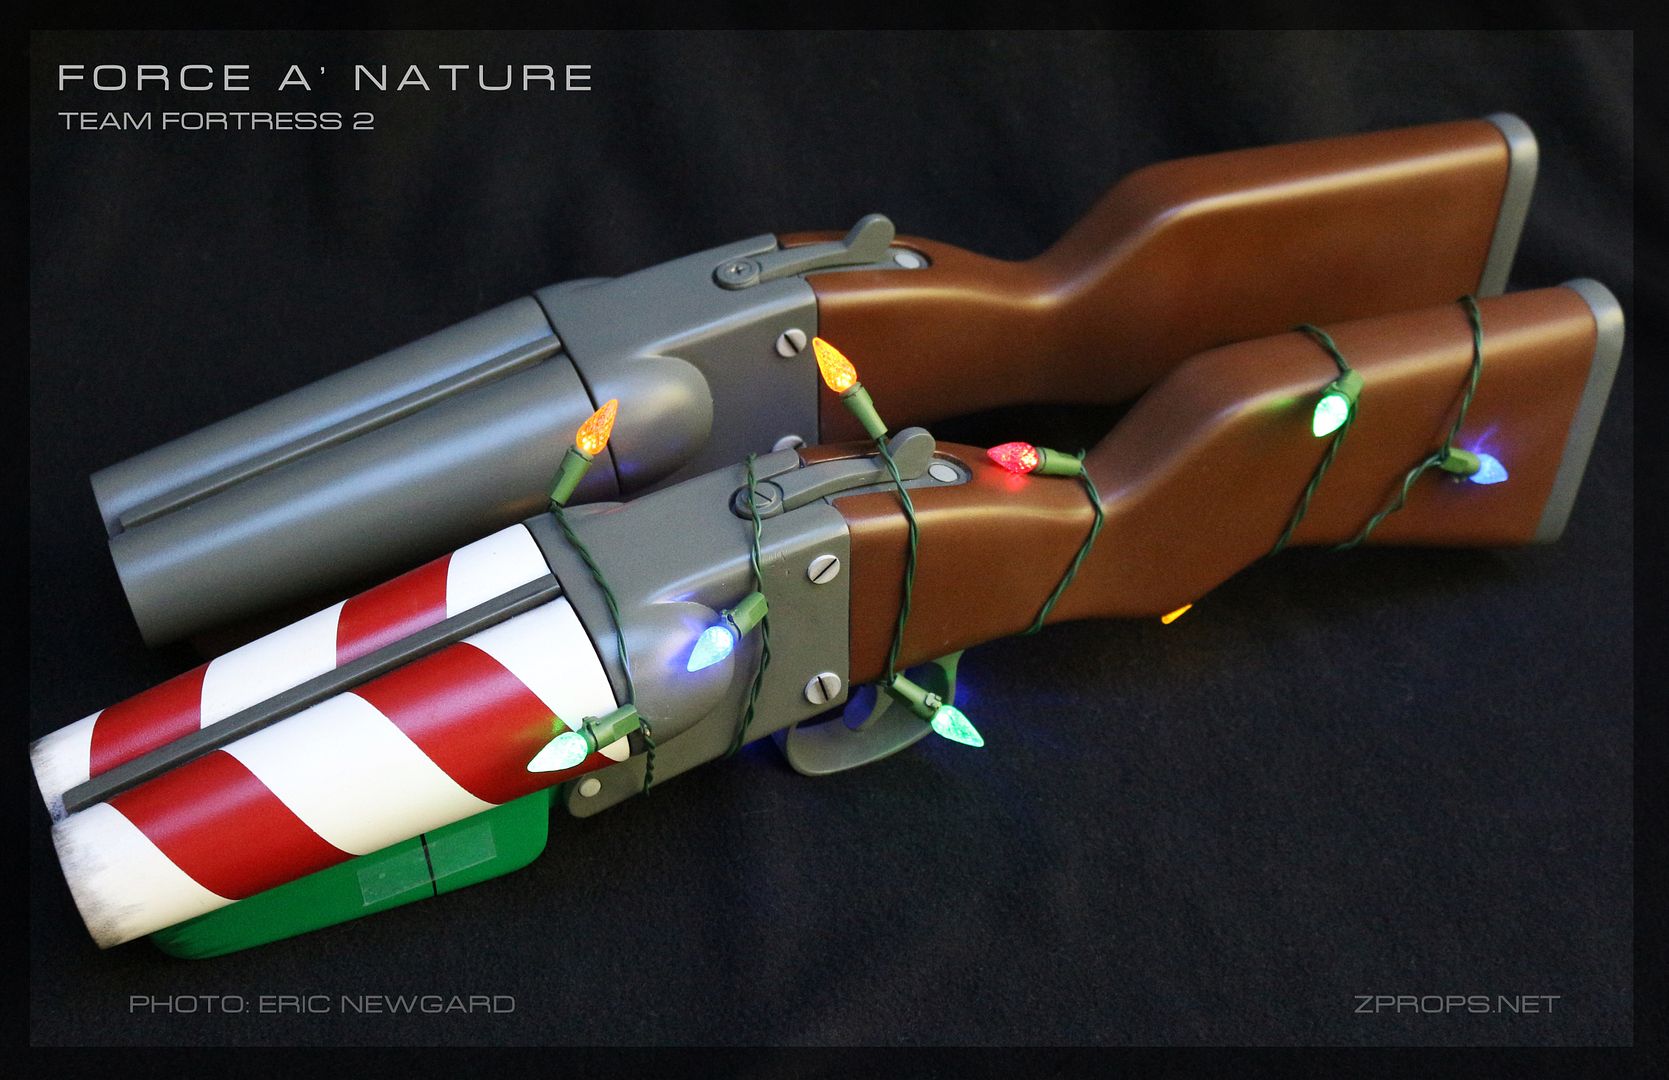
Festive Force A' Nature (V1.5)


I had a revisit with my old Force A' Nature when my client sent it back for a repaint after taking it to a few conventions. This was a huge opportunity, because I was able to mold the parts I needed while it was disassembled and sanded before the repaint. This was also one of my first props ever made, and is still one of my favorites.

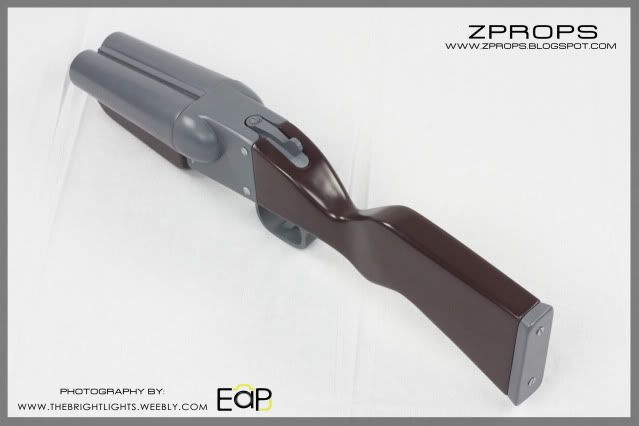
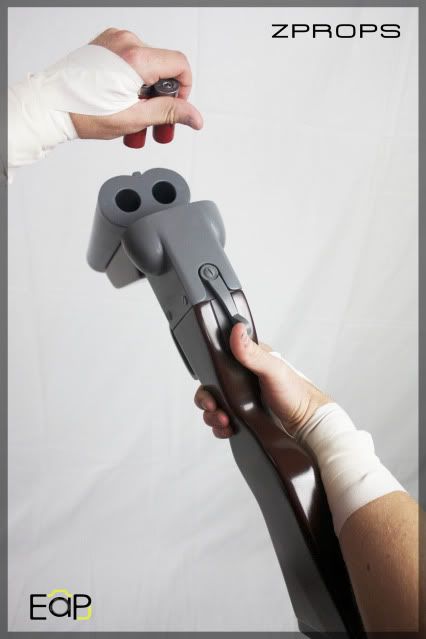
I molded the more accurate parts, (The barrels, receiver, foregrip, lever) and decided to re-make the stock and trigger guard. The trigger guard on the previous version was too thick. (Even for a TF2 prop) The grip on the stock was too thin, as it was designed this way for the client who had smaller hands. The previous stock was also a bit more bulky on the corners and the overall shape was too slim/elegant for a TF2 prop.

The changes would be ever so slight to a "normal" person, so I decided to christen the new parts with something more.........well, you decide.
I got started on the new stock asap, as I needed to get this thing molded and cast too (So that I could not only make reproductions, but also have a hollow stock for weight and electronics)  I shaped it relative to the cast of the receiver I made based off of the previous gun.
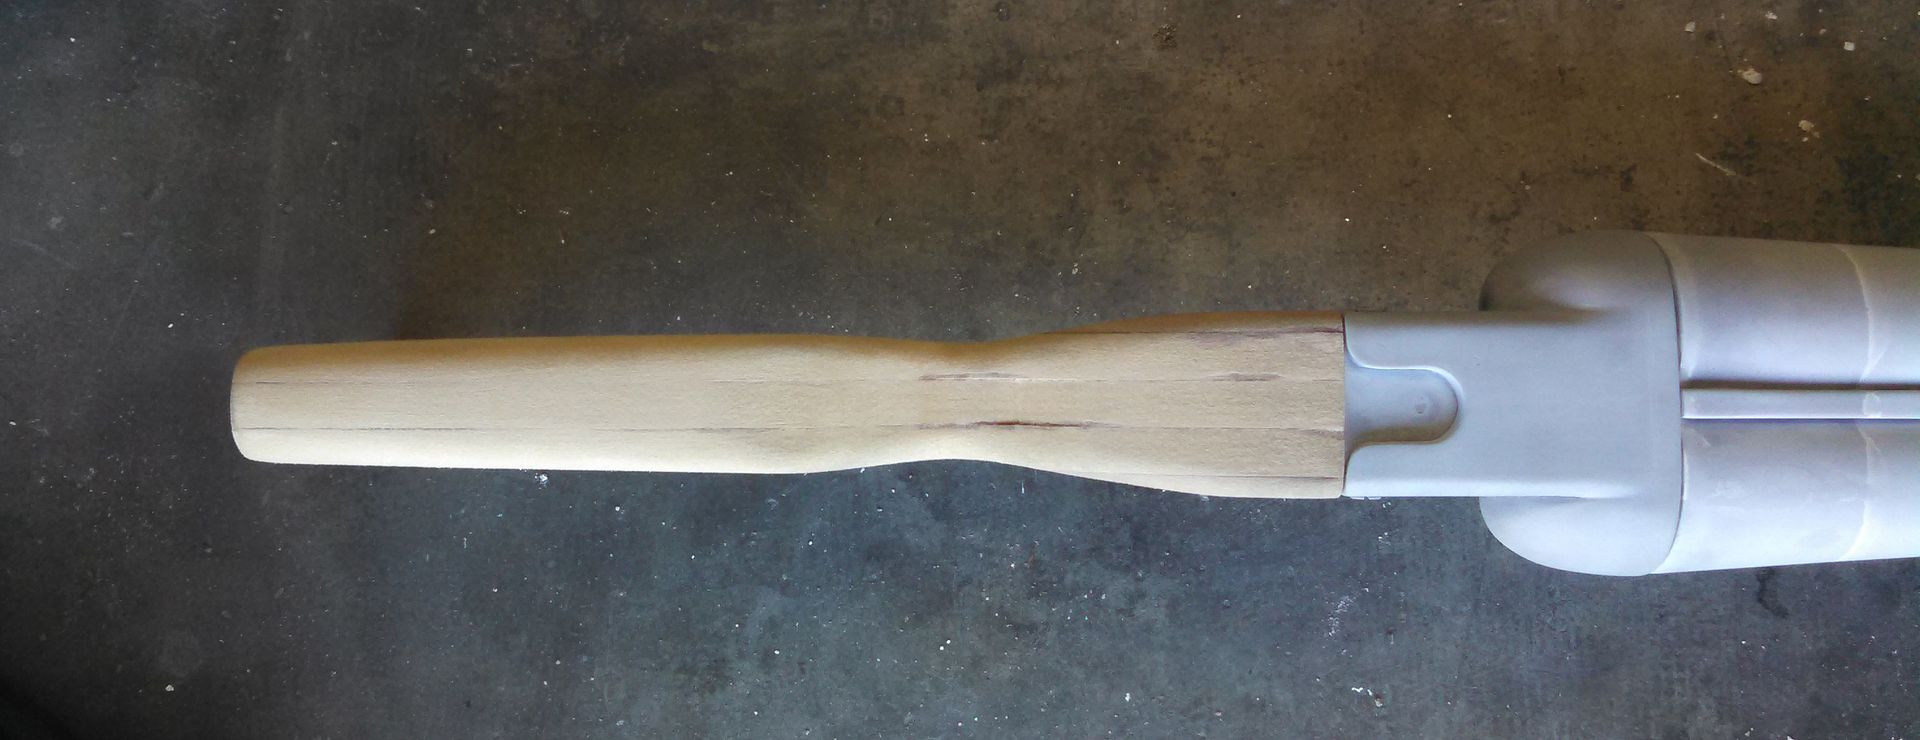
 The stock was rounded out quite a bit more, and came out quite nicely.
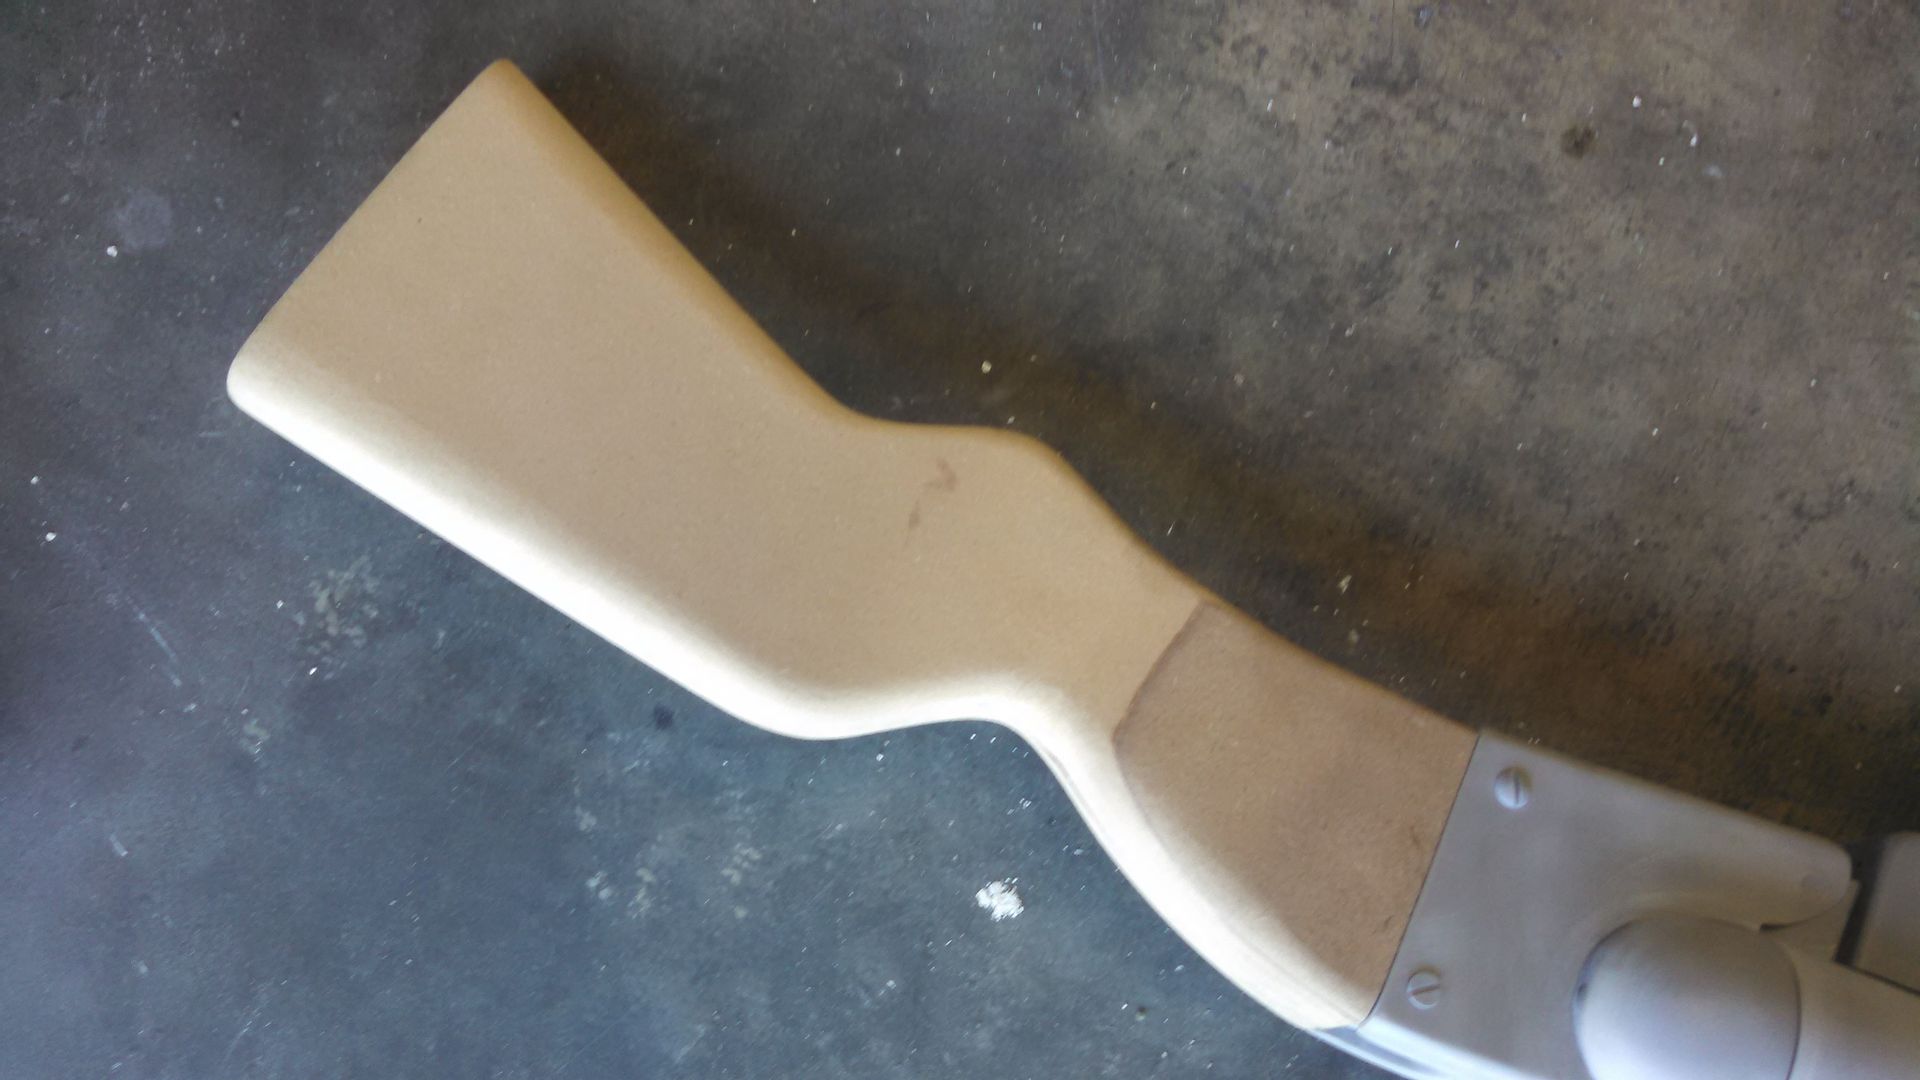


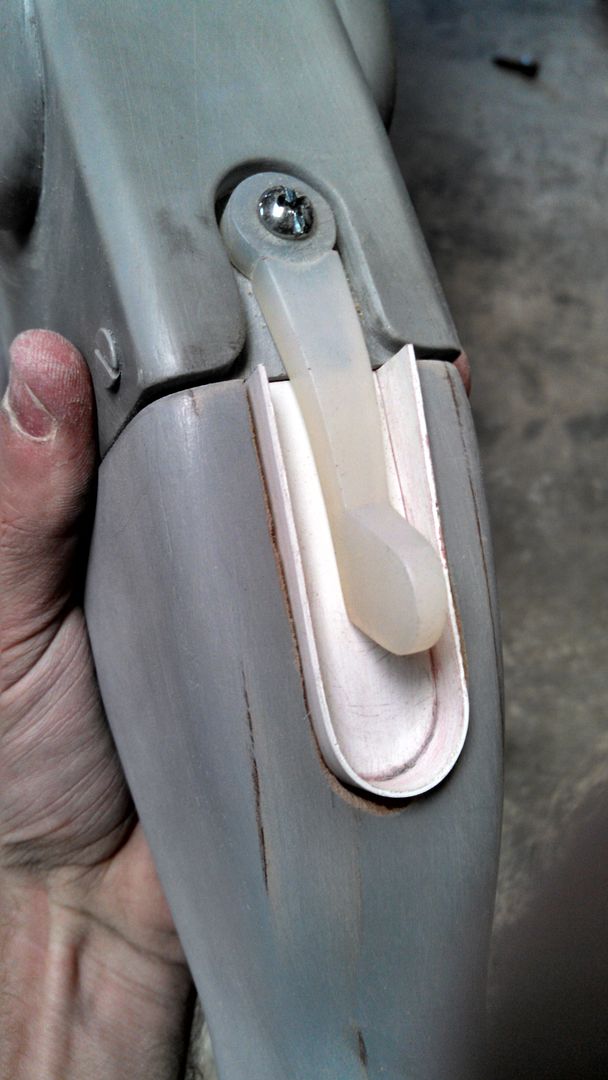
 Last time, I did this insert completely by hand with a Dremel. No idea how I did that, so I made a plastic insert, Dremeled it out, and sanded/filled it flush afterwards.

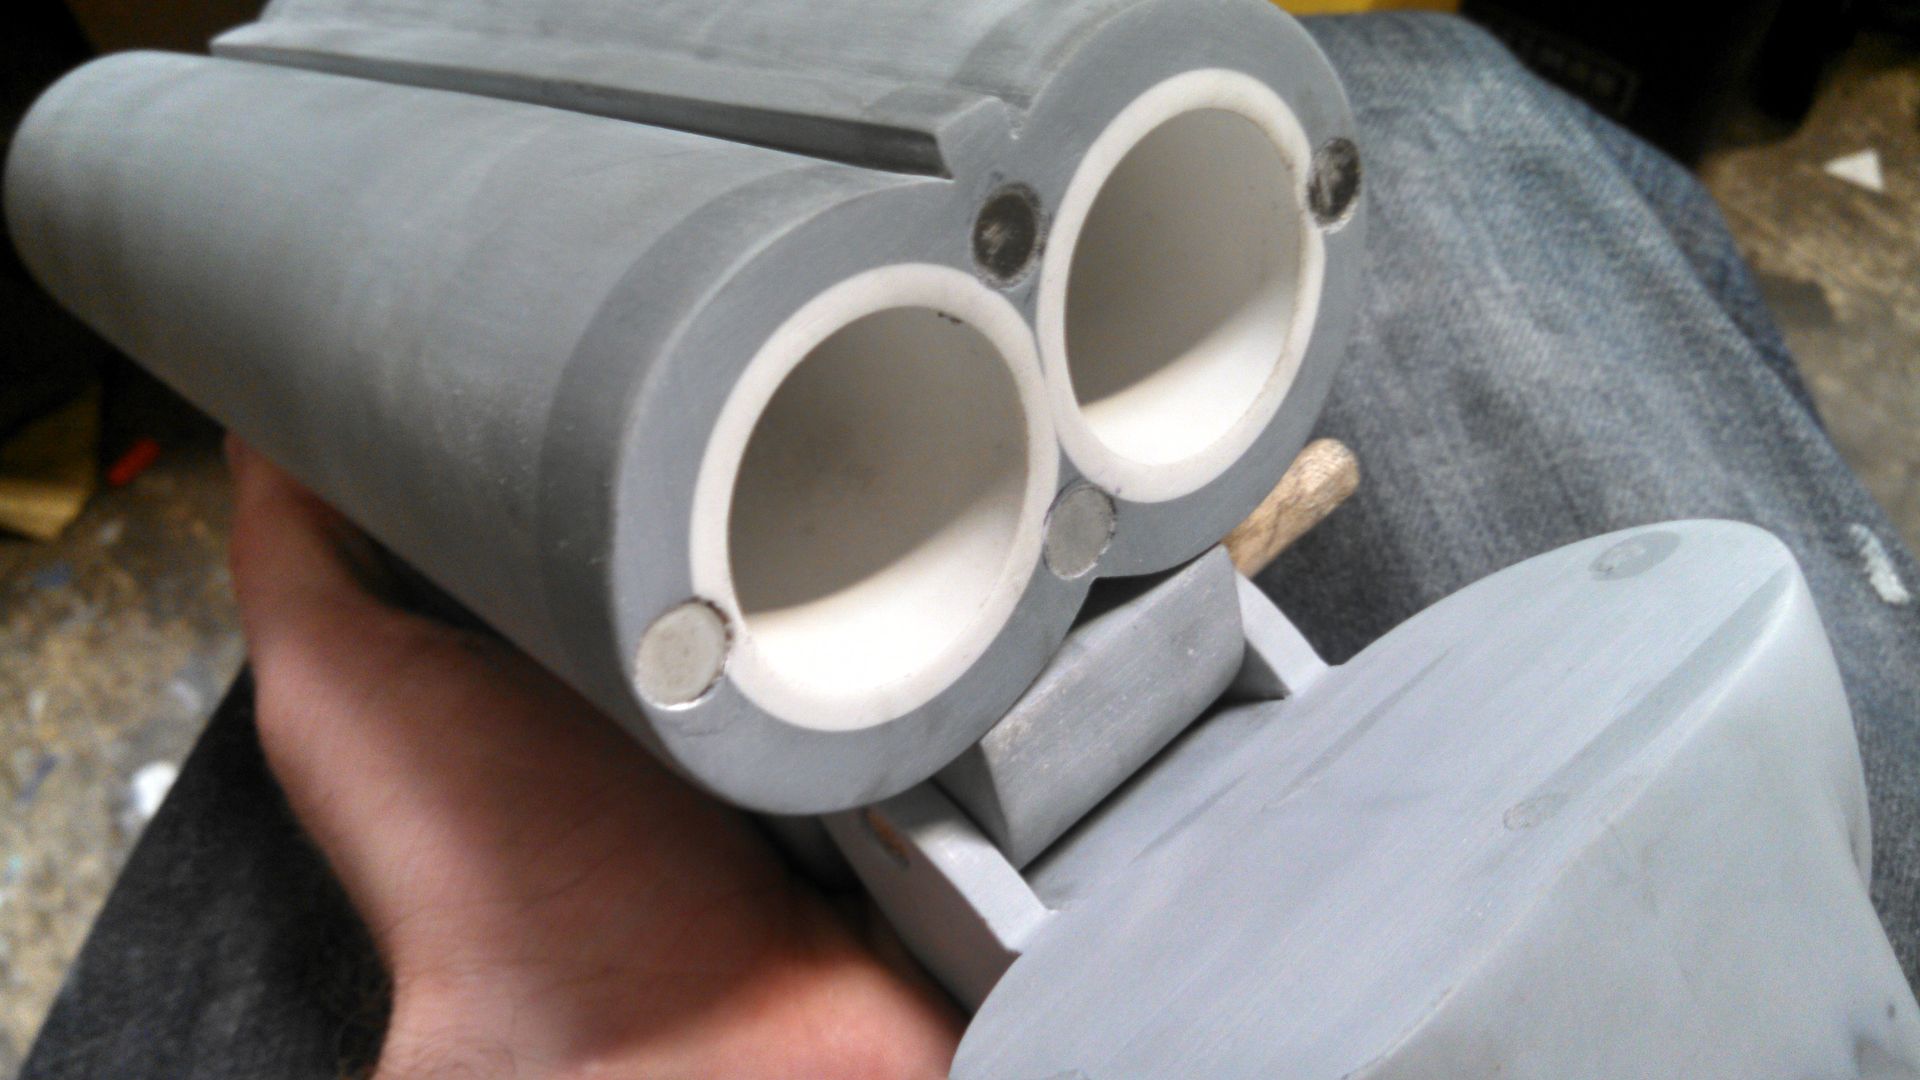
I got the finished stock and trigger guard (No pictures, rushed build. Sorry!) under silicone and focused on the front end. I did the magnet thing blatantly stolen from Volpin Props, just like last time. Getting these perfectly aligned before drilling the holes can be a bit tricky.

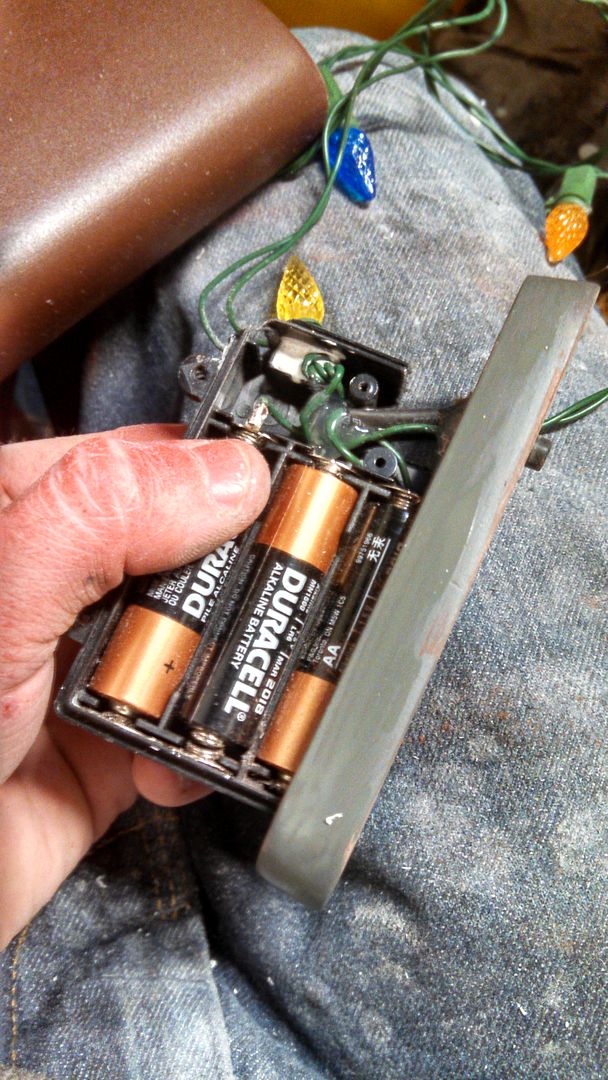
I popped a stock cast out of the new mold, and very very carefully sawed off the buttplate. I glued this switch/battery back to it, so it can slide in and out of the hollow stock. (The buttplate is held on by tiny drops of glue) You can also see here, I cut out the button switch assembly and integrated it into the buttplate. I secured everything with hot glue. I got this portable LED strand from Home Depot for around 10 bucks. I shortened it by about 4 LEDs and it works perfectly.
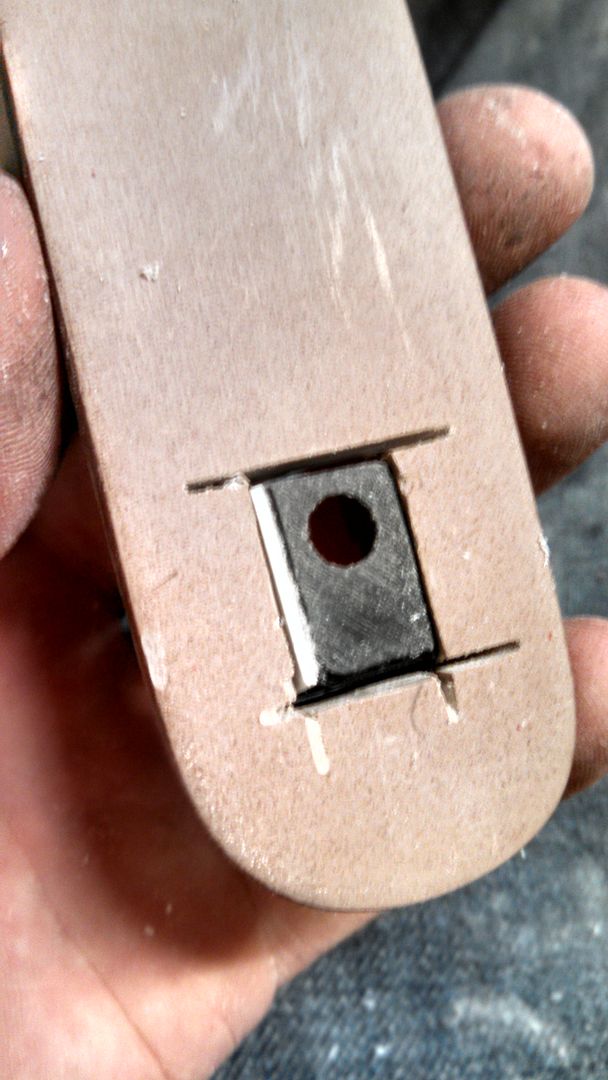
(Like everything) I cut the button space out with a scroll saw and filled the voids with styrene and suerglue.
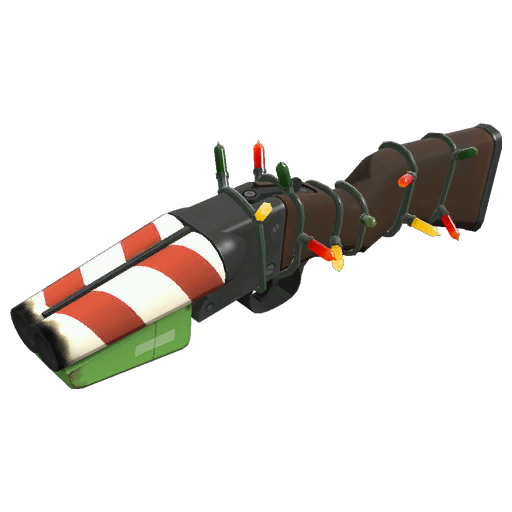
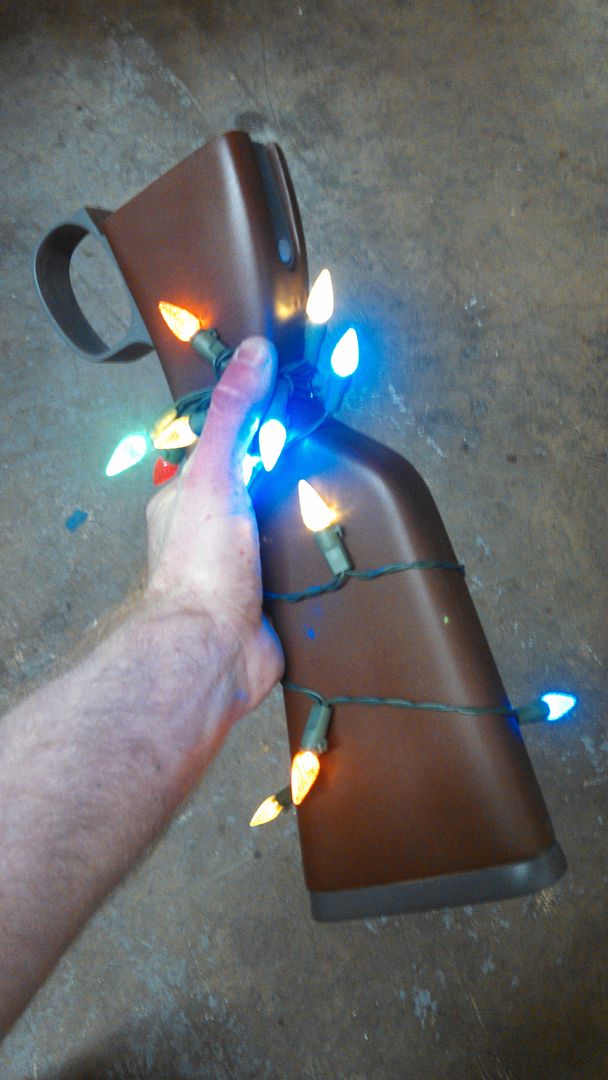
Got the rear end all painted and good to go! I strung the rest of the lights around the prop and stapled the last LED in under the receiver. There are two tiny brass pins that keep the wiring on high spots where the wires want to slide out of place. Here it is before that, where I'm just happy to have lights on a TF2 thingie.


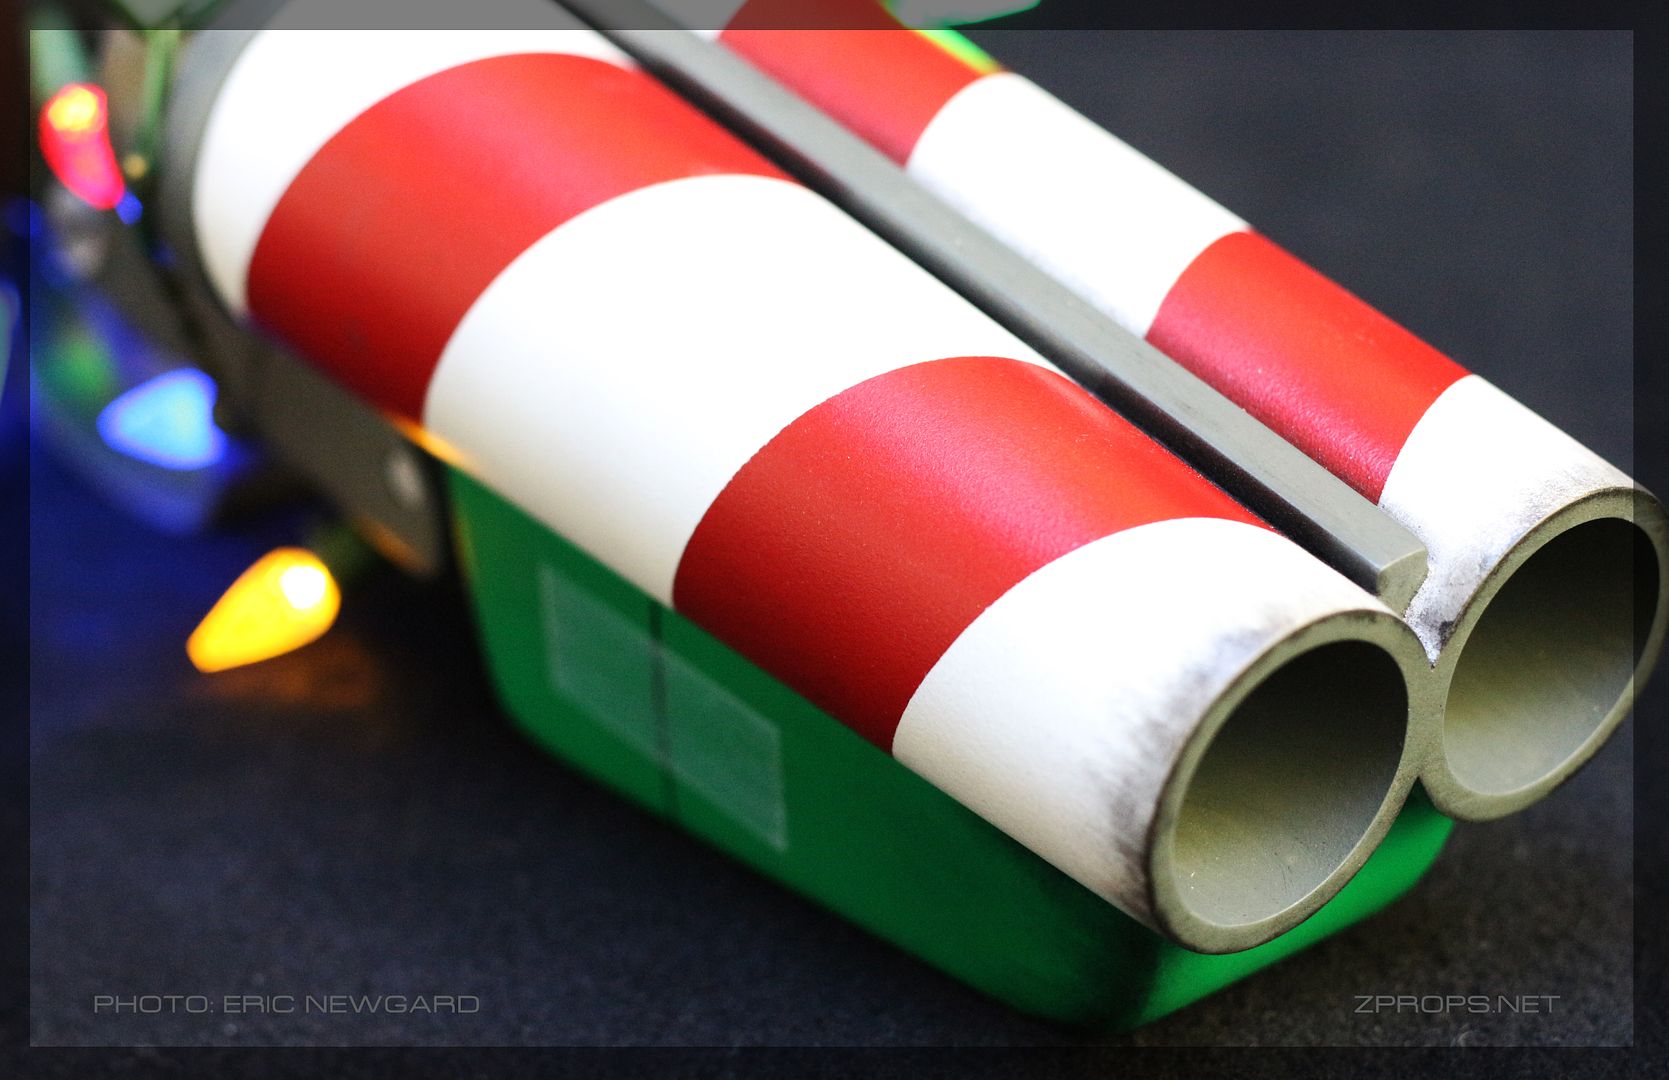
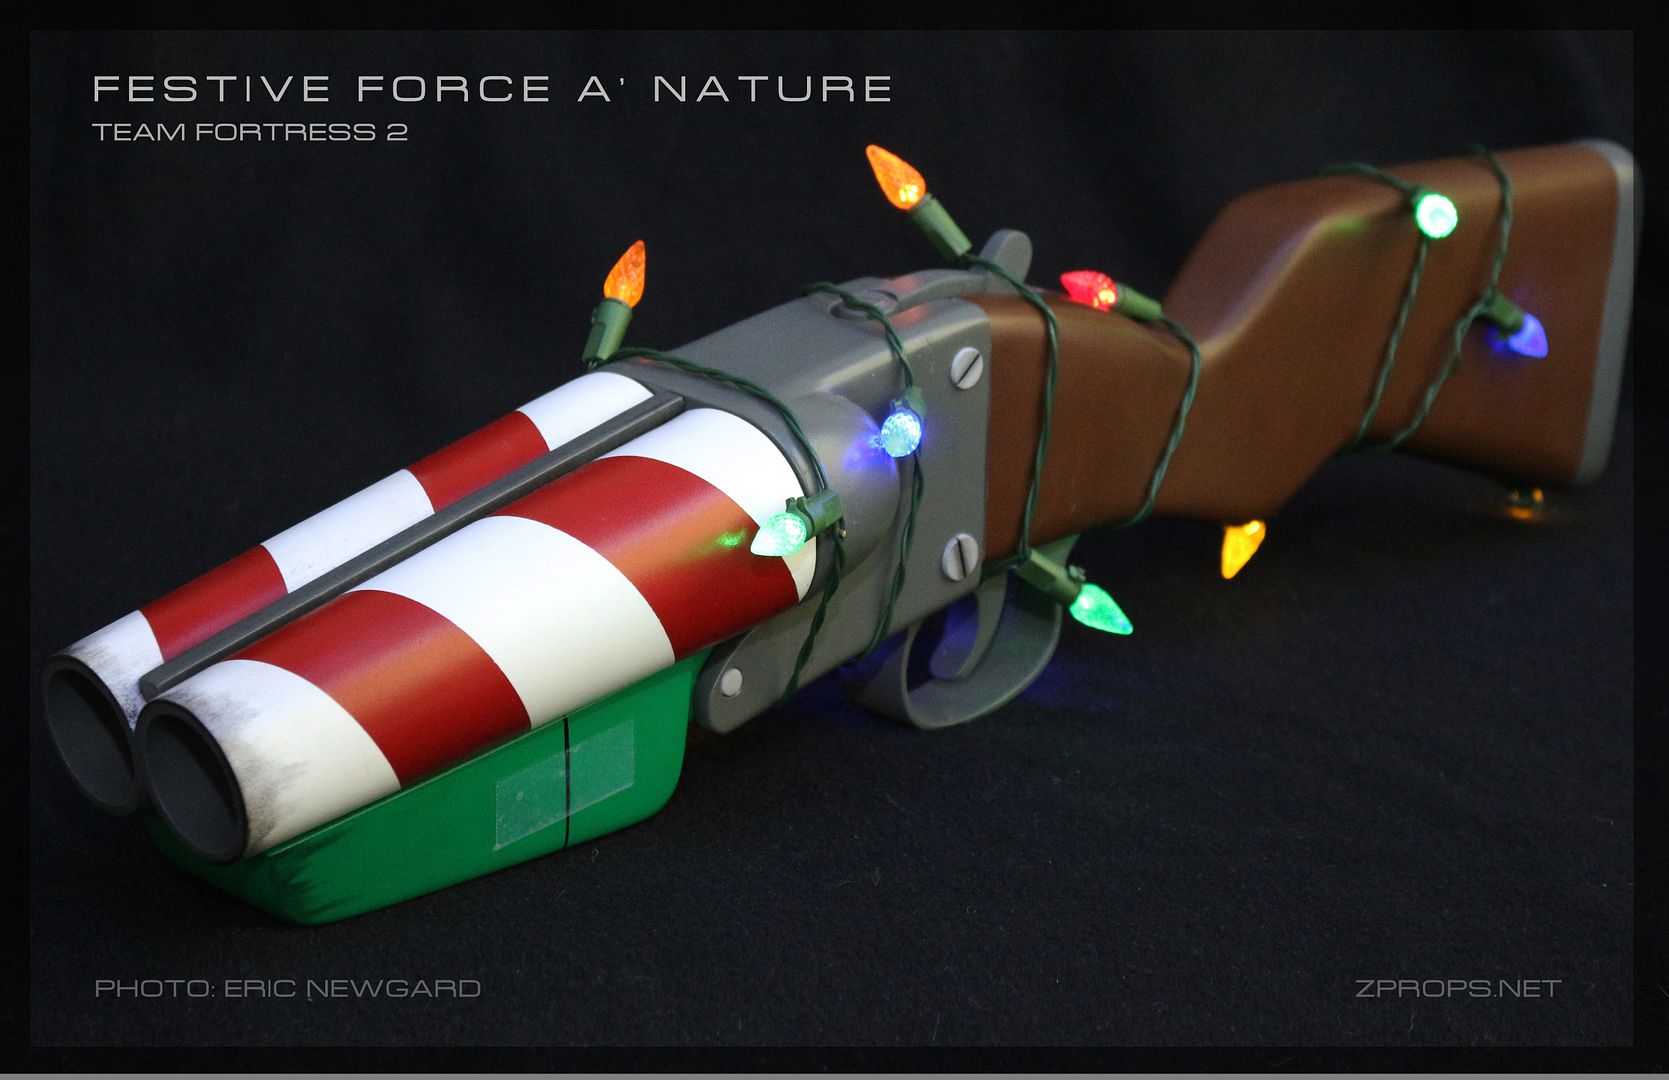
The front end paint job was just simple painting with the white red of the barrels painted first, then the white. This enabled me to just mask the two winding strips on each side, paint, and un-mask. The foregrip is a green color with a carefully sharpied panel line. (This is supposed to represent green wrapping paper on the models) The tape is scotch tape over packing tape. Doing just one or the other was too glossy and less pronounced, or too flat and too bright. This balanced the two. I take my tape details pretty seriously.

Special thanks to Impact Props for the great photos!


More props at the Facebook page, here.

Want one of your own or something similar? Here is a good place to start.

Bonk!


Saturday, April 7, 2012

Team Fortress 2: Scattergun and pistol

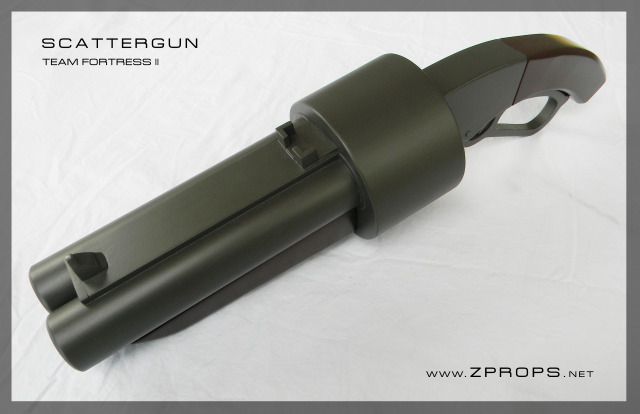
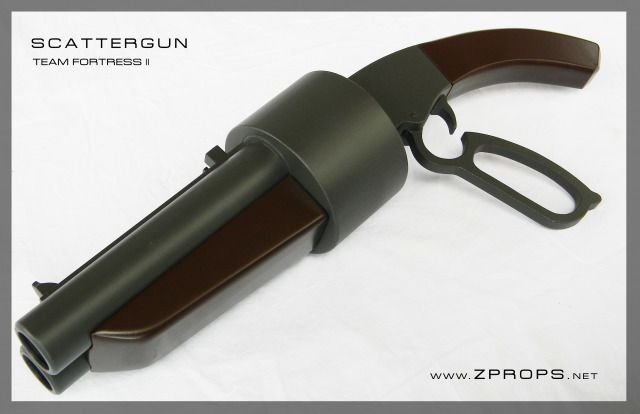
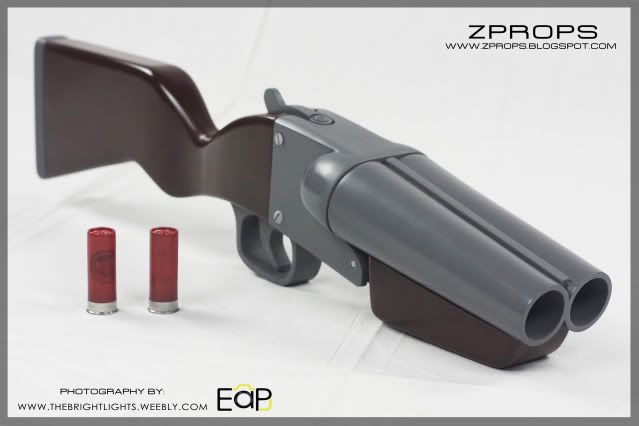
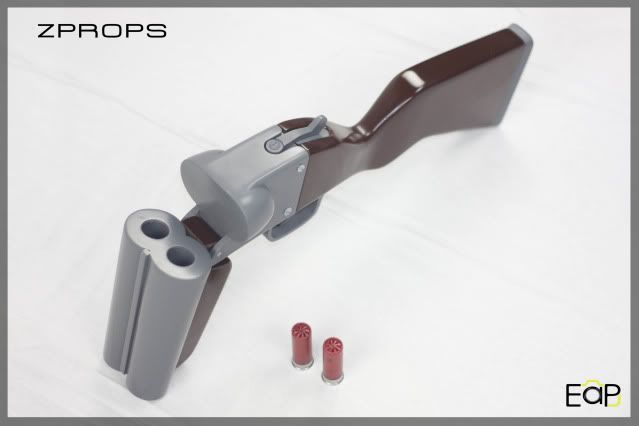
So, Last Halloween was the first time I decided to dress up as a scout for an event. (This is right after I finished the FAN. I was going through a scout weapon withdrawal.  To get my fix, I rushed together a scattergun in one day. It surely wasn't up to my standards (no bevels, sights, and had an incomplete front grip) but it was a hell of a lot faster than making another FAN. The Basic shape is based off of Fev's incredible build of the gun. I didn't make templates for this guy, I simply tweaked Fev's photos into perspective on Photoshop for the views.

Scattergun reference:

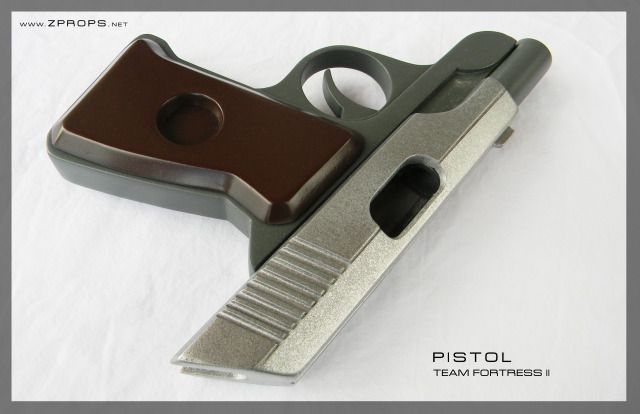
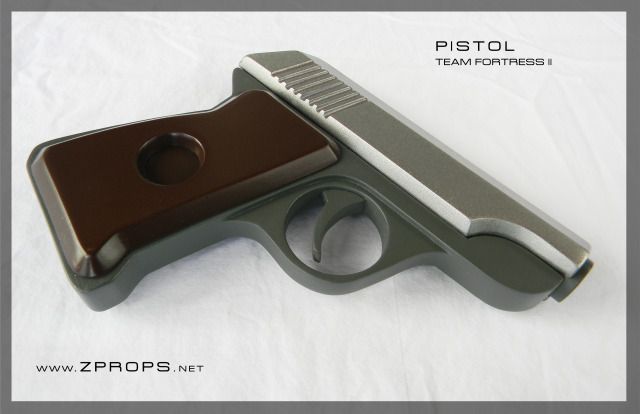
The pistol was originally for a client who backed out. Then it became a personal project! woo! I wanted to do the pistol in a way that had never been done. 

Pistol reference image: (Its the one on the bottom)


Then much later down the road, Wondercon came along, and I decided to finish it up. I decided to go last minute with some new friends, so I dig this thing out of a box and remade the ejection port, sanded the old paint off, added the sights, etc.

Of course I later realized that I was out of grey montana brand paint that I use to paint my TF2 stuff. So flat black had to do for wondercon!

Then Pax East came up, and I had to jump back on this project. I sanded all of the paint off again, did some bondo touch ups, and put new paint on it. I finished the scattergun 45 minutes before I had to leave for my flight to Boston! I finished the pistol the night before. Phew!

Anyways, long story short, This was supposed to be a throw away Halloween prop. Then I polished a turd! I didn't take many progress pictures because I didn't intend to post it when I started it. (The scattergun, anyways. As far as the pistol goes, I simply didn't take a lot of pictures because the changes are so minuscule.)

Pistol beginnings :


Loading ramp for the "round"


Insides of slide halves sanded for a tight fit around the barrel.


To the Scattergun!

Barrel slots


6(?) mdf circles laminated together


Spring loaded cocking handle!


Grip Parts


Primered handle assembly


Moaaar primer. New sights!


Sanding off the paint from the quick Halloween job. 


Final Pictures:


On top of the moving slide and open breech, this thing can take a magazine loaded with inert .45 rounds. I was inspired by Mike Iverson's earlier gun builds. 


The couple. I love how this picture came out. (above)


If you like my work, please please follow me on facebook! I have WIP photos quite regularly now.

for high res desktop photos, a select few of my photos are hosted here: http://zanderwitaz.deviantart.com/

Lastly, I just launched my own website/domain. Check out www.zprops.netwww.zprops.net for a summary of my projects.

Bonk!
Sunday, March 4, 2012

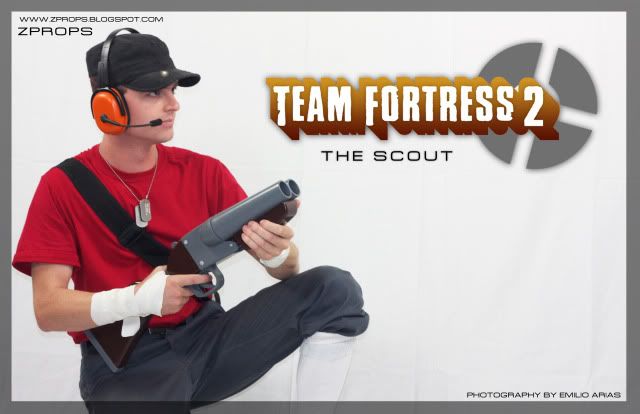
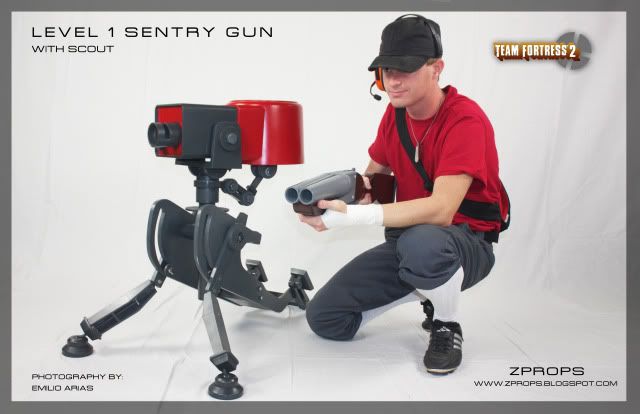
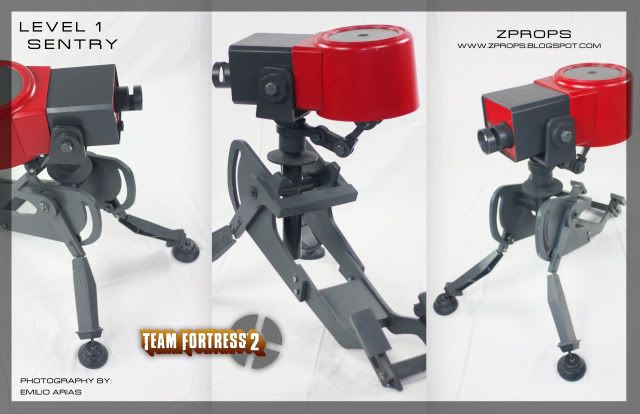
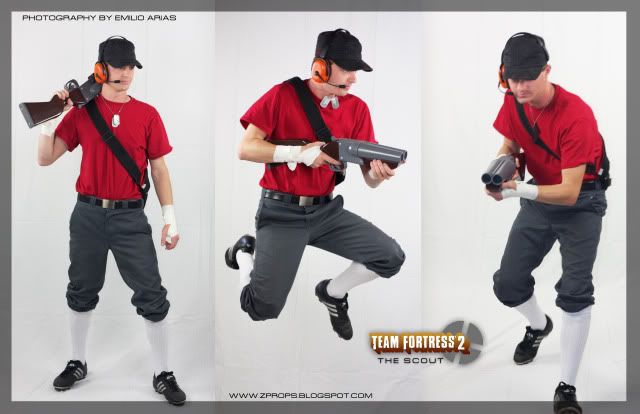
Team Fortress 2 Photoshoot

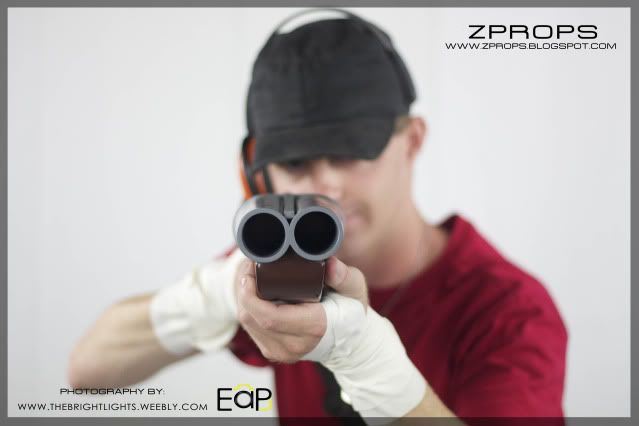
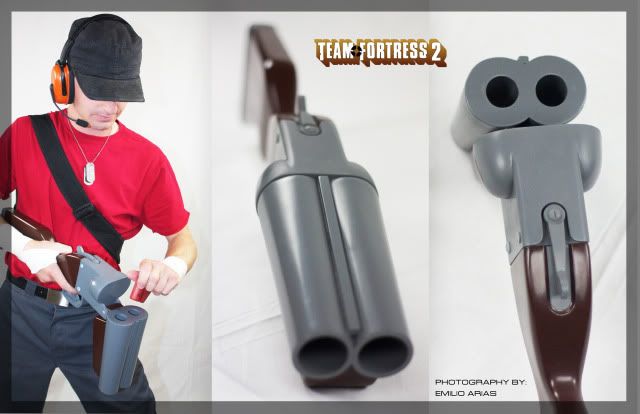
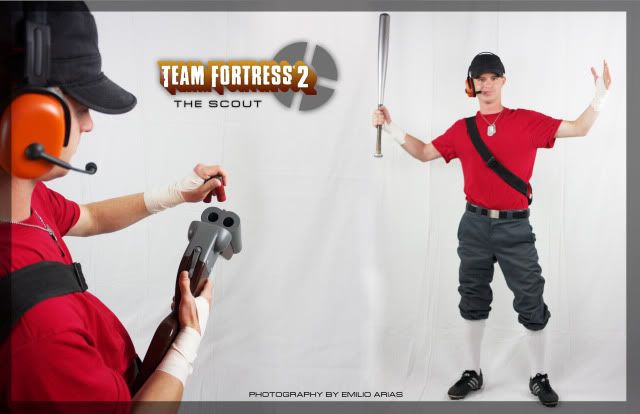
I've been working as a designer full time lately, so I haven't been able to expand on my props much. These are some photos that cross over between my FAN, level 1 sentry, and scout costume. I went back and added them into their respective postings, but feel like a new post would give them the light they deserve. (thanks to my awesome photographer, of course) A lot is "old" and some is new.

I've been at starbucks for hours editing photos for my portfolio as well as my photographers. (I went back and added some final  M29 photos, and M96 photos. you should check the out!)

Anyways, In case you didn't know, This cosplay is based off of the TF2 scout. And yes, the headpiece is scratch built as well. (MDF, of course.)

here he is in his original glory :     (followed by me being a geek)


Some of these are available on my deviant art in hi-res for desktop photos
http://zanderwitaz.deviantart.com/

And another big thanks to Emilio Arias for the pictures.