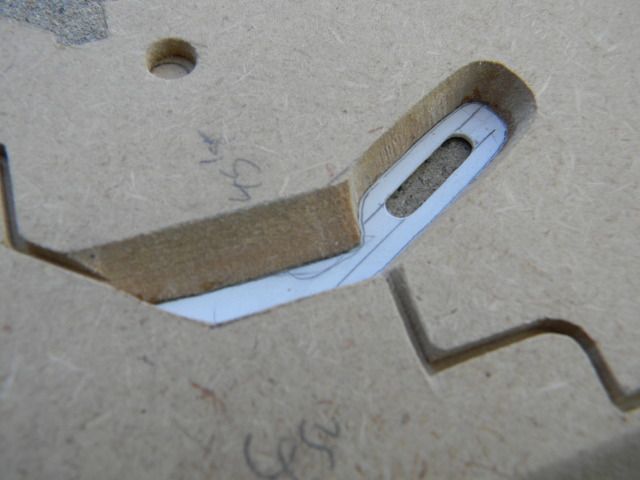
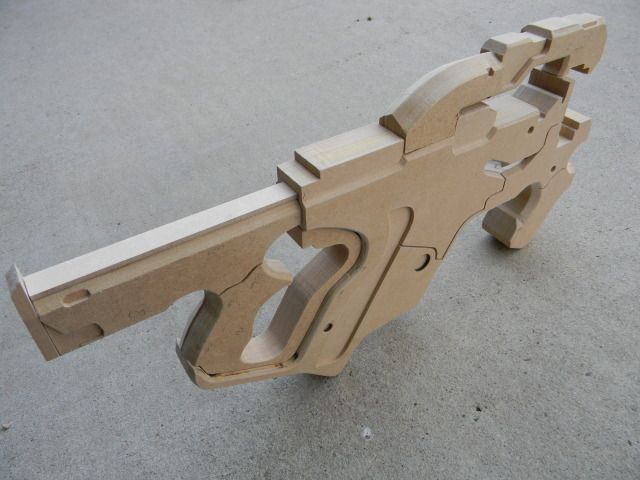
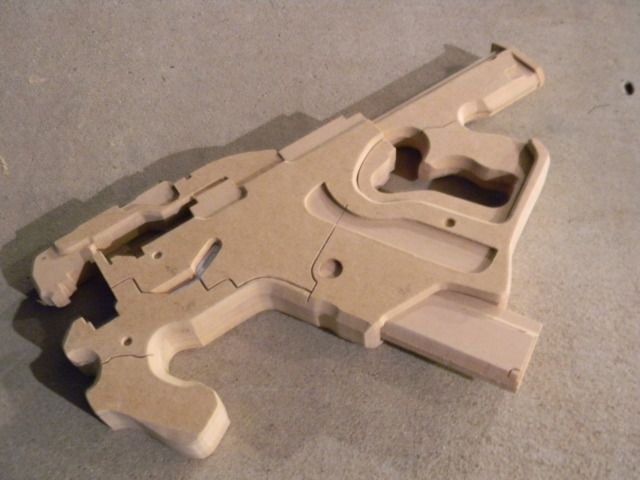
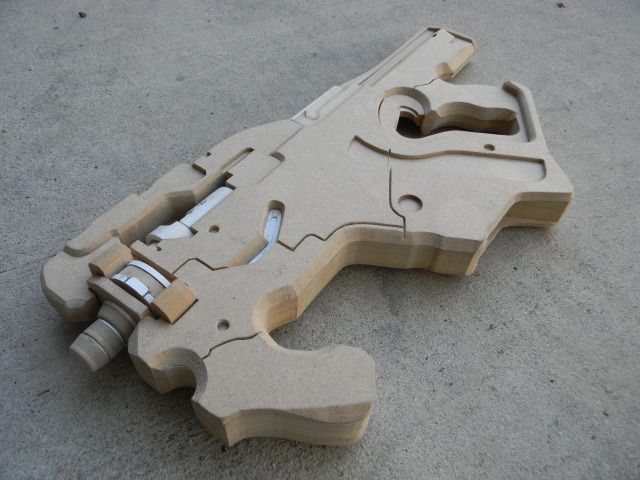
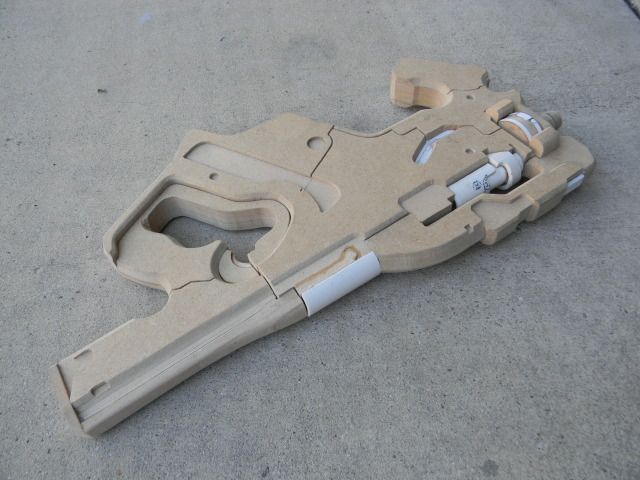
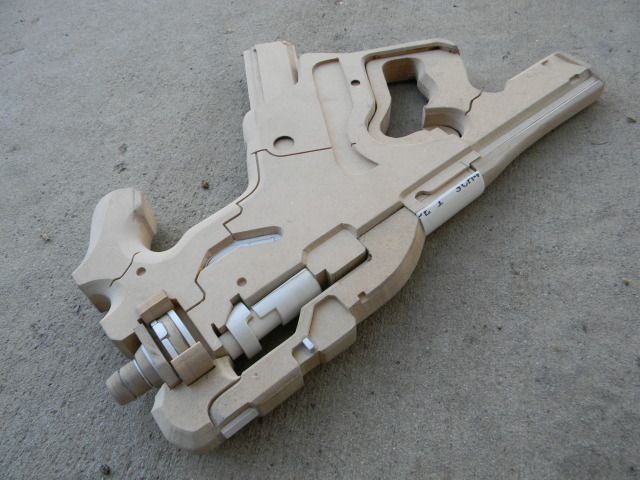
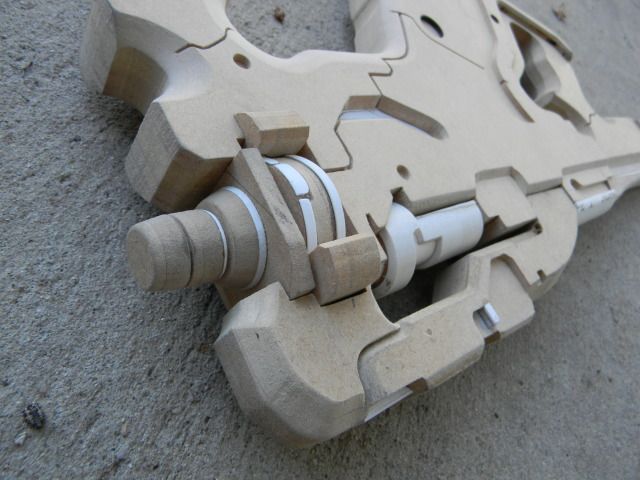
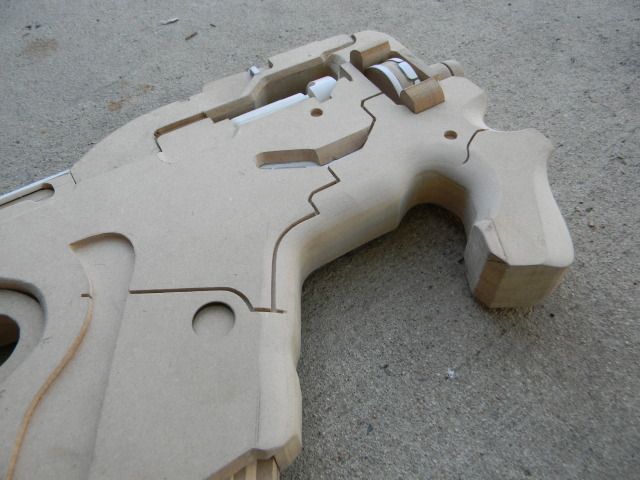
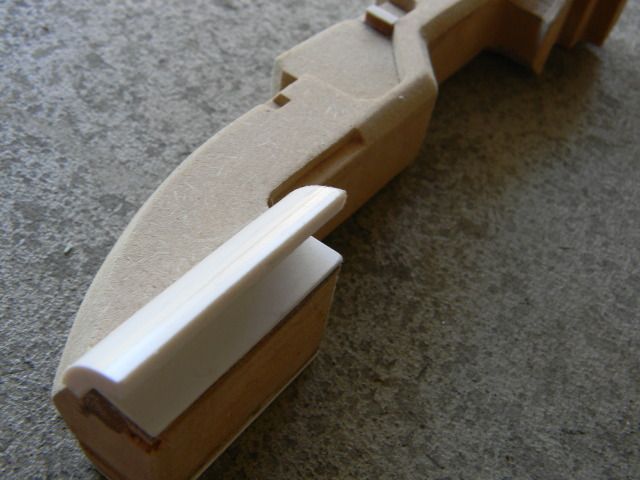
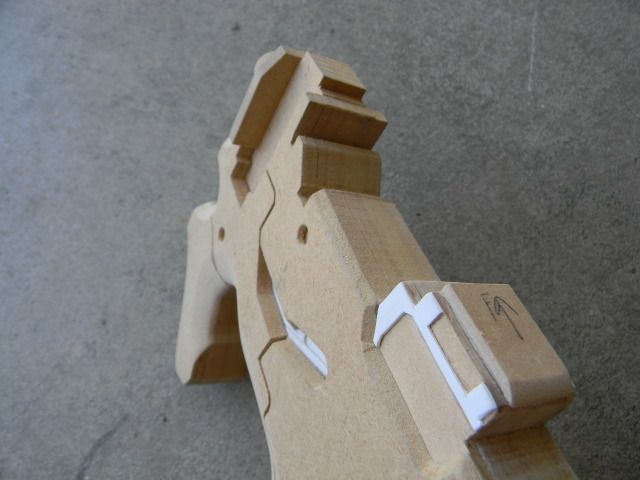
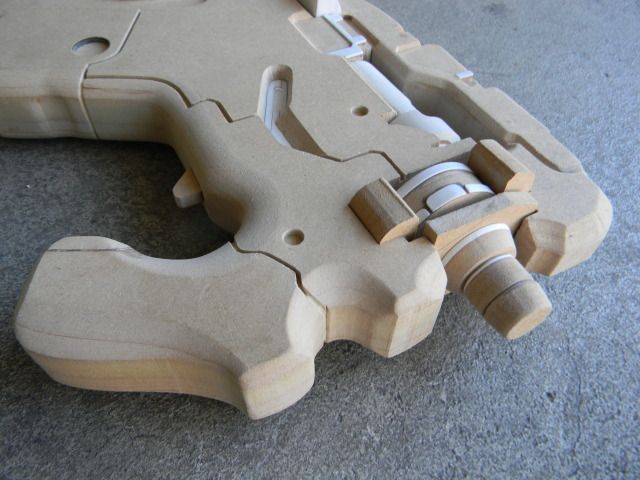
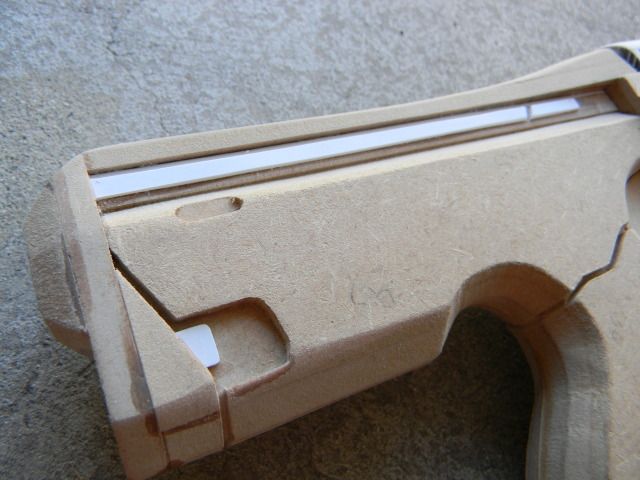
Here I break down the process of pinning the swingarm, and the optional process of making a track for the swingarm to stop. (Alternatively you can just build it in the closed position with just about no effort what so ever)
Why didn't I just incorporate this into the kit you ask? Because resin nubs and cuts just aren't strong enough or precise enough to support this kind of action on this revolver. The game action runs on magic, and if I made the action like they did it in the game the cylinder would hit the bottom lip almost immediately and would never open. Thus, a new swingarm location and design had to be invented to preserve accuracy.
First, take the swingarm and sand it down a bit. The swingarm is cast from an open faced mold to save time and cost, which means it wont be perfectly parallel on both ends. You'll want to flatten it out a bit, and if anything, sand heavier on the side that points to the inside of the gun. I sanded mine on a piece of 220 atop a perfectly flat, machined surface.

You'll want to test the alignment with the cylinder. I inserted the
cylinder pin through the opening, and lightly coated the end of the pin
with super glue and let it dry. This gives the pin an extra snug fit
into the swingarm. DO NOT glue the pin into anything at this point. This simply tightens the slack for test fitting. You might want to lightly sand the opening if you want the cylinder to spin more freely.

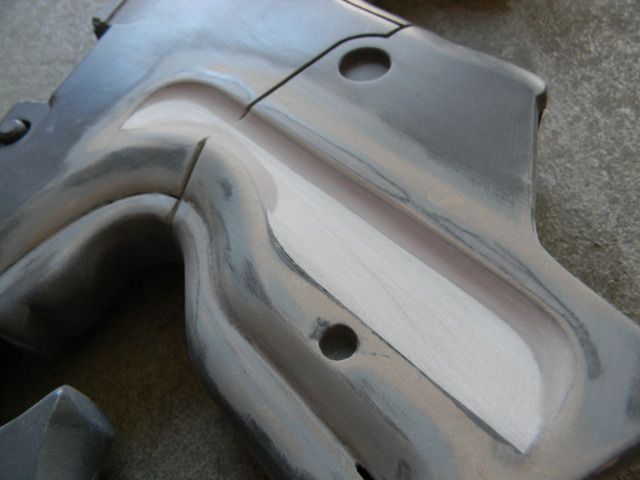
Hold the swingarm flush in its place and see if you like the alignment. Adjust accordingly with sanding. Then, draw lines in the
same locations pictured here (the pencil lines are small and a bit shiny
so they're hard to see)
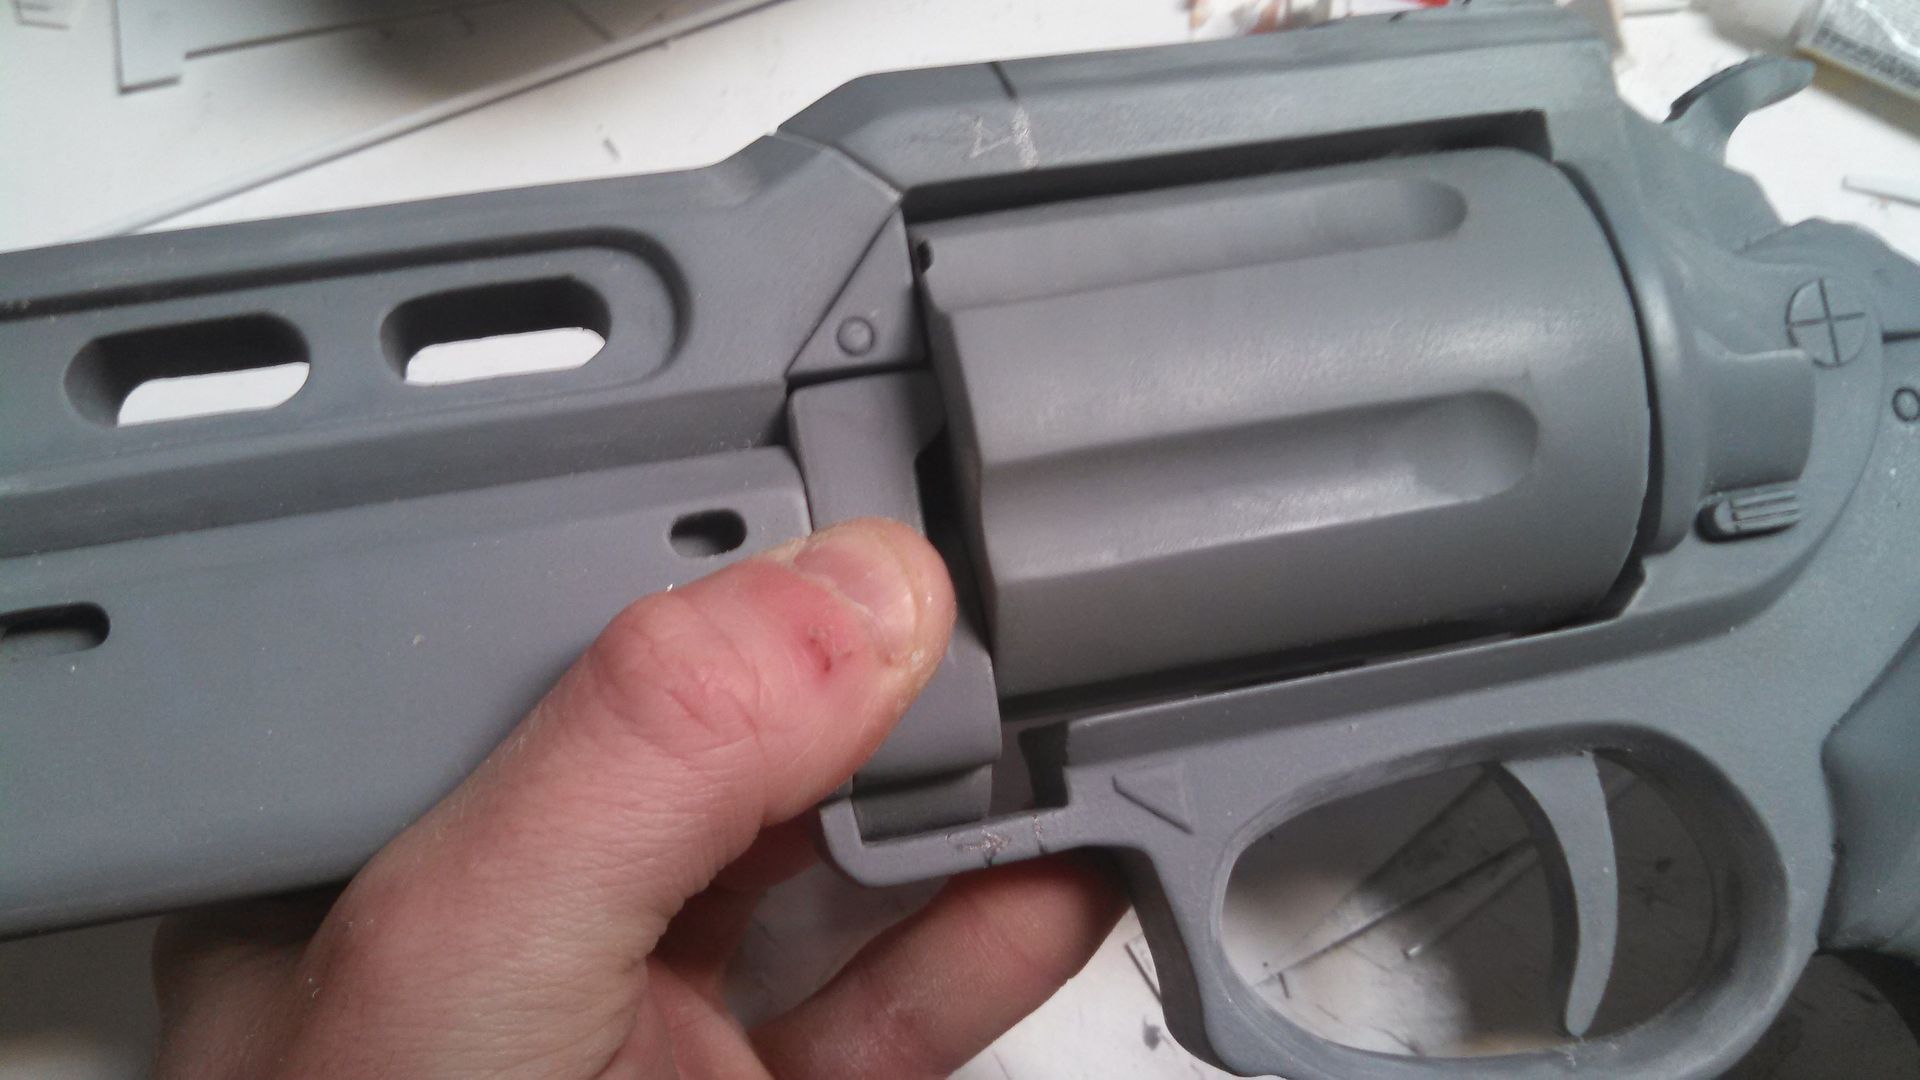
In this next step.... hack it off! you can use a scroll saw, exacto saw,
jewlers saw, etc just make sure the blade is thin. The bottom location
of the cut is critical. The top one has more flexibility. You have to cut this because there just isn't a way to drill the proper holes otherwise.

After you're done crying/freaking out for a bit, put a drop of glue down under the swingarm. This will hold it in place for drilling, but you can still pry it off with little/no damage afterwards. Glue this thing down as low as possible. you want the gap to be towards the top of the swingarm, not the bottom. (I made this mistake and now it rubs a little when the cylinder pops out)

Set up for drilling. A machine vice/drill press makes it easy. Use what
you can, but if you do it with a hand drill/dremel don't expect precision
results.

This is the "pin" I used. I think its something like a 16D nail. All I
remember is it is 7/64" in diameter. I roughed up the ends so that the
glue has a batter chance of staying. I used a cut-off wheel for this. I ended up cutting about 3/8ths off the end because my drill but wouldn't go that deep.

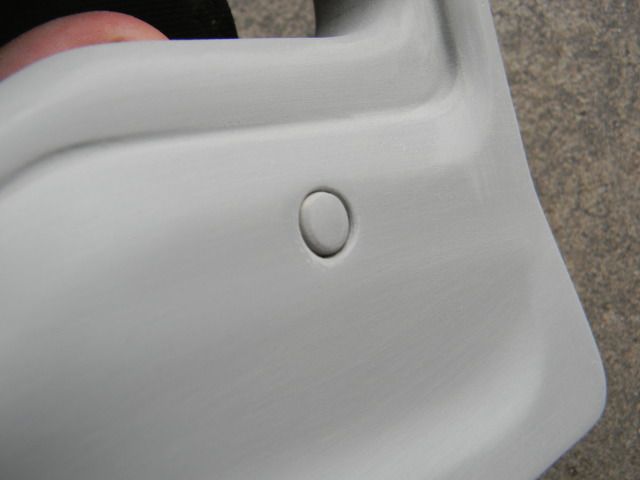
Here is the location of the hole. The drilling melted/cracked the receiver a bit, which is somewhat of a good thing as you'll see later. You don't want to crack the swingarm though. That piece is rather important.

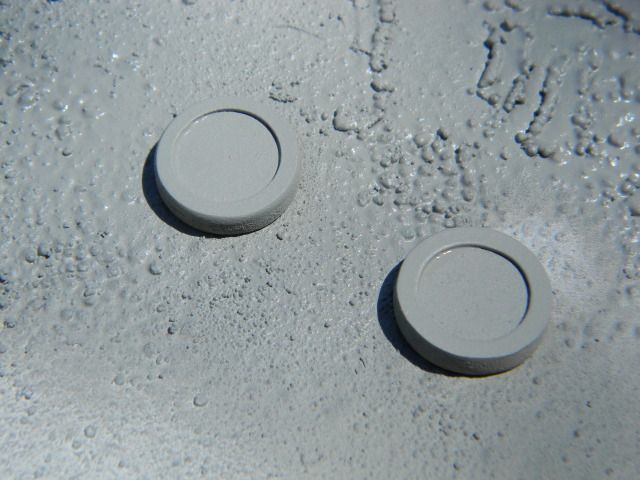
There's a couple of things we need to do before gluing the swingarm pin. One is dealing with the magnets. If you want your chamber to stay closed, you'll need magnets to do so.
This is the upper backside of the swingarm. One of the magnets goes here. (You'll have to pry your lightly glued swingarm off of the receiver) After you drill the hole at the appropriate size and depth paint the area around the hole with some acrylic. Then temporarily put the pin in, swing it closed, and it will "stamp" the location of where the other magnet needs to go. I'll let you figure that bit out.

Where were we....ahh, the whole pinning thing. Its important to make room for the head of the nail. It needs to be flush with the swingarm surface, or the cylinder will not be able to rotate. I started drilling a concentric hole with a larger drill bit, then I cleaned it up with an exacto. I'm told they make special drill bits for this, though.

If you dont mind the swingarm moving out really far (this is technically accurate to the game model, but I still don't like it) then you can glue the pin in place at this point. If you're going to do the optional part below, DO NOT GLUE THE PIN. Simply dry fit it in place.
OPTIONAL BIT
It bothers me how far it opens, and just doesn't look as cool as stopping mid-swing. Also, the power cell would hit your hand on the way out if you left it the way it is in the game. I decided to make a "track" and a stop.
I drilled a hole for a smaller nail at this location through the swingarm only.

I pressed the nail down through the hole (Dont glue it) while swinging
the swingarm open to the point where I wanted it to stop. I did this
several times until it started scraping a thin path. Then, I ground of a
little bit more of the nail tip and repeated the process until I got a
relatively shallow and wide groove. I sanded it carefully using a folded edge of a sandpaper scrap.

Resin is a relatively soft material, and dragging a nail across it will
eventually continue "scribing" the track. then it will start opening
further than you'd like over time. To put a stop to this (Pun intended) I
drilled another nail location at the end of the track.

I glued the nail in place and used a cut-off wheel. Now I have a metal stop which should last forever.

I glued the smaller nail in place, with just a nub sticking out to guide
the swingarm through the track.
END OPTIONAL BIT.
Then I glued the main pin. (Easy on the glue. You don't want this overflowing and gluing your swingarm in one place! I then dug out the cracked/melted portion of the receiver from before. This is a good thing.
END OPTIONAL BIT.
Then I glued the main pin. (Easy on the glue. You don't want this overflowing and gluing your swingarm in one place! I then dug out the cracked/melted portion of the receiver from before. This is a good thing.

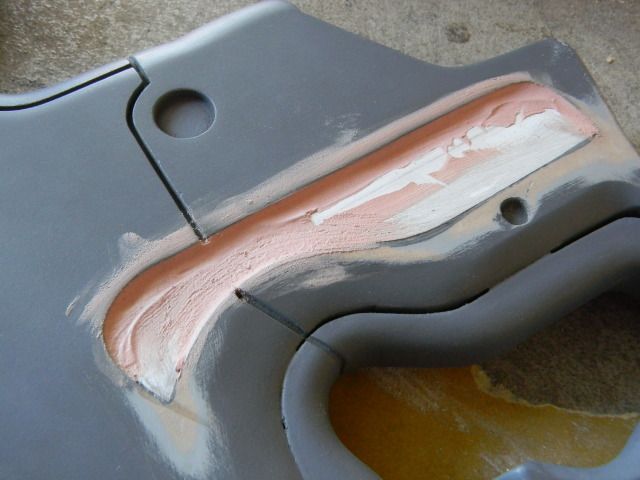
I carved it out until I hit the nail. Then I put some super glue in the hole and sanded the surface around it so the resin dust falls into the hole. Then more super glue, and more dust. This not only fixed the cosmetic flaw that drilling caused, but strongly reinforces the textured pin with a superglue/resin concoction.
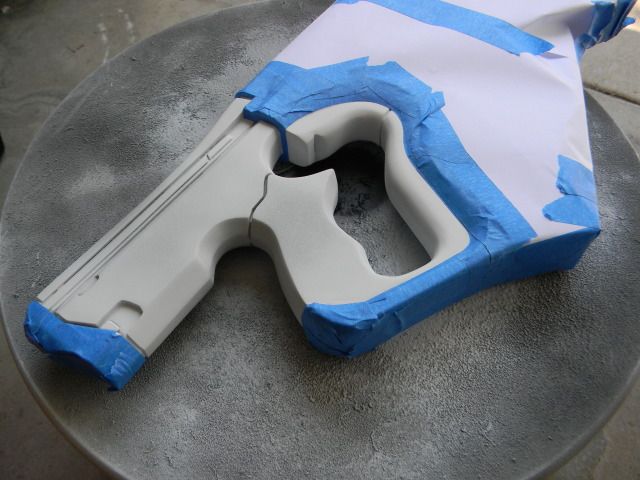
Almost done! Glue the receiver halves together. I would glue the top first, and then the bottom. I still wouldn't glue the cylinder pin in place until after you have painted everything.

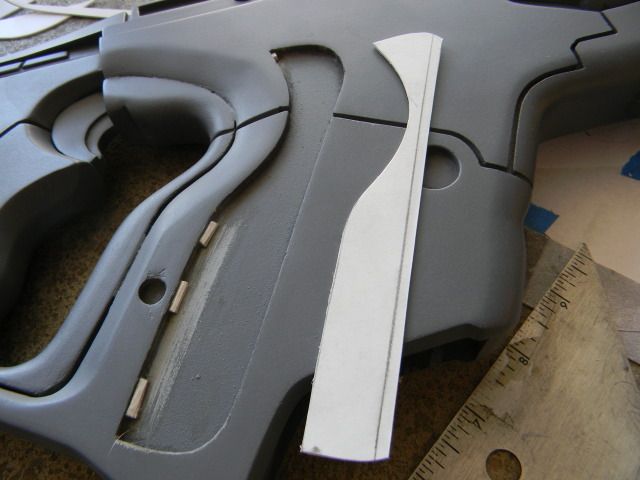
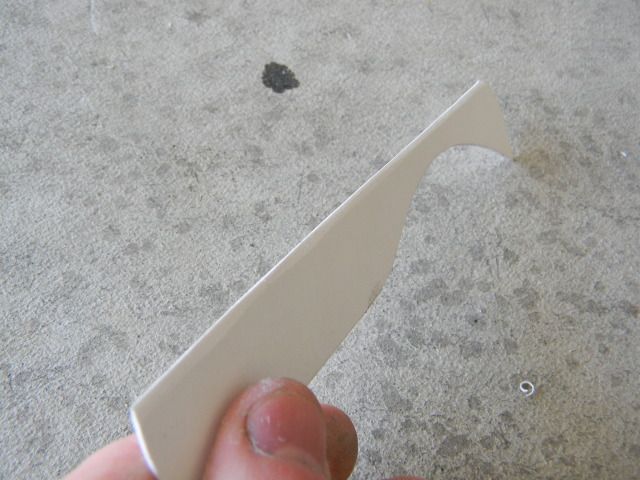
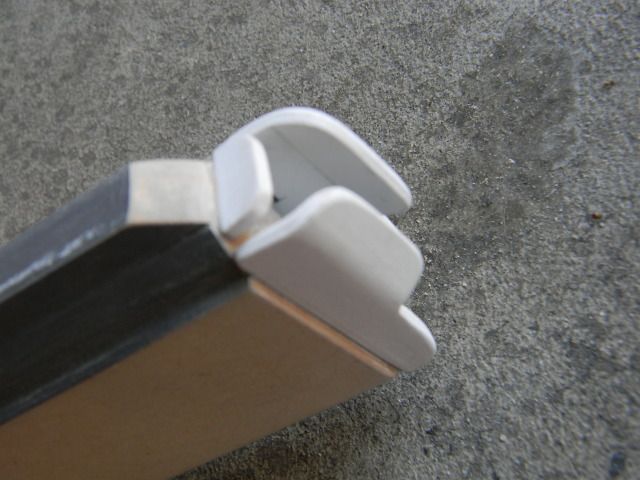
The teeny tiny piece included with the kit is called the "swingarm
stop". I designed it so that you can sand it down a bit and sandwich it
between the swingarm and the tiny nook in the receiver designed for it.
This helps keep the swingarm tight and aligned when closed, but also
reinforces the tiny joint at the bottom where we cut the receiver in
half. It mimics the shape of this section on the receiver.
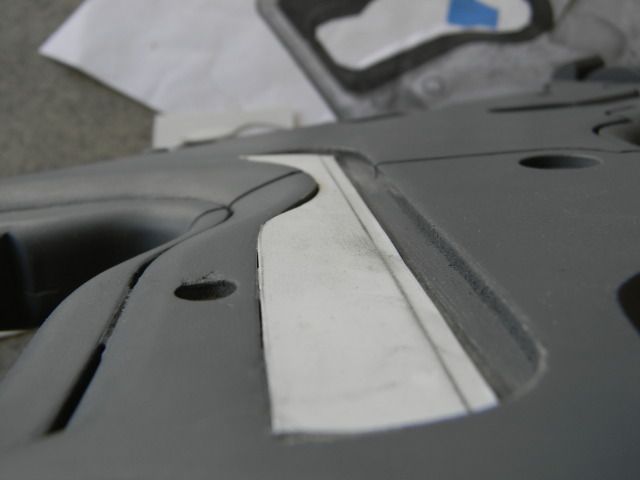
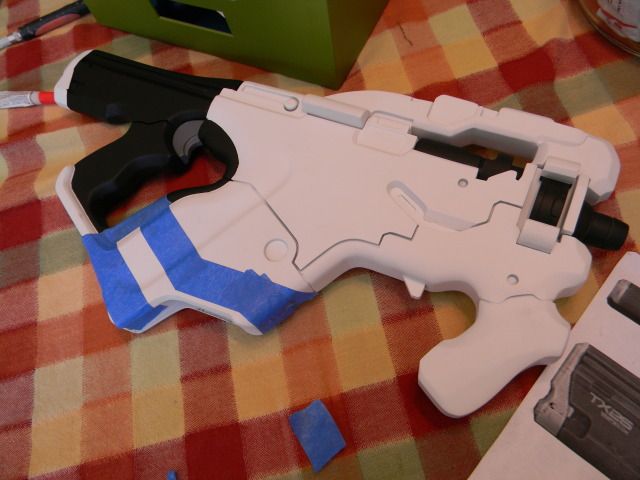
Here's mine glued in place. Don't mind the black paint or if my swingarm looks different than yours. I was working on a cosmetic conversion at the time.
Here's mine glued in place. Don't mind the black paint or if my swingarm looks different than yours. I was working on a cosmetic conversion at the time.

If you did this conversion, congrats! you'll never stop flicking it open and closed. I promise.