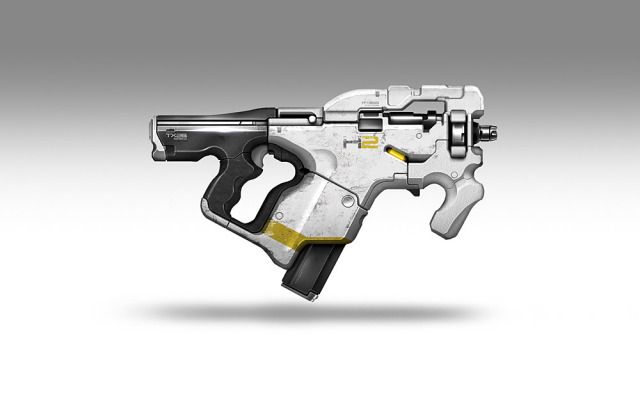
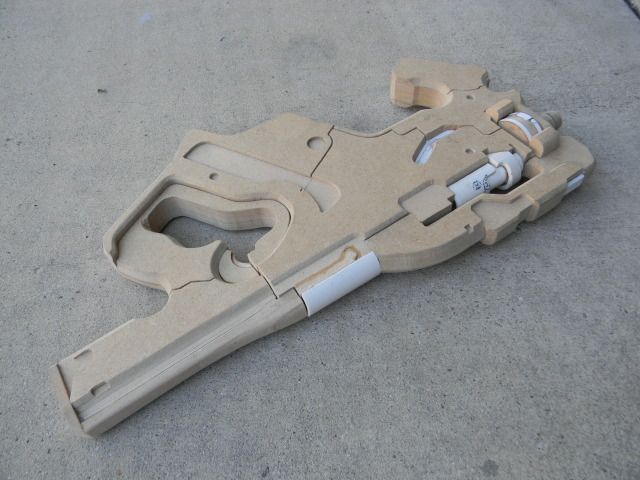
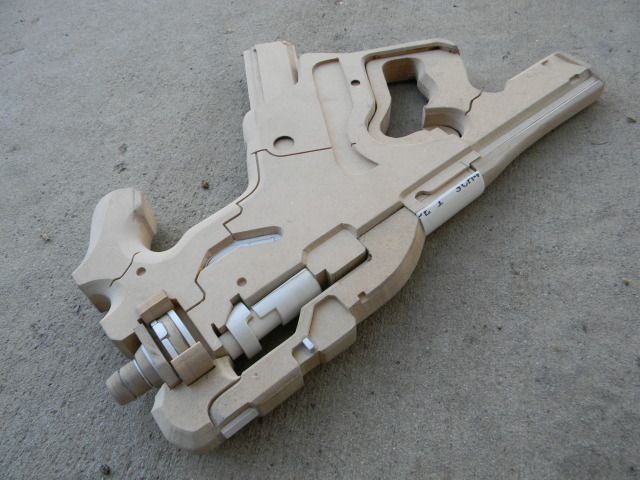
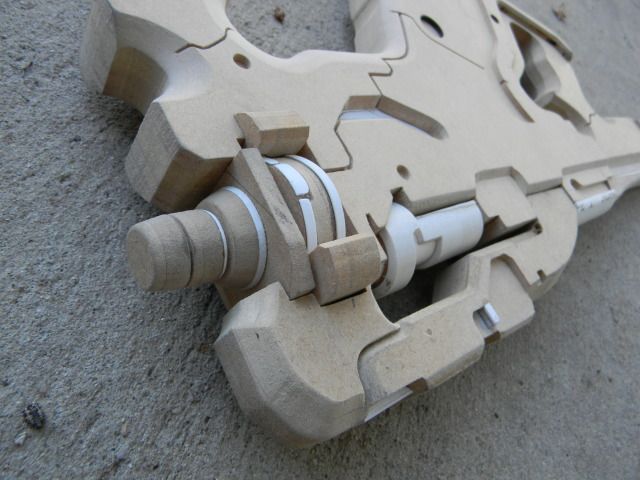
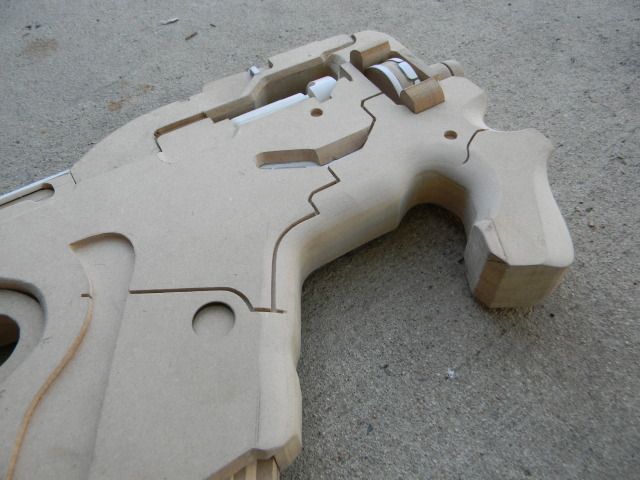
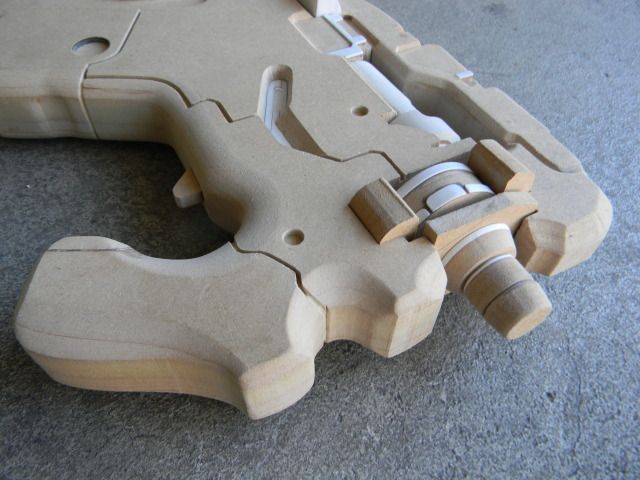
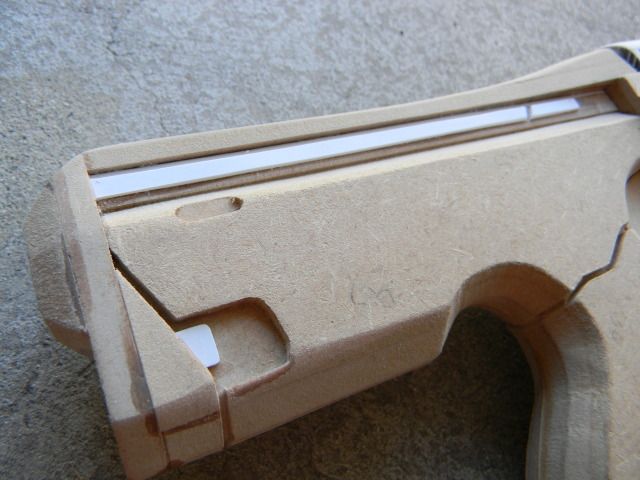
This will be my 6th completed Mass Effect gun build to date. The N7 valiant. I decided to go with the short barreled version you see in the game, rather than the long barreled version on the back of the Mass Effect 3 cover. I also opted to make a few changes that don't exist in the game model, and wanted to give it a stealthy, dark look to it since it is an experimental weapon.
Here's a picture, try and spot the changes by the end:
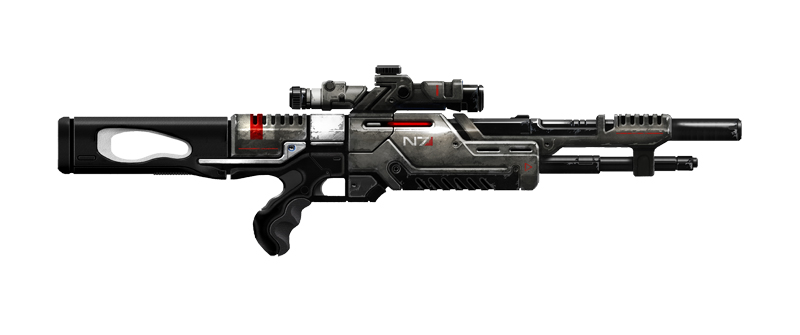
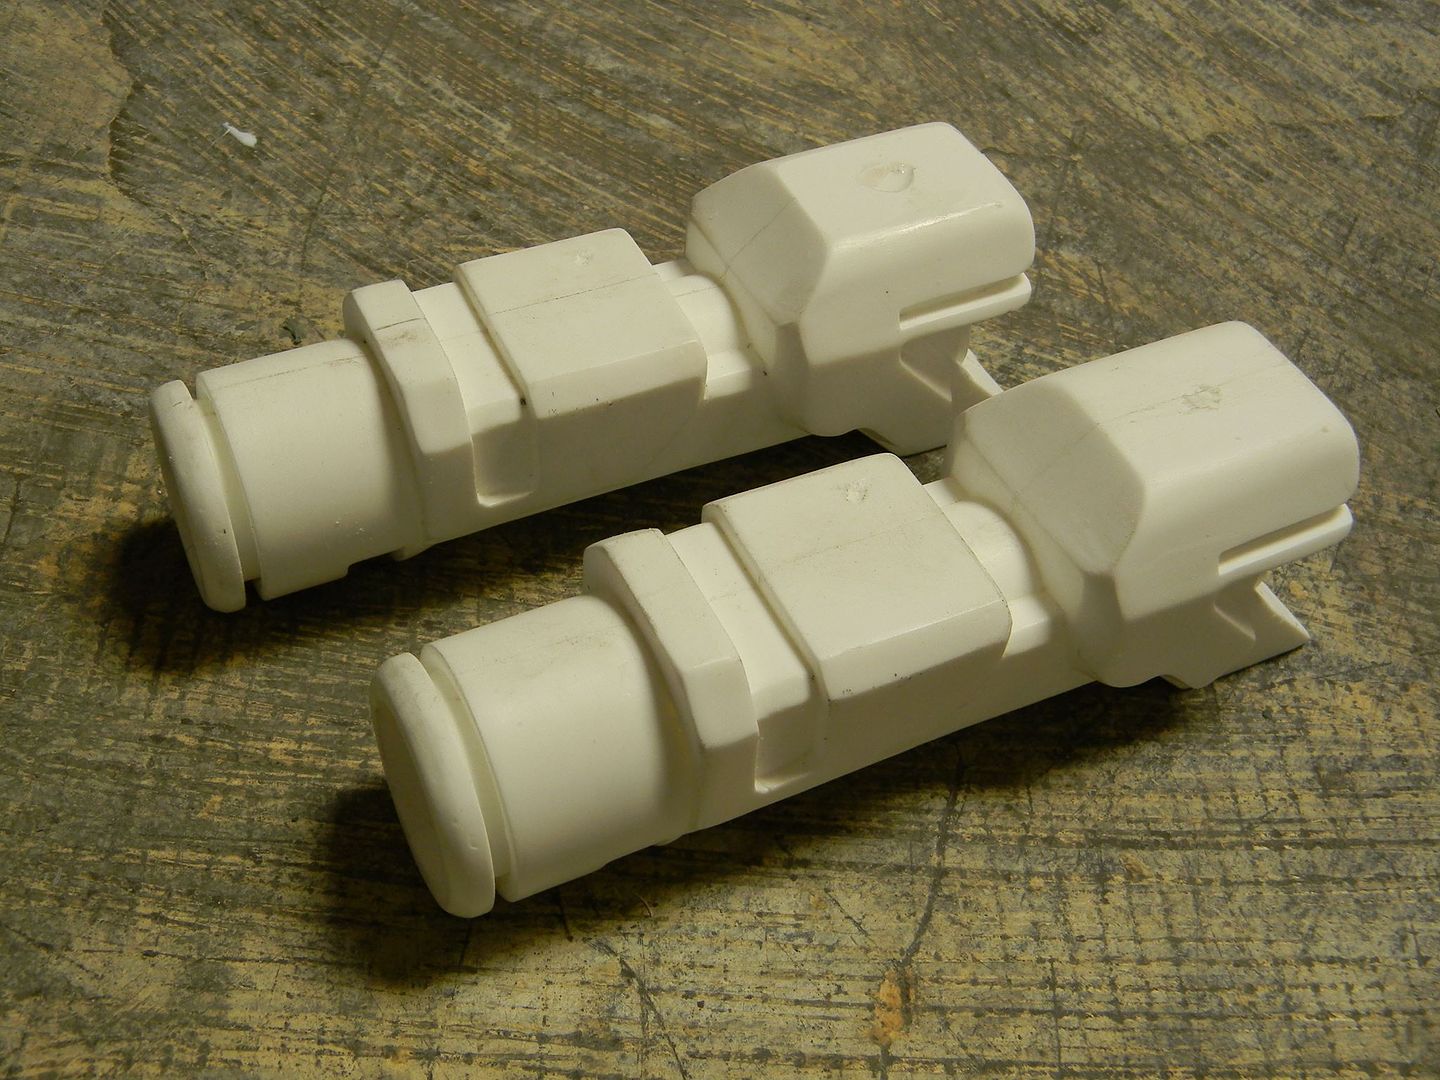
Obviously, I thought it best to start with a previous project from long ago.
I actually made two of them, before sending one off to the client way back when. Of course my skills had improved since carving that thing out three years ago, so I decided to revisit a few things and clean up some detail so I could mold it. This would serve as the base for the N7 valiant.
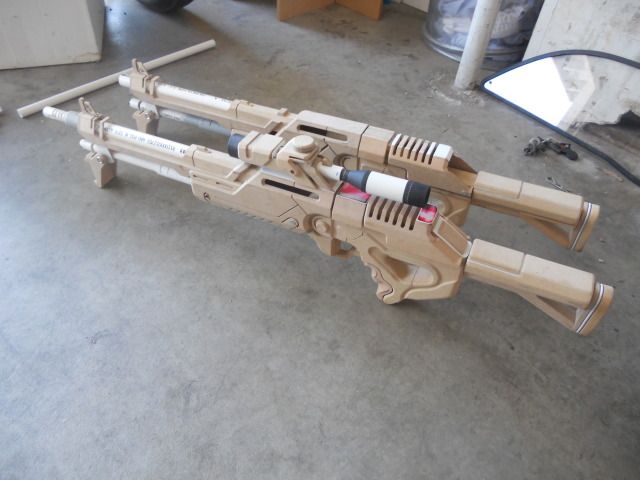
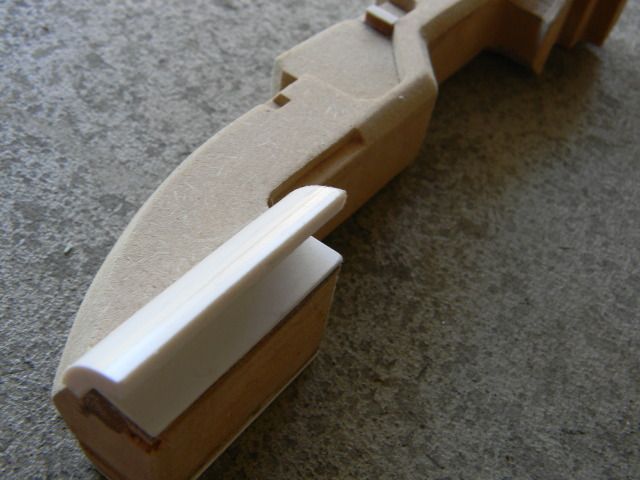
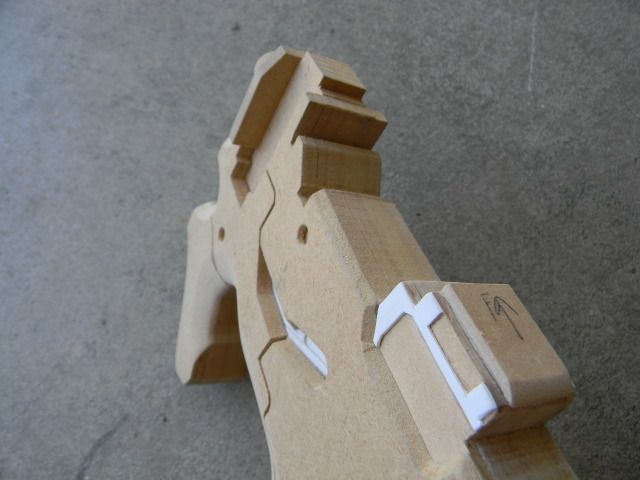
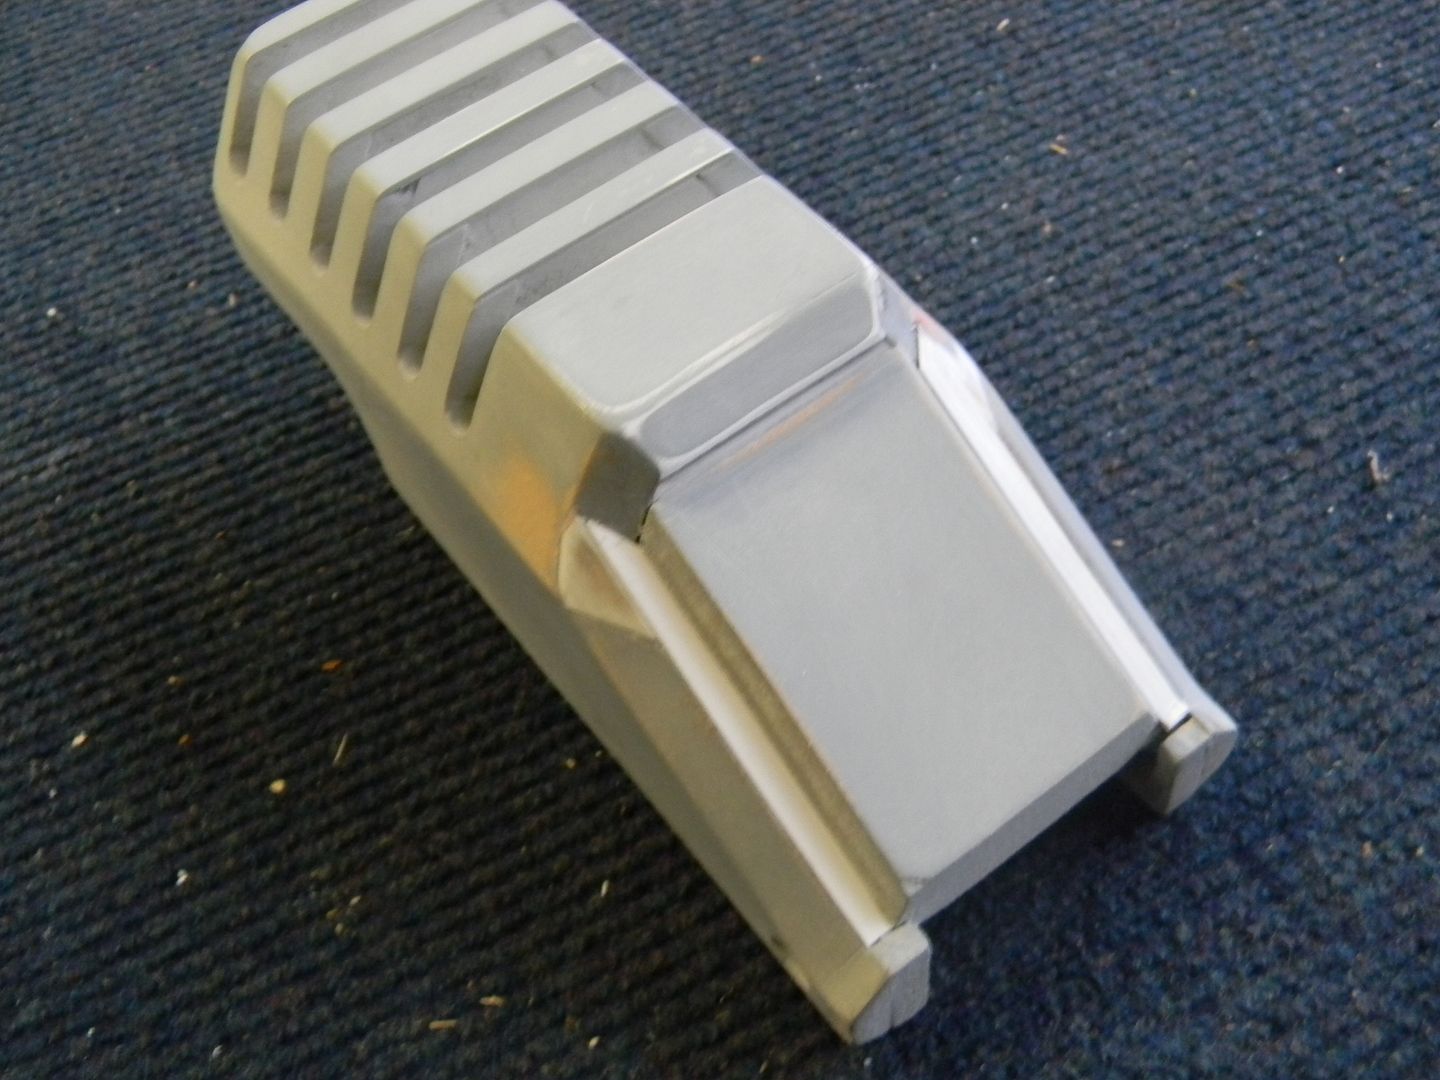
I used styrene to make the sharp beveled edges back here.
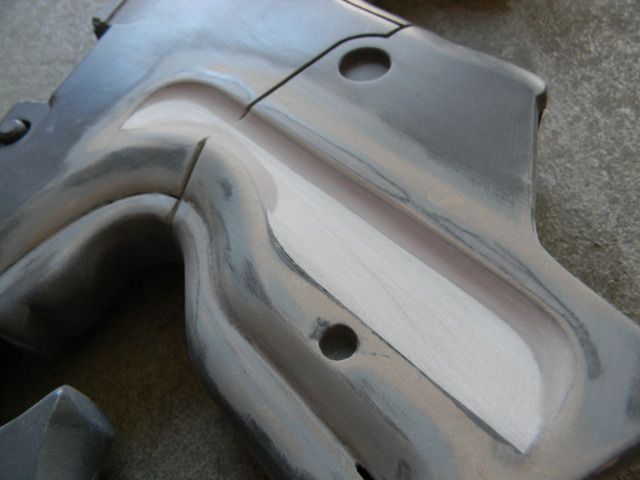
As you can probably see, there were a lot of flaws to deal with, as well as a lot of hollow areas that needed to be clayed up before molding.
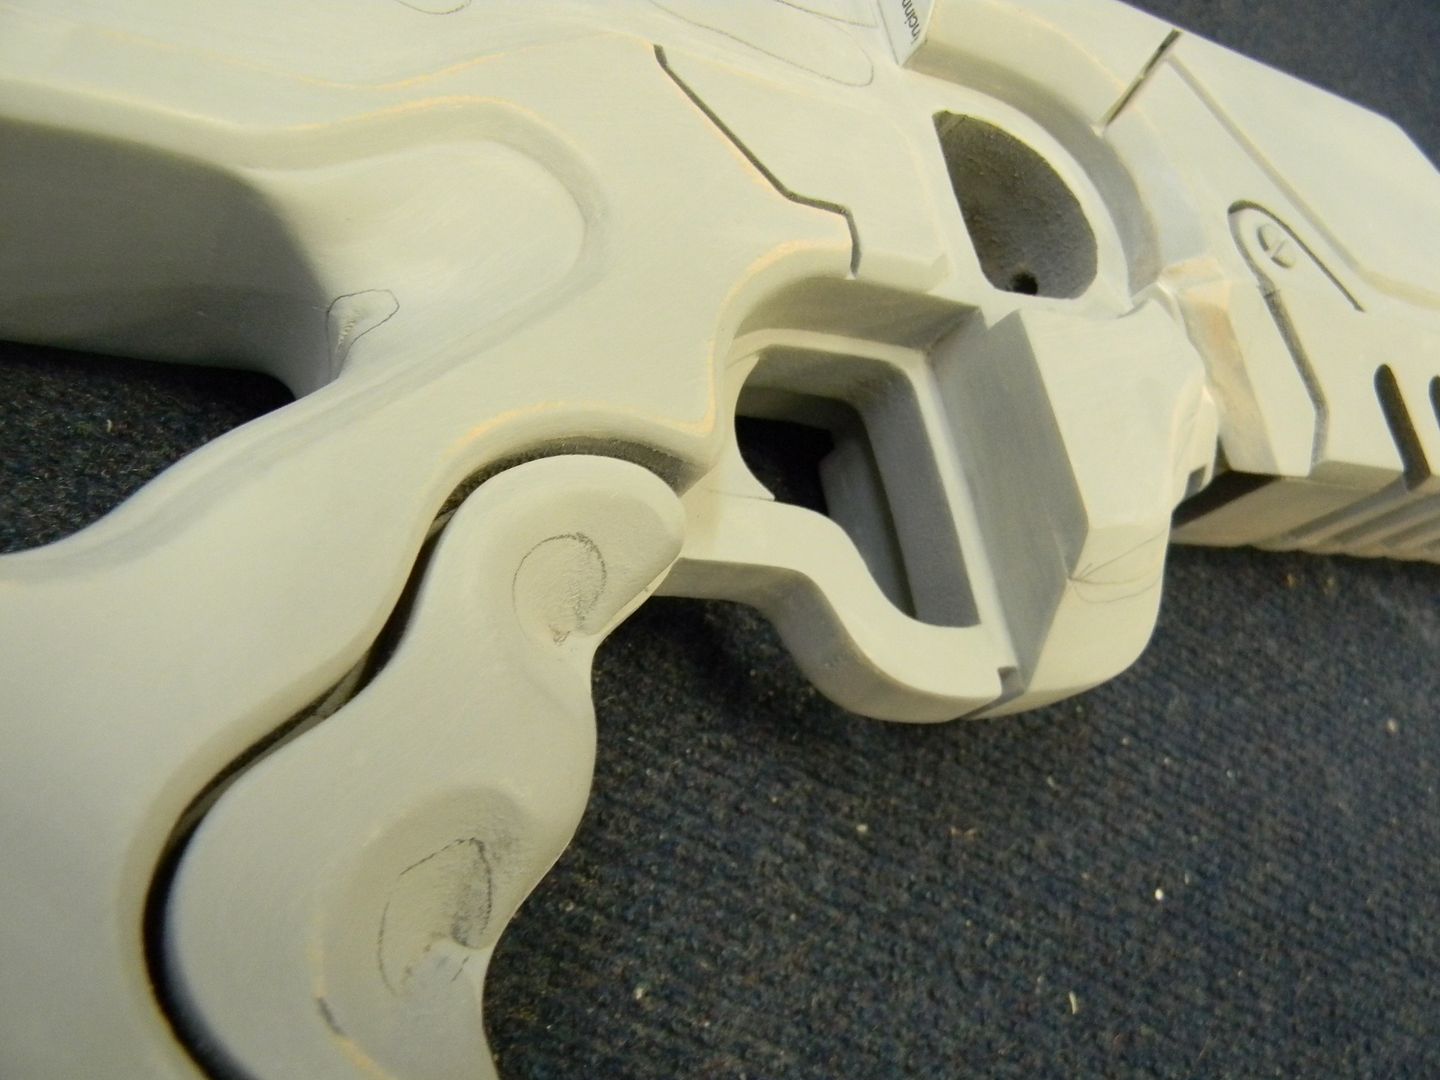
First pass of bondo.

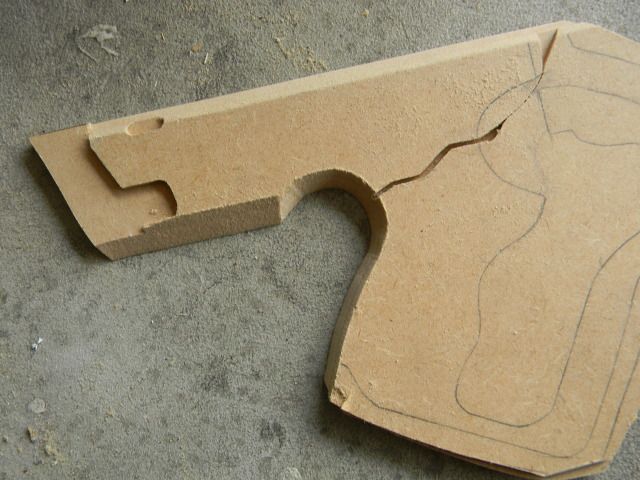
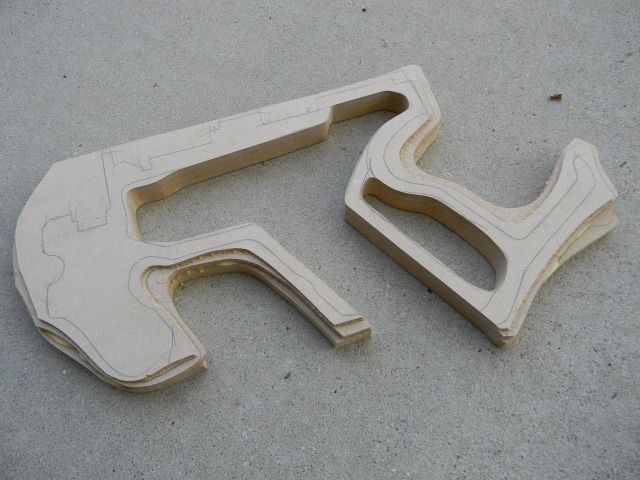
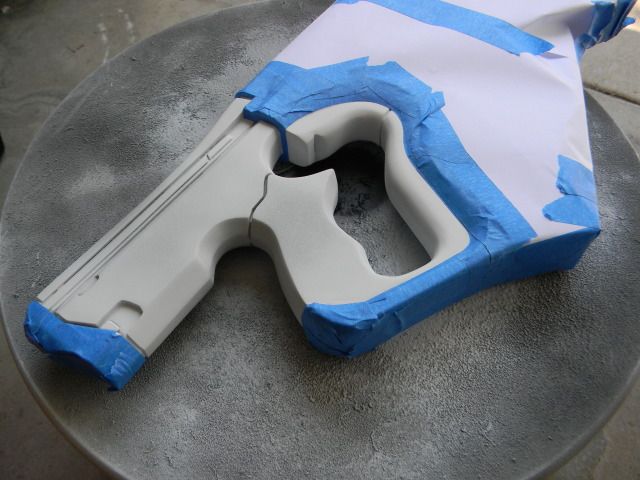
When that was done, the deep panel in the grip was clayed up, as well as the outside of the gun. I use MDF jigs to help save time on molding, as well as get really precise molds.
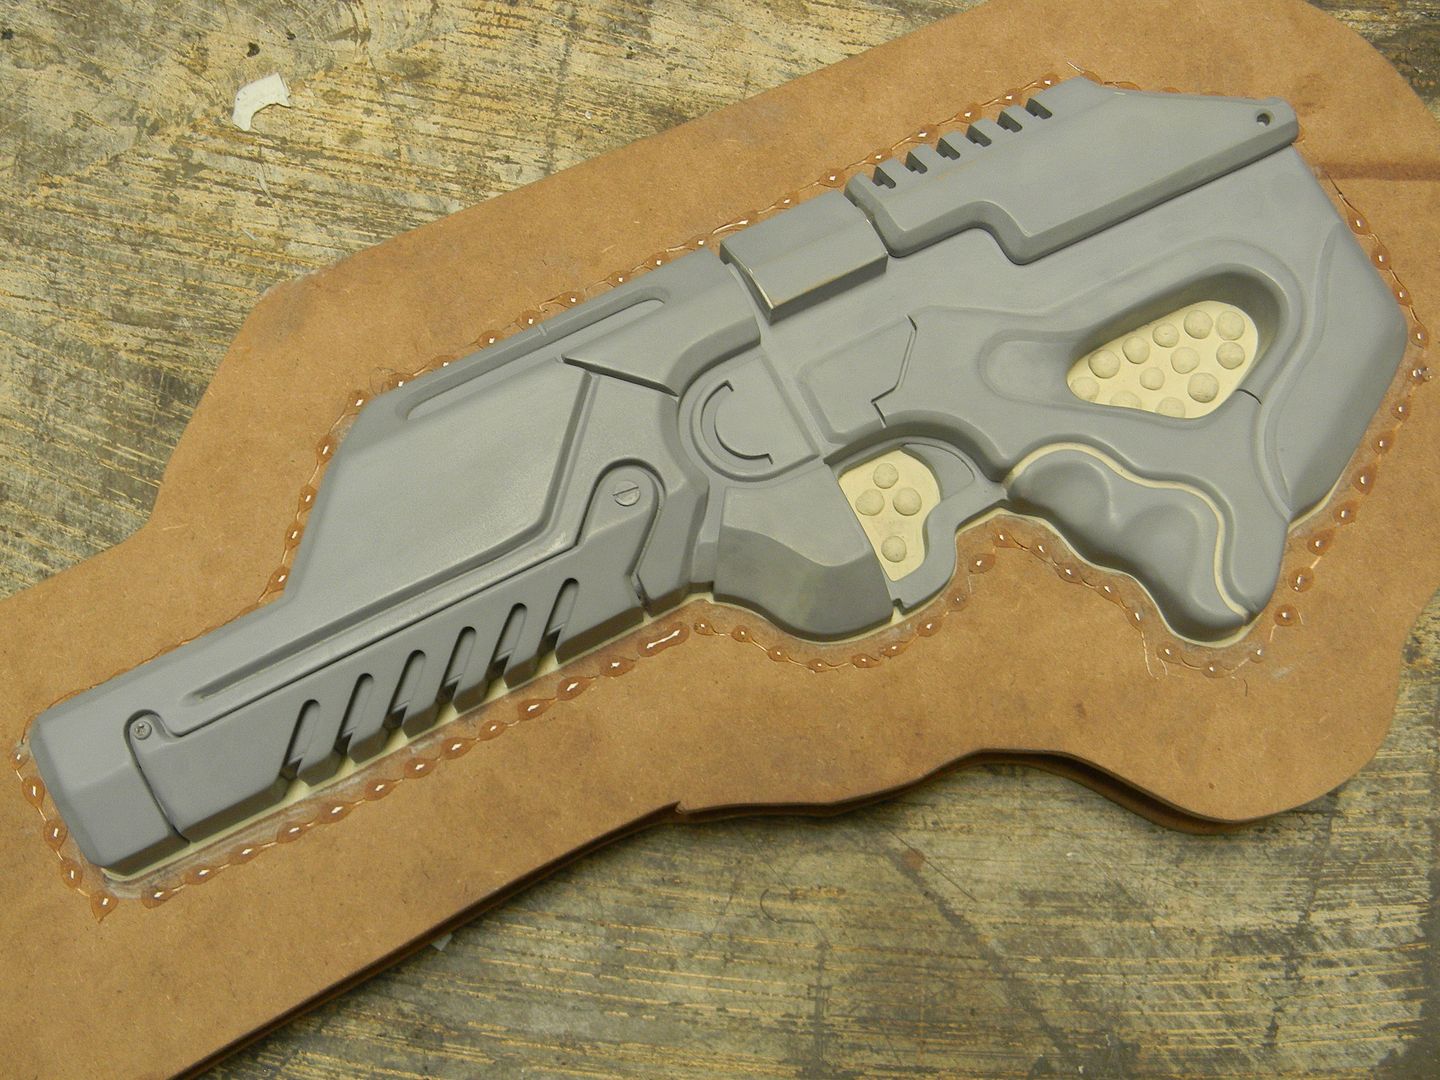
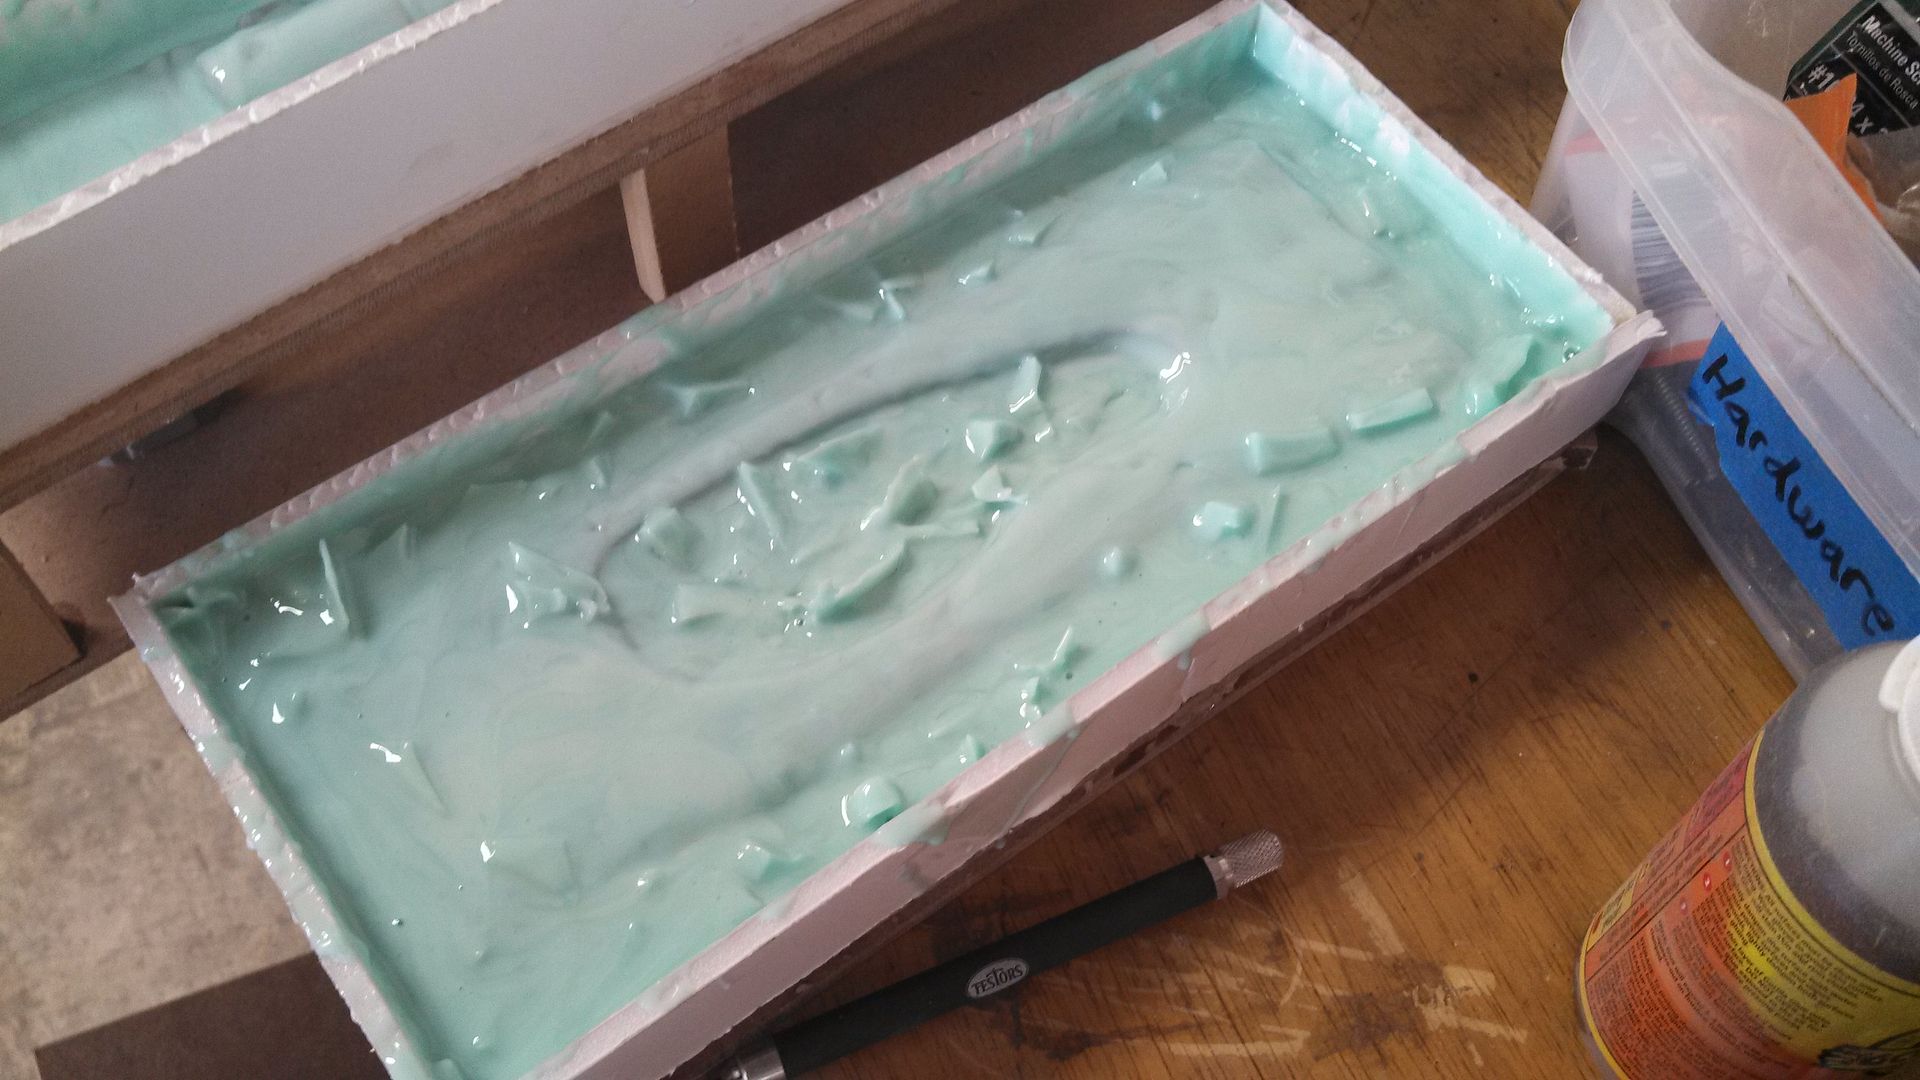
I brushed on about 6 layers of silicone and trimmed the excess.
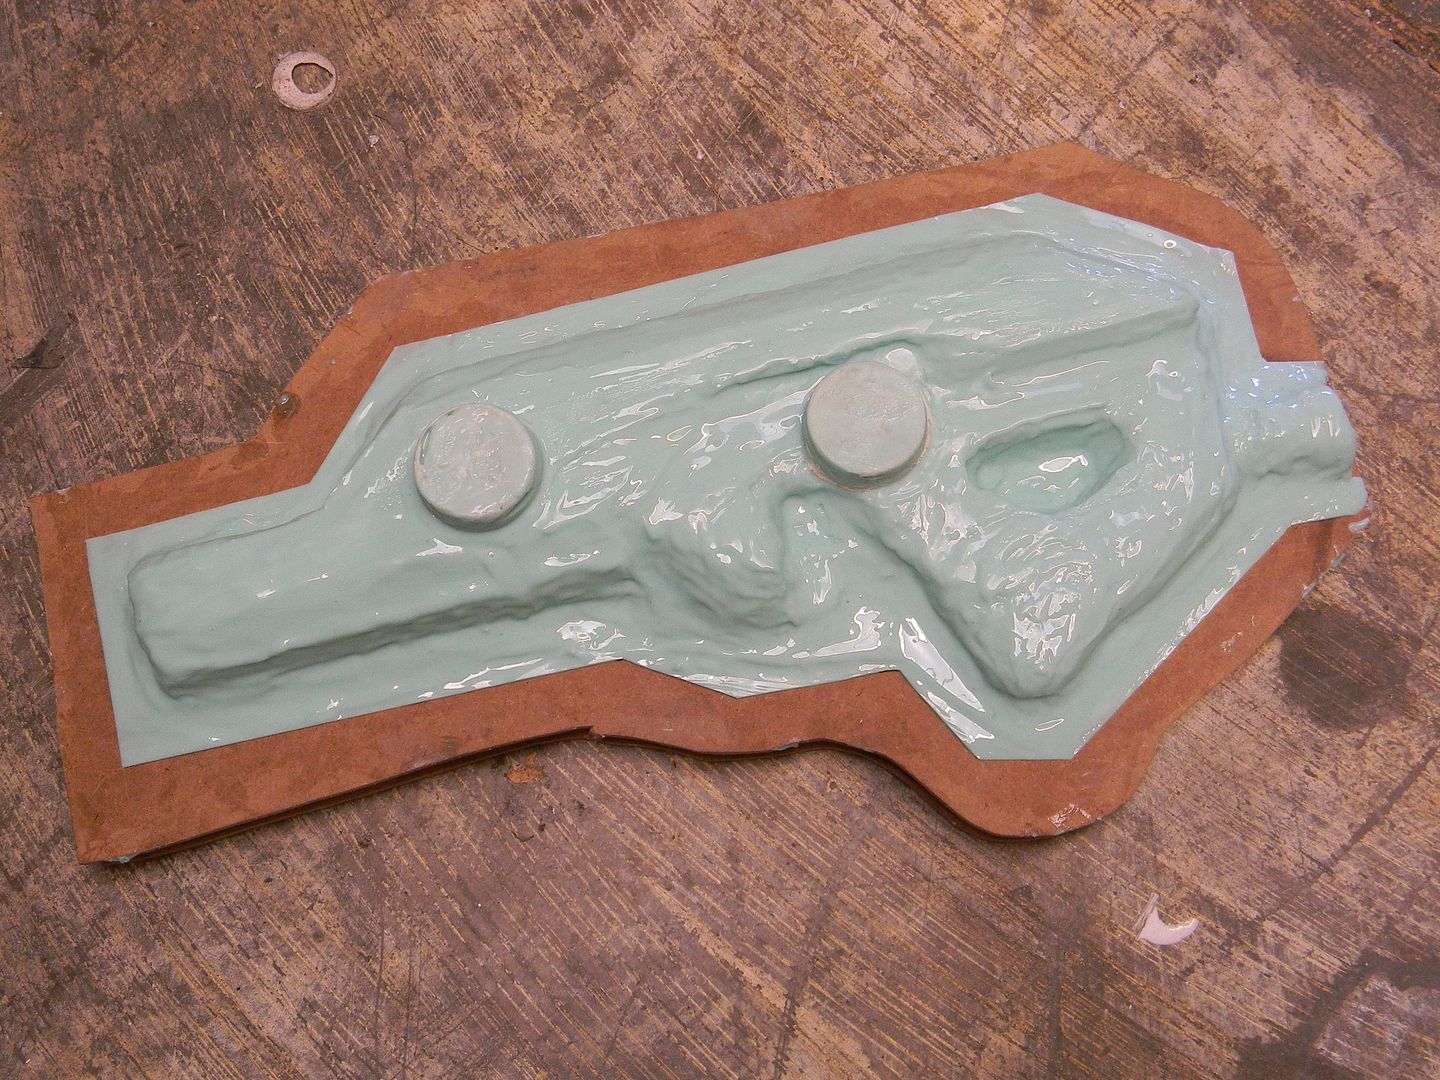
Then I used Smooth-on's plasti-paste for the jacket. this is the jacket cured, the part flipped over, and the Jig removed.

Mold release, repeat steps.
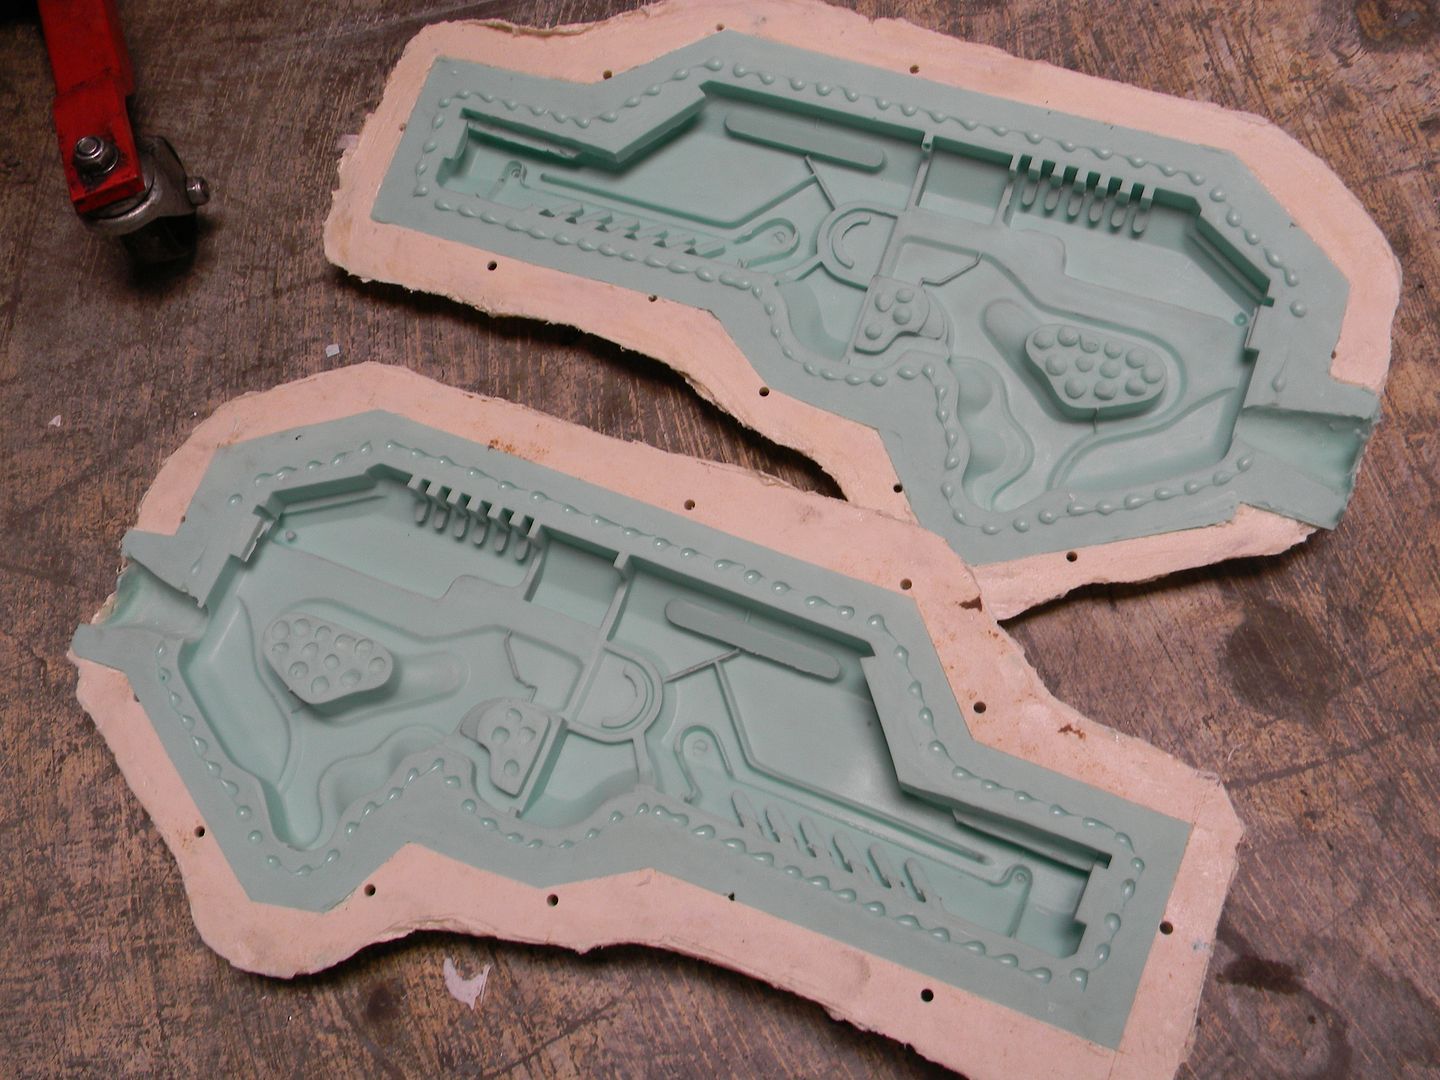
The scope had to be re-made, I didn't have an extra. This was fine, I needed to re-make it anyways to be more mold friendly. The rear half of the scope is simply a mattock scope, minus the eye shade. I didn't take molding pictures, just the prep shot.
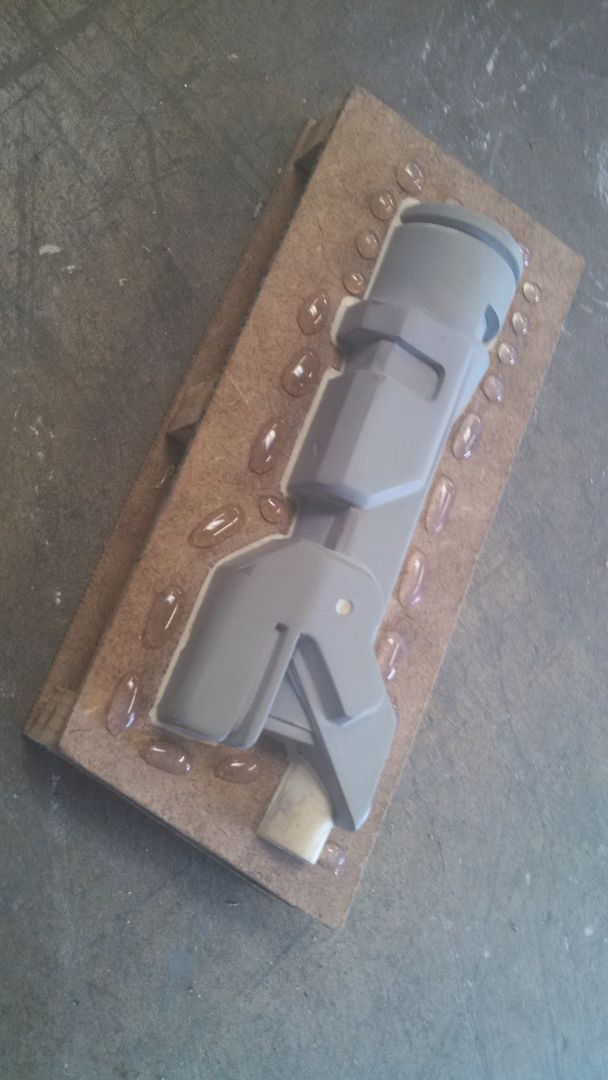
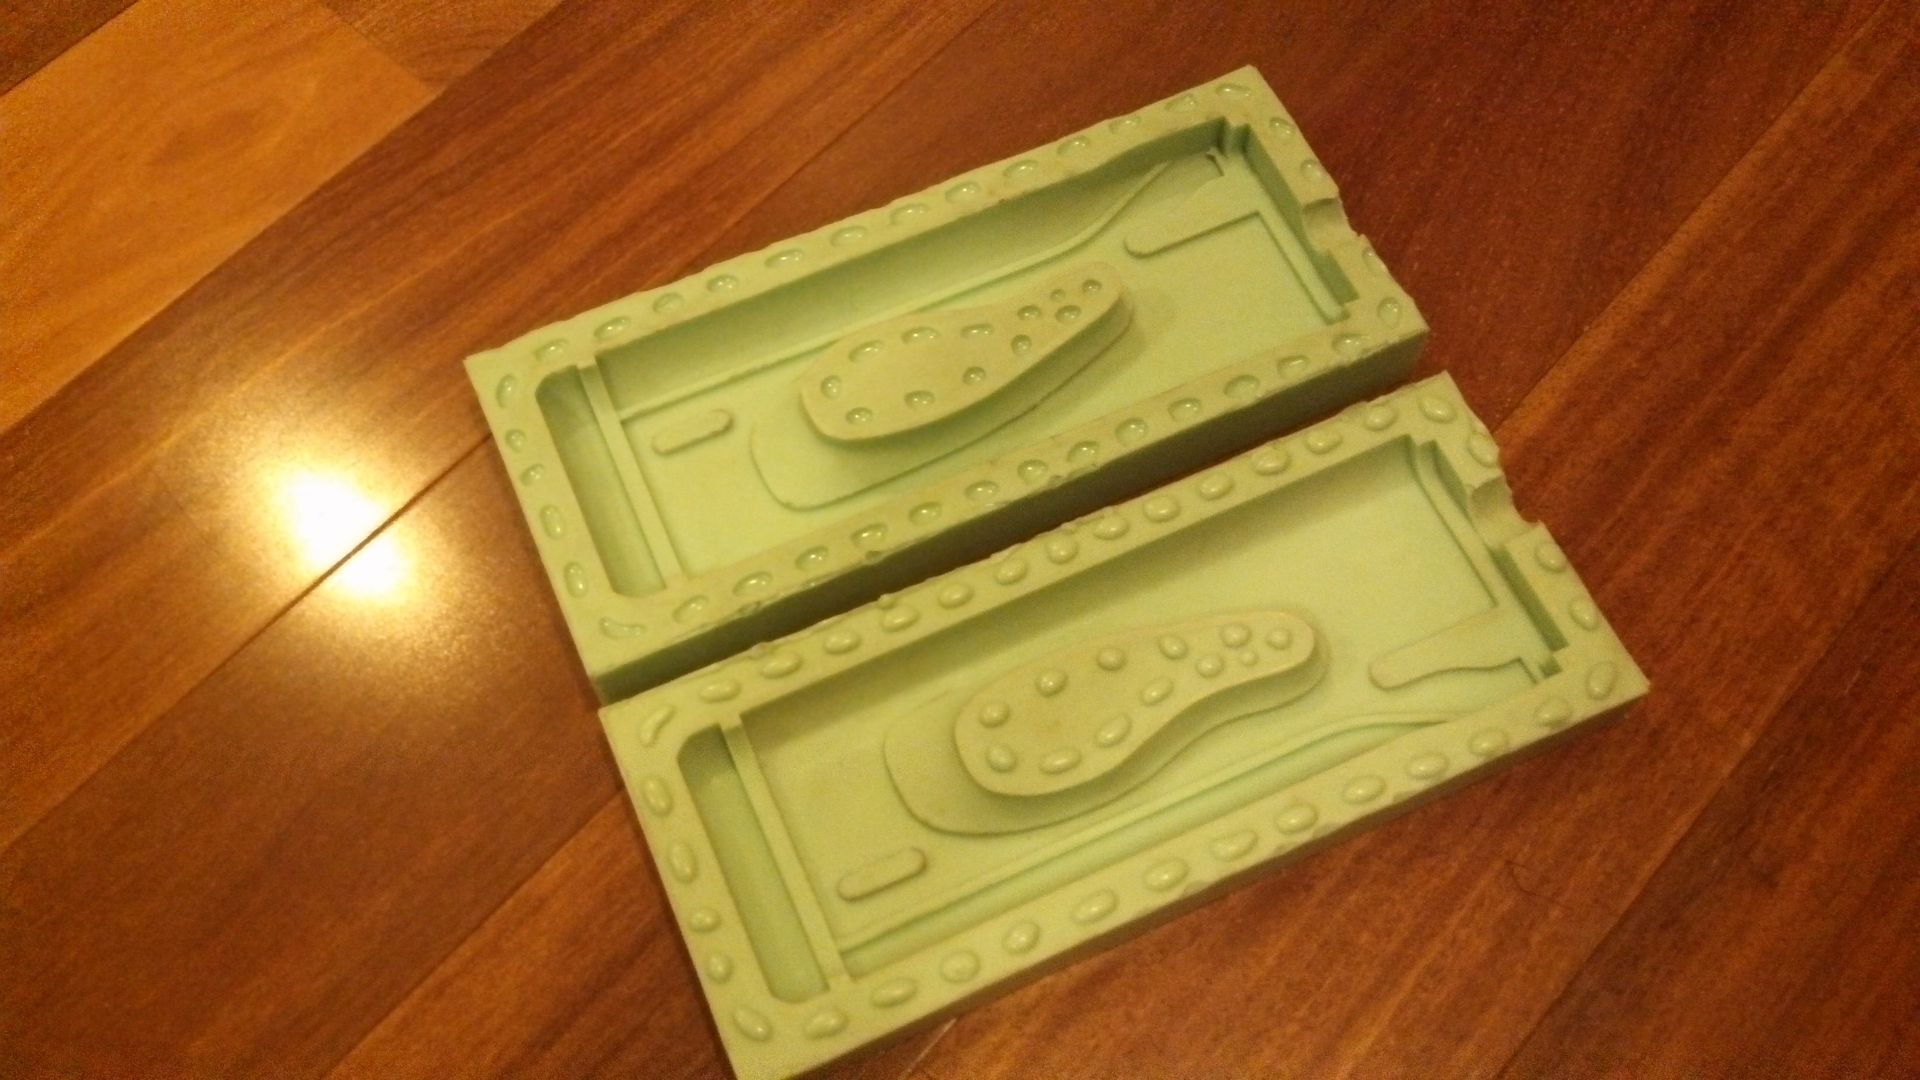
The mold churned out some really nice casts, considering the complexity of the part!
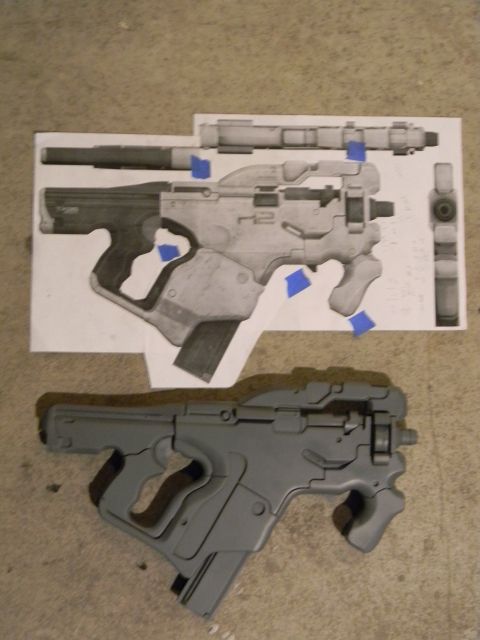
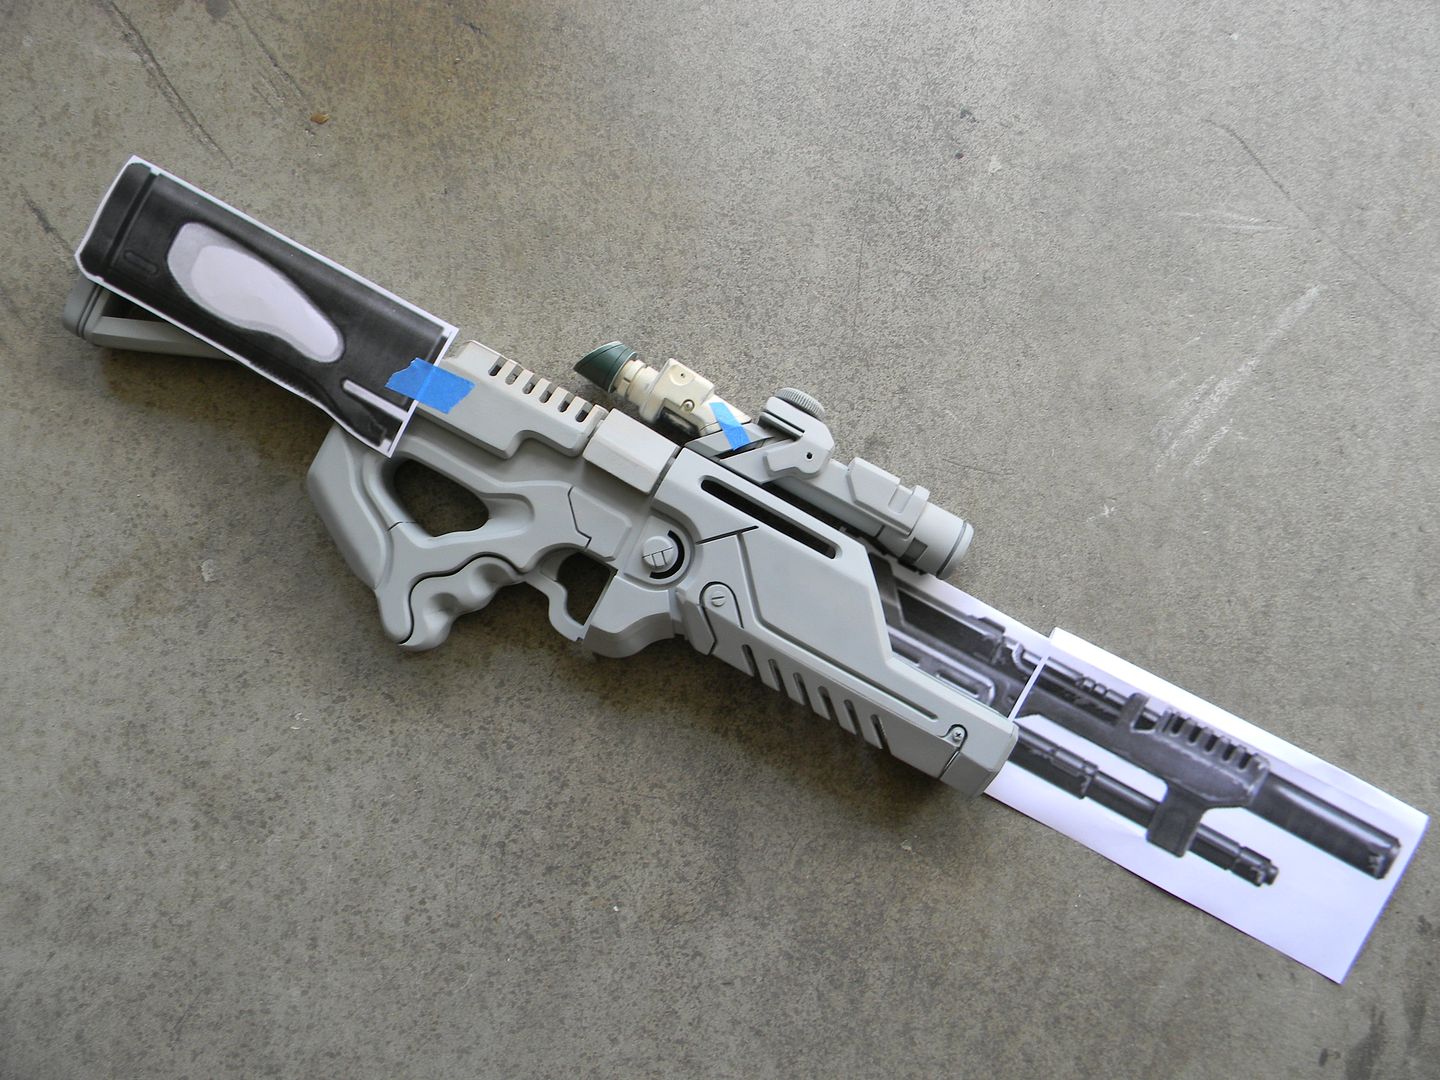
High-tech illustration of finished product below.
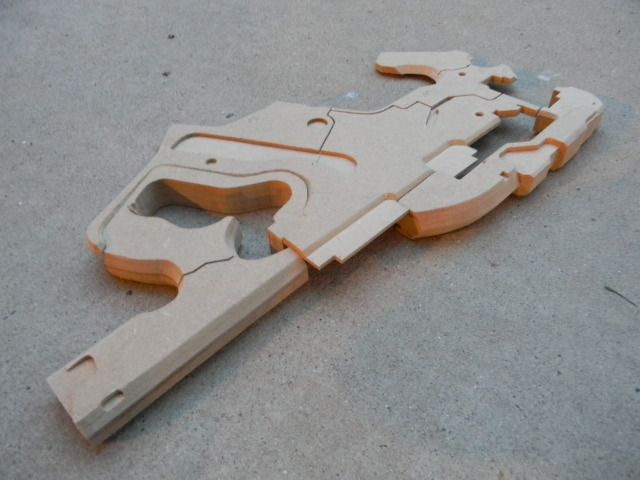
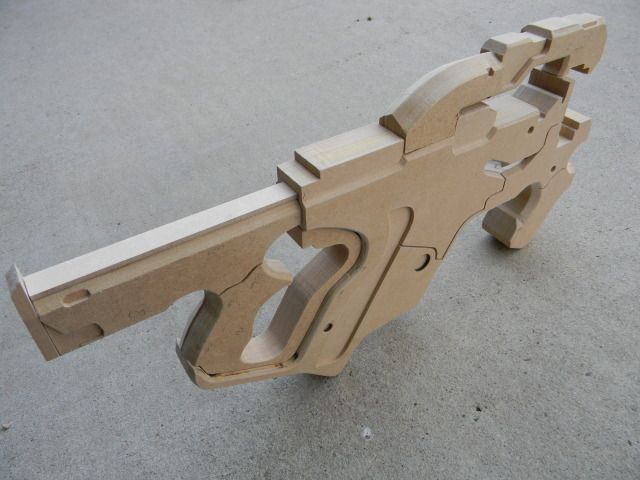
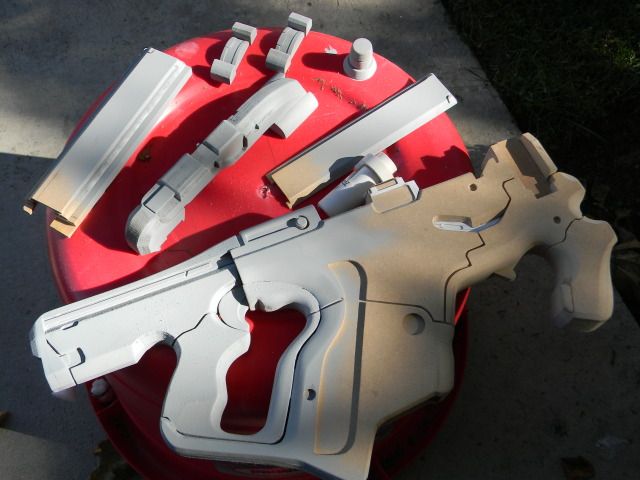
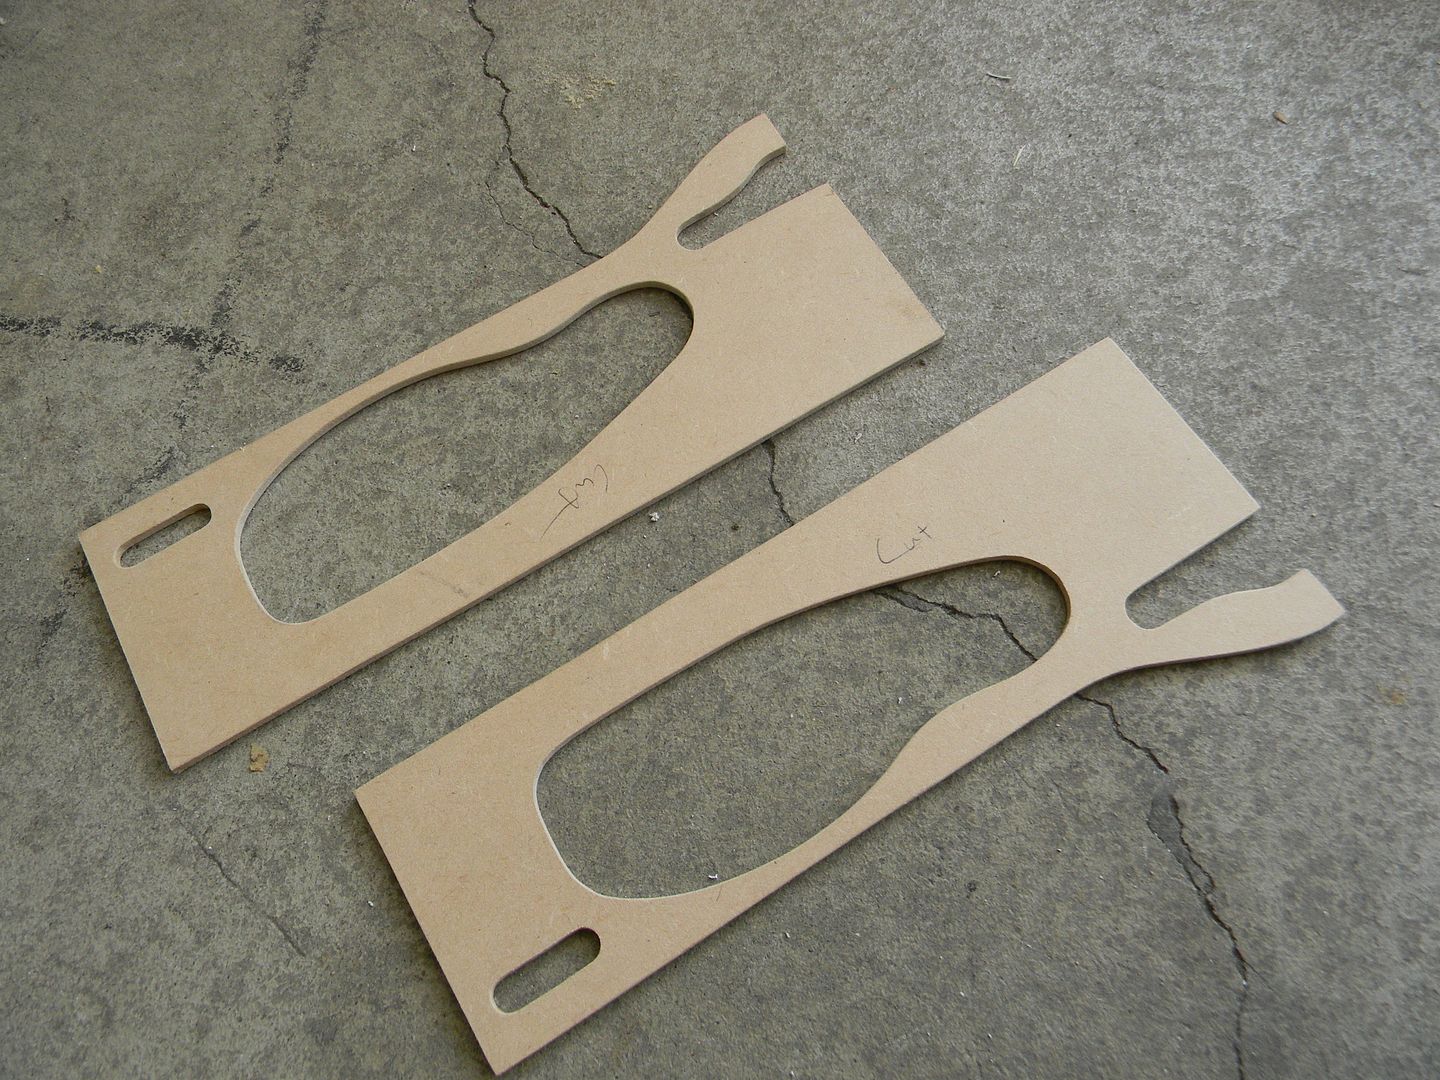
As you can see, the stock is drastically different than the M-29 cousin. I cut two of these at once.
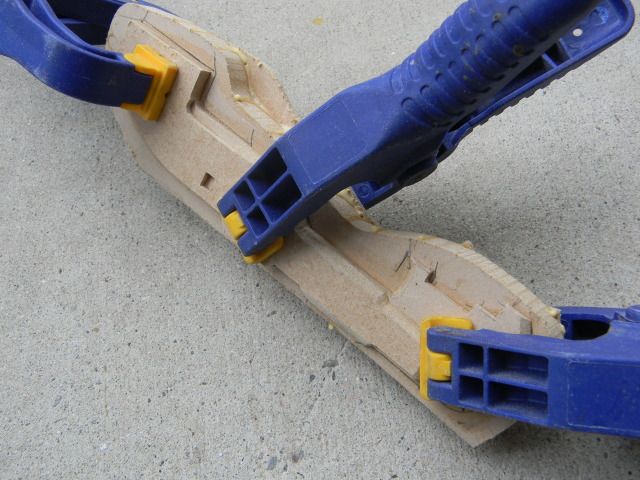
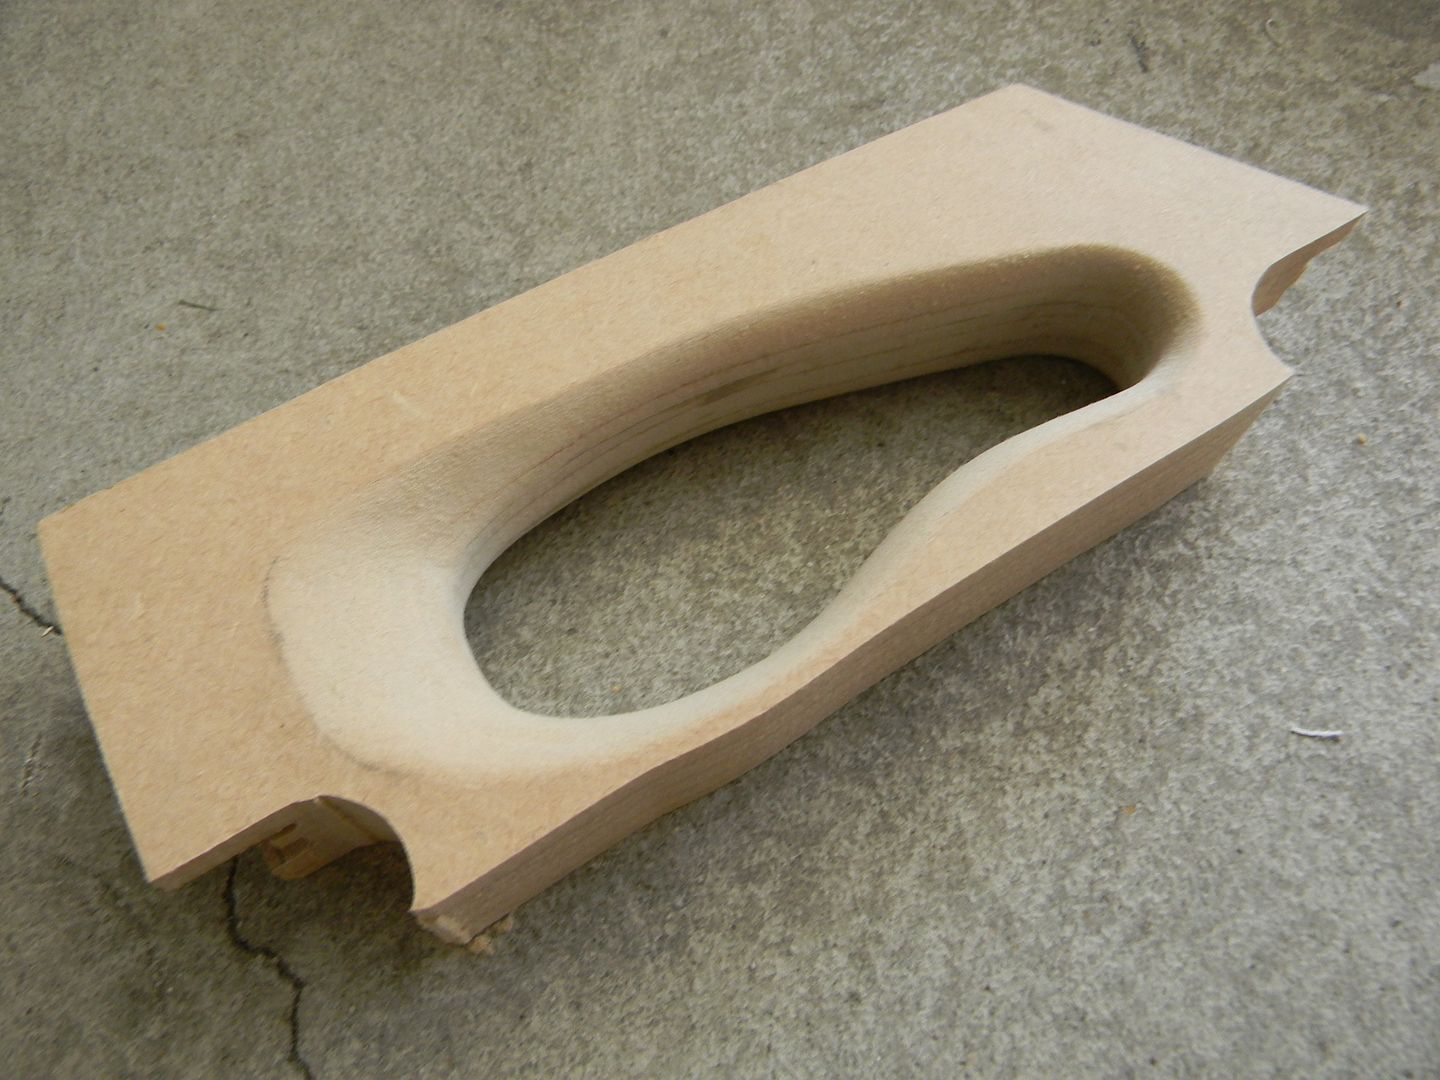
This is actually three layers cut at different angles, then glued together and beveled.
Lining things up.
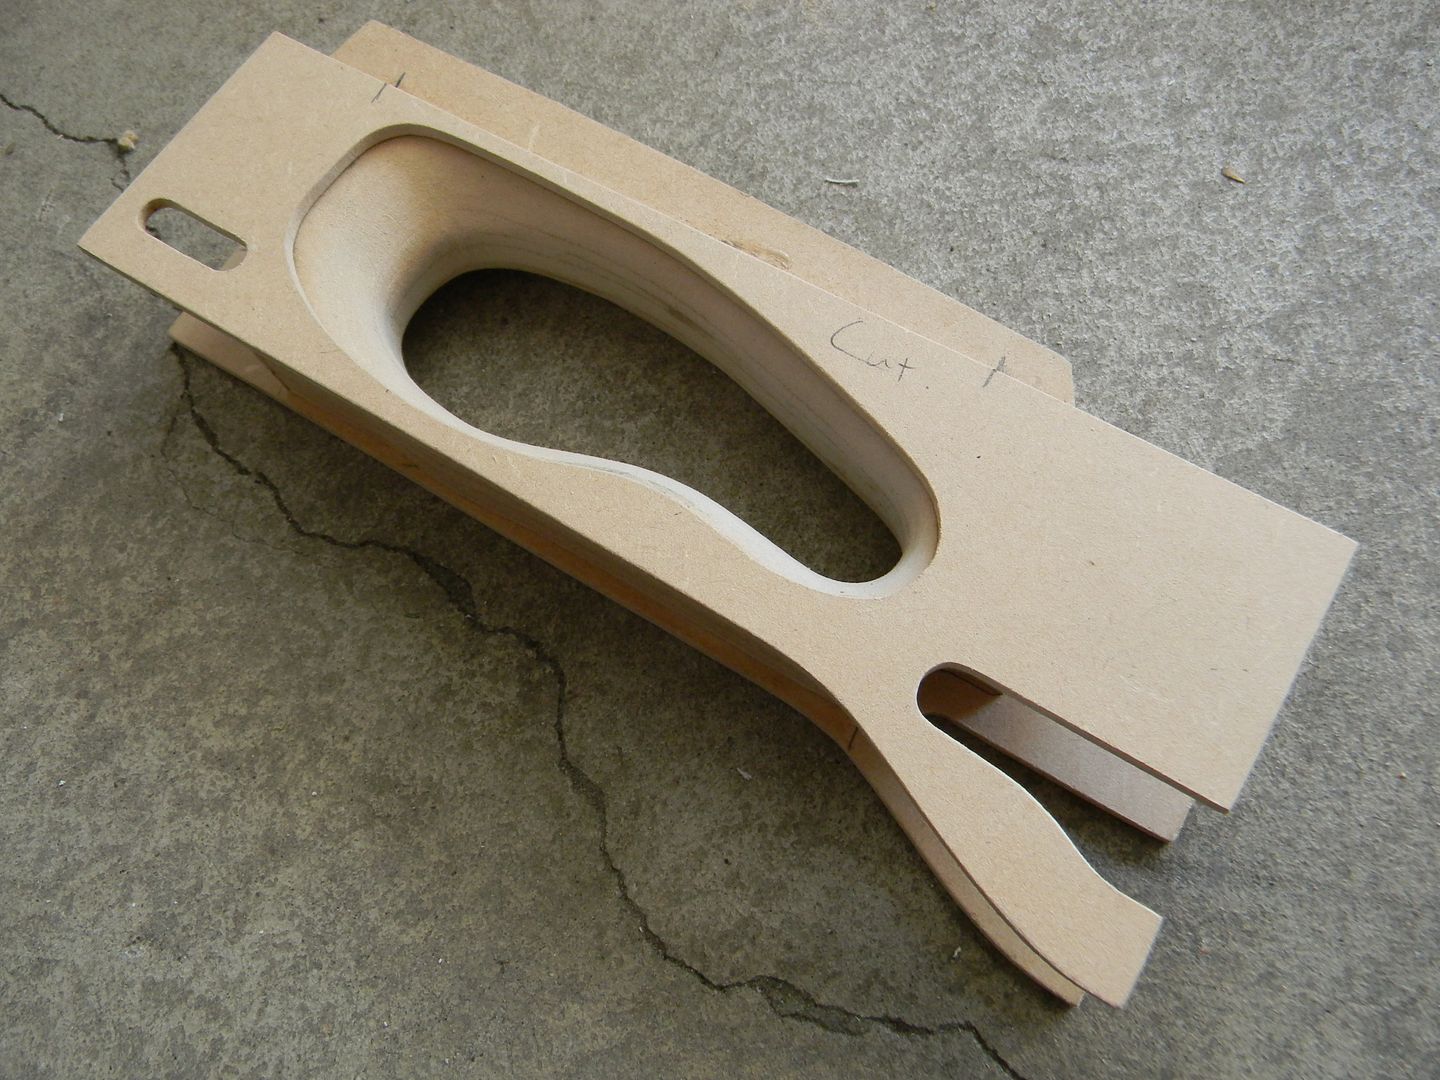
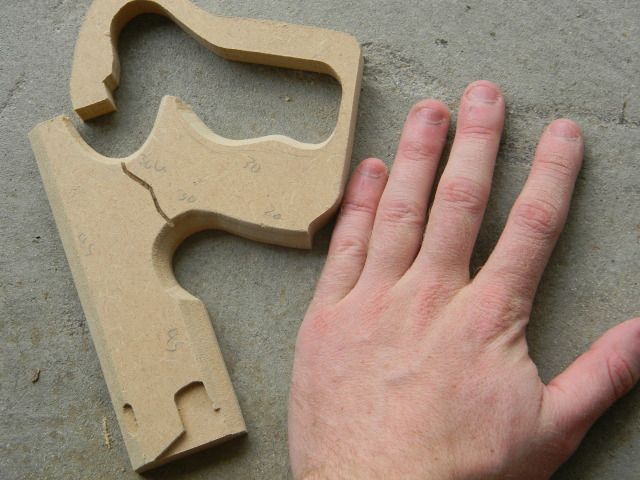
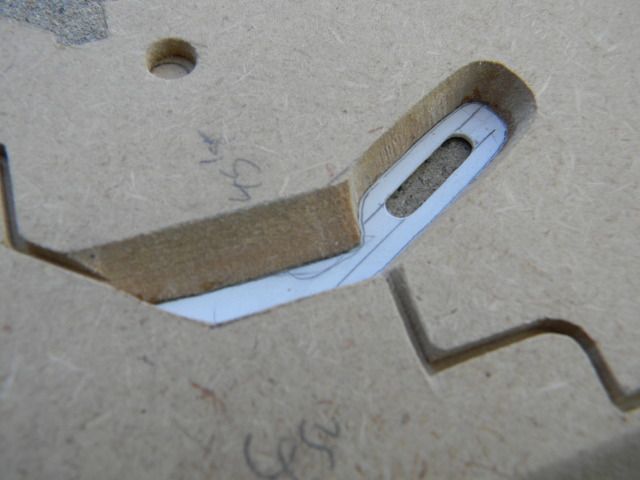
I hacked off the top strip of MDF and added this sliver of PVC pipe.

Comparison of old VS new. Added PVC to the bottom as well.
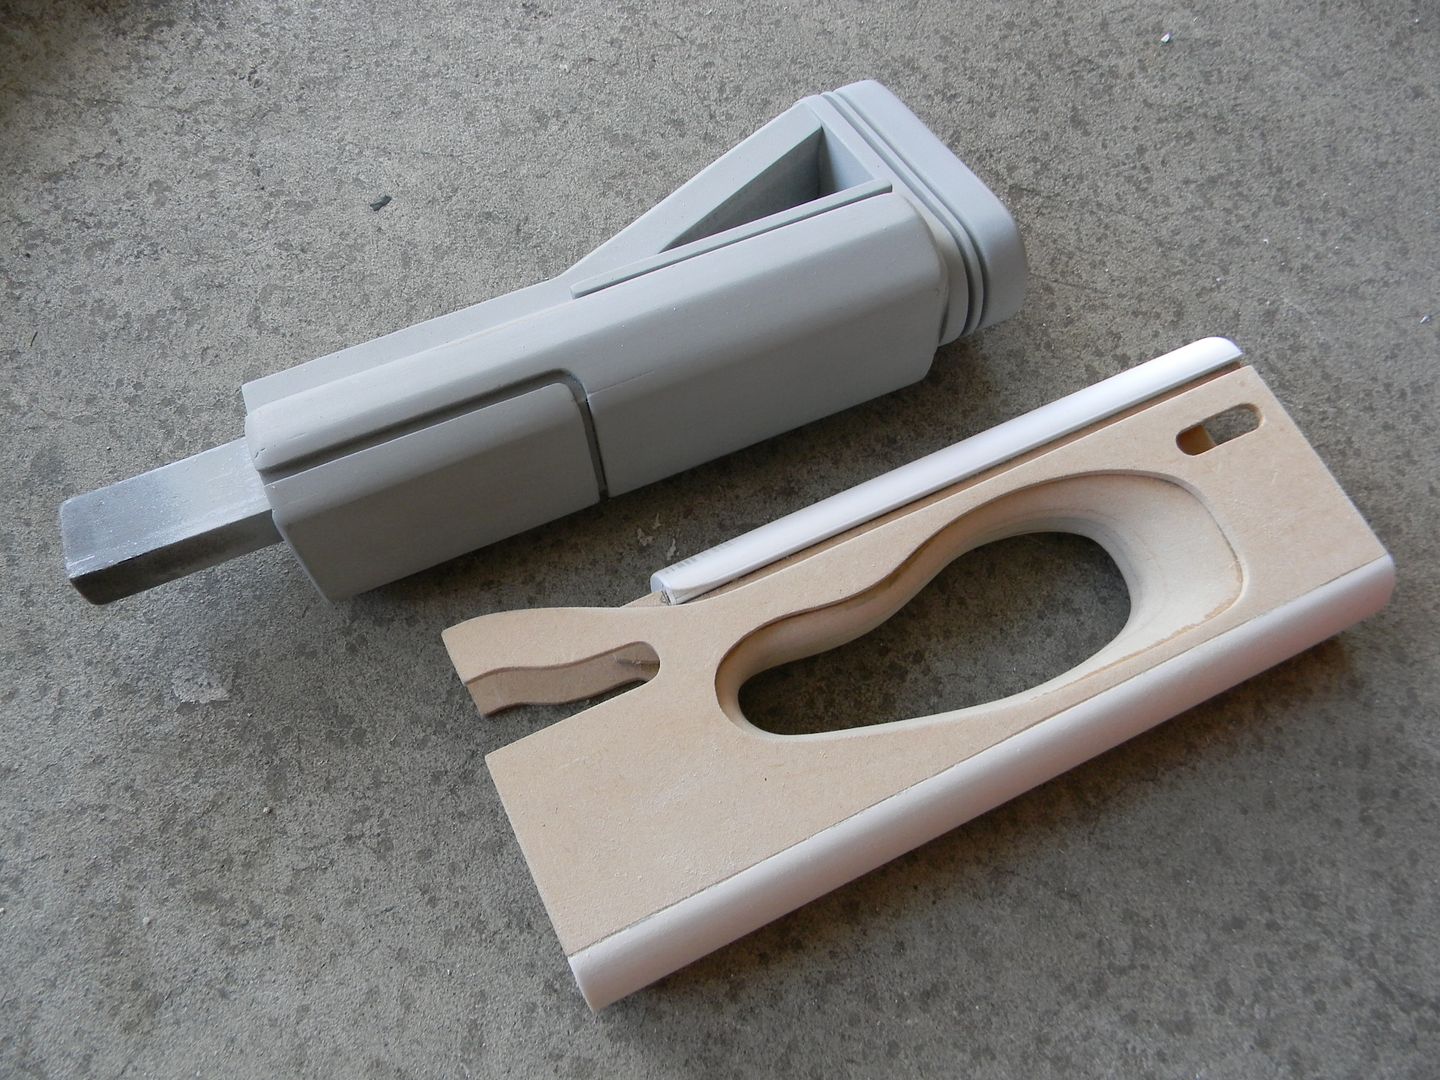
Bit added to bridge the PVC, plus some fairly obvious layering.
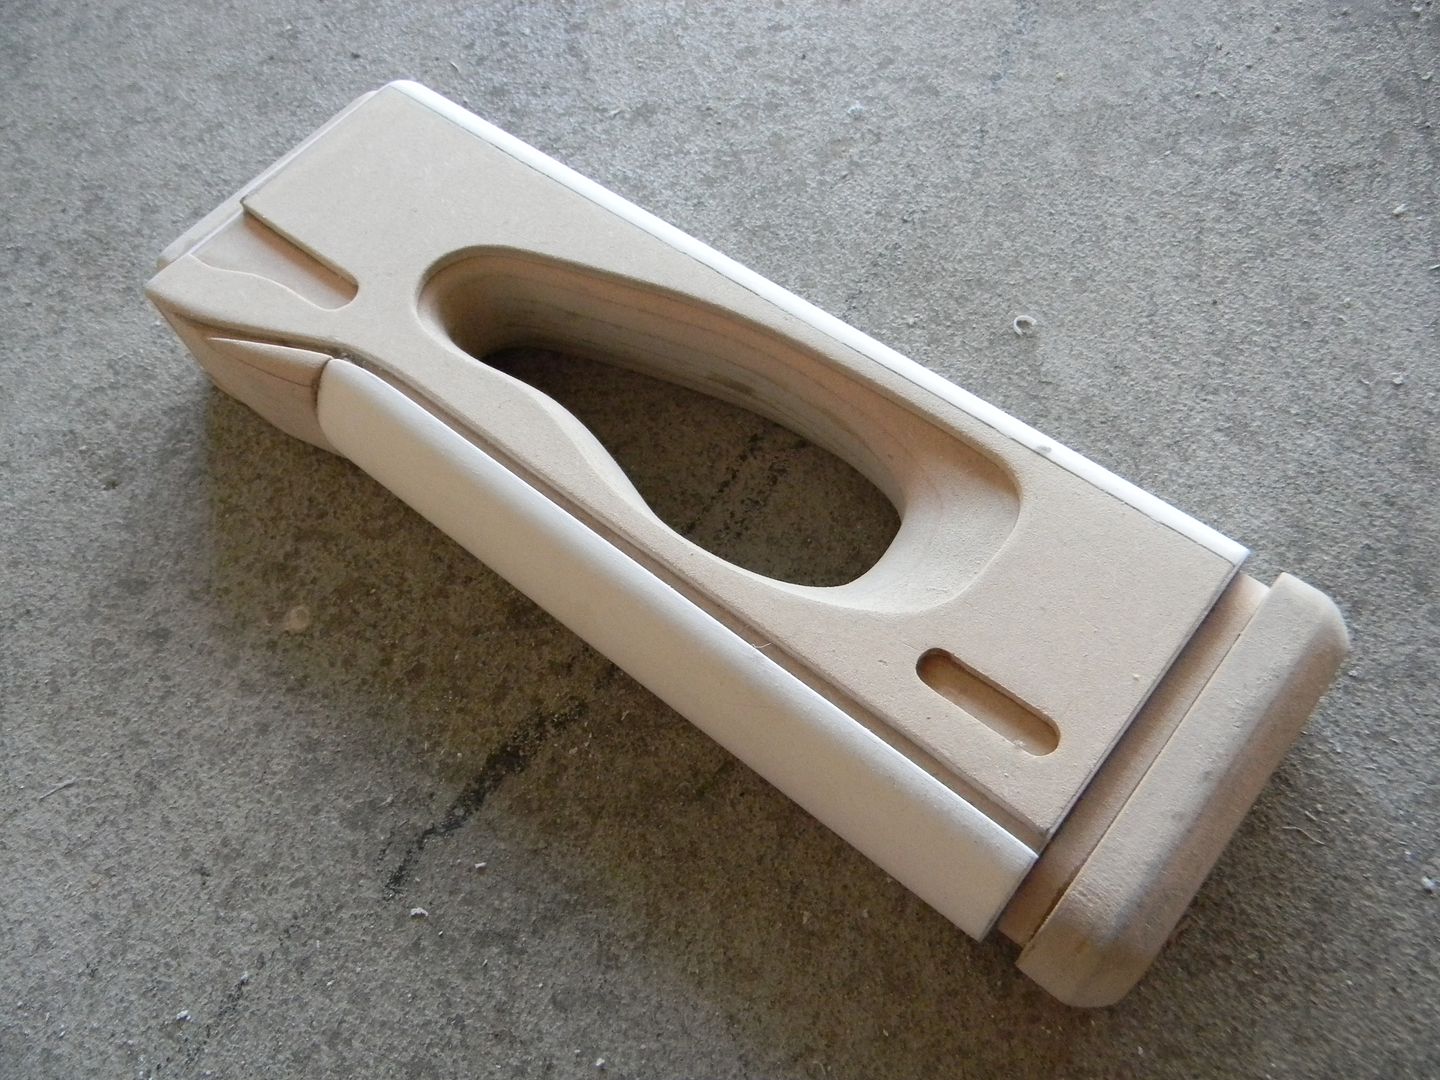
Prepped up.
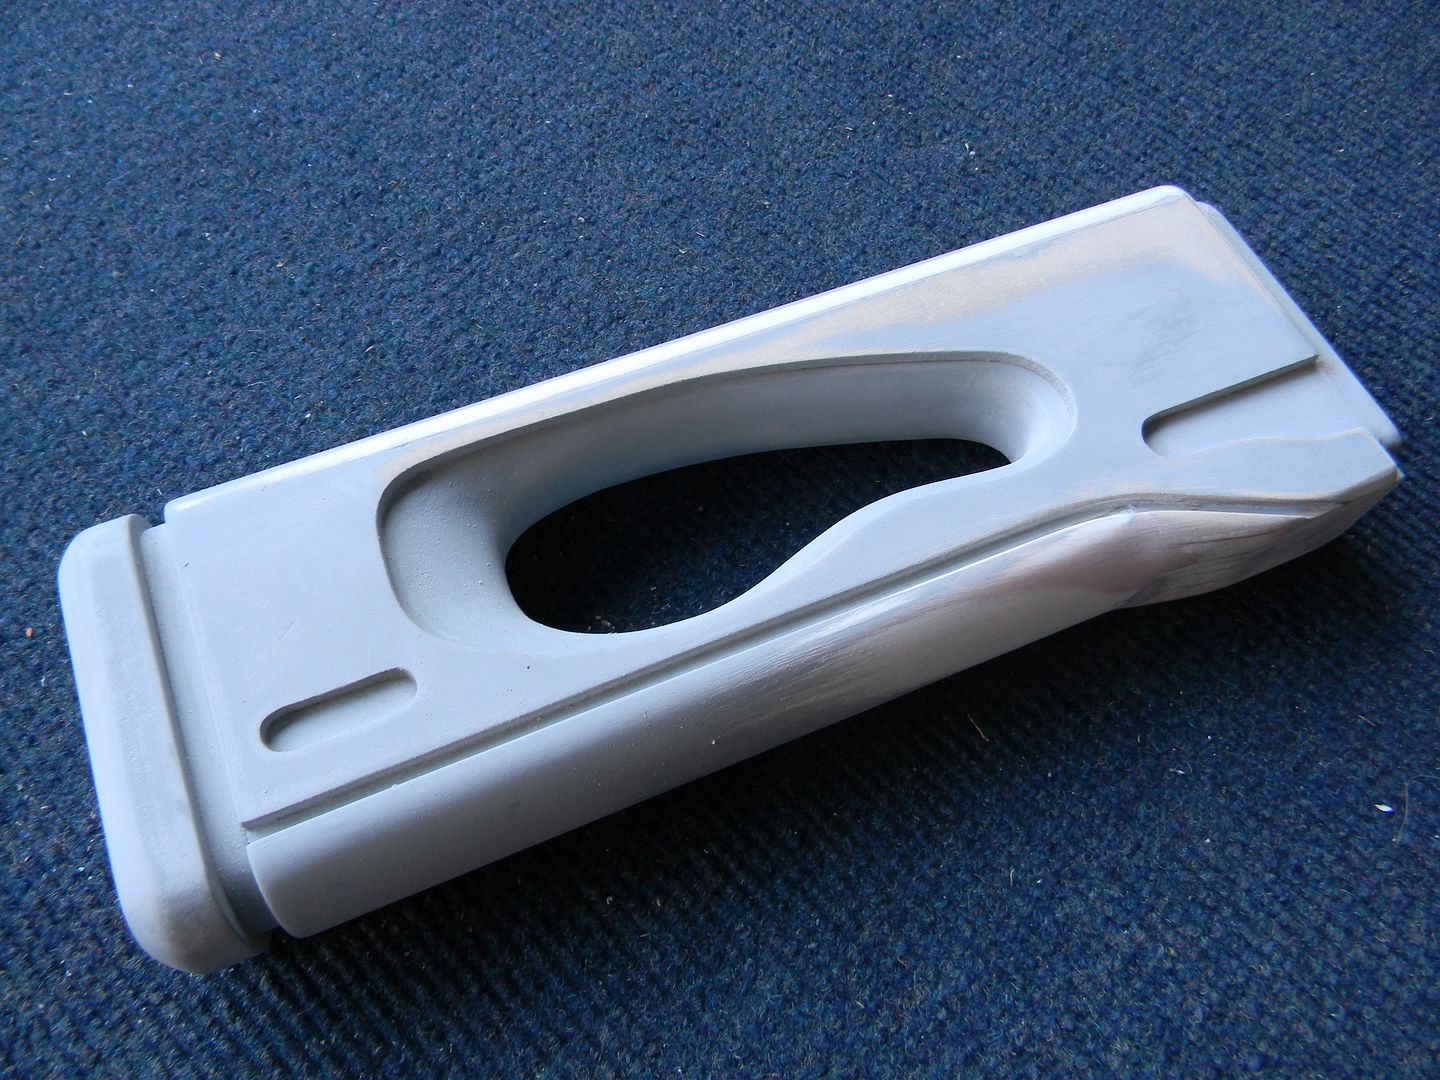
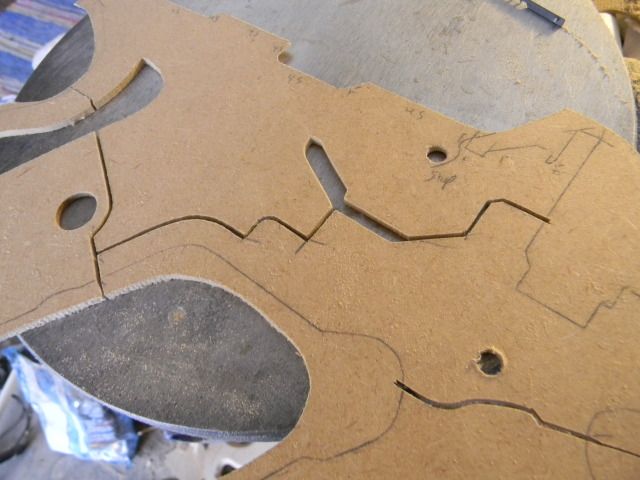
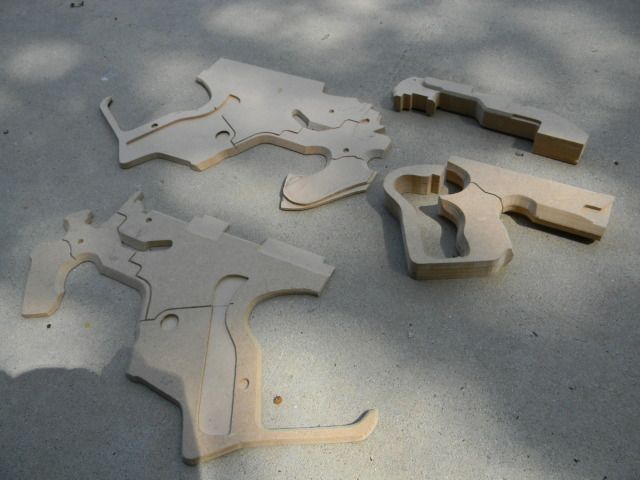
Using templates. I have to cut these pieces separate because they have beveled edges.
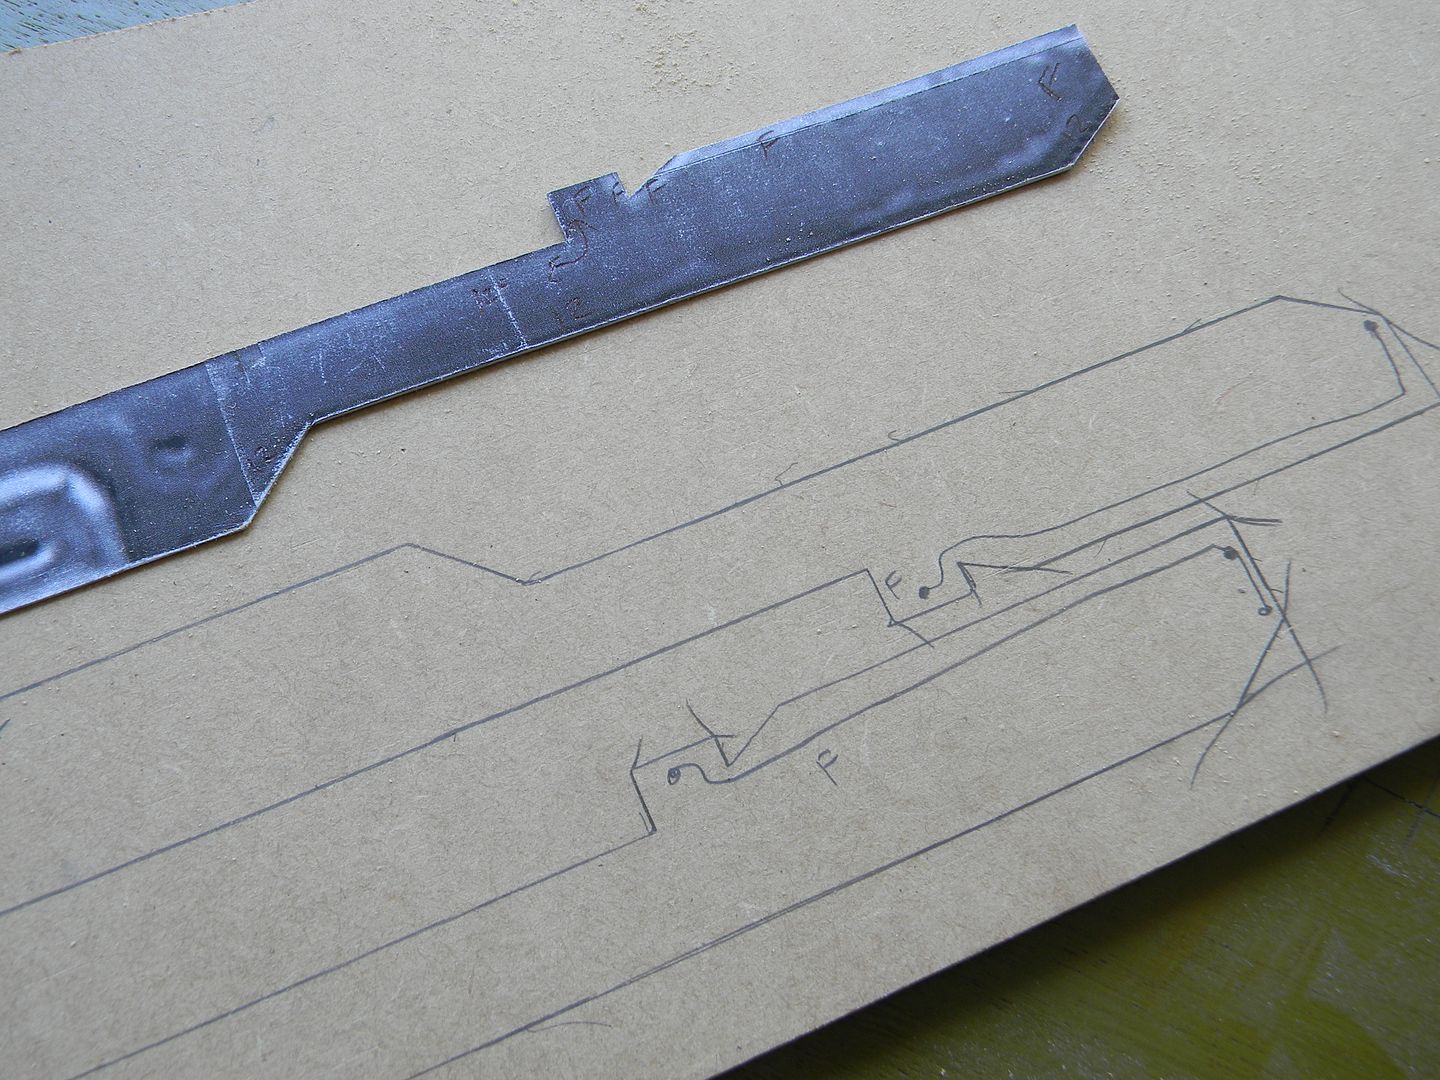
The straight cuts take a lot of patience.

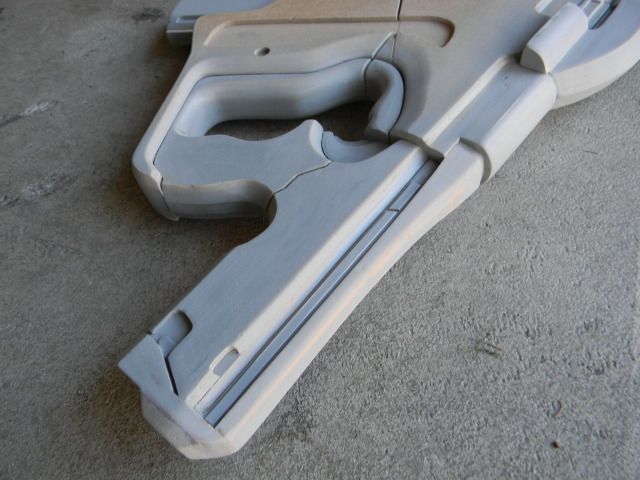
These slots go at the end of the outer barrel.
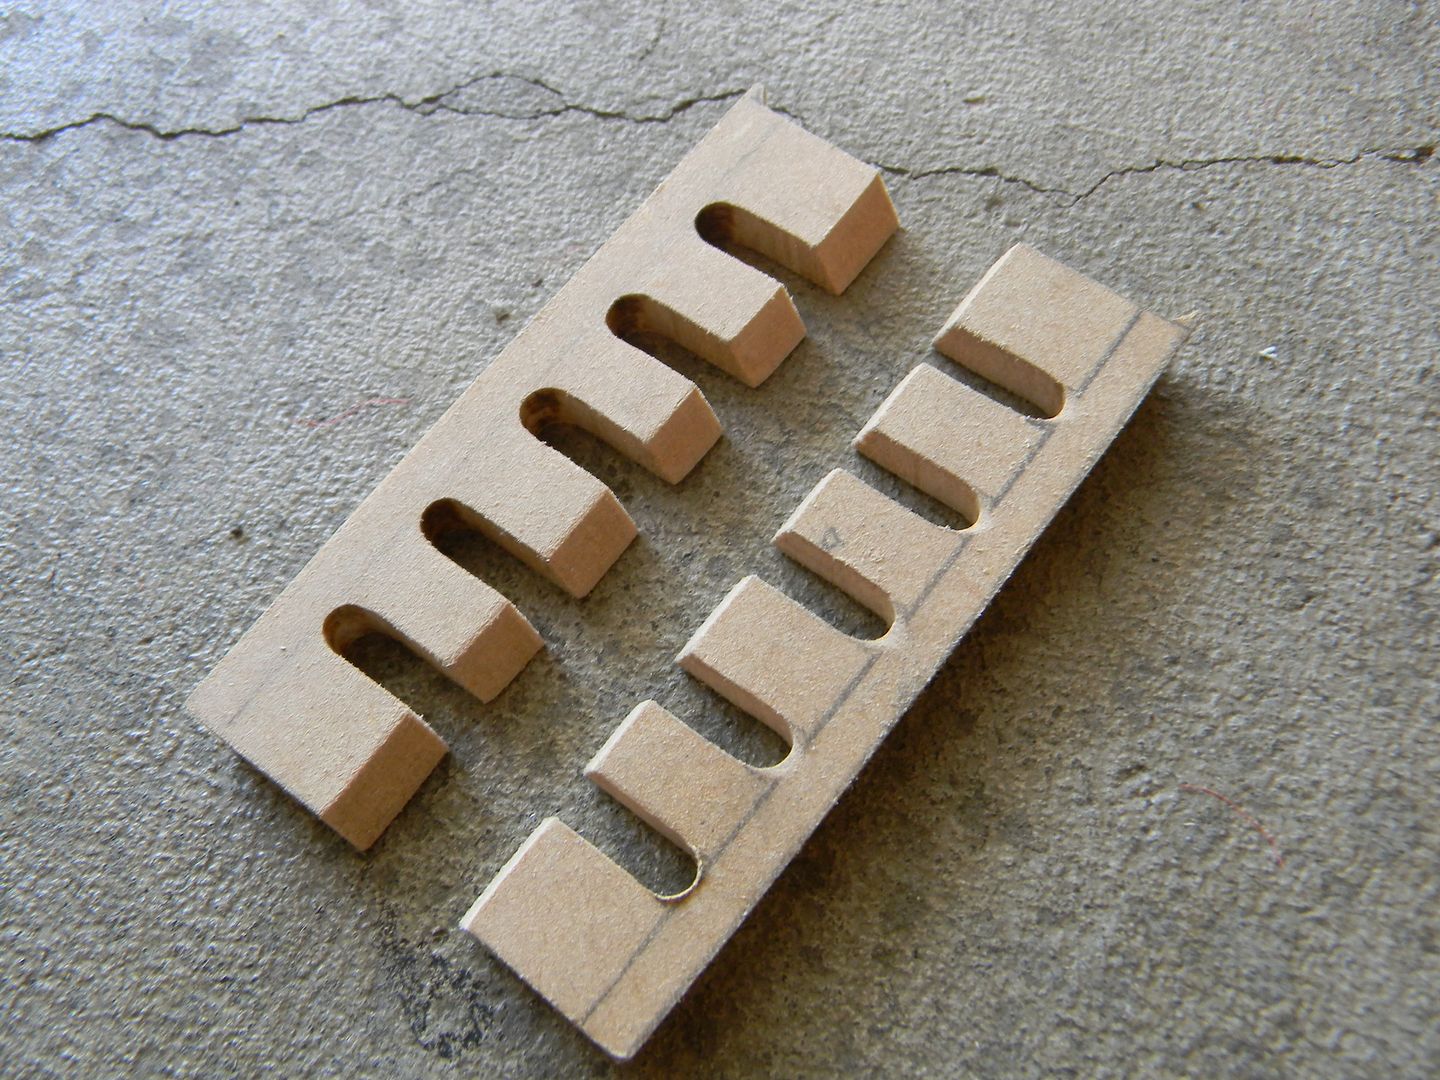
The inside channel of this part had to be the exact width of the PVC pipe that was going to sit in there. Otherwise, problems with molding would occur.
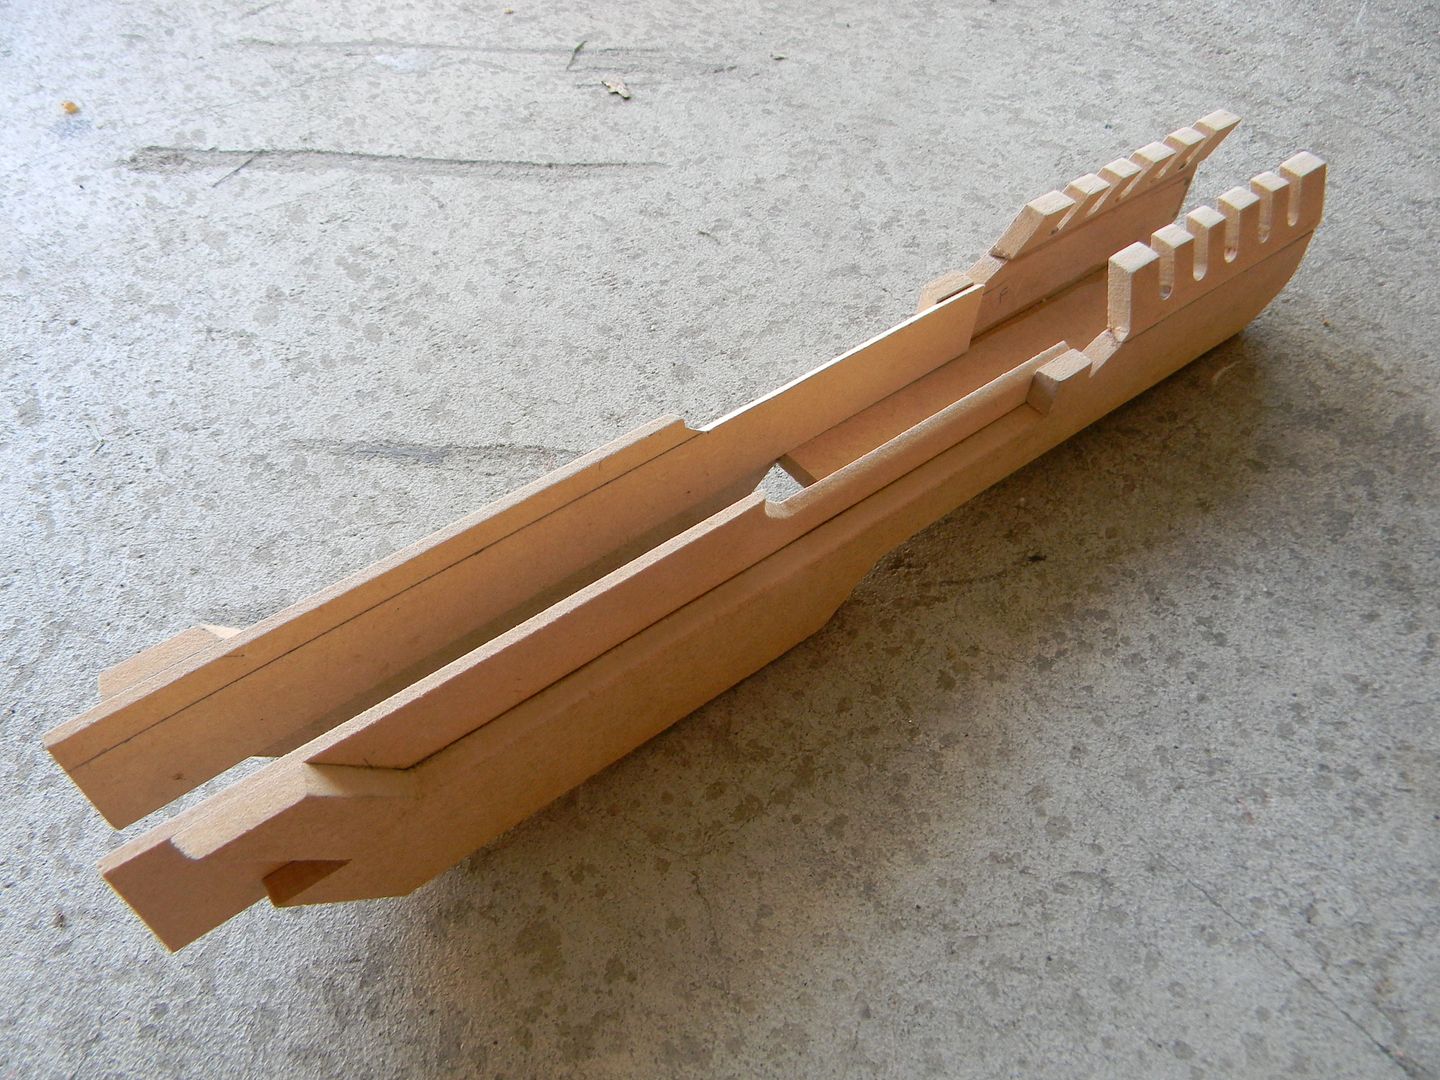
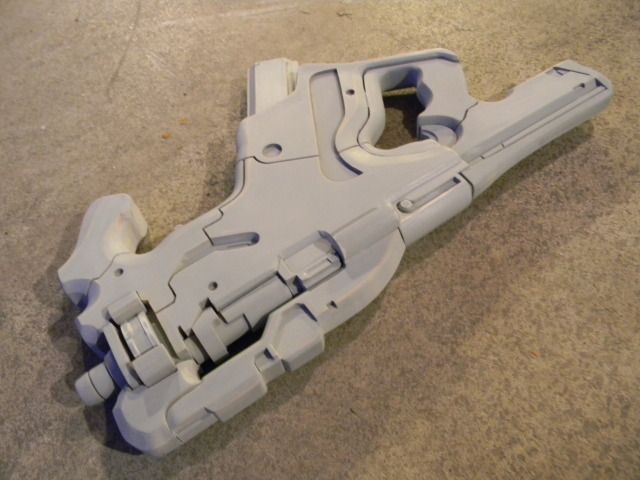
Some more progress. There's a front site on there for some reason, which cant even me remotely seen from the back of the rifle. I dunno. I didn't design the thing. Sure looks cool though. By the way, this is a modular design so that resin kit parts can be shared. The un-primed portion can slide right out at this point.
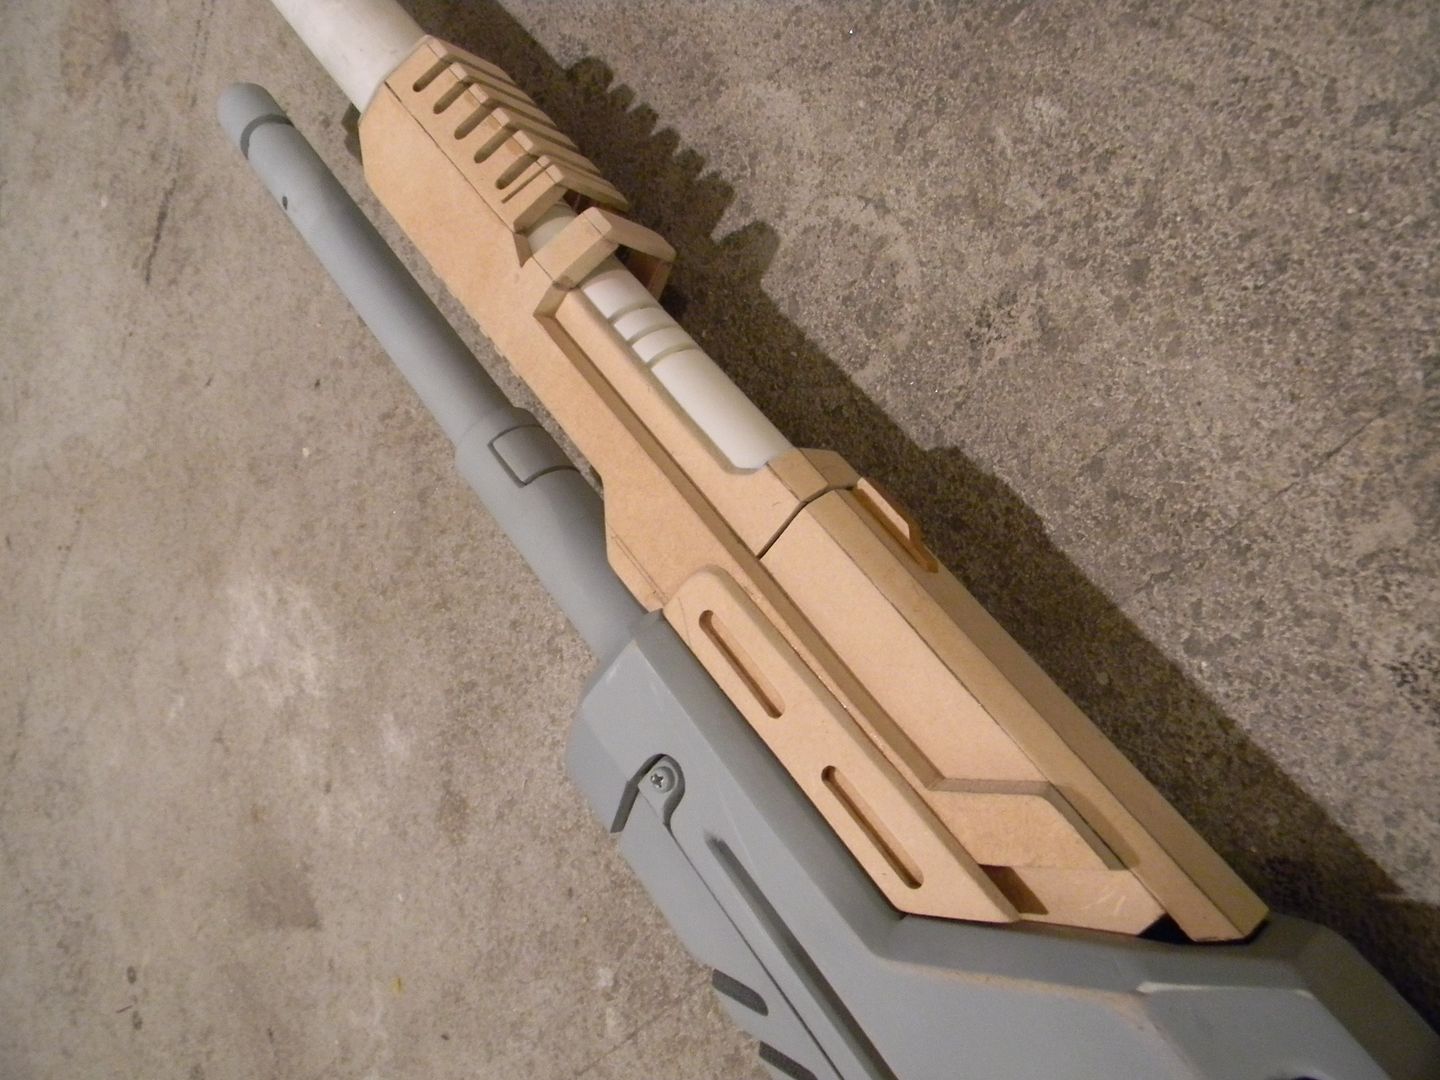
Molding wise, this is a tricky area that will have to be resolved carefully with clay.
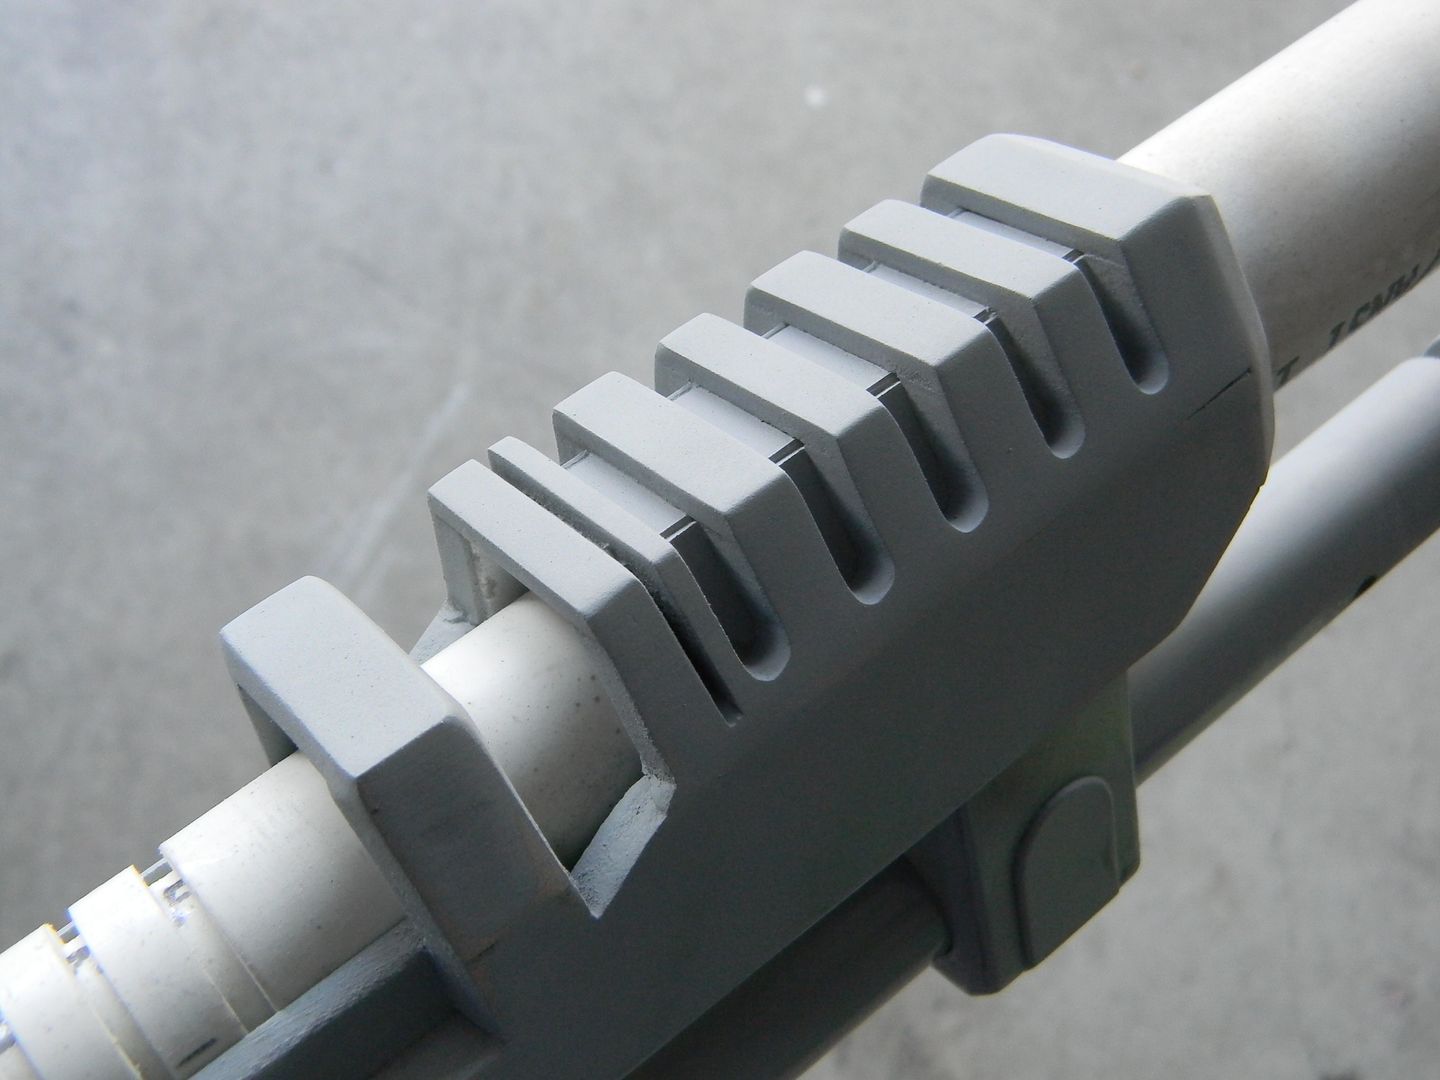
Some progress on the lower tube. This is from the M-29, and will be shortened.
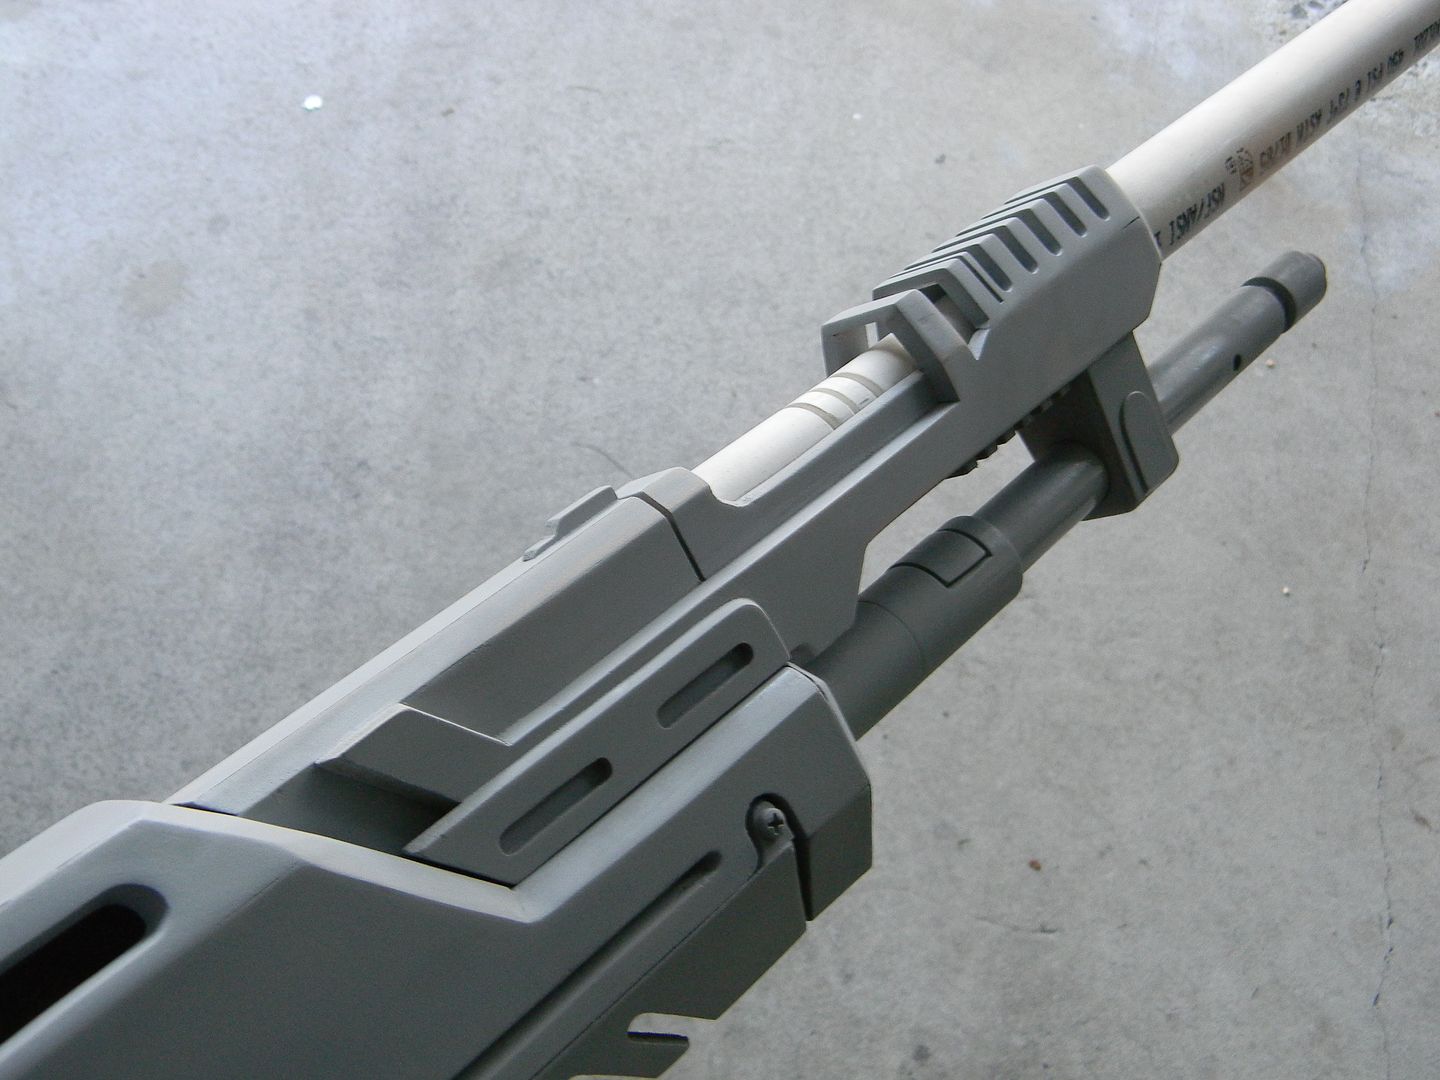
Somehow, I did this whole area in MDF last time. This time though, I couldn't manage and took a shortcut. I'm getting old.
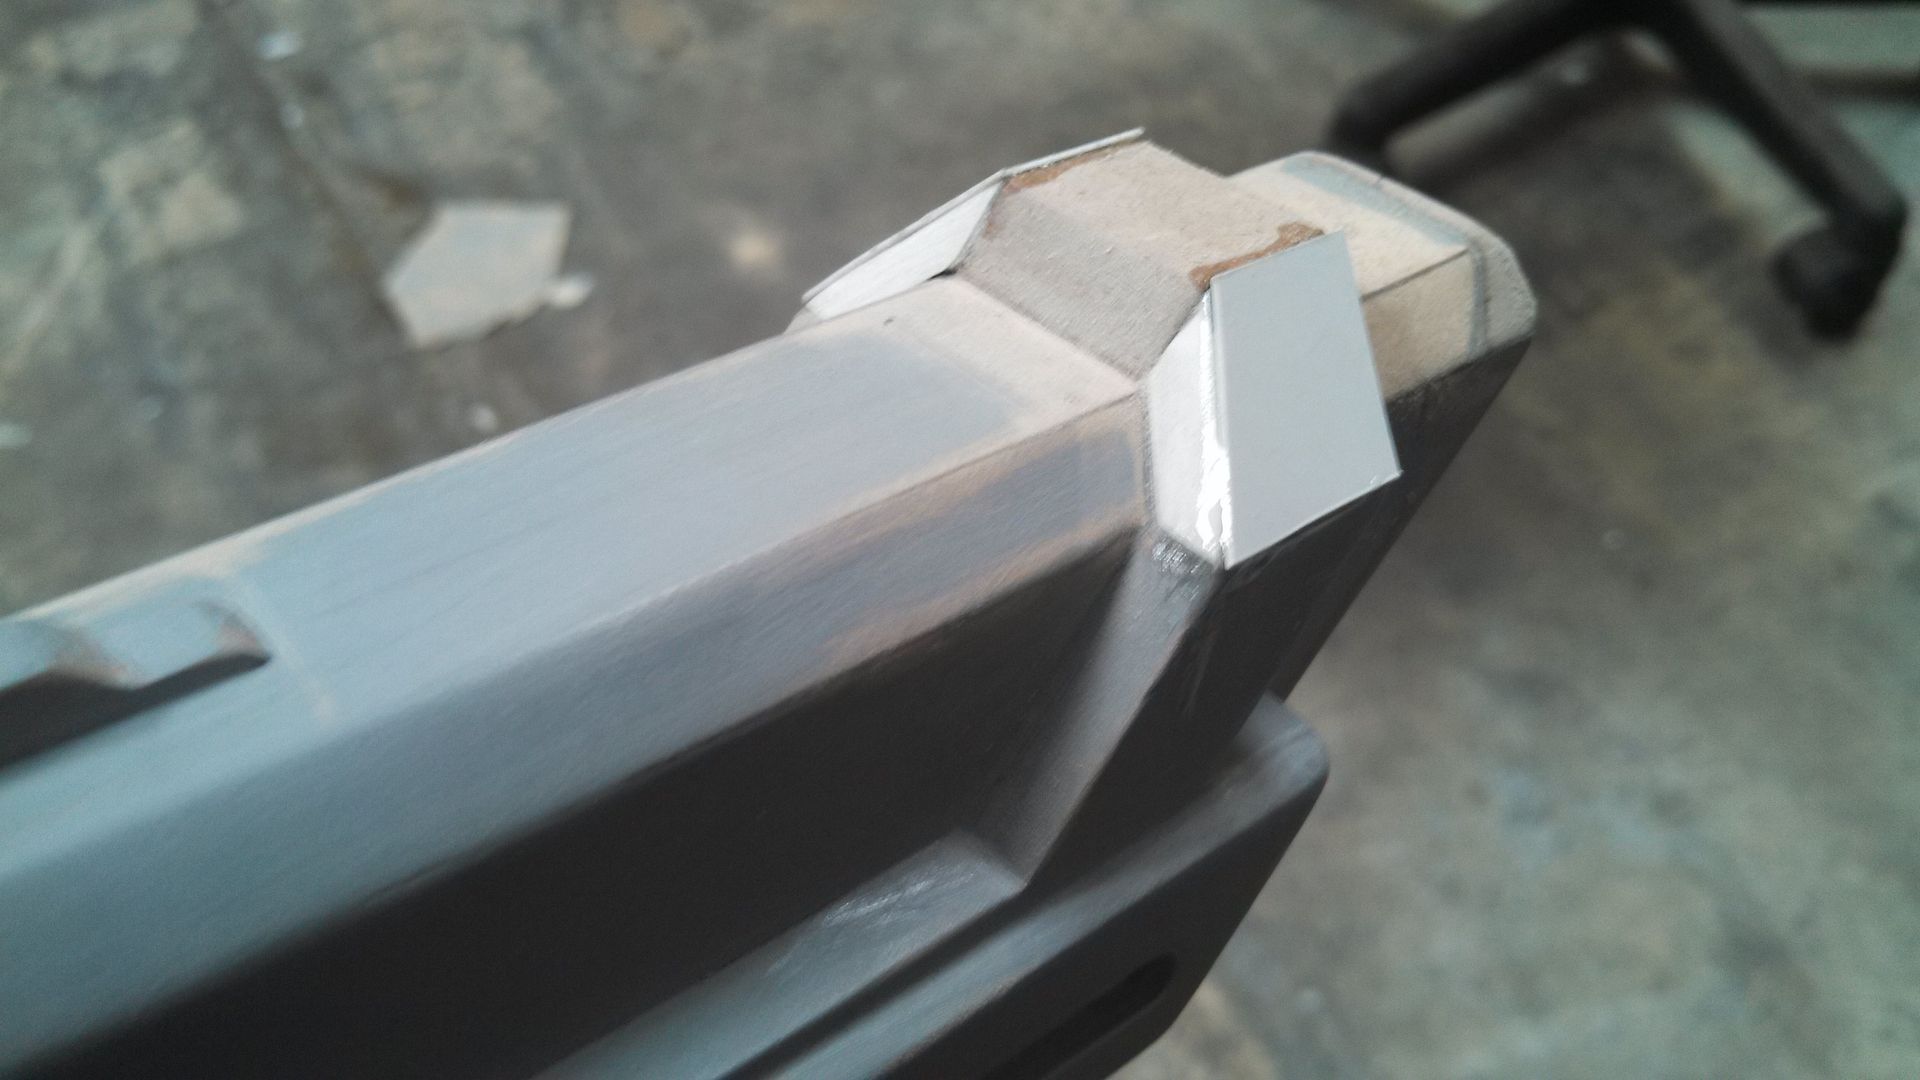
Prepped for molds.
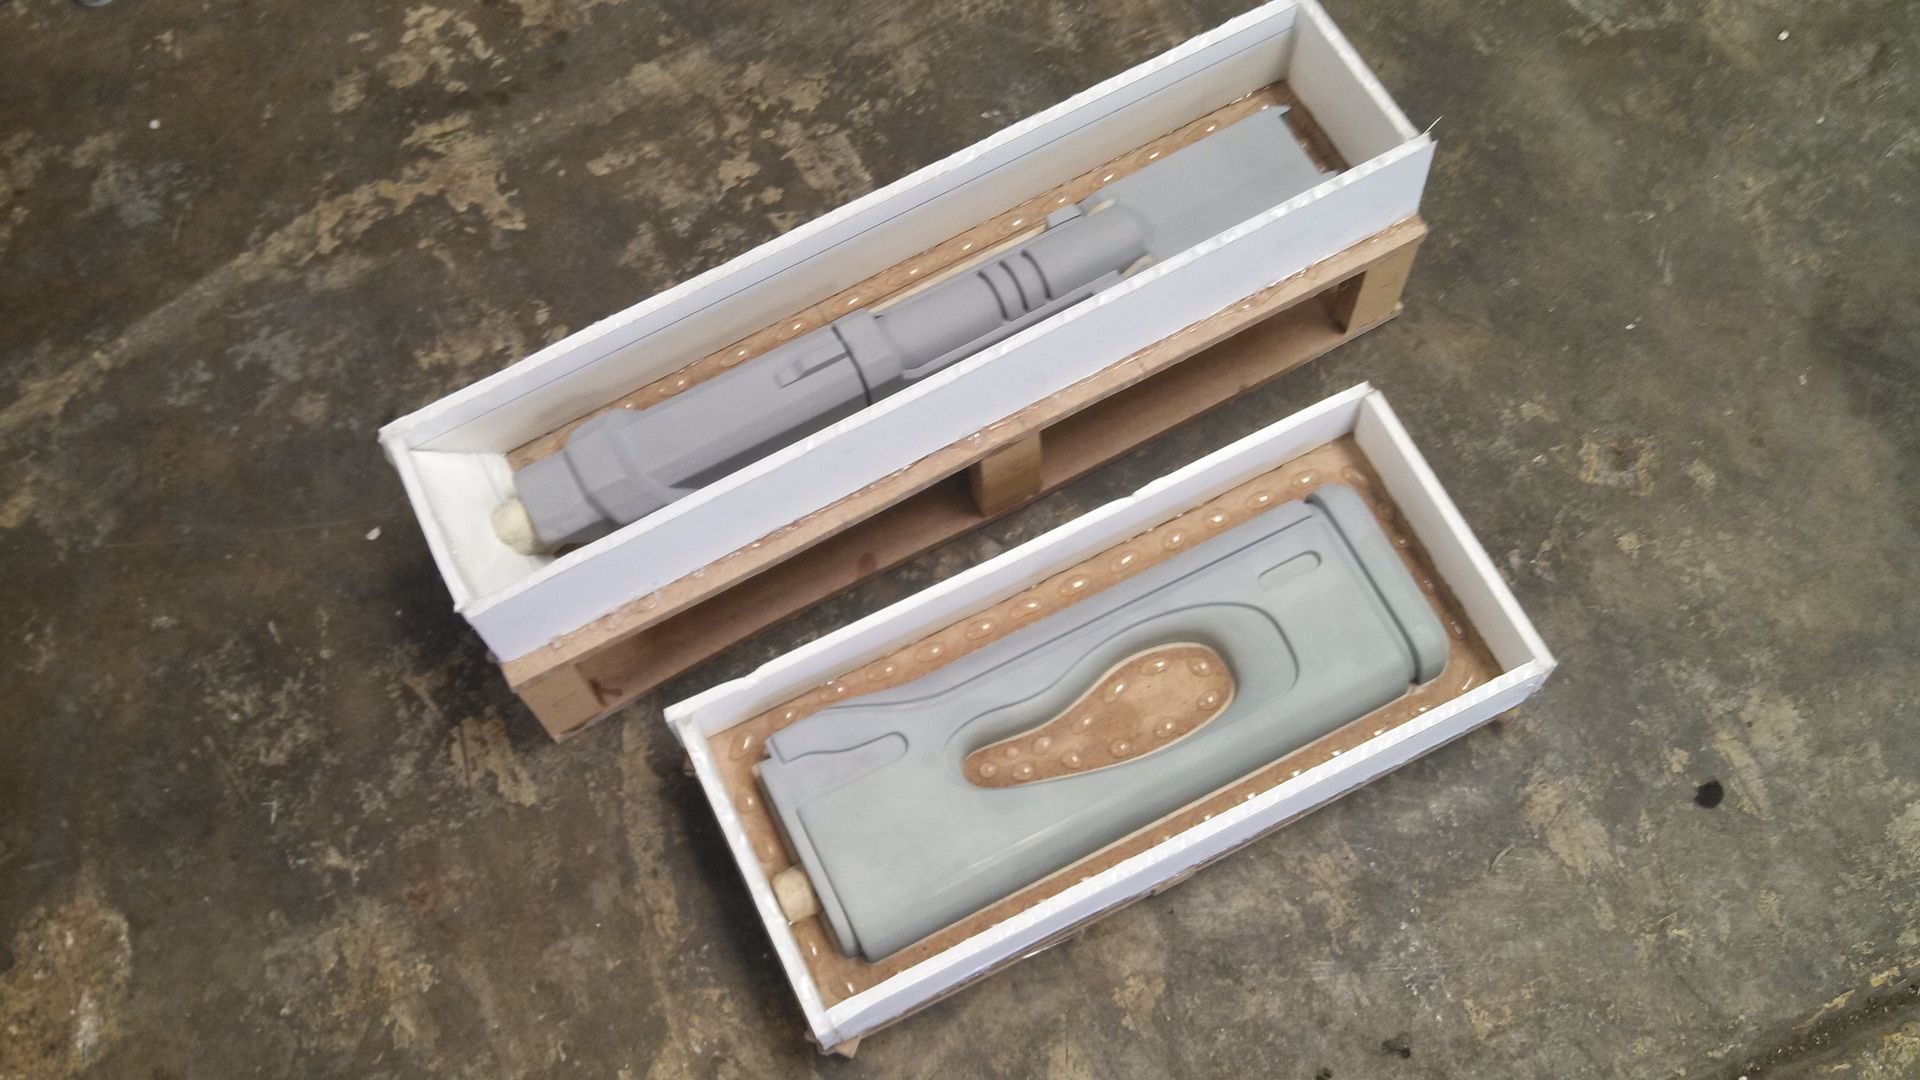
I re-use extra silicone or silicone from dead molds. Make sure there's no mold release, cut it up, and mix it into your later layers of silicone. Works great and saves money.
Perfect!
I skipped all of the smaller parts in this post. I didn't take photos, and everyone likes the big stuff anyways.
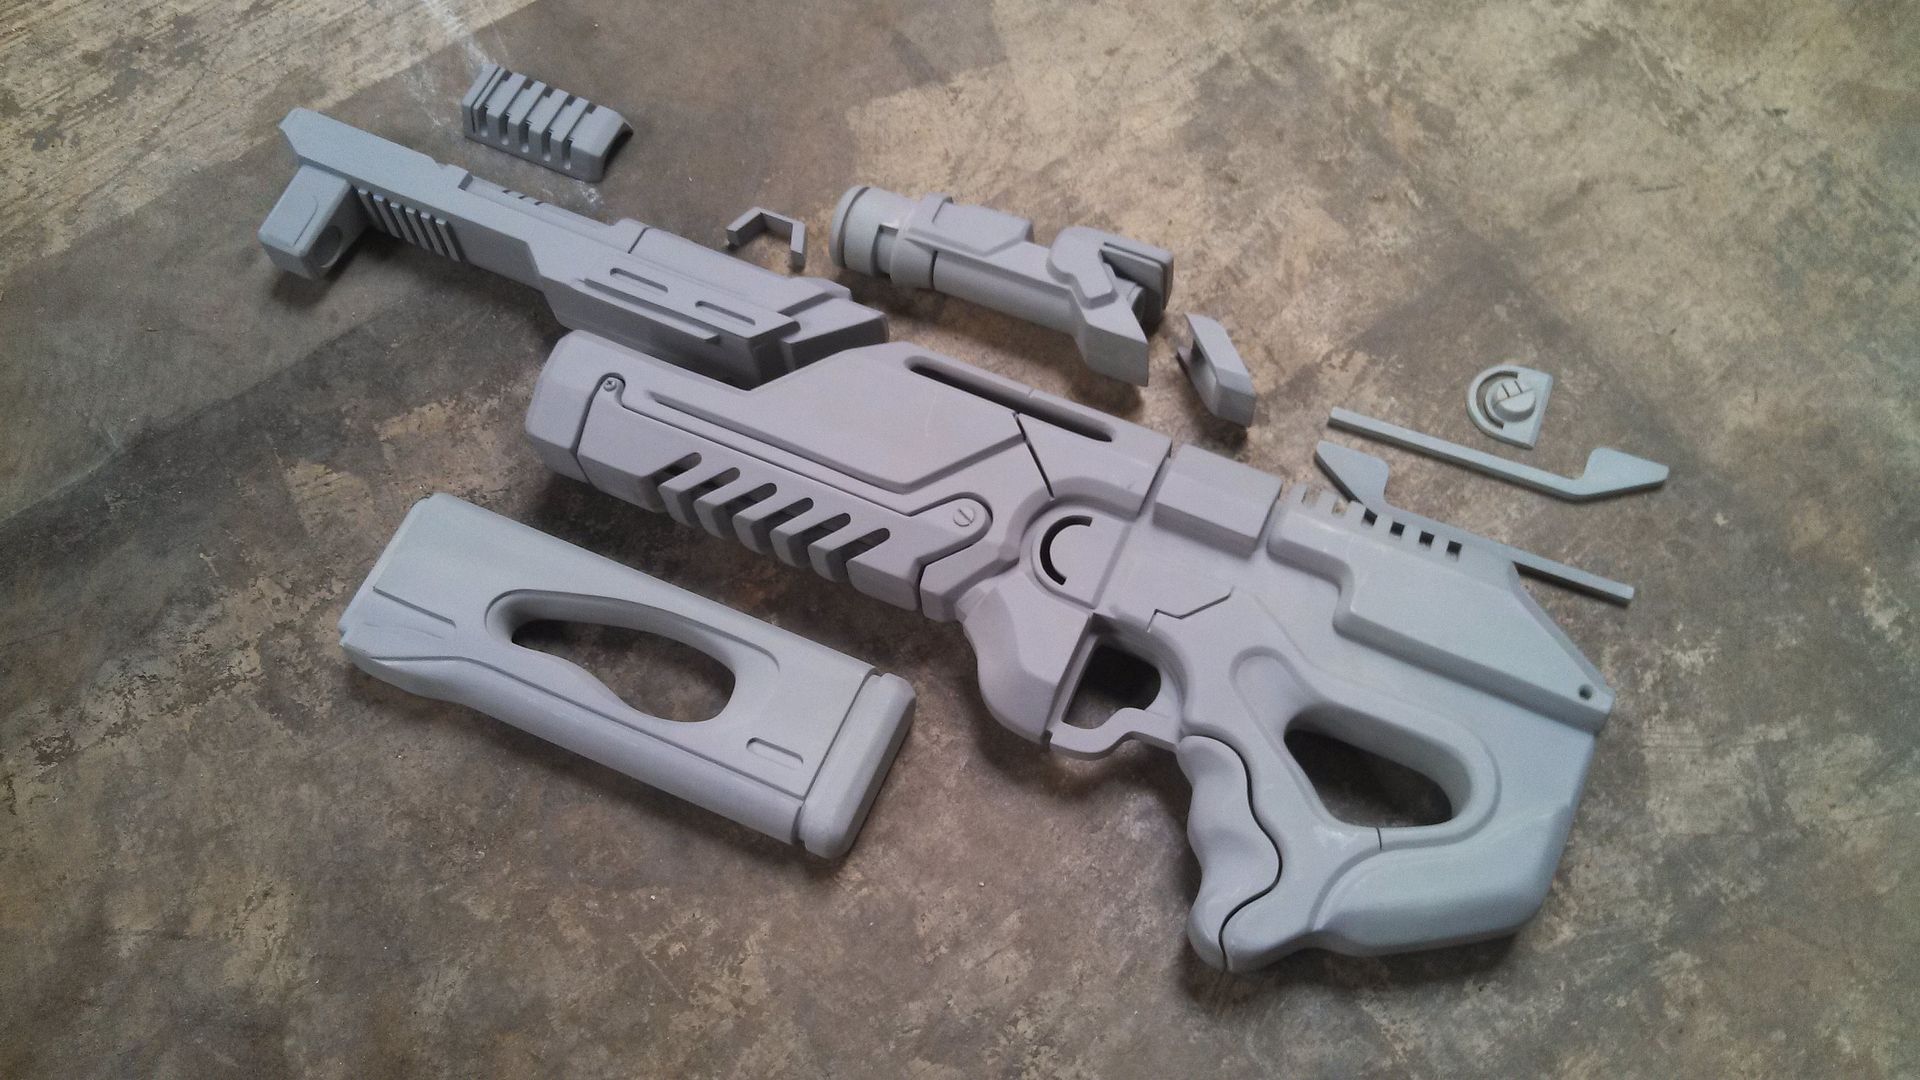
First receiver pull. Shame this is going to get hacked to death.

I had to hack off the area behind the grip, as well as shorten the butt end. Don't worry, she'll get her curves back soon.

I covered the holes with styrene, then slushed more resin behind it to reinforce the structure.
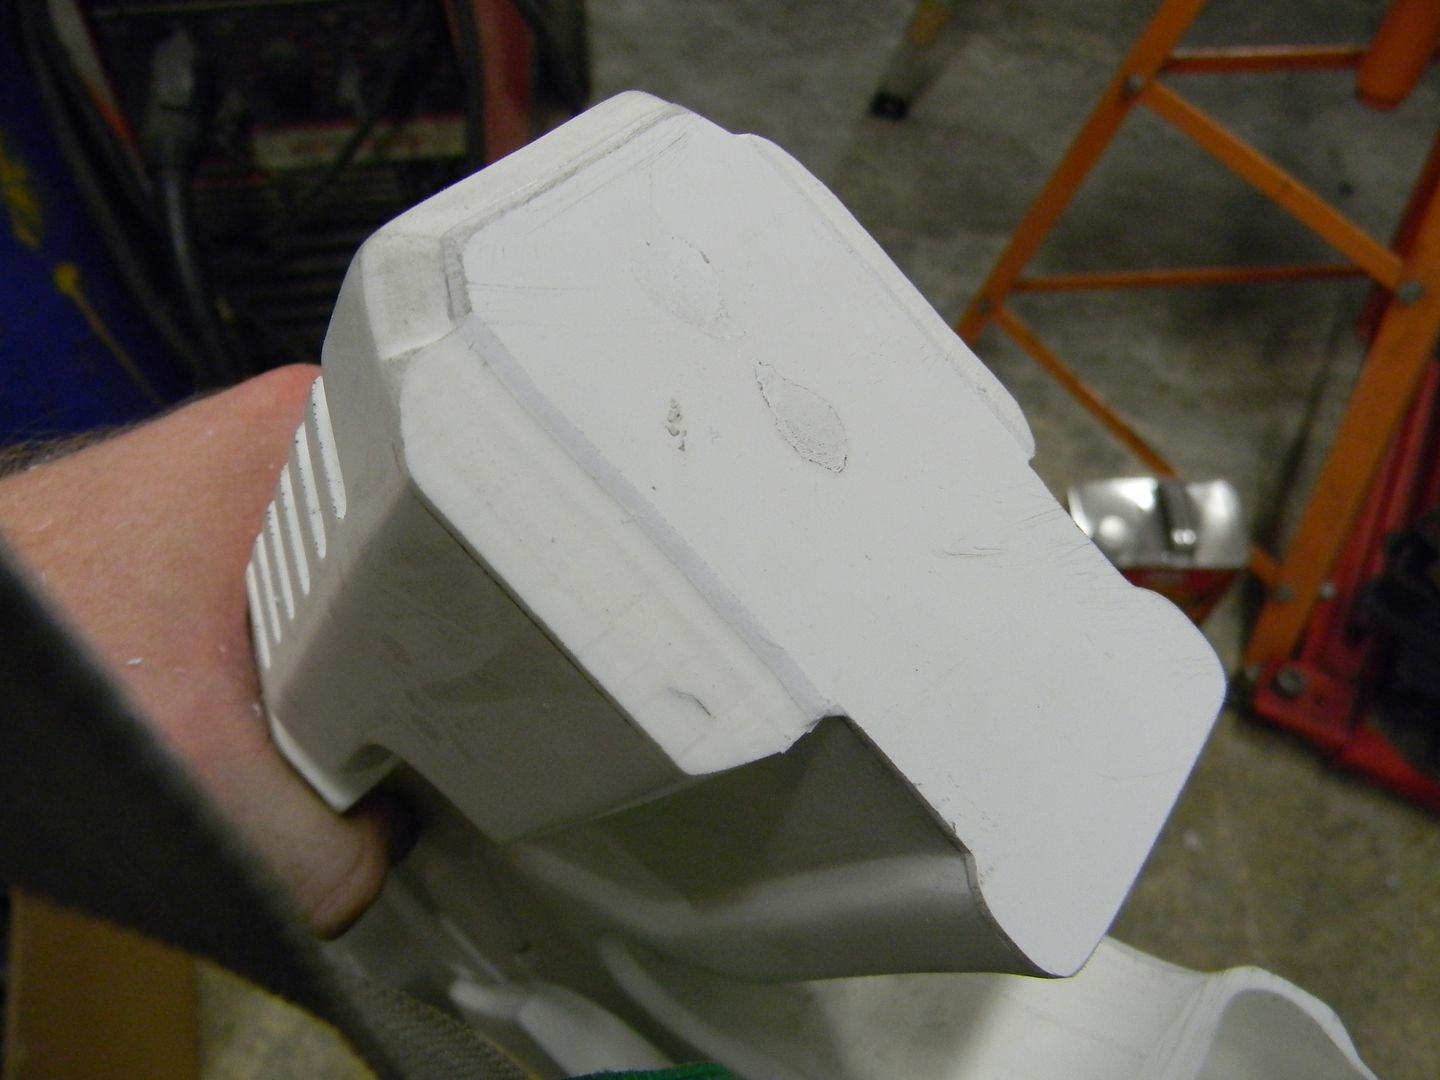
The area under the trigger guard is shortened.
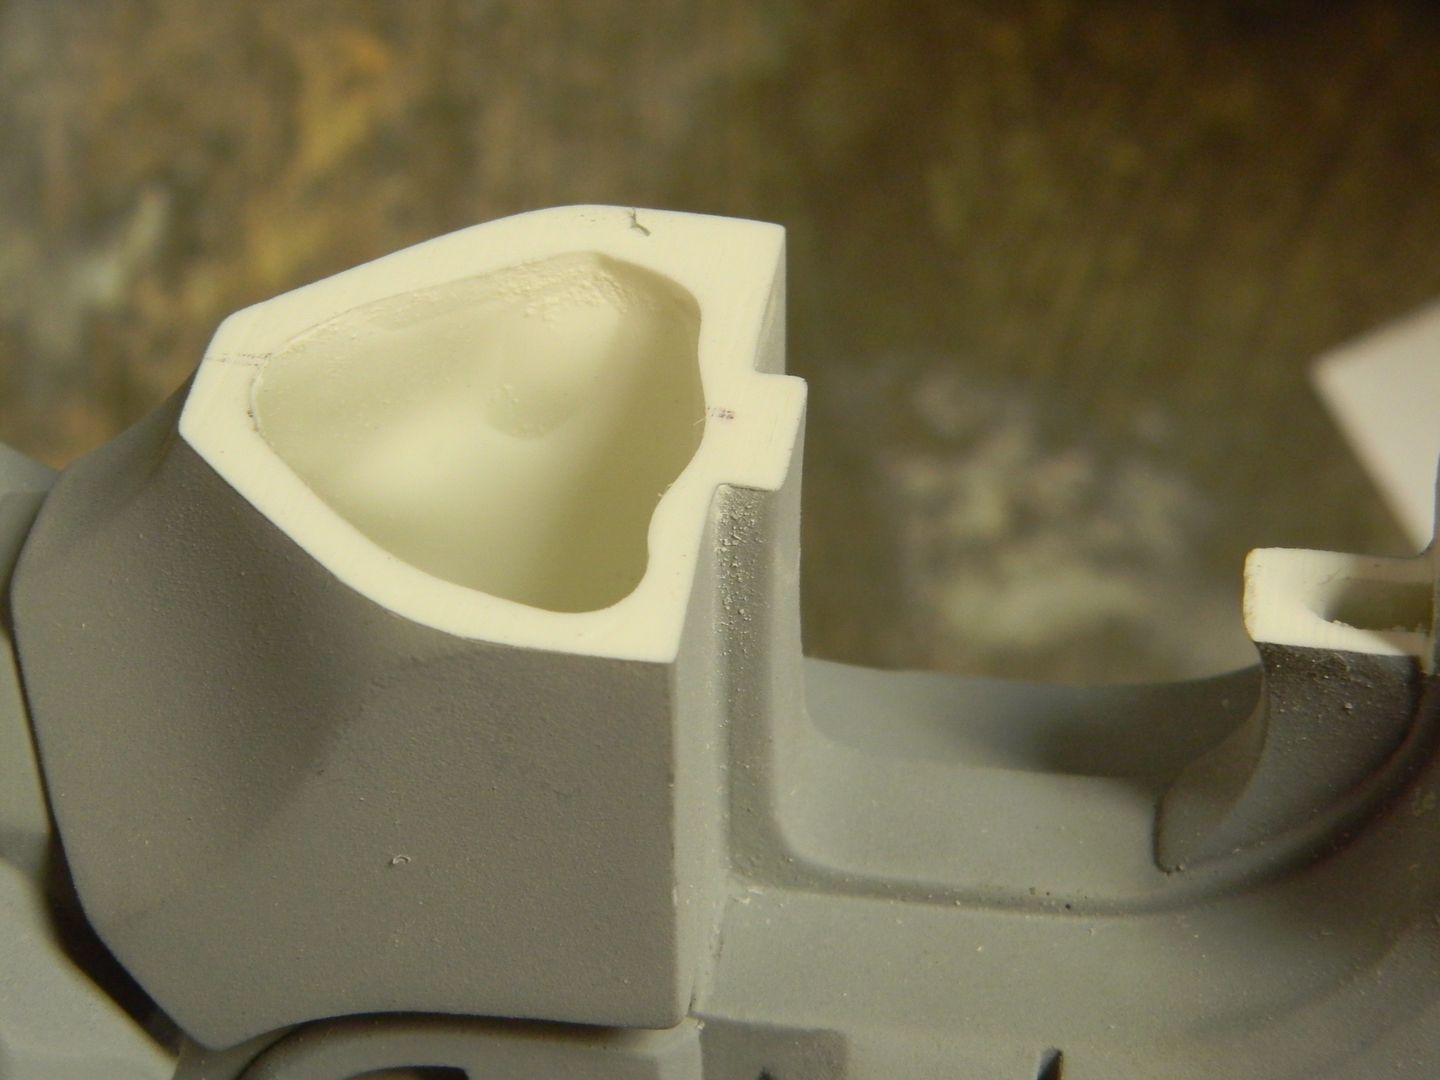
Then beveled, to say.... I don't remember......26 degrees? wild guess?
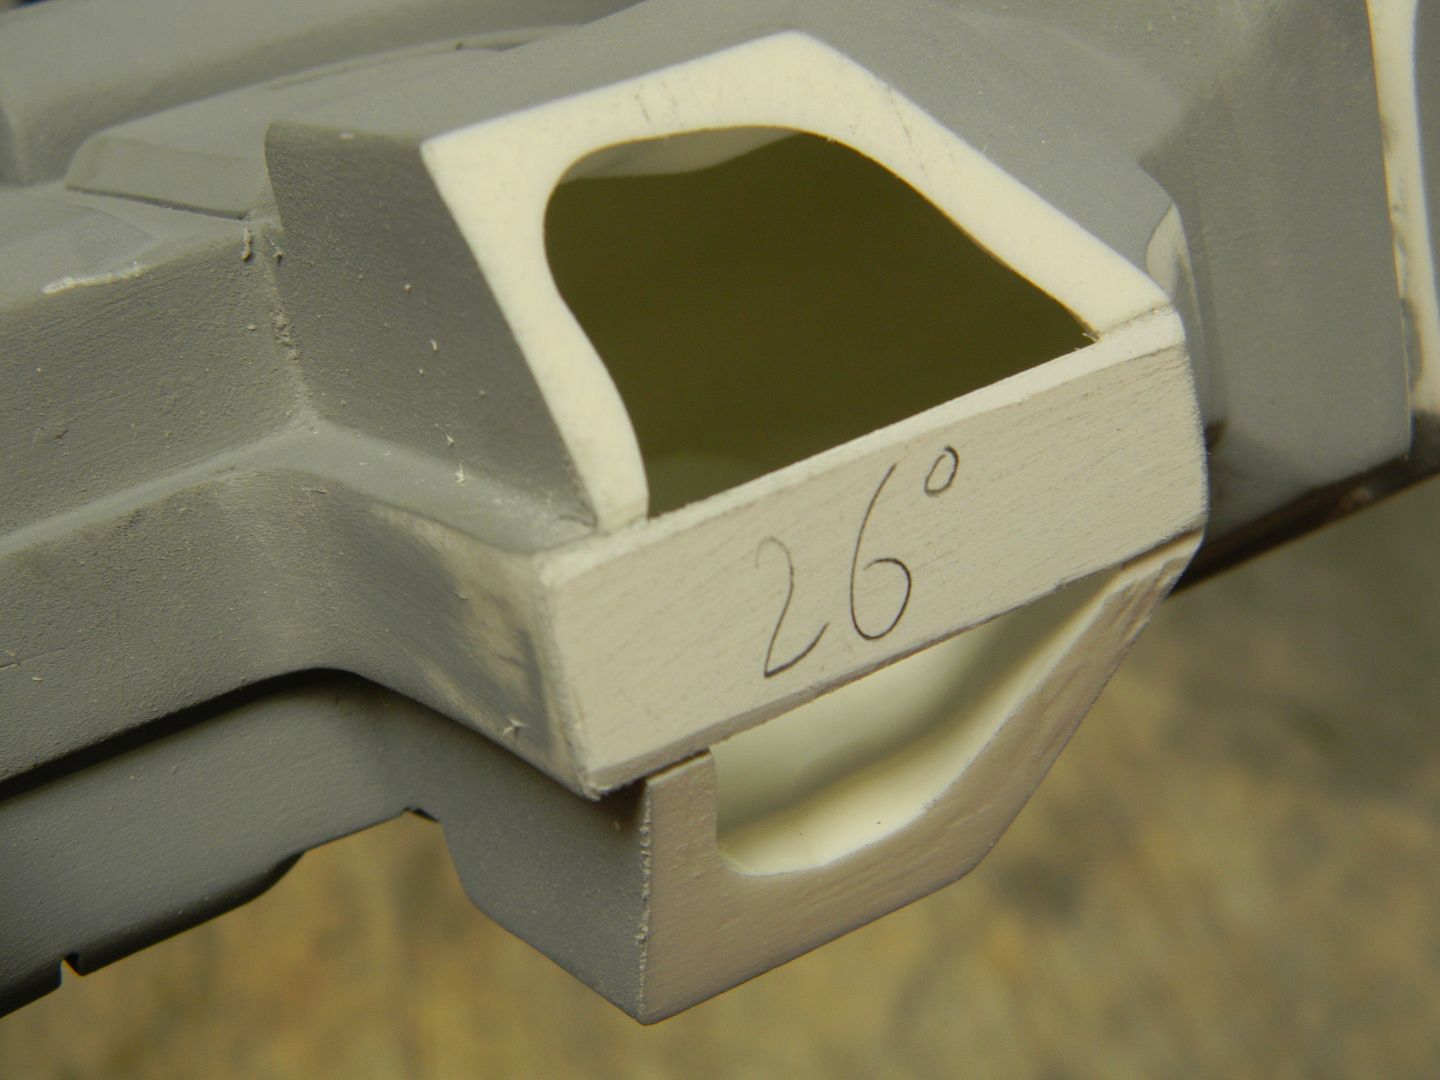
More styrene, once again reinforced with resin on the inside.
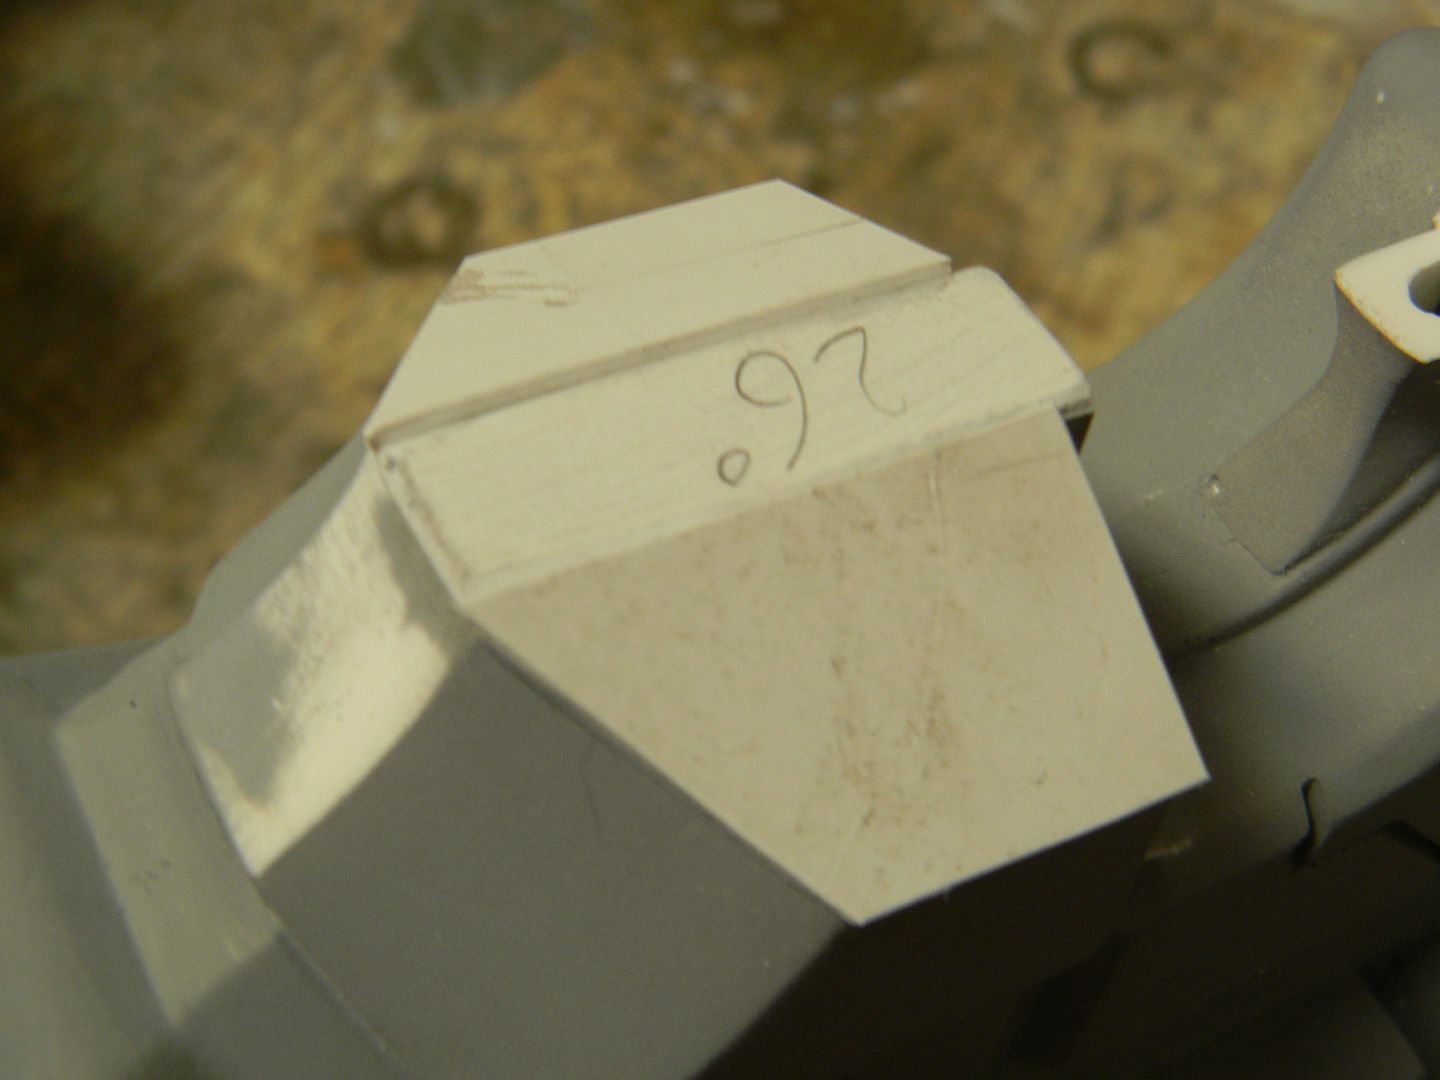
On the top side of this little nub, some modifications had to be made to convert this M-29 nook into an N7 receiver.

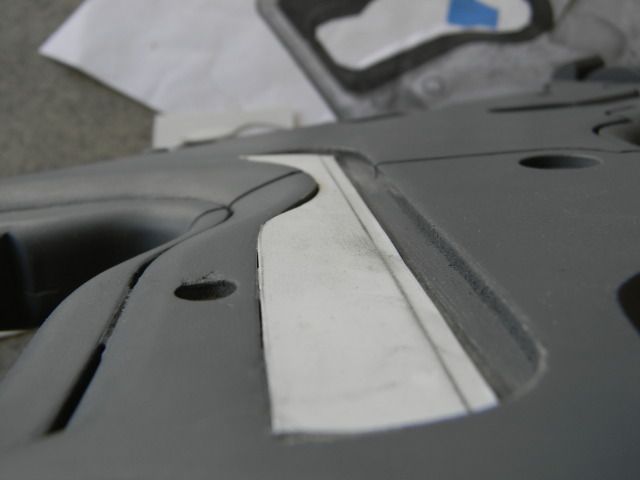
I have a well-fitting insert out of MDF.
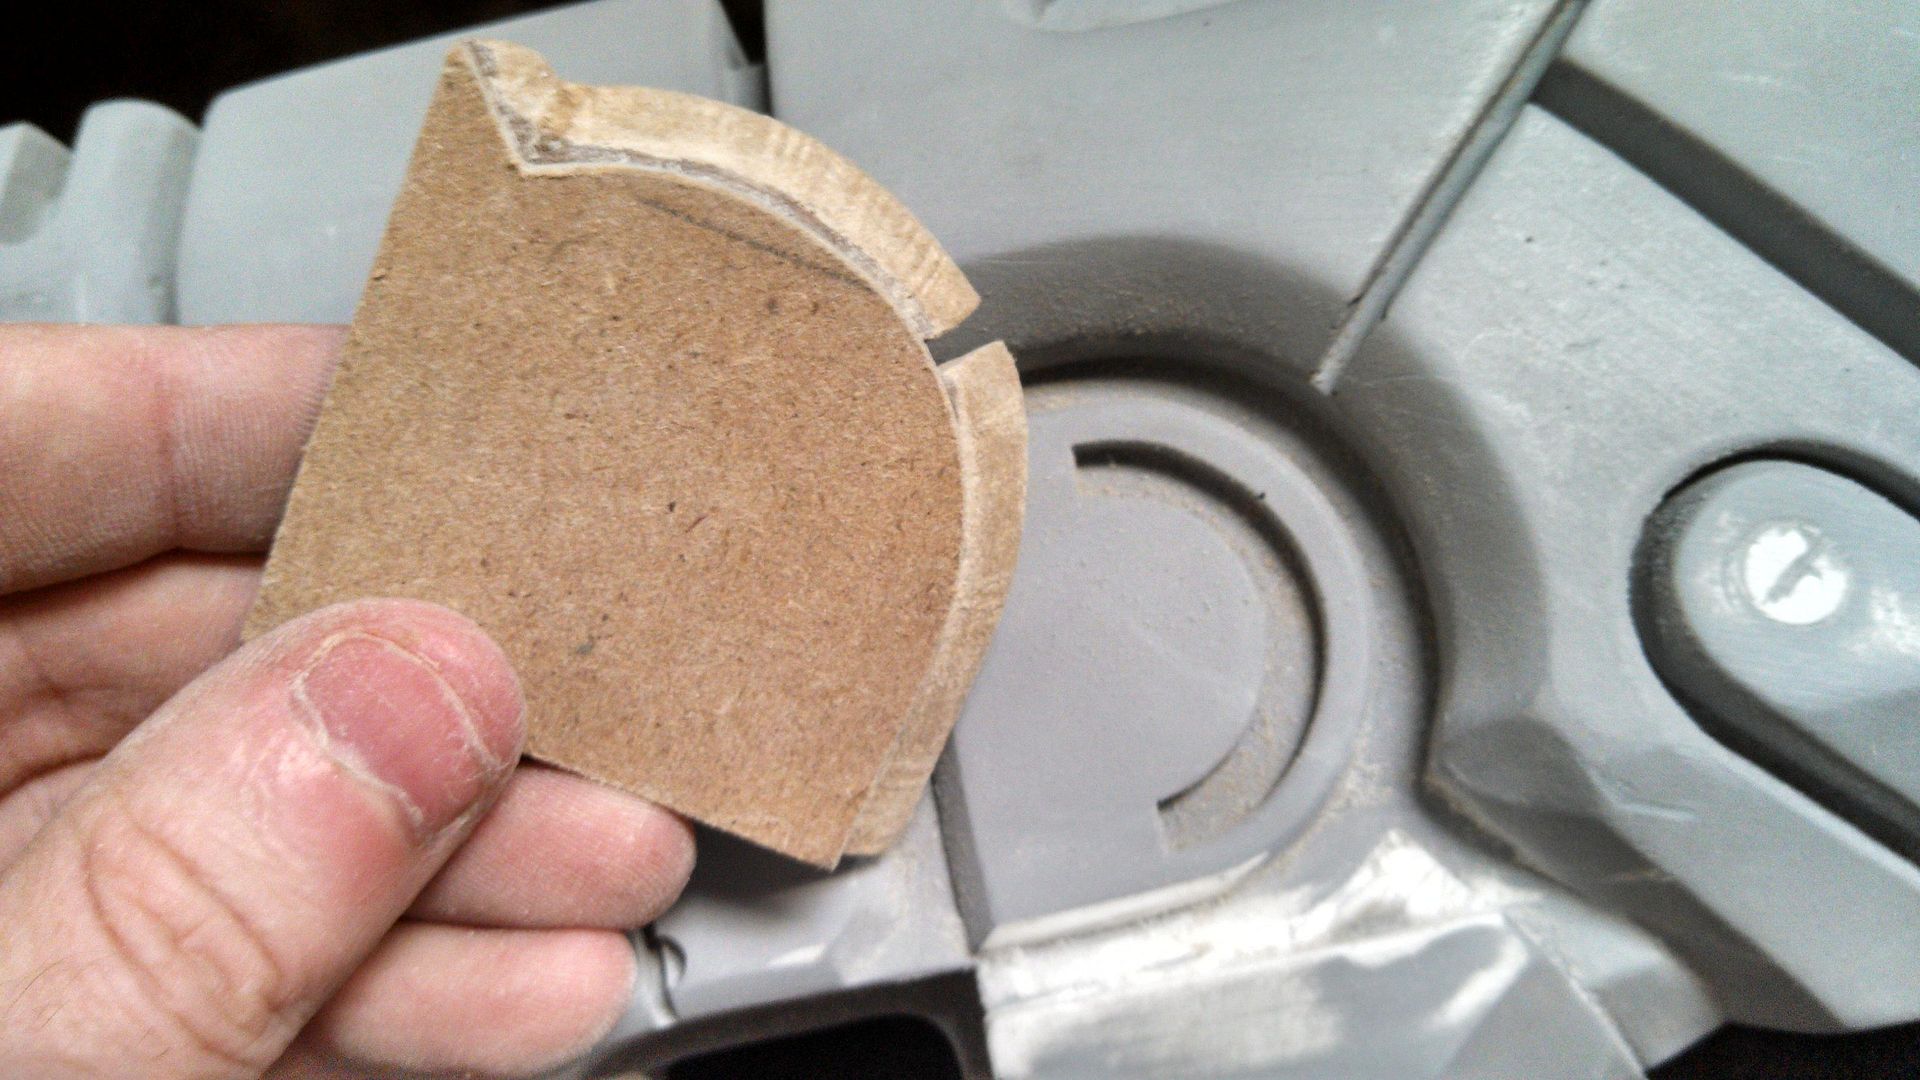
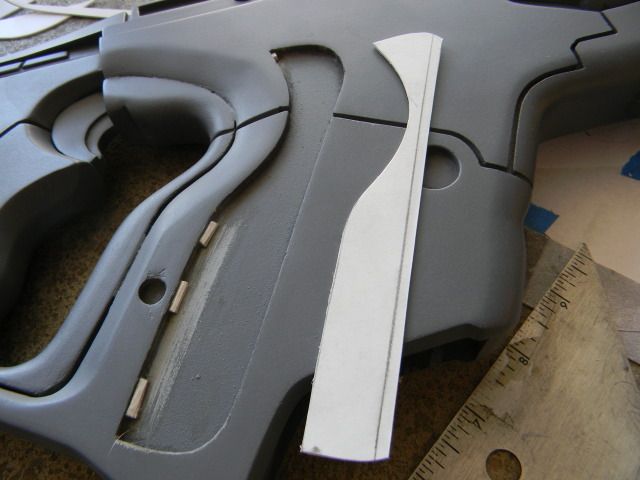
It was tricky to retrofit the part as well as line up the panels, but it was done.
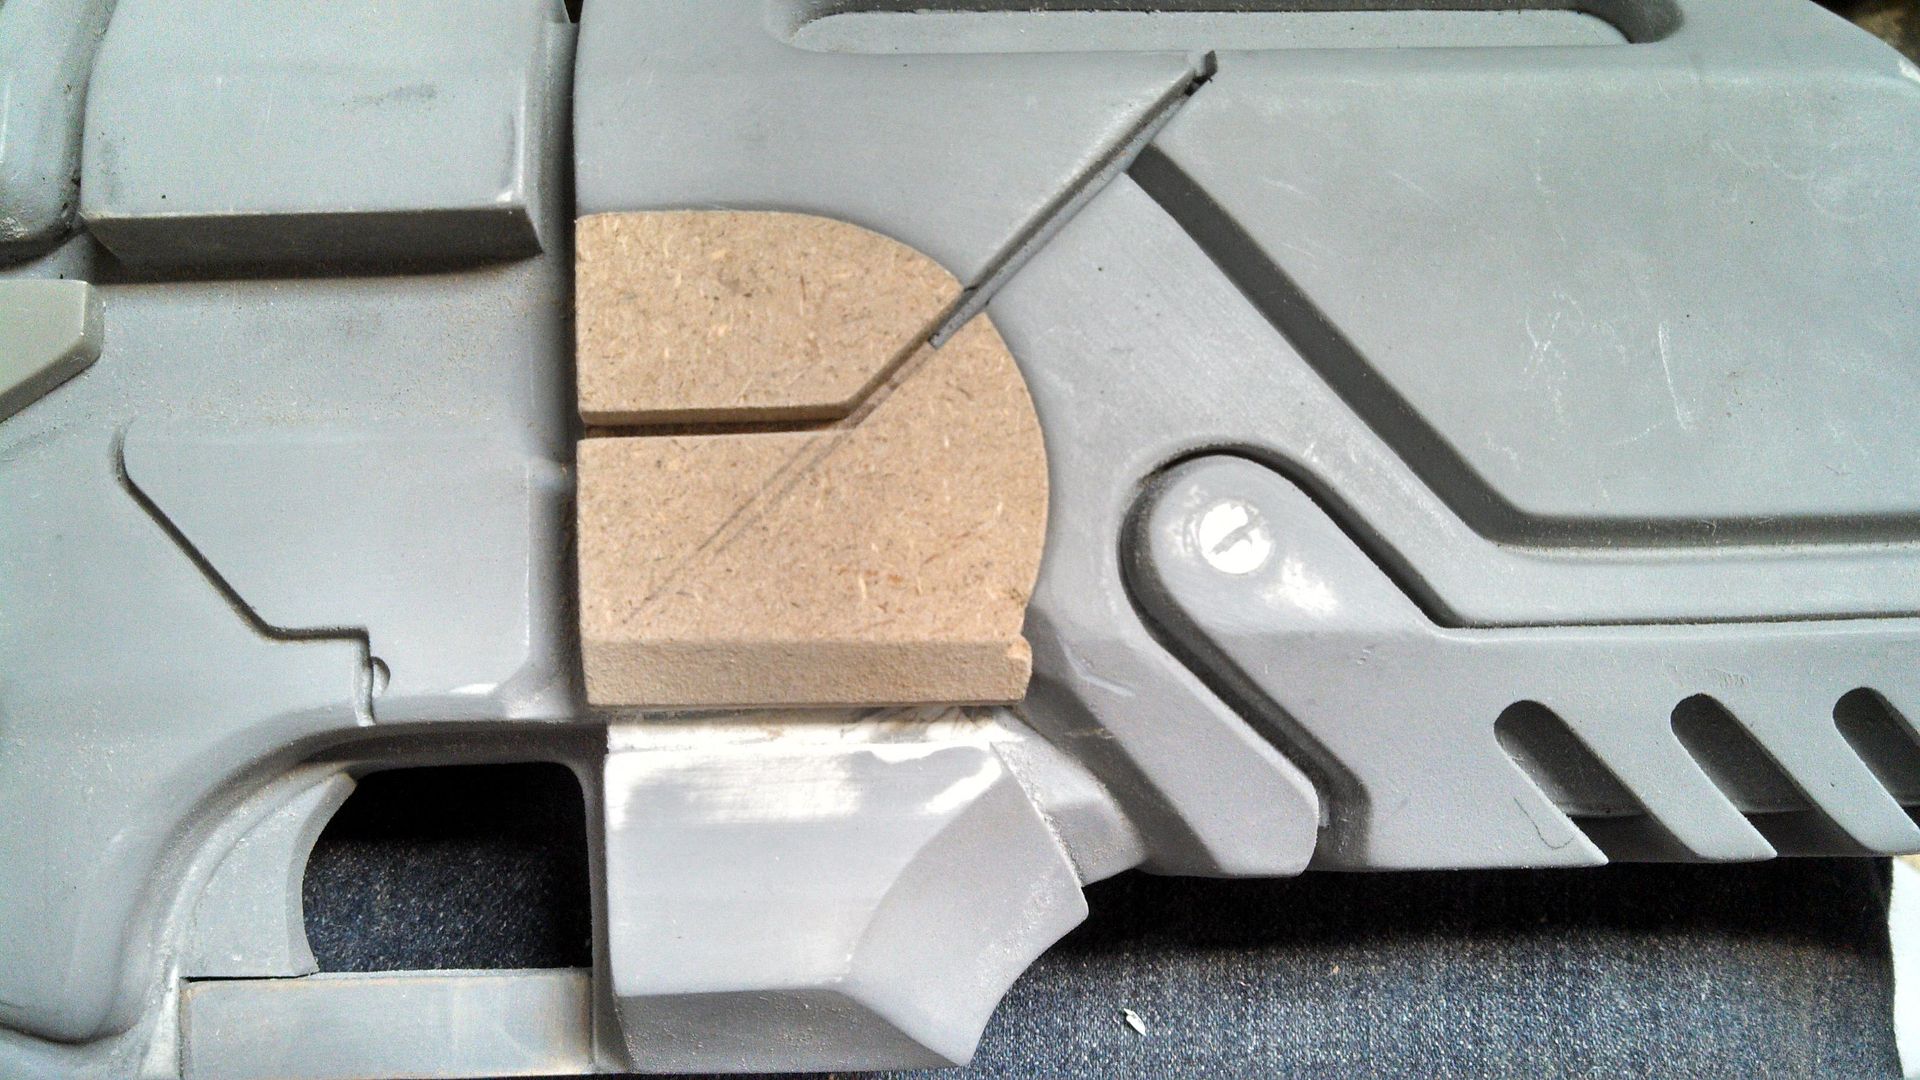
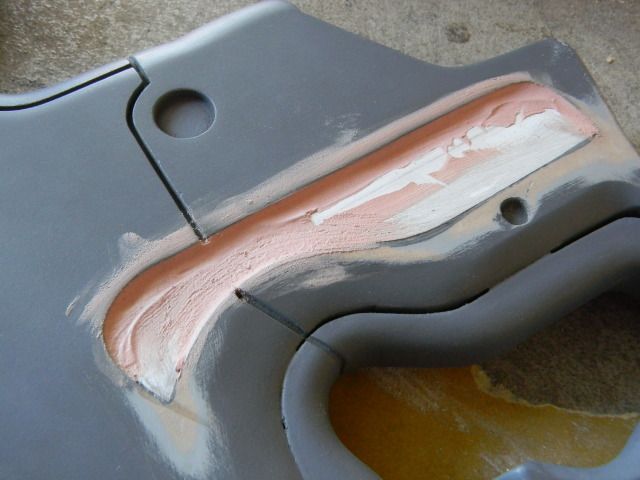
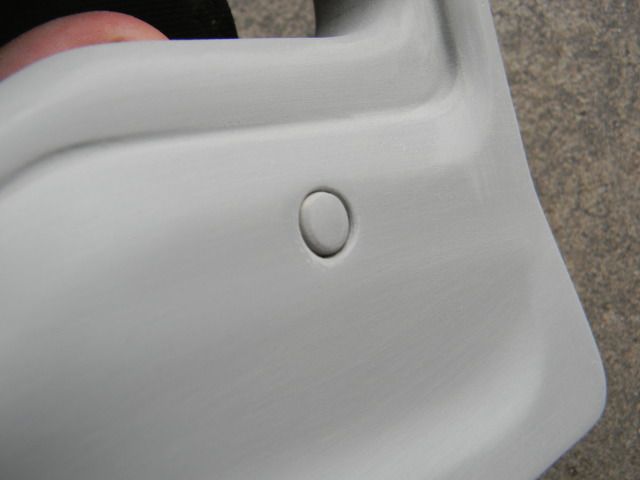
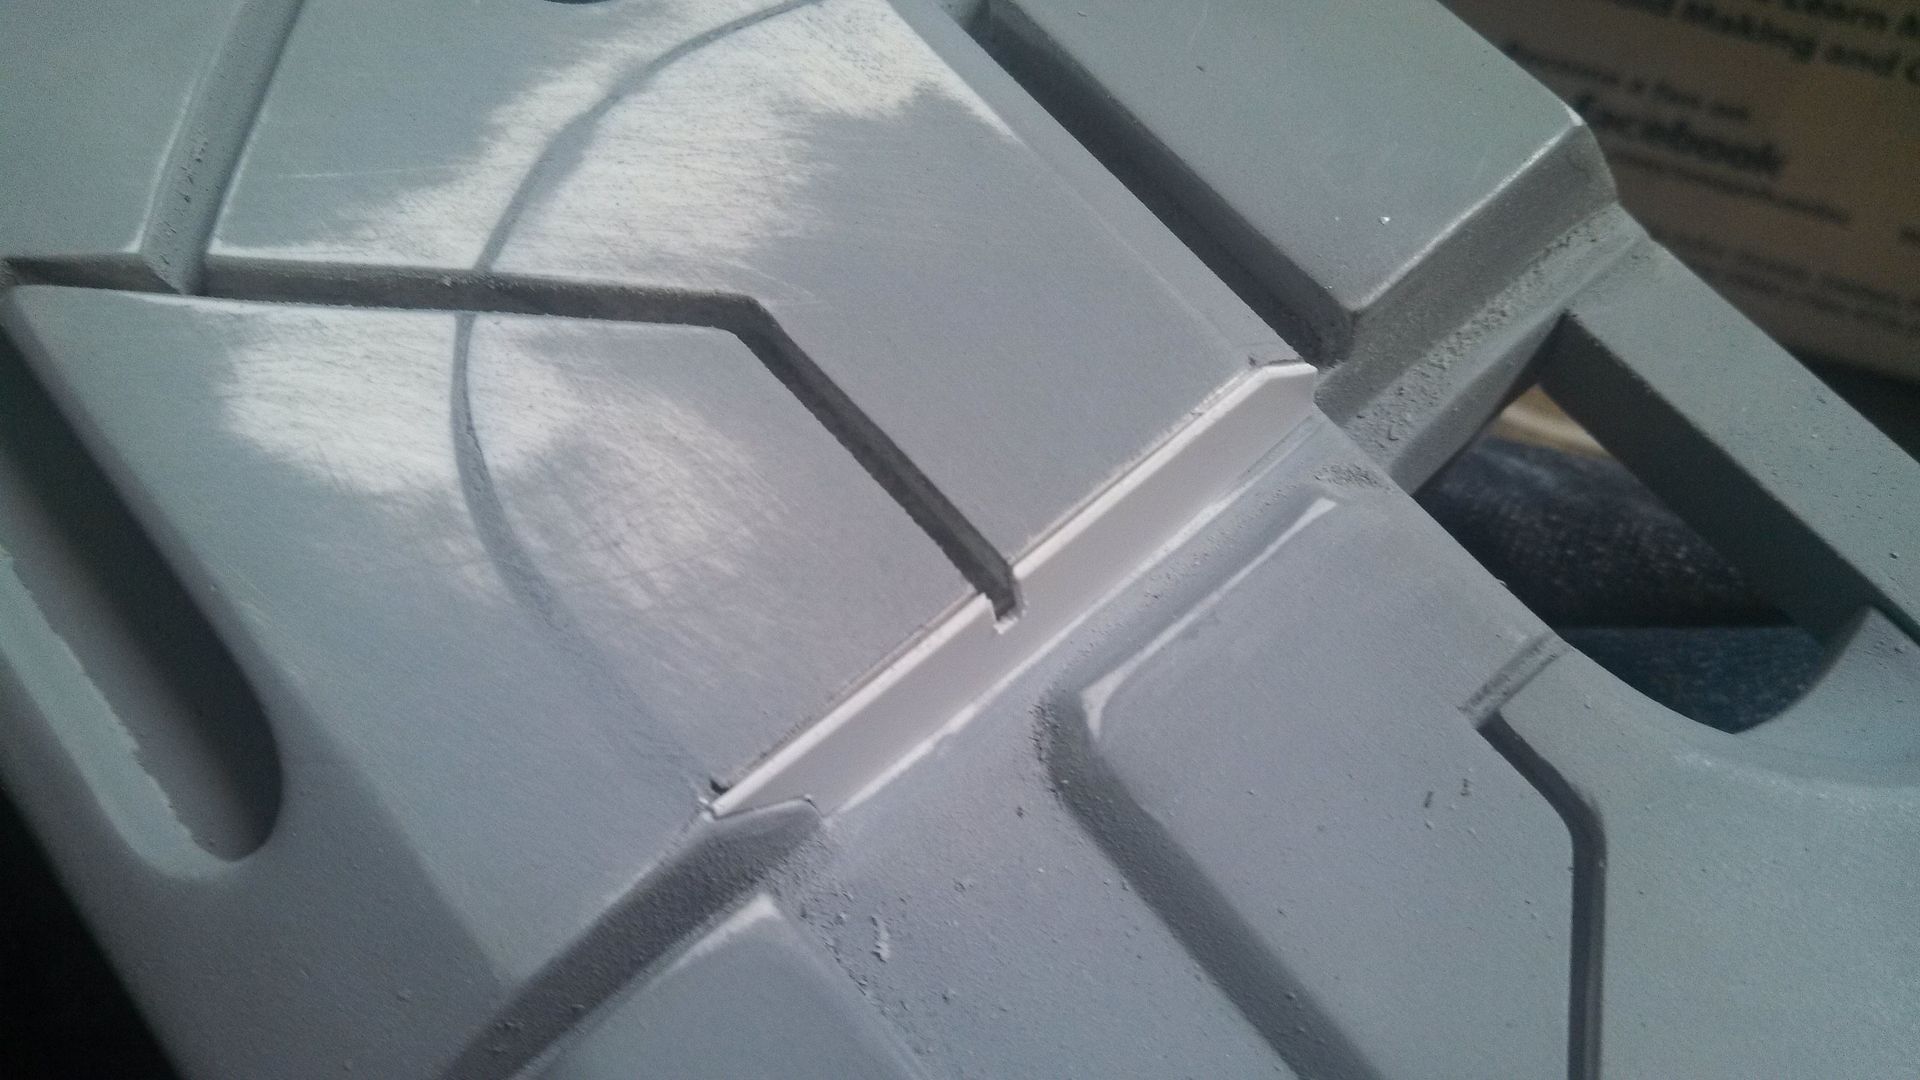
It was then cast in resin (Both sides) and inserted/sanded flush. I used styrene to cover the small gap on the outside, but, yes, bondo will do for you sanding fanatics.
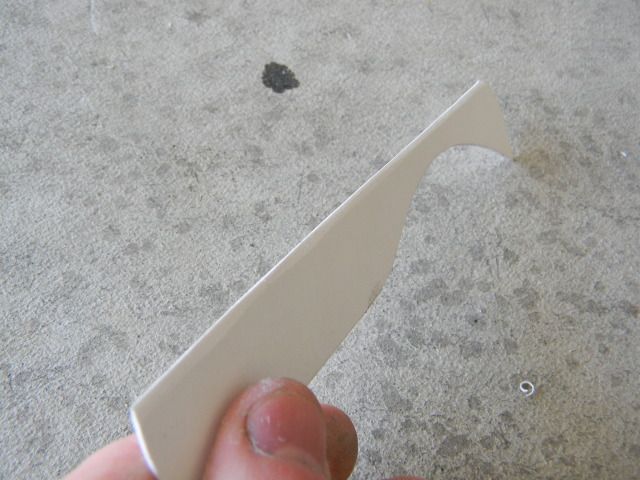
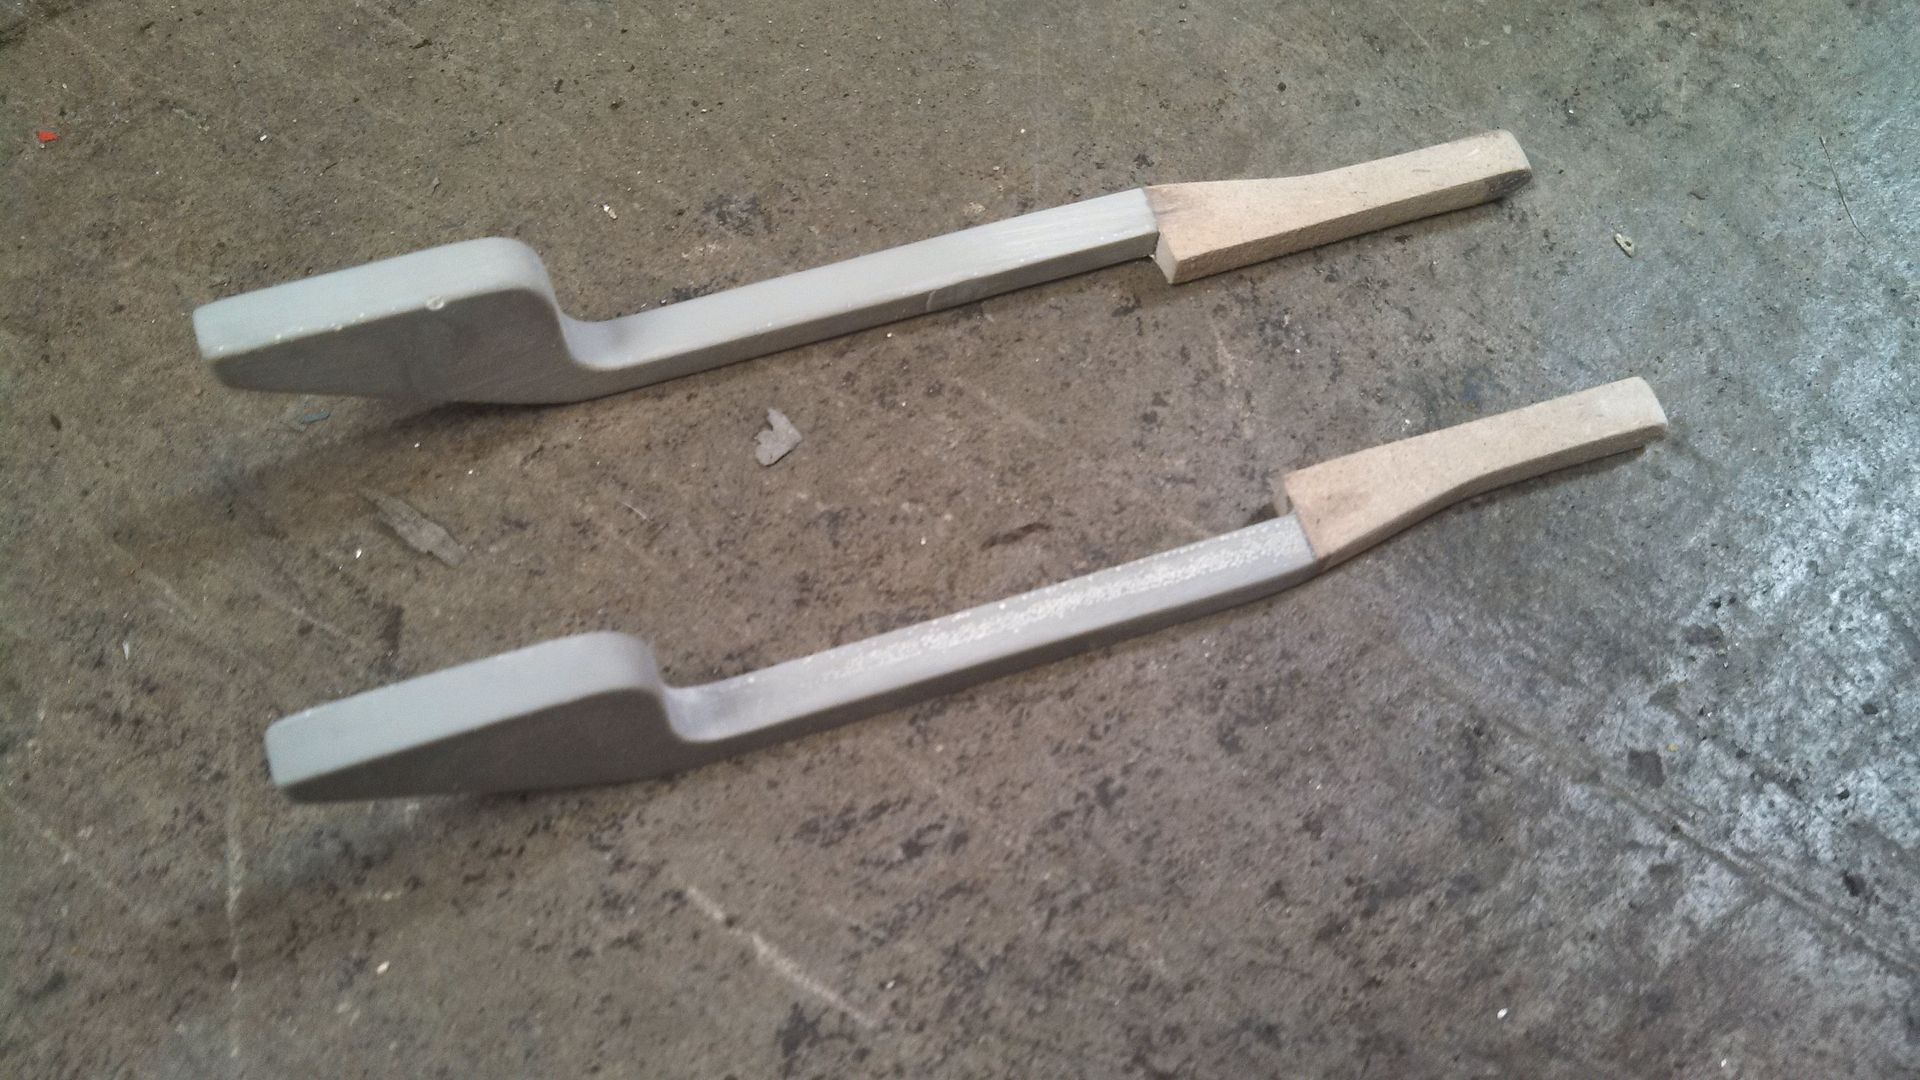
Last bit of details. I added on these slivers of MDF to some cast parts. Honestly, these are my favorite parts on the gun. They bridge the stock to the receiver and just have a cool shape.
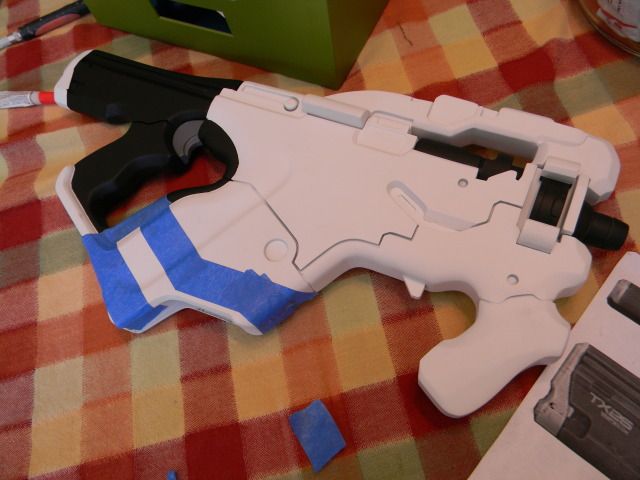
Basecoat and some minor details. I used a flat metallic. Picky stuff, but well worth the look.
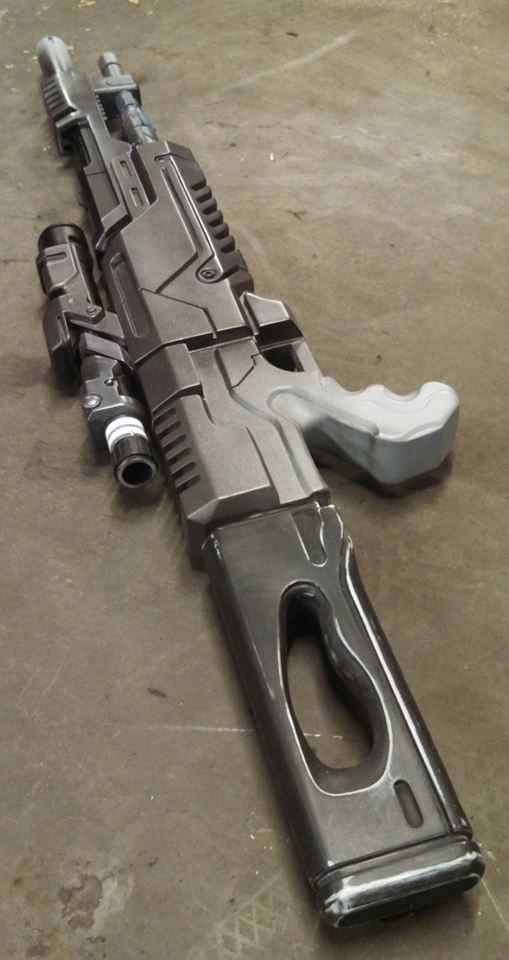
Entendu. Off to France.
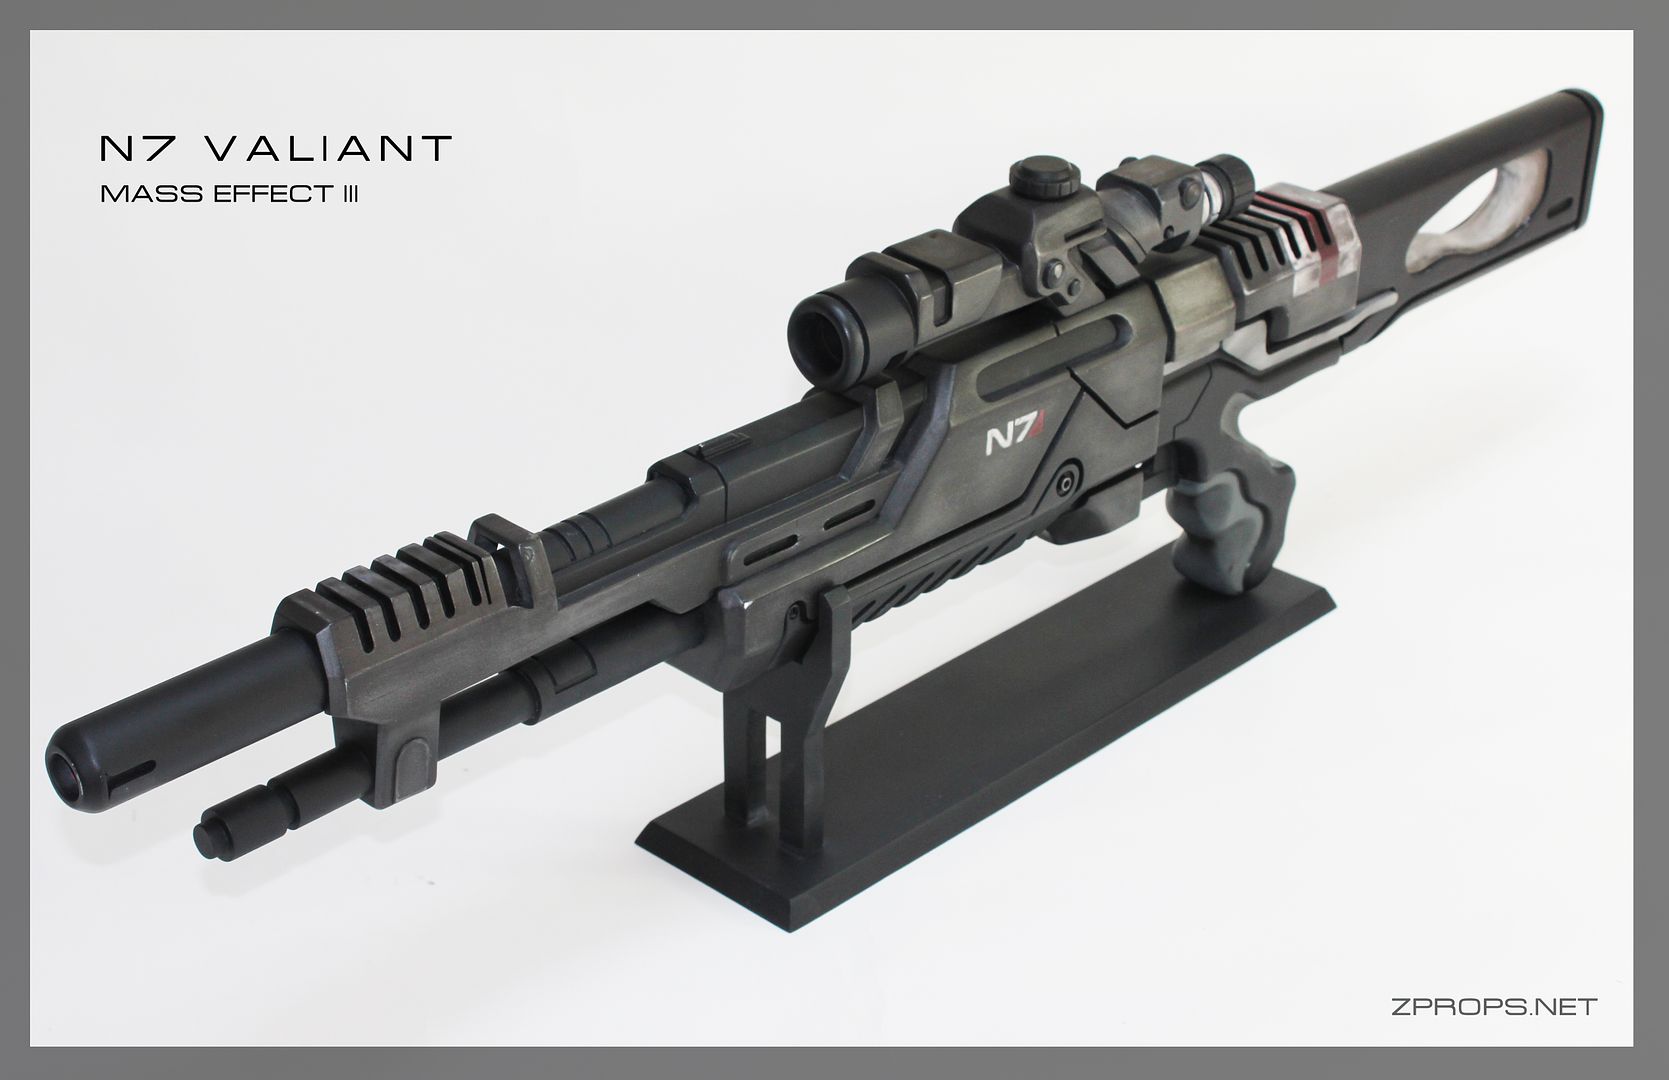
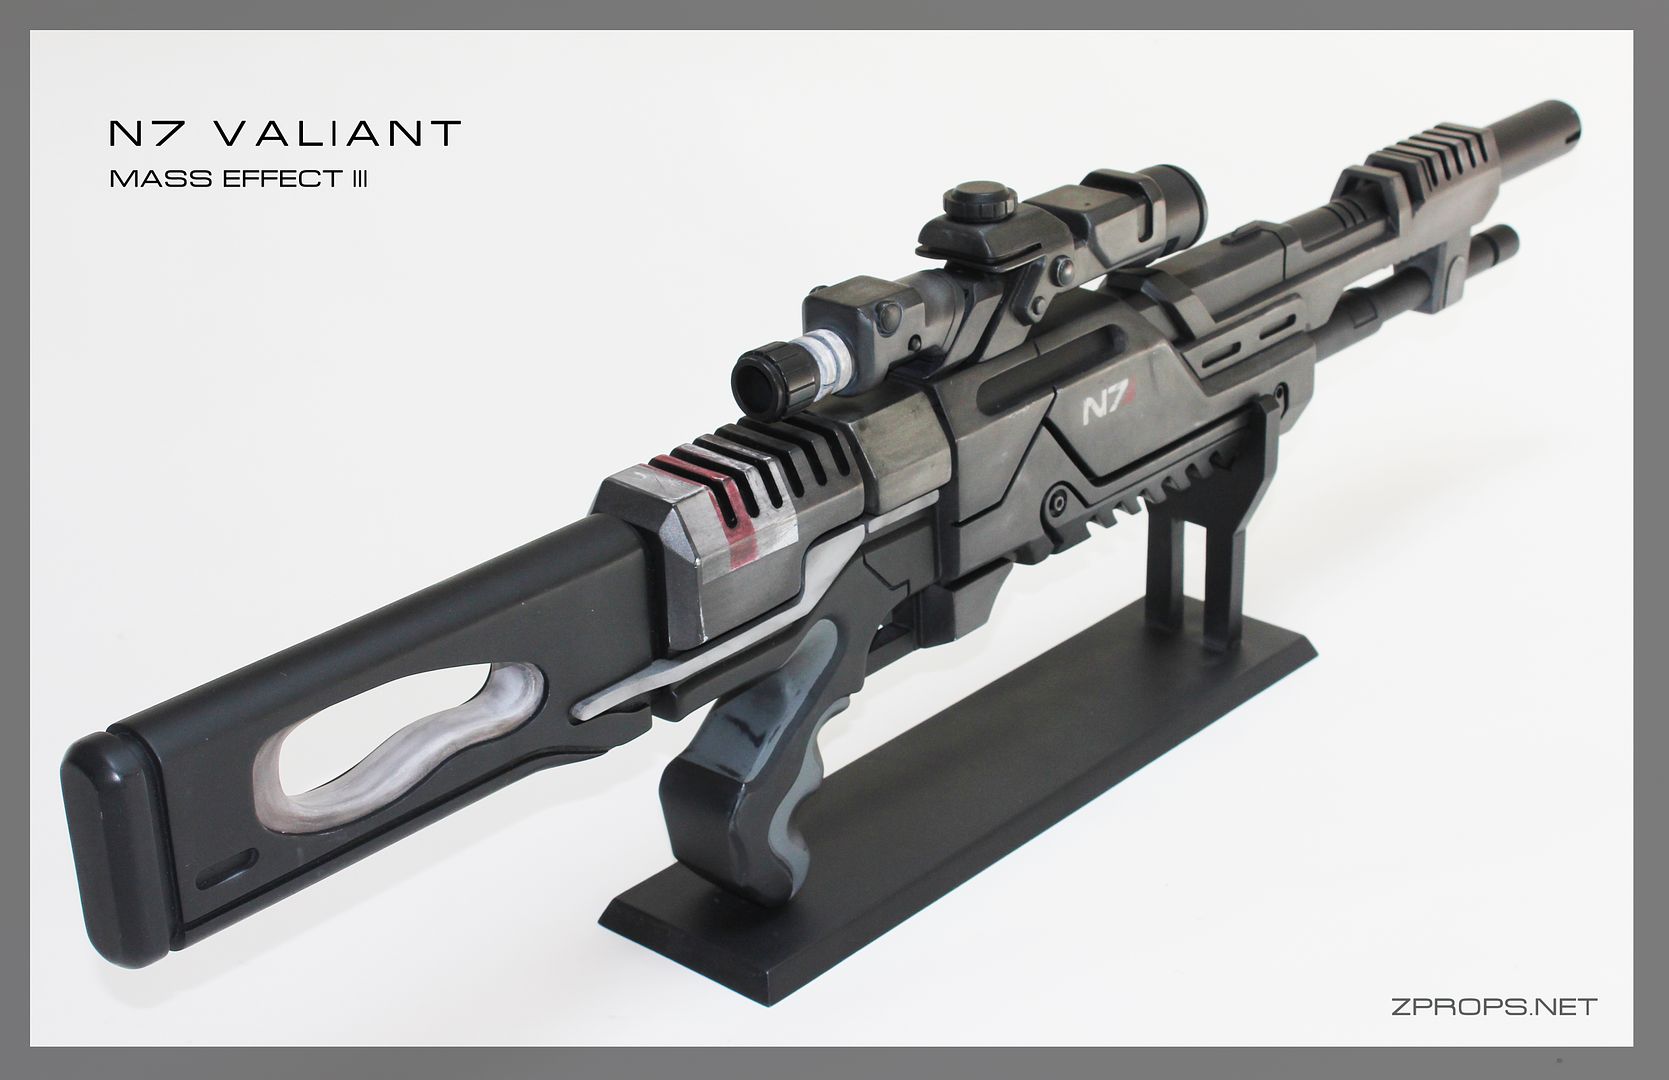
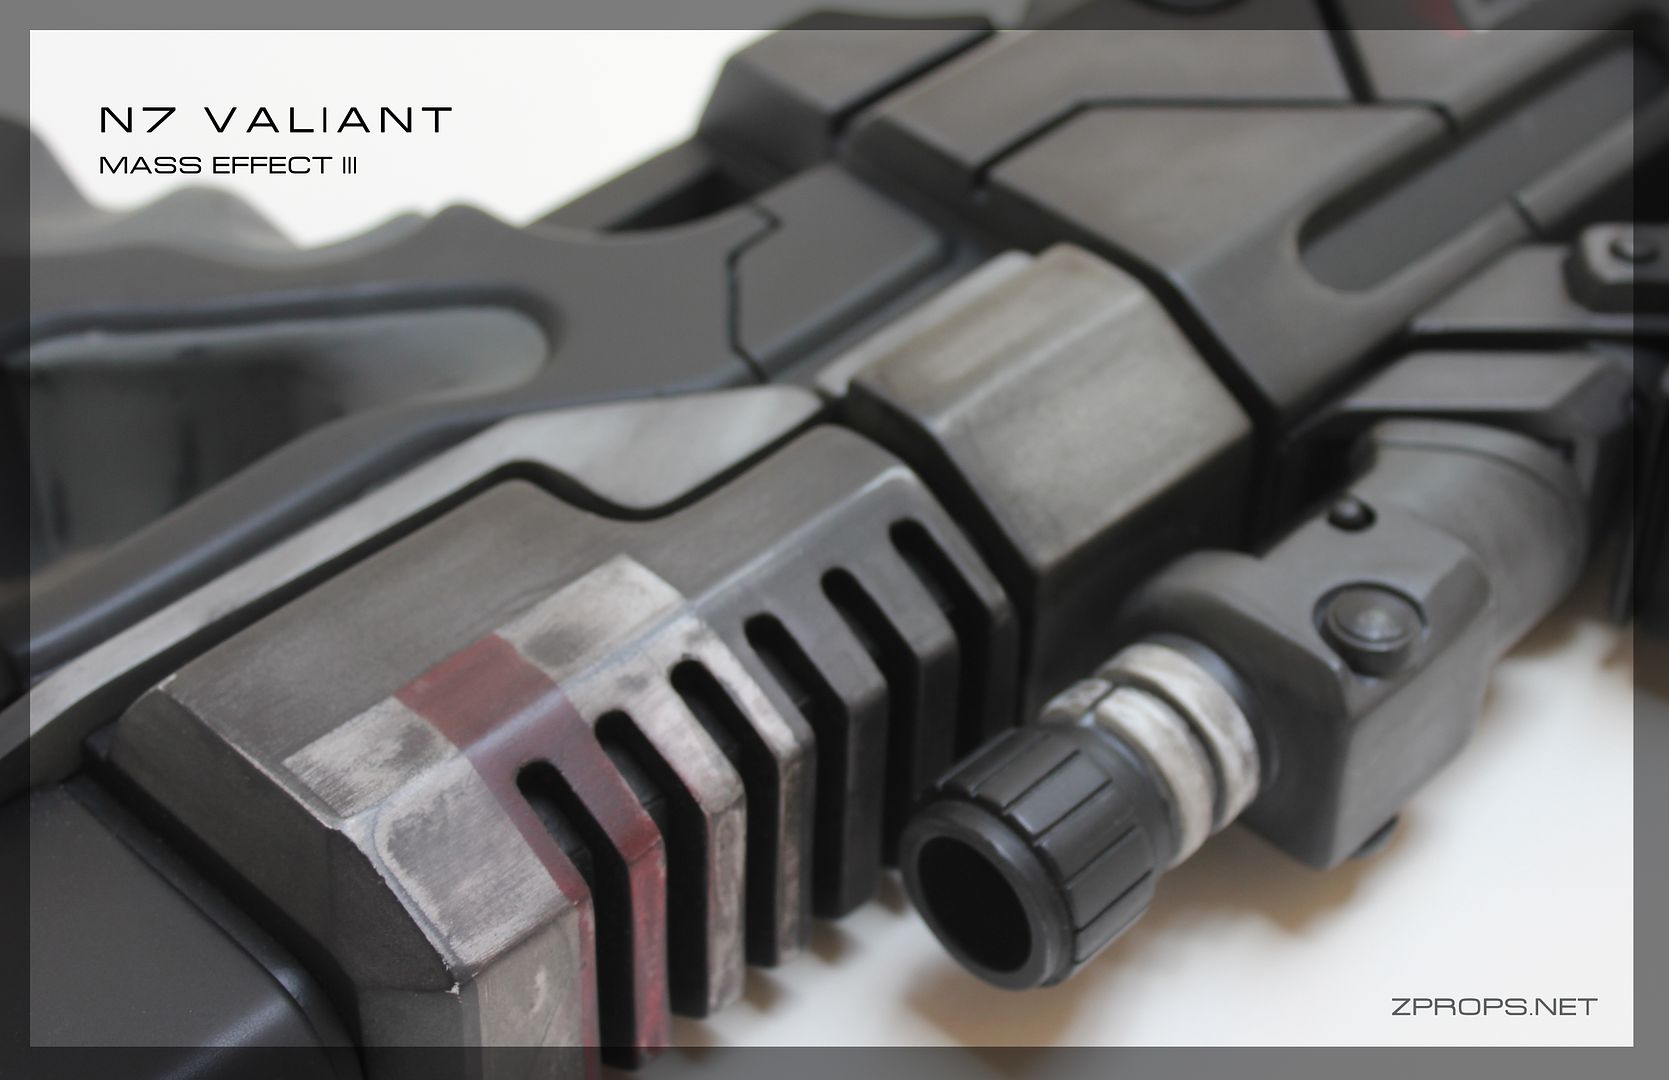
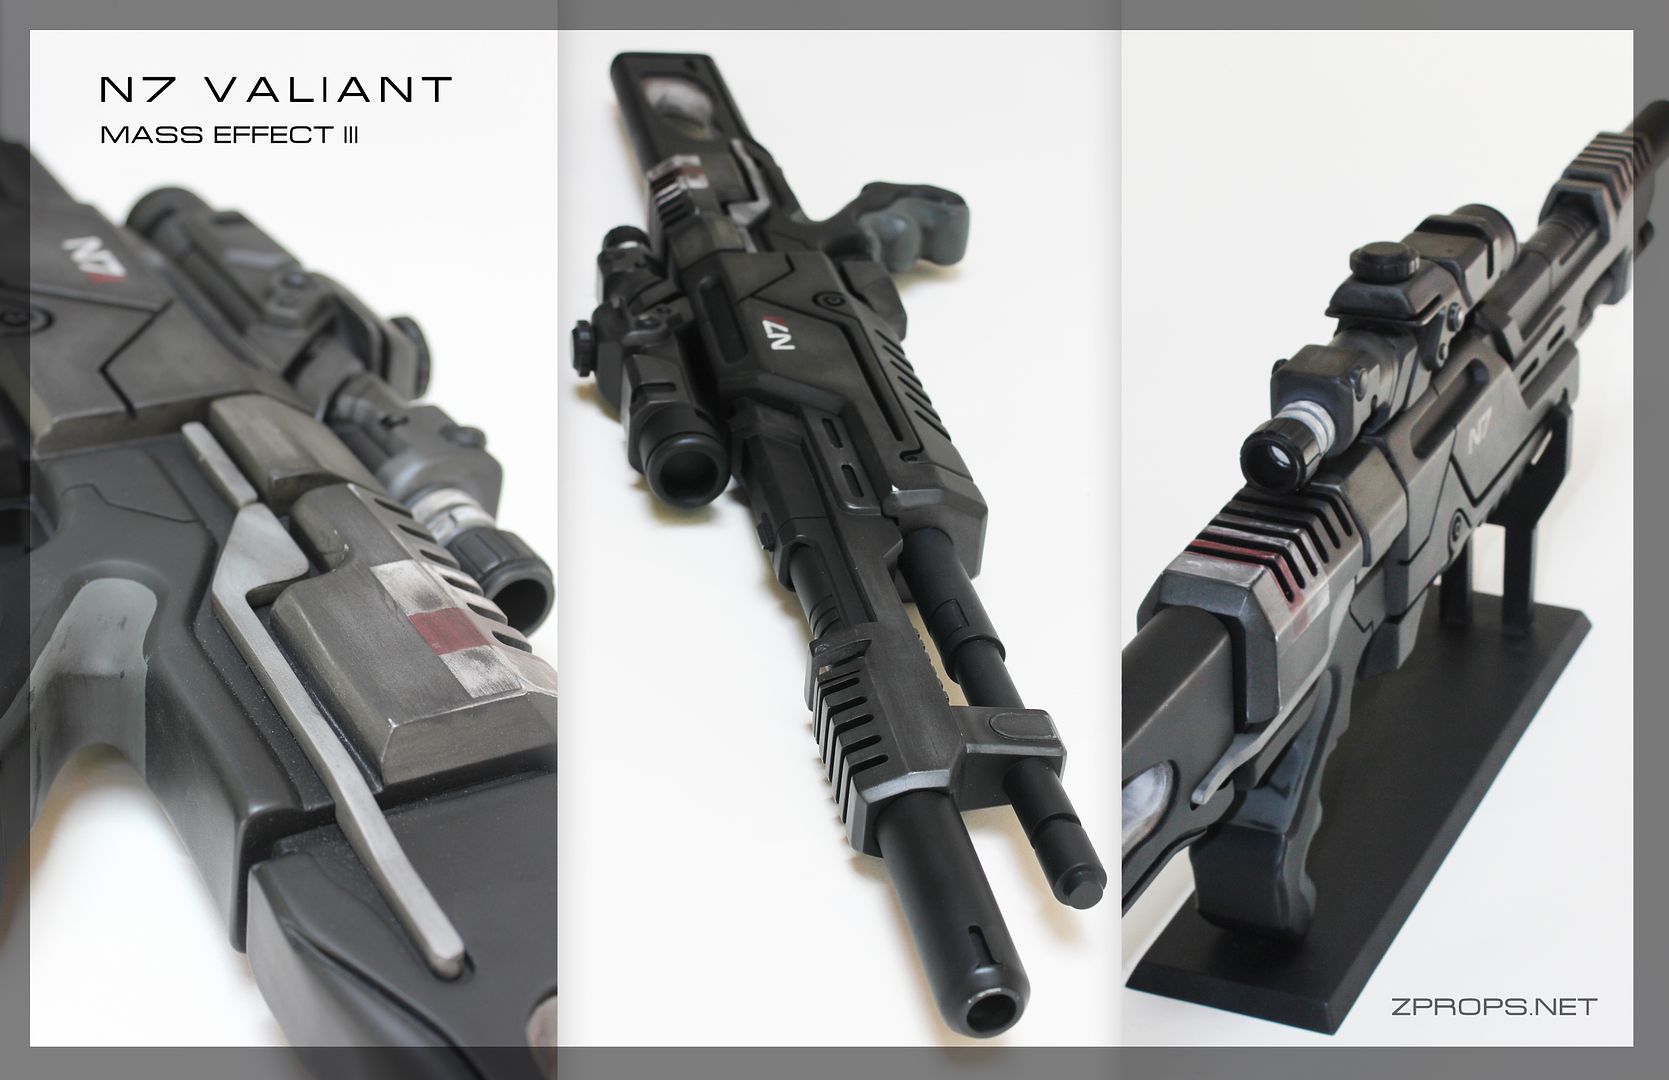
As always, thanks for following along!
[Home]
Zprops on Facebook